What Did You Do With Your Rig Today?

  • HTML tutorial

Boort

Rank V
Launch Member

Member III

2,779
Colorado
Member #

9314

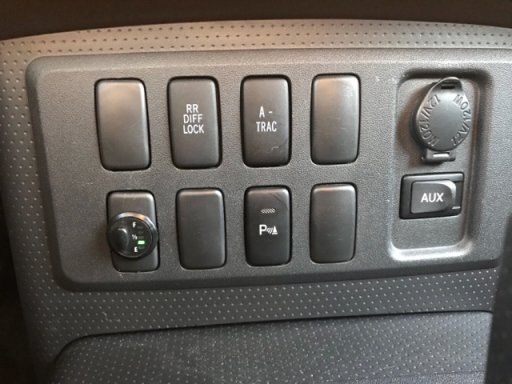
Installed my ScanGuageII in the 4Runner (Anyone know the Xguage settings for Oil Temp for a 4th Gen v8? the one on their page is not working.)
Wired up the Tekonsha Prodigy P2 Break Controller. Working on mounting design for the Fusebox area.

Fabed up a pair of magnetic propane tank holders to keep the small propane/butane tanks from rolling around in my drawer system.
Productive day!

Boort
 
  • Like
Reactions: tsteb112

4wheelspulling

Rank VI
Launch Member

Member III

3,065
Chelan, WA.
First Name
Vance
Last Name
Myers
Member #

8452

Did not take pictures, but got the new 9/16” Grade 8, 4-1/2” bolts in the locating bracket end of the control arms on my 95’ Jeep Cherokee. Everything else under the Jeep looked good to go! Benz.
 

JCWages

Rank V
Launch Member

Pathfinder I

2,271
Grass Valley, CA, USA
First Name
Justin
Last Name
Wages
Member #

18693

But then I just gave it some gas and rammed my right front wheel up a steep embankment. There was some loud crunching and popping and one ping before I stopped. I watched my left front spring go rolling down the dirt road.
Send it! :laughing: That's the best thing I've read all day. Glad no serious damage was done.

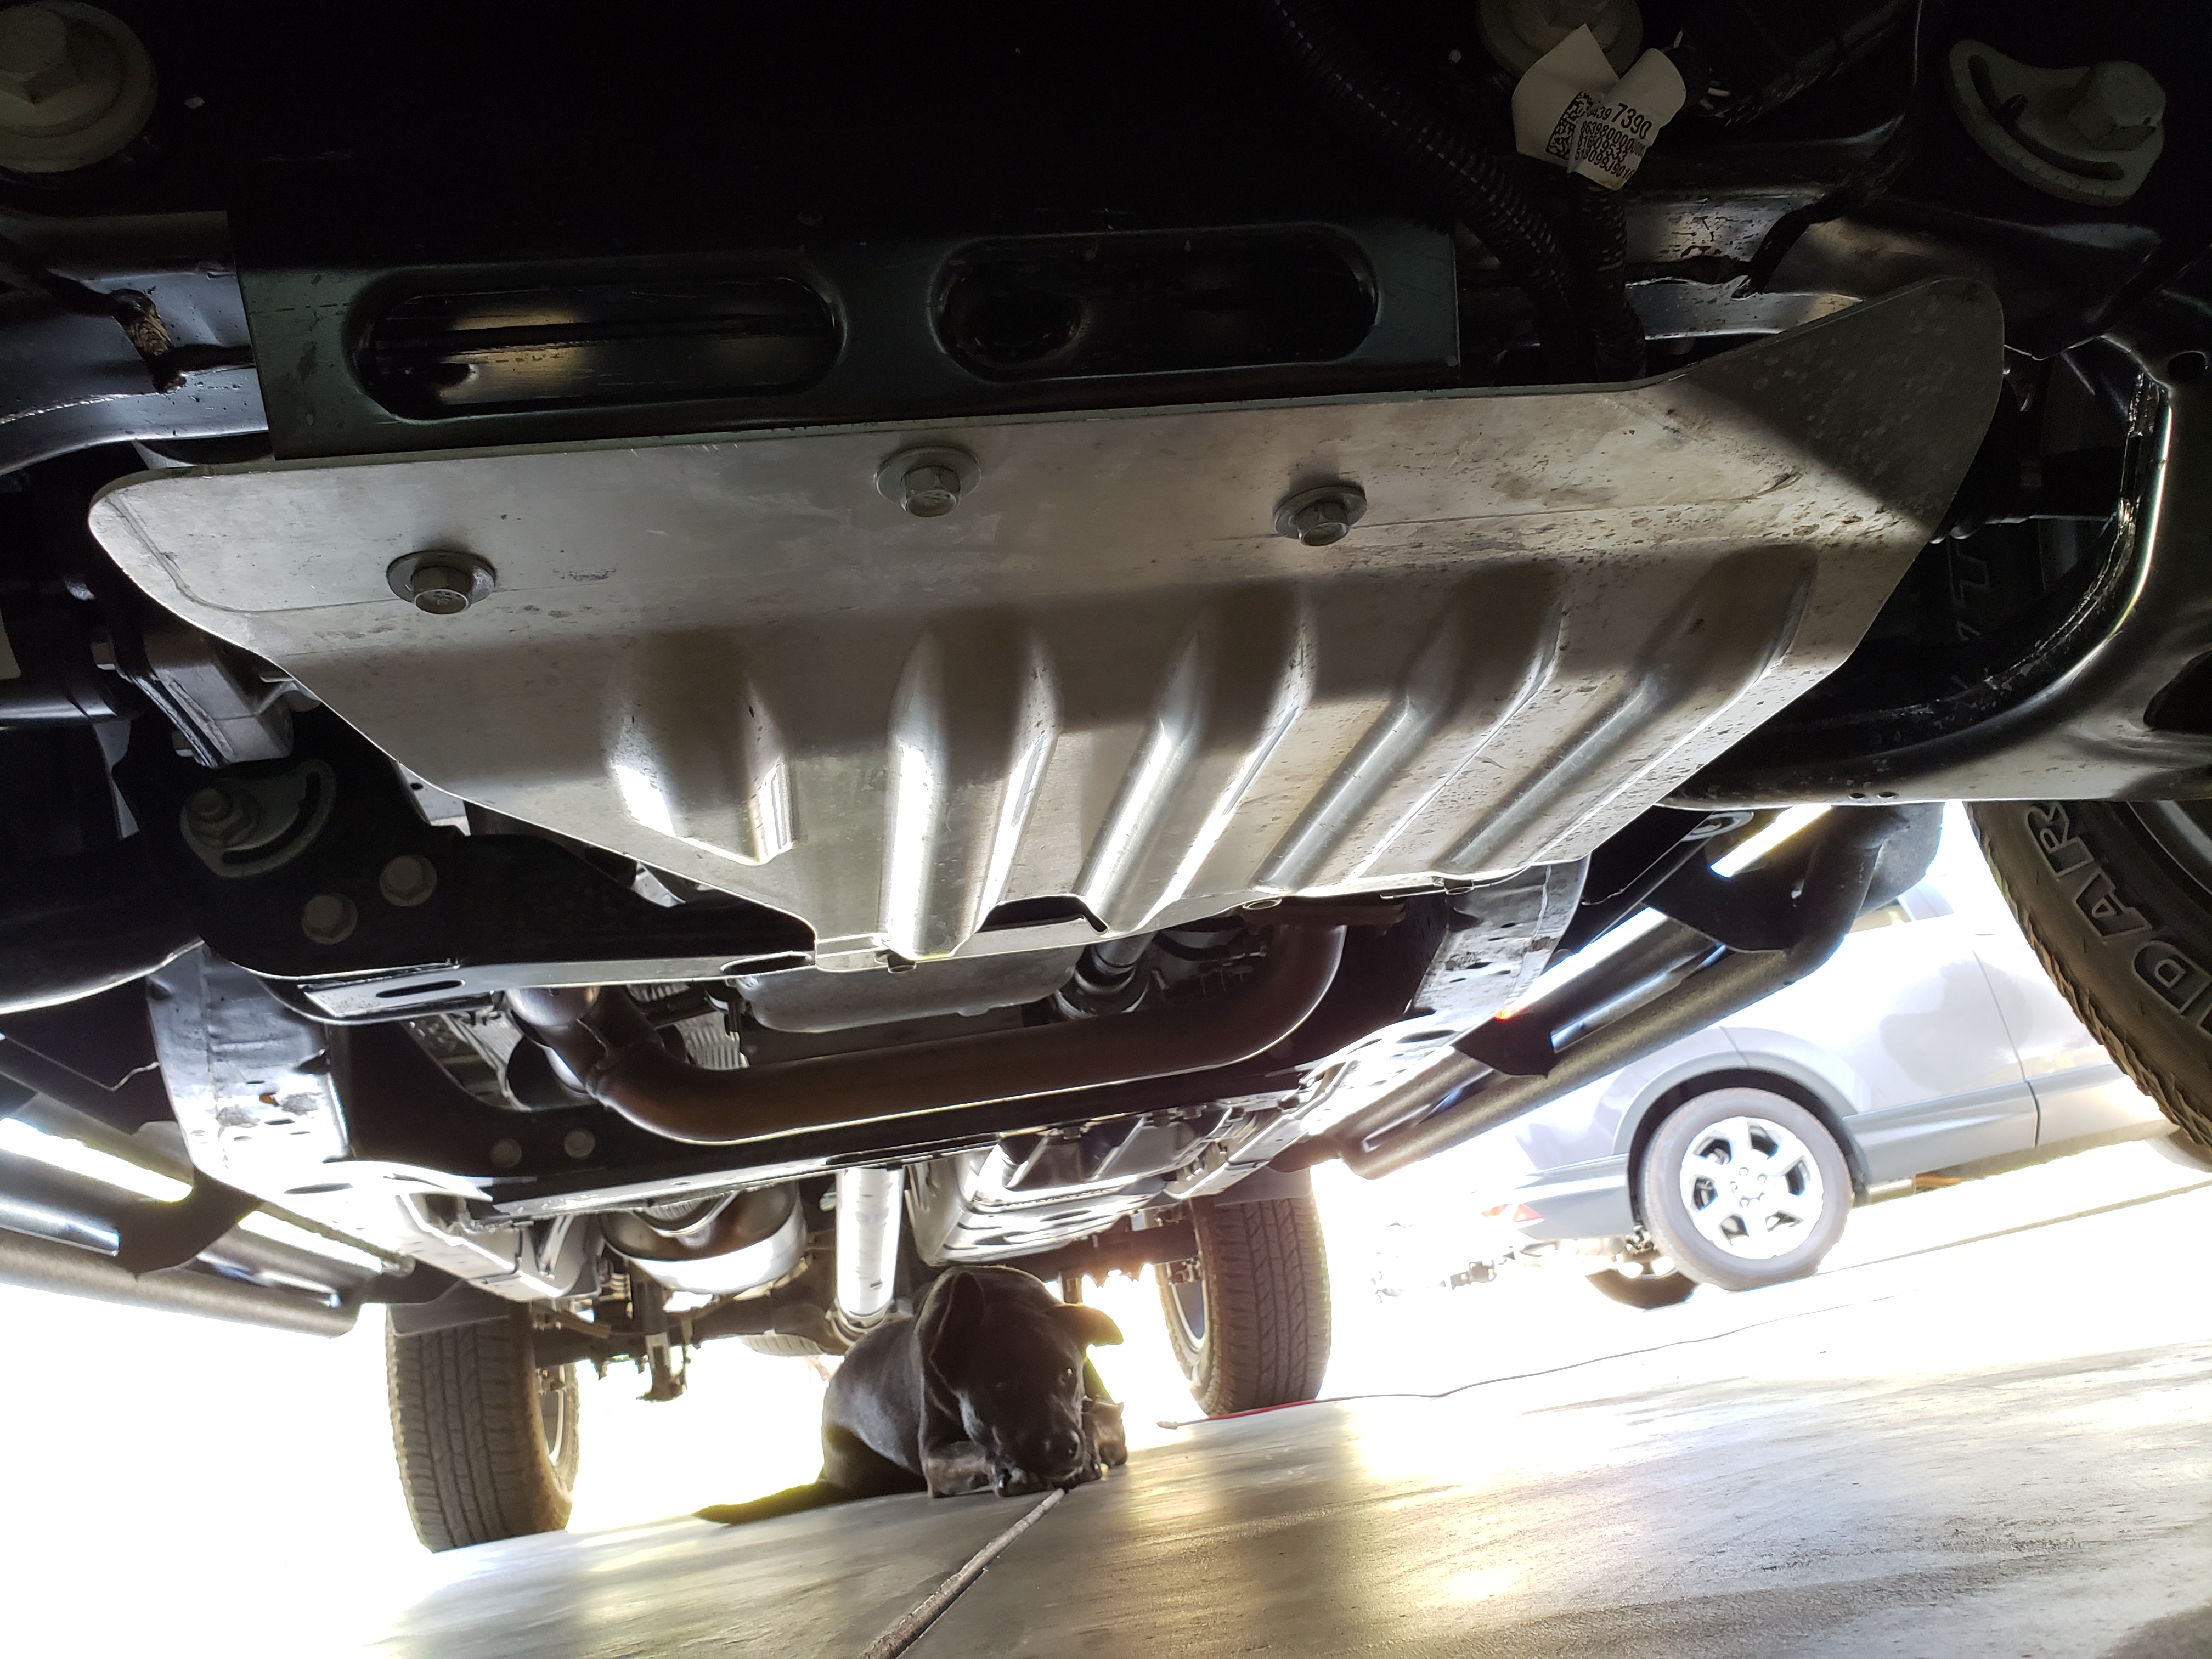
Yesterday I installed some (free) skid plates off a ZR2. These cover the oil pan, steering rack and some of the transfer case. I need to get the front skid now but for the money I'll just buy an aftermarket steel plate. Unless I find a free ZR2 unit..... :)


I finally got around to mounting the Maxsa Escaper Buddy traction boards. I couldn't make up my mind on a mounting design so I said screw it (literally). I bought some basic hardware: (2) 3/8"x6" bolts, (4) washers, (4) lock washers, (2) 3/8 nuts and (2) plastic star knobs. I drilled 2 holes through the side bar on my rack and 2 holes trough the Maxsa boards. It's sturdy enough but I am concerned about the star knobs backing off so I added a lock nut on each end until I can find nicer black bolts and lock nut. Ghetto but it works for now. I'll add a Python lock to make them less enticing for opportunistic thieves.
 

YPD1

Rank V
Founder 500
Launch Member

Enthusiast III

1,493
yuma, az
Member #

0481

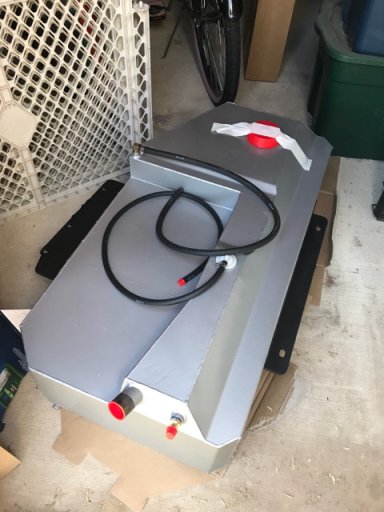
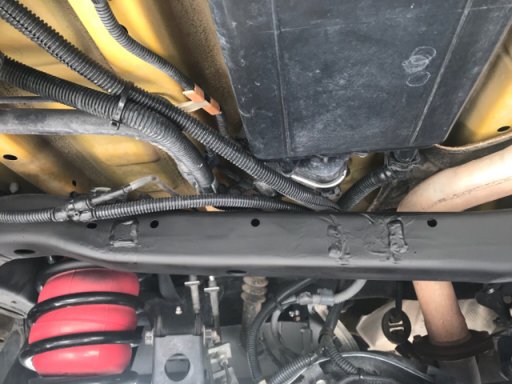
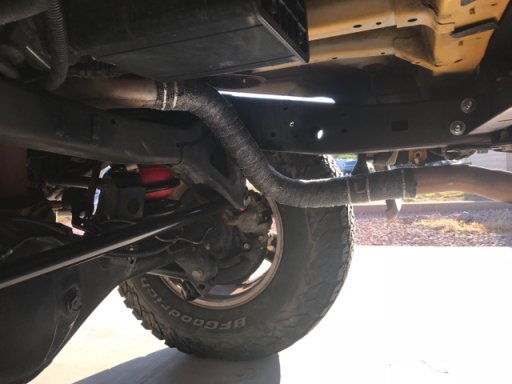
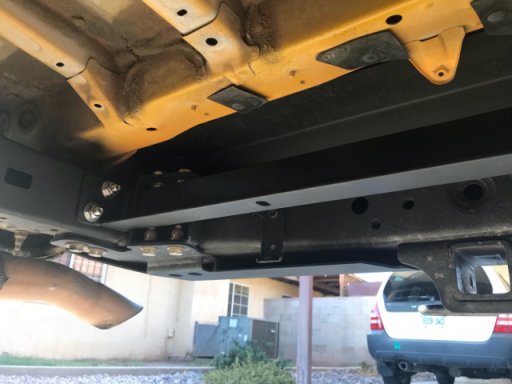
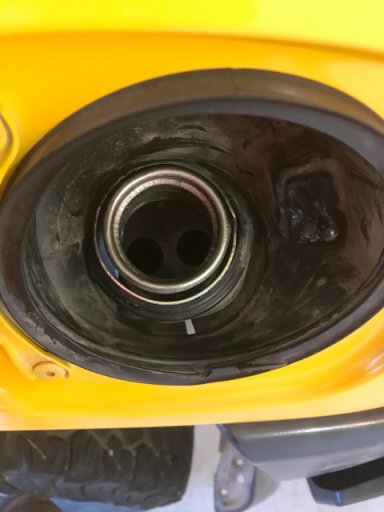
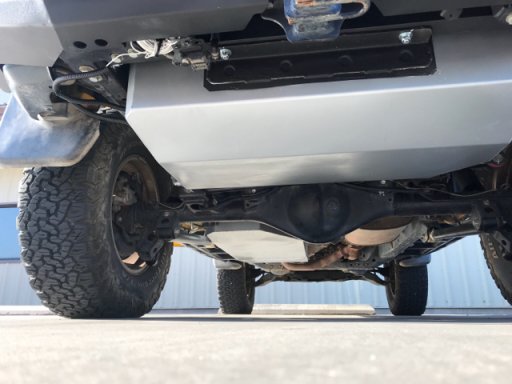
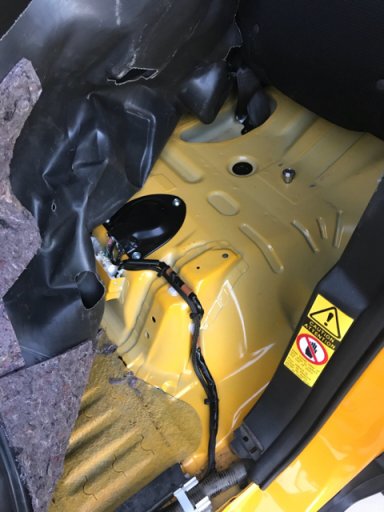
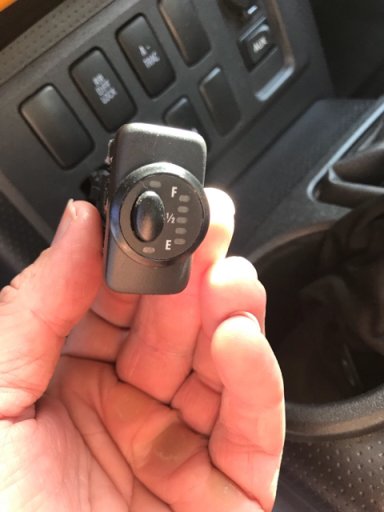
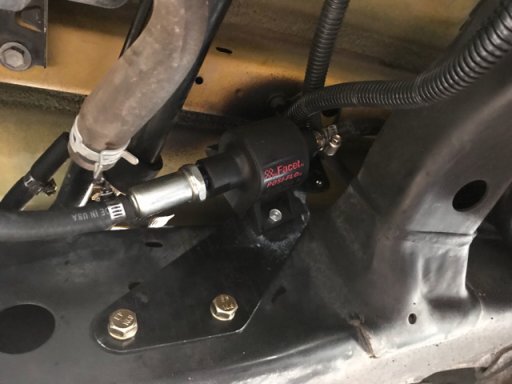
With the help from Cruiser Brother’s I was finally able to get my Auxiliary fuel tank for the FJ. Took a little longer for the install compared to the replacement main tank due to new wiring and the added fuel pump. I also completed a few precautionary upgrades like wrapping a portion of the exhaust with heat wrap. ImageUploadedByOverland Bound Talk1536768131.675580.jpgImageUploadedByOverland Bound Talk1536768177.342294.jpgImageUploadedByOverland Bound Talk1536768204.026975.jpgImageUploadedByOverland Bound Talk1536768233.894142.jpgImageUploadedByOverland Bound Talk1536768271.292747.jpgImageUploadedByOverland Bound Talk1536768293.553172.jpg
The wires in the upper left of the above photo were later moved. It was temporary until the following day when I ran the power for the pump.
ImageUploadedByOverland Bound Talk1536768416.875747.jpgImageUploadedByOverland Bound Talk1536768441.176074.jpgImageUploadedByOverland Bound Talk1536768466.212006.jpgImageUploadedByOverland Bound Talk1536768484.531233.jpg
 

ILLFOZZ

Rank V
Launch Member

Advocate III

2,563
San Diego
Member #

14251

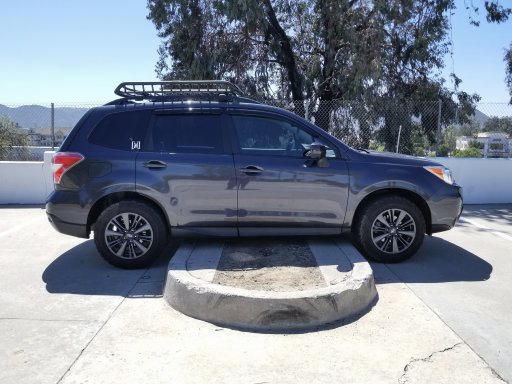
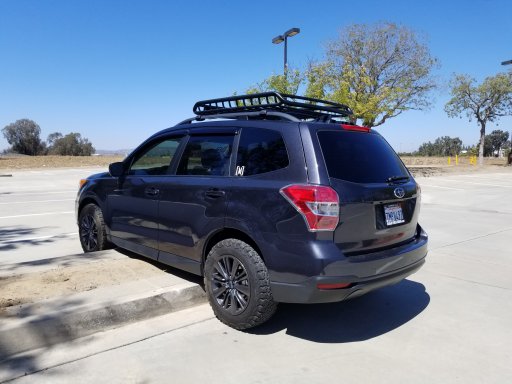
On my lunch break today, I decided to test my Fozzy's ground clearance before I install the lift next week. She did well with only having 225/65R17s. The Anderson Design Fabrication (ADF) 1.5" lift with 1.5" rear multilink (subframe spacers) will be installed new week along with SuperPro rear control arms, rear toe-links, upper a-arm bushings, and camber bolts. I'm excited to get the lift on and post some before and after pics. IMG_20180912_134251_267.jpg IMG_20180912_134251_267.jpg 20180912_133421.jpg
 

CR-Venturer

Rank VI
Launch Member

Traveler III

3,372
Ardrossan, AB, Canada
First Name
Jas
Last Name
Spr
Member #

16340

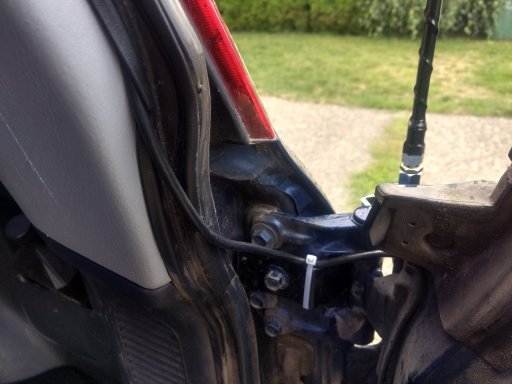
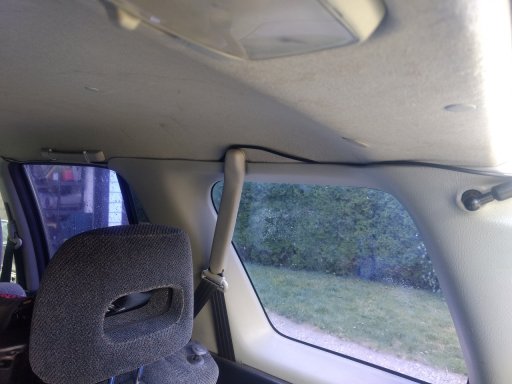
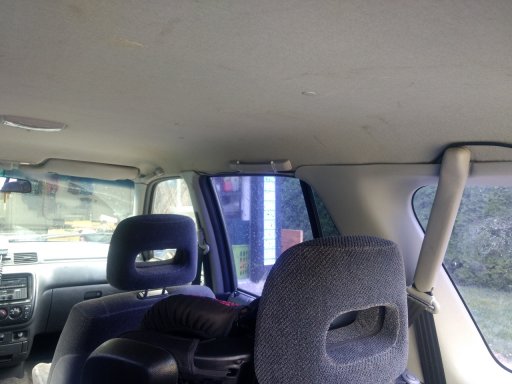
Installed the cable for my new antenna and tested SWR. The addition of an extra nut to lengthen the antenna got it to <1 on Channel 1 and 1.4 on channel 40. Good enough for me! The cable routing is a little bit mickey mouse, I know, but frankly it wasn't worth the huge effort involved to get it completely hidden behind the wall panels all the way along. From the B-pillar forward, it's completely hidden/protected behind the interior trim panels.antenna cable 1.jpg antenna cable 2.jpg antenna cable 3.jpg
 
  • Like
Reactions: HappyOurOverlanding