Member III
- 2,827
- First Name
- Jim
- Last Name
- covey sr
- Member #
16986
- Ham/GMRS Callsign
- none - BREAKER BREAKER HAND HELD CB AND WALKIE TALKIE
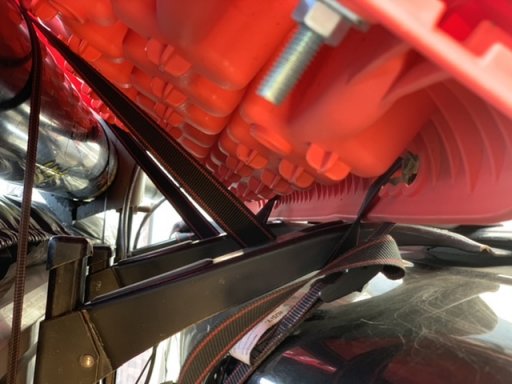
Good project rig. So parts plentiful and cheap to boot. Happy building some day !Had to move my retirement project to make way for a shop addition at its storage location. 78 Cherokee S, Levi Edition.View attachment 126221