Utility bed trailer: another build thread

  • HTML tutorial

lolzhax

Rank III
Member

Traveler III

603
Roseville, CA, USA
First Name
Eric
Last Name
Walley
Member #

26397

Hi, thanks for reading,

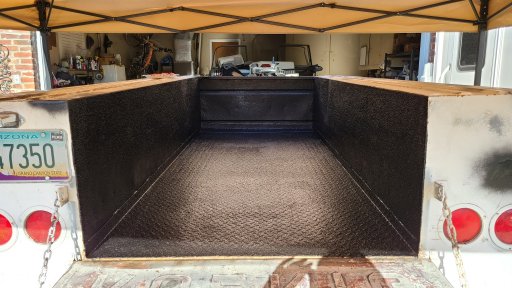
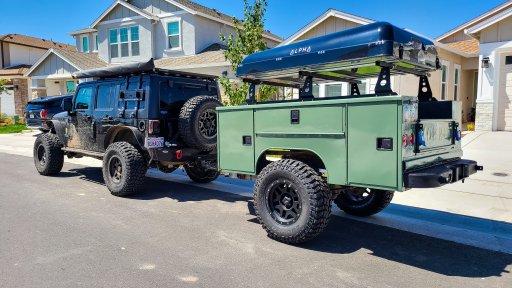
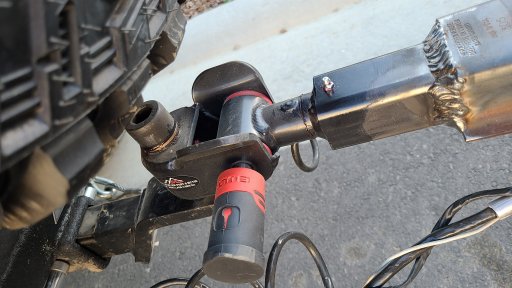
I figured now is a good time to start a build thread since we're starting to make moves with this trailer I found. I should preface this thread with, I'm not a fabricator and I'm learning to weld so don't expect any weld porn here.

About the trailer:
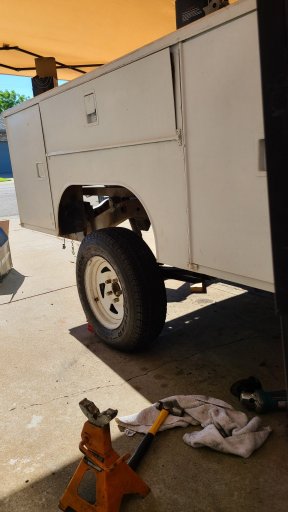
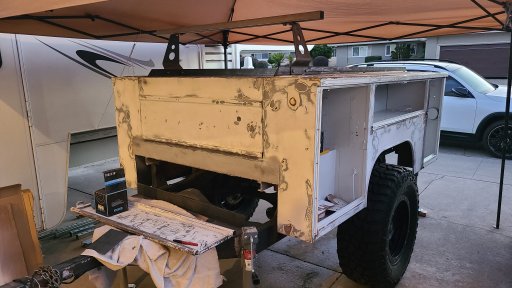
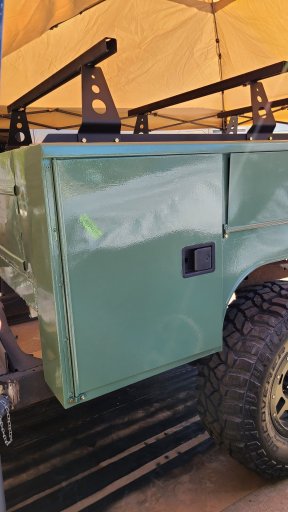
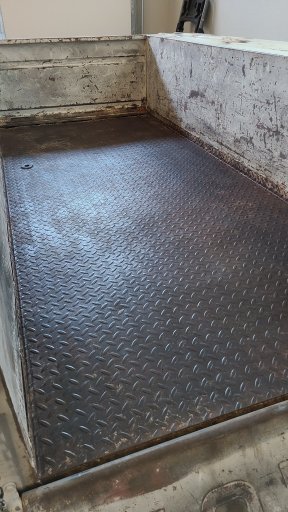
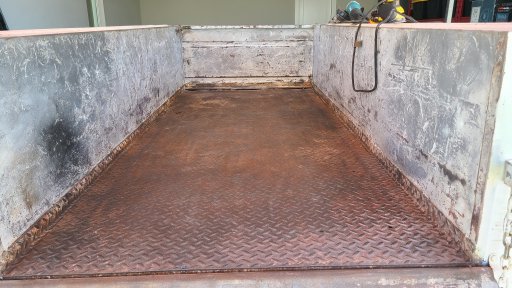
It's a chopped Toyota pickup utility bed, sitting on the original Toyota frame and 7.5" axle with a 4.5x5 bolt pattern.

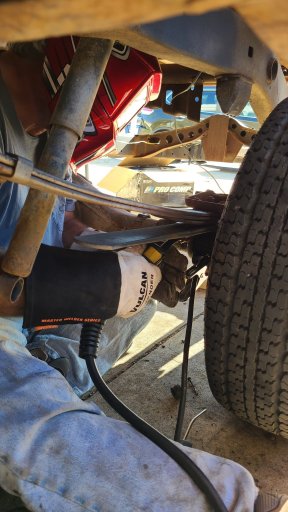
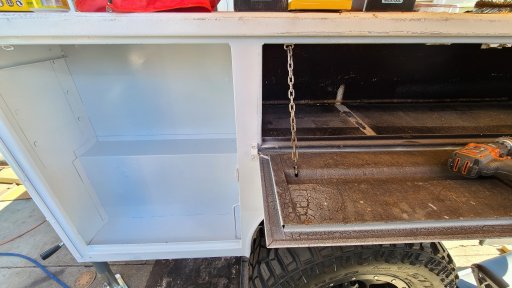
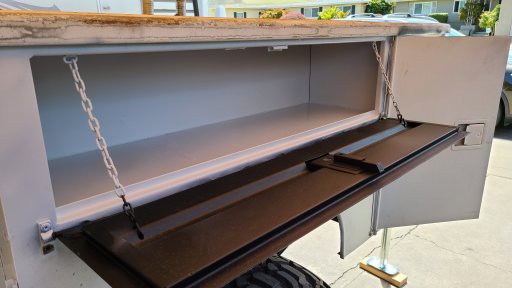
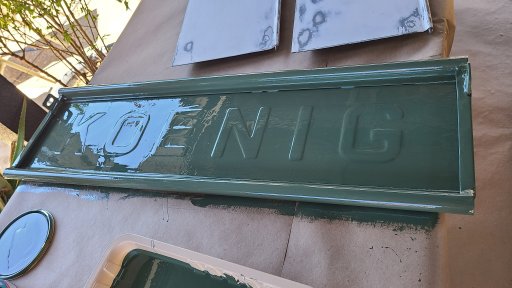
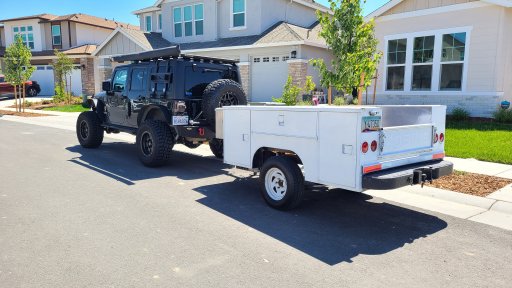
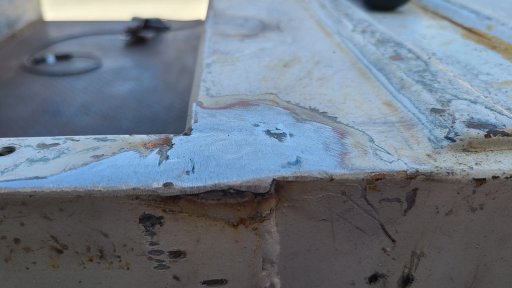
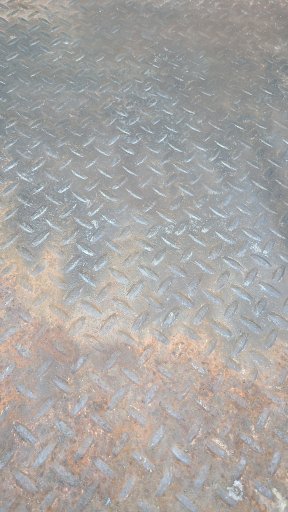
The first day it arrived, we cut off the light weight ladder rack and began cleaning up the rust while I climbed all over this thing getting measurements and figuring out what I needed.

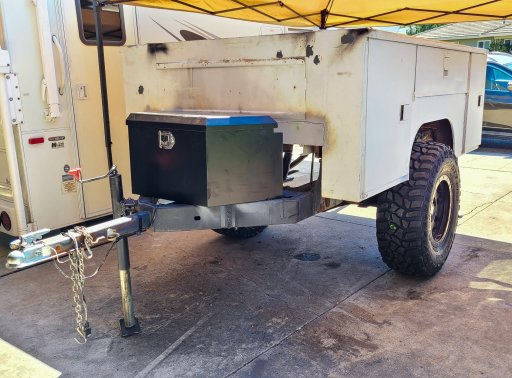
At this point all I knew for sure was that I want to run the same wheels and tires as my jeep to share the spare, and I wanted to put a rooftop tent on it.

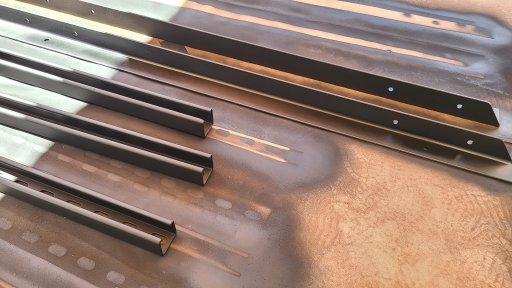
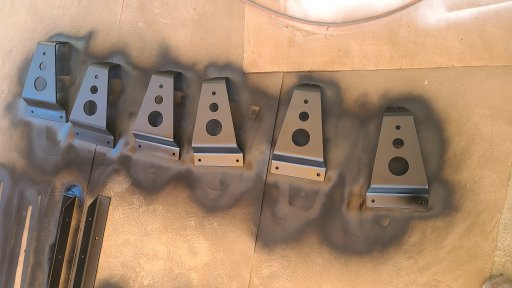
Next stage of decisions and build in a follow up reply.
 

Attachments

Last edited:

lolzhax

Rank III
Member

Traveler III

603
Roseville, CA, USA
First Name
Eric
Last Name
Walley
Member #

26397

So we took a break from this for a memorial week camping trip and to see first hand the trail conditions at higher elevations.

My original goal was to get this trailer built to a useable condition by July but somebody in the household where I'm doing the work has covid so I'm a week behind schedule already.

Last weekend we did more rust repair, patched rust and bolt holes in the cabinets, etc... Whoever had this trailer before had coated the inside of all the cabinets with thick black tar and that keeps gumming up the sandpaper. Welding on this thin sheet metal is probably the worst way to learn to weld. Lol

We also completed the "axle flip", welding new leaf spring seats on top of the axle and Barnes 4wd Universal shock mounts. Gained about 5" of clearance which is much needed since I also ordered the tires to go on my spare set of jeep wheels, and the lug bolt conversion will hopefully give me enough space to clear them.

I have a plan and materials for the rack but I think I'm going to hold on talking about it until I make sure it works out. The rooftop tent is already in at the shop and they're eager to get it out of their storage so I need to hurry up with this part.
 

Attachments

Last edited:

lolzhax

Rank III
Member

Traveler III

603
Roseville, CA, USA
First Name
Eric
Last Name
Walley
Member #

26397

People are finally getting over all the covid at my family's house so I took it as an opportunity to go do a few things with the trailer at a safe distance, mostly because I'm trying not to bring anything home to my 9 month old boy.

It wasn't without drama though. I was driving my audi over to work on the trailer when someone's trailer hitch fell out of their truck and victimized my wheel and tire. Thankfully that's all I lost after some evasive maneuvers.

Trailer update: by the time I finally got there, it was over 100 degrees so I only cut out and patched one large section of rust at the front, installed the shocks, wheel bolt conversion, and the new 35" STT Pro's.
 

Attachments

reaver

Rank VI
Member

Explorer I

3,680
Caldwell, ID, USA
First Name
Brian
Last Name
McGahuey
Member #

23711

Ham/GMRS Callsign
GMRS WRMV941
Congrats man, this looks like a fantastic starting point!

Building your own is VERY satisfying. I recently finished getting my own trailer to a usable state. It was a mad scramble to get it ready by memorial day.

I wanted to learn to weld, and still do, but good on you for making it happen!
 
  • Like
Reactions: lolzhax

lolzhax

Rank III
Member

Traveler III

603
Roseville, CA, USA
First Name
Eric
Last Name
Walley
Member #

26397

Congrats man, this looks like a fantastic starting point!

Building your own is VERY satisfying. I recently finished getting my own trailer to a usable state. It was a mad scramble to get it ready by memorial day.

I wanted to learn to weld, and still do, but good on you for making it happen!
Thanks man! I've taken a stroll through your thread and I'd be doing a disservice if I didn't admit that I got some inspiration and ideas from yours and @WJ Overland

It helps that my dad has some experience welding and he has a budget welder in his garage that we're using. This winter I think I need to make the investment into my own equipment so I can progress into the next stage with the trailer in my own garage. This winter my son will only be 1 so it's probably too soon to take him winter camping anyway.
 
Last edited:
  • Like
Reactions: WJ Overland

reaver

Rank VI
Member

Explorer I

3,680
Caldwell, ID, USA
First Name
Brian
Last Name
McGahuey
Member #

23711

Ham/GMRS Callsign
GMRS WRMV941
Thanks man! I've taken a stroll through your thread and I'd be doing a disservice if I didn't admit that I got some inspiration and ideas from yours and @WJ Overland

It helps that my dad has some experience welding and he has a budget welder in his garage that we're using. This winter I think I need to make the investment into my own equipment so I can progress into the next stage with the trailer in my own garage. This winter my son will only be 1 so it's probably too soon to take him winter camping anyway.
Dude, I really appreciate the kind words! I'll tell you, my build has certainly been a learning process. There are a bunch of things I would do differently if I were to do it again.

Keep up the great work, and keep this thread updated as you go. I'm looking forward to watching the build progress.
 
  • Like
Reactions: lolzhax

lolzhax

Rank III
Member

Traveler III

603
Roseville, CA, USA
First Name
Eric
Last Name
Walley
Member #

26397

Dude, I really appreciate the kind words! I'll tell you, my build has certainly been a learning process. There are a bunch of things I would do differently if I were to do it again.

Keep up the great work, and keep this thread updated as you go. I'm looking forward to watching the build progress.
I'm taking the entire month of July off work and any free time I have outside of father duties I'll be working on this thing so expect some fast movement pretty soon. :)
 

reaver

Rank VI
Member

Explorer I

3,680
Caldwell, ID, USA
First Name
Brian
Last Name
McGahuey
Member #

23711

Ham/GMRS Callsign
GMRS WRMV941
I'm taking the entire month of July off work and any free time I have outside of father duties I'll be working on this thing so expect some fast movement pretty soon. :)
Maybe it's time to learn to weld with one of those backpack/chest carrier things on. Win win! You get to work on the trailer and do daddy-duties. Mom gets a break.
 
  • Like
Reactions: lolzhax

lolzhax

Rank III
Member

Traveler III

603
Roseville, CA, USA
First Name
Eric
Last Name
Walley
Member #

26397

Yesterday I finished all the welding and patching holes in the bed. Rolled in bed liner and starting on sanding the body today.
 

Attachments

Last edited:
  • Like
Reactions: jrlombard

lolzhax

Rank III
Member

Traveler III

603
Roseville, CA, USA
First Name
Eric
Last Name
Walley
Member #

26397

Cabinet work has begun. Heres a before and after example.

Whoever painted the inside of the cabinets black had used a really nasty paint that's soft like a gel. It gums up my sandpaper pretty bad.
 

Attachments

Last edited:

lolzhax

Rank III
Member

Traveler III

603
Roseville, CA, USA
First Name
Eric
Last Name
Walley
Member #

26397

I've been non stop working on this for the last 6 days but I've been slacking on updating everyone because it's been a lot of mundane work.

I completed painting the inside of the cabinets. I think I'm going to use husky tool box drawer liners on the shelves.

Today thankfully we found a way to remove the doors. That was way more complicated than it should have been... [tmi]Each hinge is held on by 2 rivets, and one rivet on each hinge is on a seam inside the cabinet. By only drilling 1 rivet for each door, I'm able to tap the hinge and swivel it on the remaining rivet to get the door pin out and finally, remove the door. [/tmi]

We started assembling the roof rack today as well so to get all the holes drilled out to the appropriate size before paint.

The roof rack is made from..
- 2" angle iron for increased height and support
- Dinoot no weld rack towers
- 12ga Superstrut as cross bars (52")

I burned through 3 drill bits today and I should be able to complete the drilling with just 1 more bit that I need to pick up in the morning. Lol

Tomorrow I'll finish the rack and paint the doors, then I'm taking a day or two off to go home and relax.
 

Attachments

  • Like
Reactions: Desert Runner

lolzhax

Rank III
Member

Traveler III

603
Roseville, CA, USA
First Name
Eric
Last Name
Walley
Member #

26397

I won't lie, I'm not super happy with the paint job but I guess I should be satisfied considering the surface I had to work with, being as rough as it was. It just seems like after coat #2, the paint didn't self smooth like it was on the first 2 coats.

I'm going to leave it to cure, use the trailer through the summer as-is and then in winter I might sand it smooth again and repaint.
 

Attachments

lolzhax

Rank III
Member

Traveler III

603
Roseville, CA, USA
First Name
Eric
Last Name
Walley
Member #

26397

And here she is. Exactly 2 months to the day after I bought it. By no means is it "done" but it's done enough for the summer (with a few small exceptions) and 100+ degree temps have set in. We need to get to higher altitude real soon.

The only thing I really need to do is a little bit of grinding on the new locks to make them fit. I also have a Max Coupler to replace the standard trailer hitch/ball eventually.
 

Attachments

lolzhax

Rank III
Member

Traveler III

603
Roseville, CA, USA
First Name
Eric
Last Name
Walley
Member #

26397

I know I said I was done but this thing was sitting in my entry way and installation seemed like the best way to get it out of sight. Lol (max coupler)
 

Attachments

lolzhax

Rank III
Member

Traveler III

603
Roseville, CA, USA
First Name
Eric
Last Name
Walley
Member #

26397

This is a very cool trailer!

I bet with some block sanding you could get the paint nice and smooth on the next coat.
Thank you! Yeah right now my issue is that the paint is too soft to sand. It needs time to cure so I have it baking in heatwave outside on the street. Lol