Shorty Tundra build

  • HTML tutorial

Hanzo

Rank III

Enthusiast III

646
Frankfort, MI, USA
First Name
Dustin
Last Name
Vandervest
Member #

28904

I have been chronicling my truck restorations/build on a few other forums but decided just to switch over to OB because of the great community here. Going to transfer over my other post and catch everything up on here over the next few days.

The vehicle:

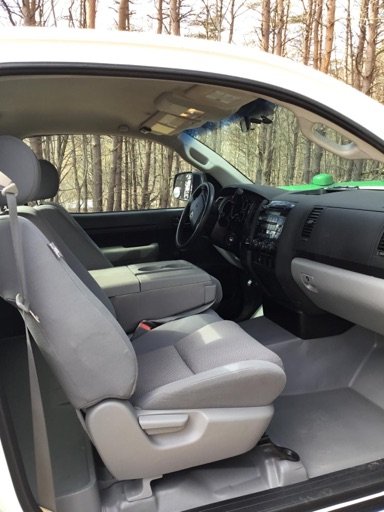
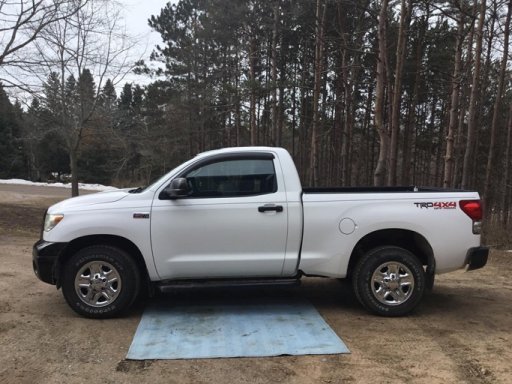
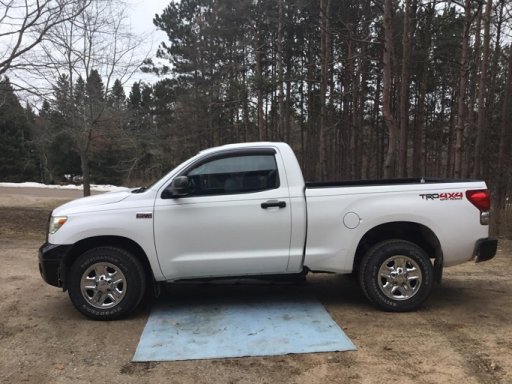
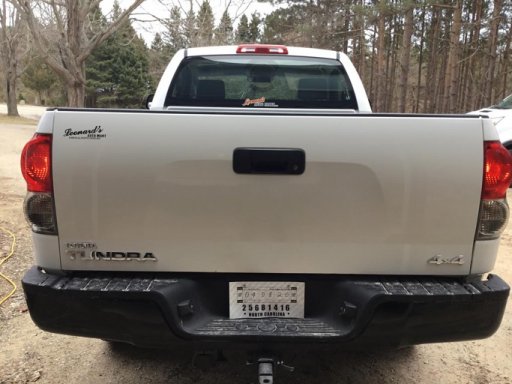
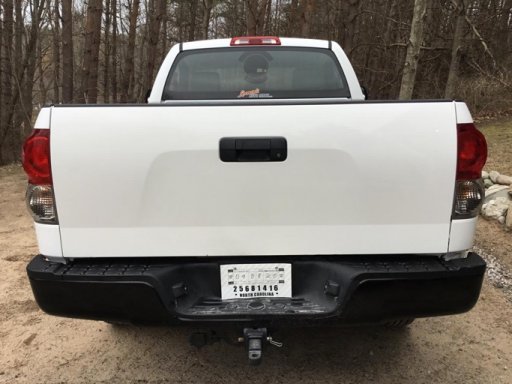
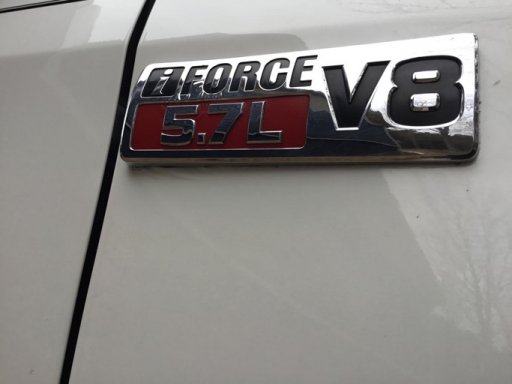
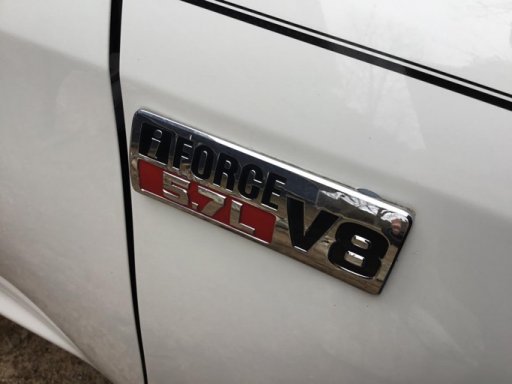
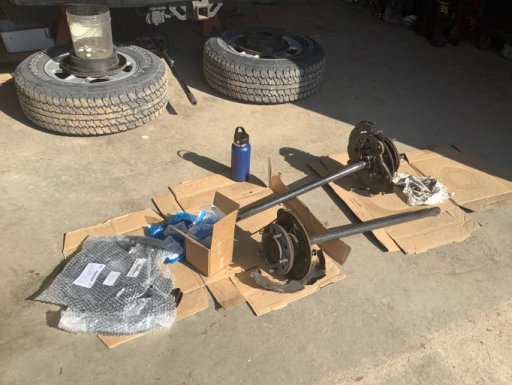
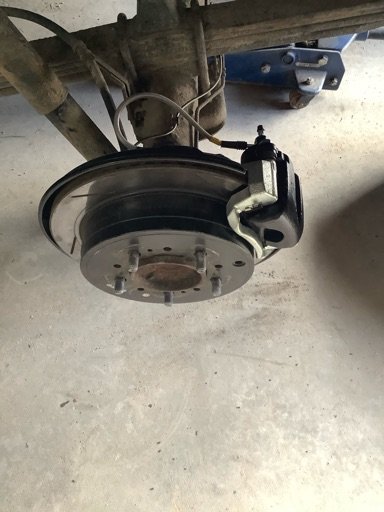
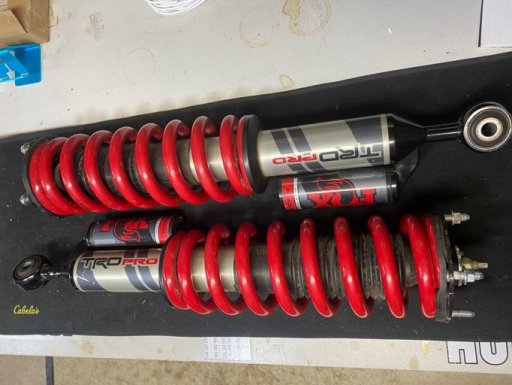
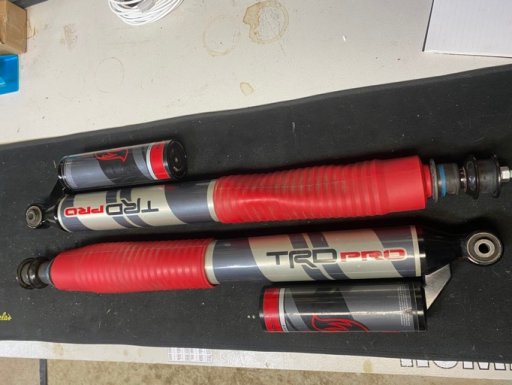
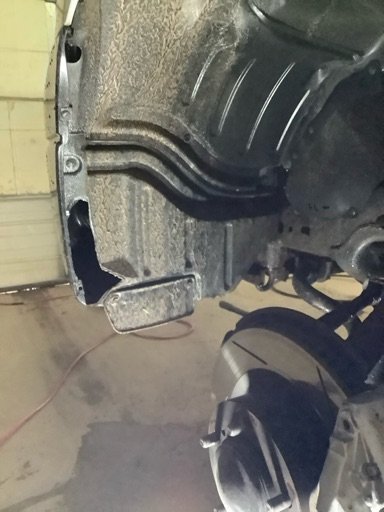
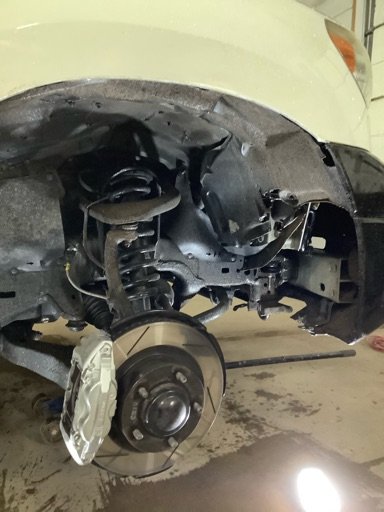
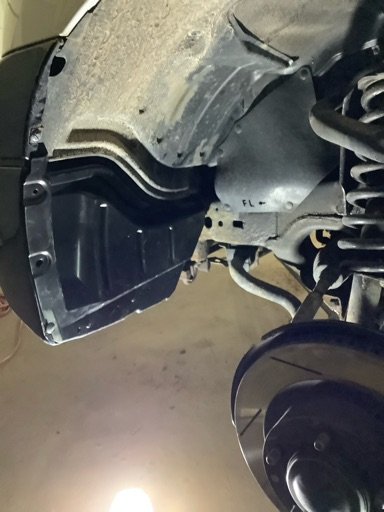
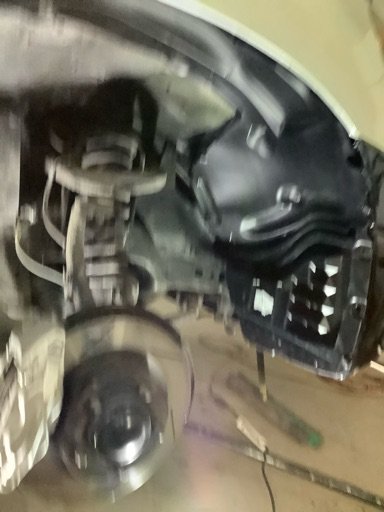
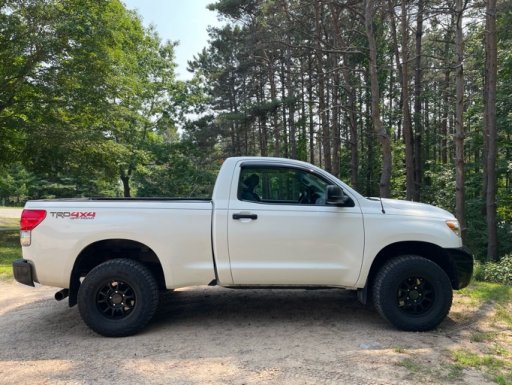
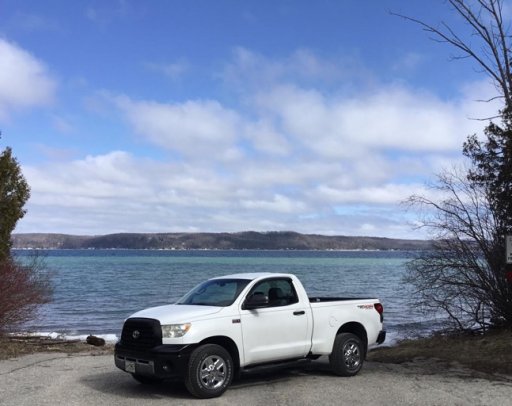
2007 Tundra 4x4 shorty with a 5.7 and TRD package. Everything else about it is super basic; manual windows and locks, no cruise, etc. Basically my kinda truck. Long term goal is to turn it into an overland rig for my son and me. The build is going to be slow but we will be heading out on adventures along the way and I plan on chronicling both the build and adventures here
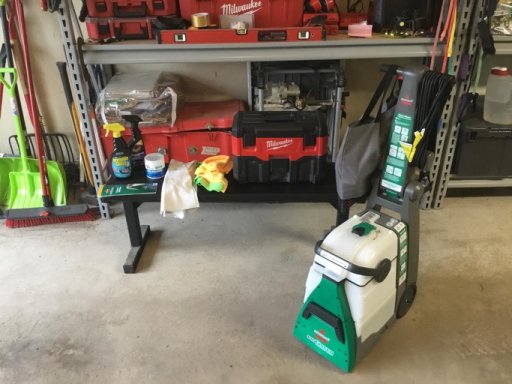
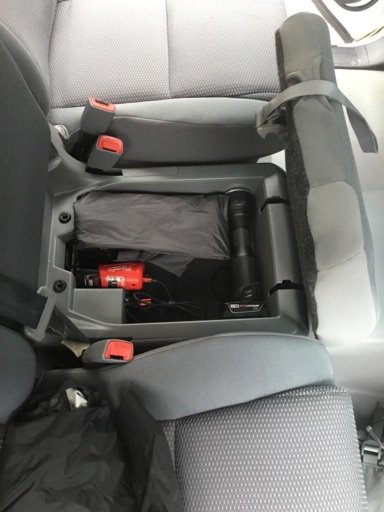
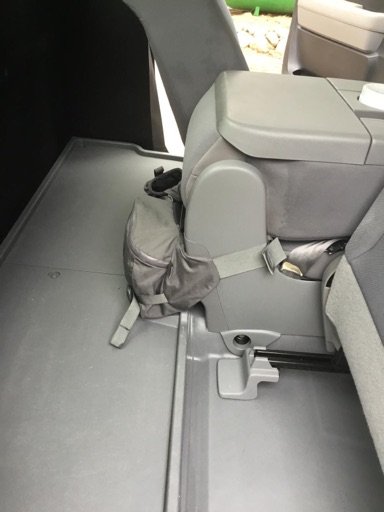
 

Attachments

  • Like
Reactions: zgfiredude

Hanzo

Rank III

Enthusiast III

646
Frankfort, MI, USA
First Name
Dustin
Last Name
Vandervest
Member #

28904

Took care of a few things today on the truck. First on the list was going through and doing a deeeeeeep clean. When I called about the truck they insisted it was a non-smoker vehicle but after a 13 hour drive from Michigan to North Carolina I found out they weren't being completely honest on that front. The truck didn't stink horribly but it was for for sure smoked in. So I went and got together some cleaning supplies to get after it. Also snagged an “Odor Magnet” to see if it will help at all.

After cleaning it all there wasn't that big of a difference on most the of the interior but the headliner cleaned up nicely (I think that's what smelled the worse ). Overall it was already a really clean truck but looks almost new now.
 

Attachments

Hanzo

Rank III

Enthusiast III

646
Frankfort, MI, USA
First Name
Dustin
Last Name
Vandervest
Member #

28904

Next on the list was to put the gear I already had in the truck so I got it sorted out and put in. Rain gear, hat and gloves, first aid kit, flash light with extra battery and charger adapter, and my little hiking/fishing pack with the pictured supplies. Threw the first aid in the glove box but stored the flashlight, charger, and clothes in the under-seat compartment in the middle section. my “manny pack” fit perfect around the center console so I clipped it there for now. Last to go in was my co-captains car seat.
 

Attachments

Hanzo

Rank III

Enthusiast III

646
Frankfort, MI, USA
First Name
Dustin
Last Name
Vandervest
Member #

28904

Today I just took off the dealer plate and side steps then threw on my clevis receiver hitch. Doesn’t look that different in the pictures but looks way better without the side steps in person. Next inline is trying to remove the old tint on the back and door windows and a debadge.
 

Attachments

Hanzo

Rank III

Enthusiast III

646
Frankfort, MI, USA
First Name
Dustin
Last Name
Vandervest
Member #

28904

So I went ahead and debadged the truck today. Used a heat gun and some glass cleaner to remove the excess glue. Started on the tailgate and it turned out really good. But then disaster struck when I went to do the side badge. The painted started to come off with the side badge....so not sure where to go form here...thinking maybe to talk to a body shop about removing the badges and fixing the pain? Any advice? Everything was coming off under the badge so I just pushed it back against the body while it was still warmed up. Seems to be holding okay but definitely a short term solutions that needs to be addressed sooner rather than later.

Next on the list is removing the old tint then addressing my headlights. Going to order two new housings and upgrade the builds. One headlight is discolored and they aren't as bright as I would like, especially with all the deer around here.
 

Attachments

  • Like
Reactions: 13XSPX

Hanzo

Rank III

Enthusiast III

646
Frankfort, MI, USA
First Name
Dustin
Last Name
Vandervest
Member #

28904

Started tearing into my rear axle refresh today. I replaced my rotors and pads a few months ago and saw how shot my rear dust shields and calipers where, so I went ahead and order new calipers, shields, brake lines, and seals for all four corners. Went all stoptech for the brakes: cryo slotted rotors, heavy duty truck pads, and stainless lines. Should help to bring everything to a stop once it’s loaded and on bigger tires. Turns out the rear shields are $250 EACH and need to be pressed off and on. I dropped the shafts off at my local mechanics today and having them do the bearings as well.
 

Attachments

  • Like
Reactions: 307dulaney

Hanzo

Rank III

Enthusiast III

646
Frankfort, MI, USA
First Name
Dustin
Last Name
Vandervest
Member #

28904

Picking up my shafts tomorrow, hoping to have the truck back on the road this weekend.
 

MrWilsonWJ

Rank V
Launch Member

Member III

1,691
Kennewick, WA
First Name
Dustin
Last Name
Wilson
Member #

23384

So I went ahead and debadged the truck today. Used a heat gun and some glass cleaner to remove the excess glue. Started on the tailgate and it turned out really good. But then disaster struck when I went to do the side badge. The painted started to come off with the side badge....so not sure where to go form here...thinking maybe to talk to a body shop about removing the badges and fixing the pain? Any advice? Everything was coming off under the badge so I just pushed it back against the body while it was still warmed up. Seems to be holding okay but definitely a short term solutions that needs to be addressed sooner rather than later.

Next on the list is removing the old tint then addressing my headlights. Going to order two new housings and upgrade the builds. One headlight is discolored and they aren't as bright as I would like, especially with all the deer around here.
Not sure how exactly you were attempting to do the debadge, but you don't want to put a heat gun to it and try to peel the badge off... a lot of force gets put onto the warm/soft paint. When I did my Ram I watched a couple videos on it first and it was really easy. Start off with some good fishing line and run it between the badge and the body, working it back and forth like a string saw. Once you've cut the badge free from the adhesive then go about cleaning it from the paint. At this point you can use a heat gun a little to soften up the big pieces so you can peel them off. Then clean up the rest with Goof off or something similar.
 
  • Like
Reactions: Hanzo

Hanzo

Rank III

Enthusiast III

646
Frankfort, MI, USA
First Name
Dustin
Last Name
Vandervest
Member #

28904

Yeah I messed it up using a heat gun, worked good for the smaller letters but the big badge was a disaster. Took the truck in and had the fender repainted along with some rust starting in the door seem taken care of. Next time I’ll know better!
 

Hanzo

Rank III

Enthusiast III

646
Frankfort, MI, USA
First Name
Dustin
Last Name
Vandervest
Member #

28904

Put the rear end back together today and got started on the font. Stalled out on the front because I need to pickup a big socket to take the front wheel bearing off. I have one on order as well as a few more brake lines for up front.
 

Attachments

Hanzo

Rank III

Enthusiast III

646
Frankfort, MI, USA
First Name
Dustin
Last Name
Vandervest
Member #

28904

Installed my new calipers and dust shields up front tonight to go along with my pads and rotors I did a while back. Tried doing my stainless lines but stripped some nuts and need to track down replacements this week to finish the job. Also doing the oil while I’m at it.
 

Attachments

Hanzo

Rank III

Enthusiast III

646
Frankfort, MI, USA
First Name
Dustin
Last Name
Vandervest
Member #

28904

Installed my AIP bypass kit from Hewitt Tech this week. In the process of installing the AIP bypass I damaged the sensors and my truck went into limp mode, so I had to order the PSO kit for both banks from Hewitt. The bypass kit it's self was really nice, but a pain to install just because of the location of everything. Took me a few hours taking my time.

The kit
 

Attachments

zgfiredude

Rank VI
Member

Steward I

3,953
Silt, CO, USA
First Name
Brian
Last Name
Nichols
Member #

28938

Service Branch
Firefighter
There is something about the regular cabs that's just kinda cool in a Tundra.