Steward I
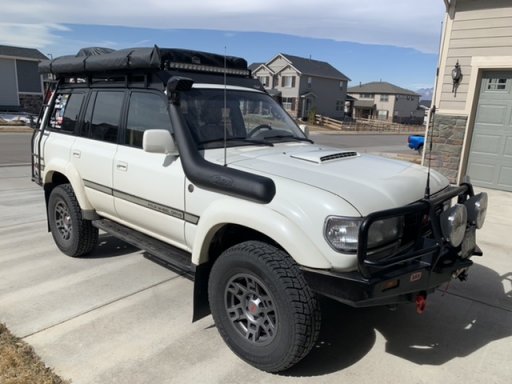
Well life got in the way of my updates, but I have made some progress over the past month. I added another Gamiviti ladder to the drivers side as the awning was usually in the way of the right one.

I also ditched the rear 4x4 labs ladder in favor of the triple can holder.

And I made the jump to a roof mounted tent.

I also decided I was tired of the stock seats so I replaced them with a set of Procar Elites and Planted brackets.

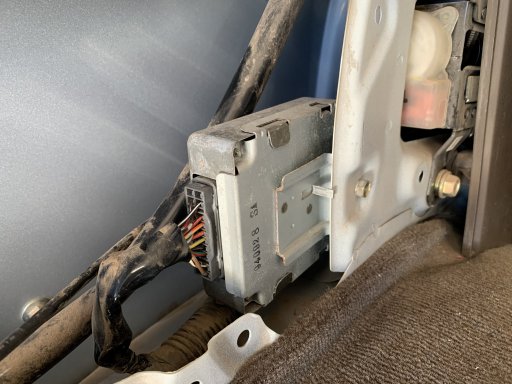
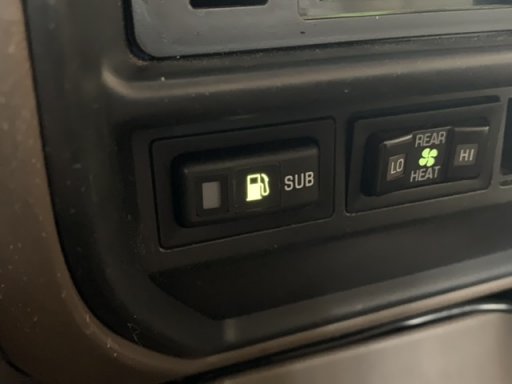
I’m currently working on the electrical system and dual battery setup. I cleaned up the previous owners sketchy wiring job and replaced the hacked up fusible links. I now have both batteries wired in with aux fuse boxes in the engine bay, under the passenger seat, and in the cargo area. I 3D printed ABS brackets for everything. I also wired in a heated washer fluid system.


Phew! Now I need to get out and use this thing!
I also ditched the rear 4x4 labs ladder in favor of the triple can holder.
And I made the jump to a roof mounted tent.
I also decided I was tired of the stock seats so I replaced them with a set of Procar Elites and Planted brackets.
I’m currently working on the electrical system and dual battery setup. I cleaned up the previous owners sketchy wiring job and replaced the hacked up fusible links. I now have both batteries wired in with aux fuse boxes in the engine bay, under the passenger seat, and in the cargo area. I 3D printed ABS brackets for everything. I also wired in a heated washer fluid system.
Phew! Now I need to get out and use this thing!