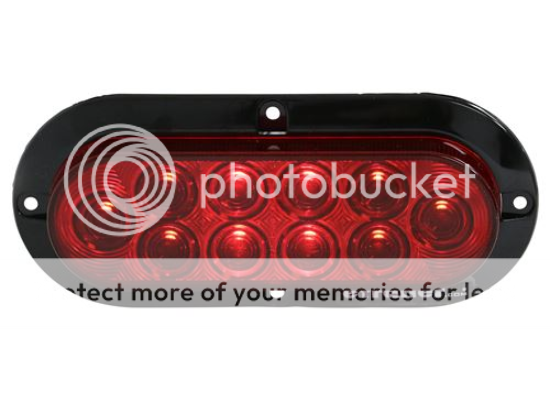
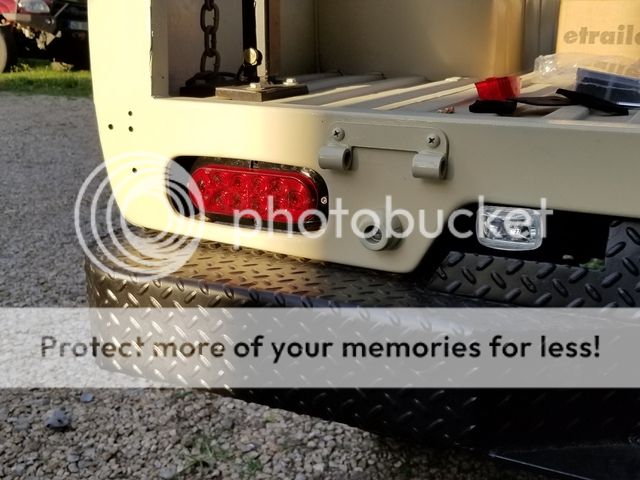
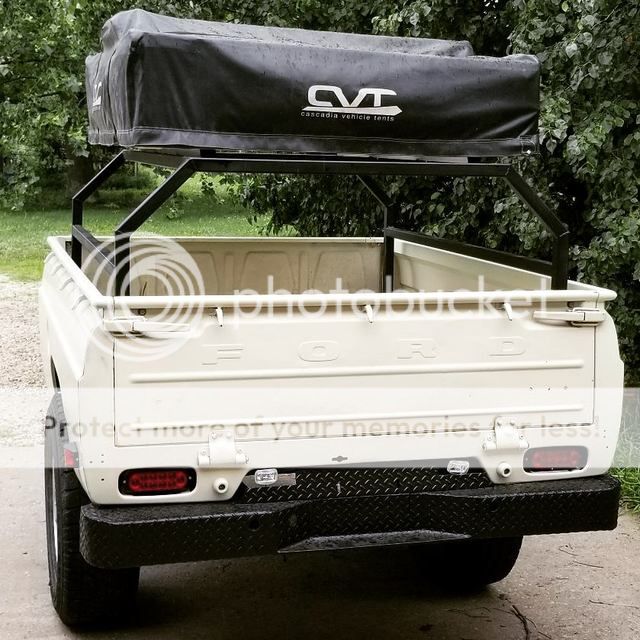
With factory taillights crafted from unobtanium, I spent a few hours scouring the Amazon and etrailer.com for a set of taillights that would fit the factory holes and look decent. After not finding anything that was ideal, I settled for these oval LED lights:
Sadly, they've got a plastic surround, but they'll do.
I didn't want them sitting too deep, so I cut a bit of spacer/bracket from a stick of 1" square aluminum tubing. With this bracket, I didn't need to drill new holes in the existing taillight brackets and the wires that come out the light in the dead center of the rear have a slot for clearance.
They ended up looking just fine. Better than I expected, actually.
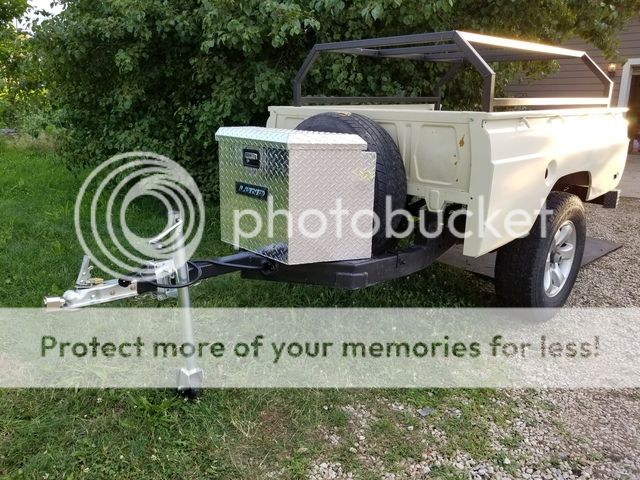
A couple hours of wire-brushing the rack brought it back into shape, so it got a coat of self-etching primer and then some satin black implement paint to make it match the frame. Back in it went:
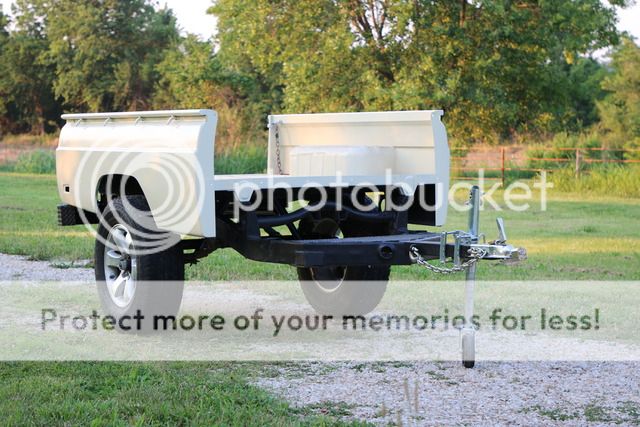
Also added to the front was a 7-pin trailer connector and a tongue box, which would contain all the wiring.
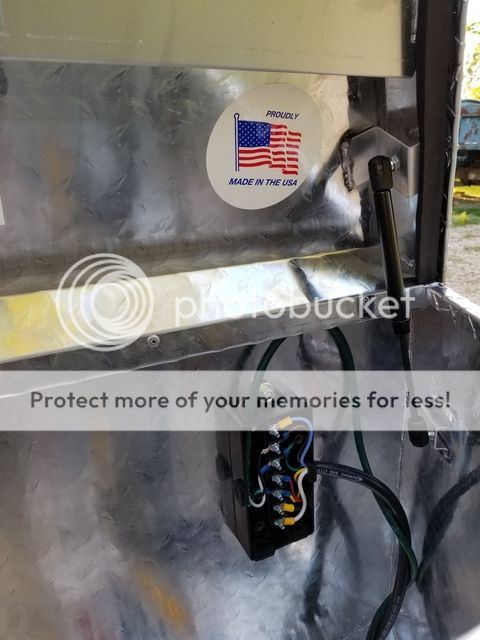
One thing I'd like to note -- after having quite a few trailers over the years and having a ton of wire failures when using cheap and not as cheap wiring harnesses, I took a suggestion off one of the offroading forums (either Pirate4x4 or IH8MUD, I don't know which), and used an extension cord as my wire going back to the taillights. Incredibly happy with that decision. It's got quite a bit of extra shielding than a standard trailer wiring harness, and I'm pretty sure it's got a tad heavier gauge wire in it. It worked well. They contain three stranded wires, which allows you to run a left, a right and a tail. Sure I'll have to run an extra wire for my reverse lights, but I consider that a luxury item, not as necessary as the tails.
Also installed my first trailer junction box, I've always gone the lazy route in the past, but this build will eventually get an on-board battery, so being able to tie into power easily will be handy.
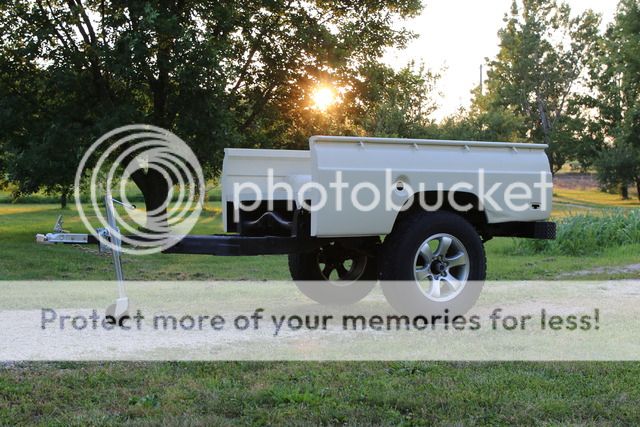
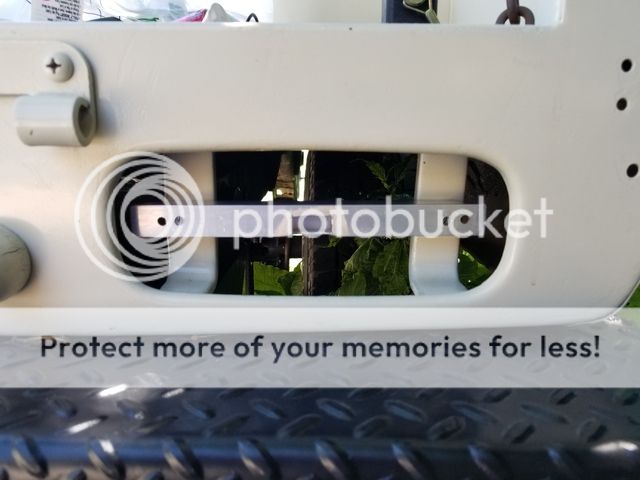
Also ground to fit, painted and installed a set of side running lights. These things stick out far enough that I can see them when backing up in the dark and also give me a bit of reassurance that my trailer lights are working as they light up with the running lights. You can catch a glimpse of them in this picture:
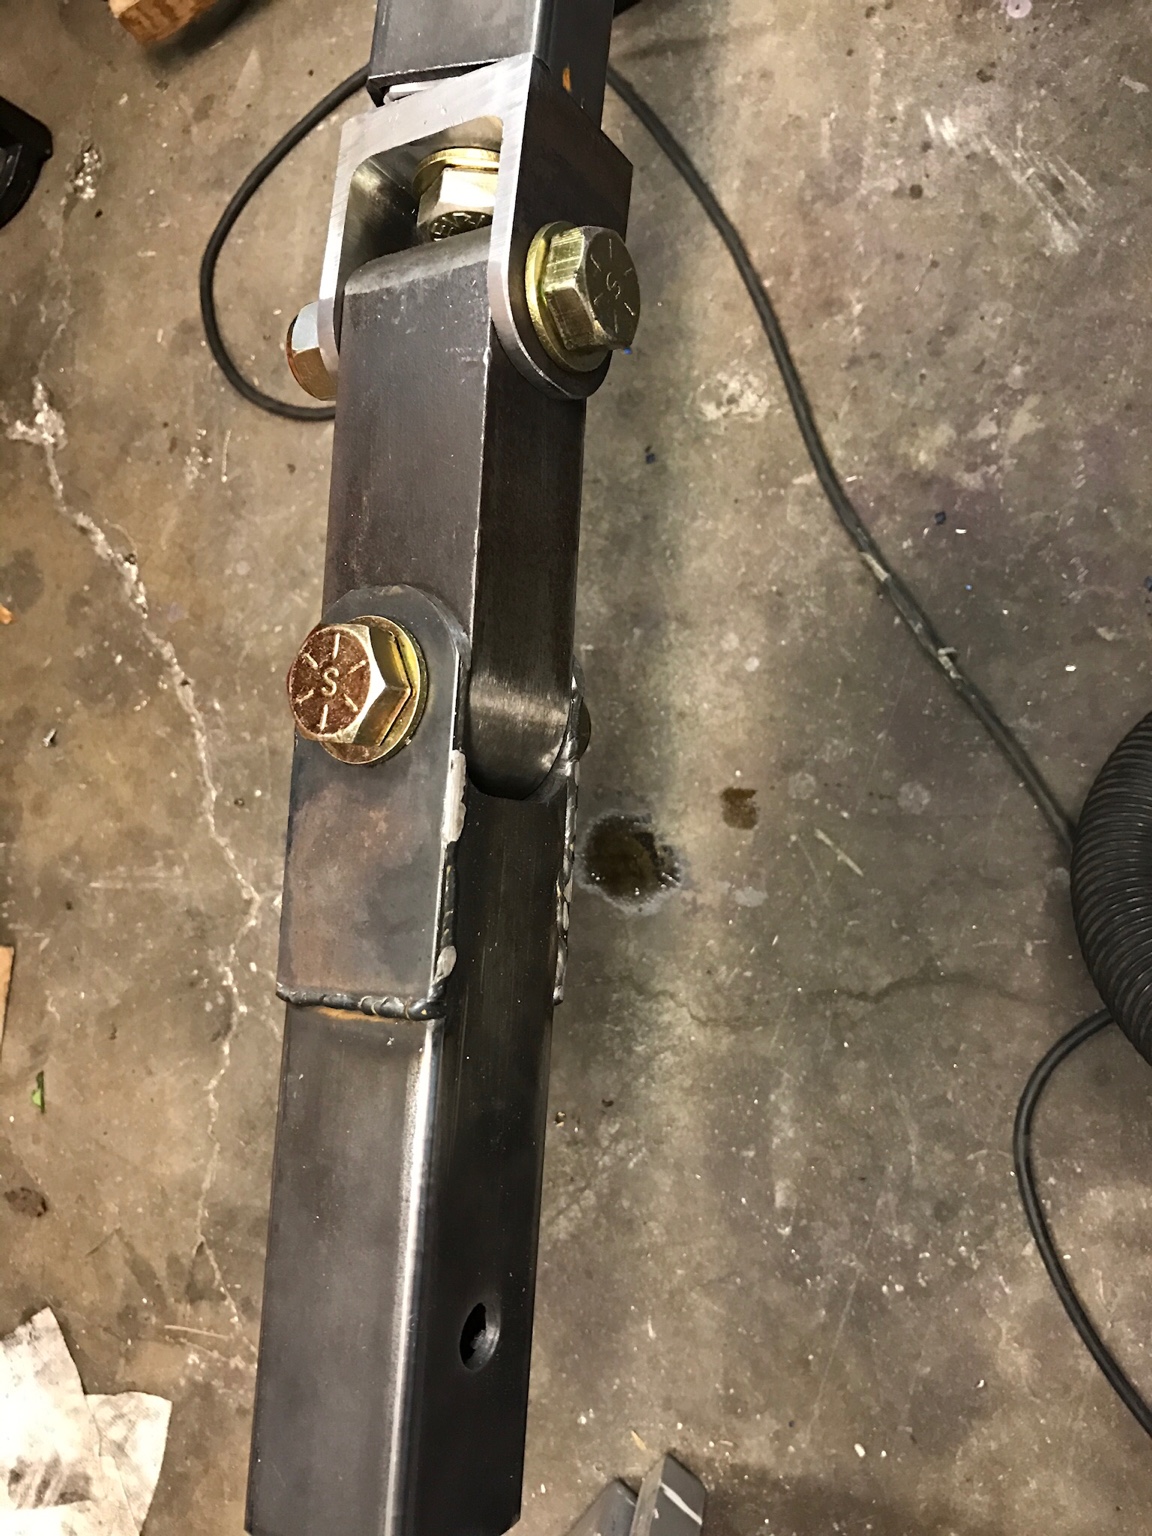
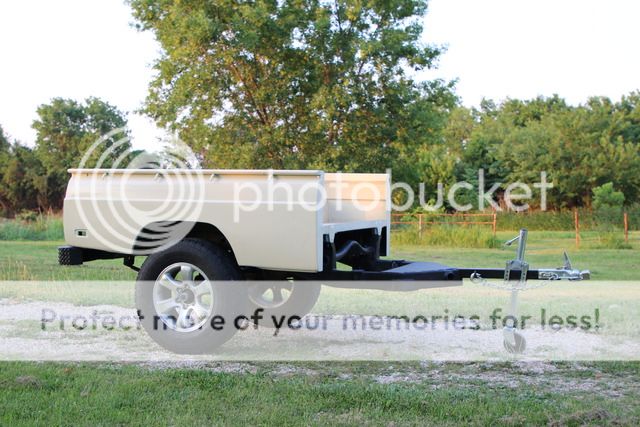
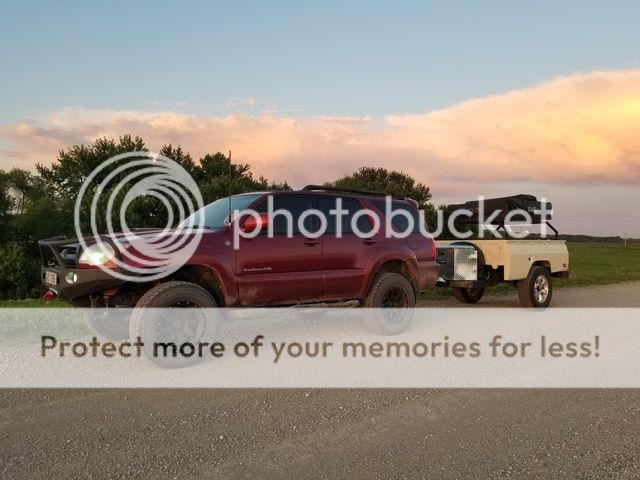
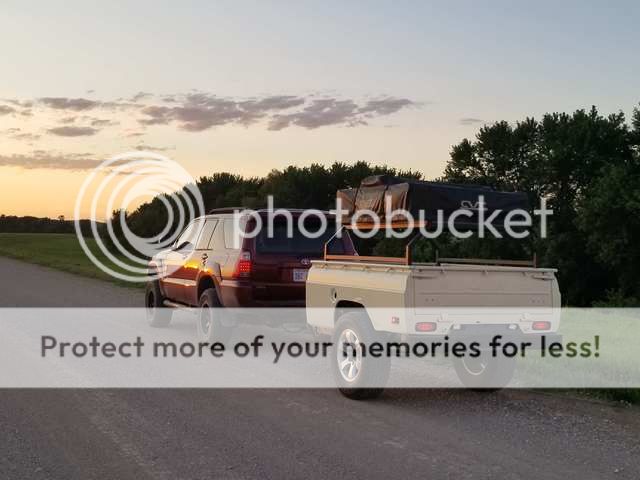
So she's all buttoned up and ready for her maiden voyage -- FJ Summit 2017. Things left to do before the trip: get the permanent front jack welded on, swap on the 5th gen T4R wheels I got for it with some gnarlier tires and figure out some sort of tarp system to keep dust/rain from totally infiltrating the gear in the trailer.
Way, way more ground clearance than the 4Runner!