Overland Comanche

  • HTML tutorial

TuckerTJ

Rank I
Launch Member

Member I

233
Burgeo Newfoundland
Member #

2749

I started this build thread over on ComancheClub.com and it's being built towards a daily driver, overland, camping rig, so I thought I'd share it here.

I purchased this MJ in October of 2015.. Got it ready for the road and inspection and parked it in November. I will be away from December until April so nothing was being done except lots of comanche club reading! Pictures from the kijiji ad:


  • Like
Reactions: 9Mike2

TuckerTJ

Rank I
Launch Member

Member I

233
Burgeo Newfoundland
Member #

2749

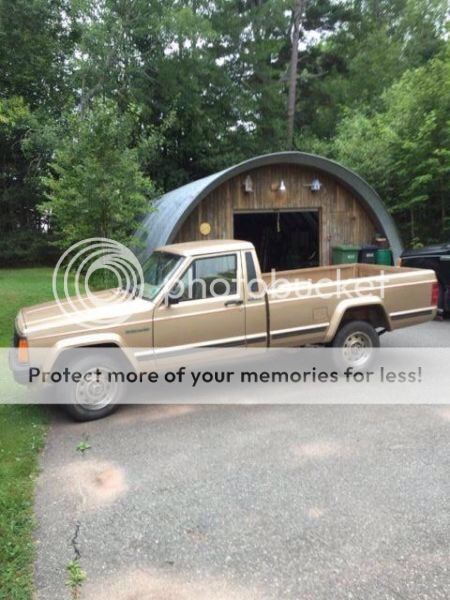
It's about time to actually start working on the jeep so I will try and keep this build page updated. Mostly with pictures. I live on the Island of Newfoundland, Canada. Saw the ad posting for the Mj in PEI (Prince Edward Island), so that means two ferries and a small road trip to go check it out. Loaded up in a Ford windstar mini van and off I went. Looked at the Jeep, hooked it up to a set of tow dollies, unhooked the rear driveshaft (which to my surprise came off easy) and headed home.


Got it home and really sized it up, more rust than I initially thought. So this is going to be a faily big project that I got to "sleep on" all winter. I did however fix the floor rust and few other things that it would need to be inspected and registered.
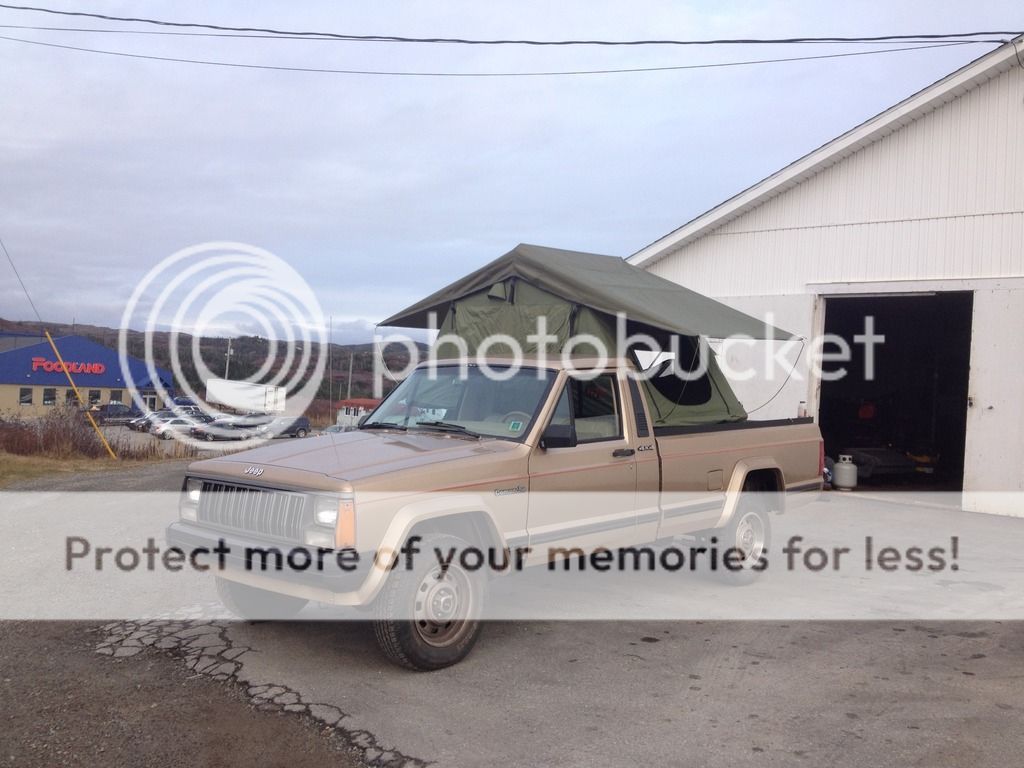
I'm the second owner of this Jeep, I bought it off the original owner who picked it up in '89. Nice older gentleman who said the truck as been sitting in his shop for the past couple years. It only has 155,000kms on it. I was expecting it to have some maintenance needed.

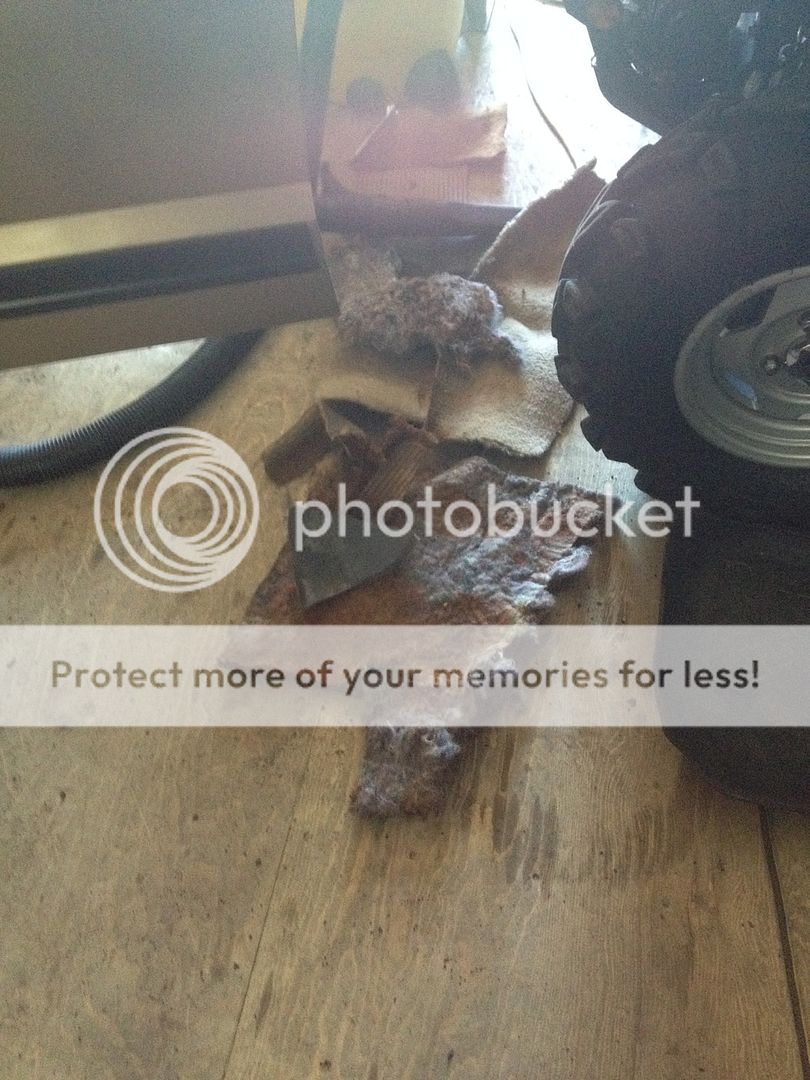
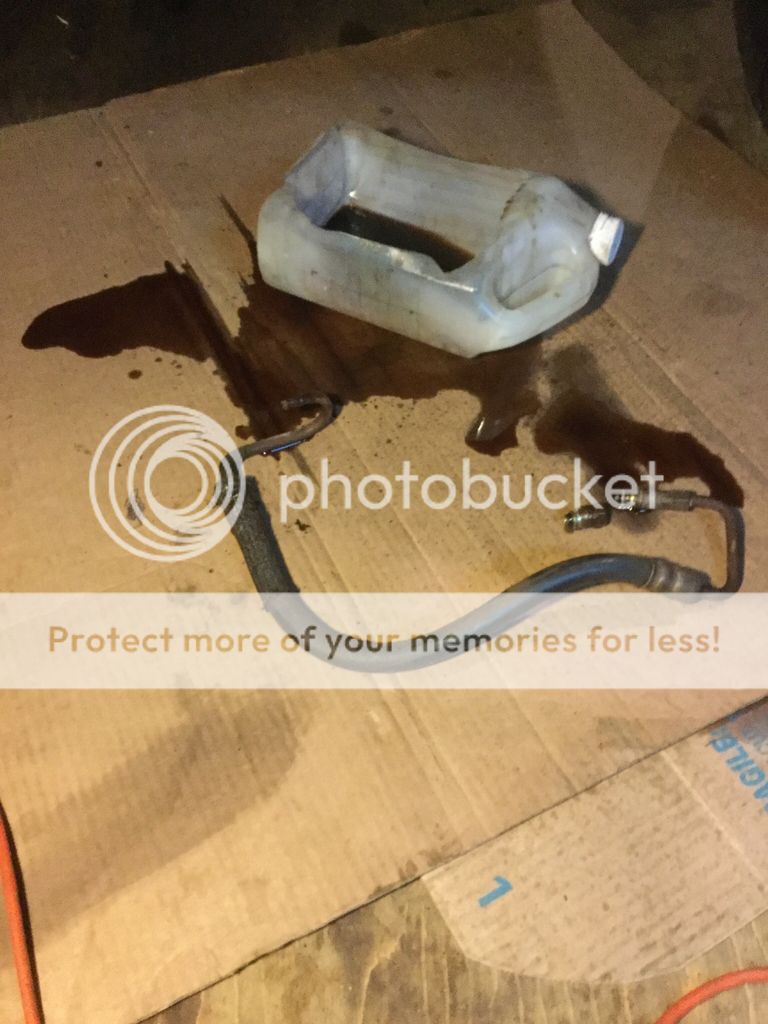
I didn't get pictures of the actual nest in the intake box..


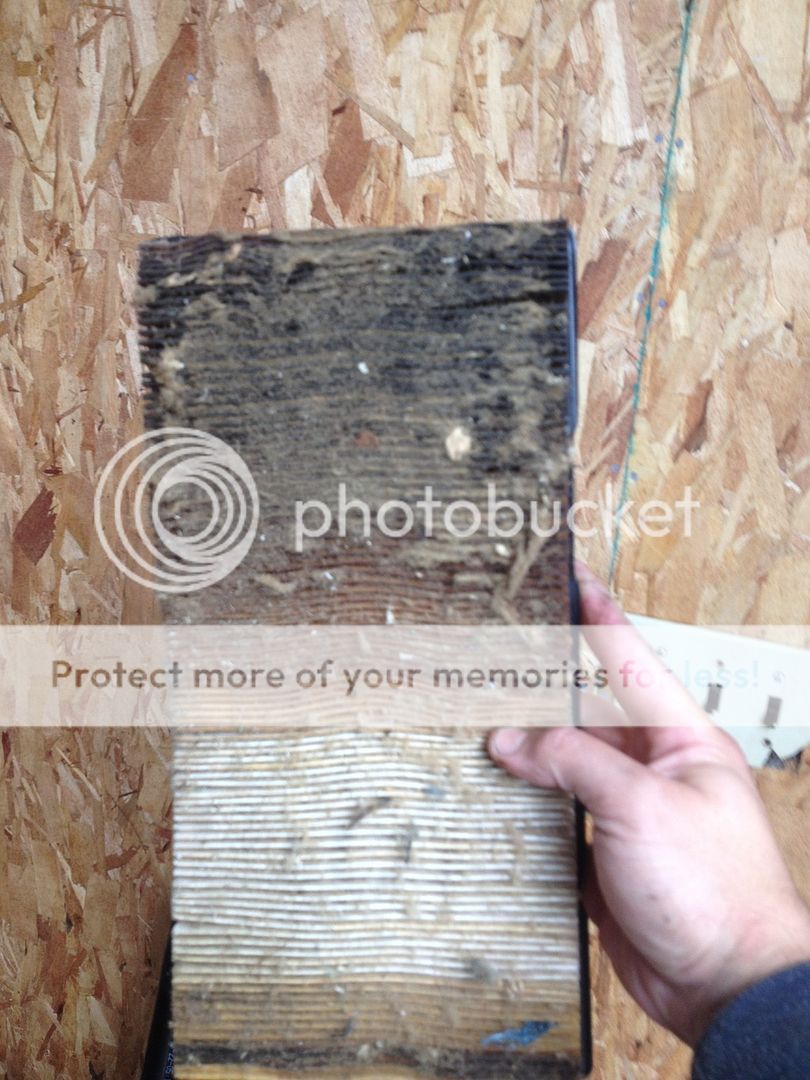
One thing I did learn from here is to pull your carpets.. I was kind of nervous about it, seeing as the Jeep came from a Island on the east coast.


I shouldn't have been too shocked but I was
kind of taken back when I seen the carpet was half the floor


Passenger side wasn't as bad


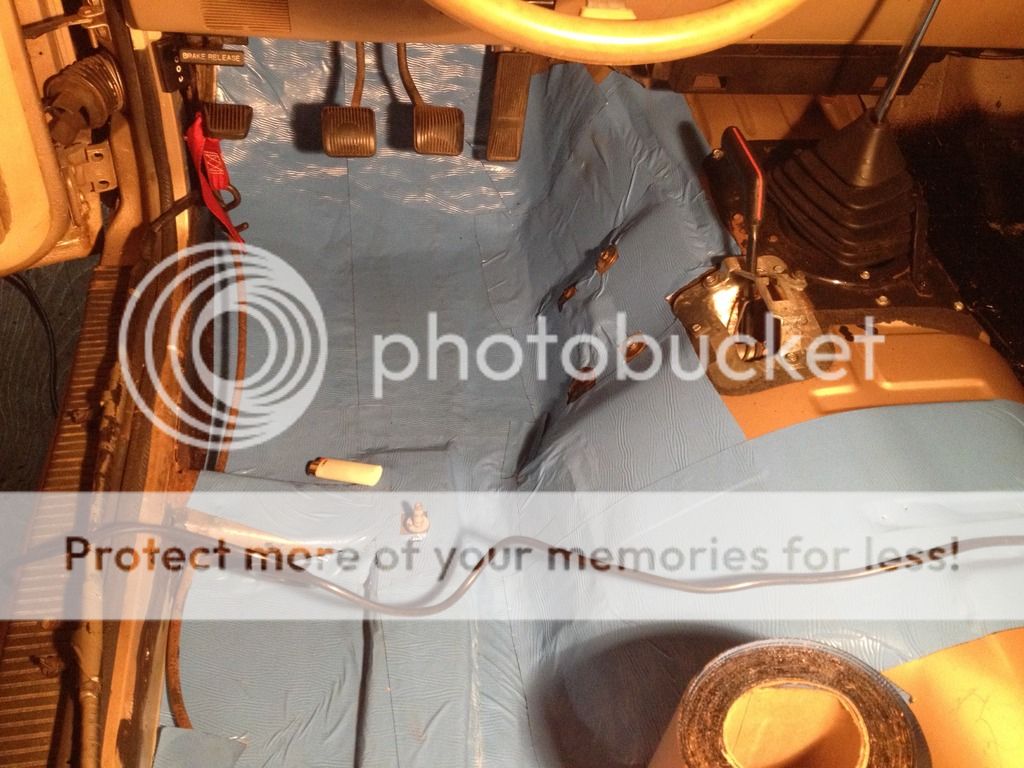
Never having done body work before I was kind
of discouraged but in the end I think the floor turned out ok.


Patch work done and passenger side sealed


I did put down some rubber water seal but I'm not too sure if I like it. It doesn't stick as good as I was hoping, but it was colder when I installed it.


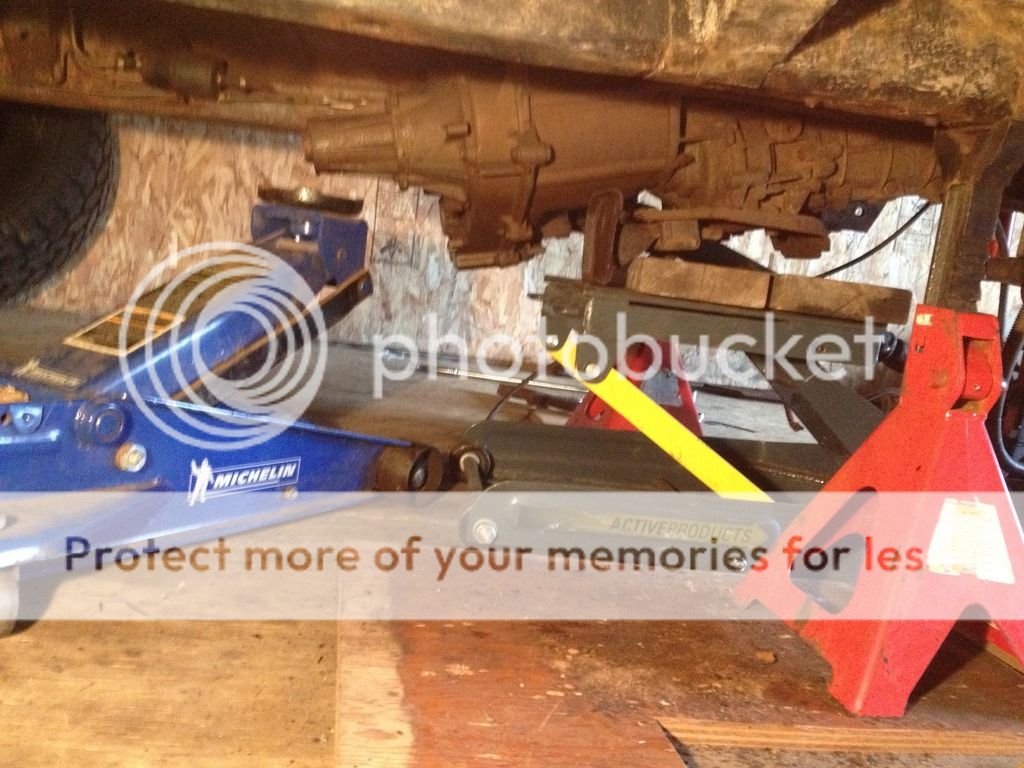
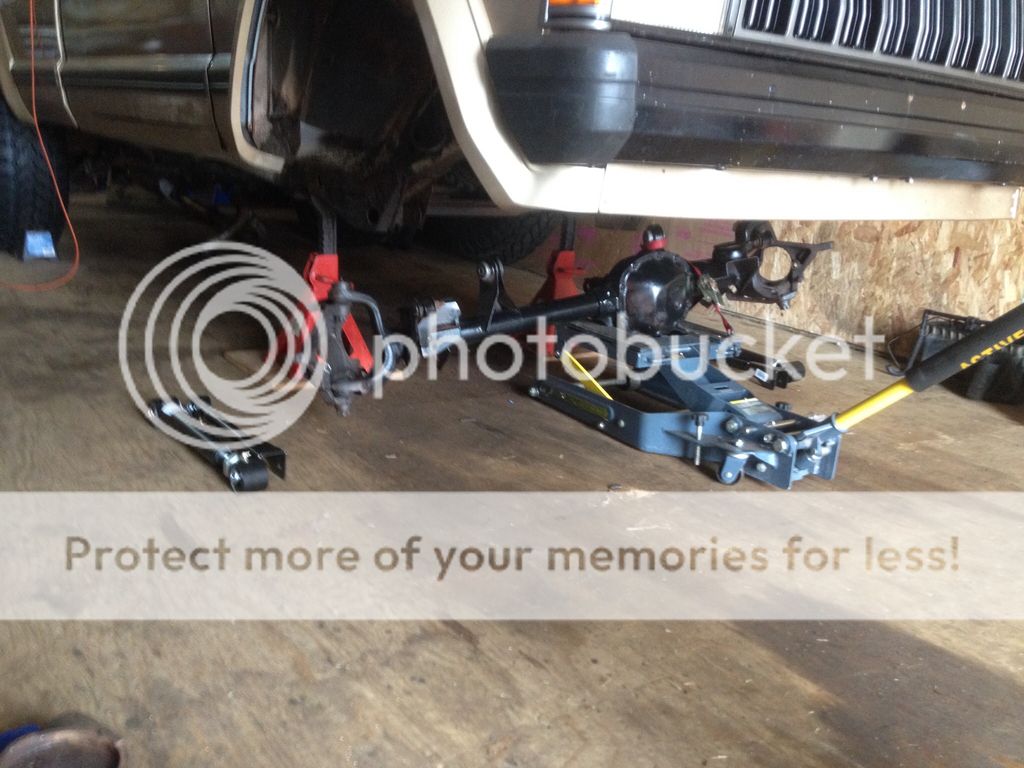
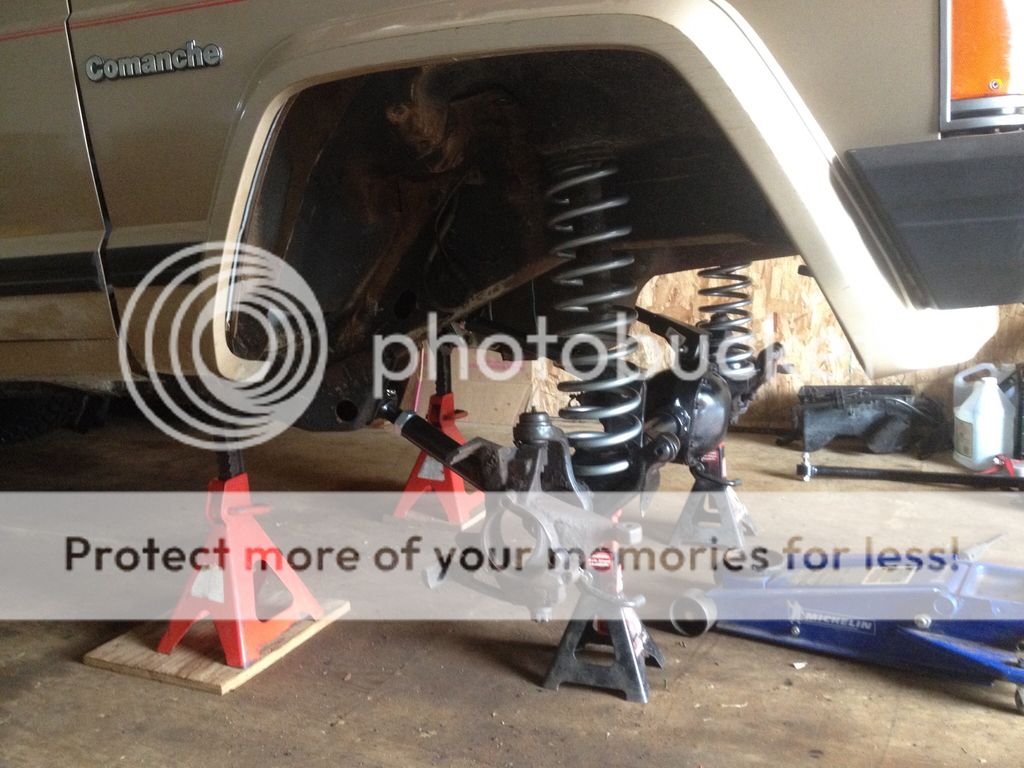
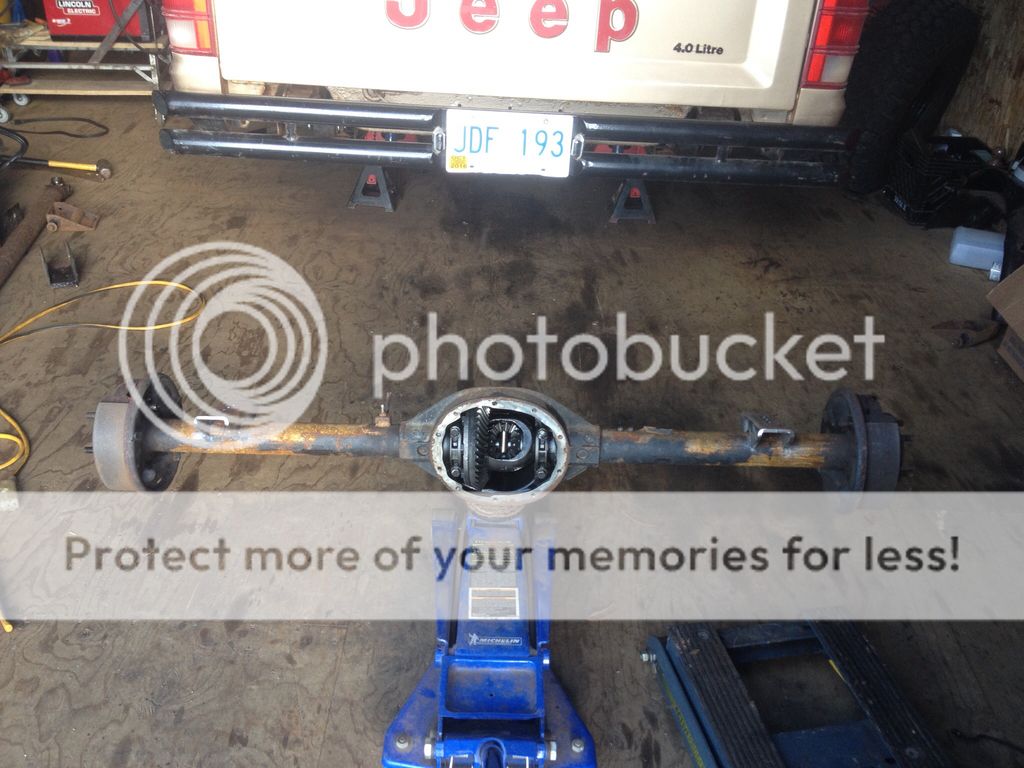
Looking underneath it was certain rust
was going to be my biggest issue with this build


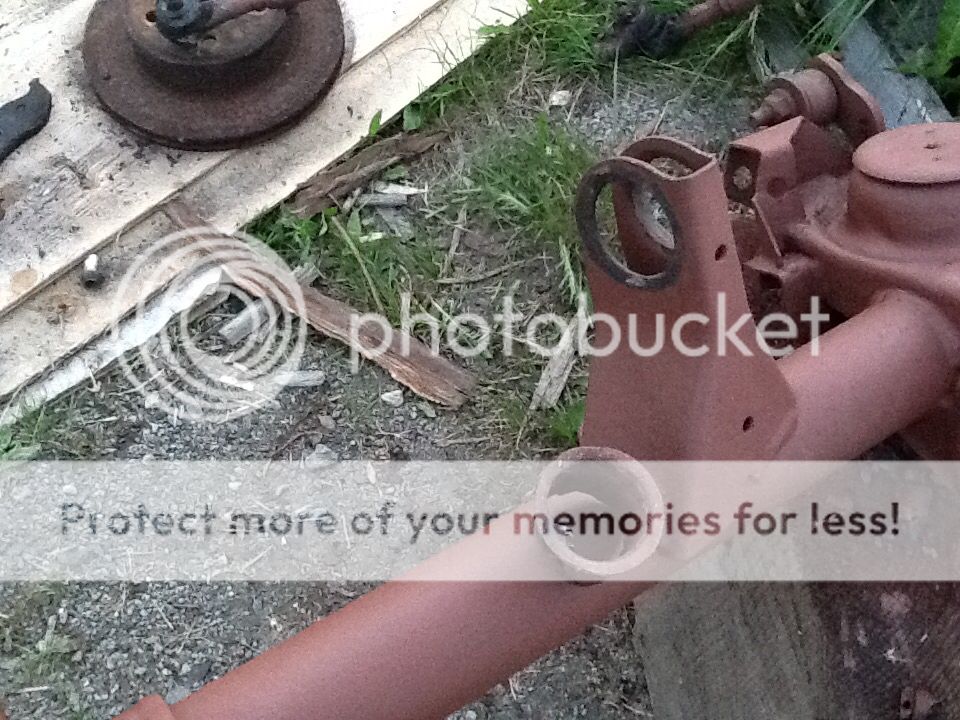
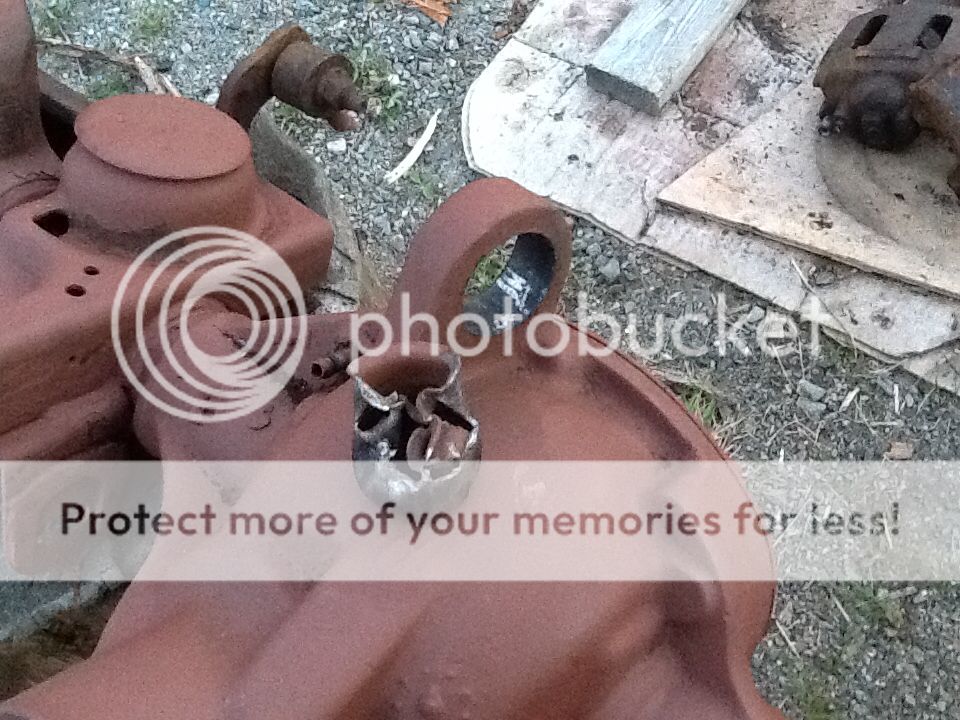
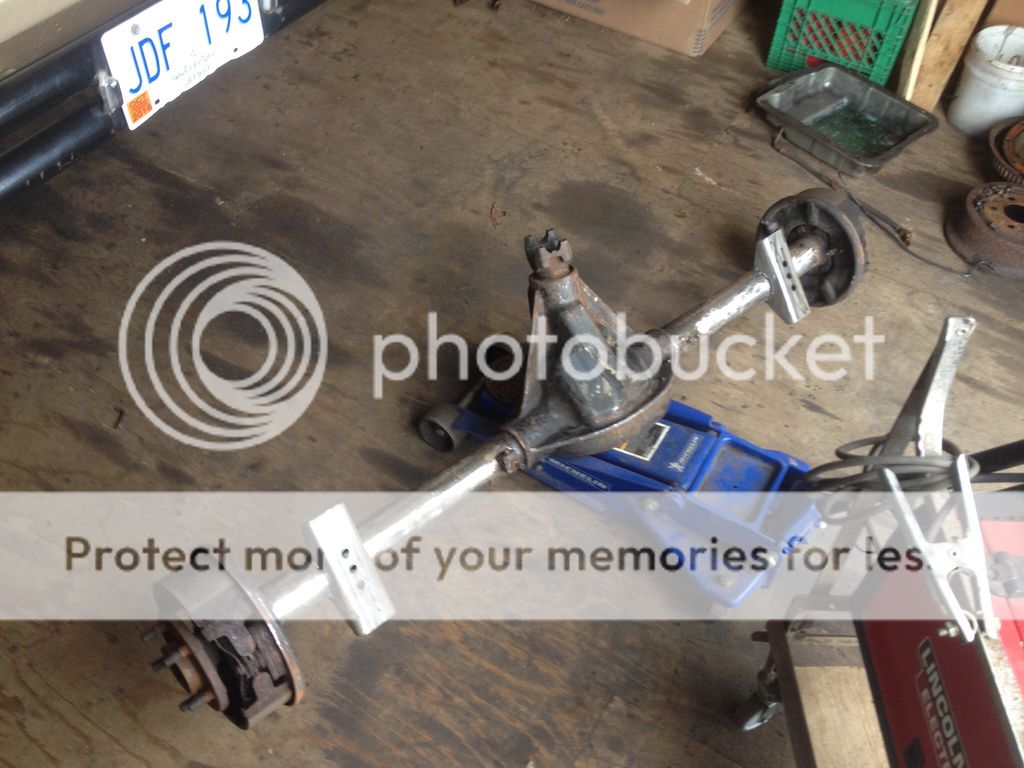
I'm planning on a front and rear axle swap, XJ front and the Explorer 8.8 so I'm not too concerned with the axle rust. The frame and body are in overall decent condition. It looks as though the bottom of the doors and the box have been redone before.
I did get it inspected, insured and registered before I parked it for the winter.
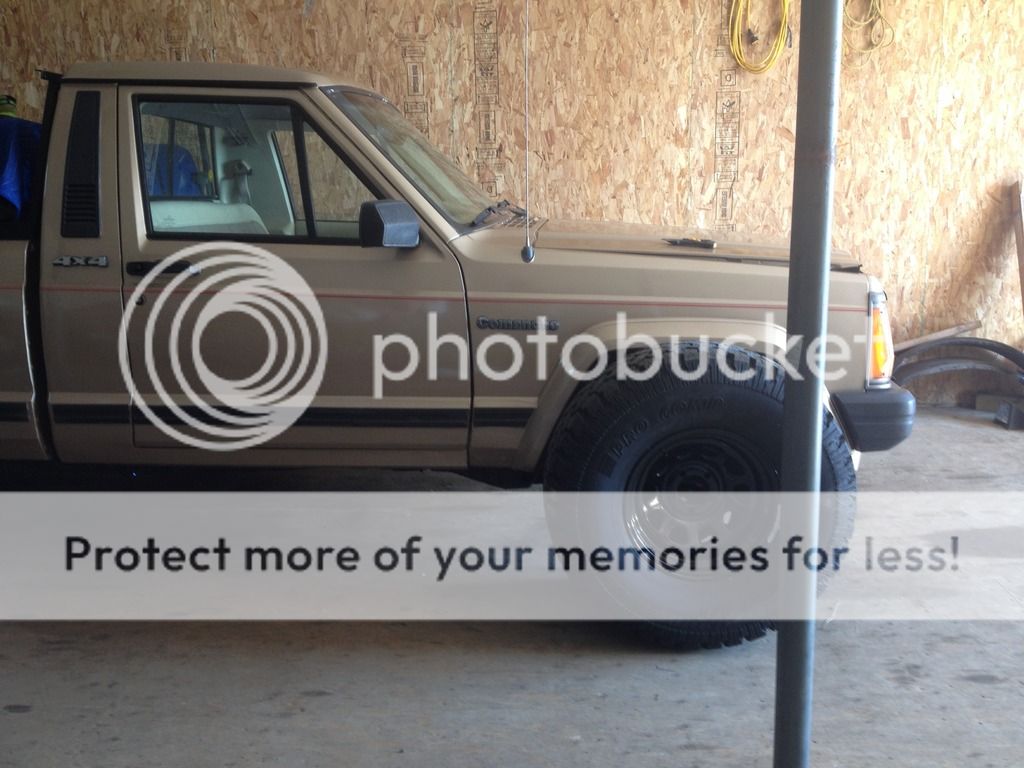
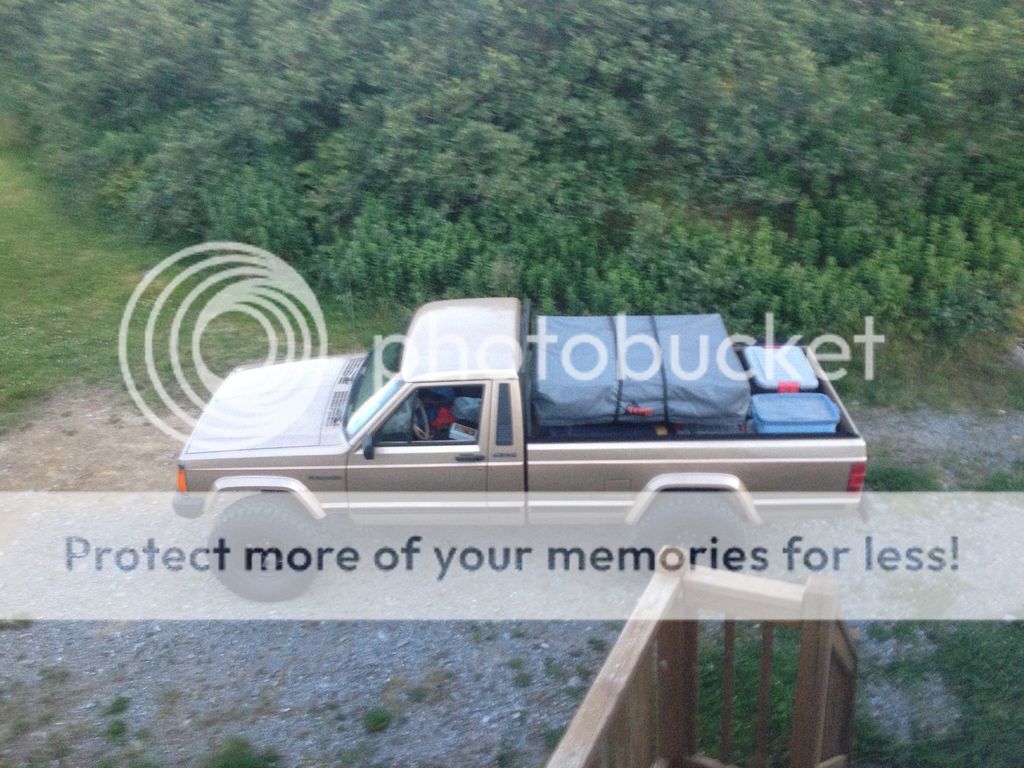
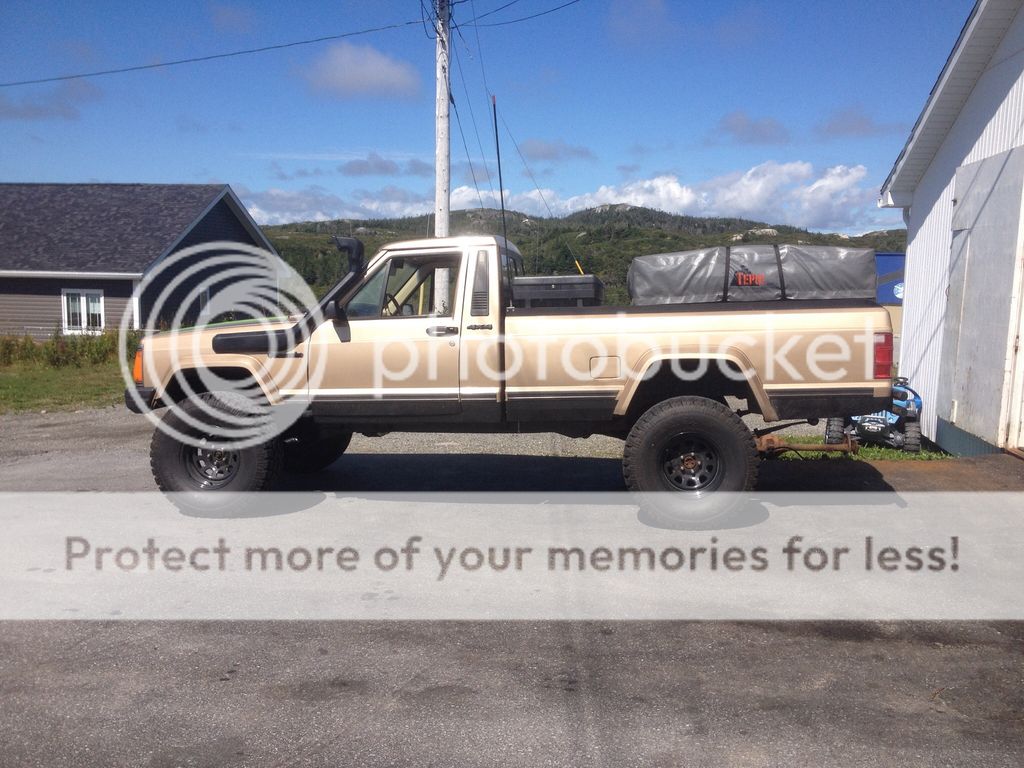
First actual drive.. Can see where the fender meets the door area that it doesn't look factory/lined up properly. It will most likely be cut out for rock rails anyway.
 
  • Like
Reactions: BrandonY and 9Mike2

TuckerTJ

Rank I
Launch Member

Member I

233
Burgeo Newfoundland
Member #

2749

I'm building this Jeep to be a daily driver/camping/overland vehicle. It'll get the SOA in the rear, lift the front to match, didn't want to go as high as the 5.5" I've read I'll gain but I think after looking at some (a lot) of the Jeeps on the line, 5.5" lift and 33" or 35" tires will work out ok for my intended purpose and look good in the process.
I will be building a bed rack to hold the Roof Top Tent and the rack will extend over the cab. I'm still undecided if I'll build the rack on the stock bed or remove the bed and build a custom bed. I had a JK with an off-road trailer I built for the same purpose as this MJ will be. I'm thinking of building the custom bed the same style as the trailer.


I'm thinking it could look something like this (rough sketch below)


For now I just built a basic rack to mock up the RTT on the MJ and to have a place to store the tent for the winter.


  • Like
Reactions: 9Mike2

TuckerTJ

Rank I
Launch Member

Member I

233
Burgeo Newfoundland
Member #

2749

I live in Newfoundland but work in Alberta. I also have friends and family in Fort McMurray Alberta.
I was driving home and about half way home I got the call that Fort McMurray was being evacuated for the wild fires. I have a bunch of friends there, and more importantly my kids live there. So I headed for home and was home for 3-4 days and flew back to Edmonton to pick up my kids who were now evacuated from Fort McMurray. Now I'm home again and getting the kids settled into a new school, I can get back at the Jeep and get it back on the road.

While I was away I orded a bunch of parts, they arrived before I even got home. Ordered 4.5" RE coils, rough country adjustable arms (upper and lower), Rock kralwer track bar. Also in the box on the left is a JCR Offroad DIY winch bumper


Before I left Alberta to drive home (Newfoundland). I went to 4wheel Parts, truck and Jeep expo in Edmonton. Went to the pro comp booth, saw their tires with a "sale" sticker on them. 33x12.50x15 Procomp ATs, $99 each. Decision was made that I'll be running 33s.


Got some black D window steeleies for $49 each. Ordered up 5, mounted and balanced and shipped to my door for around $1100. Pretty good deal for around my parts.

 
  • Like
Reactions: 9Mike2

TuckerTJ

Rank I
Launch Member

Member I

233
Burgeo Newfoundland
Member #

2749

It will be a little bit before everything is bolted up. Front axle is out and being replaced for a TJ Dana 30. Not much upgrade, maybe a down grade with the low pinion but with the shape my stock axle was in it will be a upgrade in that sense.


Also before I put the Jeep away the clutch would only engage (disengage?) right at the floor, or basically no clutch. I checked the master, no leaks, no real noticeable wetness around the bellhoushing. Decided to drop the transmission and check out the clutch assembly and since I picked up a TJ bellhoushing/NV3550/transfer case combo, a swap was and still is on the table.


Thanks to one of these 2 lovely bolts, it was a struggle! Even with the right socket and this extension contraption. Driver side one came out, was in there tight but came out just fine... Passenger side one... Not so fun.


I have a "new" transmission that will need a new master and slave cylinder (external). It's a NV3550, transfer case and bellhoushing from an 04 TJ. The original transmission (Peugeot) mount is separated and will need to be replaced and I have a TJ mount on hand so I'm thinking I will go ahead or at least attempt the swap instead of spending any money on the current setup.
I got the transmission out. That one e12 torx was a pain. Actually ended up cutting the floor and got a grinder in there to grind off the bolt head. Once the bell housing was separated and the transmission was on the floor, I reached up and unscrewed the bolt with my fingers. I did do that bolt first too.


Hole in the floor, I figured with the condition the floor was in when I picked up the jeep, what's one more hole?! Ha


Donor to go back in.


Ridght now I'm just waiting on parts, ball joints and axle side control arm bushings, master/slave cylcinder. My wheels and tires came in. Had to mock them up.

Next to the Jeep on stock tires : 33x12.5x15 vs 205/75/15 (27")


Under the jeep with the the axle removed. Changes the look completely that's for sure.


Rear mounted at stock height


Hopefully parts will be in soon and I'll actually get the Jeep lifted and driving again
 
  • Like
Reactions: 9Mike2

TuckerTJ

Rank I
Launch Member

Member I

233
Burgeo Newfoundland
Member #

2749

Not working at the Jeep as much as I'd like, but that's how it goes sometimes. Small update, but progress is progress I guess.

Bushings and ball joints showed up


Got the old bushing sleeves out, passenger side came out fairly easy


Driver side needed a bit more coaxing


Axle primed up, still needs ball joints replaced, new hub assembly/wheel bearings and brakes.


Also removed the stock sway bar, it will be replaced or at the least new bushings. Plus stock control arms and washer bottle, more room for working at the master cylinder and to clean up in the engine bay.


Waiting on some parts from Novak , pilot bushing, new slave and hose from slave to master for the TJ NV3550 transmission. The hose was back ordered for 2-3 weeks so I'm hoping I can find a different solution for that.
 
  • Like
Reactions: 9Mike2

TuckerTJ

Rank I
Launch Member

Member I

233
Burgeo Newfoundland
Member #

2749

Got the parts from Novak.


No pics of the pilot bushing and hose. But I did get the bushing installed. Removed the stock pilot bearing with wet paper and a dowel, was pretty sceptical but I was pleasantly surprised that it came out effortlessly.

Installed the mechanical speedo gear from the MJ transfer case into the TJ t-case.


Got the TJ transmission and bell housing bolted to the engine, everything went fairly smooth there. Had to redrill the stock MJ crossmember for thr TJ trans mount but the crossmember is bolted to the original mounting holes on the frame.


With the trans/tcase in and held up with the crossmember, adjusted the slave cylinder, bled the clutch and fired up the jeep. It was the first time it was started in months, fired up fine. It's still sitting on jack stands cause it has no front axle still but I did shift through the the gears and everything sounded and felt good. It was time to get the front axle in and actually drive it to get a better feel for the new swap, the transmission was told to have less than 100,000km on it but it wasn't from a jeep I knew.


Nice to be putting new things back on the jeep.

With the front lifted and the rear stock, it had a big rake and the rear tires rubbed just sitting on flat ground. A lift in the rear was needed and I was planning it anyway of course. I had the perches and U bolts ordered in anticipation.

Rubicon Express ubolts and MORE spring perches from 4wheel parts. For the TJ Dana 35. Was hoping to go with something other than a 35 in the rear but the TJ F/R axles , transmission/tcase deal was good and easily accessible, it'll do for now.


Also ordered a air gauge and check valve for my Viair compressor for future on board air.
 
  • Like
Reactions: 9Mike2

Steve

lost again...
Founder 500
Launch Member

Traveler III

4,312
Lorain County, OH, USA
First Name
Steve
Last Name
None
Member #

202

Nice progress! Wow, some of those rusty undercarriage bits look like they've been pulled out of an ocean salvage!
 

TuckerTJ

Rank I
Launch Member

Member I

233
Burgeo Newfoundland
Member #

2749

Had a trip "planned" and didn't think I had time to do the axle swap and spring over so I decided to make a spacer for the shackle mount and new shackle.

Stock shackle removed, bolt was seized in the bushing. Grinder with cut off wheel was a very common tool on this thing so far.


Made a new shackle from a stock JK control arm and some square tubing


New shackle mount made and tacked in. Not overly happy with this but it'll get the tires clear of the fenders for the up coming trip.


After a long time sitting on jack stands in the garage... It rolled out, under its own power, still sitting lower in the rear, no sway bar installed and holes in the floor, but it was still a good day after nearly 9 months to be able to drive it again.


Loaded up for an over night camping trip.


Being the first time I ever dealt with leaf springs, I think I made the shackle holes to far towards the rear and in a sense "stretched" the springs when mounted. Stock with the same weight aboard the rear didn't settle much, if at all. Now with weight in the box it settles down a fair bit. Will be doing the spring over soon.


But it did make it out for its first trip, some rubbing in the front and a lot in the rear, taking my time and trimming a bit more of the fenders.

Few pics from the trip...

Tightening the drag link


Other than the rubbing of the tires and swaying due to lack of sway bar, it made it there and back, about 120km of pavement and 12km of dirt trail. Only thing that fell off was the windshield mounted rear view mirror, which is useless with my tent mounted. Overall it was a successful trip. Spring over and axle swap next.

After the first trip, I painted the bottom of the Jeep to kind of hide the cut flares and front fender. I kinda like it too. Added a tool box in the bed. The box is rose up off the bed rail about 4" to clear the 15 gallon water tank that will sit underneath.


TuckerTJ

Rank I
Launch Member

Member I

233
Burgeo Newfoundland
Member #

2749

9. Since the stock shifter knob would slip off the shifter and I had the TJ transmission in, I used the stock MJ shifter for the garage fridge handle, small tribute .


After some side tracking I got at the TJ rear axle , a lot of cutting was coming up. A lot of work for zero upgrade other than its 15 years newer, but i was doing the SOA and I could work on this axle and still drive the jeep.


Got side tracked/ took a break from cutting and grinding and went camping for the night.


More grinding


Maybe I should have opened this up before I started cleaning up the axle, luckily everything looks fine inside.


One thing I hadn't read about spring overs , I'm sure the information is there and me being a complete newbie when it comes to leaf springs, I'm sure I missed it but centering pins. Other than the normal issue of the spring perch having to line up in them I didn't even think they had to be inverted to actually work, duh. So I had to hunt down some new ones, which turned out to be an easier task than I thought, again, leaf spring newbie.


Old brackets all ground off and new ones tacked back on


Brackets welded on and starting on the paint


Waiting on paint to dry... I get side tracked easily it seems


Painting up the bare metal and plasti dipping the emblems


Let's see if I can't finish what I stared ha


Tandem axle MJ ?


Guess I'll keep it simple and keep it in its original configuration ha. Axle bolted in and back on all fours again, it definitely came up some! Opposite rake from before


Even with the the RTT in the back it doesn't sag like it did with the the spring spacers that I made (which are now gone). It's sitting much better, IMO.


My buddy Nolan was in town, so a test drive , visit, poser picture seemed like the logical thing to do

 
  • Like
Reactions: 9Mike2

TuckerTJ

Rank I
Launch Member

Member I

233
Burgeo Newfoundland
Member #

2749

Went to the local "car dump" , kind of like a scrap yard but no one runs it, just an old pit where old cars are dumped/stored before they are shipped off to the crushers. You can go there and pick what you want , if there is anything there, usually not. I'm only in a town of 1200 people, next town being 200km away. But I did find a 2000 or 2002 Cherokee with the 4.0, I pulled the valve cover and brake setup. Is there anything else worth grabbing from this thing while it's still there?


The valve cover was a simple swap, it took care of the broken elbow mainly, newer style cap and it gives the engine bay a little bit of an updated look. Apparently it helps with oil blow by too. I haven't noticed much oil in my new filter but the previous owners filter was really oily (and rat nesty).

Before:


After: crappy pic


Old oil filter:


Changed the oil and Also changed the "new" transmission, fluid


Old fluid vs New fluid , Transfer Case


Then it was time for another test run camping trip.
 

TuckerTJ

Rank I
Launch Member

Member I

233
Burgeo Newfoundland
Member #

2749

Went for a couple nights about an hour from my house. Met up with Nolan in his Rubi JKU, he lives about 200kms from me, so we decided on a place in the middle.


During this trip I could smell gas fumes, spent some time underneath, couldn't see any leaks. After I got it home and parked for a day or so, I noticed a spot under the rear driver side, right under the tank. The tank doesn't have a skid but it has a thick coating of some sort, don't know if it was the previous owner or if the stock tank came like that.
Either way I noticed it had a wet spot and a very slow drip. I chipped a piece off and the drip got pretty steady. I scrapped off a fair amount of the stuff, coming off in chunks , almost like a plaster. Could see where the tank was seeping in several spots. The more I scrapped off, the more leaks appeared.
I had a 5 night camping trip planned in the next couple weeks and now I have a really bad leaking tank. I wouldn't get a new tank in time, so I drained the tank and patched it with a couple different types of putty, JB weld for gasoline was the main patch, covered in regular JB. No pics but it worked, I went on the camping trip with no smell of gas. After the trip I parked the jeep back in the garage as I was heading out for work for a couple of months. I'm currently not home yet but I do have a tank, pumps, sending unit and straps ordered from rock auto. I will be home this week and the tank should be there about the same time.

Updates to follow and pics from the camping trip.
 
  • Like
Reactions: 9Mike2 and Steve

TuckerTJ

Rank I
Launch Member

Member I

233
Burgeo Newfoundland
Member #

2749

Small update, no trip pictures .

New tank assembly from RockAuto came in, with new pump, straps and other fittings. Haven't installed the tank yet, jeep is parked for other reasons.


Power steering pressure hose sprang a leak or 2 in the metal hose right at the steering box, waiting on a new hose to come in. Old hose came off without much hassle.


Ordered some 12volt meters to keep an eye on the camping batteries


Also came across someone scrapping a 2003 Dodge Dakota single cab, hauled the seats out of it. Currently have the bench and I need the third seat, so these Dakota seats should work nicely. Cleaned up good but I broke the driver side recline lever taking them out .


Test fit the driver side in, should be a good fit and an improvement. Pictures aren't the best.


Since I swapped in the TJ Transmisison I haven't had back up lights. First thing I did was check the fuses, start small ha. Will it seems nothing is ever small, the fuses weren't the issue with the lights but there is another possible problem.

This fuse pulled apart taking it out of the fuse block, another fuse the plastic just crumbled as I was taking it out. Looks like I will be pulling the fuses and cleaning this block before the clutch fluid completely destroys it and I have bigger issues. Hopefully not too late.


Still don't have backup lights , checked the bulbs, all tested good, the back up lights were actually the best bulbs off the bunch. Others were all corroded so I replaced them all.


Not fuses or bulbs, so I by passed the transmission switch and the bulbs lit up. So looks like the TJ trans has a bad switch, I think I will run a toggle in the cab until I replace the switch.
 
Last edited:

TuckerTJ

Rank I
Launch Member

Member I

233
Burgeo Newfoundland
Member #

2749

That is it for the winter, I'm gone for work now until the spring, seems the Jeep is parked more than it is driven. Guess that's how projects go, so the Jeep is tucked away for another winter.


Leaving for work, about 3hours to the airport, this guy decided to escort me for 5kms ha


  • Like
Reactions: 9Mike2