
Traveler III
That looks like a wonderful trip, Bueller. And congratulations on your nuptials!! [emoji322]
Sent from my iPhone using OB Talk
Sent from my iPhone using OB Talk
Traveler III

Advocate III

Enthusiast III
Advocate III
Enthusiast III
Don't forget to come to Ontario!
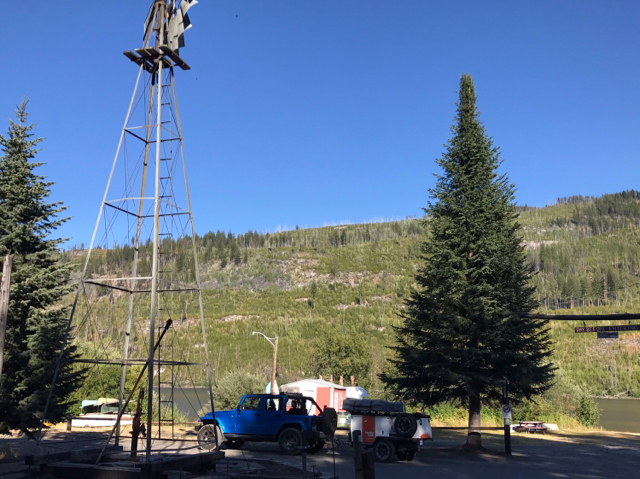
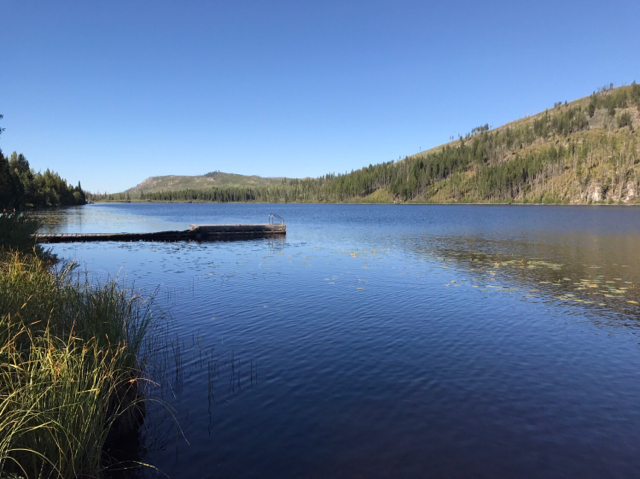
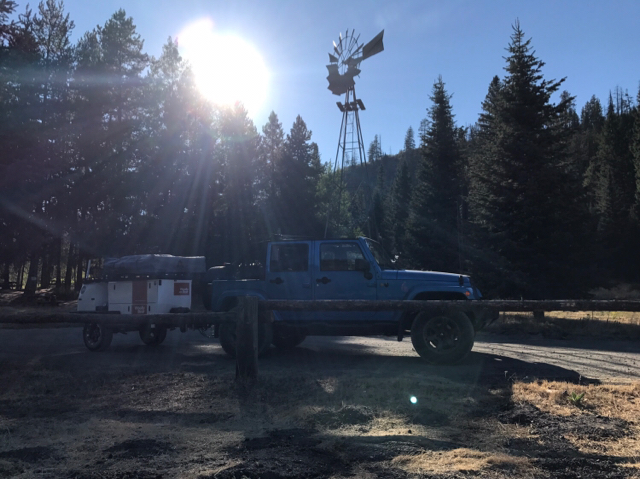
Great rig! Lucky man with over landing lady! Was that a prenup arrangement?ha!yes jealous!After we finished our tour of some wineries, we decided to head home on the east side of Okanogan Lake from Naramata to Kelowna via the Chute Lake FSR and then down onto the KVR trail. It was amazing. Some fantastic views. We discovered an old "resort" at Chute Lake. Right out of the 60's. We have been in an extreme fire hazard in southern bc this summer, so we took care to not go too fast causing any kind of spark. It's so dry in our back country right now.
We had a great time exploring and the first time we had the Woolly Bear of the paved roads. She performed very well!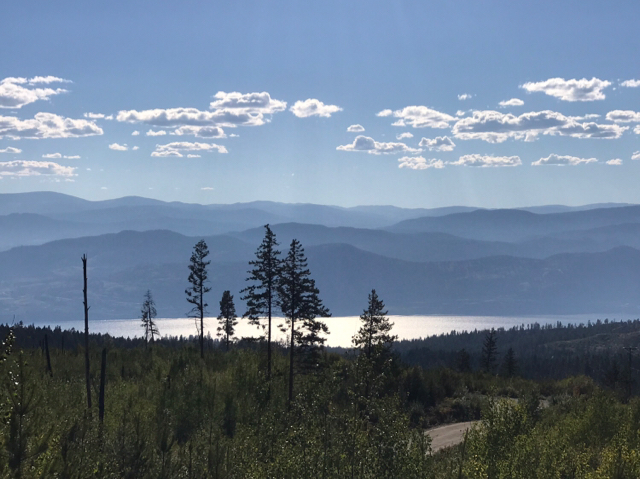


Sent from my iPhone using Tapatalk
Flamethrower!Our trip this year is to the B.C. Coast. Should i invest in citronella candles or a flamethrower....?
Enthusiast III
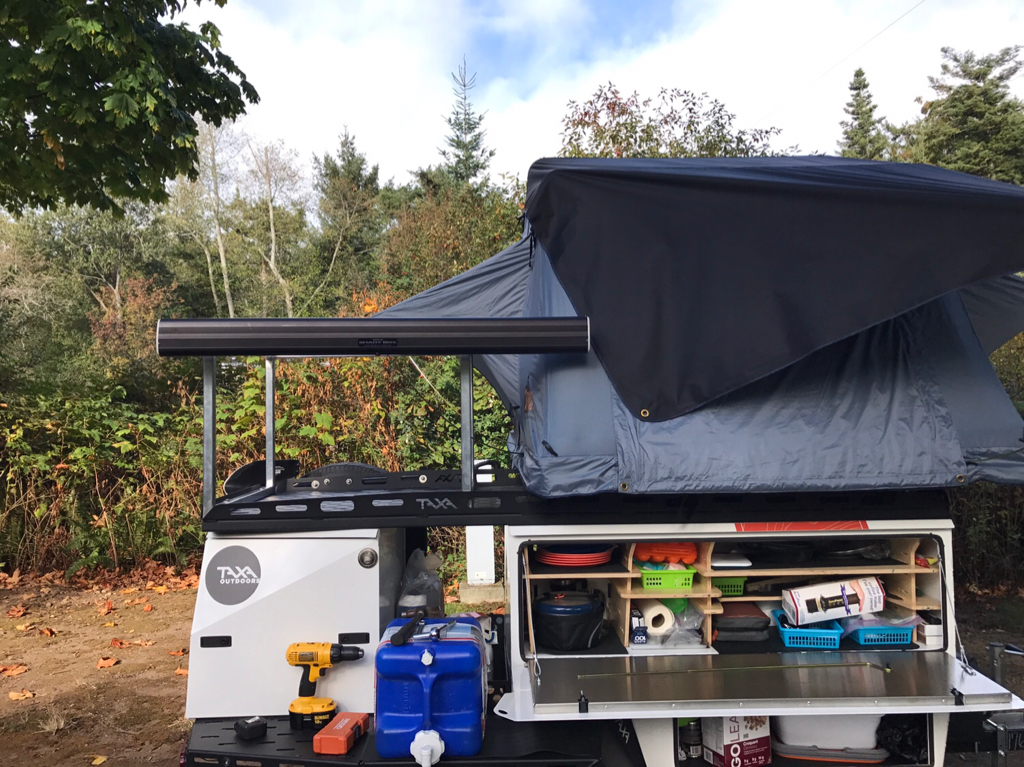
Awesome set up. Seen you trailer posted on a different forum. really diggin' it.
Just added a much needed shelf to the large storage compartment on our WoollyBear Camp trailer!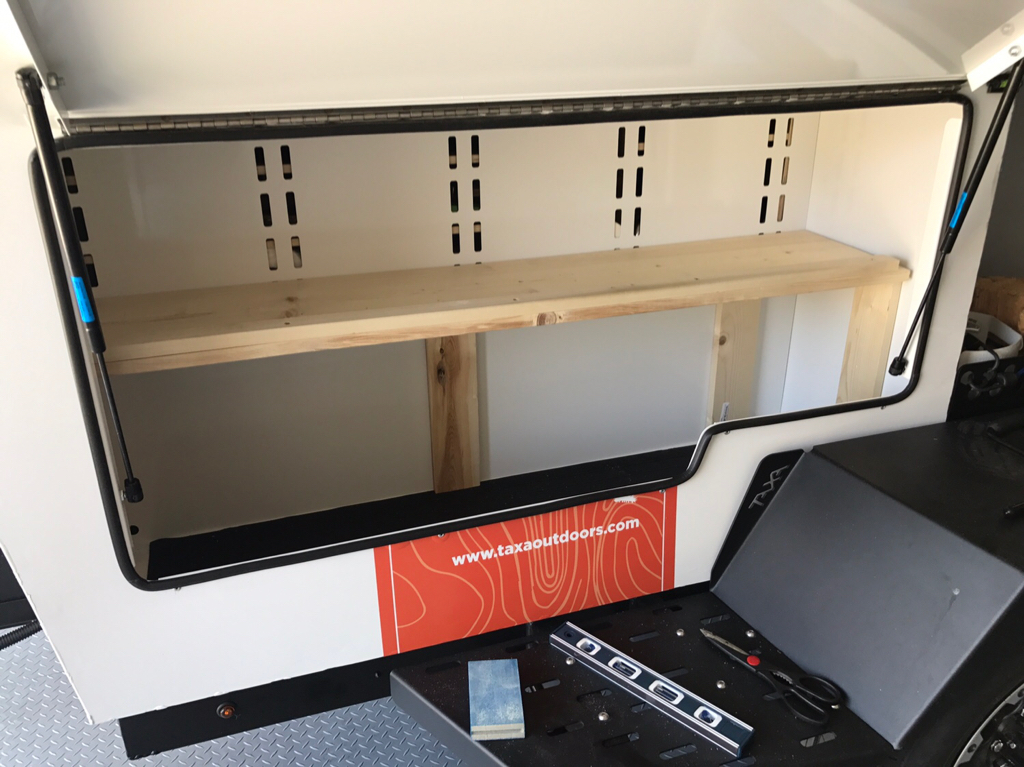
Sent from my iPhone using Tapatalk
Enthusiast III
Now why didn't I think of that? Did you do that as a standalone structure that just sits in there? I'd be tempted to add a steel shelf bolted in.
Hey, welcome to OB.
I actually used a two sides foam 3M tape on the vertical supports for the shelf. Then I have screwed the shelf into the support from above. Added a lip across the from to help stop things from sliding a bit. I might look at some kind of netting across the top of the shelf as I found on our little off road trip, thing moved around a bit, but not too much.
Enthusiast III
Speaking of netting be very careful what you add to the top left shelf of the galley and that you secure anything you put there when in transit, I had something fall while in transit that got stuck right where it prevented me from opening the hatch, had to damage the container by forcing the latch open but if it was something more solid stuck there then I would have been in a real pickle.
Enthusiast III
I’ll answer your electrical question over here as it looks like Taxa’s WordPress might have been compromised. The charging while driving depends on your tow vehicle and how it is wired, if you just hooked up a 4 way to a 7 way adapter without any additional wiring then it won’t charge at all, you would need to run a hot wire from your car battery to the black wire on the 7 way, then you can optionally hook it up to a relay triggered by an ignition source or just have it always hot, you should also install a circuit breaker (30 or 40a can’t recall) in that circuit, then the WB battery will charge.
For an inverter you want it as close to the battery as possible so you may want to look into a modified battery box to wire all that up. All I have done so far is run separate 10ga wires (both neg+pos) from the battery under/through the frame into the rear drawer area for the fridge. I do plan to wire in a battery charger and potentially get one that has dual input so the charging from the vehicle can be regulated as deep cycle batteries do better with a charge controller. I also want to put a bigger battery on there, which means a different battery box so I may get fancy with that but just don’t want to add too much tongue weight so have to be careful with that.
Sent from my iPhone using OB Talk
Enthusiast III


Enthusiast III

Enthusiast III
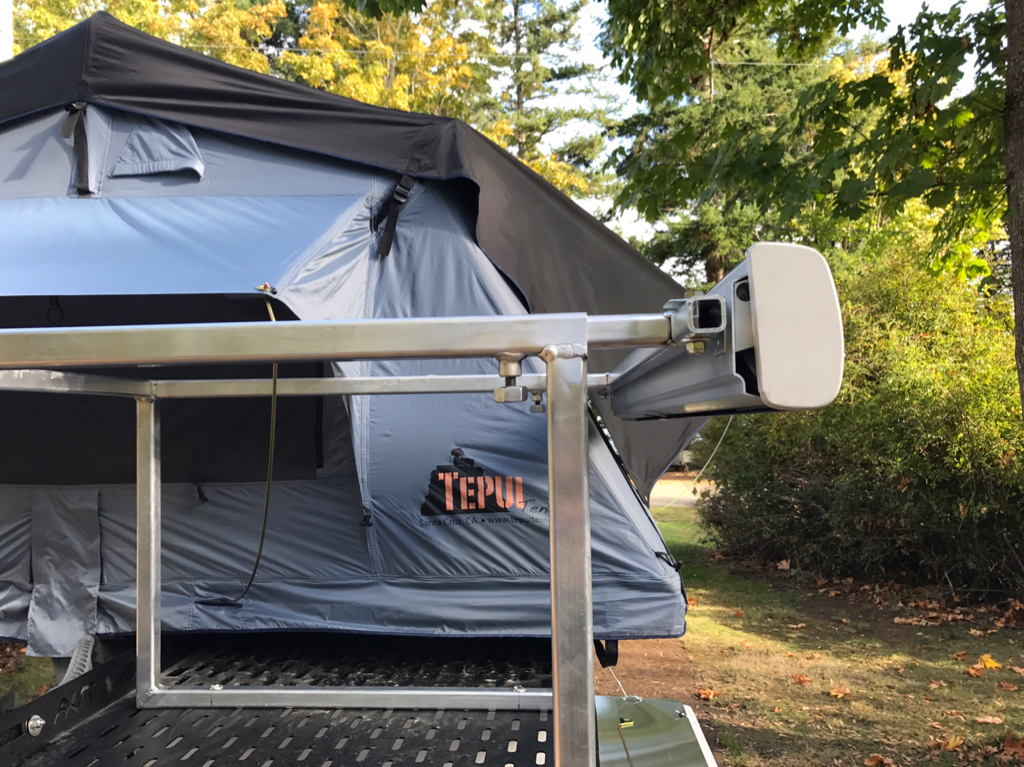
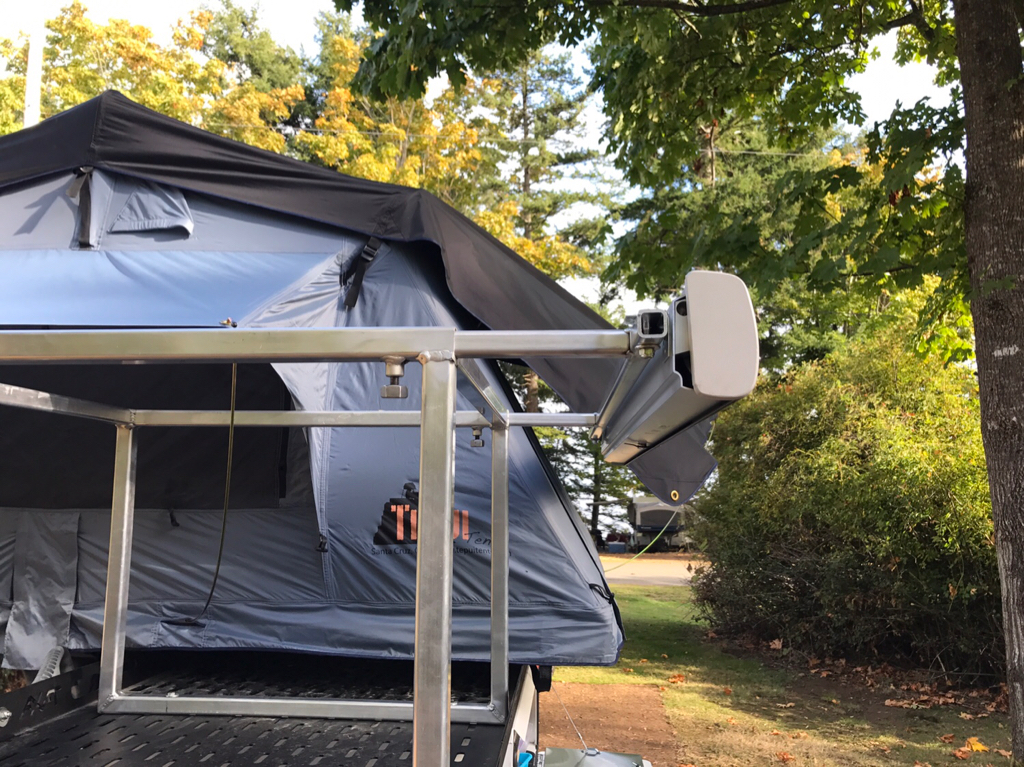
Very nice! That gives me some ideas like using a reinforced L shape instead of the box and to make it height adjustable for transit, it looks like you could get away with not having the slide out and just have it permanently in that position as it would only just jut out past the RTT and the WB is narrow to begin with so a little extra width shouldn't be a problem.
How did you get stickers to stick to the powder coat? I tried some spray adhesive and just resulted in making a mess. How do you have the shovel mounted on the side? May have to copy that.
Enthusiast III


