My Ranger Build

  • HTML tutorial

5280Ranger

Rank V

Traveler III

1,515
Colorado
First Name
Brandon
Last Name
Brandon
Member #

30562

Intro:
This is going to be slow. This thread is mostly for my benefit, but I welcome people to follow along.

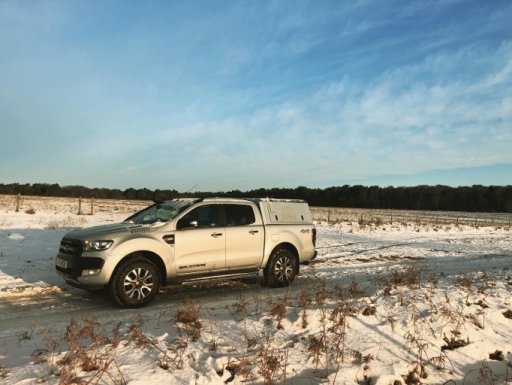
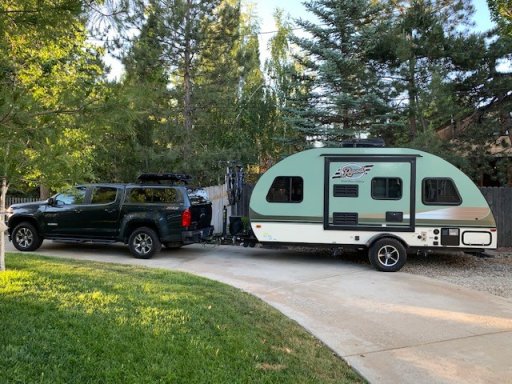
I bought a 2021 Ford Ranger XLT FX4 in April. The deals being offered were too good to wait and, I am glad I didn't, because inventory has dropped and prices have jumped.

Here she is the day I bought her.


The wife and I took her out on what turned out to be a dirt road.


A few weeks later, a local Instagrammer put out a run to Mini Moab. I was able to flex her out a little bit. I took all the bypasses to the obstacles, but she handled great and instilled confidence in me.


Objective:
This truck will be built around taking the wife and I camping, exploring ghost towns and areas of Colorado, and get to locations to photography.

Phase 1 Plan:
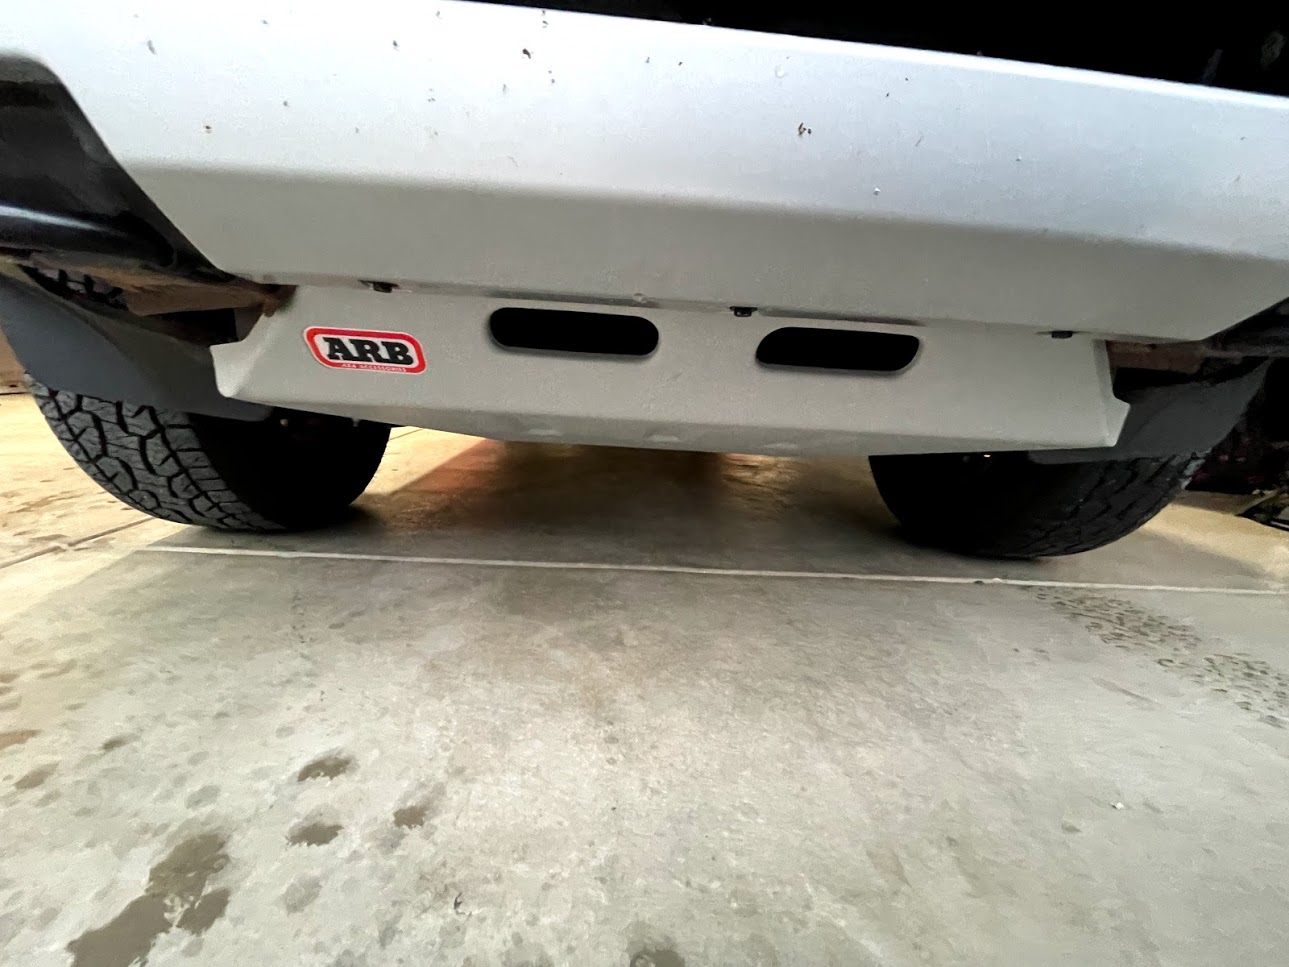
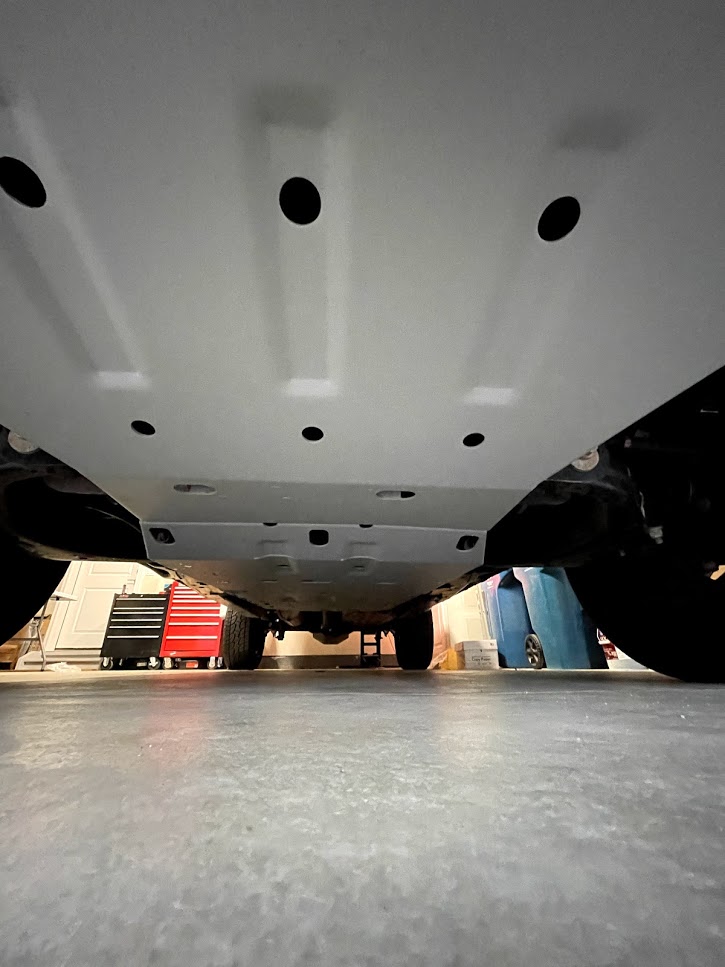
  1. ARB Skid Plates - Ordered
  2. Shrockworks Rock Sliders
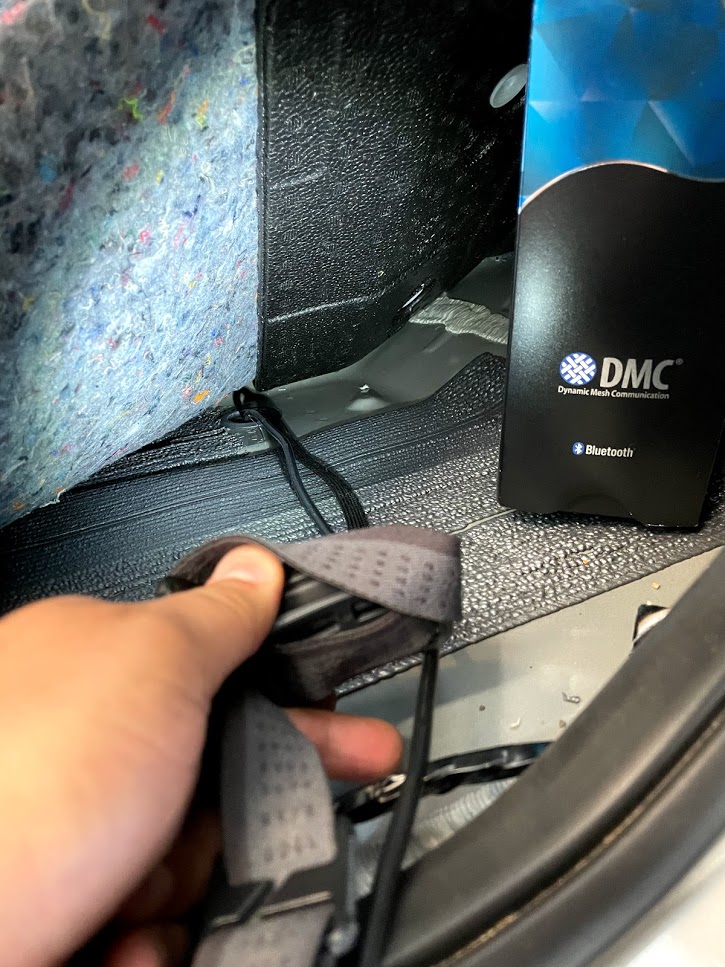
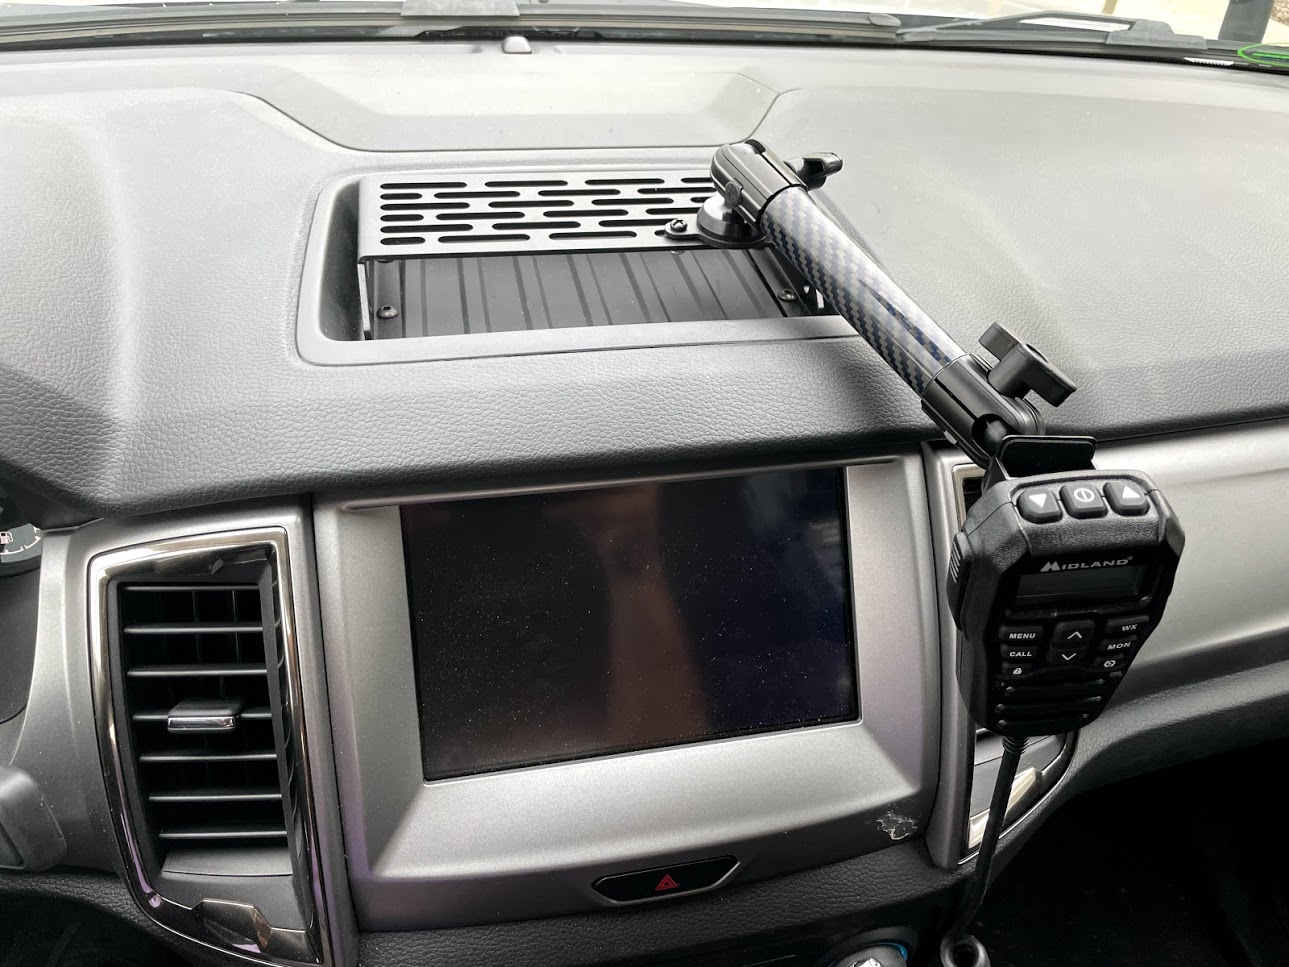
  3. Communications
    1. Right now, I am leaning towards the Midland MXT275 Bundle.
  4. Rear Diff Skid
Phase 2 Plan:
  1. Old Man Emu Lift - this is my first choice, as it stands. I like that it's a full kit and is comprehensive. OME was highly regarded when I had my old 4runner. I also haven't decided between the two kits.
  2. 285/70r17 Tires. I don't have a tire preference at this time.
  3. Winch mount of some kind. Leaning towards the Shrockworks Ultralight Winch Mount or the 589Fab Hidden Winch Mount.
  4. Winch. No ideas here yet.
  5. Rear bumper. I am leaning towards the ARB Summit Rear Bumper because it is simplistic, clean, works with all my sensors, and offers good protection.
Phase 3 Plan:
Okay, this is where things really go off the rails. This phase will be all about making camping easier.
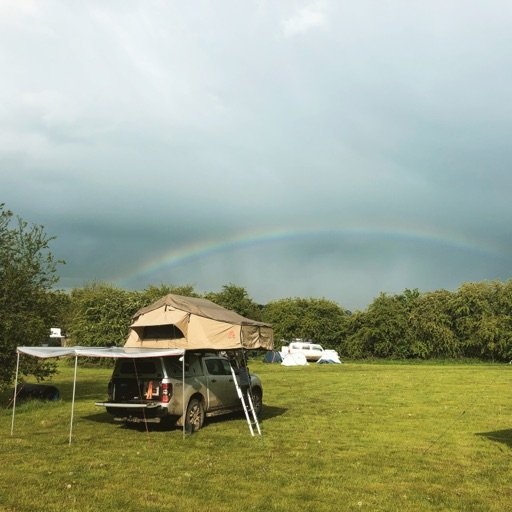
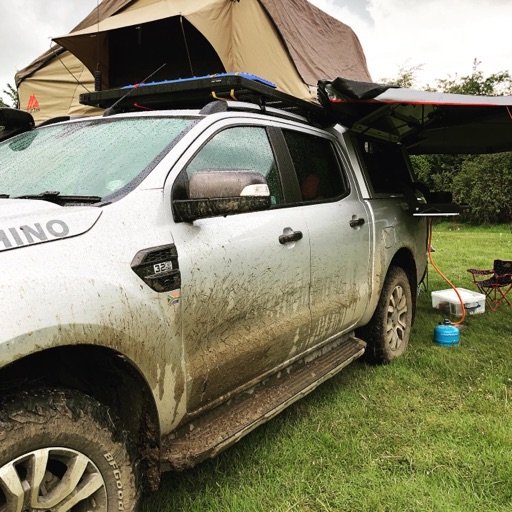
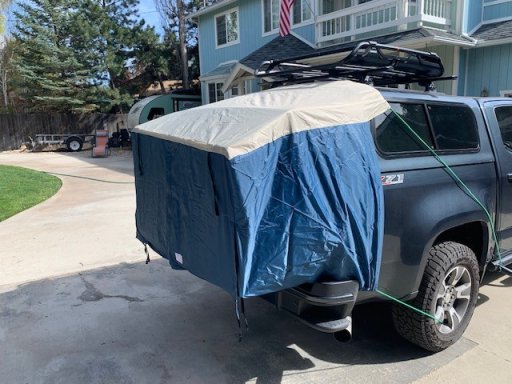
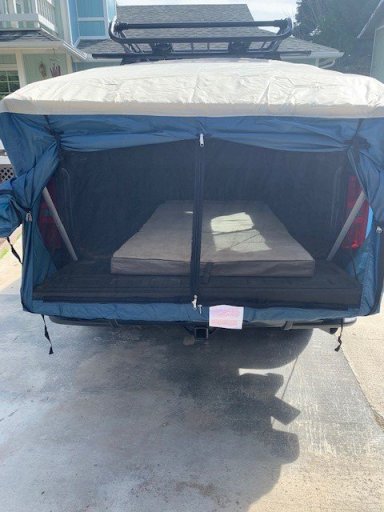
  1. Topper or RTT/rack - I debate this all the time. I like RTTs for a number of reasons (though I have never used one). Getting off the ground, being able to pack all the bedding inside, easy setup. That being said, I like the topper for a number of reasons. More secured storage, ...ok, so it's really only the one reason. I feel like the secured storage is important because we live in fire ban country here and we are going to be taking a propane fire pit that we can use during bans and, honestly, anytime I don't want to worry about it. We can also use it for cooking.
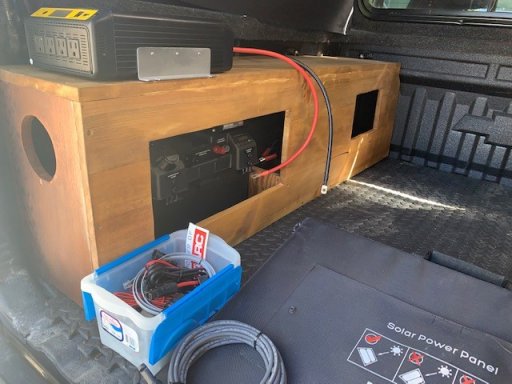
  2. Decked Drawer System
  3. ???
I will update this thread as mods come in. I am hoping next week for the ARB skids.
 

Jakes2514

Rank IV
Launch Member

Traveler III

1,210
Sutton Heath, Sutton, Woodbridge, IP12 3EQ, United Kingdom
First Name
Jakes
Last Name
van der Merwe
Member #

22552

Hey mate I like your plans for your Ranger. I have a 2016 Wildtrak 3.2L DuraTorq Diesel which I have been slowly but surely working on.
I was debating the Rack/Cannopy(topper) and ended up with a RSI Smartcap. Made out of steel with gullwing sides. My reasoning was two fold, security of my kit and also keeping my stuff dry! Here in the UK the latter is a big consideration as as get weeks of rain.

Here shes is:
 

Attachments

5280Ranger

Rank V

Traveler III

1,515
Colorado
First Name
Brandon
Last Name
Brandon
Member #

30562

Hey mate I like your plans for your Ranger. I have a 2016 Wildtrak 3.2L DuraTorq Diesel which I have been slowly but surely working on.
I was debating the Rack/Cannopy(topper) and ended up with a RSI Smartcap. Made out of steel with gullwing sides. My reasoning was two fold, security of my kit and also keeping my stuff dry! Here in the UK the latter is a big consideration as as get weeks of rain.

Here shes is:
I will check that out. I don't want my tent to stick above the roofline, so I don't have the option of mounting it to the topper.
 

grubworm

Rank V
Launch Member

Member III

2,358
louisiana
First Name
grub
Last Name
worm
Member #

17464

Service Branch
USN-Submarines
Three years into my build. 2019 Colorado with 2.8 Diesel. Added Topper and roof rack. Working on the Solar / DC power station
what truck tent is that? we sleep in a topper and that extra room would be nice

love the ranger, @CO.Ranger ...i remember the old style ranger and these new model rangers look really good. you definitely bought it at the right time, prices are going nuts!
 
  • Like
Reactions: 5280Ranger

5280Ranger

Rank V

Traveler III

1,515
Colorado
First Name
Brandon
Last Name
Brandon
Member #

30562

I installed the Midland MXT275 today. It wasn't hard, but took a lot of time. For anyone who is looking to run wires, I recommend poking a hole through the drain plug in the driver or passenger footwell. I tried the firewall, but I never could get it.

This is the passenger foot well, and where I ran the cable in.


I ran it along the heat shielding (technically above it) towards the front. I did have to remove the bolt for the forward section of heat shielding to route the wires up the engine bay. This was my tool for fishing wires today.


The small socket adds some weight and allows you to 'drop' the paracord better. The wires were then knotted in the paracord and taped to ensure they did not fall off. This method is nice because you can also use the pliable paracord to reroute the cable.


From there, I routed the power and ground to the battery, along the top of the firewall.

I split the antenna off to the passenger's side.

and used the hood mount. I really like this mount. It's simple and sleek.


Power at the batter was easy. Red to an inline fuse and then to the positive terminal, then the black to ground (I used the negative terminal. I can move it to a chassis ground later, if needed.).


For now, the actual radio is under the passenger's seat. I have a handset cable extension, which I ran up the center console to give me more play in the radio handset. I am deciding on a final location but, for now, this is really clean install as you can't see anything you don't want to see.
 

5280Ranger

Rank V

Traveler III

1,515
Colorado
First Name
Brandon
Last Name
Brandon
Member #

30562

A huge shoutout to @trail_runn4r for coming to my place and helping me with the ARB skid plates and Rough Country differential skid plate.

Took about 3 hours from start to finish. Here are my observations:
  1. The ARB kit is stout. It will definitely protect my truck underbelly.
  2. ARB's instructions are absolute trash. They show you where to put bolts, but not which bolts, where to put spacers, or which spacer to use. Took longer than it should. I will try to put together an actual which bolt goes where pictoral, but I have to get under the truck and that's easier said than done.
  3. Buy lift ramps if you don't have an actually lift. It gave me ~6" more under the truck to work.
  4. Rough Country's skid is ridiculous. I bet I could put this through a nuclear blast and it wouldn't get a ding.
  5. Their instructions are, without a doubt, better. They were easy to read and everything was described perfectly.
  6. The bracket that mounts around the pinion definitely needs to have spacers. I will get some. but I don't know why they designed the bracket to be used without it.


PCO6

Rank V
Launch Member

Member III

2,268
Newmarket, Ontario
First Name
Stew
Last Name
Beatty
Member #

12534

@CO.Ranger - Neat trick with the paracord and socket and great job overall. Here's something that might also help. I made some simple tools to assist with running wires through firewalls and other areas that are difficult to access by hand. A lot of times holes, grommets, etc. are hard to get to but it's also hard to "push a rope", especially small gauge wire.

Any old screw driver handle and some brake or similar lines can be used. Remove the handle from the driver (boiling water, heat gun, etc.) and drill it out so you can friction fit a tube through it. If not friction almost any kind of adhesive (J-B Weld, Gorilla Glue, etc.) will do.

Here are a few of the ones I have. I also made some with 1/4 " & 3/8" tube for larger gauge wire. I can custom bend them, shorten them or simply replace the tube with what ever I need to suit.

Wire Threaders.jpg
 

5280Ranger

Rank V

Traveler III

1,515
Colorado
First Name
Brandon
Last Name
Brandon
Member #

30562

Well... I did a thing yesterday. I had a set of 285/70r17 test fit on the Ranger and found out that they will fit in stock form. So... I brought them home.


I am debating on keeping them. They are the size I have always wanted to run, but I can definitely feel them on the truck. I have to adjust the intrusion beams, as they rub in reverse. This definitely bumped a performance tune up the list of modifications.
 

5280Ranger

Rank V

Traveler III

1,515
Colorado
First Name
Brandon
Last Name
Brandon
Member #

30562

After driving for a day, I decided that the 285s were too much for this truck at this stage. They were going to rub when flexed, since they already rubbed in reverse and under turning and braking. I also watched my gas mileage drop from 26 mpg to 12 mpg. I can't handle that. I know I will get a drop, just not that much. I had a set of 265/70r17s installed and I am much happier. Still over 20 mpg and they are only about 1" shorter. The 265 don't rub anywhere, at all. I went with C load rating instead of E, as the sidewall is plenty strong and I dropped ~50 lbs of rotating mass (the E weigh 58 lbs each and the C only weigh 46 lbs). I will wheel the truck in this configuration (maybe a level kit on the front) until I need 285s, then I will research which tire to go with.
 
  • Like
Reactions: ThundahBeagle

5280Ranger

Rank V

Traveler III

1,515
Colorado
First Name
Brandon
Last Name
Brandon
Member #

30562


I made the ultimately adult decision to remove the 285/70r17 I had installed yesterday and install the 265/70r17.

The 285 fit, but rubbed a bit on the crash bars in reverse. They also rubbed on the sway bar at full lock. The amount of work needed to get them not to rub is not something I am ready for. Also, and not for nothing, I watched my fuel mileage drop from 26 (reading on the gauge) to 14. The 285s (load range E) weigh in at 58 lbs. The 265s (load range C) weigh in at 46. The stock Hankooks weigh in at 36. I'm averaging 22 mpg with the 265s, but that includes a decent amount of miles with the 285s on prior to swapping them out. Next tank will be the real tell.

I gained 1" of clearance with these tires and have much better tread and traction. Truck looks meaner too.

The below picture is the 285s.
 

ThundahBeagle

Rank V

Advocate I

1,548
Massachusetts
First Name
Andrew
Last Name
Beagle
Member #

0


I made the ultimately adult decision to remove the 285/70r17 I had installed yesterday and install the 265/70r17.

The 285 fit, but rubbed a bit on the crash bars in reverse. They also rubbed on the sway bar at full lock. The amount of work needed to get them not to rub is not something I am ready for. Also, and not for nothing, I watched my fuel mileage drop from 26 (reading on the gauge) to 14. The 285s (load range E) weigh in at 58 lbs. The 265s (load range C) weigh in at 46. The stock Hankooks weigh in at 36. I'm averaging 22 mpg with the 265s, but that includes a decent amount of miles with the 285s on prior to swapping them out. Next tank will be the real tell.

I gained 1" of clearance with these tires and have much better tread and traction. Truck looks meaner too.

The below picture is the 285s.
It's tough to find taller but narrow A/T tires. Depending on lift, taller but narrow might work.

Personally I think you made the right decision. If you are rubbing while braking, or at full turn, imagine what it would be like on a trail.

I have an old Jeep Grand Cherokee that I lifted 2 inches with Iron Rock Offroad springs with new isolators and Pro Comp shocks and Moog anti saw bar links. On stock wheels it performed well but looked funny. I put Wrangler wheels on it and now I run in reverse.

I'll find that sweet spot, if I dont get rid of it first. (Its a '99)
 

5280Ranger

Rank V

Traveler III

1,515
Colorado
First Name
Brandon
Last Name
Brandon
Member #

30562

I really wanted 255/80r17 but they're harder to come by and I don't want to need a replacement when I am out and about.
 

5280Ranger

Rank V

Traveler III

1,515
Colorado
First Name
Brandon
Last Name
Brandon
Member #

30562

I *finally* finished my MXT275 radio installation. I installed the Built Right Industries Dash Plate, backwards according to the instructions.


I didn't like Built Right's mounting solutions though, as it was basically RAM mounts. Enter Bullet Point Mounting Solutions. I used their two hole ball mount, arm in size long, and CB RADIO HOLDER WITH 20MM BALL. I figured that, at the cost of the CB mount, I could Dremel if needed. I did not need to make any modifications though. I really like the Bullet Point arms as the balls allow articulation, but the mounts around the shaft also rotate. This means I could align my CB mount exactly how I wanted it.


It doesn't interfere with the screen usage at all.

Here is the head unit, it's not nearly as dirty as this image suggests.