Hello fellow OB'ers
TL;DR
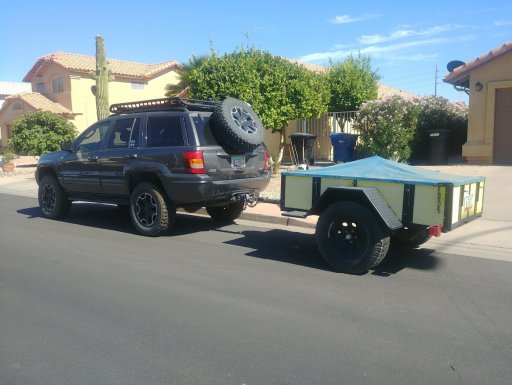
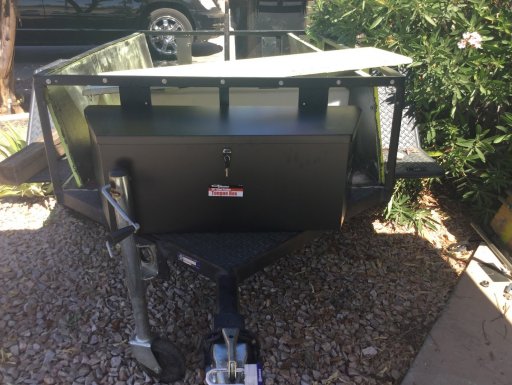
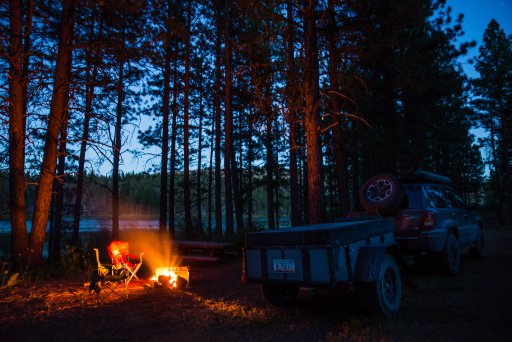
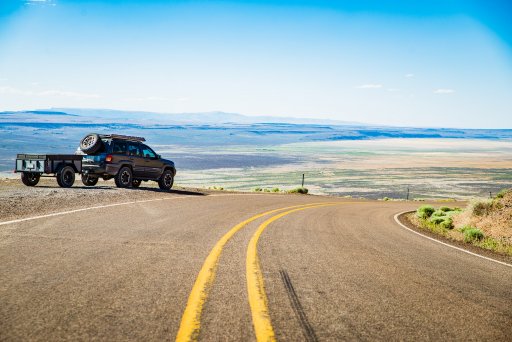
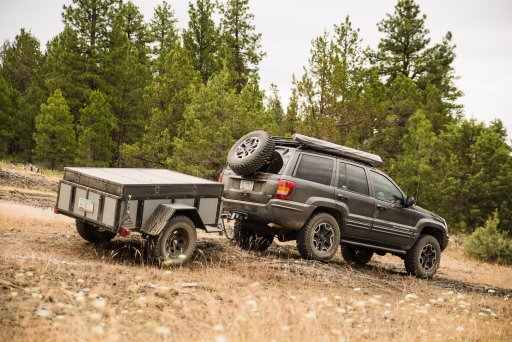
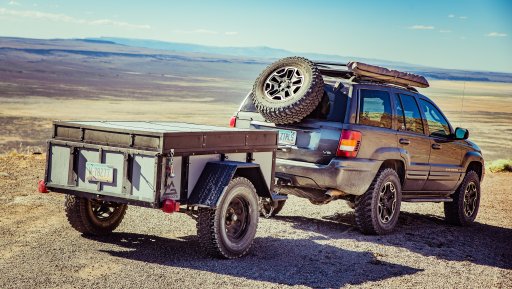
Picked up my 1st trailer yesterday and will be posting here with progress and upgrades, as well as some questions to pick all of your experienced brains. Pics start in post 2
THE STORY
I've been eyeing trailers for sometime but did not really expect to buy one anytime soon. I was laid off 2 months ago and while I saw it coming and welcomed it, making "big" purchases probably isn't the best idea. But it wasn't that much and the price for what I got was too good to pass up.
I thought I was pretty well versed with the local used inventory but I did a quick search on Craigslist to drum up an old ad I wanted to check out something again. That's when I saw my trailer for the 1st time. Ad was 20 days old, listed for an amazing price. Too good to be true? A couple quick texts and a call, I am on my way to check out this trailer.
The trailer looked a lot bigger in the pics, I was worried that it would be too big for my needs. Low and behold it is just the right size. I came with cash in hand but was actively telling myself not to buy it. The more I saw, the less I could resist. It's not perfect but it is well thought out for the builders needs and seems well built.
The trailer was being sold by a local Boy Scout leader. It sounds like a local restaurant owner donated it to the Scouts on his and his sons last camping trip with the Scouts. So the person I bought it from is not the builder and does not know all the details and information. The scouts apparently are more interested in a log splitter so the proceeds will go towards that.
WHY A TRAILER?
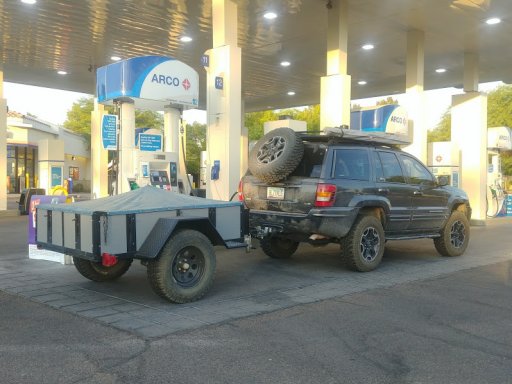
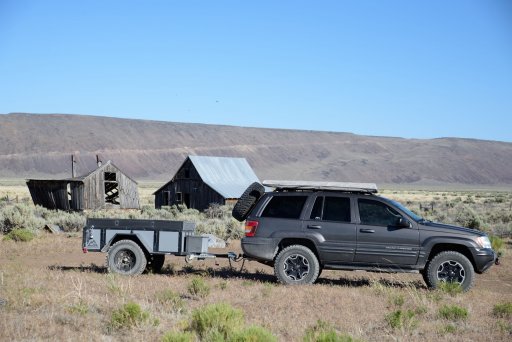
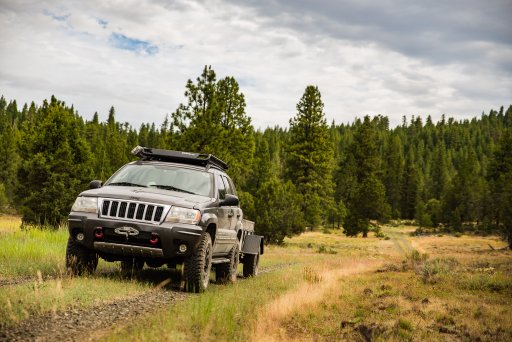
Sleeping in the back of my Jeep Grand Cherokee (WJ) is doable for the wife and I, but add in our two dogs and it's just a bit much. I didn't want to have a RTT tent on my Jeep full time and I am short so setting it up would be a pain. Plus, I want a base camp that I can setup and go explore from for certain trips. I also like that I can now easily take 2 additional people since my back seats won't be full of gear.
THE BASICS
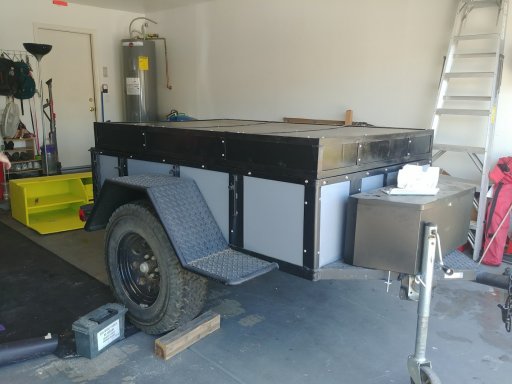
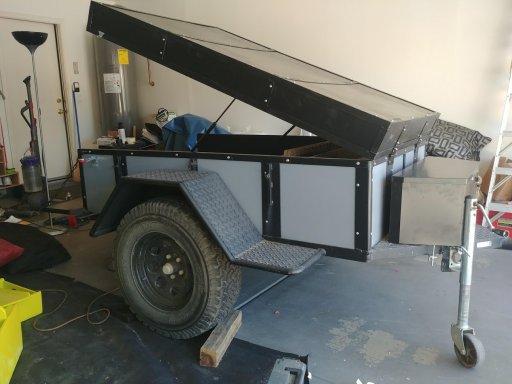
4' x 6' Cargo Box with tailgate
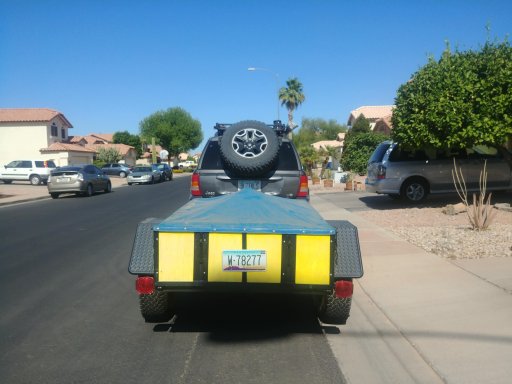
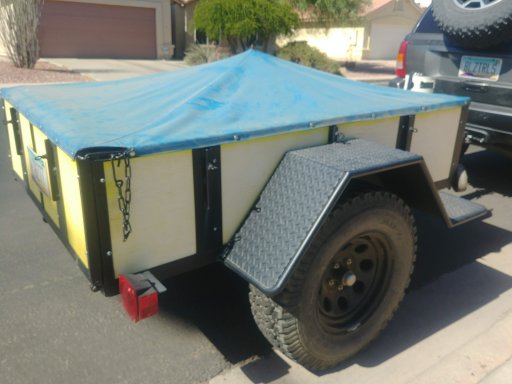
Soft cover that snaps on with adjustable center pole
Powder coated frame, marine grade would and paint
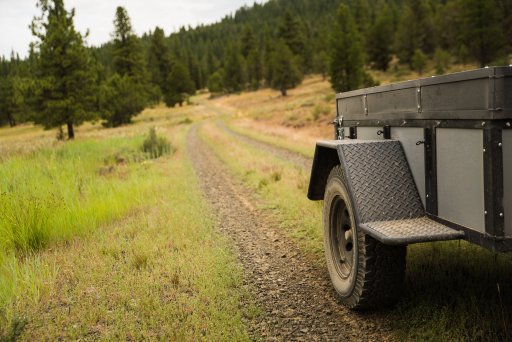
Diamond platted offroad squared fenders
31" BFG All Terrains in great condition on 15" rim, 5 lug
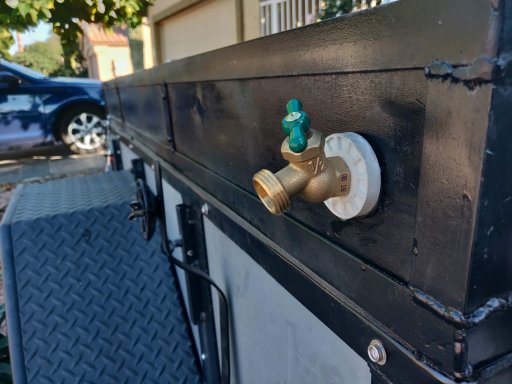
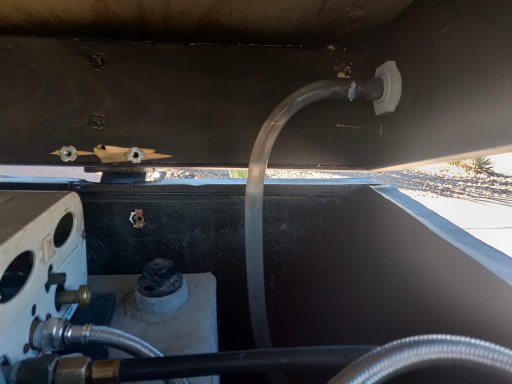
30 Gallon water tank and 12v water pump
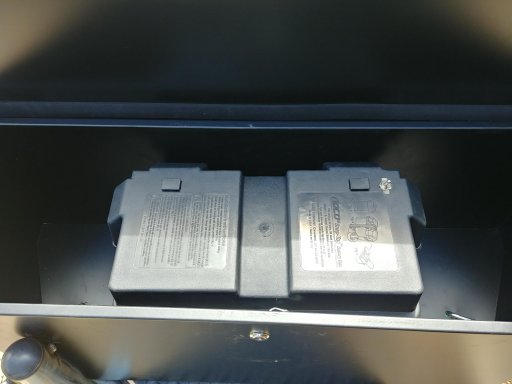
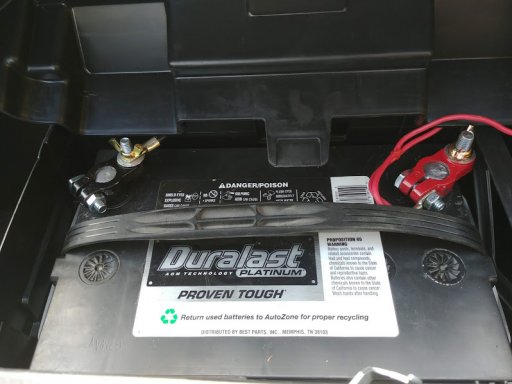
Small ammo can with 12v motorcycle battery inside, dead at purchase
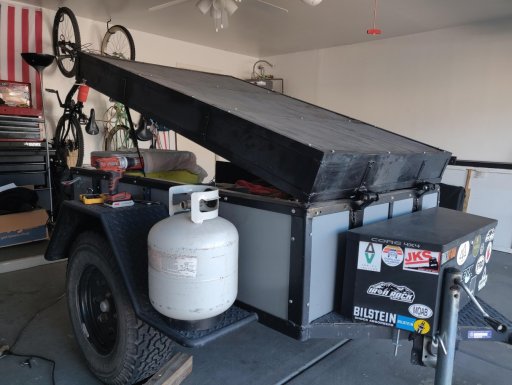
Full size Propane tank and mount welded on tongue
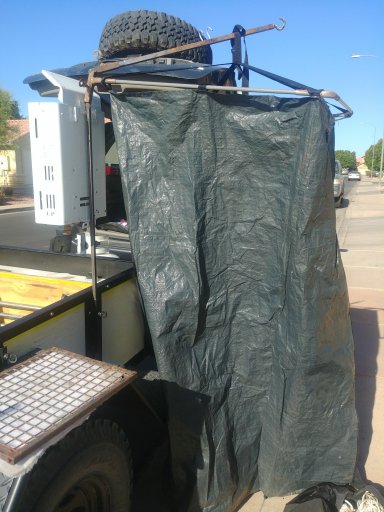
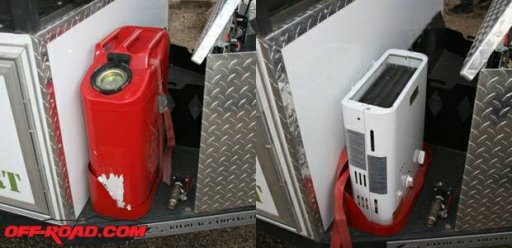
Tankless water heater, propane powered
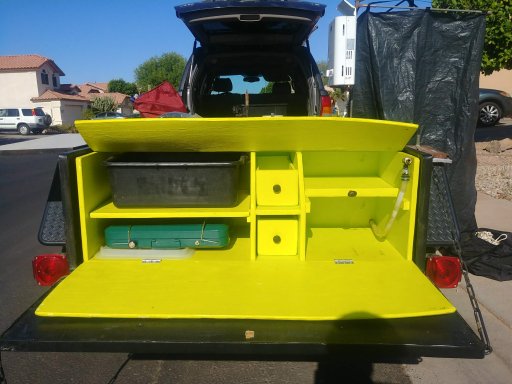
Kitchenette with spray hose / sink and Coleman stove
WHAT WAS INCLUDED
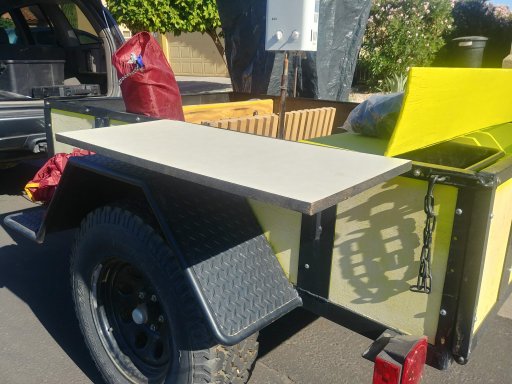
New tent, looks big no clue yet. Unused air mattress and pump. Custom built side table that attaches to frame. Custom rack to mount included water heater and shower tent to. Floor grates to stand on while showering. Large canopy that uses extending shower post for center, 4 adjustable poles for legs and guylines. Kitchenette as a couple small drawers
THE CONDITION
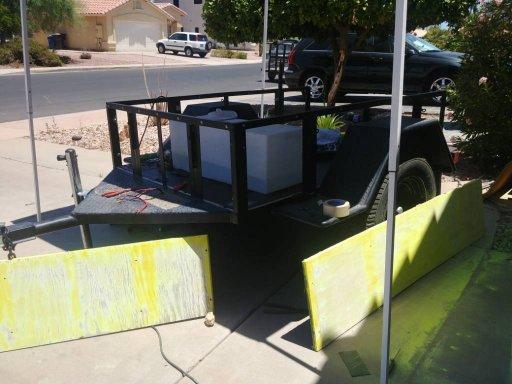
All in all, everything seems to be road worthy. Tires are like new, need to determine age. Frame is in excellent condition. The wood panels are in good condition but the paint has seen better days. Originally the paint was a neon yellowish green kind of color. It has since faded to yellow (Phoenix sun has a way of doing that). Inside the box, the wood was treated with a bed liner type of material and is in excellent condition. To keep that sealed, I think if/when I pain the exterior, I will chose not to remove the wood and will instead mask off the frame and paint in place. The kitchenette is a bit warped on a couple pieces. Wasn't a big factor in the purchase, I may repair or ditch all together. The battery is dead and didn't seem to hold any of the charge I gave it. The water pump does work. Haven't tested the propane shower yet. There is a power distribution block on the bottom side of the trailer, no cover or anything. Wiring looks fine but the block is uncovered so I am concerned about it getting wet.
THE PLANS
Grease bearings and general service DONE
Rooftop tent
Rack for tent DONE
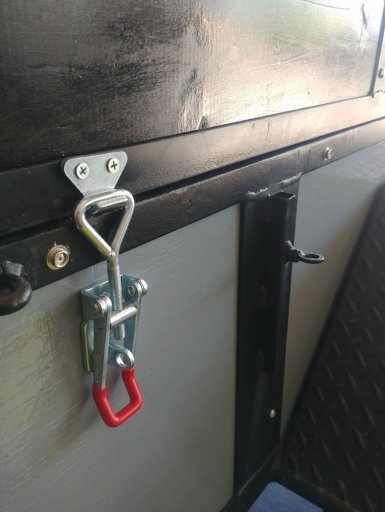
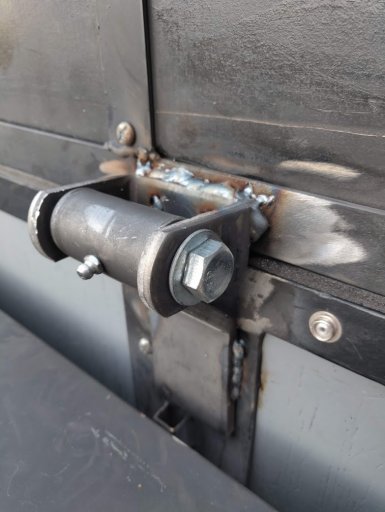
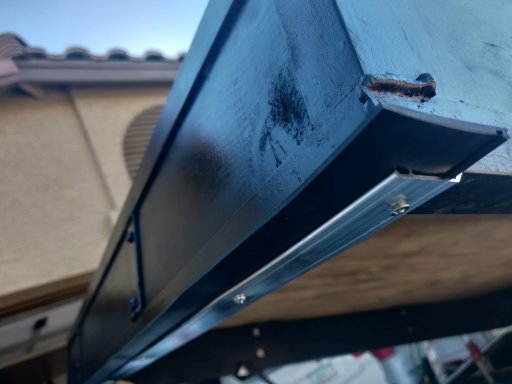
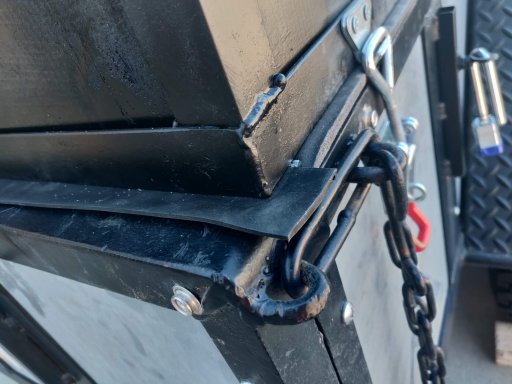
Hard lid with hinges DONE
Matching Rubicon Wheels and Tires
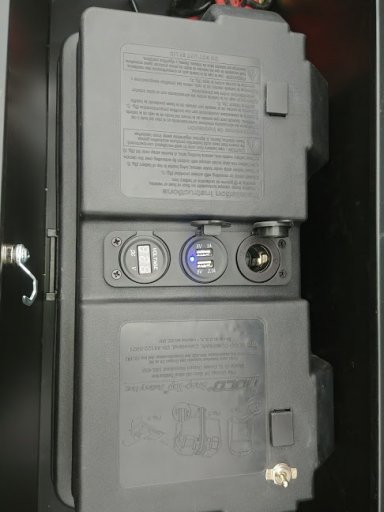
Solar setup with new battery, camp lights and electrical outlets Partially DONE
Permanent installation of the water heater instead of setting up each time
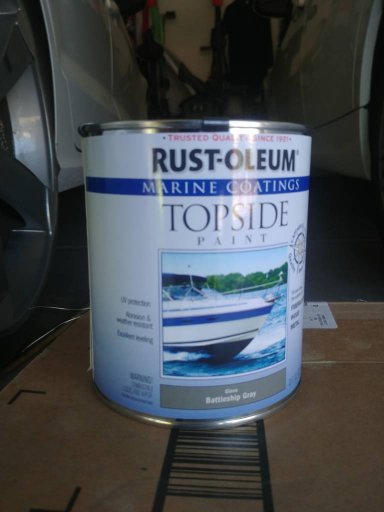
Paint eventually DONE
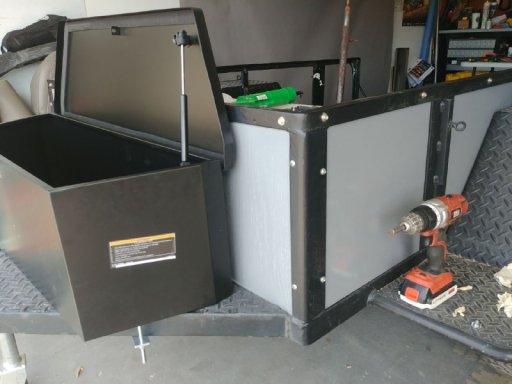
Trailer tongue box would be preferred which would mean I need to move the propane and ammo can DONE
Max Coupler instead of 2" ball hitch
Well that's about it for now. I am sure I will encounter more plans for the build. I will do my best to update the plans as I add them and to mark them off as I complete them.
Pics in next post
Last edited:


