Pathfinder II
@dmurph1996 Pics as promised:
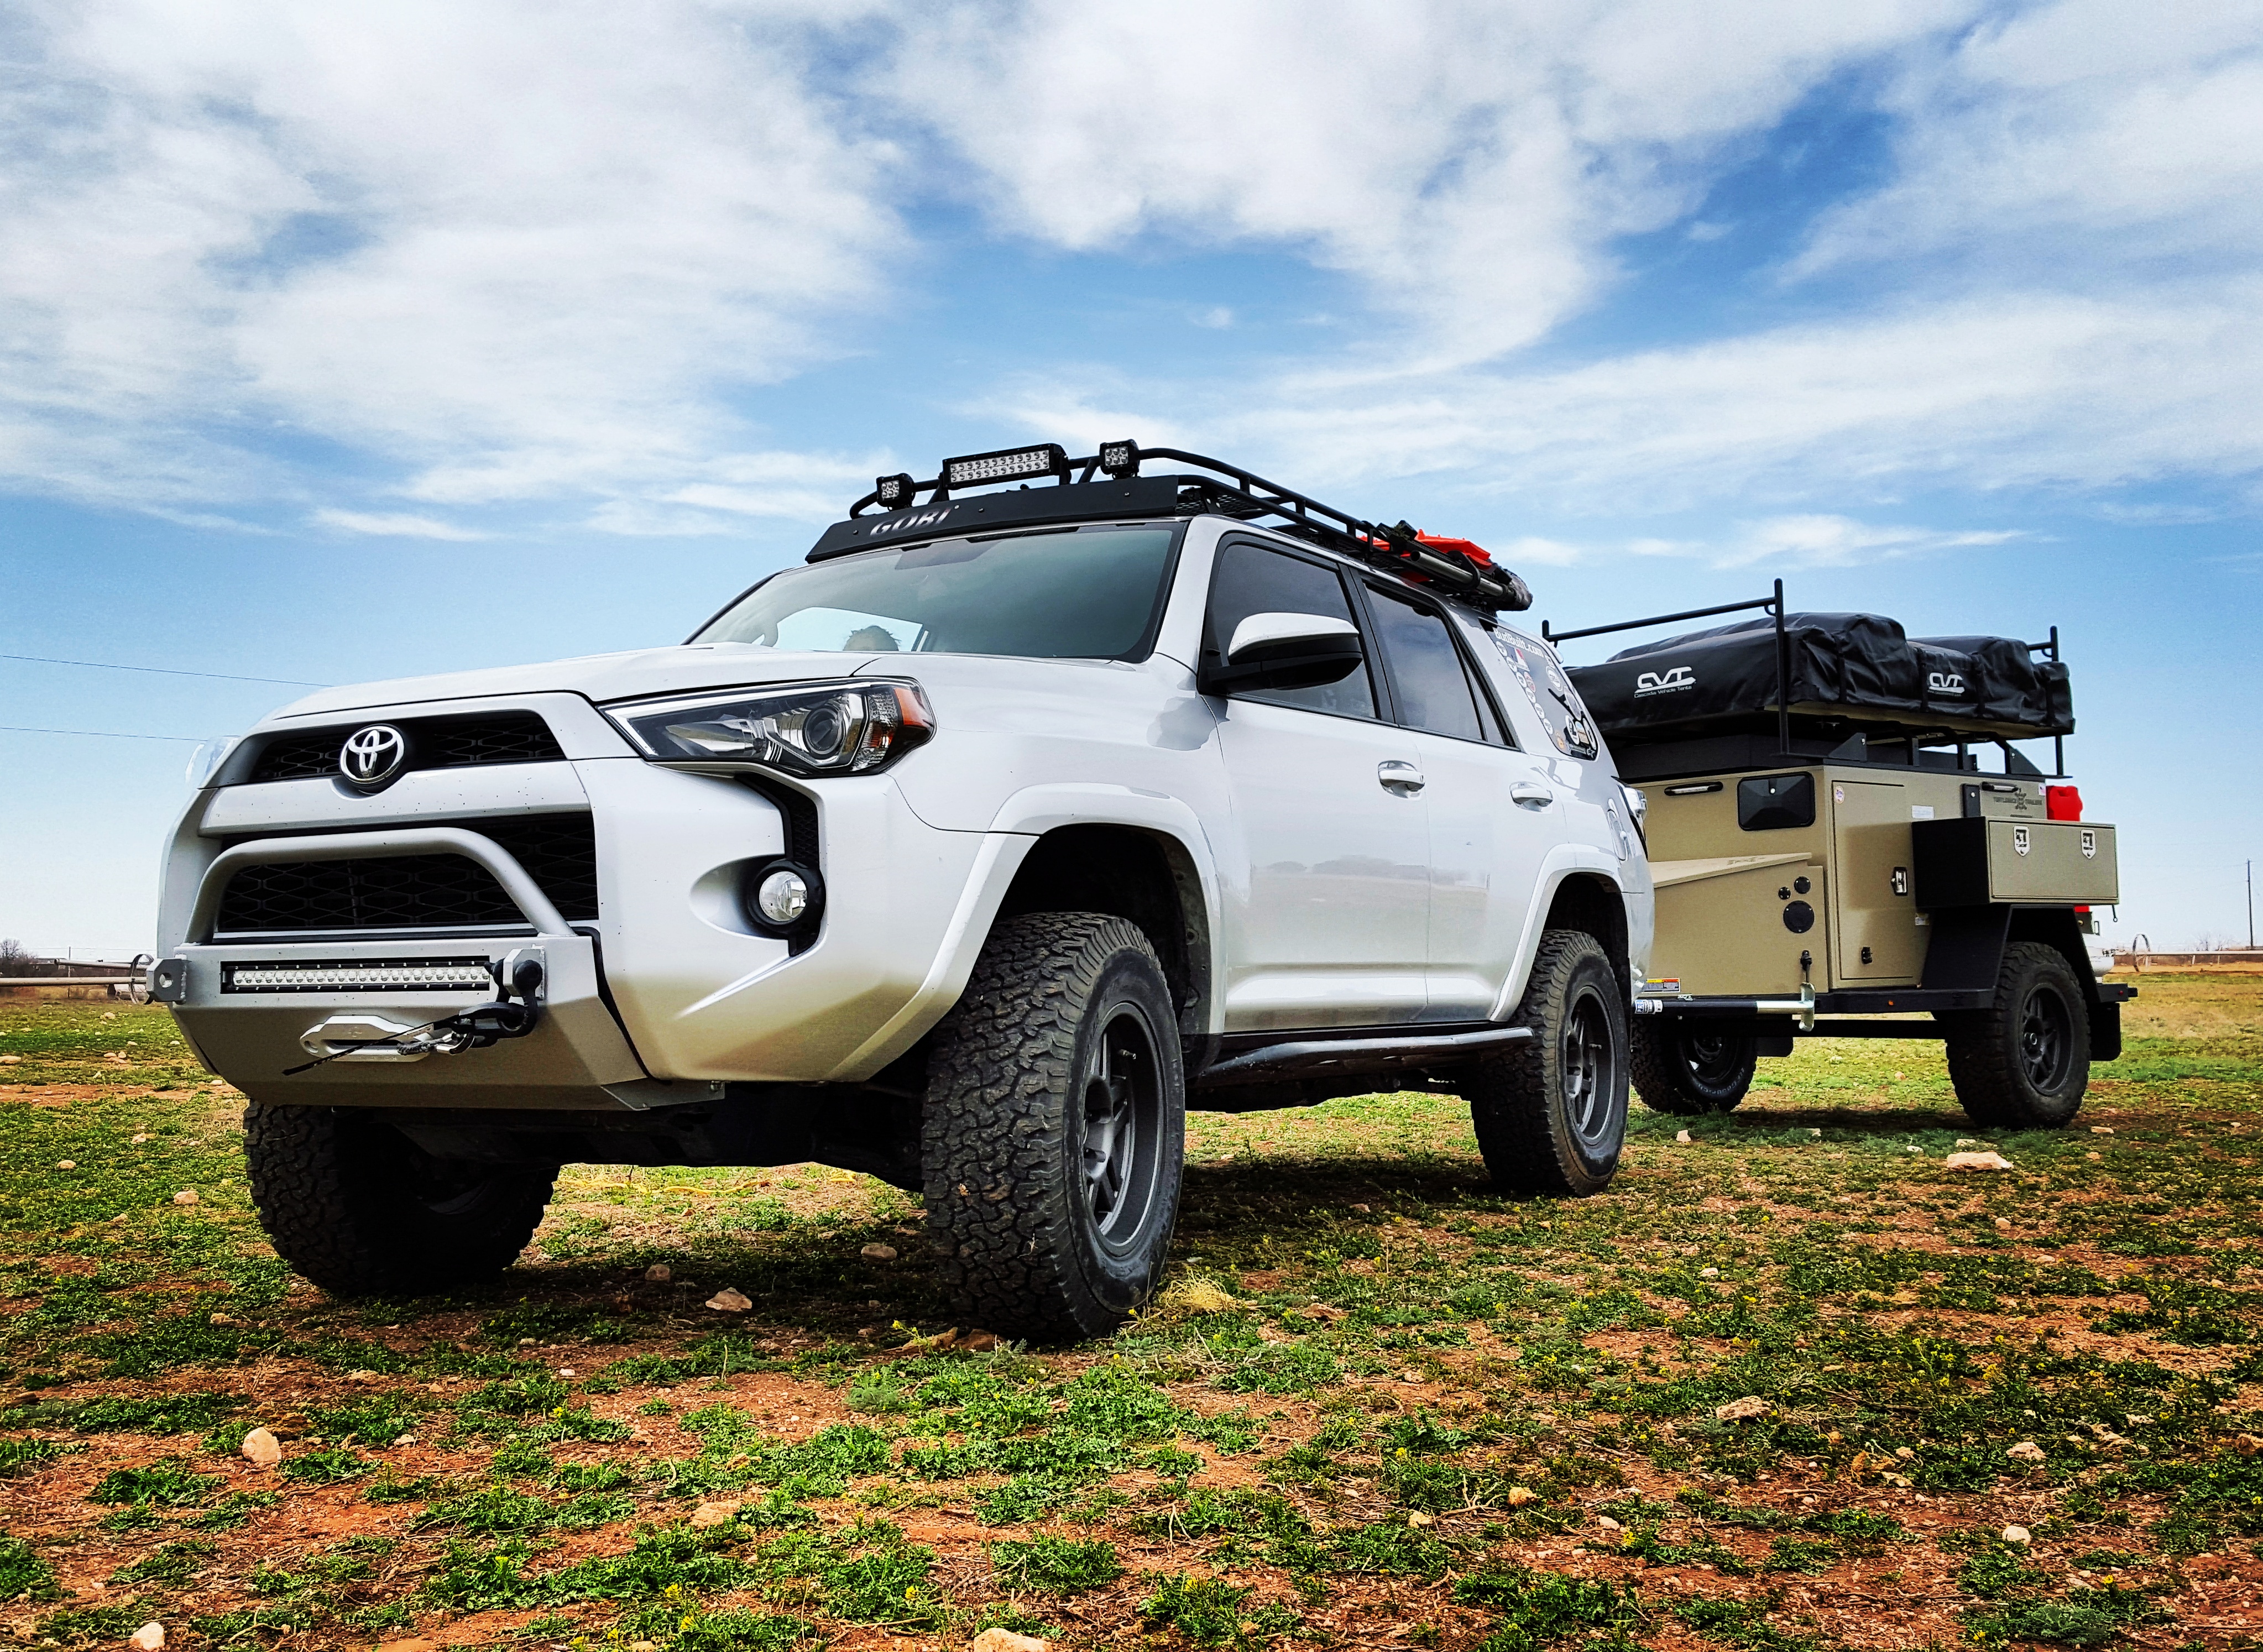
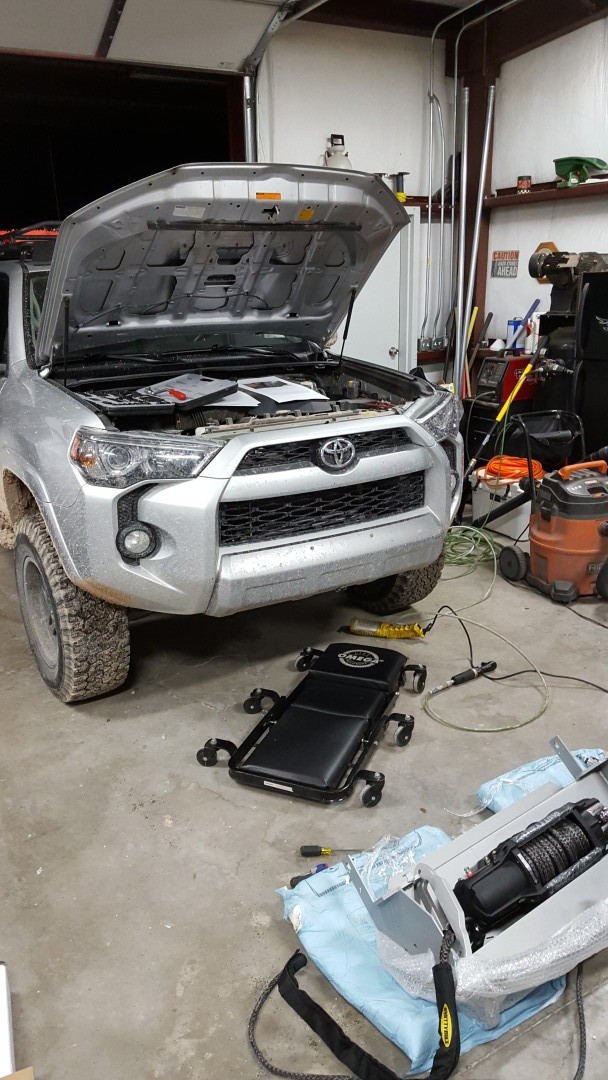
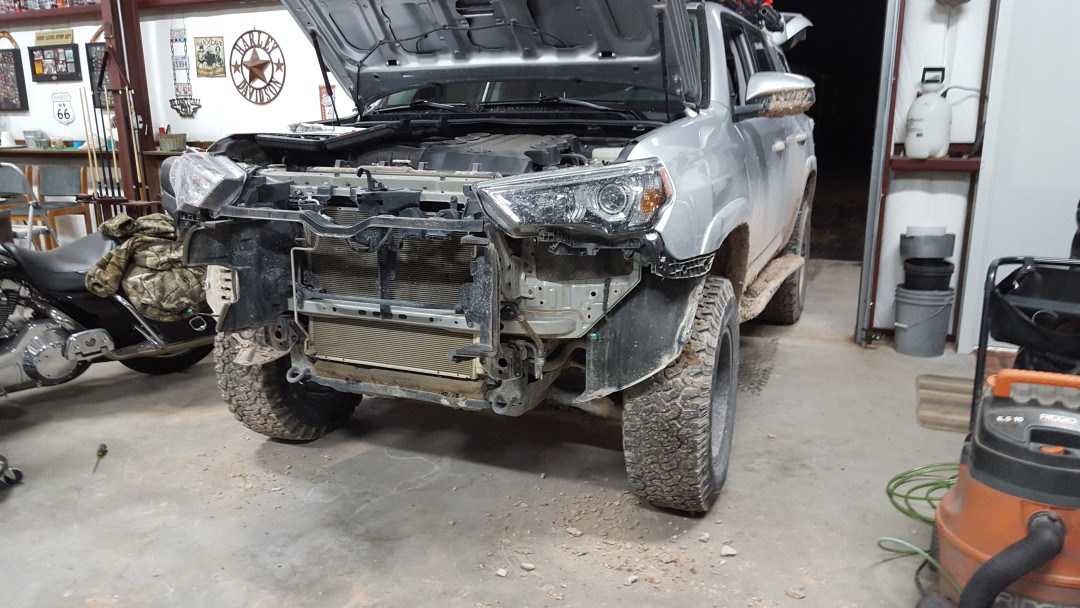
Southern Style Speed Bumper Installation


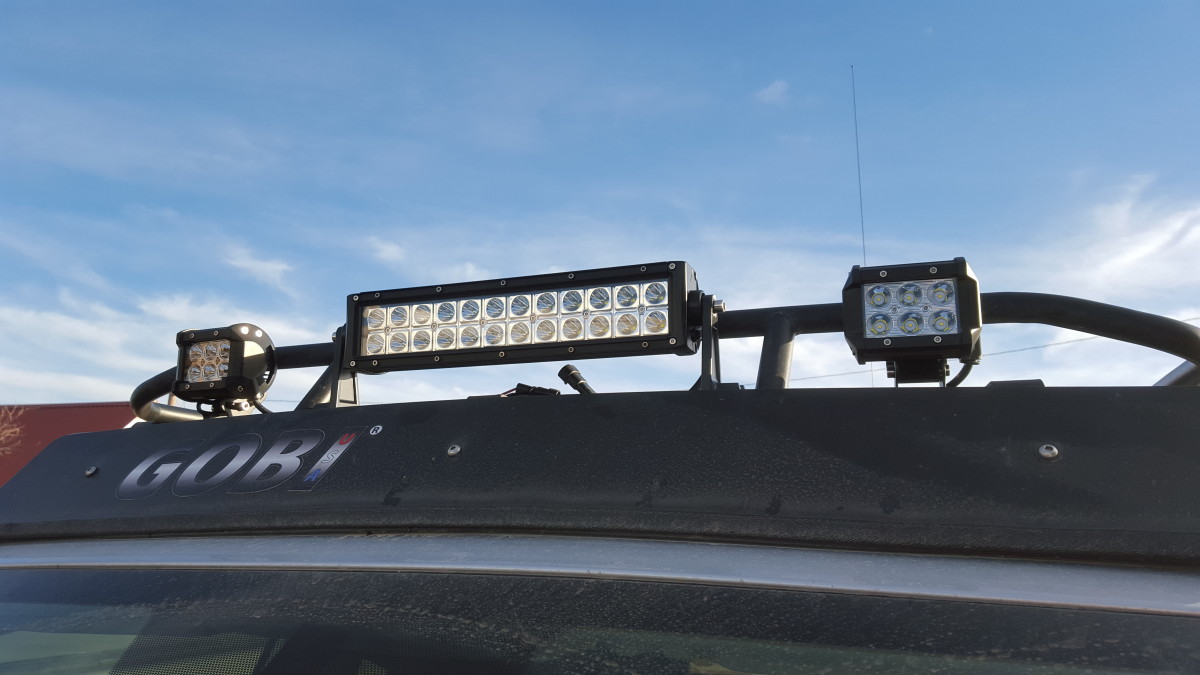
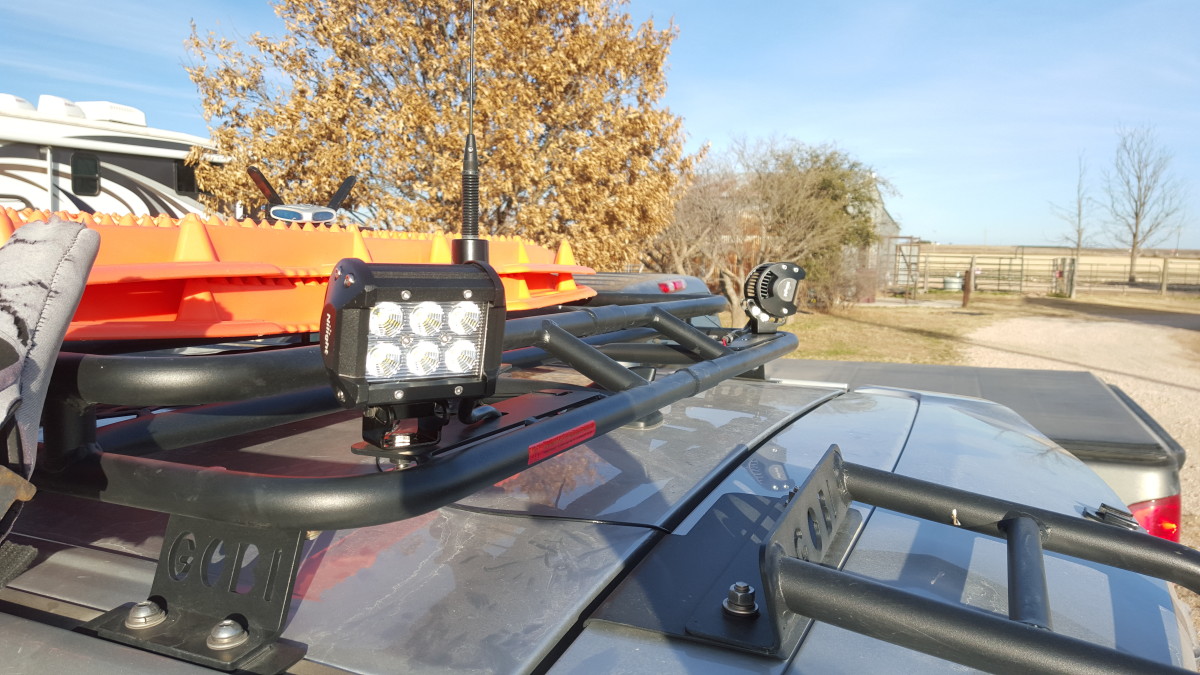
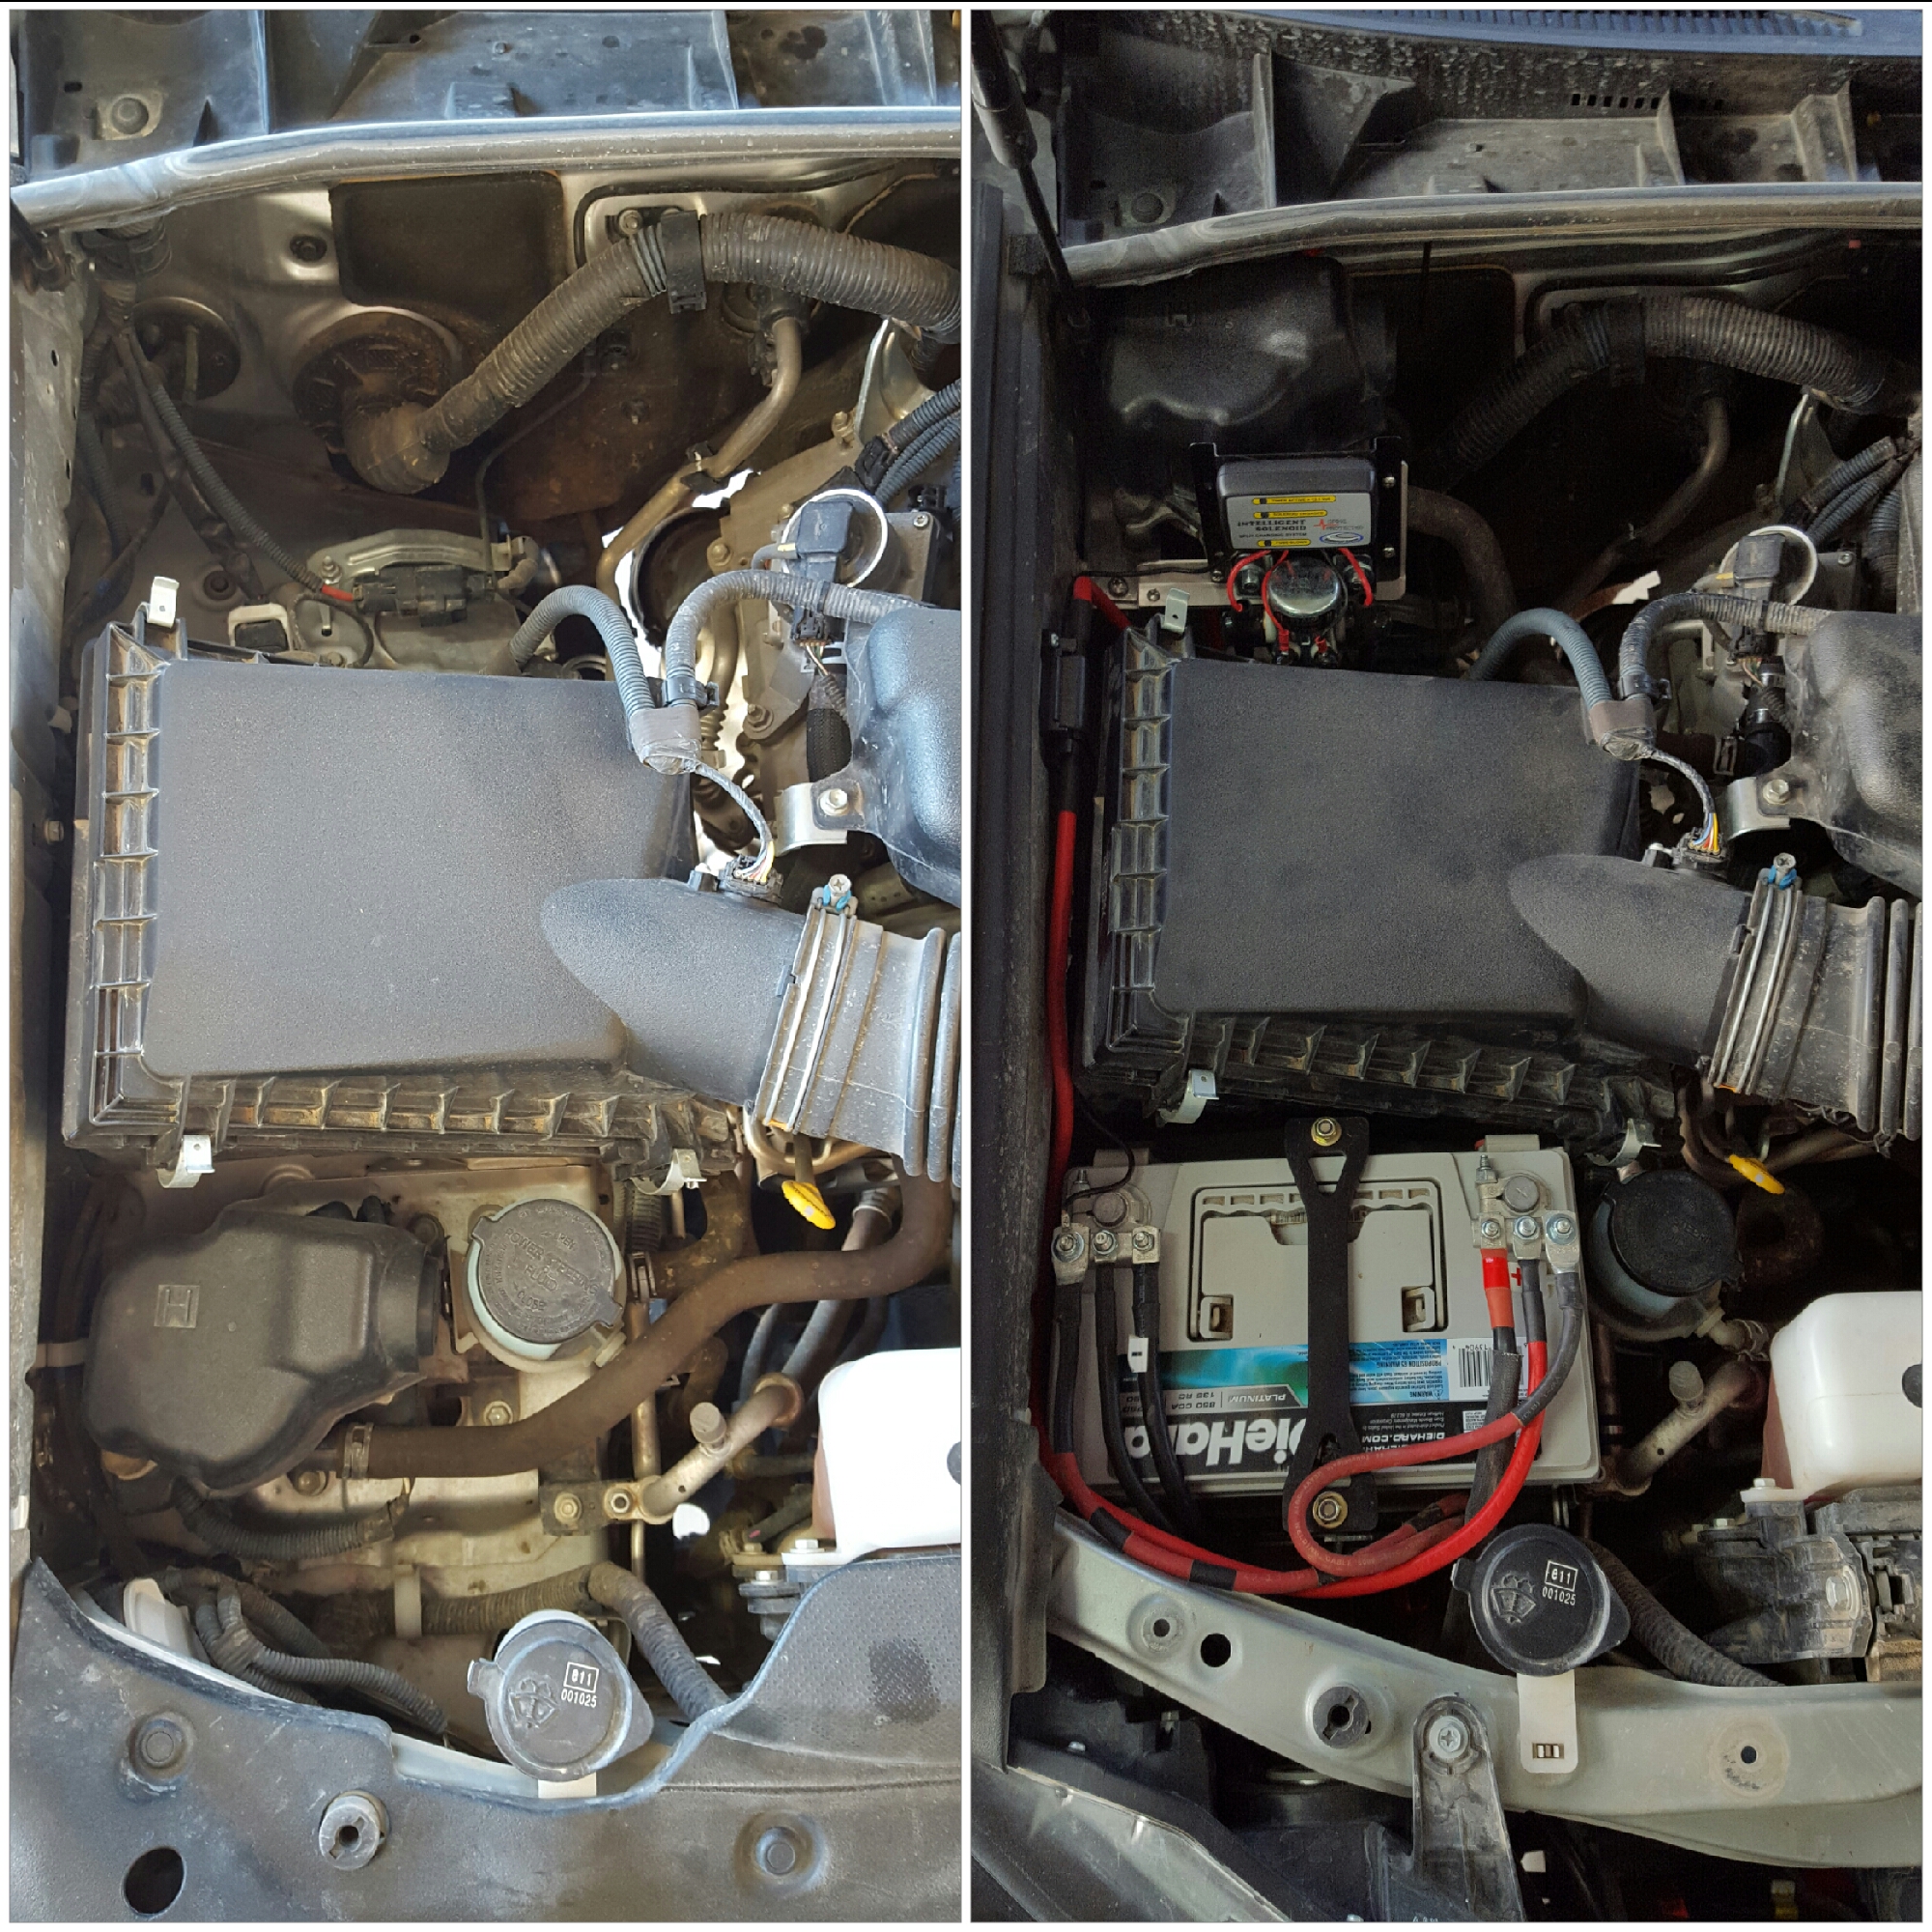
On to the electrical side of things; Winch, LED bar, dual batteries... oh my.
Southern Style Speed Bumper Installation
On to the electrical side of things; Winch, LED bar, dual batteries... oh my.