Jeep JL Rotopax "Caddie"

  • HTML tutorial

boehml

Rank VI
Launch Member

Member III

3,316
British Columbia
First Name
Liam
Last Name
-
Member #

2489

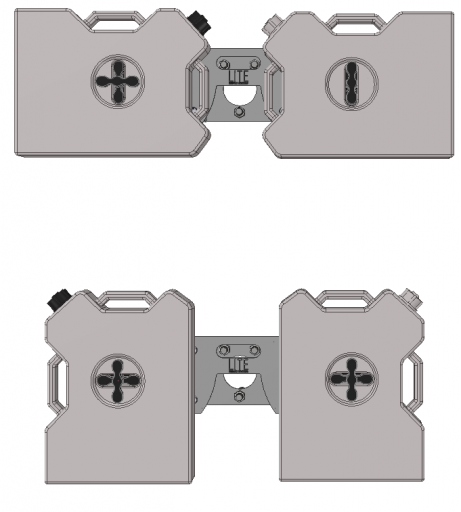
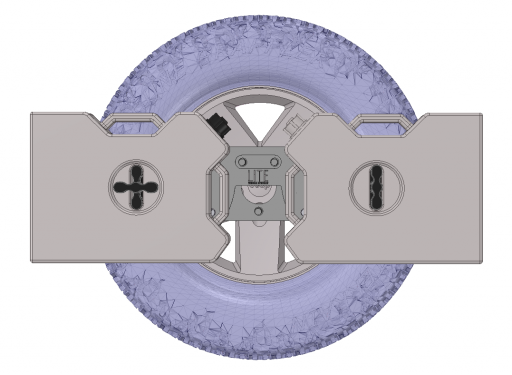
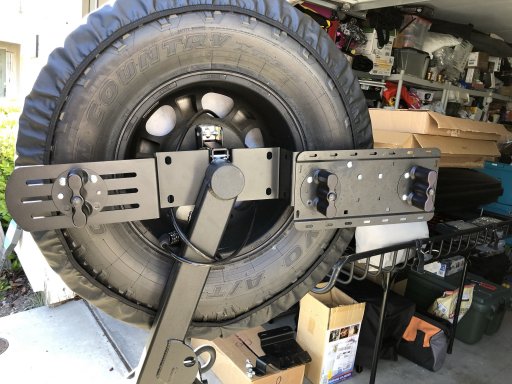
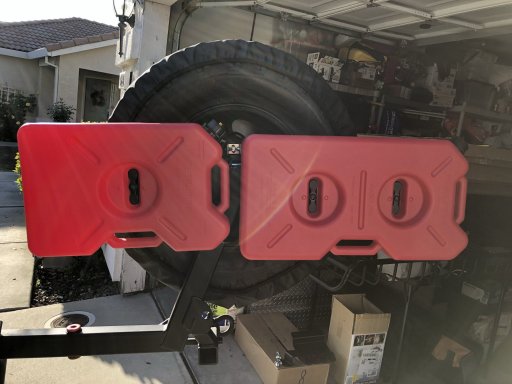
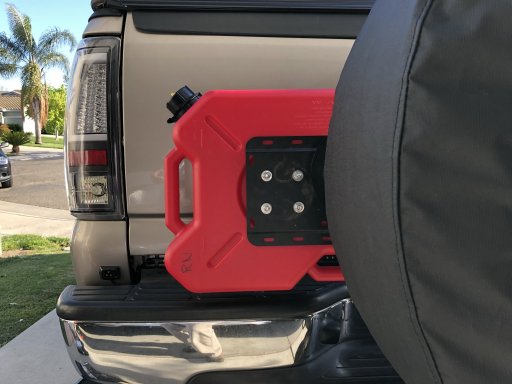
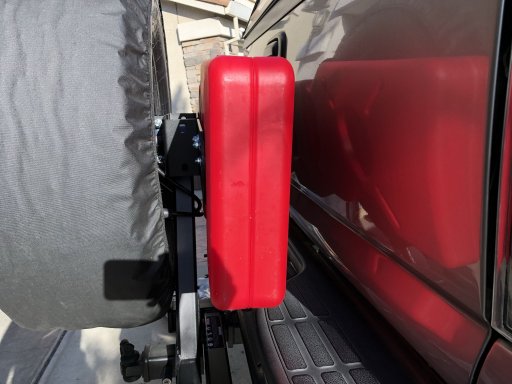
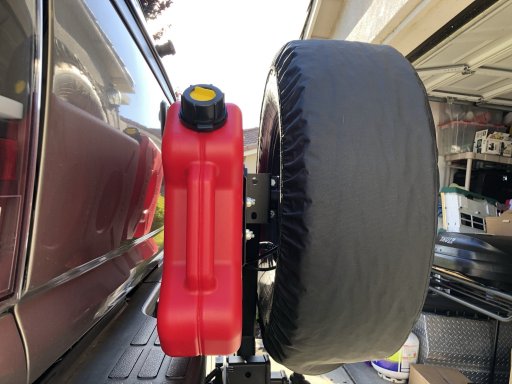
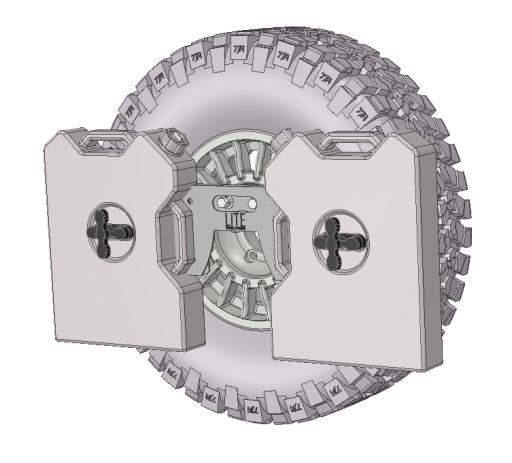
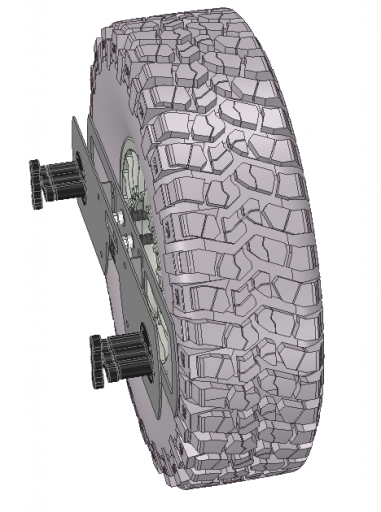
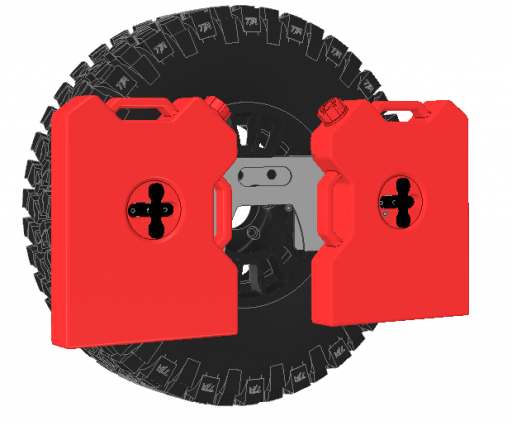
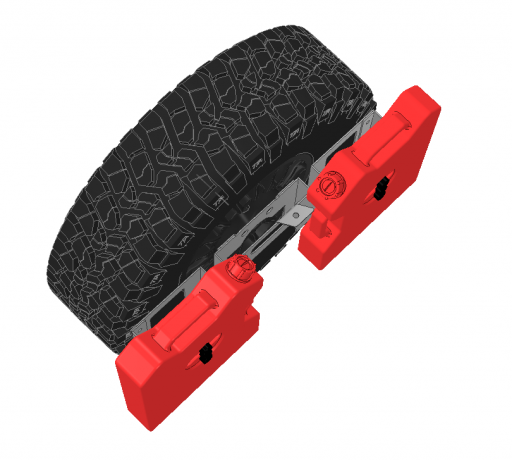
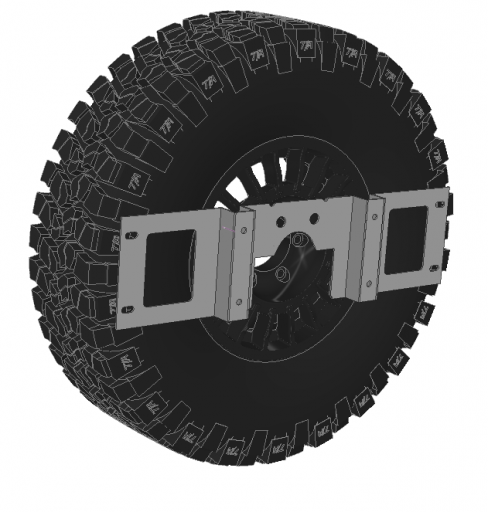
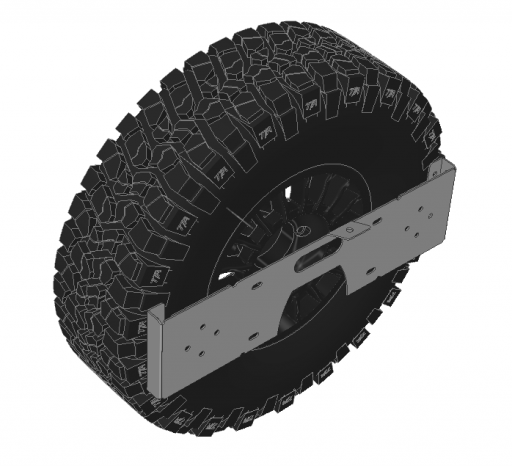
About a week ago I was asking around regarding a rotopax tire carrier after having an idea for a carrier that wouldn't interfere with the backup camera and not be a complete hassle to remove if spare needed to be changed. Anyhow, fast forward and I've designed this and am going to prototype it. I'm curious if anyone else is interested in the trying it too (at cost of materials). Feedback is appreciated, below are the details.

The Setup

1597635810887.png

Mounting Options

1597635707967.png

Mockup with 33" tire

1597635753906.png
 
  • Like
Reactions: F8OO

boehml

Rank VI
Launch Member

Member III

3,316
British Columbia
First Name
Liam
Last Name
-
Member #

2489

That Wilco unit is pretty nice. The back of the JL lacks anything to attach too, and I line the OEM steel bumper.
 
  • Like
Reactions: RoarinRow

USStrongman

Rank V

Influencer II

1,596
Lubbock, TX, USA
First Name
Bryan
Last Name
Hildebrand
Member #

20099

Absolutely. I have a JKU, but there should be no differences in mounting ability as both are 5 on 5. What size spare are you running? The distance from the outside of the rim to the outside of the tire obviously is different in a 315/70/17 (12.5"W) versus a 285/70/17 (10.5"W) versus a Sport JL with a 265/70/17 (9.5"W). How will you make up the stud length for securing it? Reference this style of setup. They have the consumer measure the distance and order an appropriate sized bolt for attachment.

Video at bottom of page:


boehml

Rank VI
Launch Member

Member III

3,316
British Columbia
First Name
Liam
Last Name
-
Member #

2489

Absolutely. I have a JKU, but there should be no differences in mounting ability as both are 5 on 5. What size spare are you running? The distance from the outside of the rim to the outside of the tire obviously is different in a 315/70/17 (12.5"W) versus a 285/70/17 (10.5"W) versus a Sport JL with a 265/70/17 (9.5"W). How will you make up the stud length for securing it? Reference this style of setup. They have the consumer measure the distance and order an appropriate sized bolt for attachment.
Yeah, that is the main reason I want to test multiple units to make sure they work as intended. For a JK, we would need to machine the extended lug nuts to 1/2"x20 as opposed to the M14x1.5 of the JL. Currently the backplate is adjustable for ~6-7", but for wheels shallow wheels, this will interfere with getting a tight seal to the tire, so I will have to design two different styles.

Currently I am running a 37x12.50 spare tire, so on the larger size. What wheels are you running? (If you measure the same way as the video you linked, I can take a look at the brackets to see if they are suitable for your setup).
 

USStrongman

Rank V

Influencer II

1,596
Lubbock, TX, USA
First Name
Bryan
Last Name
Hildebrand
Member #

20099

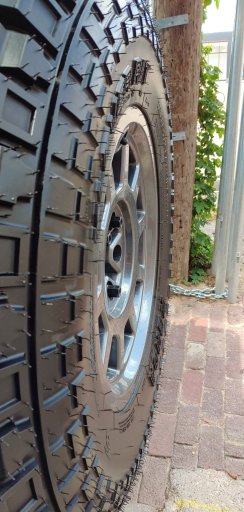
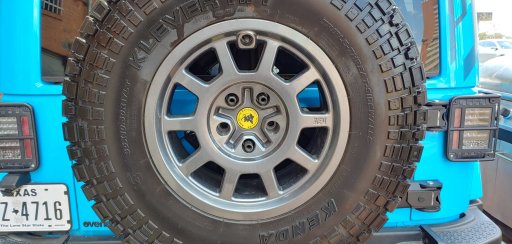
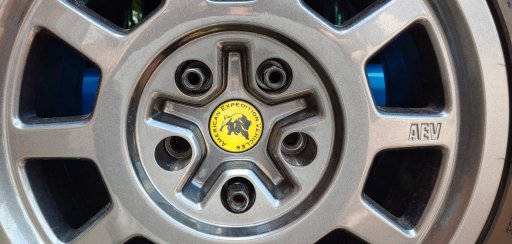
I'm running AEV Saltas with 5.2" backspace and Kenda Klever 35/10.5/17 tires. Measuring with a level across the tire -
From outer edge of tire to outer edge of lug nut is 2 1/8"
From outer edge of tire to outer center hub is 3 7/8"
Depth of lug nut available for a bolt to enter is 1 /7/8"

In addition, my tire carrier is a Smittybilt HD carrier that uses open lug nuts. Perfect for this application. This is a knockoff of the original TeraFlex carrier and pretty popular for JK folks.

20200818_122500.jpg20200818_122508_HDR.jpg20200818_122512.jpg
 
Last edited:
  • Like
Reactions: Wildlee

boehml

Rank VI
Launch Member

Member III

3,316
British Columbia
First Name
Liam
Last Name
-
Member #

2489

I'm running AEV Saltas with 5.2" backspace and Kenda Klever 35/10.5/17 tires. 10.5" wide tire only sits about 3/4-1" beyond the edge of the wheel. I will put a level on it and measure the distance between the outer surface of the tire and where my lugs stick out. In addition, my tire carrier is a Smittybilt HD carrier that uses open lug nuts. Perfect for this application. I'll measure and get pics today. This is a knockoff of the original TeraFlex carrier and pretty popular for JK folks.
Okay, that's perfect. I ran Saltas on my JK too, they are pretty flush with the tire, whereas my KMC RG2 wheels have like 7" from the wheel mounting surface to the tire. With your measurements I can design up additional side brackets and get the correct measurement on the extended lugs to accommodate the JL/JK with all tire/wheel combos.
 
  • Like
Reactions: USStrongman

boehml

Rank VI
Launch Member

Member III

3,316
British Columbia
First Name
Liam
Last Name
-
Member #

2489

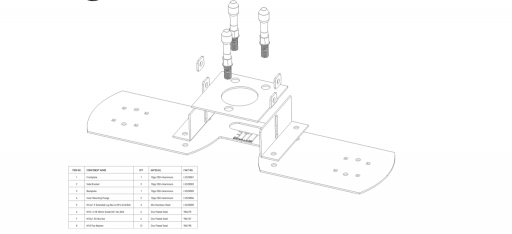
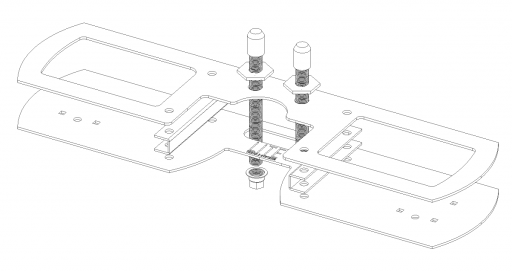
So I had to rethink the entire backplate to make this compatible with all wheel/tire combos. This is basically the final design before it goes to prototype. You shouldn't need those open ended lugs, this will come with a 8" extended lug nut and 2 jam hexnuts for getting a good tight seal of the backplate to the tire. After the adjustments are done, you cut the threaded rod down to about 1.5" exposed and use the provided lugnuts to tighten it all down.

For taking it off, the extended lug nuts will have a reverse threaded inner, so you tighten the provided bolt, then the lug can be removed by going to opposite direction. I like this mounting configuration, because of the adjustablility it offers. I also wanted to make sure spare tire swap was no issue, so it will require a 19mm socket to pop the lug on, and an 11mm to take it off, via the reverse threaded inner. I suppose it also acts as a wheel lock... kind of. Anyways, hopefully this makes sense.

1597818851956.png1597818777193.png1597818755553.png
 
Last edited:

USStrongman

Rank V

Influencer II

1,596
Lubbock, TX, USA
First Name
Bryan
Last Name
Hildebrand
Member #

20099

1/2 x 20. Same as OEM for 2012-2018 JK/JKU. I def like the design better than the video I posted above. Less chance for movement and rubbing and better rigidity.
 

boehml

Rank VI
Launch Member

Member III

3,316
British Columbia
First Name
Liam
Last Name
-
Member #

2489

1/2 x 20. Same as OEM for 2012-2018 JK/JKU. I def like the design better than the video I posted above. Less chance for movement and rubbing and better rigidity.
Yeah, agreed as well. On the first protoype of the original backplate, it wasn't as rigid as I'd like. Hopefully I can get some material cut in the next week for these new parts.
 
  • Like
Reactions: USStrongman

boehml

Rank VI
Launch Member

Member III

3,316
British Columbia
First Name
Liam
Last Name
-
Member #

2489

Got it all cut out, but I don't like the design for longevity, so I've added more bends and possibly hems into the design for strength. Will be cutting more material on Monday to see how that works. I may still need to punch some holes into the design for even more strength, but we will see.
 
  • Like
Reactions: USStrongman

boehml

Rank VI
Launch Member

Member III

3,316
British Columbia
First Name
Liam
Last Name
-
Member #

2489

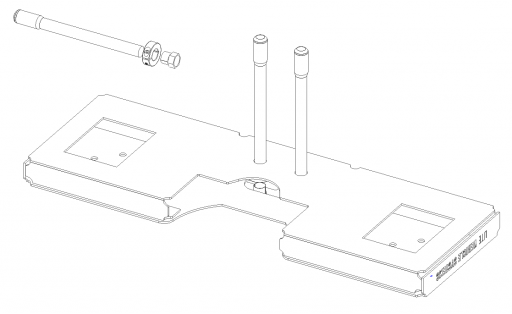
Well I am on like the 7th edition (or something) of this design. What's really a challenge is how to mount this to the top two lugs, while ensuring it is adjustable for wheel/tire combinations and also quick/easy to remove the spare tire in the event that needs to happen. This shouldn't hinder someone who needs to change their spare.

I've now gone to a 1 piece welded aluminium bracket for additional strength rather than 2 piece bolt together. Also, new mounting system to the lugs (see last photo), which will snug the bracket to your tire via torquing your lugs down (after you've correctly set the length via first time installation).

The reason for this setup is adjust-ability without having the pre-measure your tire/wheel setup (like other manufactures), while allowing attachment to virtually all wheels without the bracket itself interfering (like on the first design posted). Taking the tire off should be as simple as:

1. Break the torque on the top two extended lugs connecting the carrier to the tire.
2. Loosen the setscrew on the collar and remove the socket adapter/collar.
3. Slide the carrier off and remove the two lugs loosening by hand.

Re-installation should be:

1. Hand tighten extended lugs, loosening one-two full turns and slide carrier over the extended lugs.
2. Attach the socket adapter/collar and tighten setscrew.
3. Torque down the extended lugs, seating the carrier tightly against the tire.
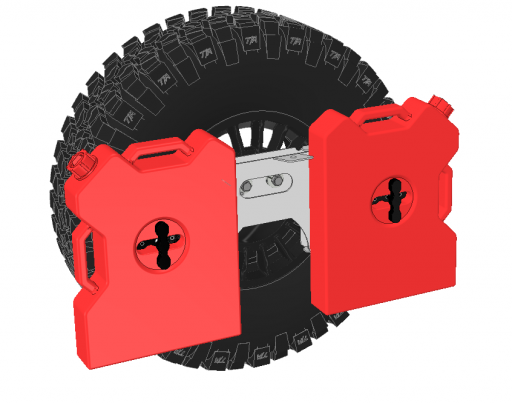
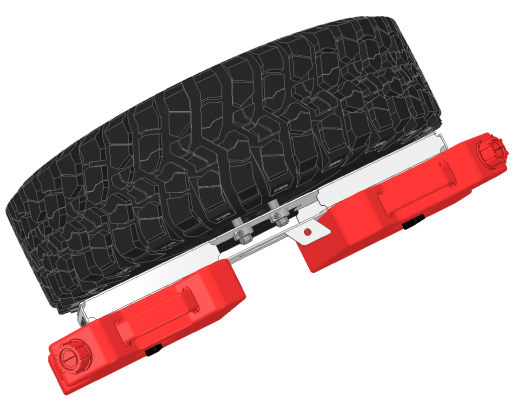
1599547023971.png
1599547035856.png
1599547055611.png

Feedback is appreciated.
 

boehml

Rank VI
Launch Member

Member III

3,316
British Columbia
First Name
Liam
Last Name
-
Member #

2489

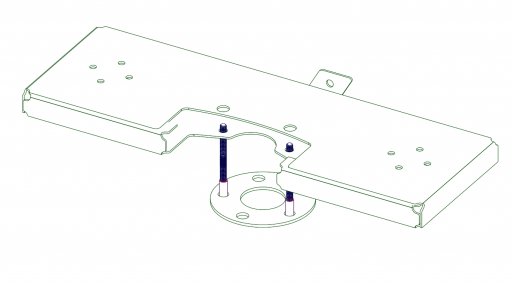
Me again... after working on this design for sometime to make it properly adjustable, here is what I THINK is the actual solution. That backplate gets sandwiched between the wheel and the tire carrier, and the threaded shafts are replaceable by size to adjust for your wheels backspacing.

Not pictured here is the nut that will attach the unit to the backplate. So essentially, two bolts and your rotopax carrier is off so you can move to the tire. The rotopax handles double as the grips to remove everything, no need to dissemble anything on the trail for a quick tire swap.

2021-01-21 21-52-38.gif

1611295173614.png
 

boehml

Rank VI
Launch Member

Member III

3,316
British Columbia
First Name
Liam
Last Name
-
Member #

2489

Is the tab on top for a camera or 3rd brake light mount? That seems like a pretty smart idea...
You could use it for that, but I would need to centre it probably. At the moment its intended to hold a sandflag. That being said, there are some ORV areas where sand flags are required in the front of the vehicle. Would it make more sense to centre it for the option of adding a third brake light? I don't necessarily like that, because the unit should be able to take off in a matter of seconds, but I guess if you have a quick release for the wiring harness, it could work.