Off-Road Ranger I
Made my own Mikeybilt tailgate table for my JKU a while back. Figured I'd share it here as it may be cheap, easy inspiration for members here on OB.
What I got for the build was:
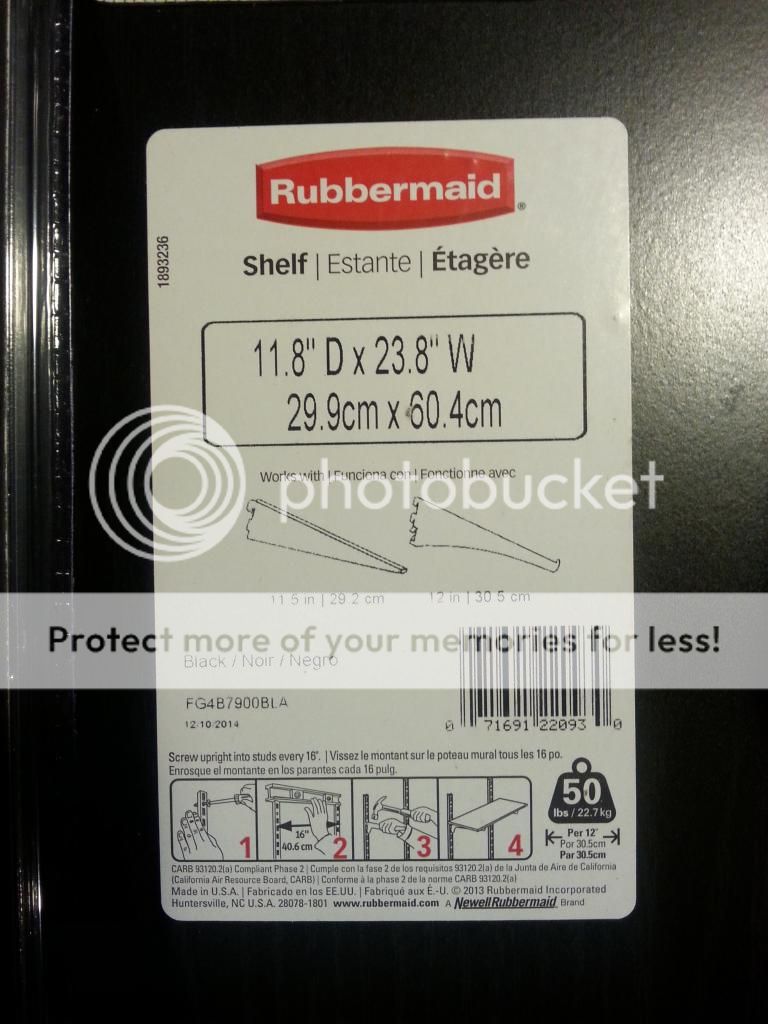
1) 11.8" x 23.8" black shelf ($6 at Home Depot, black)
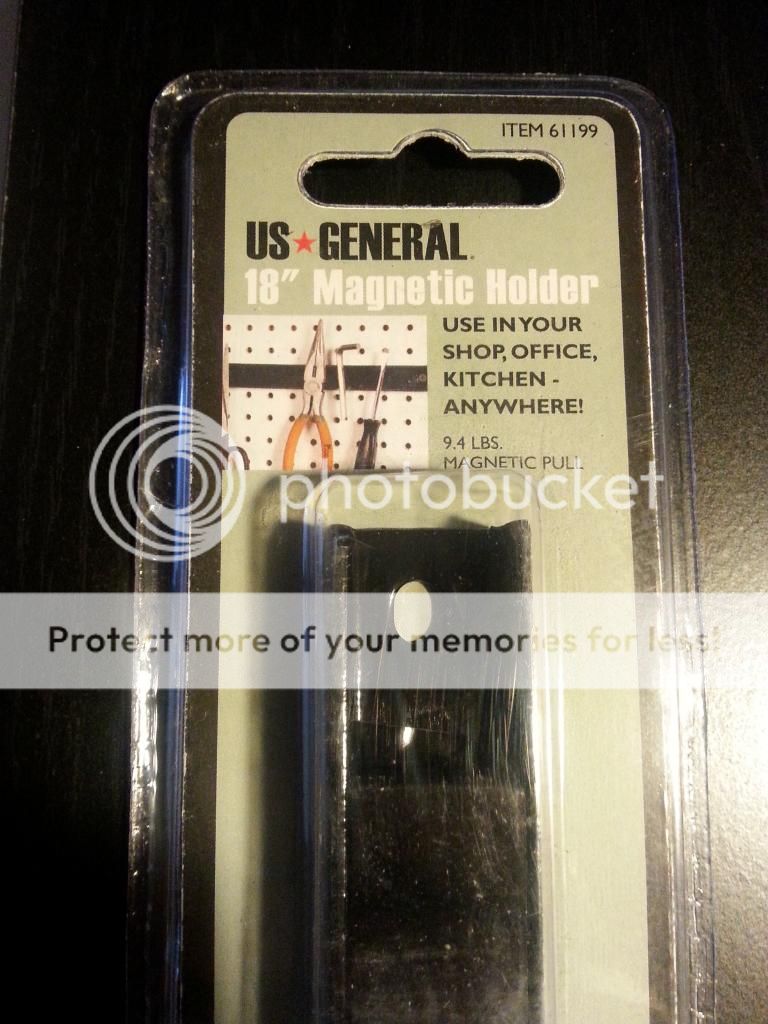
2) Magnetic strip ($5 at Harbor Freight)
3) 2 hinges ($3 at Harbor Freight)
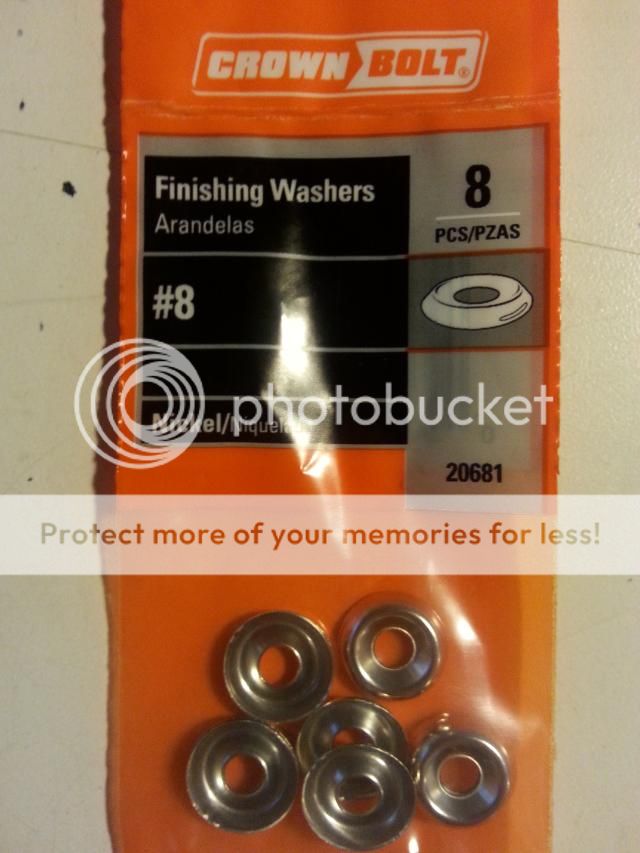
4) #8 finishing washers and screws ($8 at Orchard, 3 washer bags of 8=24 total)
5) 9' of 2" webbing ($5 at REI)
And I had the velcro, 550 paracord, zipties, and patches
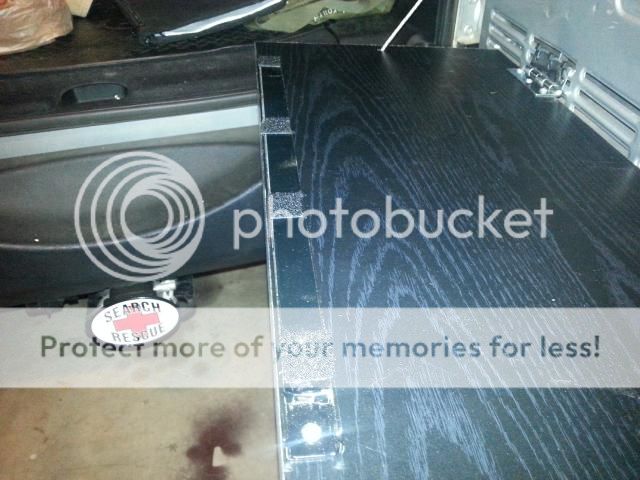
Everything together ( I did not use the Neodymium magnets after all):
Shelf:
Magnetic Strip:
Washers:
First, I mounted the hinges to the bottom of the shelf on equal sides to make it horizontal. Then, I drilled two holes on both sides for the 550 paracord to go through. I used zipties to mount the hinges to the topmost vent slit on the tailgate. I want to make sure this will be usefull before I actually drill holes in my tailgate. The zipties are quite strong and they do not rattle once tight. I tied the paracord to the bottom side of the shelf equally on both sides and affixed it under the black plastic cover on the tailgate.
Next, I centered and attached the magnetic strip on the top of the shelf. I put velcro on the magnetic strip to help with rattling and ease of getting it off the tailgate (it's quite strong).
The magnetic strip contacts the tailgate metal just above the black plastic molding. This holds quite strong and the table rests a bit on the black plastic...perfect!
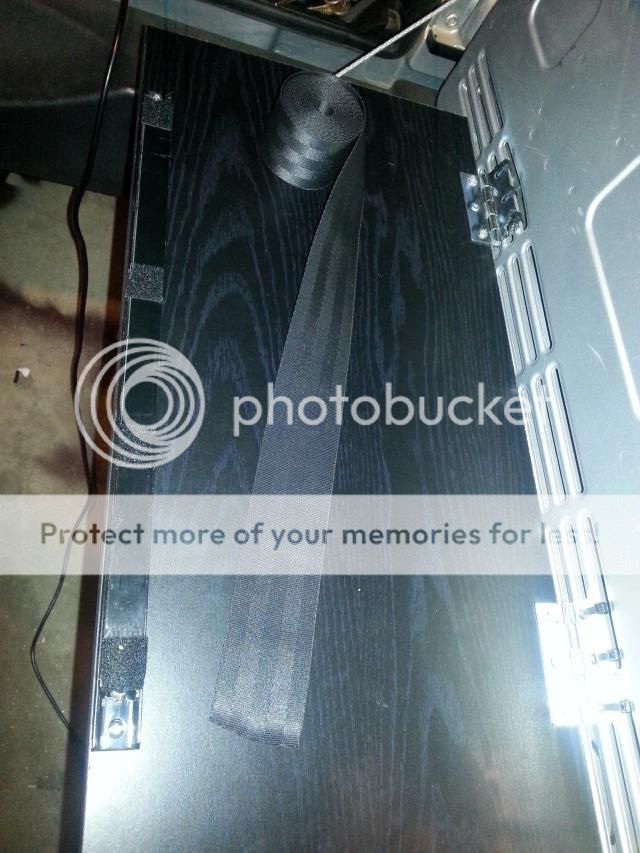
Then, I got my 2" black webbing and cut three equal pieces and burned the ends.
I then drilled equal holes on both sides of the board starting at 4.5", to 9.5" from the tailgate side of the table. This is where the screws/washers will go to hold down the webbing:
Then, I doubled up on the webbing and drilled the screws/washers through the webbing into the pilot holes. Two screws per webbing an inch apart.
Next, I fastened a few more washers to the front/bottom of the table to add more stability, tautness and support.
https://imgur.com/DlInNRe
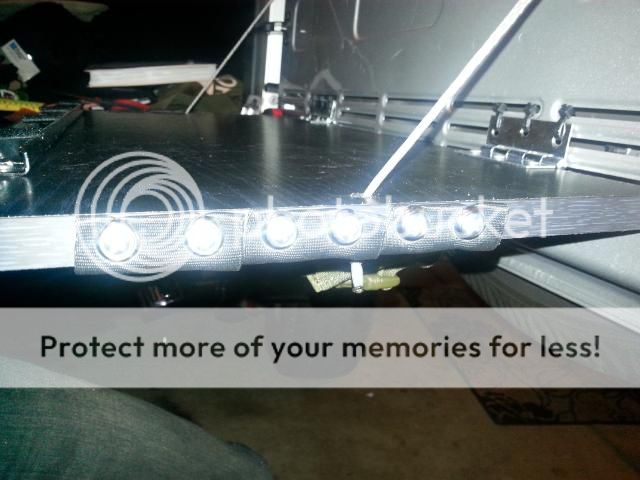
After this, I attached some molle pouches, a strip of velcro for my patches (we don' need no stink'in patches!)
https://imgur.com/glzCKWh
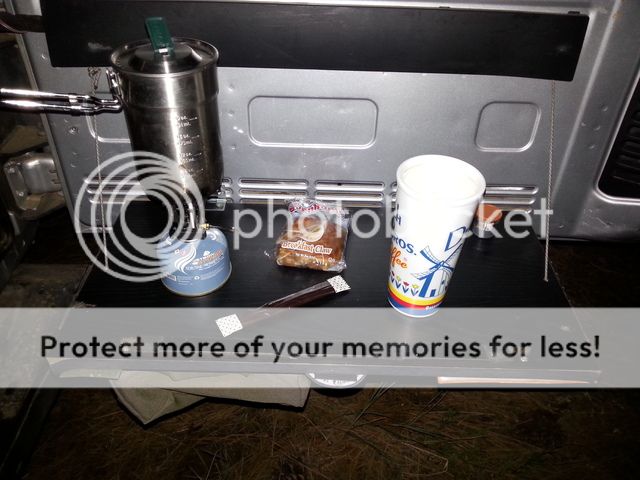
It is very sturdy and strong and does not rattle at all. I'm pretty stoked with my $25 ingeniuty!
And after almost three years, this shelf, even still zip tied in place is going strong and has been on many adventures and uses!
What I got for the build was:
1) 11.8" x 23.8" black shelf ($6 at Home Depot, black)
2) Magnetic strip ($5 at Harbor Freight)
3) 2 hinges ($3 at Harbor Freight)
4) #8 finishing washers and screws ($8 at Orchard, 3 washer bags of 8=24 total)
5) 9' of 2" webbing ($5 at REI)
And I had the velcro, 550 paracord, zipties, and patches
Everything together ( I did not use the Neodymium magnets after all):
Shelf:
Magnetic Strip:
Washers:
First, I mounted the hinges to the bottom of the shelf on equal sides to make it horizontal. Then, I drilled two holes on both sides for the 550 paracord to go through. I used zipties to mount the hinges to the topmost vent slit on the tailgate. I want to make sure this will be usefull before I actually drill holes in my tailgate. The zipties are quite strong and they do not rattle once tight. I tied the paracord to the bottom side of the shelf equally on both sides and affixed it under the black plastic cover on the tailgate.
Next, I centered and attached the magnetic strip on the top of the shelf. I put velcro on the magnetic strip to help with rattling and ease of getting it off the tailgate (it's quite strong).
The magnetic strip contacts the tailgate metal just above the black plastic molding. This holds quite strong and the table rests a bit on the black plastic...perfect!
Then, I got my 2" black webbing and cut three equal pieces and burned the ends.
I then drilled equal holes on both sides of the board starting at 4.5", to 9.5" from the tailgate side of the table. This is where the screws/washers will go to hold down the webbing:
Then, I doubled up on the webbing and drilled the screws/washers through the webbing into the pilot holes. Two screws per webbing an inch apart.
Next, I fastened a few more washers to the front/bottom of the table to add more stability, tautness and support.
https://imgur.com/DlInNRe
After this, I attached some molle pouches, a strip of velcro for my patches (we don' need no stink'in patches!)
https://imgur.com/glzCKWh
It is very sturdy and strong and does not rattle at all. I'm pretty stoked with my $25 ingeniuty!
And after almost three years, this shelf, even still zip tied in place is going strong and has been on many adventures and uses!
Last edited: