Steward II
Steward II


Influencer I
So, spent this Sunday in my shop drilling and fastening more bolts to stiffen it up a bit. It's better now and I am more confident in getting it road ready by May...You will find that everything will loosen up. From my experience 80/20 is great for concepts and getting stuff dialed in. I would recommend welding all the joints and through bolting anything you can once you have your design nailed.
Yes, it will be a Goretex or similar tpu laminate material. I will hear seal the seams tooNice build. Will you ultimately have a rain fly?
Just back from more trade shows and vacation with families so I got some time today to tinker with the flexing a bit. I added more nuts and bolts and some leveling plates for the center sag. It worked well but I still think it needs a bit more stabilizing on the extension. I am going to add some angle aluminum rail to the bottom of the decking and screw it to the panels next.Any Updates?


Influencer II
It isn't too bad overall, but 80/20 does have some minor issues I have to work around!Seriously impressive... making a roof top tent is not something I'd have even considered doing but it certainly looks possible now I've seen this. Keep up the posts!


Advocate III

Enthusiast III
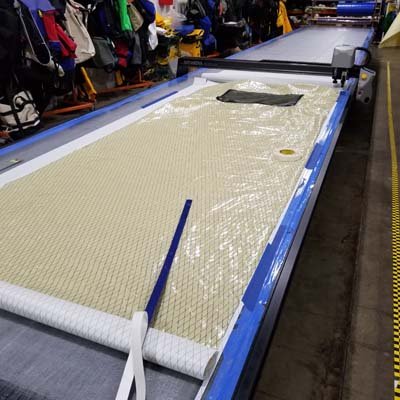
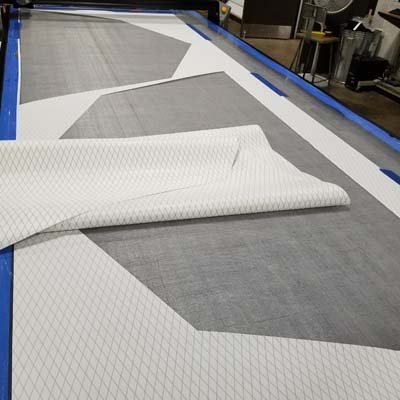
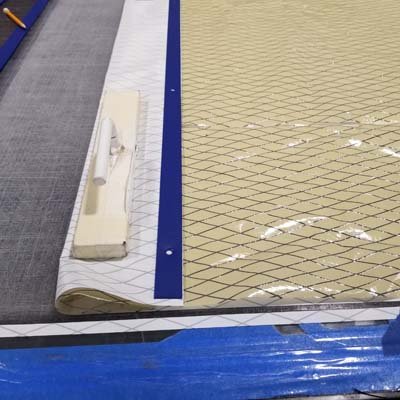
PicsLast leg started today. I have to sew the no-see-um mesh windows on, then cut the fabric out and make some interior flaps for covers, then cut the door and install zippers. I have about 1 day of work left, have to be done by the weekend for a test flight before NWOR!!!
Sent from my SM-G950U using OB Talk mobile app


Advocate III
1021
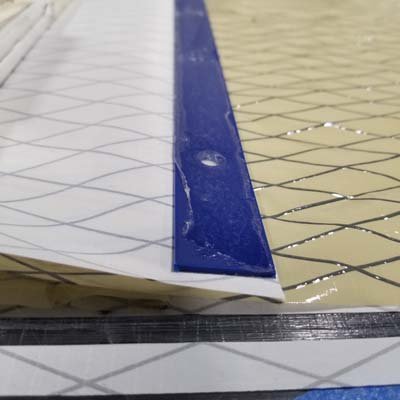
.030" hdpe sheetWhat did you make that template out of?
Sent from my iPhone