Enthusiast III
Hi all! Well we started this journey with the purchase of a 2013 Tacoma SR5 2.7l automatic access cab. I loved the truck and had a lot of fun with it.
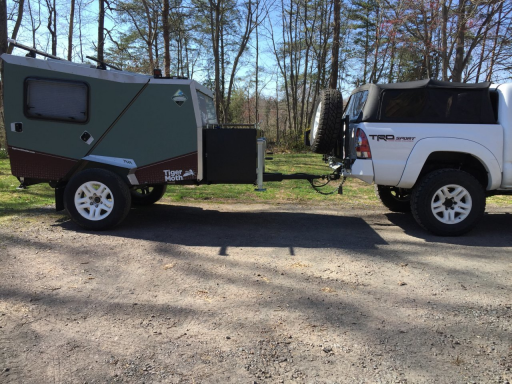
I did an ass load of mods to it. My wife and I were Girl Scout leaders for 17 years and love to camp so we decided to venture into the overlanding lifestyle in our own little way and bought a micro off road camper. Well the 2.7 with the Auto didn't like towing especially in the mountains so directly following our first camping trip the truck was stripped and traded a week later for our current 2015 TRD Sport 4.0l 6mt 4wd and what a difference did it make towing is no longer a problem and we have taken the camper some fun places.
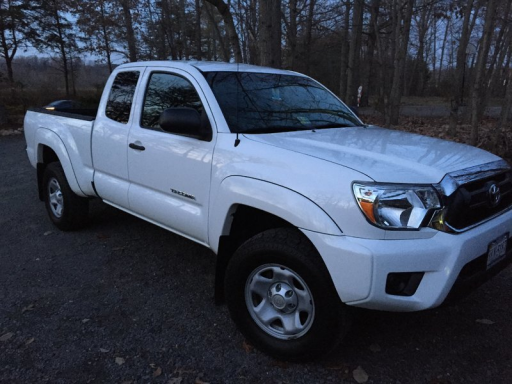
This was the day we bought the truck I had the wheels and tires swapped over from the 2013 to this one
Then the mods began with thepile of parts off the other truck. It's been a lot of fun. My background professionally is in auto body and paint with a focus on welding and fabrication so if i can't find what i need I make it.
Below is the current up to date list of mods. It's just a simple build we use the truck as a tool to et us and the camper where we want to go:
Interior:
CH4x4 Small Toyota push switches in the console below heater controls
Grey Carhart seat covers full set
Ultraguage EM Plus
Extreme Duty Tech Deck
Ram Phone mount
Ram Gps Mount
Communications:
Cobra 75WX ST
4" Firefly antena
Radio Shack hand held CB
Navigation:
Magellan TR7 on road/ off road GPS
Exterior:
Debadge
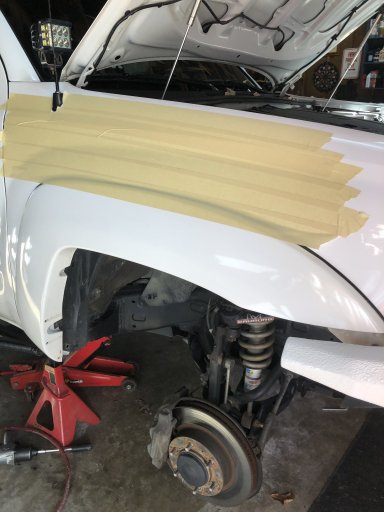
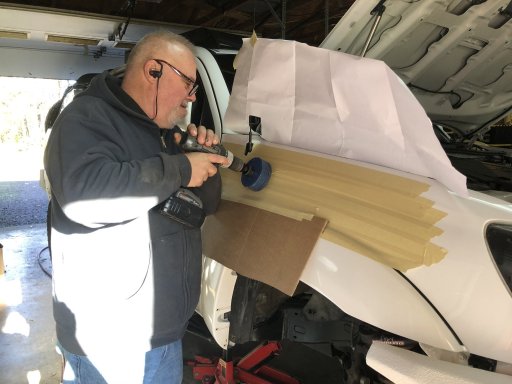
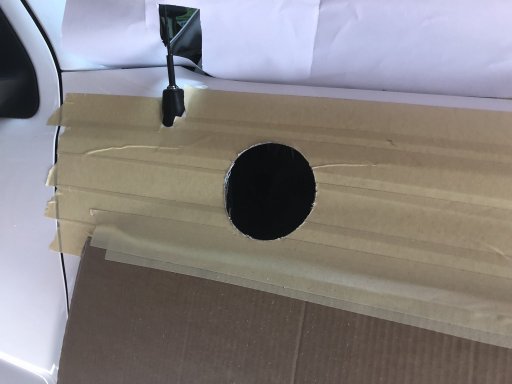
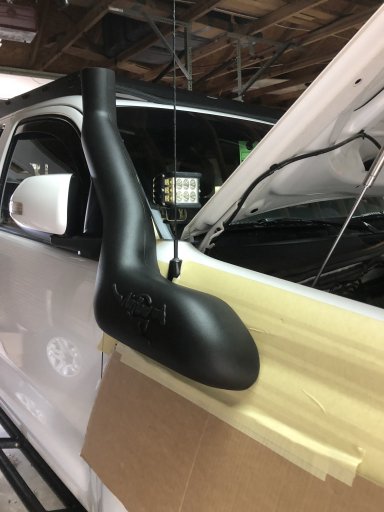
Rago Fabrication ditch light brackets
Custom fabbed DIY relay bracket in engine compartment
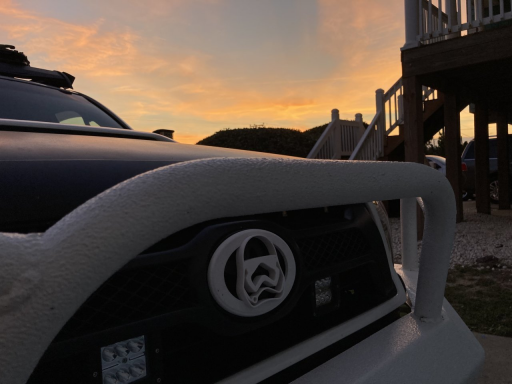
Dipped the grill emblem white
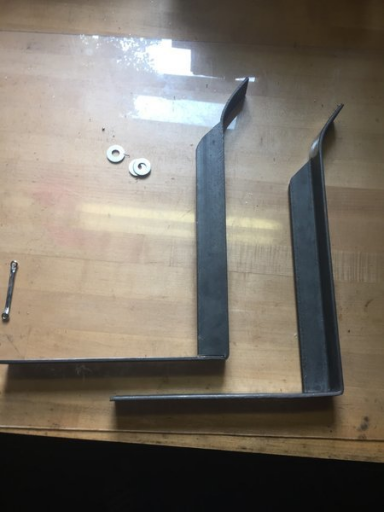
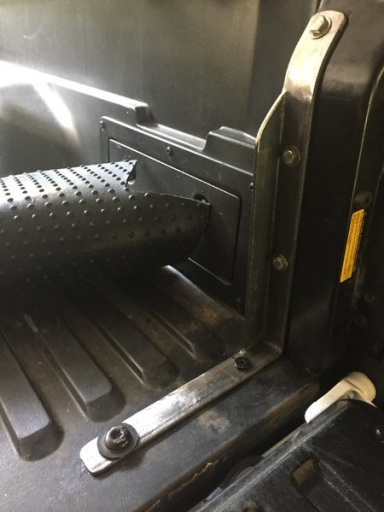
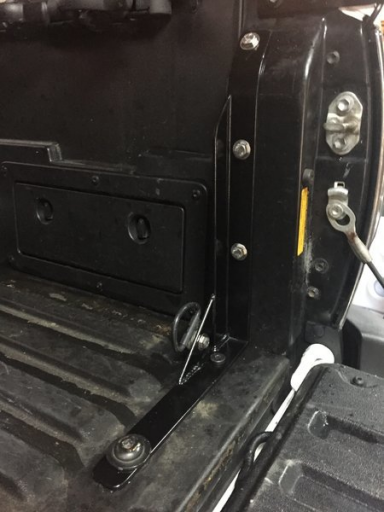
DIY tool mounts on bed rail
DIY Hilift mounts on bed rail
Tail pipe chop
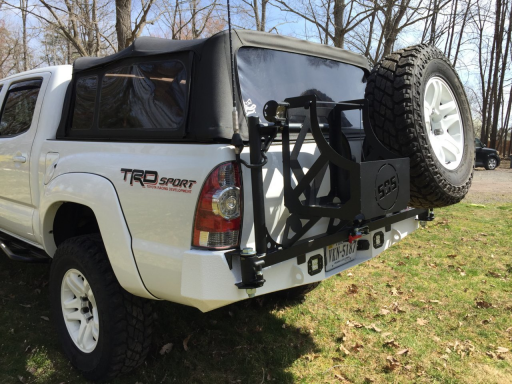
Best Top soft camper shell
red Line hood struts
DIY fire extinguisher mount
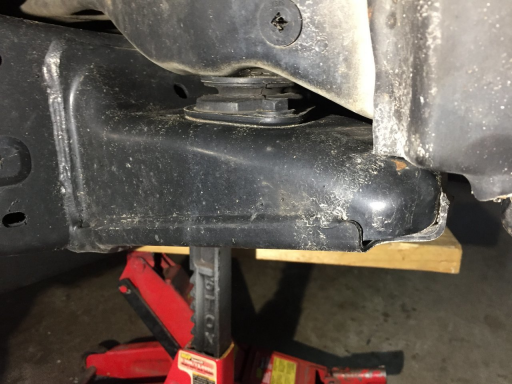
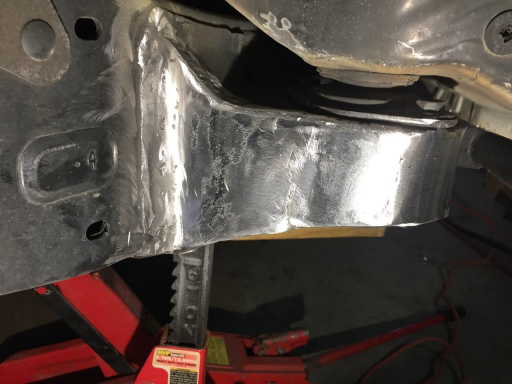
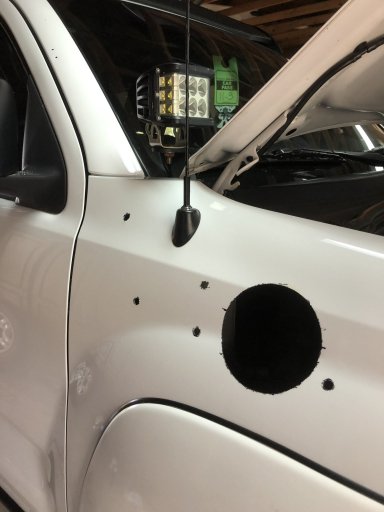
Cab Mount Chop Full Chop/ DIY
Lock n Roll triler hitch
Reese 11" drop hitch
Weather Tech vent visors
KB Voodoo bed rail reinforcement caps
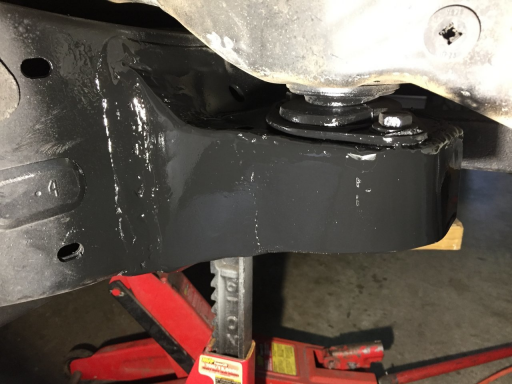
Diy frame reinforcement plates
Tie in brackets for front bumper to frame
BHLM
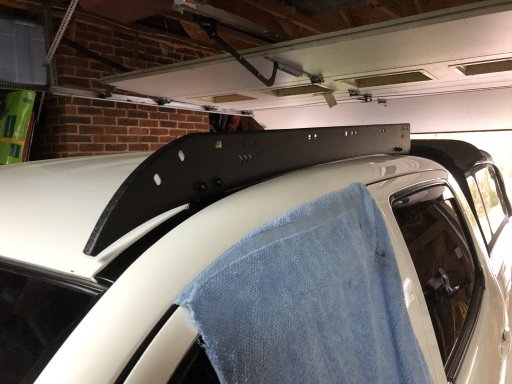
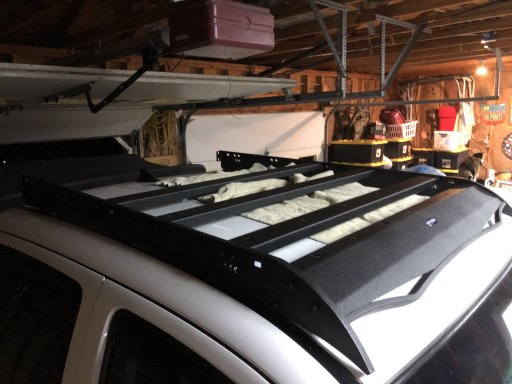
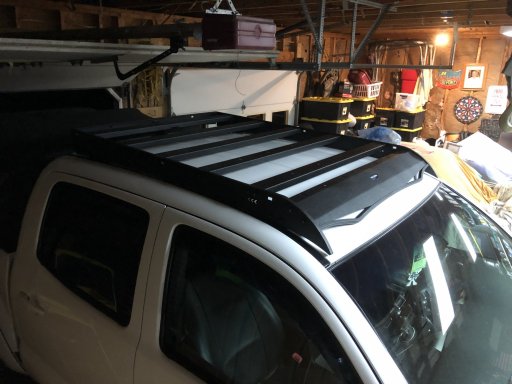
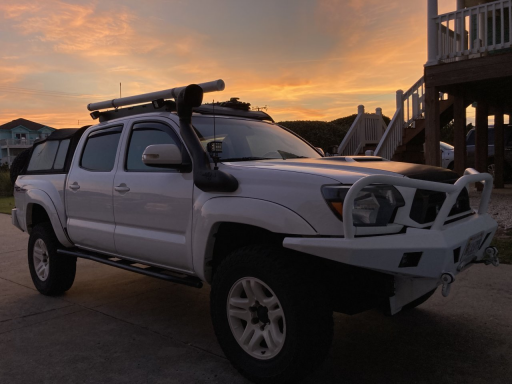
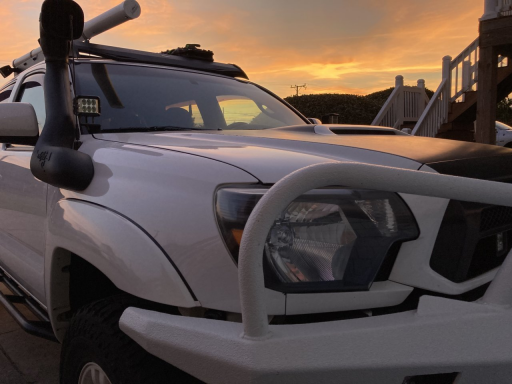
Hooke Road roof rack
Shortie 14" antena
Engine and Performance:
Unifilter/ Secondary air pump mod
AC drain relocate
TRD short throw shifter
Fumoto oil drain valve
ADD W1 oil catch can
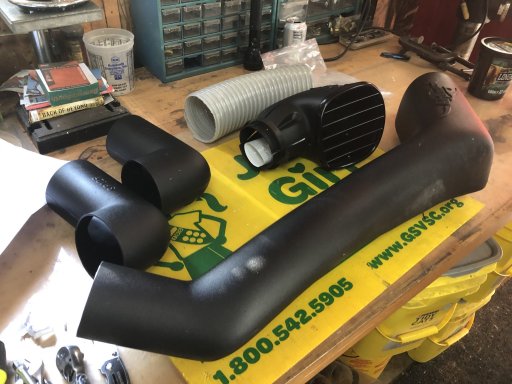
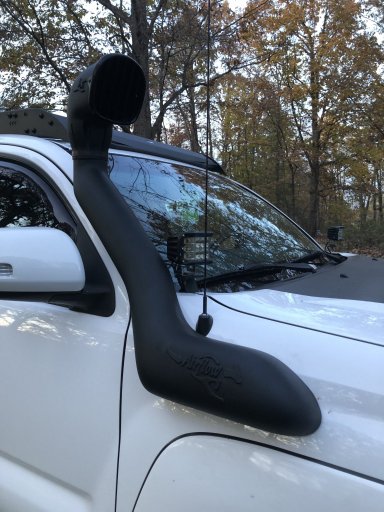
Air Flow snorkel
Drivetrain and suspension:
2004 Tundra wheels
Cooper St Maxx 255/80/17
Front:
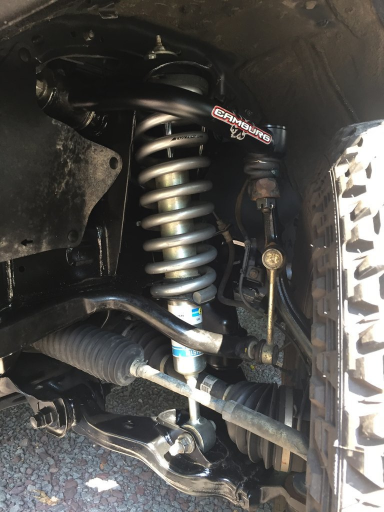
Bilstein 5100 set at "0"
Toytec/ Eibach 521600 2.5" lift coils
3/8" top plate spacer drivers side
1/4" top plate spacer passenger side
wheeler's Super Bumps
Camburg ball joint UCa's
Rear:
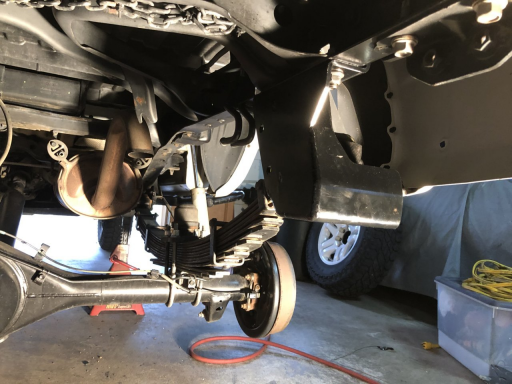
Deaver Stage III leaf packs. 9 leafs with 2 overloads for 11 leafs total
Bilstein B110's
All Pro ubolt flip kit
Wheeler's Super Bumps
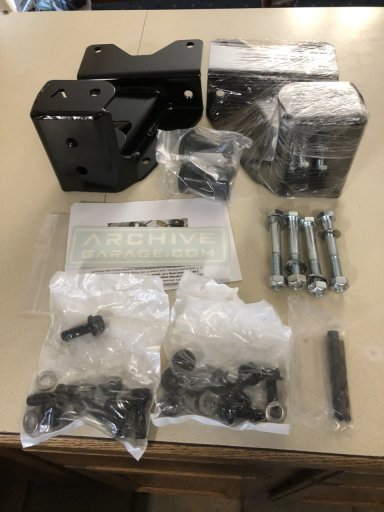
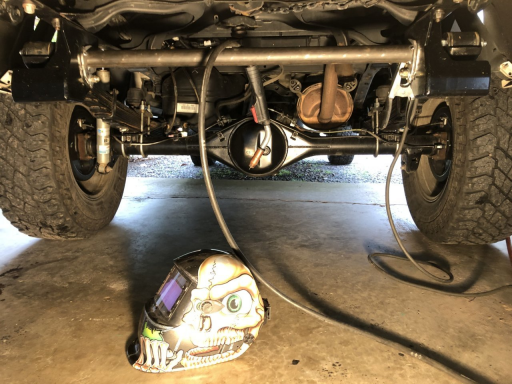
Archive garage Hammer Hangers with cross tube
+5" brake lines
Suspension Misc:
rear Diff breather relocate
OME carrier bearing drop
Lighting:
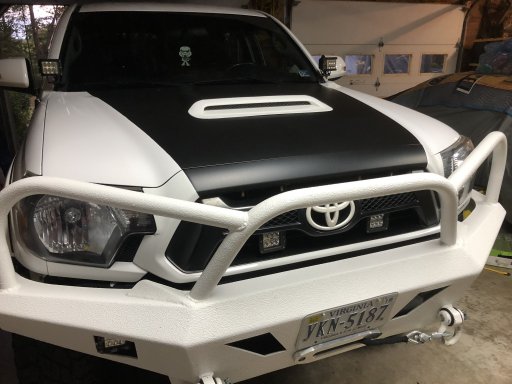
Caliraised amber 18w LED pods for fogs
Caliraised 18w LED pod for rear lighting
Caliraised 27w Side projecting pods for ditch lights
Caliraised 18w LED spot pods in the grill
Flush mount pods in rear bumper
Under hood LED lighting
Grill "Raptor" lights Super Bright LED's
LED light upgrade in interior dome, vanity and map lights
4 LED pods. 2 on each side of the roof rack
Armor:
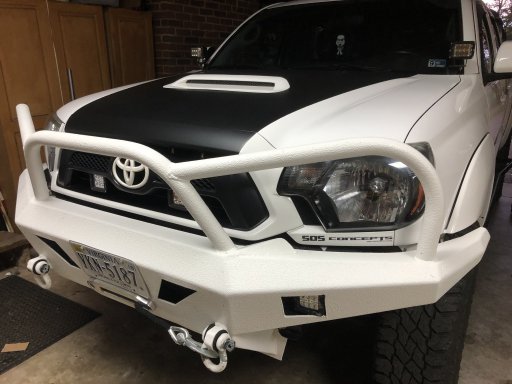
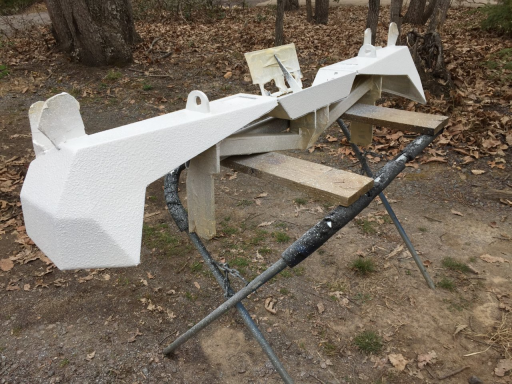
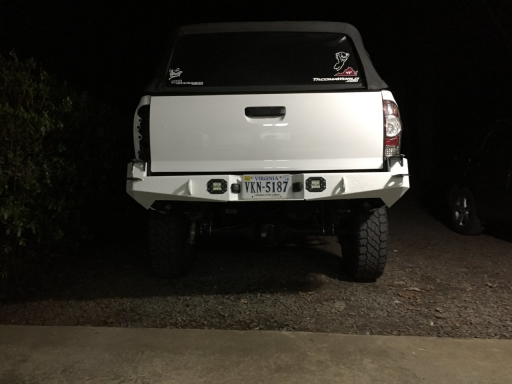
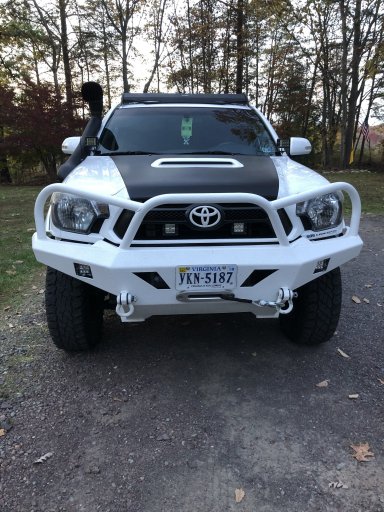
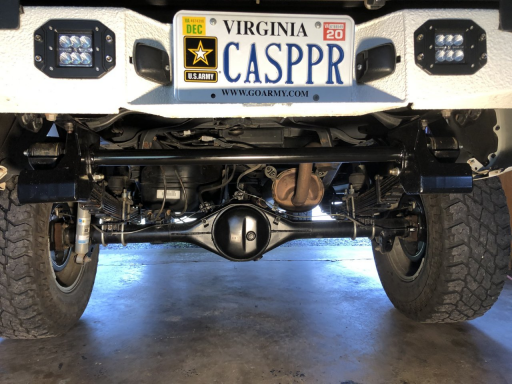
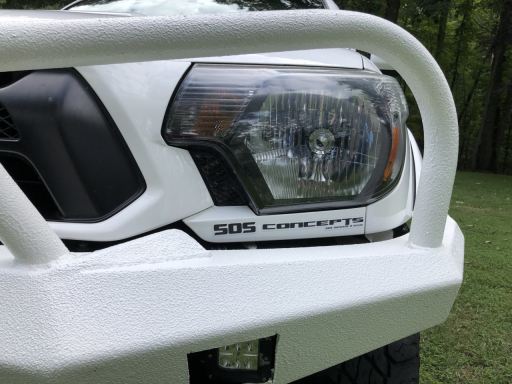
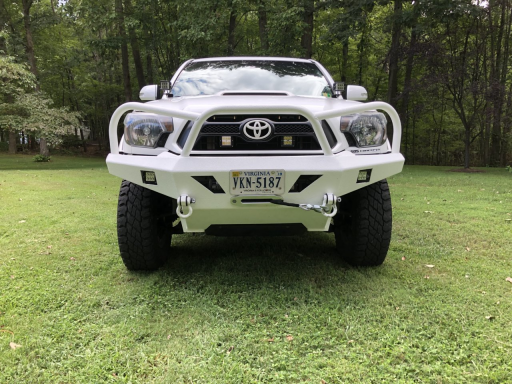
SOS Concepts Aluminum front bumper with full hoops bedlined super white
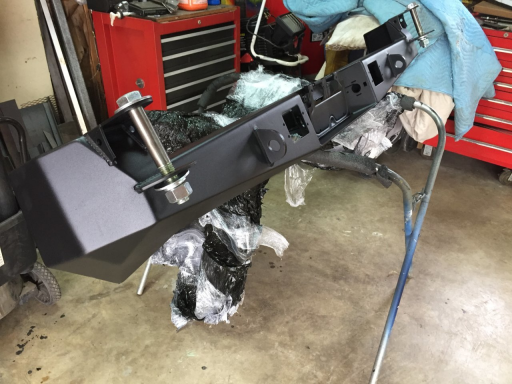
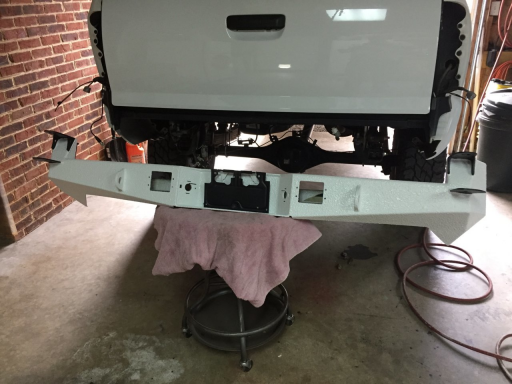
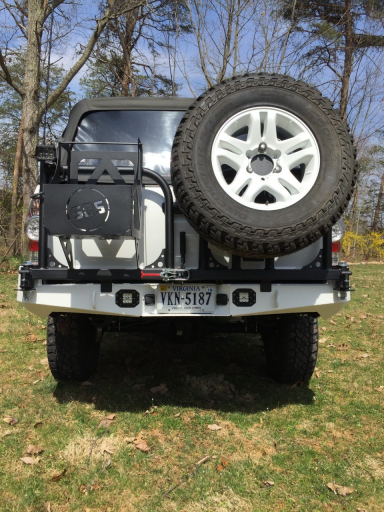
SOS Concepts standard rear bumper with dual swingouts bedlined super white with black swingouts
SOS Concepts IFS skid
SOS Concepts trans skid
SOS Concepts transfer case skid
All pro sliders
Recovery/ Tools:
48" Hilift jack
Masterflow tsounami compressor
4 3/4" shackles
2 hitch mounted shackles
Axe
Shovel
hatchet
machette
2 ton come along
Skill craft emergency kit
Auto power jumper pack
Craftsman tool set
Torque wrench
Metric wrench set
Tire plug kit
First aide kit
2 C clamps
Jumper cables
12v/ 100w work light
ARB recovery strap
Engo E9000 winch with synthetic line
haws fairlead
16,000 pound snatch block
ARB deflator
ARB winch blanket
Black rhino tree strap
On the work bench:
ABS kill switch
ARB twin compressor
On Order:
All my pics are either on my phone or on Tacoma World. I had to replace my phone and a lot didn't recover so I will have to rely on copying nd pasteing.
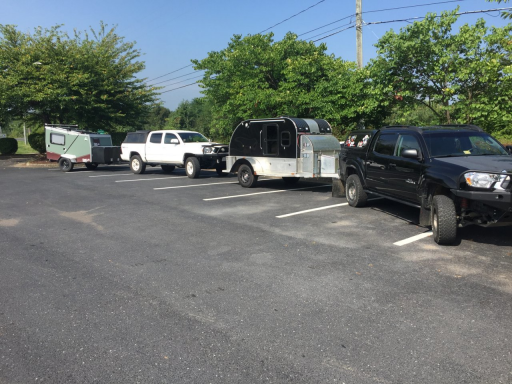
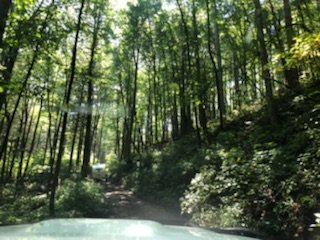
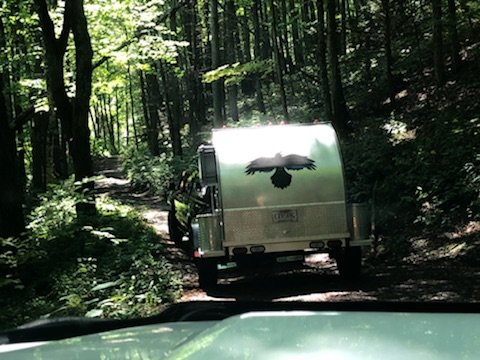
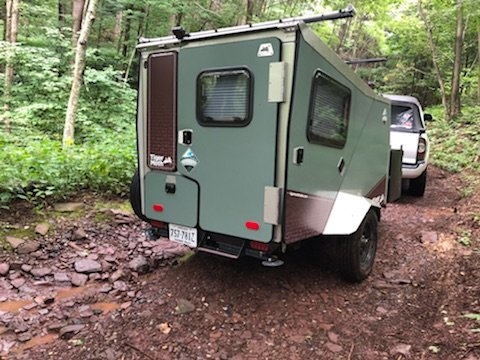
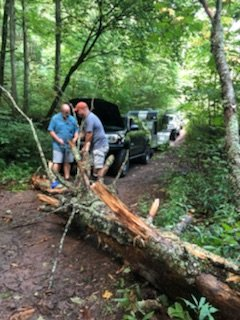
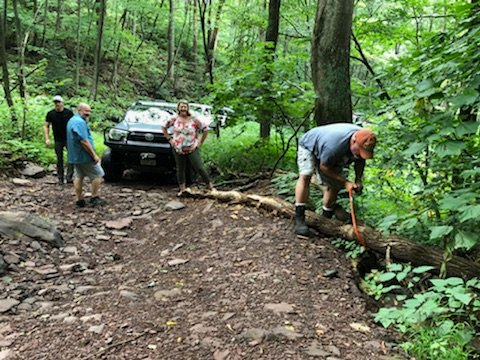
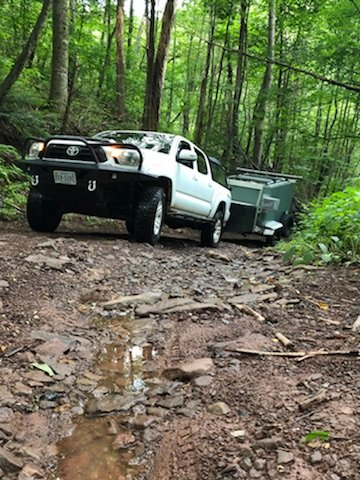
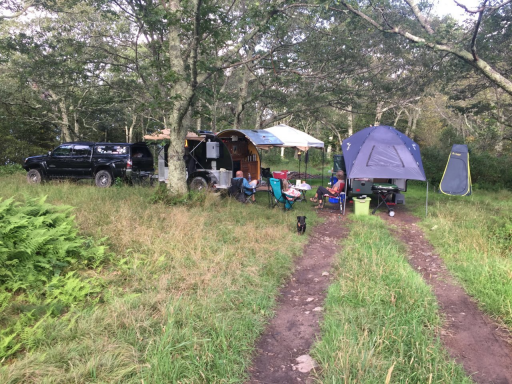
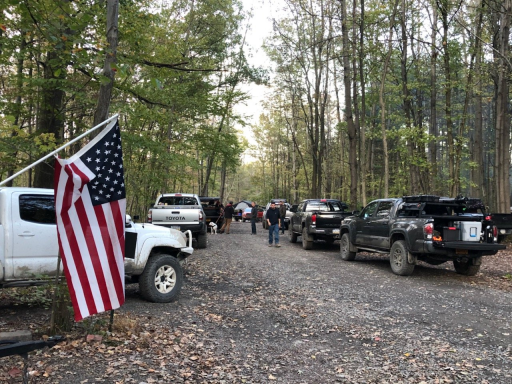
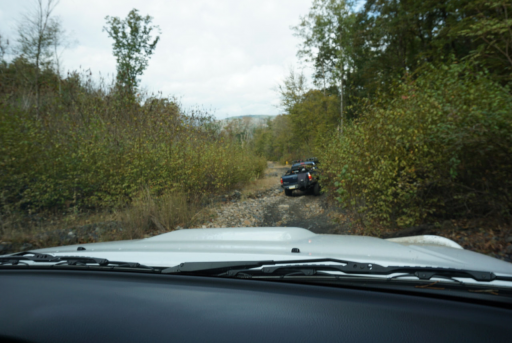
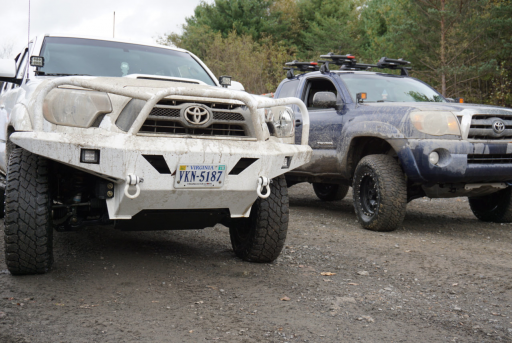
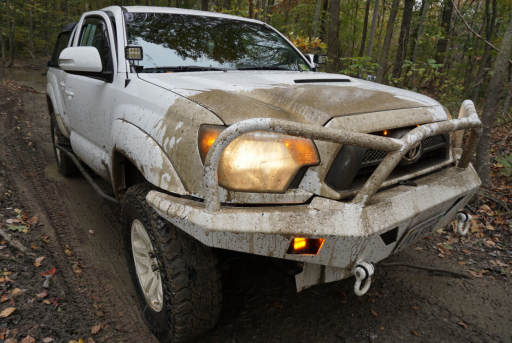
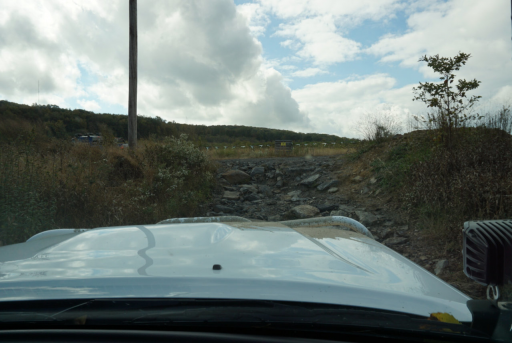
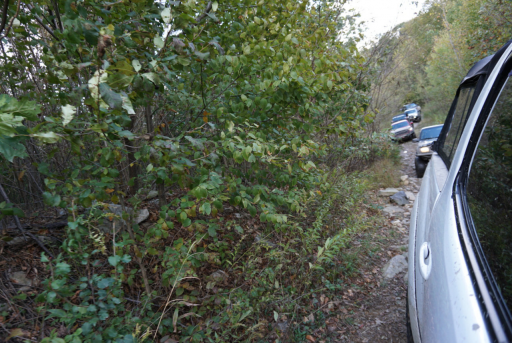
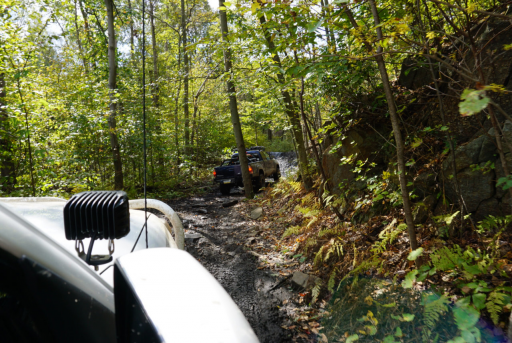
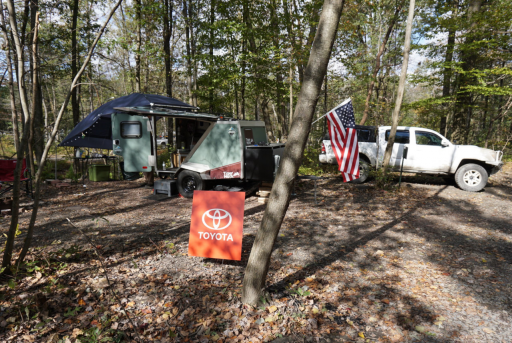
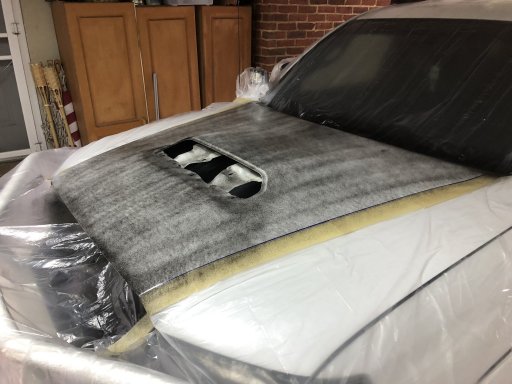
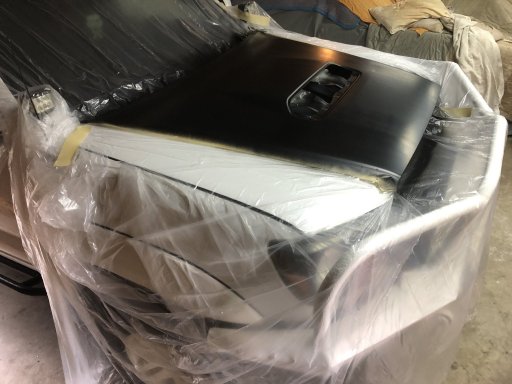
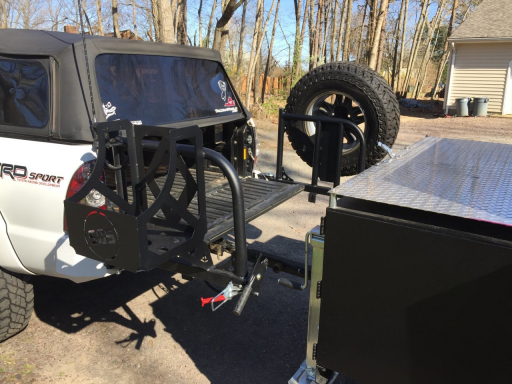
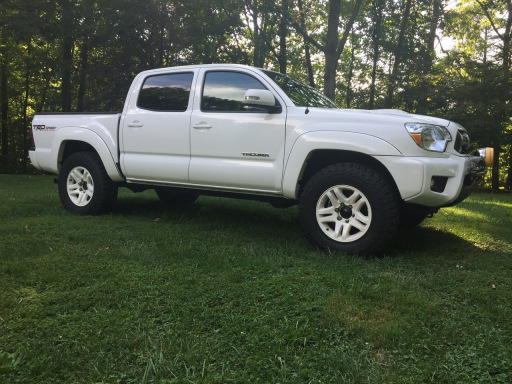
A couple of current pics:


I did an ass load of mods to it. My wife and I were Girl Scout leaders for 17 years and love to camp so we decided to venture into the overlanding lifestyle in our own little way and bought a micro off road camper. Well the 2.7 with the Auto didn't like towing especially in the mountains so directly following our first camping trip the truck was stripped and traded a week later for our current 2015 TRD Sport 4.0l 6mt 4wd and what a difference did it make towing is no longer a problem and we have taken the camper some fun places.
This was the day we bought the truck I had the wheels and tires swapped over from the 2013 to this one
Then the mods began with thepile of parts off the other truck. It's been a lot of fun. My background professionally is in auto body and paint with a focus on welding and fabrication so if i can't find what i need I make it.
Below is the current up to date list of mods. It's just a simple build we use the truck as a tool to et us and the camper where we want to go:
Interior:
CH4x4 Small Toyota push switches in the console below heater controls
Grey Carhart seat covers full set
Ultraguage EM Plus
Extreme Duty Tech Deck
Ram Phone mount
Ram Gps Mount
Communications:
Cobra 75WX ST
4" Firefly antena
Radio Shack hand held CB
Navigation:
Magellan TR7 on road/ off road GPS
Exterior:
Debadge
Rago Fabrication ditch light brackets
Custom fabbed DIY relay bracket in engine compartment
Dipped the grill emblem white
DIY tool mounts on bed rail
DIY Hilift mounts on bed rail
Tail pipe chop
Best Top soft camper shell
red Line hood struts
DIY fire extinguisher mount
Cab Mount Chop Full Chop/ DIY
Lock n Roll triler hitch
Reese 11" drop hitch
Weather Tech vent visors
KB Voodoo bed rail reinforcement caps
Diy frame reinforcement plates
Tie in brackets for front bumper to frame
BHLM
Hooke Road roof rack
Shortie 14" antena
Engine and Performance:
Unifilter/ Secondary air pump mod
AC drain relocate
TRD short throw shifter
Fumoto oil drain valve
ADD W1 oil catch can
Air Flow snorkel
Drivetrain and suspension:
2004 Tundra wheels
Cooper St Maxx 255/80/17
Front:
Bilstein 5100 set at "0"
Toytec/ Eibach 521600 2.5" lift coils
3/8" top plate spacer drivers side
1/4" top plate spacer passenger side
wheeler's Super Bumps
Camburg ball joint UCa's
Rear:
Deaver Stage III leaf packs. 9 leafs with 2 overloads for 11 leafs total
Bilstein B110's
All Pro ubolt flip kit
Wheeler's Super Bumps
Archive garage Hammer Hangers with cross tube
+5" brake lines
Suspension Misc:
rear Diff breather relocate
OME carrier bearing drop
Lighting:
Caliraised amber 18w LED pods for fogs
Caliraised 18w LED pod for rear lighting
Caliraised 27w Side projecting pods for ditch lights
Caliraised 18w LED spot pods in the grill
Flush mount pods in rear bumper
Under hood LED lighting
Grill "Raptor" lights Super Bright LED's
LED light upgrade in interior dome, vanity and map lights
4 LED pods. 2 on each side of the roof rack
Armor:
SOS Concepts Aluminum front bumper with full hoops bedlined super white
SOS Concepts standard rear bumper with dual swingouts bedlined super white with black swingouts
SOS Concepts IFS skid
SOS Concepts trans skid
SOS Concepts transfer case skid
All pro sliders
Recovery/ Tools:
48" Hilift jack
Masterflow tsounami compressor
4 3/4" shackles
2 hitch mounted shackles
Axe
Shovel
hatchet
machette
2 ton come along
Skill craft emergency kit
Auto power jumper pack
Craftsman tool set
Torque wrench
Metric wrench set
Tire plug kit
First aide kit
2 C clamps
Jumper cables
12v/ 100w work light
ARB recovery strap
Engo E9000 winch with synthetic line
haws fairlead
16,000 pound snatch block
ARB deflator
ARB winch blanket
Black rhino tree strap
On the work bench:
ABS kill switch
ARB twin compressor
On Order:
All my pics are either on my phone or on Tacoma World. I had to replace my phone and a lot didn't recover so I will have to rely on copying nd pasteing.
A couple of current pics:
Last edited: