Camper Build | 1995 Toyota T100

  • HTML tutorial

Enthusiast III

1,135
California
UPDATE

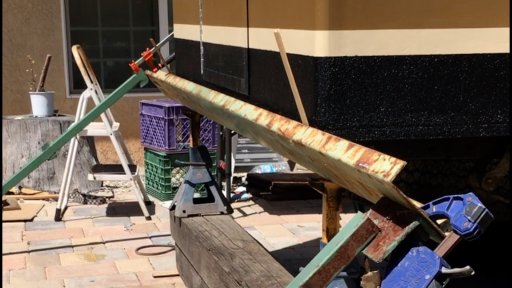
I built a rear bumper out of some scrap steel.
1.jpg


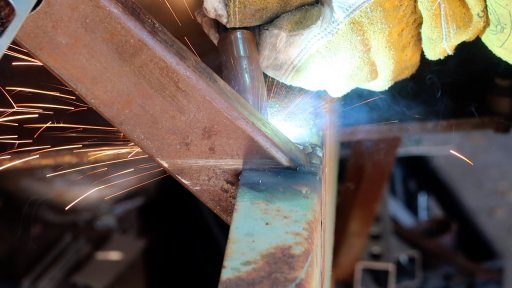
The Bumper is 1.5x6 inch C-channel and I welded on some 1x2 rectangular tubing to make mounts that bolt onto the stock bumper mounting points.
3.jpg


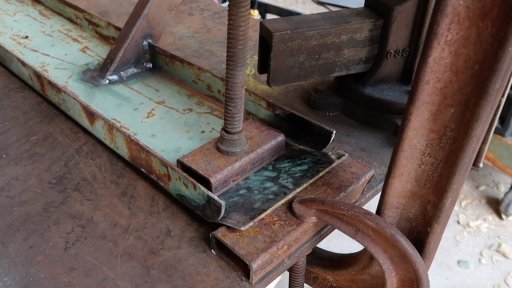
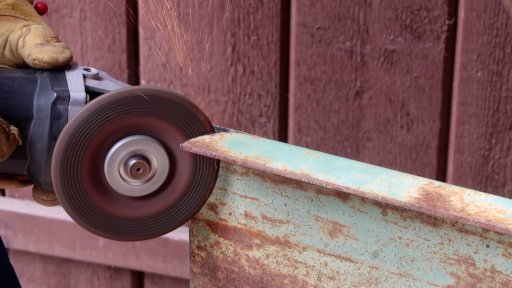
I notched the ends and bent the face of the C-channel around the notches to create a curve on each end. Then I welded the seams and grinned them smooth.
2.jpg4.jpg5.jpg


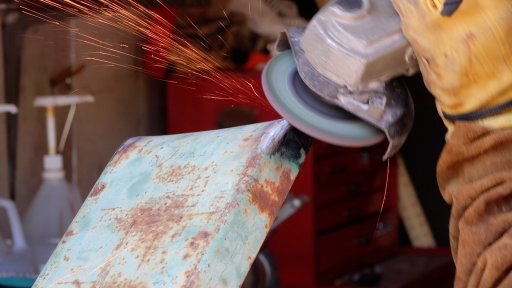
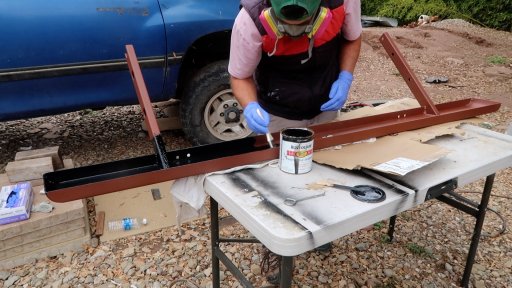
I sanded it down and coated it in Rustolium rusty metal primer and Stop Rust enamel.
6.jpg


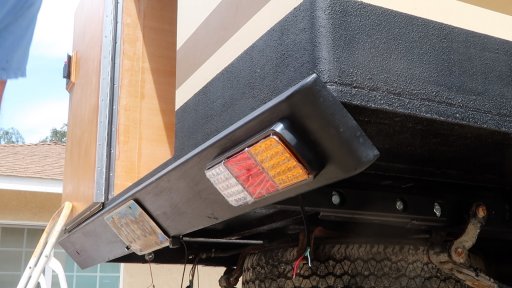
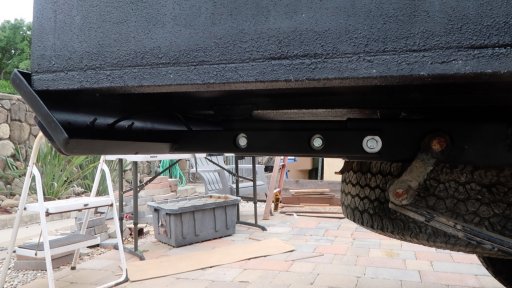
It bolted on as planned and I mounted tail lights, license plate, and a back up camera.
7.jpg8.jpg


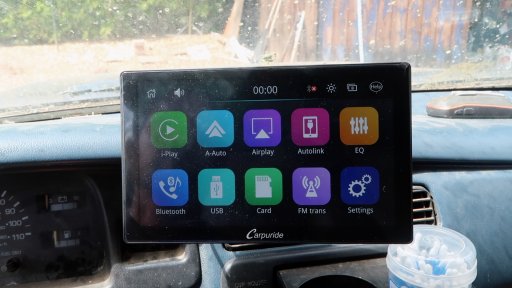
The back up camera was supposed to be a simple plug and play install, but of course I turned it into a much bigger project. I didn't want the screen bouncing around when I was driving and I didn't want wires hanging all over the dash, so I built my own sturdy mount and ran the wires behind the dash and tied them into the cigaret lighter wiring instead of plugging into the cigaret lighter. I've never had a screen in my vehicle before. It should be nice to see directions and hopefully the camera will be a good replacement for the review mirror.
9.jpg


And as always, here is the video if you want more details.


Enthusiast III

1,135
California
UPDATE

I have installed the solar panels and the electrical system.
7.jpg
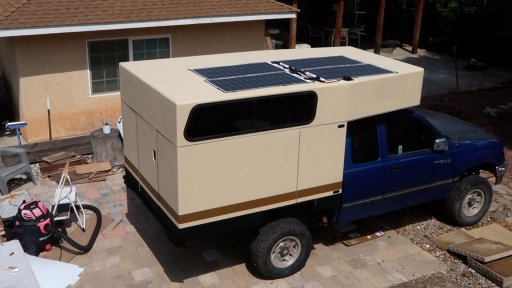
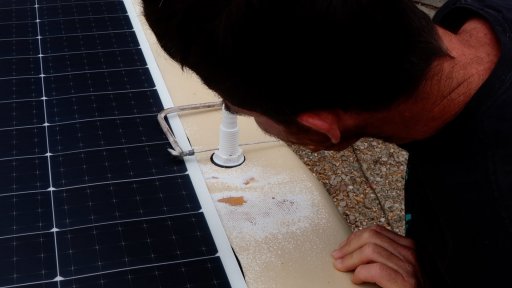
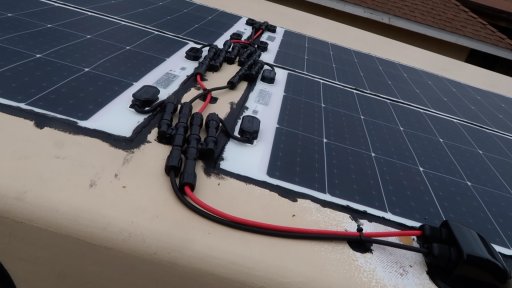
I used 4 x 100W flexible solar panels wired in parallel. The panels are mounted to the roof with Sikaflex 252. The wires are held in place with cable tie anchors sikaflexed to the roof. The only hole I had to put in the roof was to run the wires into the camper. I installed a plastic thru-hull fitting in this hole sealed with sikaflex 252. Then covered it with a cable gland housing sealed to the roof with sikaflex 252.
1.jpg 3.jpg
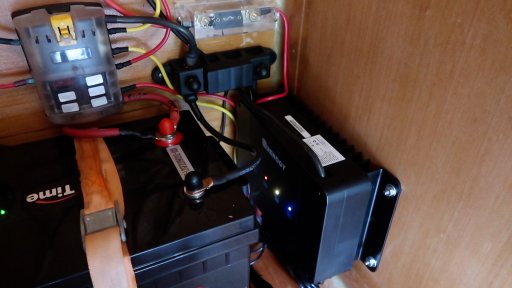
The other major components of the system are mounted low, against the front wall of the camper. I used a Renogy DC-DC charger with mppt charge controller to take power from the solar array or the vehicle alternator to charge the battery. The battery is a 200ah LiFePO4 unit. To use the power in the battery I ran cable to a 6 way fuse block and negative busbar. Then cables go out from there to different parts of the camper. Any screw or bolt that enters the wall is sealed with Sikaflex 221.
4.jpg

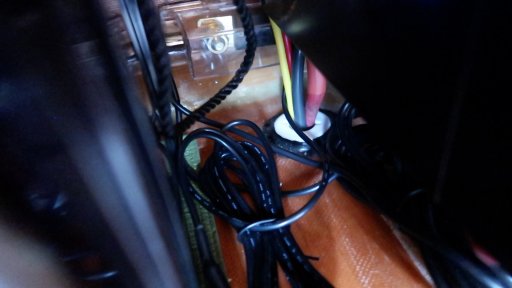
To get power from the vehicle alternator to the charger and also to get power from the house battery to the cab of the truck (where my water pump will be) I installed a thru-hull fitting in the floor to run cables through. This will eventually be sealed around the cables with Sikaflex 221.
5.jpg

To get power to various loads on the ceiling I installed a plastic cable concealing track. This had an adhesive backing, but I chose to drill holes in it and mount it with a few screws as well. It was easy to cut to length and seams to be working well to deliver power to my lights and fans.
8.jpg 6.jpg
I will be adding more loads as I get more components of the camper installed (fridge, toilet, H2O system).

Compared to the solar electric system I had in my DIY camper that I drove to Panama, This system has a 33% increase in solar array, 140% increase in usable battery and will dual charge from alternator and solar more effectively. Plus, with the new technology the solar array weighs 70% less and the house battery weighs 58% less.

If you want more details on the installation checkout the YouTube video:
 

benmmc

Rank VI
Launch Member

Pathfinder I

3,140
Ball Ground, GA, USA
First Name
Ben
Last Name
McCloskey
Member #

0562

Dude, this is amazing. Love the design, craftsmanship, etc. Seems like this is going to serve you guys well!
 

Enthusiast III

1,135
California
UPDATE

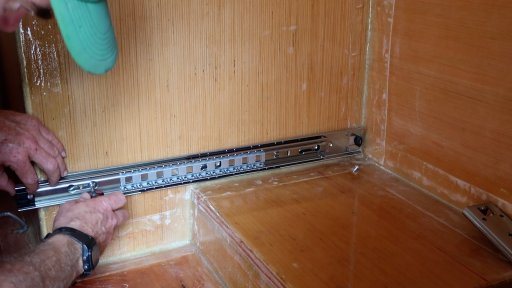
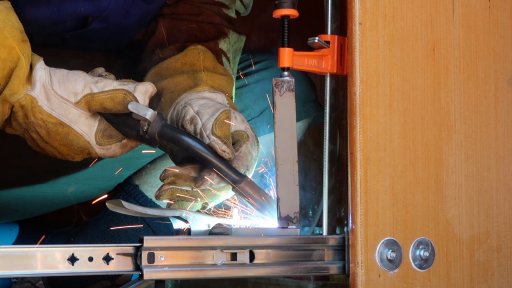
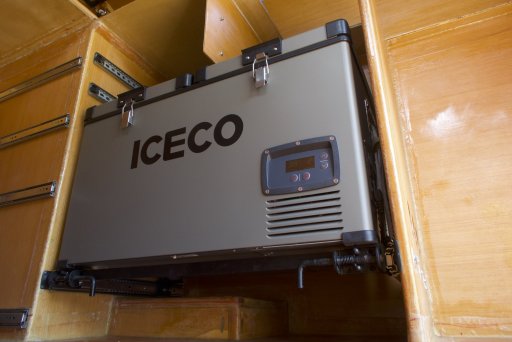
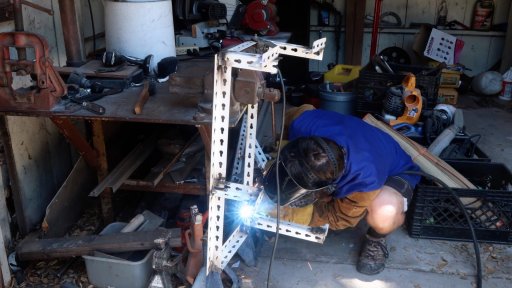
I built a fridge slide. I used a pair of 250 pound capacity drawer slides, a couple spring loaded gate latches, and some scrap steel to put it together. It's pretty basic, but it works nicely and fits the space perfectly.

1.jpg 2.jpg
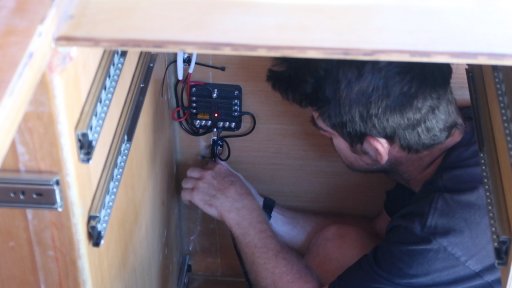
I cut the cigaret-plug off the power cord on the fridge and wired it to a fuse block mounted behind the fridge.
3.jpg

Last time I built a fridge slide I used drawer slides with built in latches that locked the fridge in place. The latches failed after 1.5 days of off-payment driving. So, I'm hoping these gate latches will prove to be more durable.
4.jpg

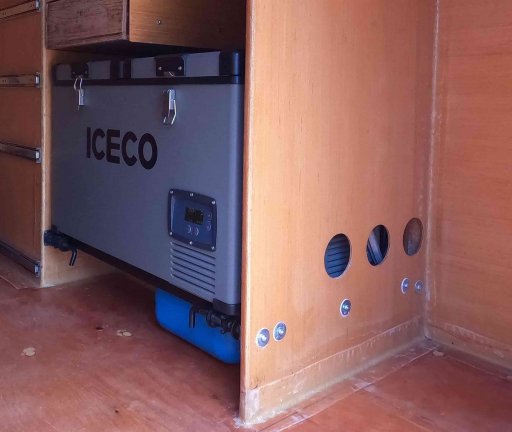
I also added some ventilation holes in the side of the cabinet with a whole saw and sealed the exposed wood with epoxy resin.
5.jpg

Here's the video for those of you that want more details.
 
  • Like
Reactions: AggieOE

Enthusiast III

1,135
California
UPDATE

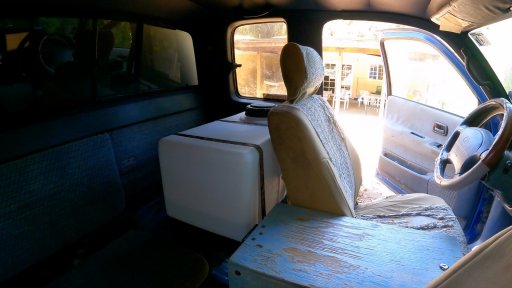
I got the water system installed. It consists of a 20 gallon water tank, a 12v water pump, a water purification filter, an indoor faucet and an outdoor shower.

I started by removing the storage boxes I had built behind the driver's seat and re purposing the steel framing to build a mount for the water tank.
1.jpg 2.jpg


The mounting bracket is bolted to the floor of the truck cab with the bolts that previously held the rear seat and seatbelt. The tank is held in place with 3 ratchet straps.

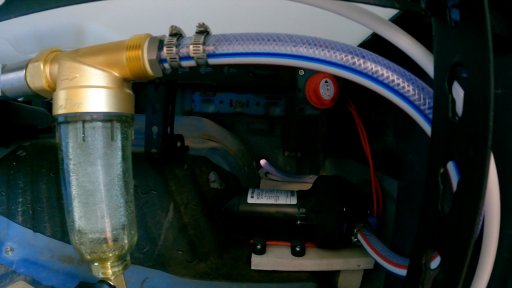
It is a sump tank, so the water drains out through the bottom of the tank. This lets us get all the water out of the tank if we need to. Under the tank is a 40 micron spin down filter. This removes sediment that could harm the pump and quickly clog the finer filter elements. The water pump is also mounted under the tank. It is a 12 volt, 3gpm, on demand water pump with a 50psi shut off. It is powered off the house battery and also has a manual power switch mounted under the tank bracket.
3.jpg


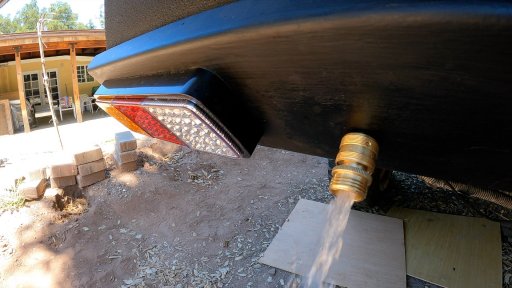
From the pump a hose runs along the frame rail to the rear bumper, where I mounted a quick disconnect hose bib and ball valve. This will be used for outdoor showers or rinsing gear.
4.jpg


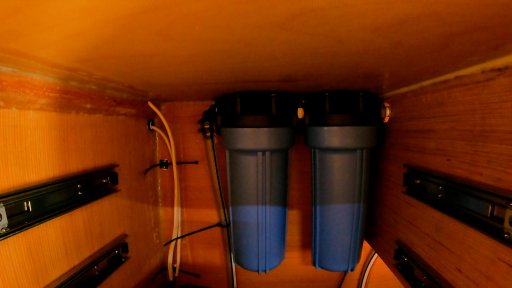
There is also a hose that runs into the camper under the passenger side cabinet. This is where I mounted my water purification filters. I bought 2 filter housings from ClearSource RV and the replacement filter pack for their Nomad water filter system. Then put the housings together with stainless plumbing fittings and installed the filters. The water runs through a 5 micron, then a .02 micron filter. According to ClearSource RV this will remove bacteria, parasites, and viruses.
5.jpg


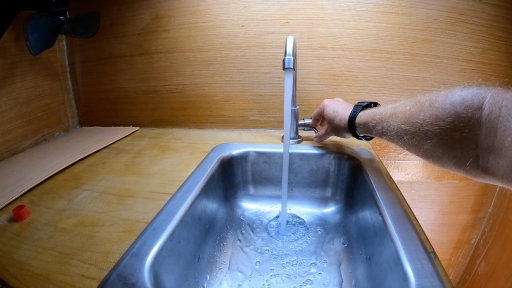
This filtered water comes out the faucet. It will be used for drinking water and doing dishes.
6.jpg


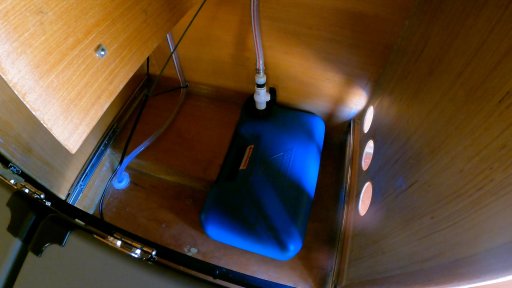
Water that drains out of the sink will flow into a 5 gallon gray water tank directly below the sink. This tank can easily be disconnected from the drain hose and walked away from the camper to be dumped out.
7.jpg


Here is the video for more detail
 

Enthusiast III

1,135
California
UPDATE

I got some work done on the interior of the camper.

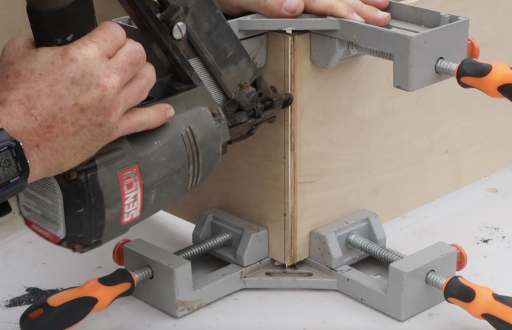
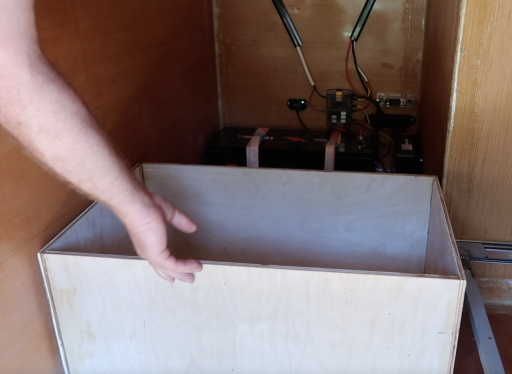
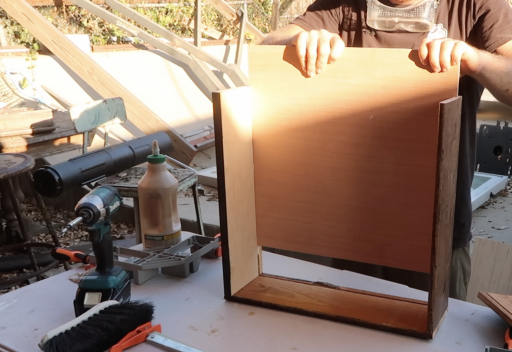
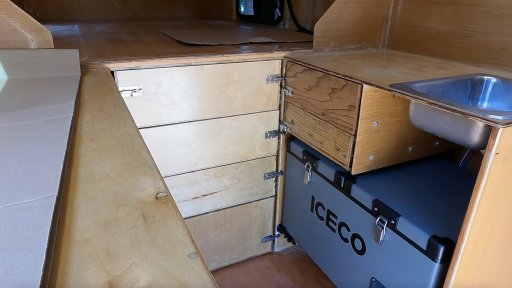
The area at the front of the camper, underneath the foot of the bed is the primary interior storage area. I built drawers to utilize this space. The drawer sides are made of 3/8 inch plywood leftover from the countertops/cabover. The drawer bottoms are leftover 5mm plywood from the camper walls/roof. The pieces are joined with glue and finish nails. I made the drawers different sizes to use the space around the battery/electrical system.
Screen Shot 2023-11-05 at 9.18.12 AM.png Screen Shot 2023-11-05 at 9.20.04 AM.png


I also made a couple of drawers under the passenger side counter. I ran out of 3/8 inch plywood, so I scrapped a dresser that I found illegal dumped in a parking lot to make the drawer sides and glued in the 5mm drawer bottoms into the groove that was already cut into the drawers.
Screen Shot 2023-11-05 at 9.22.10 AM.png Screen Shot 2023-11-05 at 9.22.56 AM.png drawer pic.jpg

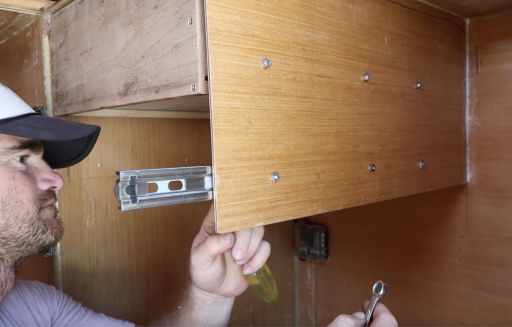
All of the drawers are mounted on drawer slides through bolted to the camper. I coated the drawers in leftover paint and polyurethane and used slide bolt latches to keep them closed while we're driving.
 

Enthusiast III

1,135
California
UPDATE CONTINUED

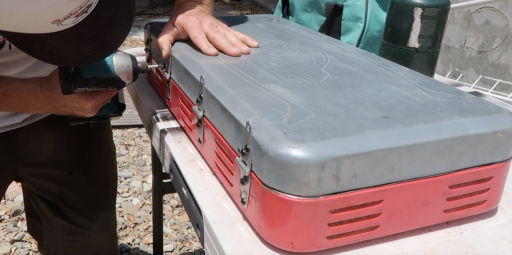
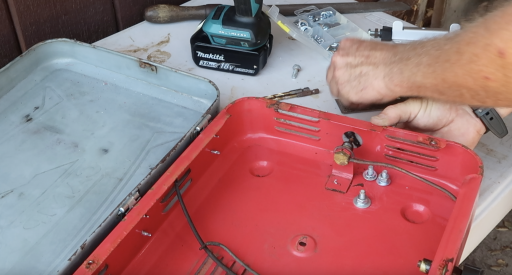
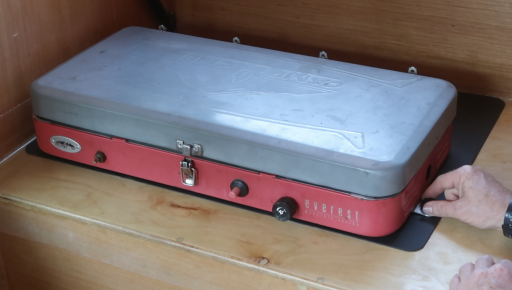
I decided to continue using our 2 burner camp stove. It's a bit tattered but the burners still work fine, so I replaced the rusted apart hinges with some random ones I had around the shop and cleaned it up real good.
Screen Shot 2023-11-05 at 9.25.28 AM.png


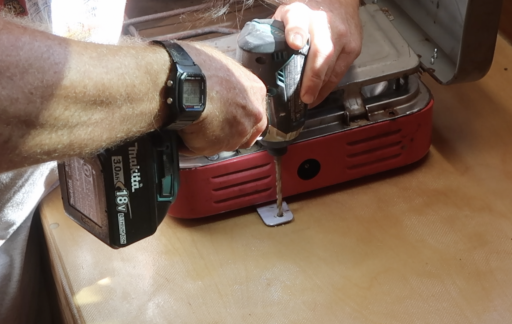
I didn't want to use space in my drawers to stow the stove, so I rigged up a tab on each side of the stove and glassed threaded inserts into the countertop. Now I can hold the stove in place with a couple of thumb screws while driving. I also got a silicone mat to go under the stove, so it wouldn't scuff up the counter. This should make camp setup/break down a little faster too.
Screen Shot 2023-11-05 at 9.26.08 AM.png Screen Shot 2023-11-05 at 9.26.24 AM.png Screen Shot 2023-11-05 at 9.28.01 AM.png

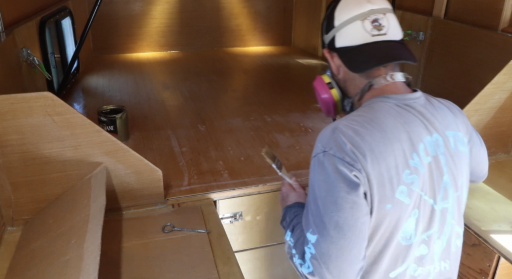
I finally got around to coating the interior with exterior grade polyurethane. This provides some UV protection for the epoxy resin and gives a final sealing coat for any fiberglass that had been sanded to exposure.
Screen Shot 2023-11-05 at 9.30.34 AM.png

Here's the YouTube video for more details:
 

Enthusiast III

1,135
California
UPDATE
I installed a Nature's Head composting toilet.
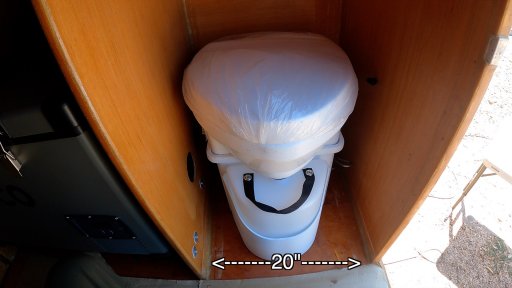
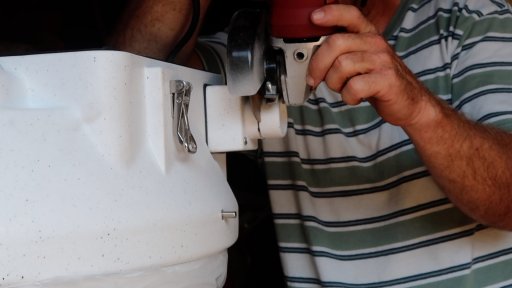
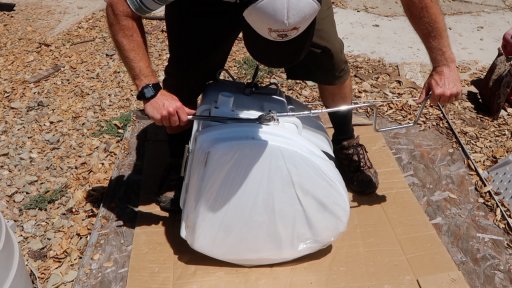
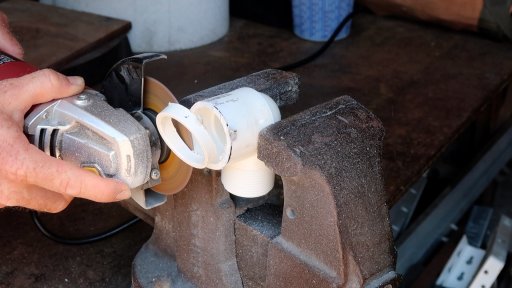
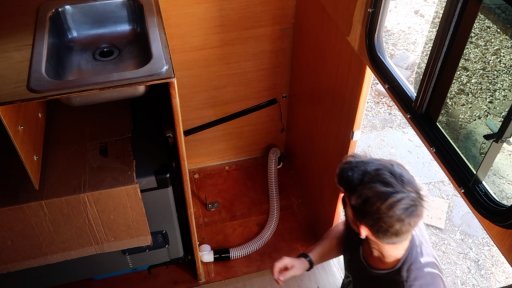
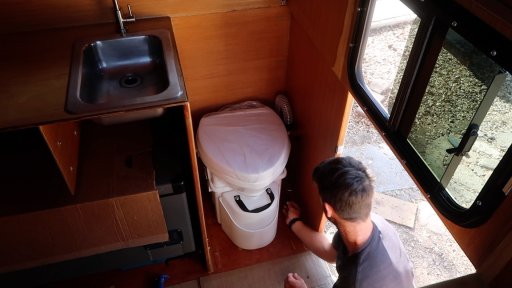
I opted for one of the narrower agitator handle options, so the toilet is 19 inches wide. I left myself a 20 inch wide space to install it... that is not wide enough. I didn't want to start hacking into my new, expensive toilet, but I had to make it fit somehow. I used an angle grinder to shorten the vent intake and exhaust ports. I used leverage to bend the "trap door" handle closer to the toilet bowl. And I made a short elbow out of a PVC pipe fitting to connect the exhaust hose to the exhaust port at 90 degrees. That gave me enough room to fit the toilet and have everything function properly.
pic1.jpgpic2.jpgpic3.jpgpic4.jpg

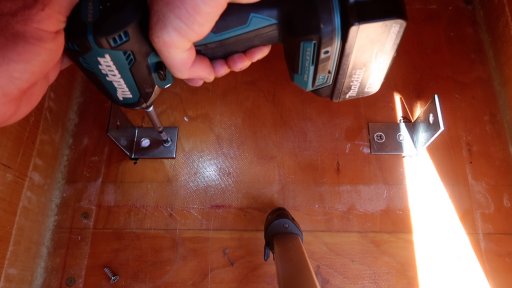
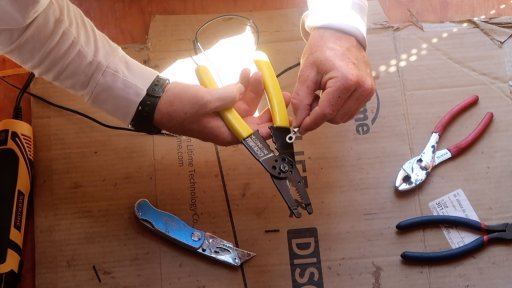
I installed the mounting brackets to the camper floor with the included hardware and Sikaflex 221 caulking. Then I attached ring terminals to the exhaust fan power cord and ran that to the fuse block in the adjacent cabinet. I cut a hole in the floor and installed a through hull fitting for the exhaust hose to vent out through and mounted the exhaust fan power cord on the wall with some cable track so it won't get pinched or tangled when I take the toilet in and out to empty it.
pic5.jpgpic6.jpgpic9.jpg


The toilet is attached to the mounting brackets with a couple of thumb screws and we now have a toilet that we can pullover and use anytime we want.
pic10.jpg


Here is the video if you want all the details.
 
  • Like
Reactions: DosTacos