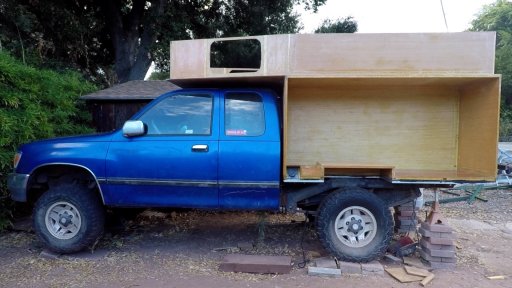
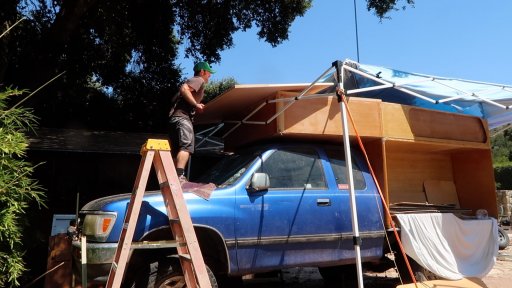
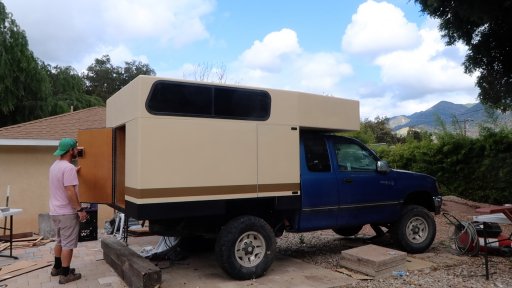
My build platform is a 1995 Toyota T100, extended cab, 4x4, 3.4L V6, 5 speed manual trans. My wife, dog, and I have already lived out of this truck with a very basic DIY camper while traveling through Mexico and Central America for 1.5 years.
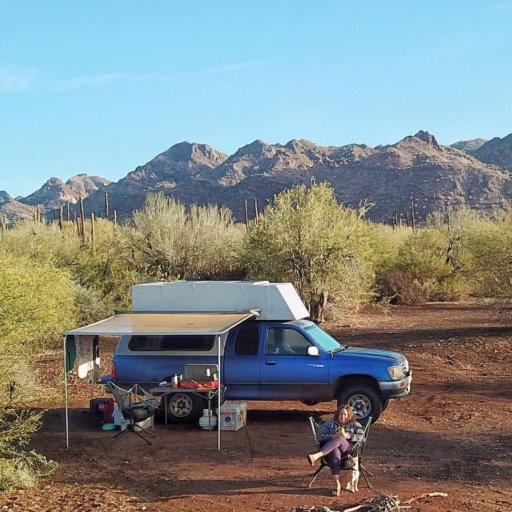
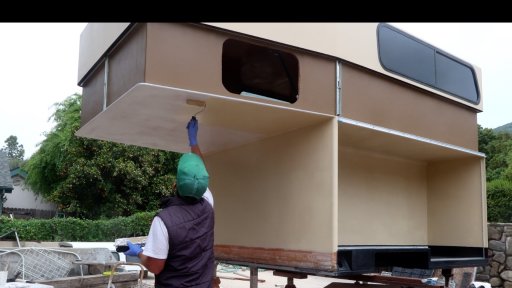
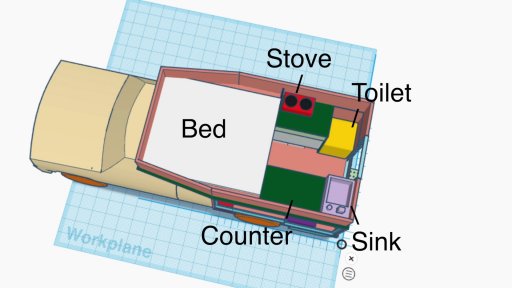
We learned a lot during that trip and have decided that we want to improve our foul weather living conditions. The goals for the new build are a fixed queen size bed, indoor composting toilet, indoor kitchen, insulation, maintain enough storage for all our toys, and maintain the vehicle's on and off-road driving performance relative to our previous camper set up.
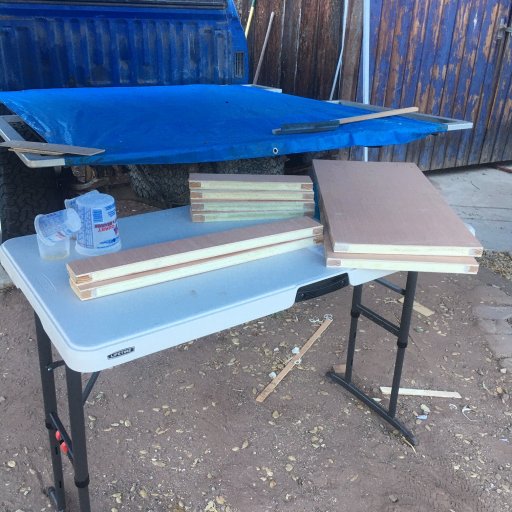
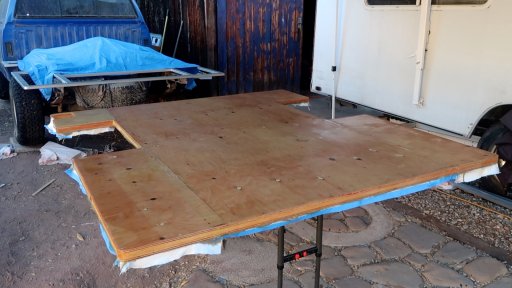
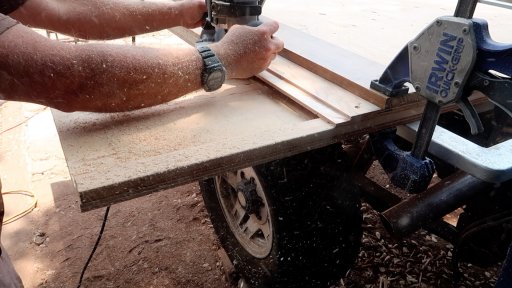
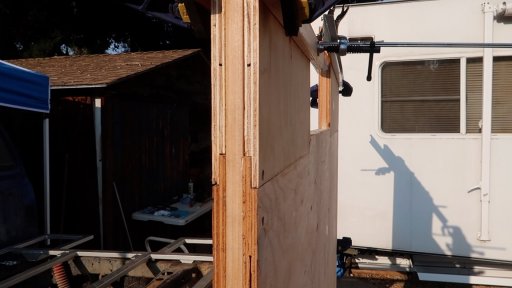
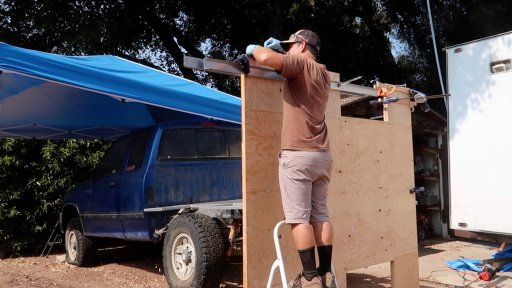
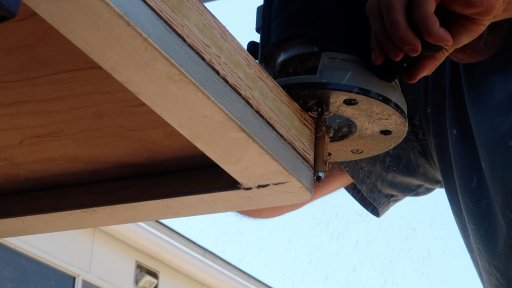
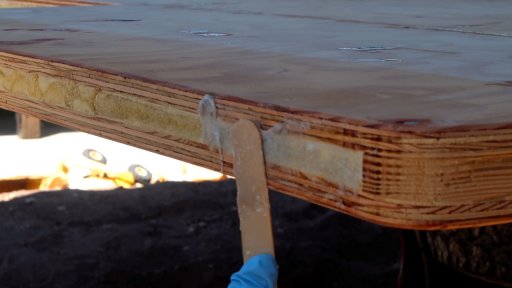
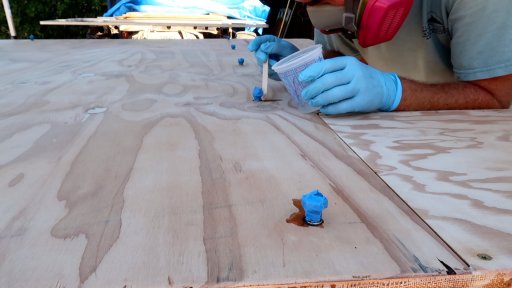
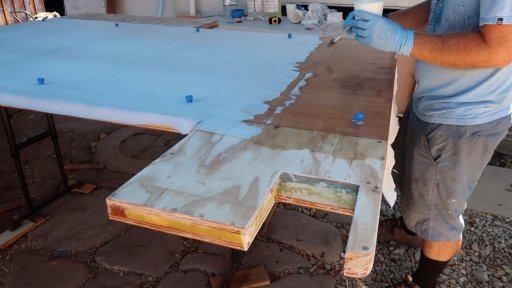
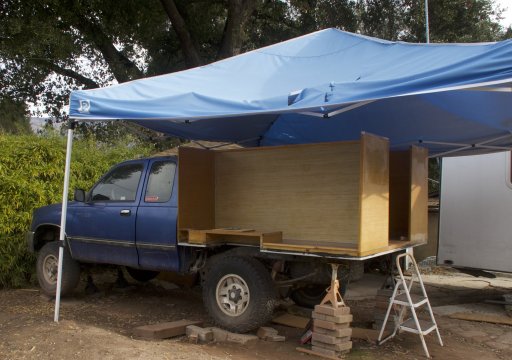
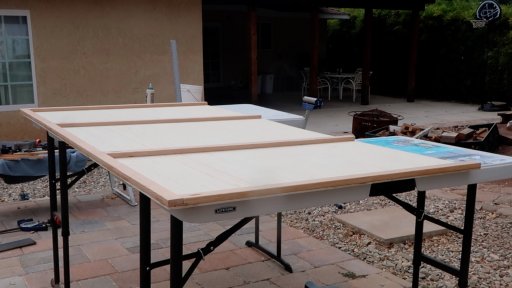
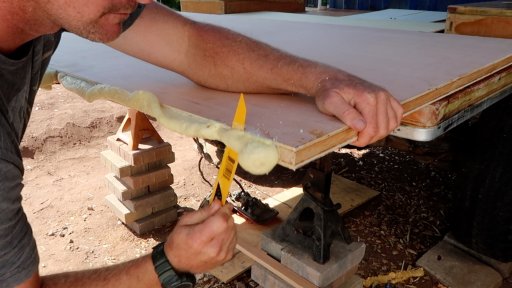
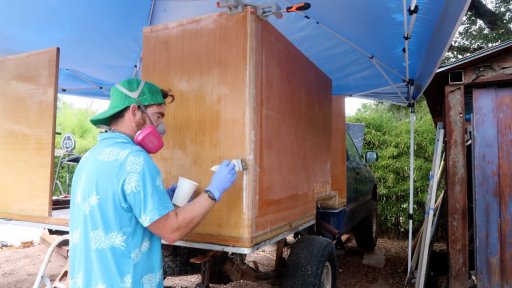
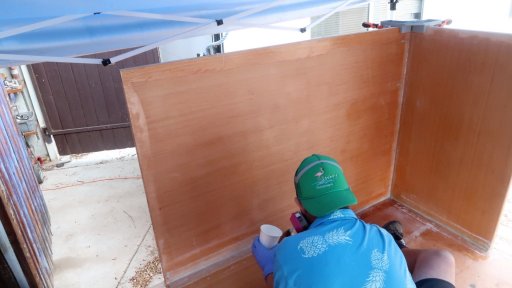
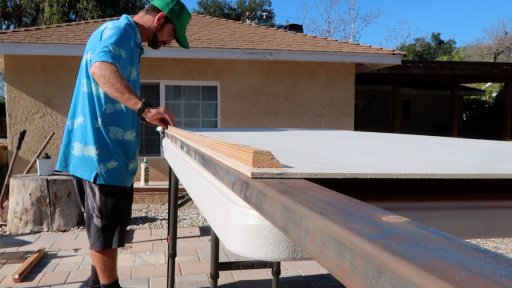
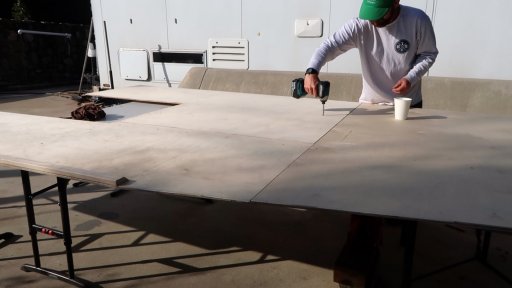
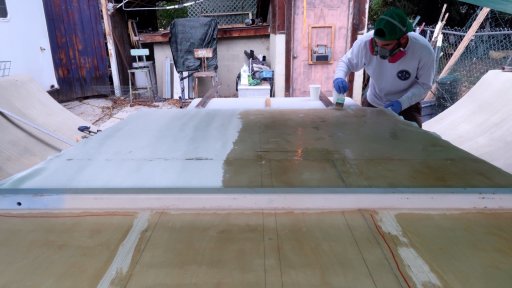
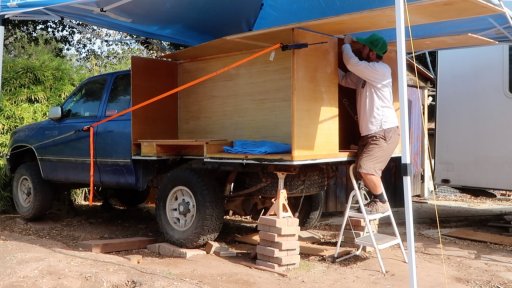
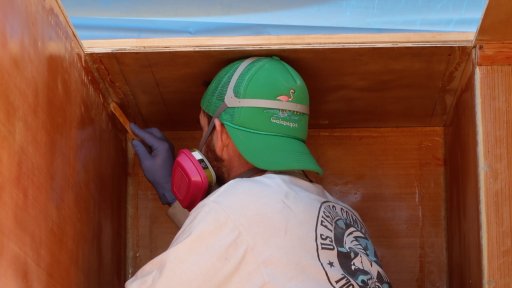
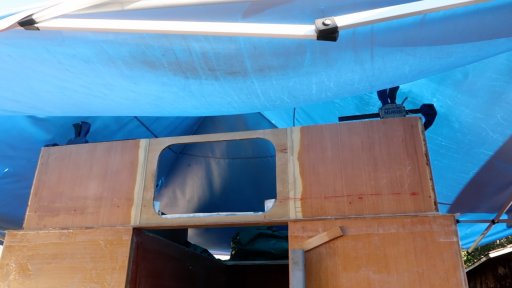
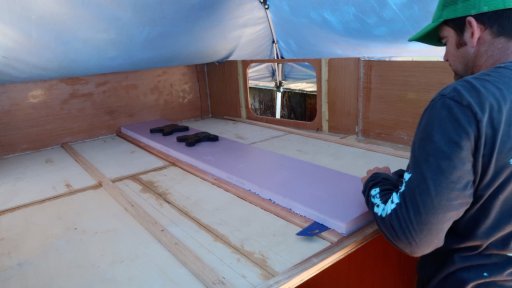
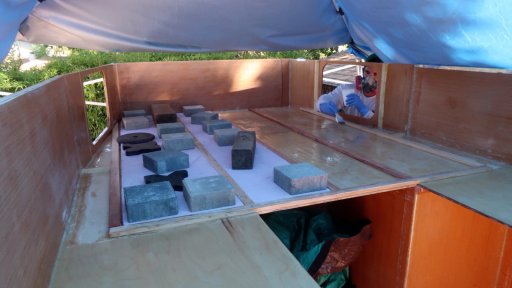
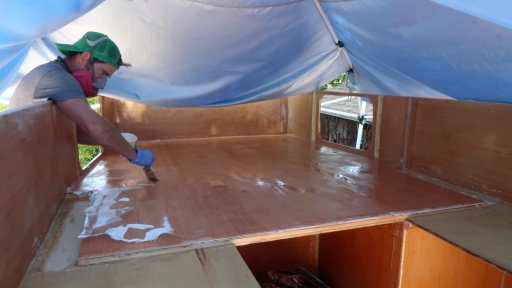
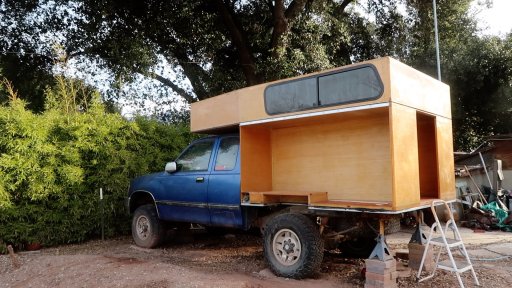
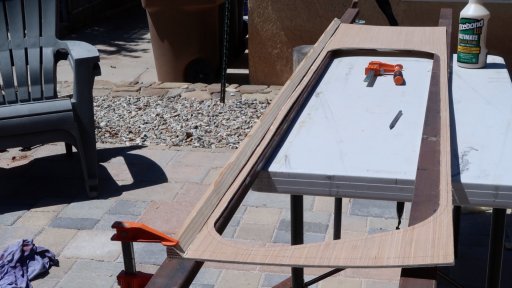
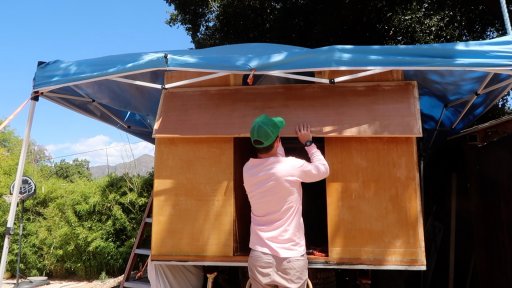
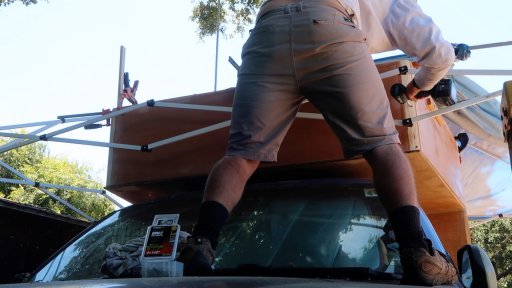
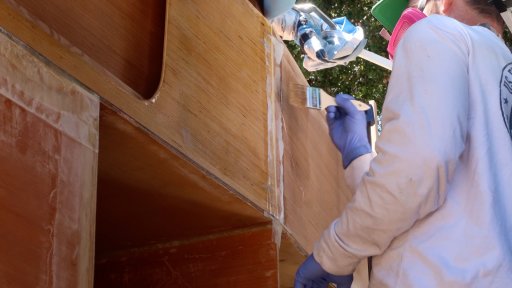
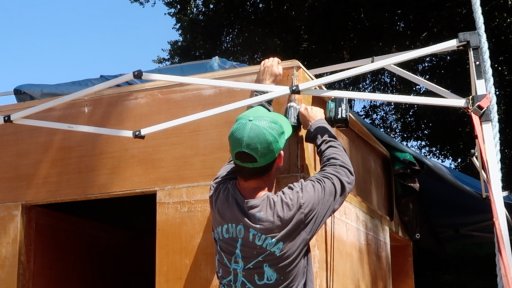
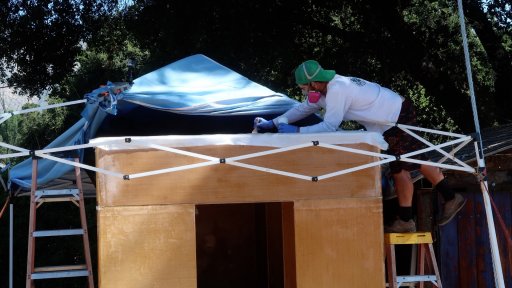
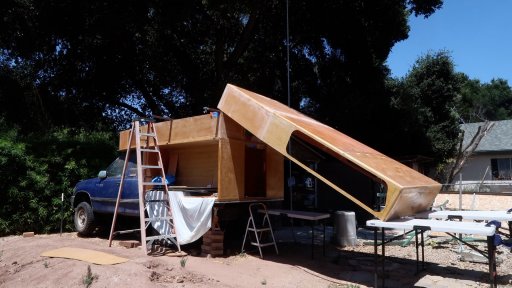
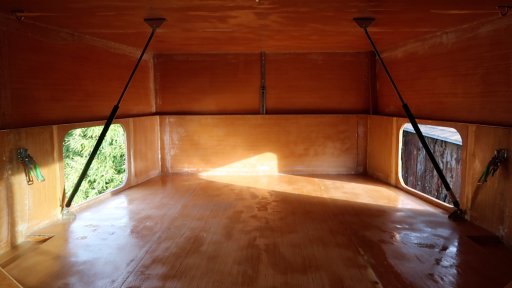
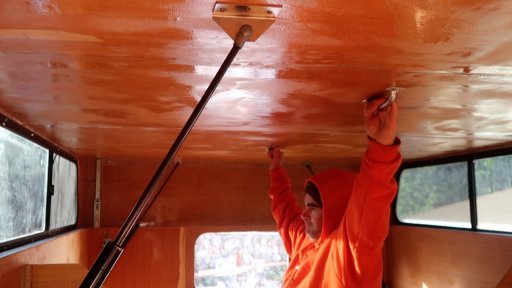
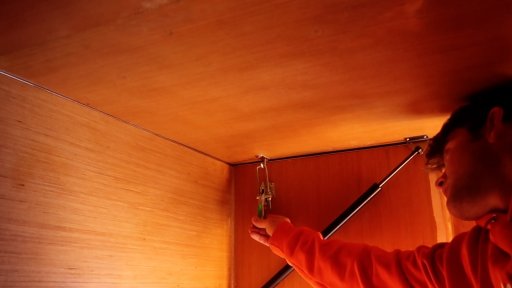
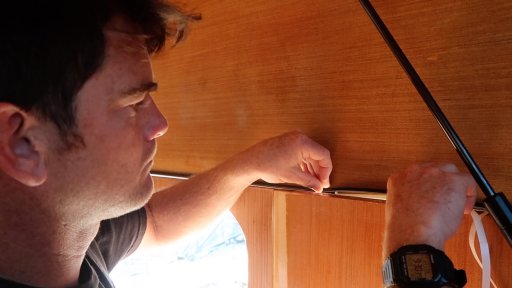
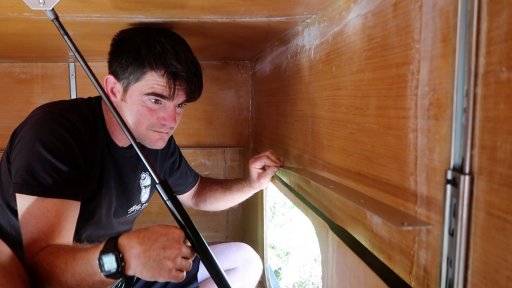
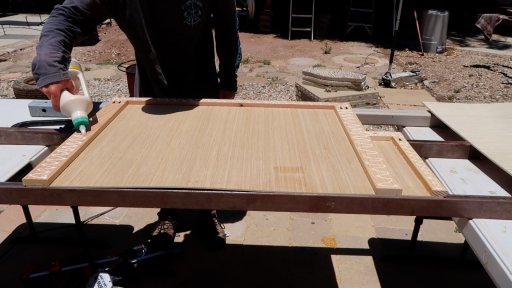
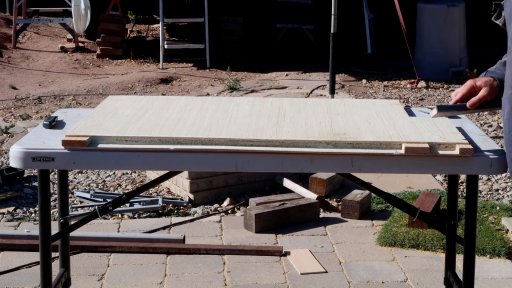
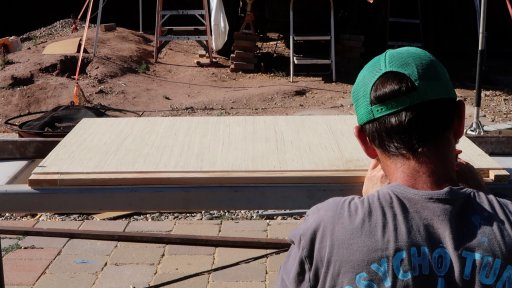
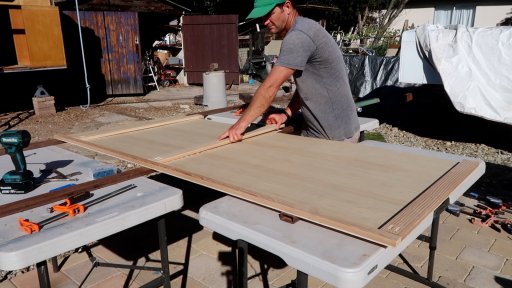
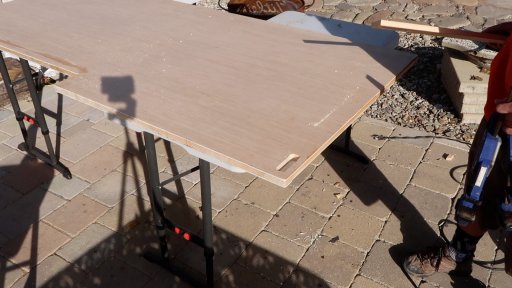
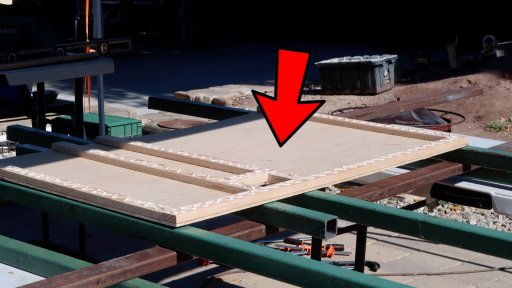
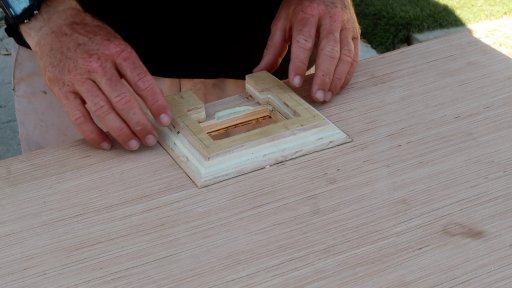
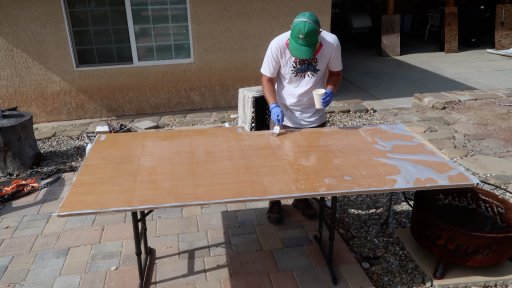
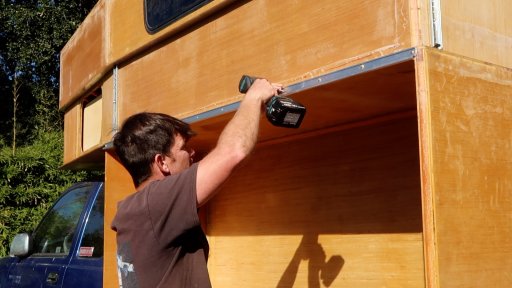
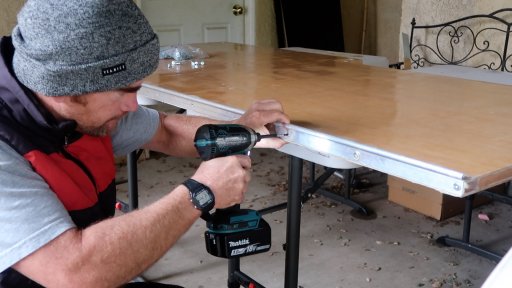
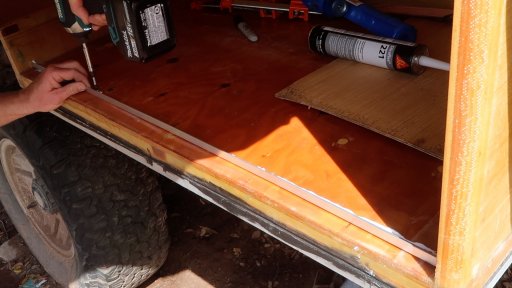
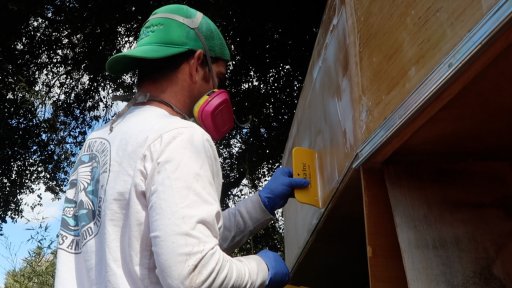
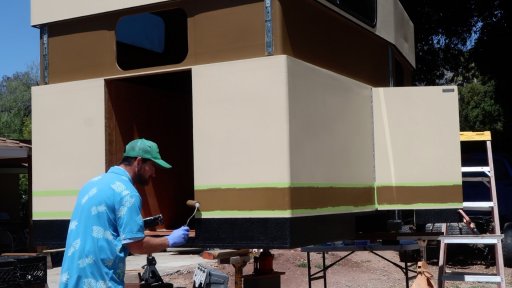
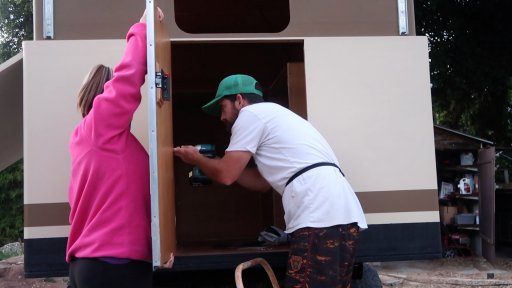
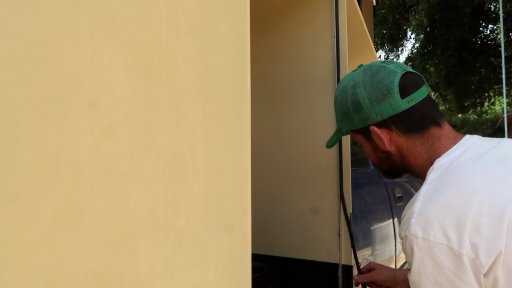
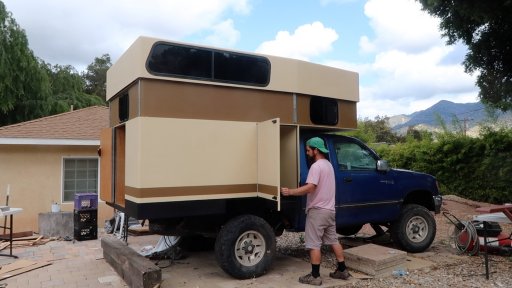
The plan is to build a hard-sided popup camper out of DIY composite panels.
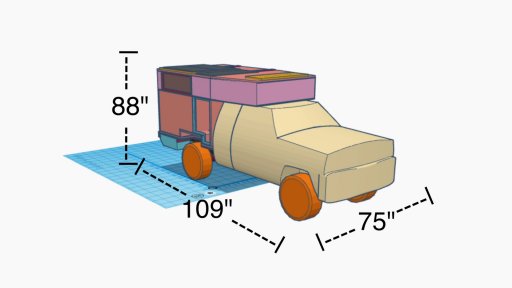
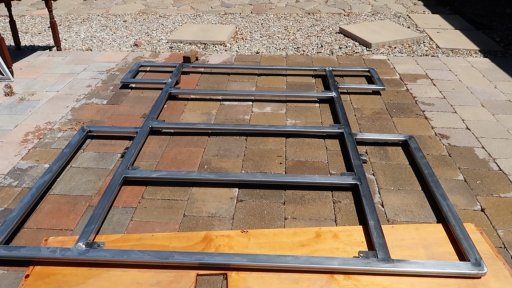
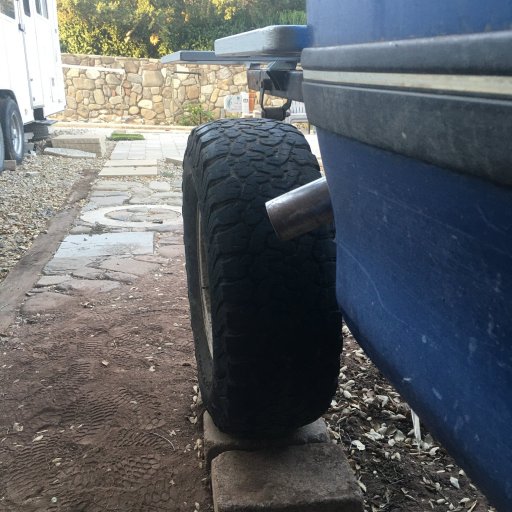
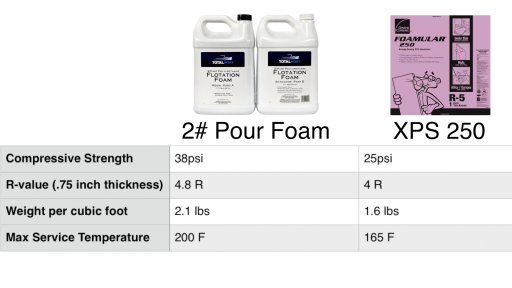
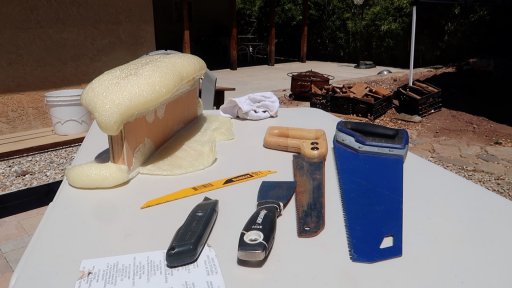
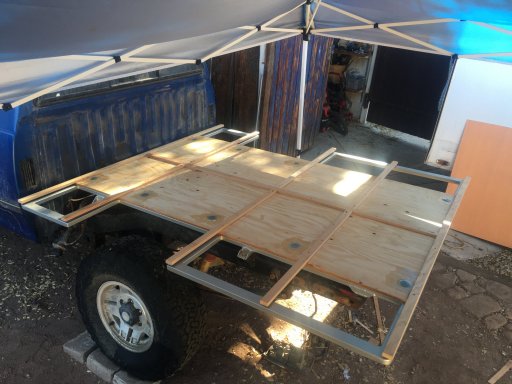
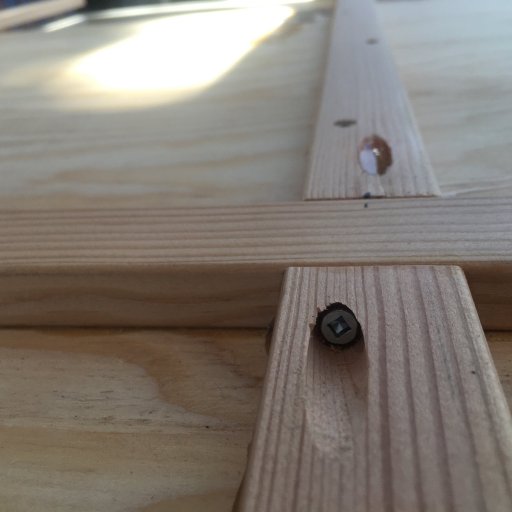
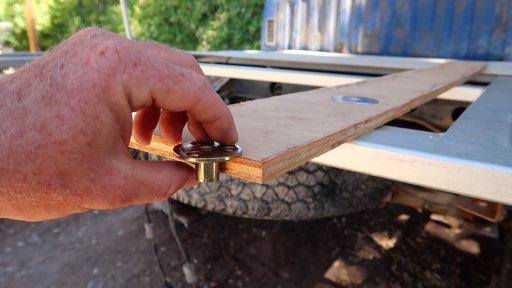
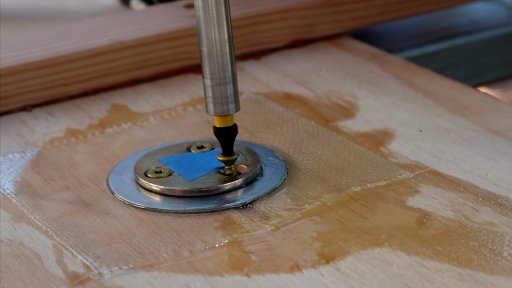
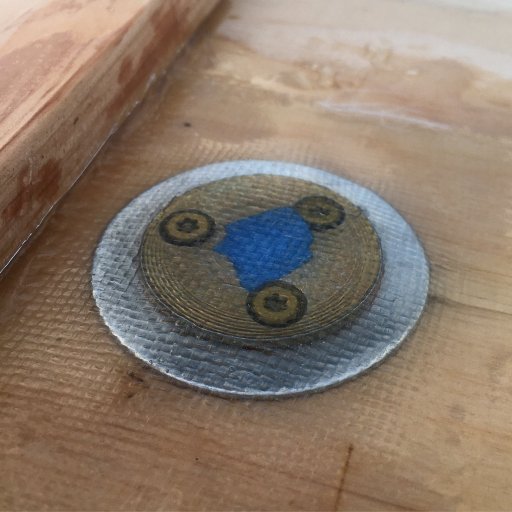
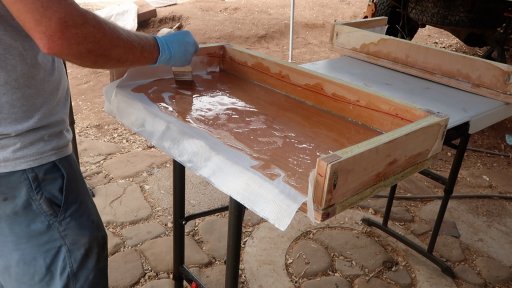
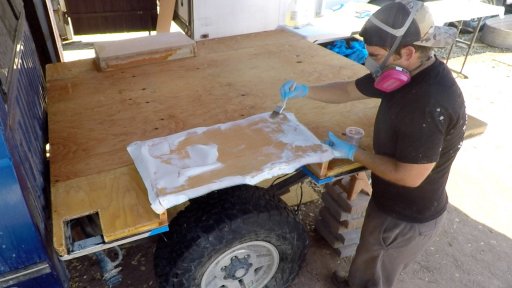
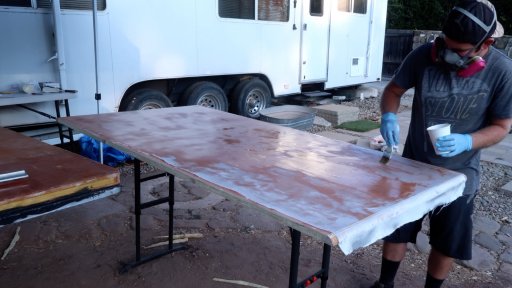
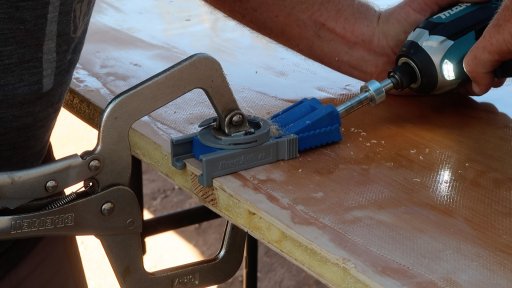
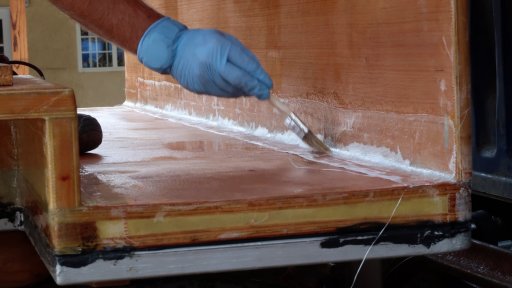
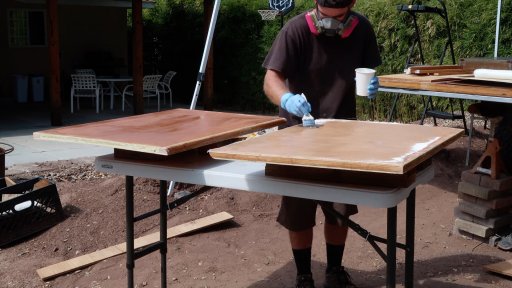
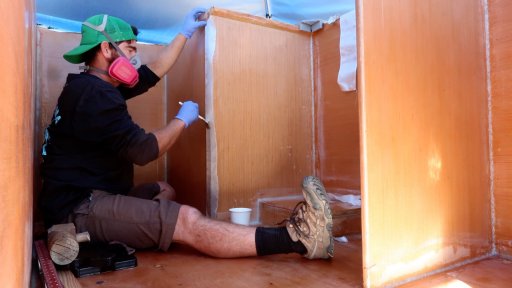
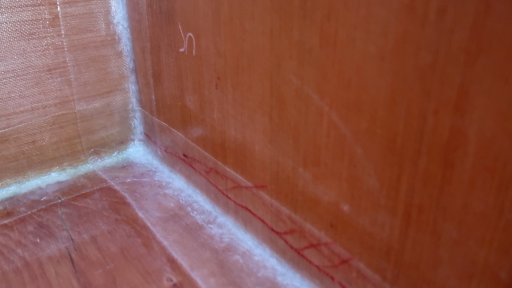
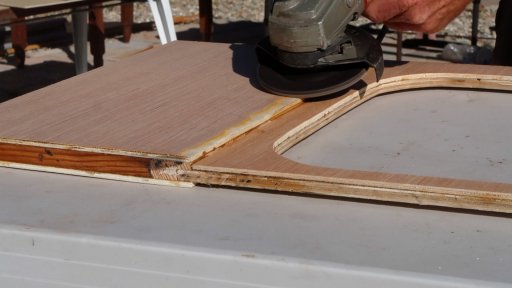
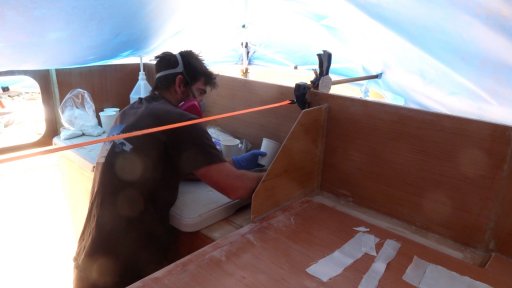
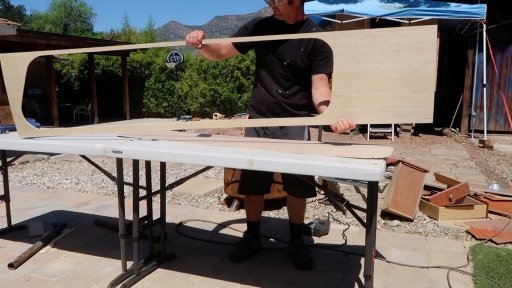
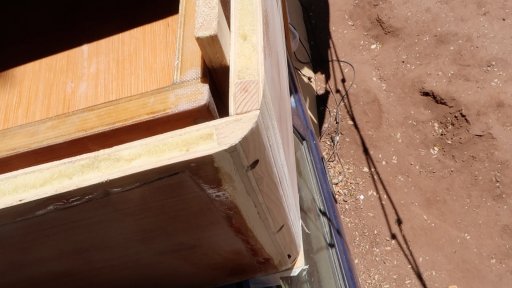
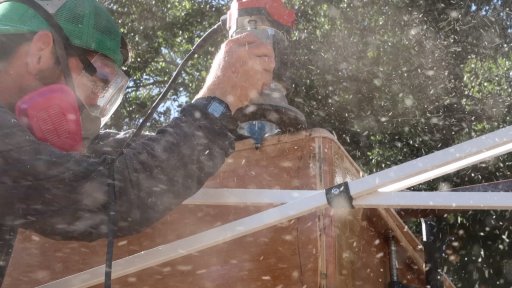
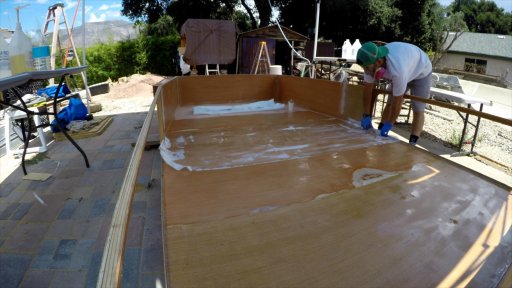
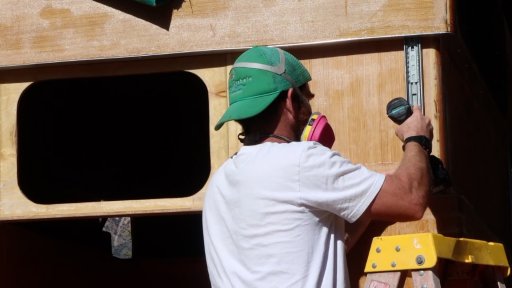
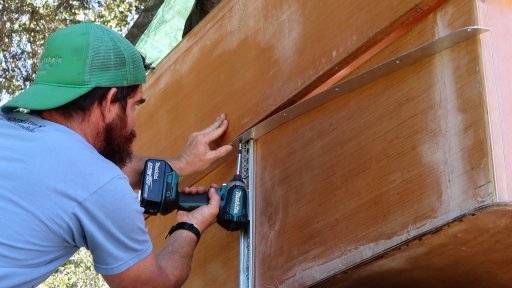
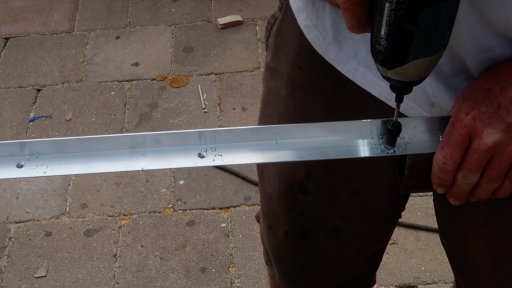
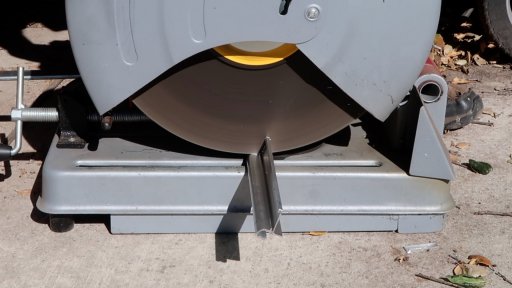
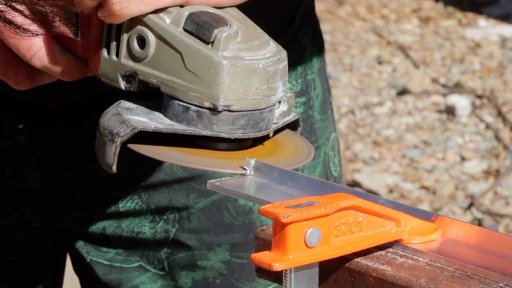
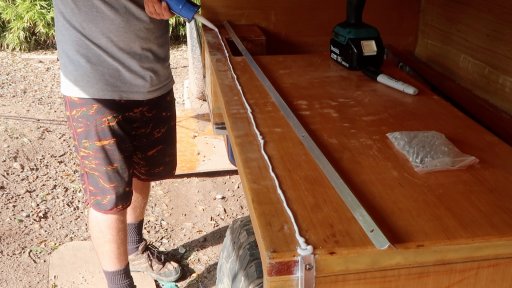
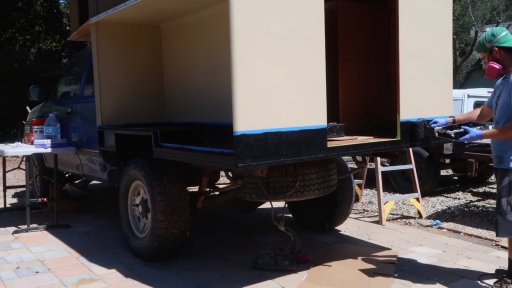
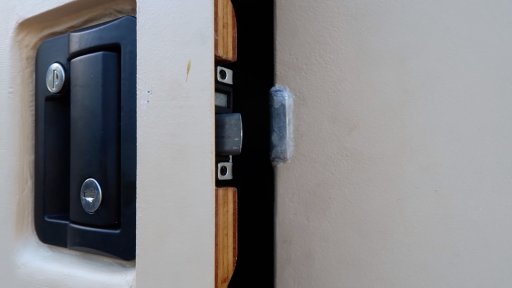
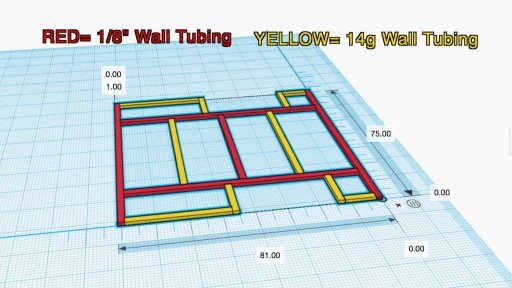
The panels will be constructed of 5mm plywood, 1x2 dimensional lumber, and filled with polyurethane pour foam, then coated in 6oz fiberglass, and epoxy resin. And all joints will be reinforced with additional fiberglass tape. The camper will be mounted on the truck via a steel subframe. The subframe will be constructed of 1x2 rectangular tubing and bolt to the 6 stock bed mount locations on the truck frame.
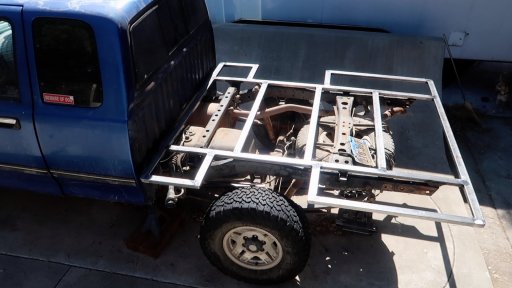
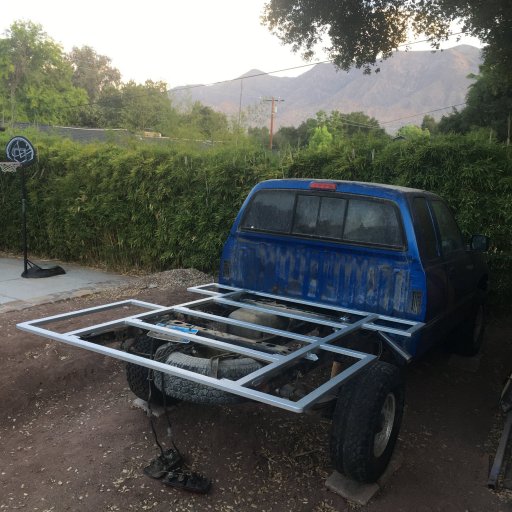
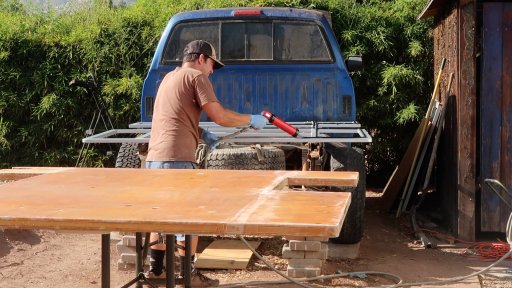
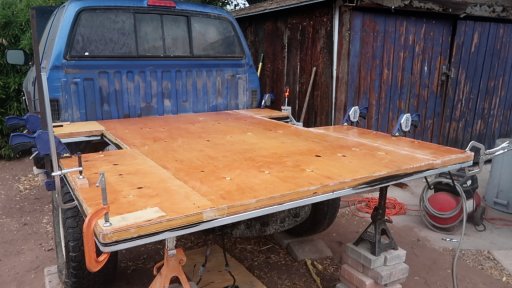
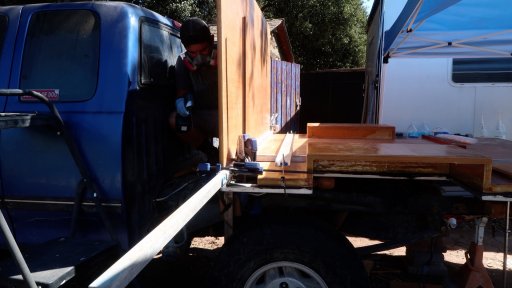
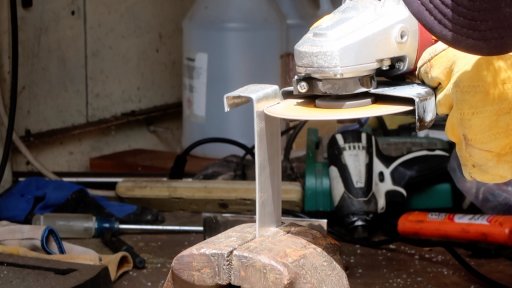
I've removed the old truck bed and rear bumper and cleaned up the truck frame to start work on the sub frame.
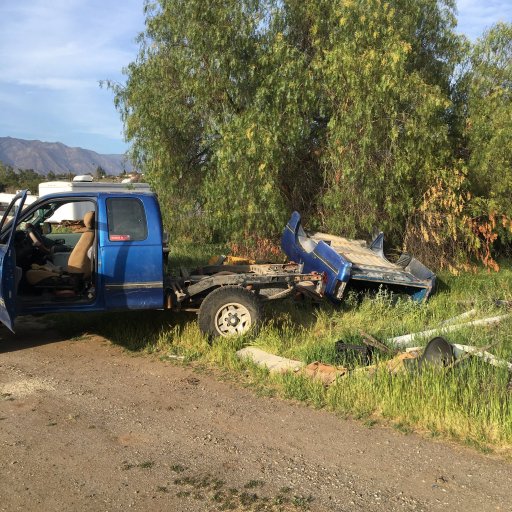
I'm new to welding, but the mig and self dimming helmet have me feeling way more comfortable than when I briefly tried stick welding 15 years ago. I'm excited to get started!
People either love the T100 or think I'm an idiot for driving one. So, to help folks on the internet criticize me more accurately I'm going to share some relevant info here:
We learned a lot during that trip and have decided that we want to improve our foul weather living conditions. The goals for the new build are a fixed queen size bed, indoor composting toilet, indoor kitchen, insulation, maintain enough storage for all our toys, and maintain the vehicle's on and off-road driving performance relative to our previous camper set up.
The plan is to build a hard-sided popup camper out of DIY composite panels.
The panels will be constructed of 5mm plywood, 1x2 dimensional lumber, and filled with polyurethane pour foam, then coated in 6oz fiberglass, and epoxy resin. And all joints will be reinforced with additional fiberglass tape. The camper will be mounted on the truck via a steel subframe. The subframe will be constructed of 1x2 rectangular tubing and bolt to the 6 stock bed mount locations on the truck frame.
I've removed the old truck bed and rear bumper and cleaned up the truck frame to start work on the sub frame.
I'm new to welding, but the mig and self dimming helmet have me feeling way more comfortable than when I briefly tried stick welding 15 years ago. I'm excited to get started!
People either love the T100 or think I'm an idiot for driving one. So, to help folks on the internet criticize me more accurately I'm going to share some relevant info here:
| Price= $2,500 usd | length = 209.1" | width = 75.2" | height = 70.1" |
| max payload = 1960 lbs | curb weight = 4040 lbs | turning circle = 43.3 feet | Torque = 220 lbs-ft |
| Estimated fuel efficiency = 15/18 mpg | Ave. fuel efficiency with old camper = 15.5mpg | fuel capacity = 24 gal | Horse power = 190 |
Last edited: