Traveler III
- 1,277
- First Name
- Michael
- Last Name
- Smith
- Member #
6665
- Service Branch
- Army/national guard
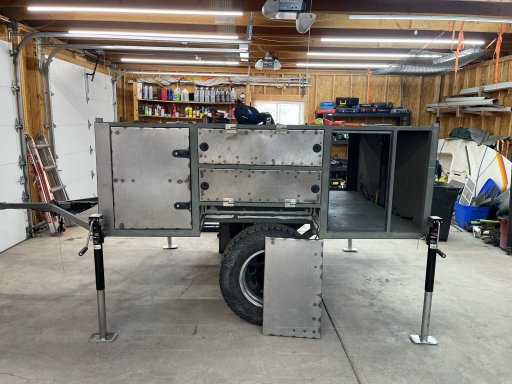
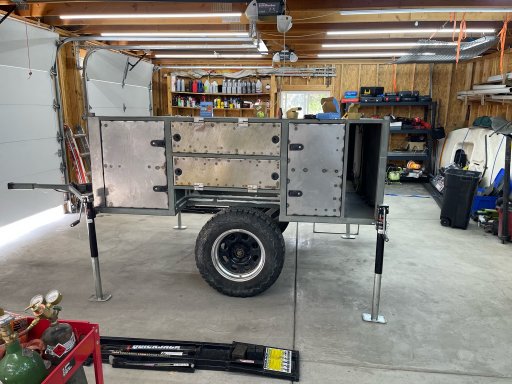
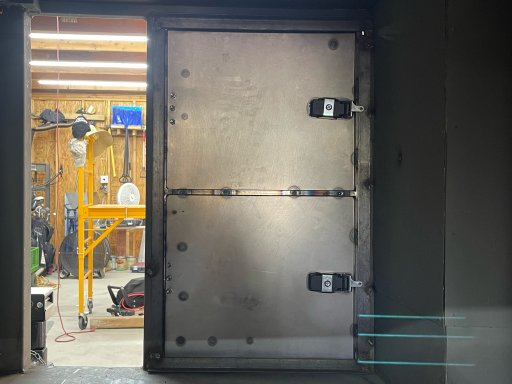
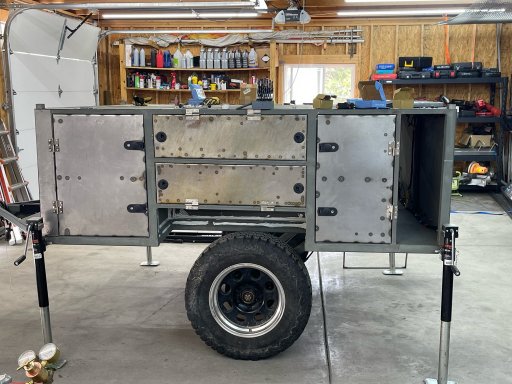
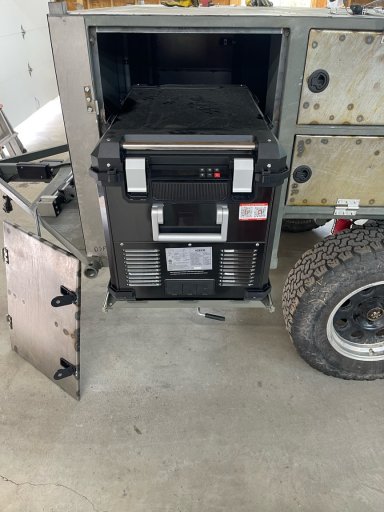
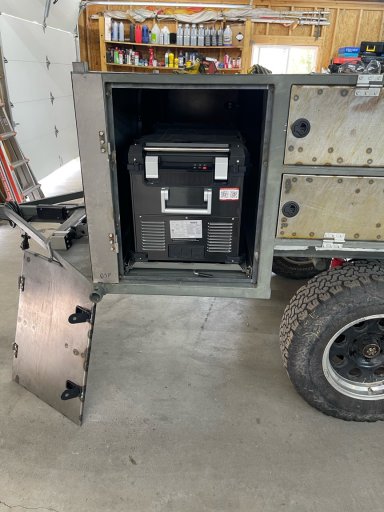
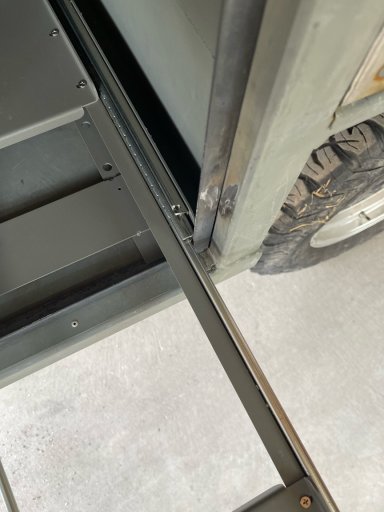
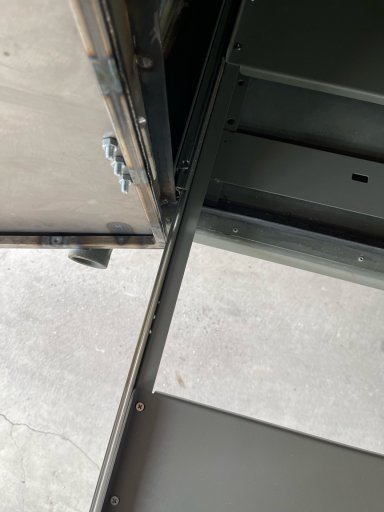
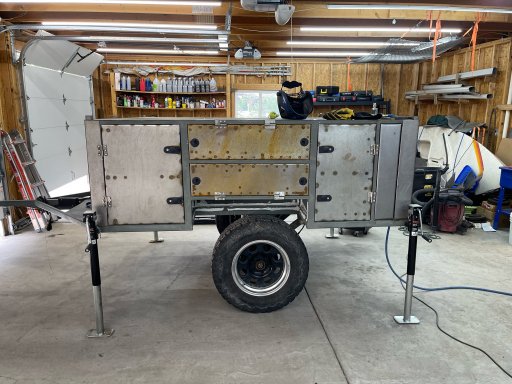
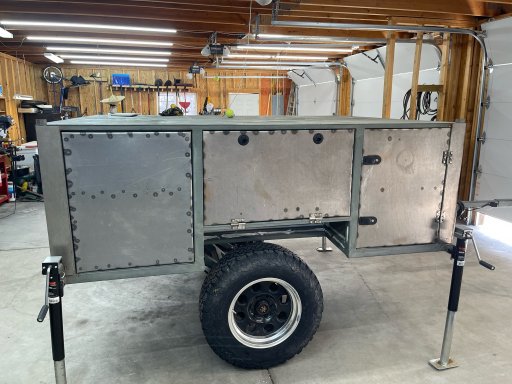
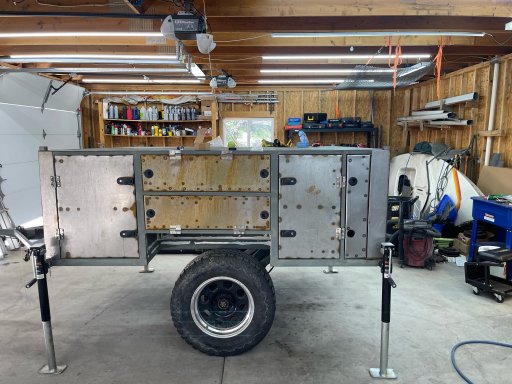
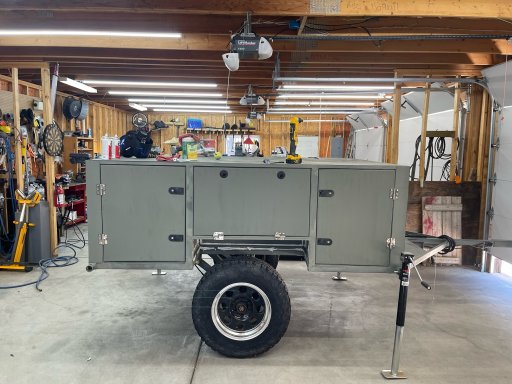
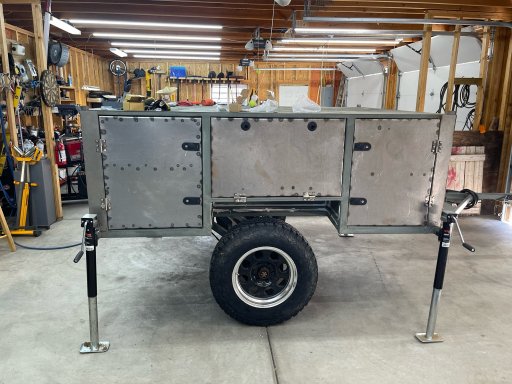
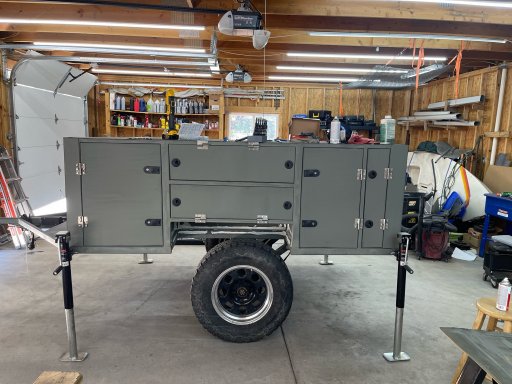
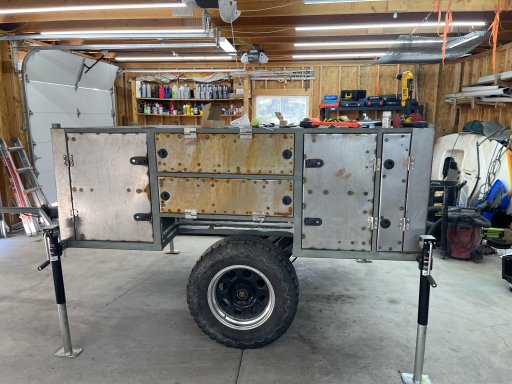
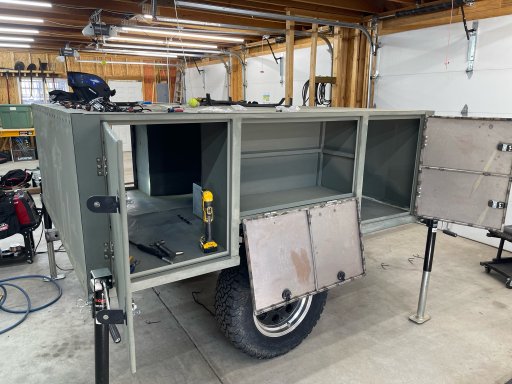
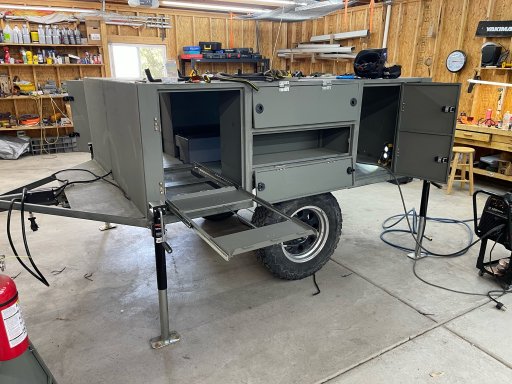
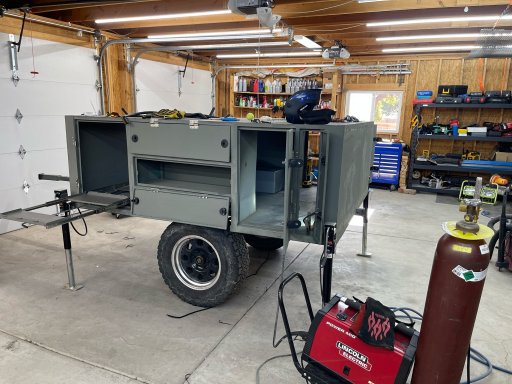
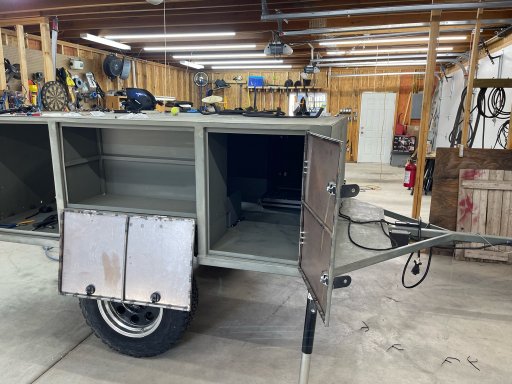
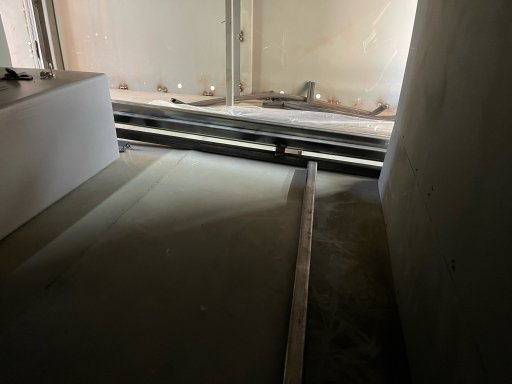
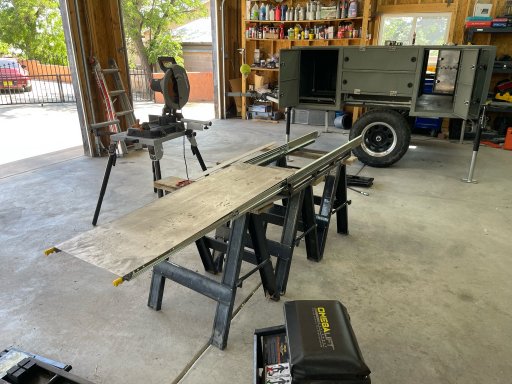
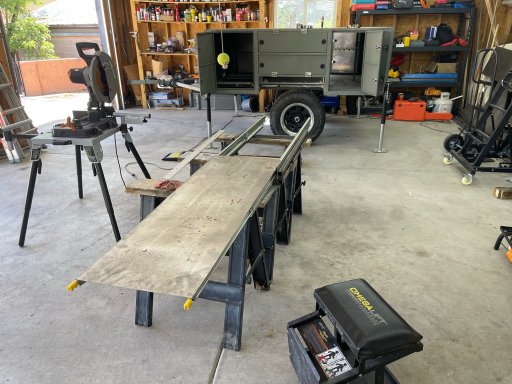
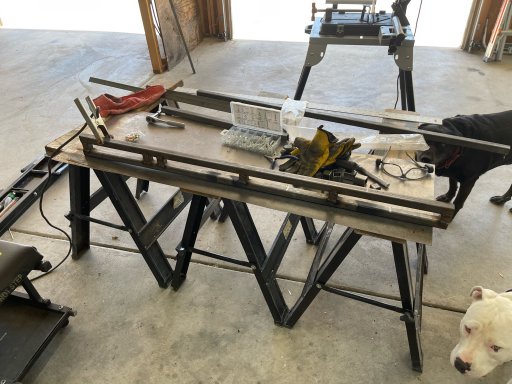
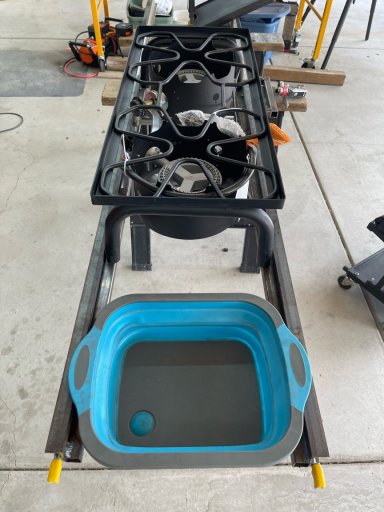
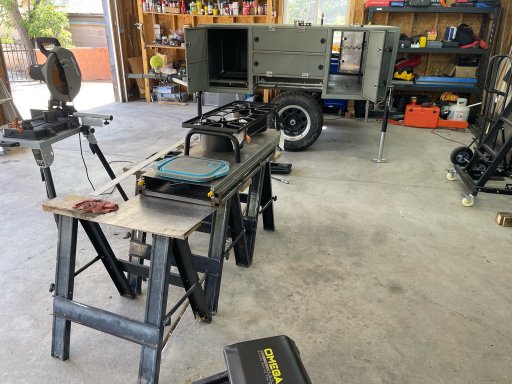
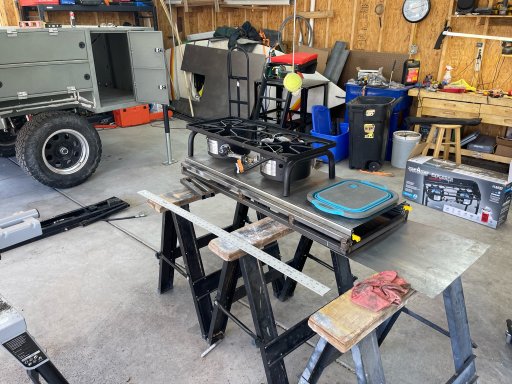
Building the door jam frames is fun. I have never installed the flush mount door handles, so you can see my mistake. That space us going to be fun filling back in. Oh and I had to shave the latch to get the hand to close.