In my never-ending search for whatever is making the irregular BANG / POP sound when flexing, time to take some other stuff apart. I've replaced about half of the front end components to no avail so far. I know it's not swaybars/endlinks since it's made the noise with them disconnected. So on to the only things I haven't replaced/changed during this search: The upper balljoints and the lower control arm bushings. I managed to reproduce the noise a cople times using a jack, but cannot pinpoint WHERE its coming from, other than the front right vicinity.
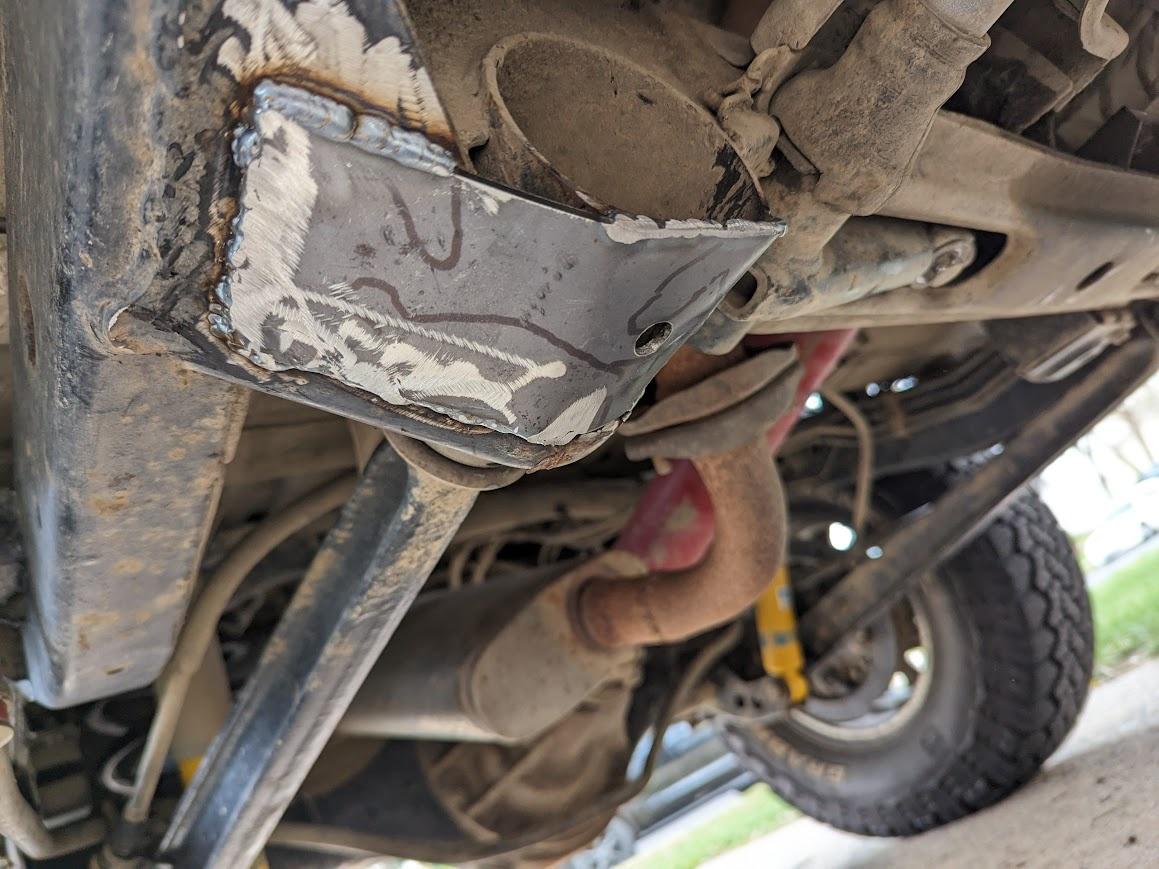
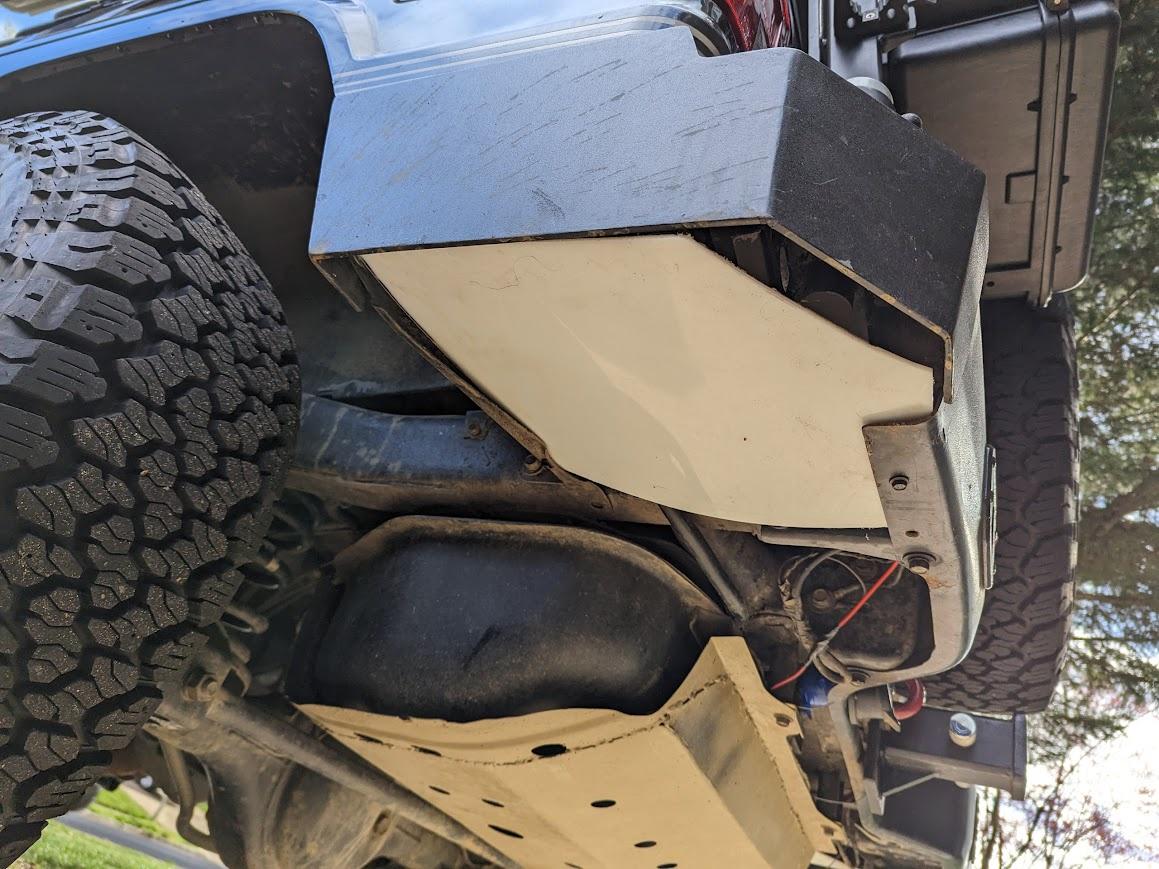
So took everything apart on the right side, where I'm 95% sure the noise is coming from (5% somewhere else on the right side).

Also gave me a chance to make sure the front CV isn't binding or anything. I have a new spare, but the one on there felt great/smooth so not going to replace it. But the upper balljoint was super-sloppy and really gritty, so replaced it with a new one. I'll definitely have to do the other side as well when I have time.

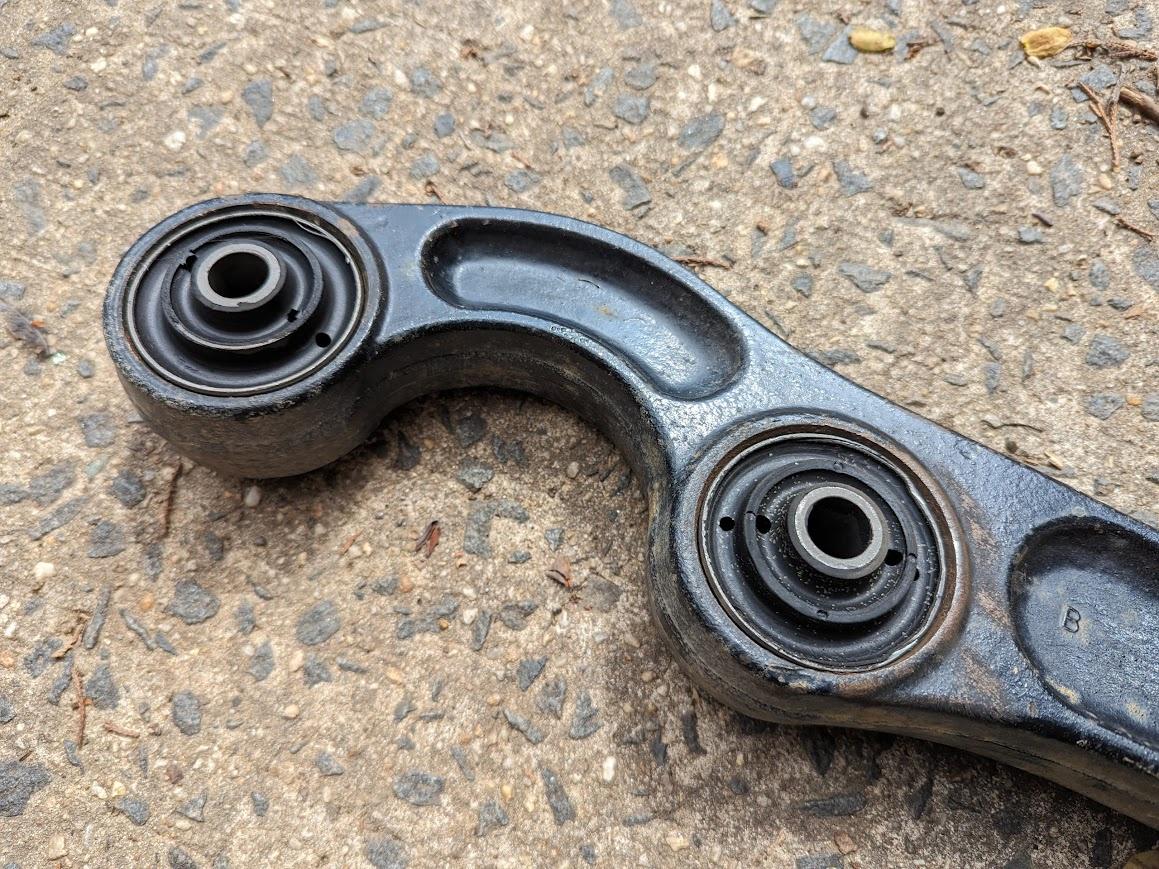
The lower bushings look perfect, so didn't replace them for the time being since it's a hassle to press them out.
Its hard to test stuff like this, but I tried out some curbs and other suburban obstacles and no noise so far, so fingers crossed
So took everything apart on the right side, where I'm 95% sure the noise is coming from (5% somewhere else on the right side).
Also gave me a chance to make sure the front CV isn't binding or anything. I have a new spare, but the one on there felt great/smooth so not going to replace it. But the upper balljoint was super-sloppy and really gritty, so replaced it with a new one. I'll definitely have to do the other side as well when I have time.
The lower bushings look perfect, so didn't replace them for the time being since it's a hassle to press them out.
Its hard to test stuff like this, but I tried out some curbs and other suburban obstacles and no noise so far, so fingers crossed