Build/activities thread: 1989 Raider, 2010 Sequoia, and my other stuff.

  • HTML tutorial

irish44j

Rank II

Enthusiast III

443
Fairfax County, VA, USA
First Name
Joshua
Last Name
Hickey
Haha...., I actually stepped in almost knee-deep when I slipped off a rock trying to get those lol...luckily I had my waterproof boots and spats so no harm done :) I'll post up some of the other ones tomorrow., of some of the other vehicles there.
 

irish44j

Rank II

Enthusiast III

443
Fairfax County, VA, USA
First Name
Joshua
Last Name
Hickey
Hope you all had an excellent Christmas (or whatever else you may be celebrating).

My daughters and wife went all-in on buying my camping-related stuff this year, which is probably a major change for them, since before this year I never really camped much at all....

In any case, some useful things to add to the collection and find places to stash in the vehicle (the Dewalt tool excepted)

1703553008309.png

meanwhile, I've been sketching out a few fabrication projects for the upcoming month. So hopefully a few interesting things yet to come in this thread.
 

irish44j

Rank II

Enthusiast III

443
Fairfax County, VA, USA
First Name
Joshua
Last Name
Hickey
Project time: moved the Porsche out into the cold and the Raider into the garage. It's nice and short (in length) so lots of room to work....but it cleared my overhead rack by exactly 1/4" (!!)....Thought I might have to air down to fit it in lol.


So this project will be the swing-out gear rack on the left side. To do it, I have to make a frame under the bumper to mount the pivot. Taking the bumper off is usually easy on these, but since I added the trailer wiring plug, lights and other stuff it was kind of a pain in the ass - especially since I stupidly ran some wiring through holes in the bumper frame (which I had to cut and will re-splice later).

In any case, I'll basically be building off this little frame "wing" that holds the bumper sides on for the most part. It's not particularly strong for my purposes, so there will be a good bit of reinforcing of it (and boxing a mount) before the pivot is mounted. More to come later.


Incidentally, I needed to cut off about 3" of the end of the frame horn, an odd extension that doesn't attach to anything so maybe it was there for a non-US bumper design or something, IDK. But getting rid of it gives me better access to the bumper bolts in the future once by mount bracket is on there. I picked up the Harbor Freight "Bauer" corded band saw today for pretty cheap, and I have to say, it worked great and made short work of cutting through some 1/4" (or maybe thicker) frame horns. You can see the part I cut off in the photo, it's the exension that has the larger hole on top and smaller on the bottom, which seems to serve no purpose at all.
 
  • Like
Reactions: Dougnuts

irish44j

Rank II

Enthusiast III

443
Fairfax County, VA, USA
First Name
Joshua
Last Name
Hickey
Made some progress. I cut up an old hitch assembly, which is a bit over 1/4" 2" square tube to use as the main weight-bearing member for the pivot. First I welded it parallel to the 3/16" bolted-on bumper wing bracket shown above, on three planes.


Then that whole assembly got bolted up the stock way so I could align everything. Then the bracket was welded to the side, top, and bottom of the frame horn (which is 1/4" thick at the end but almost 1/2" thick rectangle on the inner half!), including a few small gussets and other bracing to eliminate any possibility of flexing Then dilled a hole through the upper and lower walls of the 2x2 tube for the pivot mount, and welded that all up as well.


Came out pretty good in terms of "vertical-ness" with regard to the pivot. I intentionally gave it a very mild "lean-back" toward the truck's body so when it swings shut the carrier will have a bit of downward drop into the lockdown bracket at the other end. Can't see it, so trust me on that lol.


I also did a bunch of wire cleanup and rerouting back there for add-on stuff from the past few years. The next order of business (other than building the rest of the swing-out) will be to build a new end cap for the bumper, since I hate the OEM plastic/rubber ones, which are in lousy shape after 3 years (yeah, aftermarket stuff sucks sometimes) and also stick up too high, which would interfere with the swing-out being able to rotate 180 degrees outward. I plan to make caps for this end and the other end with some plate steel (probably 1/8" or 3/16", tbd). Here's my template in cardboard:


basically replacing these ugly things:


more once I get some more materials!
 

irish44j

Rank II

Enthusiast III

443
Fairfax County, VA, USA
First Name
Joshua
Last Name
Hickey
Swung by the steel place and got some materials. I was considering 3/16" tube, but after some calculations regarding what I'm doing, weight, etc. I determined 1/8" is plenty sufficient, especially with gussets. Got 20 feet of the stuff (only way to buy it there) and 20 feet of angle iron (mostly for the next project) and had to have them cut them in half to fit in the Sequoia lol....


Today's goal was to make the swing bar and get it fully welded to the pivot. and then get the uprights tacked in place. I still haven't totally decided how this will look in the end, but I do know the main frame will look pretty simple, as shown below. Of course, gussets will be added at appropriate places.


The camera angle is funky, but everything is straight/level. Trust me lol. That said, the vertical bars actually lean back - about 10 degrees, close to the angle of the back of the raider.


There's enough space between the bars and the vehicle for the fold-down table that will go on that side, and the incline will help things from falling out of the gear box that will be there, when the front door is opened. Still not entirely sure what I'm going to use yet, but looking into things. Also considering whether I"ll leave he license plate visible in the stock location, of if I'm going to cover that up with a larger gearbox and relocate the plate (and the light for it). Unlike most of my projects, I'm taking this one a bit slow since I haven't quite fleshed out exactly what I want the final plan to look like. I'm usually better at visualizing!

 
  • Like
Reactions: Cypress

Cypress

Rank V
Member

Off-Road Ranger I

1,451
Goose Creek, SC, USA
First Name
Allen
Last Name
Murray
Member #

27152

Ham/GMRS Callsign
WRJY639
Glad to see this rig on here from GRM. It's one of my favorite builds and the ride reports are always entertaining. I look forward to seeing more.

The next time y'all set up a ride, give me a shout. I'd love to join assuming you don't mind an extra rig.

Allen, AKA Toyman! in the land of GRM.
 

irish44j

Rank II

Enthusiast III

443
Fairfax County, VA, USA
First Name
Joshua
Last Name
Hickey
Glad to see this rig on here from GRM. It's one of my favorite builds and the ride reports are always entertaining. I look forward to seeing more.

The next time y'all set up a ride, give me a shout. I'd love to join assuming you don't mind an extra rig.

Allen, AKA Toyman! in the land of GRM.
Hah, good to see you here as well. Yeah, figured it was worth doing the thread in a place where people are notionally more interested in the topic. GRM has some, but I think everyone there has project OCD :)

Hey, we're always open for others joining the outings - though man, that's quite a hike for you to get to the places we usually go!
 

irish44j

Rank II

Enthusiast III

443
Fairfax County, VA, USA
First Name
Joshua
Last Name
Hickey
Last night I was goofing around with random containers in my garage to see what size of container(s) I want to mount on the swing-out. Still somewhat undecided on what I want to do - one large box, two smaller boxes, obscure the factory license plate and relocate it, or don't obscure it. Still need to think further on it.

Testing lol


In the meantime, figured I'd get going on the new bumper corners. Decided I'll build them with 3/16" steel, which is actually thicker than the OEM bumper (and of course far stronger than the rubber/metal side bumpers that they're replacing). Still haven't decided if I want these to be bolt-on, or if I'll just weld them to the heavy tubing that's holding the pivot, as well as a few other easy spots. I can't think of any reason I'd need to actually take them off in the future (can easily access everything behind them from below) so welding it all into one piece seems like the solution here. We'll see. First I had to make one of them (out of metal, after templating it in cardboard). First, I found out that my plasma cutter wasn't feeling like cutting 3/16" today. Not sure why, it's cut 1/8" previously with ease, so I'll look into that some other time. So I busted out the angle grinders and cut all the pieces the old way. Didn't take any pics of the pieces themselves, but here's them all tacked together after some adjustments, etc.


And on the vehicle


Once satisfied it fits the way I want it to, went ahead and fully welded it, and ground everything down smooth, turned the edges to get rid of any sharp angles, and made some minder grinding ajustments. I still have some small "lip" pieces to add on a few of the upper and lower sections, but this is more or less what they'll look like. I also have a bit more to do in the area around the pivot itself - need to build it up a little so I have a good surface for the swing-out's positional spring pin.


irish44j

Rank II

Enthusiast III

443
Fairfax County, VA, USA
First Name
Joshua
Last Name
Hickey
More progress today. Got the corner piece fitted, added some 1/2" flat along the upper edge of the side, and a front piece to link it to the OEM bumper corner support piece. Then added a second plate around the pivot base to give extra strength.


Here's where it ties into the factory brace piece. I removed the factory mudflap upper holder and will fab up my own piece to protect the underside of the bumper (and the wiring) from gravel/mud as much as possible.


And painted with one coast of bedliner on it as well. I also added the spring pin/safety latch so the swingout can be locked in a few different positions (open 180*, open 90*, and a secondary lock when closed). I think I'm going to add a bit more metal around the radius of the spring pin travel with notches in it for the pin to drop into -rather than drilling directly into the bumper.


Still a few details to finish up, but pretty pleased at how the corner came out. The other side will be easier since it doesn't need as much bracing and won't need the cutout for a pivot over there.
 
Last edited:

irish44j

Rank II

Enthusiast III

443
Fairfax County, VA, USA
First Name
Joshua
Last Name
Hickey
Back to work. Today's main order of business was to figure out how to set up the latch mechanism. I picked up a De-Sta-Co direct-pull latch and a beefy L-shaped urethane bumper thing for a few bucks. But since I don't have a flat-faced aftermarket bumper, but instead have a curved, offset factory bumper, had to do some creative fabricating to make a setup that is both secure, easy to use, and doesn't look too stupid.

First order of business was to build a bracket on the bumper for the latch hook. I basically just angle-cut a piece of scrap square tube - the idea being to angle the whole latch mechanism so it pulls the carrier both inward and downward to "lock it in" on two planes and minimize movement.

So here's the bumper-side mount. The latch plate is angled outward at the top, if you can't tell. The vertical piece on the left is the stop for the urethane bumper attached to the carrier. Note that the factory bumper on this thing is pretty beefy - so I have no qualms about mounting directly to it. Plus, the frame mount is about 2" to the left of this behind the bumper anyhow.


Here's the urethane bumper piece. Worth 8 bucks to save the trouble of digging around to find something in my garage lol.


I didn't take many "progress" pics, so here's basically the "finished' setup on the carrier side, with the Destaco latch. Basically I welded a 1/4" piece off of the carrier at a similar angle to the bumper-mounted piece, except about 1/8" further out to get a better pull angle for the latch. Welded it up, and lined up the latches and drilled holes (right now just hand-tight while I fit stuff). The vertical steel piece is some old 3/16" bracket I had sitting around and chopped it up to be the mount for the urethane bumper piece.


And here's the backside. I put a triangular gusset between the two brackets (and welded to both) to eliminate any possibility of flex/bending. I will add one more small piece of steel above the bumper there so it won't flex upward when its resting on the bumper.


Once I had everything loosely bolted, I latched it up and with all my weight/strength I could only make it move a tiny bit. I even levered against the bumper with my feet, and pulled backwards away from teh truck and it didn't budge. So pretty satisfied that it's not going to pop open on its own. The latch also has a safety catch, and the spring pin on the pivot end will have a "closed" position to give a little bit of extra security just in case.

Oh, I also chopped of the too-long tops of the upper swing-out tube and capped them off, but that's boring and I forgot to take a pic. Maybe next time.
 

irish44j

Rank II

Enthusiast III

443
Fairfax County, VA, USA
First Name
Joshua
Last Name
Hickey
More bumpers and making a mess with metal dust all over my garage...

I did finish up some of the little details of the latch and got that all painted. Also added another plate under the pivot , which has holes in it for the spring pin latch in three positions (closed, as a secondary, out about 100* from closed, and basically wide open 180*).


Then got going on the other side. The passenger side was a lot easier, since I don't need to reinforce the frame mounts or integrate a pivot. So I basically built the bumper cap the same way as the other one, minus all the pivot stuff, and with backside brackets so I can just bolt it to the five factory bolts (though I did slightly reinforce the mounts).


So after a bunch of grinding/sanding/painting it came out good I think....


compared to the stupid old plastic/rubber caps


My other little project was the beginning of a small fold-down table off the back of the swing-out. Not really for making full meals or anything, but a place to put my jetboil, or a beer, or a sandwich while standing around on the trail with friends, or whatever). In any case, it's the only thing that can fit behind the swing-out, and you know I hate to waste useable space lol. Anyhow, my first plan was to use some small hinges from the hardware store to mount the arms for the "table," but they turned out to be too flimsy so I went back to the scrap-metal bin and found some 1/4" tabs and some steel tube that came with a terrarium set (you may recognize it as the leftover from the interior rack I built last month). Anyhow, basically I welded the tabs on and used the tube as the pivot/hinge. The tube passed through the small square bar for the "legs" and then sloppily welded it all together.

There are little "heels" on them so when the table is open it holds itself up. At least that's the plan.


here's the frame


I had some old street signs a buddy gave to me, so figured hey, free aluminum. Not sure whether I'll use it or not, but for now the stopsign bolted to the frame seems to work fine. As you can see, it self-supports the weight of my drill (and more). I may add a support cable or two later, we'll see.


You may notice there's a gap of about 6" at the back, between the "tabletop" and the pivot. That's because the table has to fold up above the tailgate latch/license plate, but having the pivot up there would make it more like a barstool height, lol, So to have it fold down at a lower/more useful height, made the "legs".

here it is folded closed with the swing-out latched. The pivot is basically out of sight just below the "RAIDER" thing.


It's held closed by an old Thule bike rack threaded handle and a welded-on threaded rod. I need to add some rubber bumpers or something so it doesn't rattle around.


Anyhow, still a work in progress but moving along...
 

Cypress

Rank V
Member

Off-Road Ranger I

1,451
Goose Creek, SC, USA
First Name
Allen
Last Name
Murray
Member #

27152

Ham/GMRS Callsign
WRJY639
Awesome fab work. I'm probably going to attempt bumpers for the H3T in the not-to-distant future. The store-bought stuff is insanely expensive.
 
  • Like
Reactions: DintDobbs

irish44j

Rank II

Enthusiast III

443
Fairfax County, VA, USA
First Name
Joshua
Last Name
Hickey
Awesome fab work. I'm probably going to attempt bumpers for the H3T in the not-to-distant future. The store-bought stuff is insanely expensive.
I've had about 4-5 Raider/Montero folks message me asking if I'd make them a set. If I had a real shop, maybe, but the hourly rate it takes me to make these wouldn't be worthwhile at "affordable" rates lol.

Now, if I had a CNC plasma...... :)
 
  • Like
Reactions: Cypress

irish44j

Rank II

Enthusiast III

443
Fairfax County, VA, USA
First Name
Joshua
Last Name
Hickey
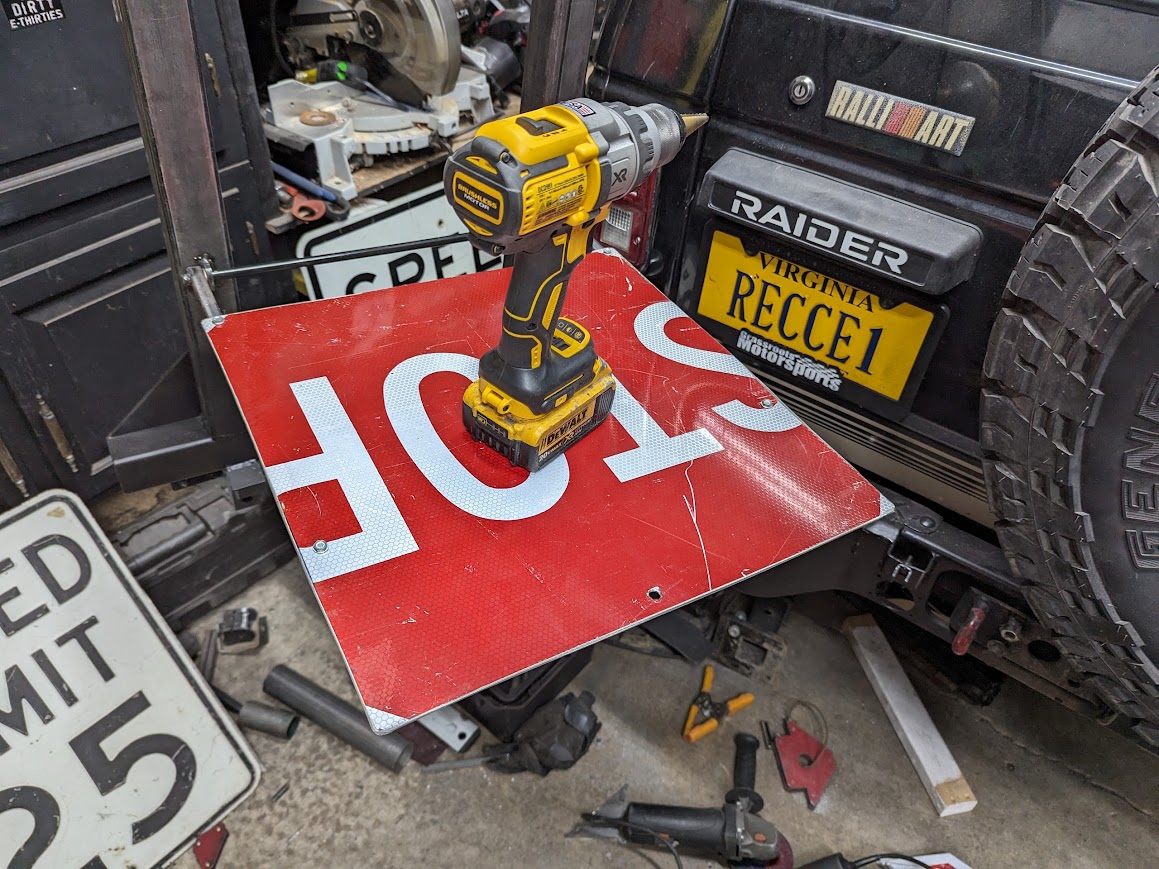
Ok, let's get moving on some of the related aspects of the winter project mode....

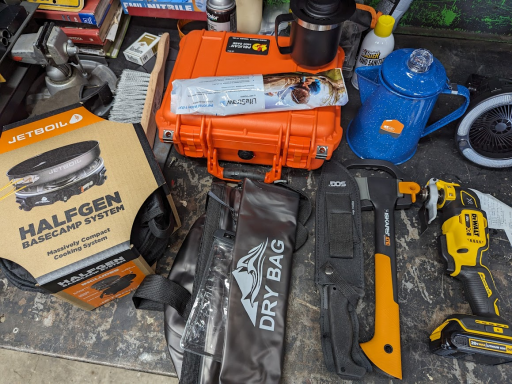
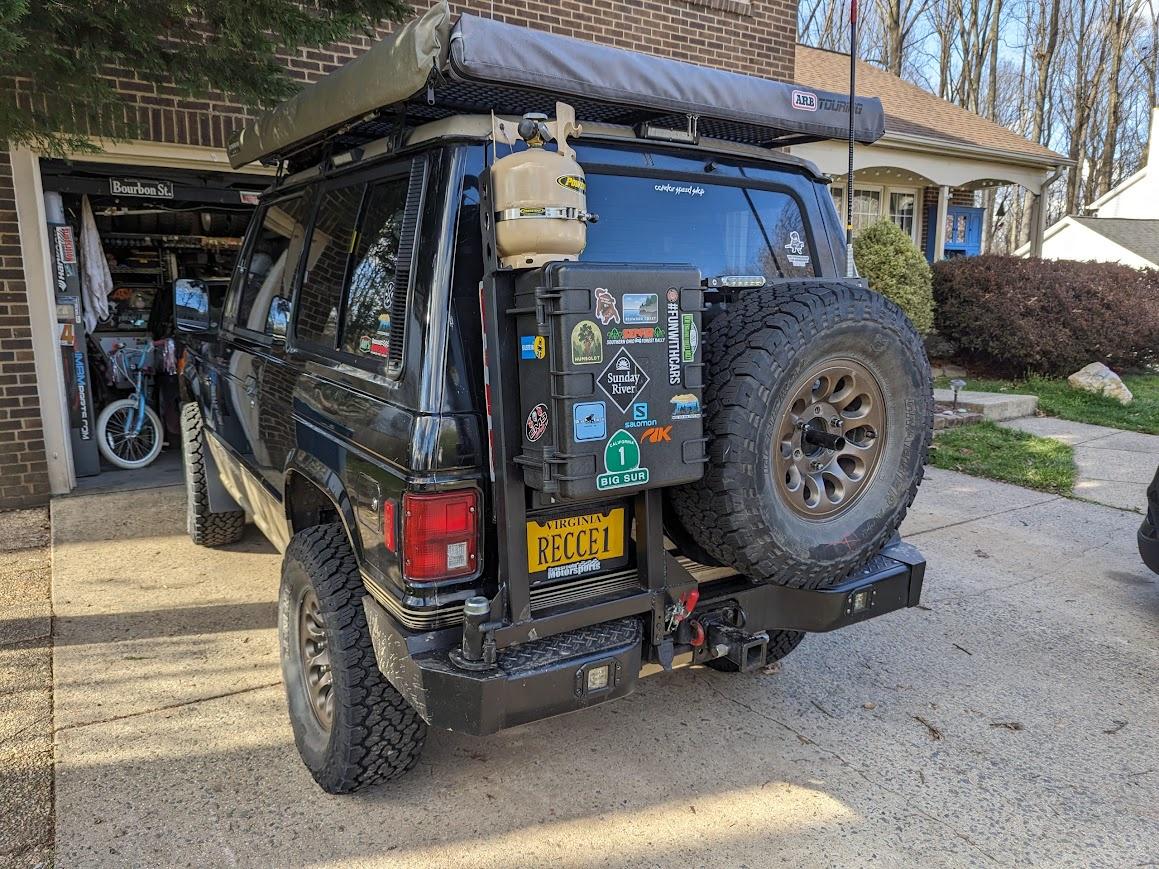
So, first off - I've used these Monoprice cases for several applications. I think this company mostly sells tech stuff, so the cases are kind of an afterthought for transporting tech stuff. But they're really good prices compared to Pelicans, and better quality than the HF ones. I've had one on the roof of the Raider for 2-3 years now (holding my traction boards) and it's held up well. In any case, they were on sale over Chrismas for even less than the normal price, so I grabbed one in a size I thought would work for this swing-out.

1705720862984.png

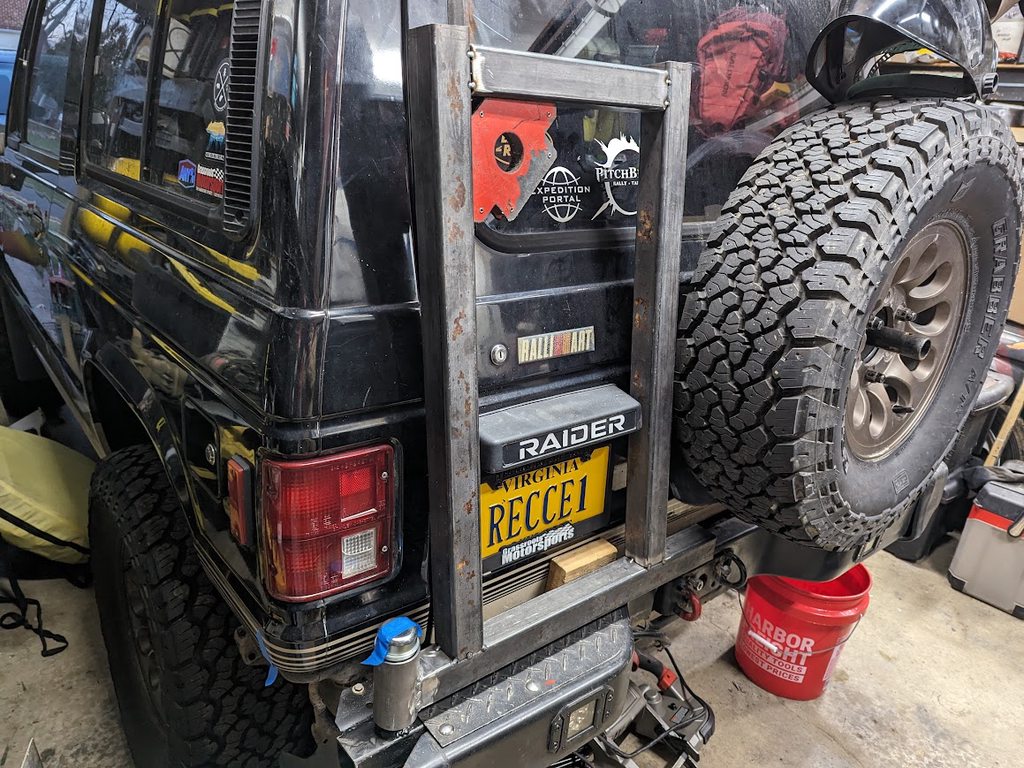
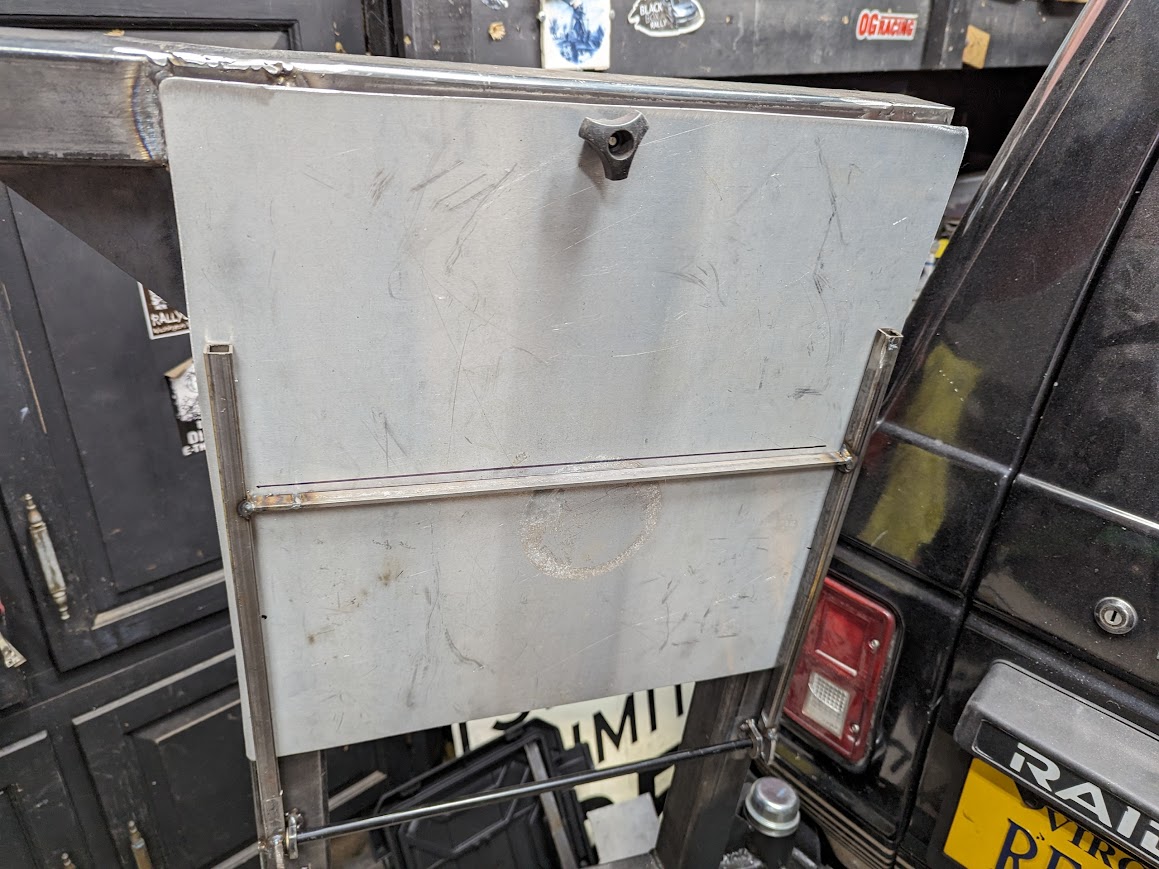
At one point I was thinking about doing a full-length case on the back and relocating the license plate, but changed my mind and decided to go with a smaller one so I wouldn't have to do that. After much measuring and test-fitting, we have this now:


The spatial placement somewhat annoys me but this truck isn't about being pretty, it's about function. In any case, I chose this case size both for fit and because I knew it would fit two of these nifty snowboard binding cases (which I've gotten a bunch of from the ski shop I work at part-time, over the past few years. They'll be good both for separating gear, and for keeping it from rattling around (I think I'm going to use this as a recovery gear case, by the way)..


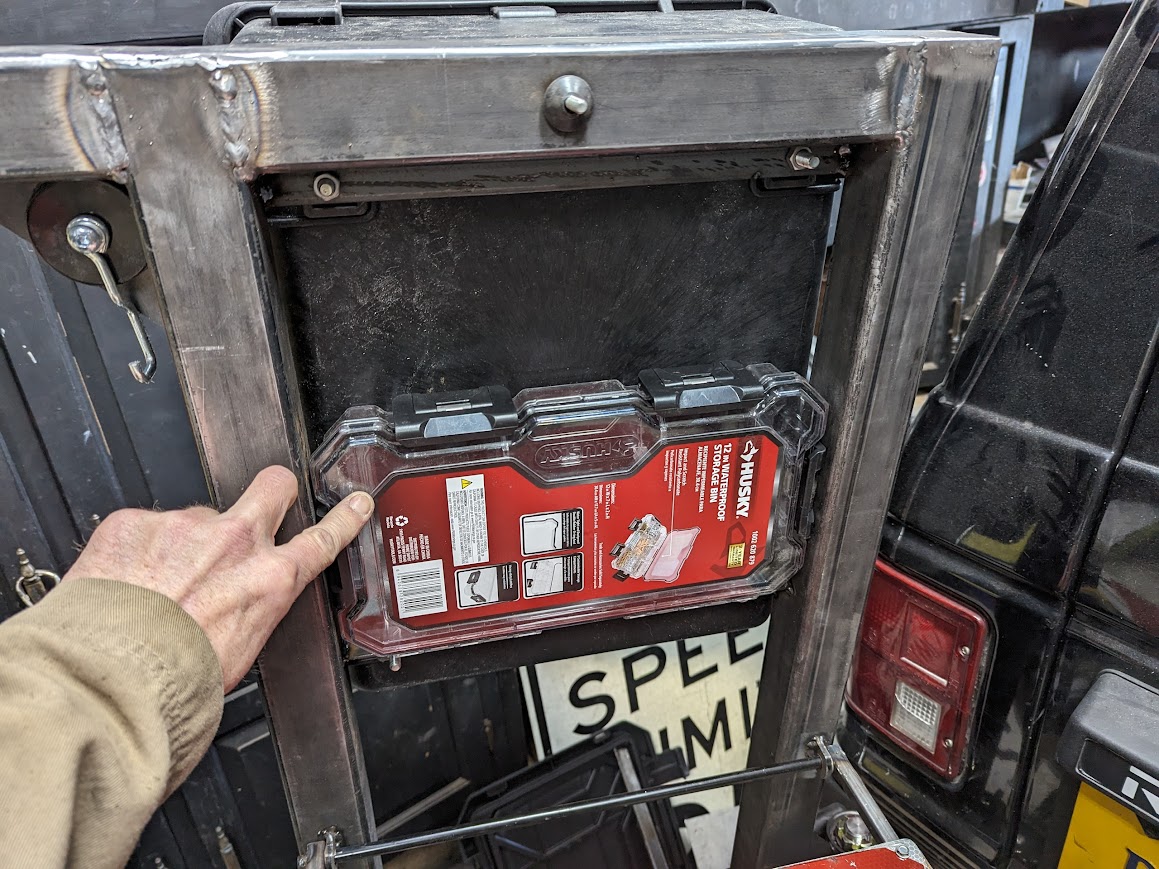
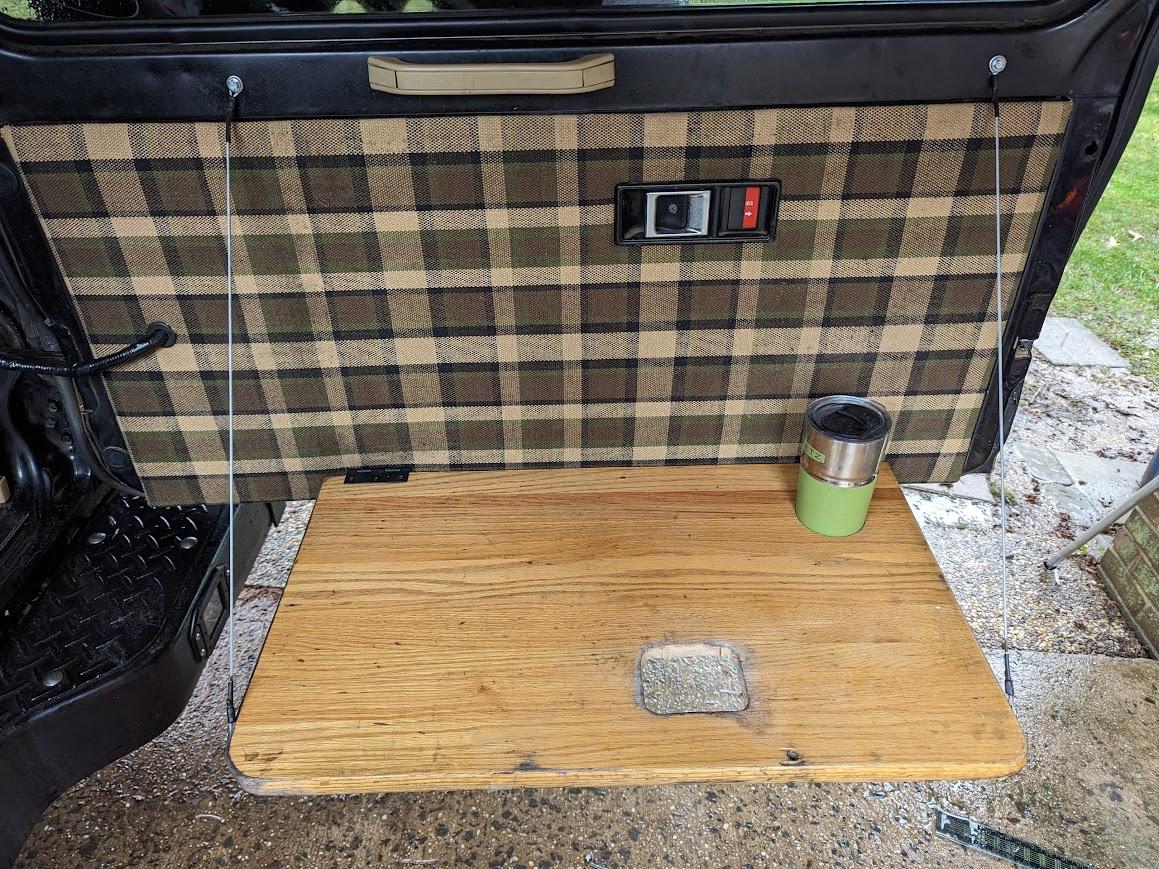
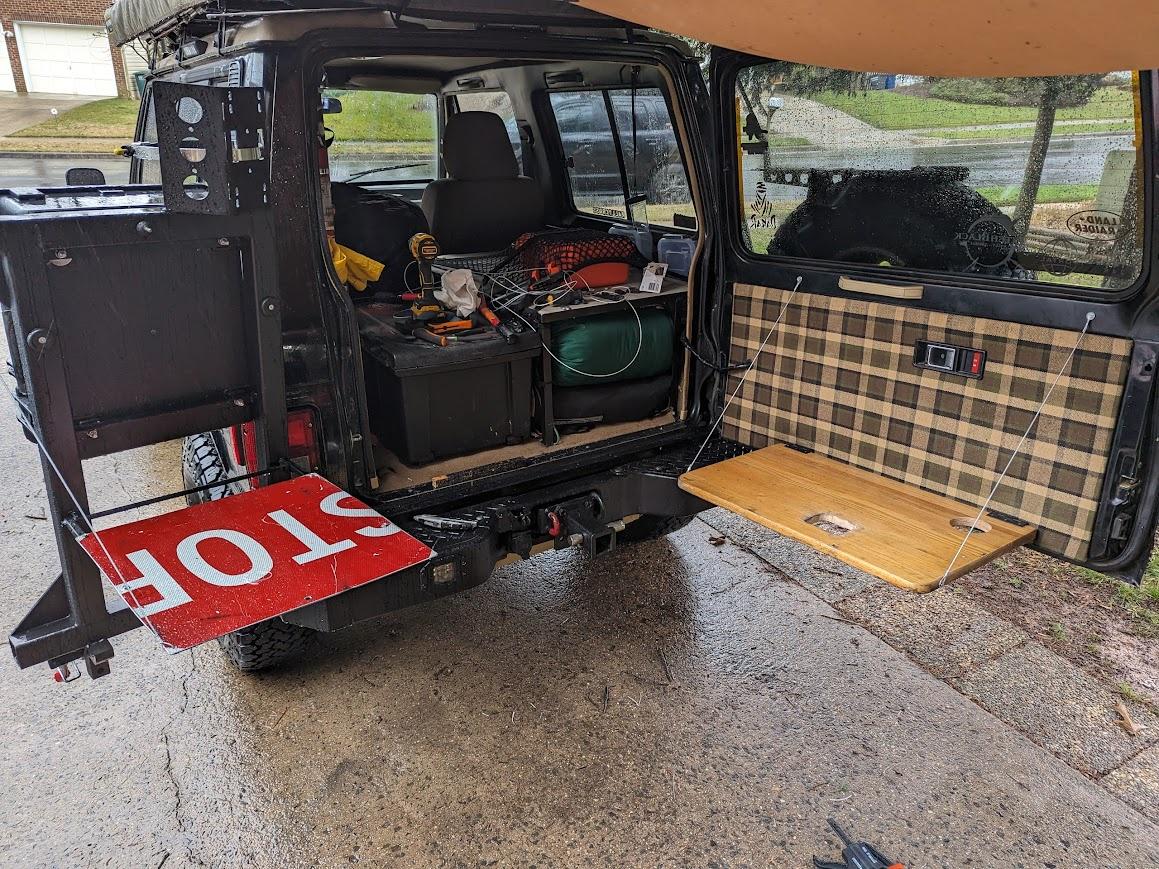
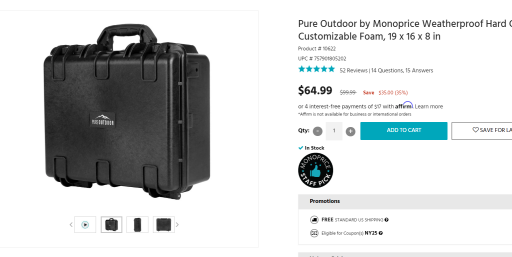
Meanwhile, on the backside there's a cavity of sorts between the box and the fold-down table, and I"m thinking of putting some kind of small storage in there. Haven't found quite the right case to put there, but something like this:


--break--

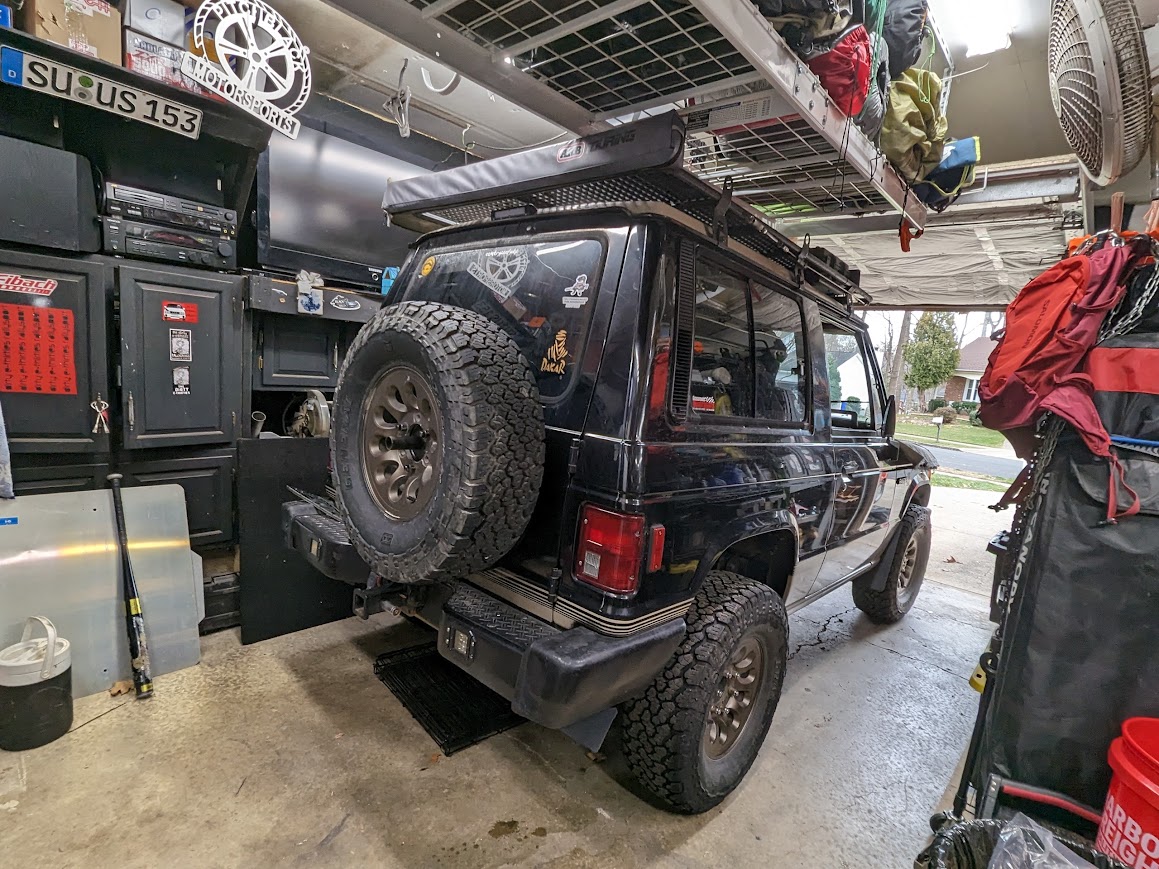
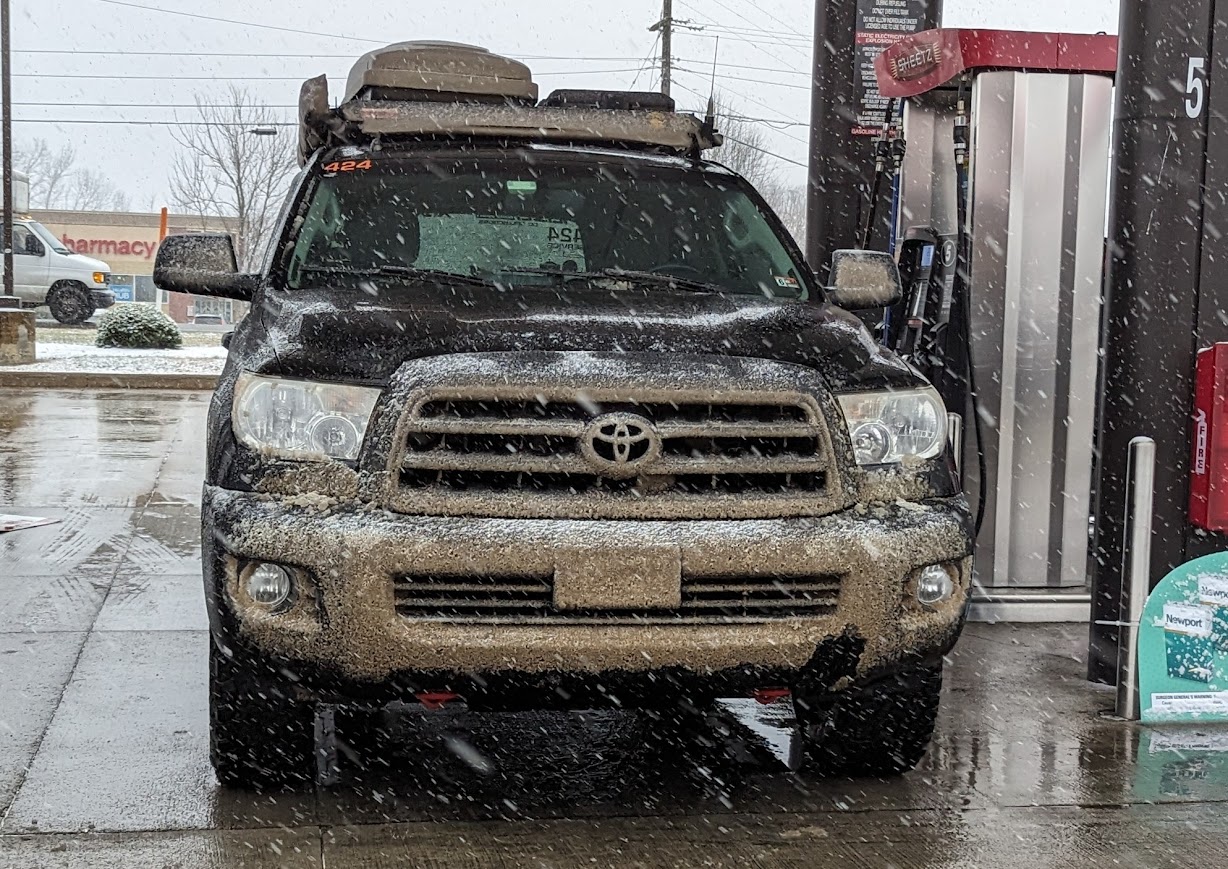
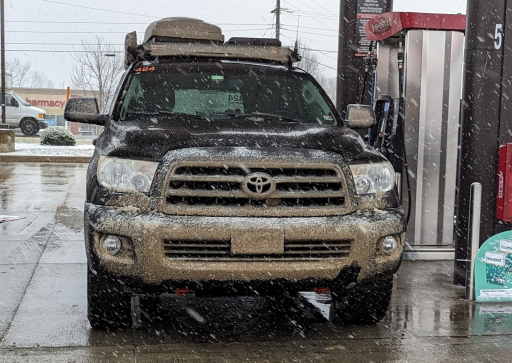
it's cold this week, which makes garage work less fun. Here's some cold Sequoia pics.


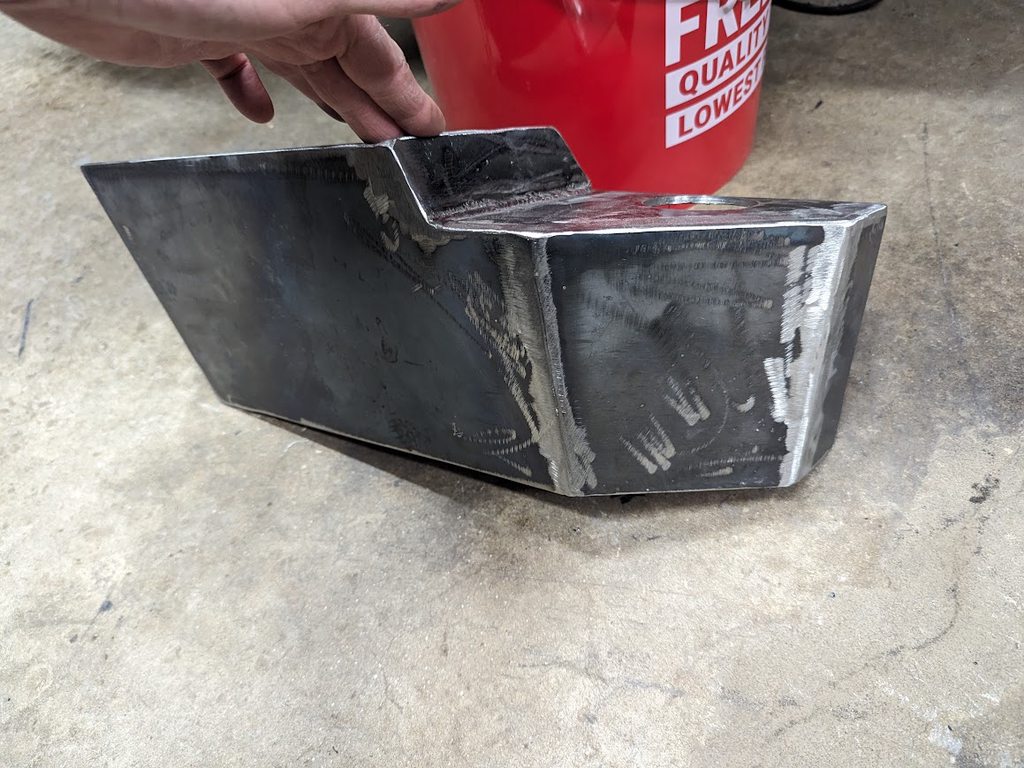
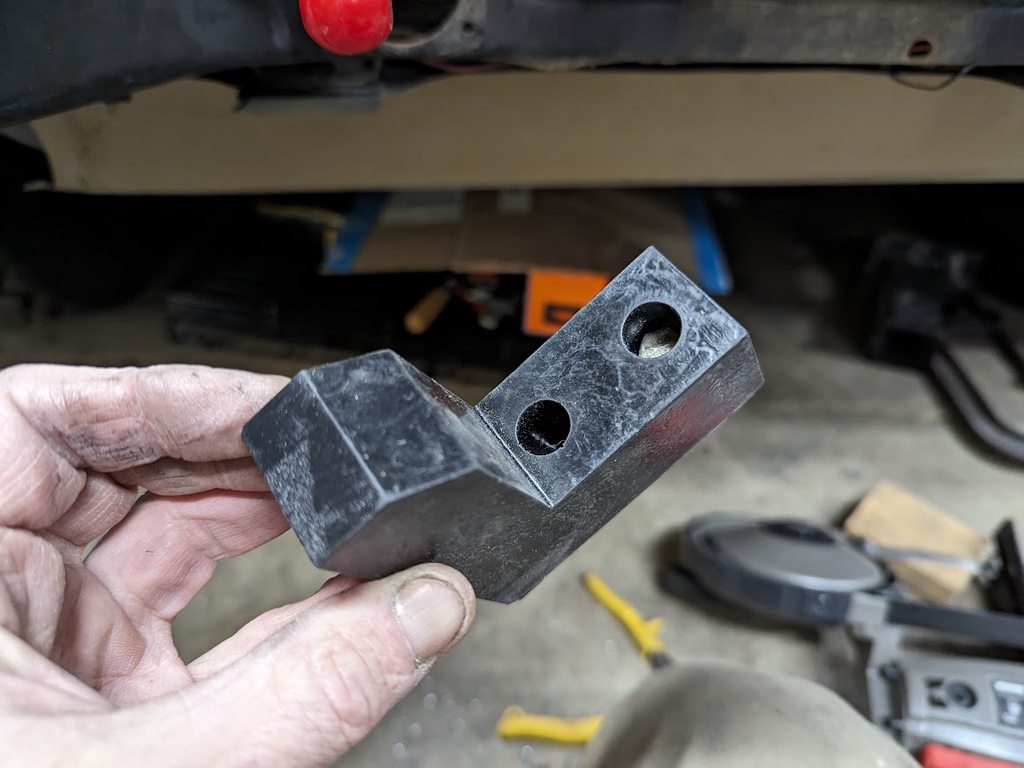
ok, where was I? Ok, so as another part of the the rack, I want to put a propane tank on it so I can stop buying the little 1lb cans. So I got a 5lb tank. I was going to build a mount for it myself, but found a guy on etsy that builds them for a very reasonable price (less than most of the other "overland" brands I've found out there). Though I prefer to build my own stuff, sometimes I like to just buy something decent that looks good if the price is less than my time is worth lol. So I picked up this:


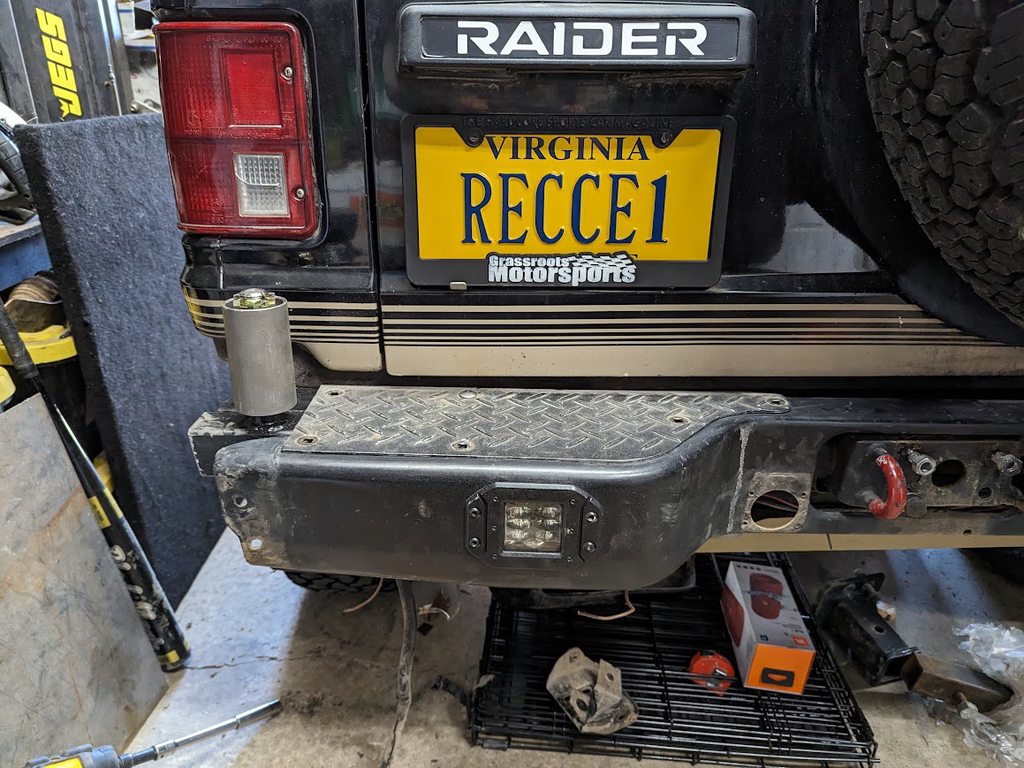
I'll probably mount it up above the gear box, but not sure exactly how I'm going to position it yet, we'll see.

---

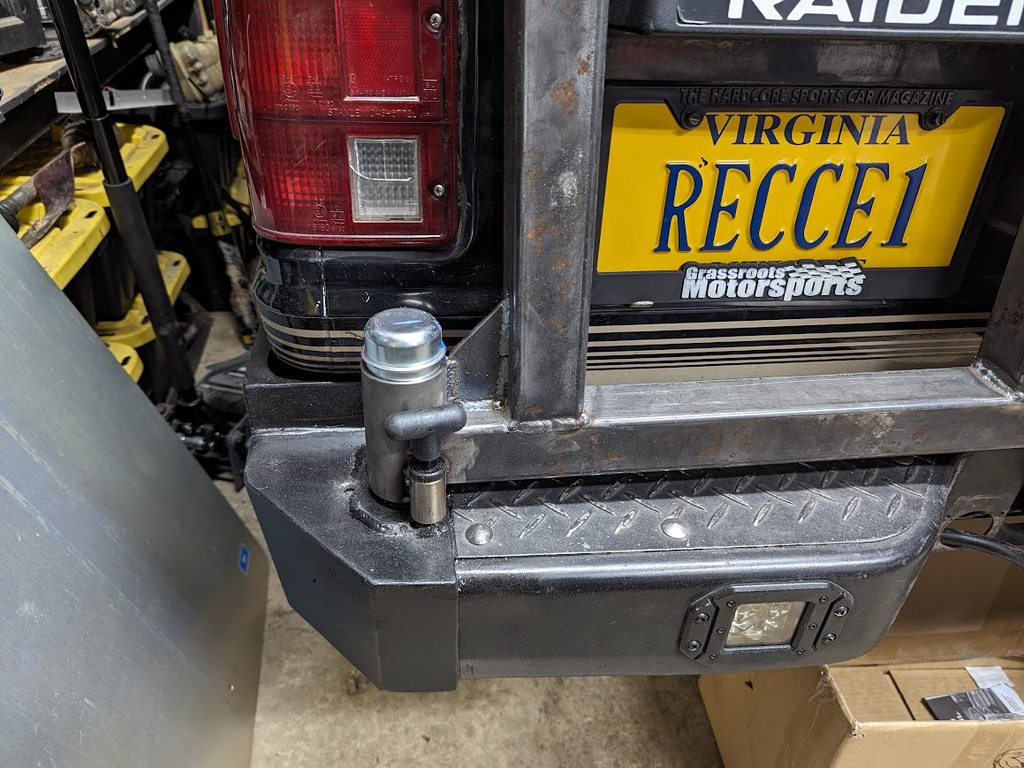
oh, the original rear wiper snapped off a while back. I ordered a new one off ebay and it came in, from Korea of course, with Hyundai badging (for the Galloper, which is the same truck)


Also was watching Jack Ryan on Amazon and got a chuckle when someone driving this Gen1 Pajero broke down haha...


---

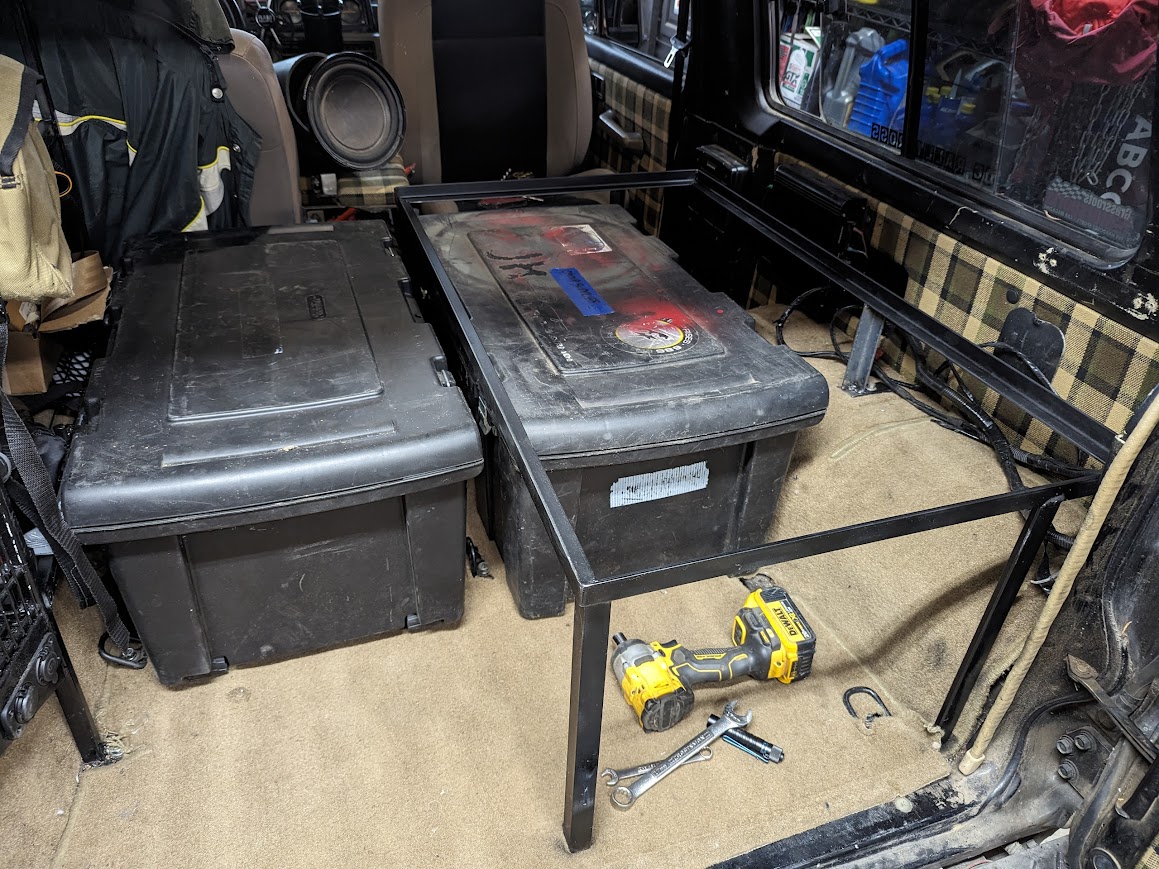
So the other project is the new sleeping/gear platform inside. YOu may recall I had one made of wood that I kind of did as a prototype. I didn't really like the setup for sleeping, or for gear, so decided to do something a bit bigger and in metal. So after a bit of welding and 15 feet of angle iron, this is where I'm at.


It's pretty stout. It's set up so one large foot locker case can go under it, and another next to it, and will have a wood top to it for a platform


You may also notice that the passenger seat is flipped around backwards. More on that later :)
 

irish44j

Rank II

Enthusiast III

443
Fairfax County, VA, USA
First Name
Joshua
Last Name
Hickey
I guess I never posted about finishing that project, so I'll take some interior pics tomorrow. Today though, I did another little project I've been meaning to do. I posted earlier a little fold-down table on the back side of the rear swingout. That's a place to but my stove, with the propane tank nearby. But I wanted a bigger "table" to actually put food on, sit at, etc.

So I found an old hardwood tabletop piece I had saved for something like this, and some door hinges, and some 1/16" coated cable and swaging stuff, and put this together. Sorry, no "in progress" pics, but it's nothing special.

The square cutout is for the rear door handle, since I need to be able to open it from inside when I'm car-camping, plus I cut out a cupholder :)


And with the other table...my "kitchen"


Folded up


I may think up a better latch, but for now a strap around the OEM rear door pull works fine. I'll also varnish the whole thing once it stops raining...


irish44j

Rank II

Enthusiast III

443
Fairfax County, VA, USA
First Name
Joshua
Last Name
Hickey
ok, so here's the "finished" inside area. The sleeping platform top is wood, wrapped in some tough fabric. It has room for one of my two gear footlockers underneath (which has spare parts, jack , tools, etc) as well as sleeping bags and related stuff. There are two plastic watertight cases in the slot under the window for toiletries and other small stuff. The orange Pelican case doesn't go there, just had it there for the moment.


The other footlocker slides in next to it. That's where all my kitchen gear and food is.


I also installed a new (working) FM radio antenna, since I like to have radio when I'm off the 5G grid. Just an old marine boat antenna I had sitting around. White looks kinda silly but whatever...


And got my 5lb propane tank mounted (and painted). It also has a small safety cable on the backside that doubles as an anti-theft device (unless the thief has cable cutters and/or certain tools)


irish44j

Rank II

Enthusiast III

443
Fairfax County, VA, USA
First Name
Joshua
Last Name
Hickey
Also guess I'm forgetting the Sequoia. Well, it towed 12 hours each way to Sno Drift rally in central Michigan a few weeks ago (dragging a Subaru behind it)


Got good use out of my lighting


Also spent some time in the logging area up there, which was super-deep sand where I was spinning all four in some areas just to keep speed lol.....