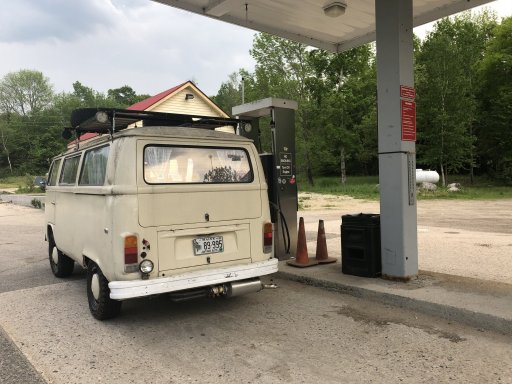
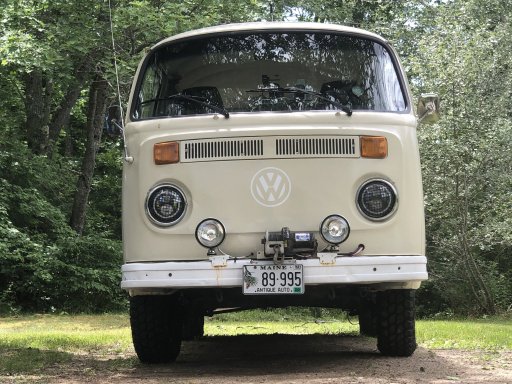
Aphroducky, a VW Bus

  • HTML tutorial

Loanrangie

Rank II

Enthusiast III

473
Melboure,Victoria, Australia
First Name
Nick
Last Name
Robertshaw
Love the reversing camera, my plan is to keep the lower colour original as this is an Australian built bus and paint the top section in an off white or cream colour. I have a set of Audi 16" rims and a long stud set to fir them, just need to have the centers bored out slightly so the rims fit over the hubs.
 
  • Like
Reactions: Sneaks

Sneaks

Rank IV

Enthusiast III

1,165
Maine
First Name
Scott
Last Name
Swenson
Ham/GMRS Callsign
KC1MUR
Waiting on parts, seems like nothing comes on time or all the stuff I need for a project arrives together :(. Mostly what I'm waiting for are exhaust parts and other mechanical stuff, though the three "fun" projects all are sitting at 80% here, 20% being delivered by pony express... and the pony is lame, lol.

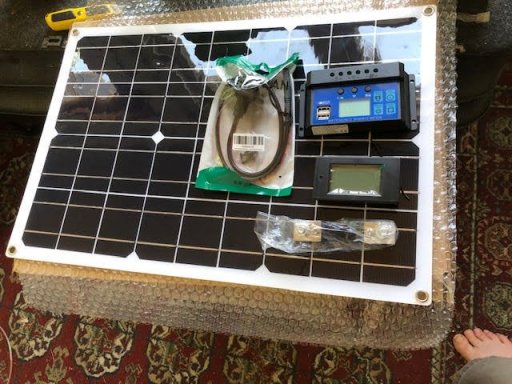
Hopefully tomorrow the last bits (10ga spools of wire) will be here so I can hook up this puppy. 100w solar panel, 50a controller (yeh, both low buck bits but will get my feet wet for very little $), ammeter for house draw and I have another to monitor the vehicle system.

unnamed (4).jpg

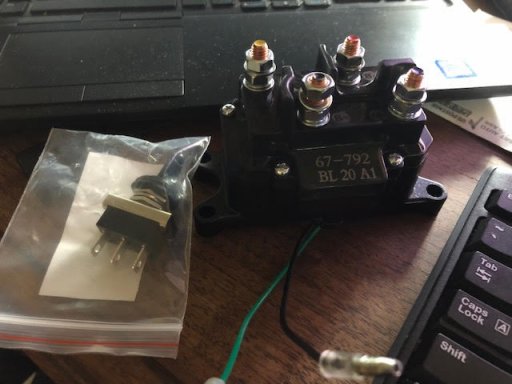
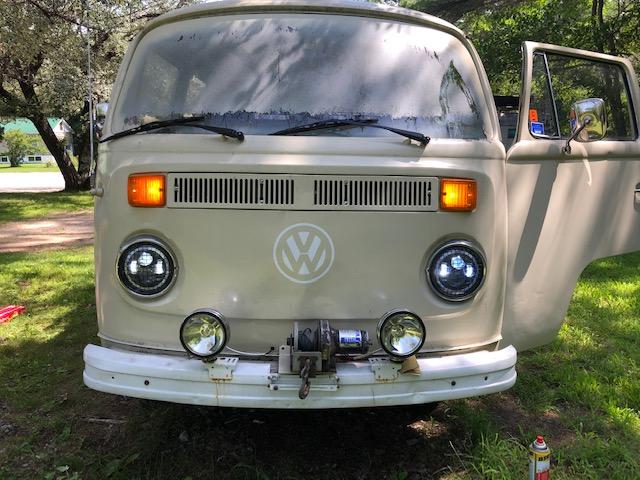
Got contacted on another forum by a former engineer at Superwinch back when my winch was made, he's been advising me on getting that all set to go. Again, waiting on wire (4ga), got my switching solenoid, water-proof hardwired switch, and wireless remote switch.

unnamed5.jpg
 

Sneaks

Rank IV

Enthusiast III

1,165
Maine
First Name
Scott
Last Name
Swenson
Ham/GMRS Callsign
KC1MUR
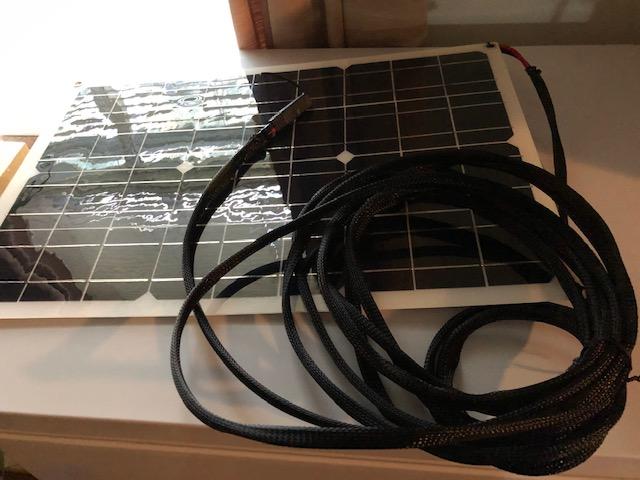
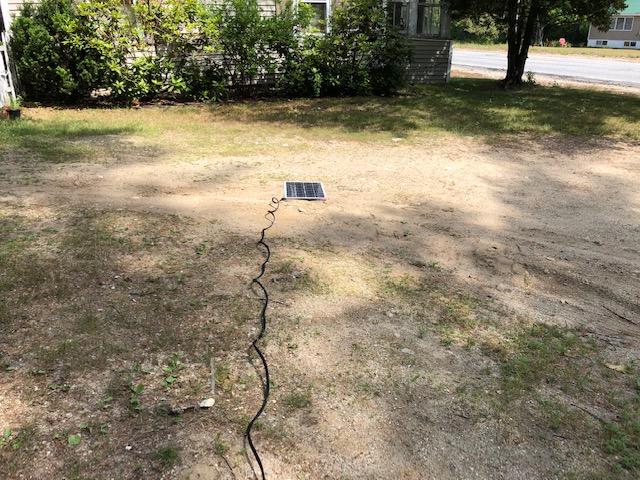
Had some time tonight after work to play around with some of the new stuff. So, this cheap ass solar panel from eBay wasn’t quite as described. Reached out to the seller, and though they responded quickly, they really didn’t know much about what they sell. Yeh, and English definitely wasn’t their first language, despite shipping out of California, responses came in around 2:30am and needed my Ingrish translator to figure out they didn’t understand my question. So it was listed as “100w solar panel with 2 USB plus 12v & battery clips.” Welp, it did come with a ciggy plug and some tinfoil alligator (more like tiny as hell salamander) clips... but... no place to attach them, lol. All there was on the junction box were 2 USB ports. They did revise the listing after I purchased to show output of 5.5v @ 1500ma. So I asked wtf? They were clueless and were going to “ask me our supply” which I took to mean “ask our supplier.” For $35, I told them forget it. Popped off the “junction box” and looked at what I was dealing with. Two nice tabs coming out of the panel with blocking diodes, connected to a PCB with that only had the USB ports and some ICs
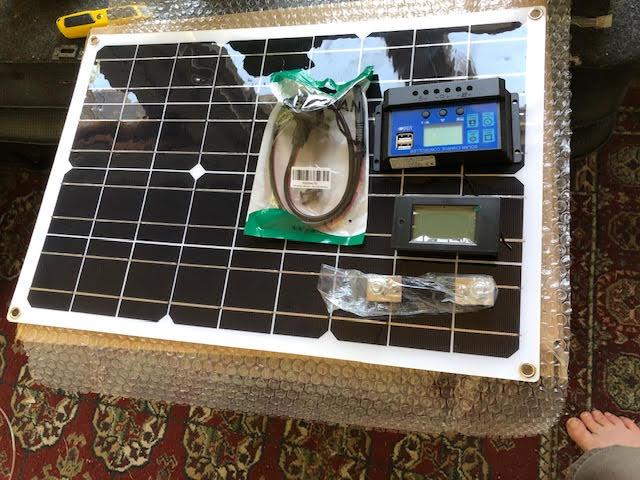
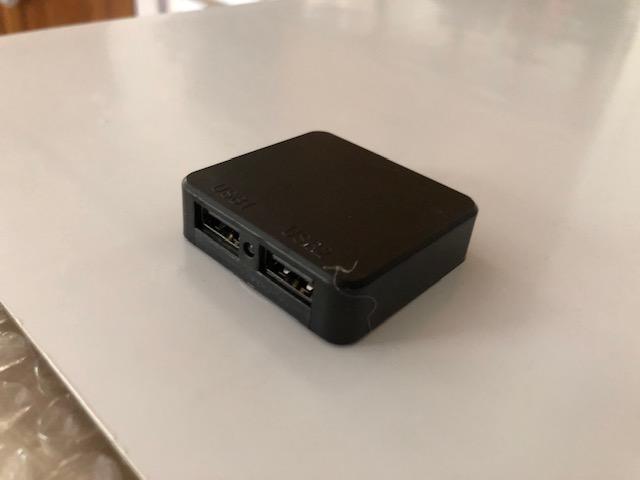
Image may have been reduced in size. Click image to view fullscreen.


Image may have been reduced in size. Click image to view fullscreen.


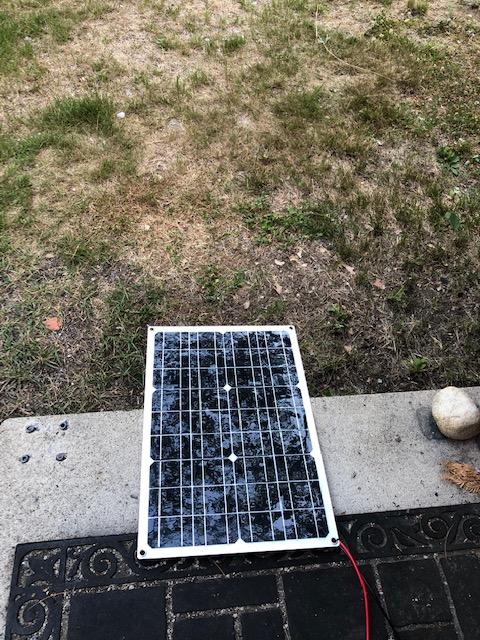
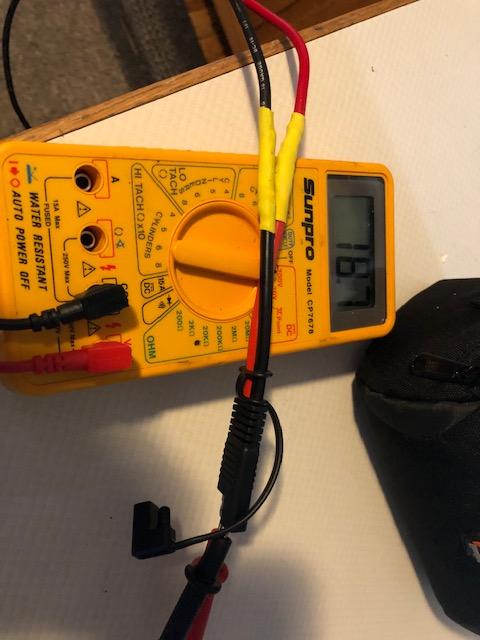
Disconnected after the diodes, put it in the sun, connected my DMM to the diodes and BAM! 22v DC. Clipped on a couple of leads to a big resistor I have kicking around and got 8.3a in full sun 90 degrees to the panel. WOOT! Wired it up with a 20’ run of 10ga fine strand copper wire soldered to the diodes, wrapped in that expandable nylon wire sheathing, terminated with a SAE connector. Tested in the shade about 7:30 tonight and still got over 18v over the 20’ run of cable
Smile


Image may have been reduced in size. Click image to view fullscreen.


Image may have been reduced in size. Click image to view fullscreen.


Image may have been reduced in size. Click image to view fullscreen.


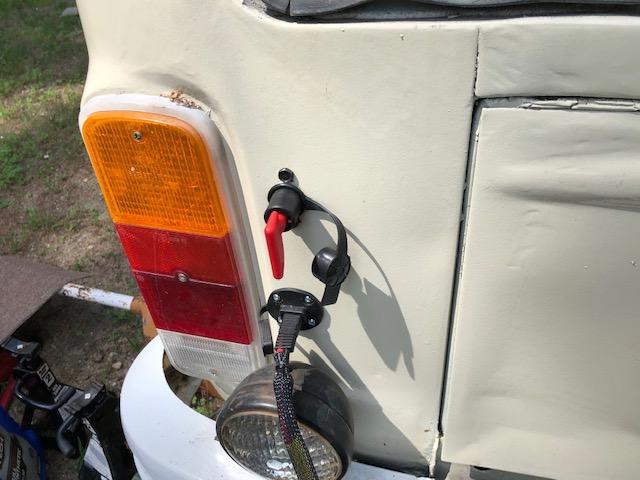
I have a weatherproof passthrough SAE socket that will go on the back of the bus by the left tail light to feed into the solar controller. This weekend will install that, mount controller, set up the ammeter, etc. Even is this thing shits the bed in a year, worth it just for the education and I’ll have the groundwork in place for a better panel and controller.

Image may have been reduced in size. Click image to view fullscreen.


Cost:
Cheap ass panel - $35.99 shipped
Cheap ass “50a” PWM controller - $12.29
100’ 10ga fine copper strand wire - $17.48 (used half)
SAE connectors - $13.79
50’ nylon 0.5’ expandable sheathing (plus 50’ 0.25 roll for other stuff): $10.49
Total - $90.04
Playing around with something new - $ priceless.
 
Last edited:

Sneaks

Rank IV

Enthusiast III

1,165
Maine
First Name
Scott
Last Name
Swenson
Ham/GMRS Callsign
KC1MUR
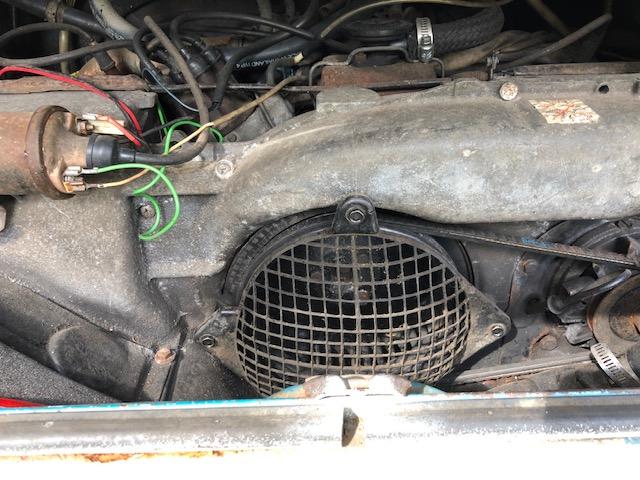
Got some more done before the skies opened up with some very much needed rain. Before I started I had to run to the dump, while there I checked out the freecycle tent, poking through a box of misc junk, I saw something g that didn’t belong in with the fondue pot and nasty looking cutlery.... I now finally have a fan screen and timing scale. Free, gotta love it
Smile


Image may have been reduced in size. Click image to view fullscreen.


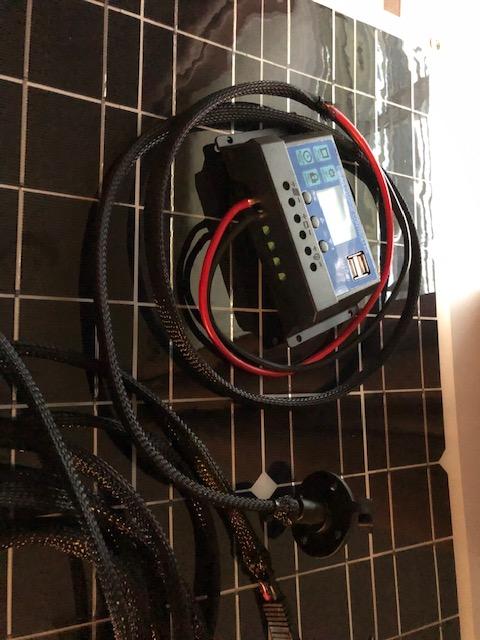
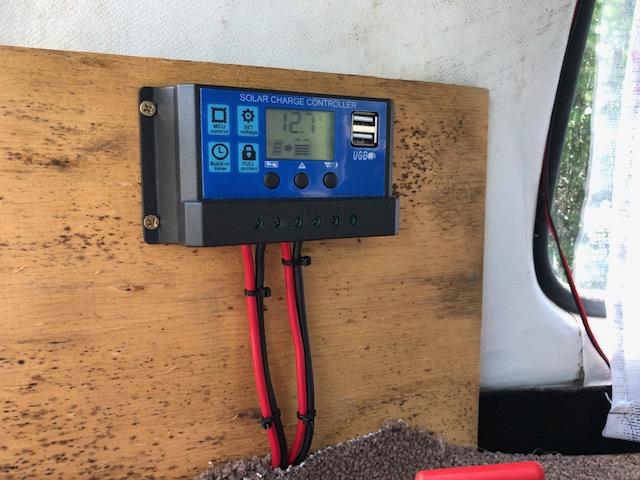
Wrapped up the solar install. Wired up the passthrough connector for the panel, added a master cutoff switch that kills the battery ground on the house system so I can just toss the switch instead of dealing with disconnection it when it is going to be sitting for a while. Put in tray, hold down, and 110AH FLA marine battery that I got on sale last week, and got controller mounted and wired.

Image may have been reduced in size. Click image to view fullscreen.


Plugged in the panel, put in a bright spot (partially cloudy day), and it works:), the battery came off the charger last night so sitting at a healthy 12.7v. Still need to get it programmed more for my preferences.
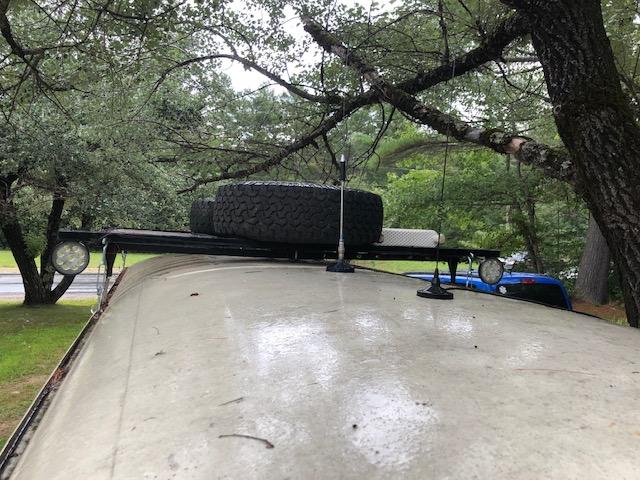
Image may have been reduced in size. Click image to view fullscreen.
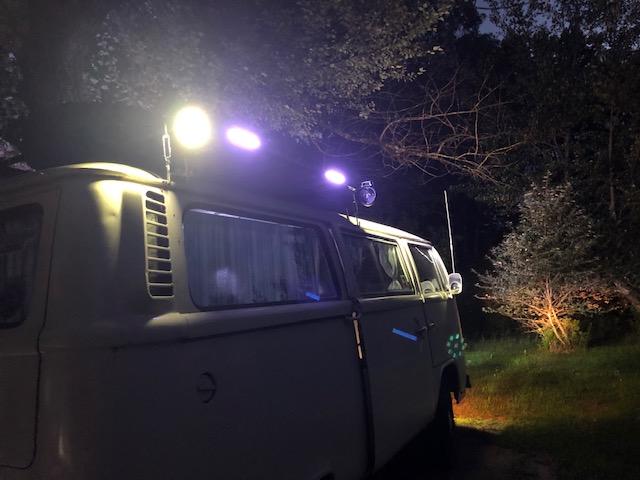

Image may have been reduced in size. Click image to view fullscreen.


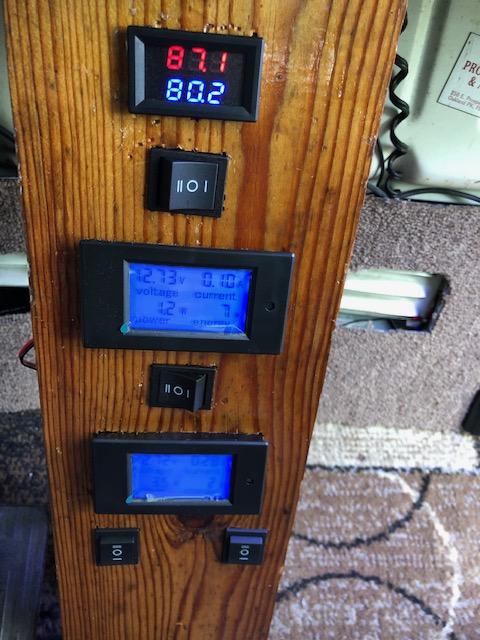
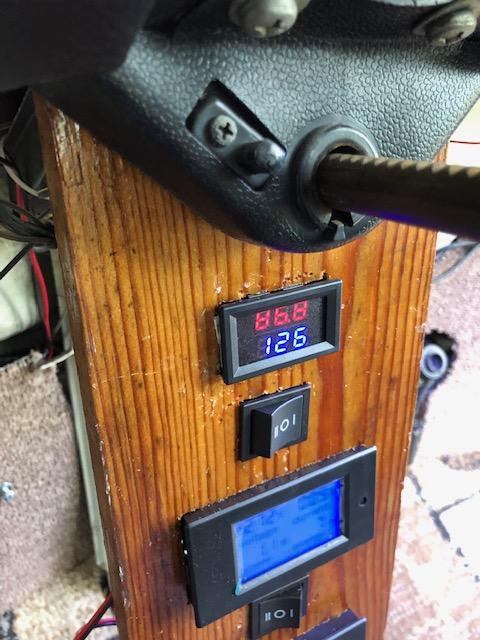
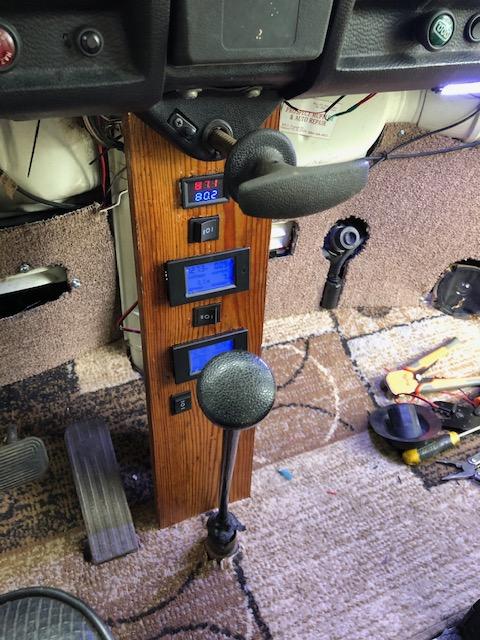
Put shunts on both the house and bus electrical systems, ran the cables, ran thermocouple extension for CHT since I was already pulling wire back to front, and cobbled up a center stack out a scrap of barn board, hit it with some poly, and mounted it to hold the meters. I put DTDP switches inline with both ammeters, that way I can see both pull and push just by reversing polarity of the reference leads. CHT all set now too. Put in two other DTDP switches for later use while at it. Now know my 2 ham radio pulls 8.8a when transmitting, and the starter pulls 104 when cranking
Smile


Image may have been reduced in size. Click image to view fullscreen.


Image may have been reduced in size. Click image to view fullscreen.


Image may have been reduced in size. Click image to view fullscreen.


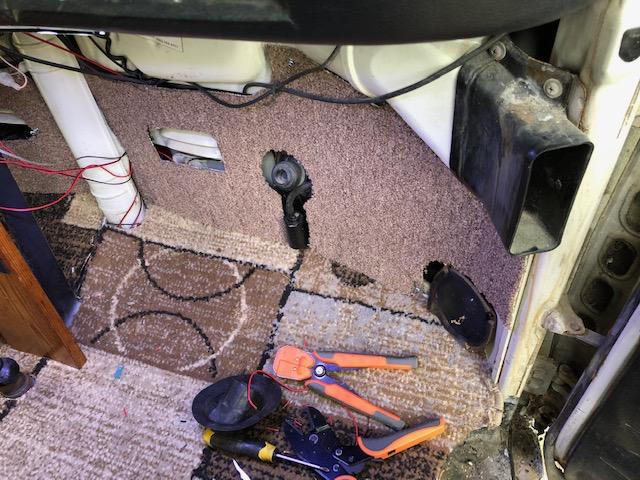
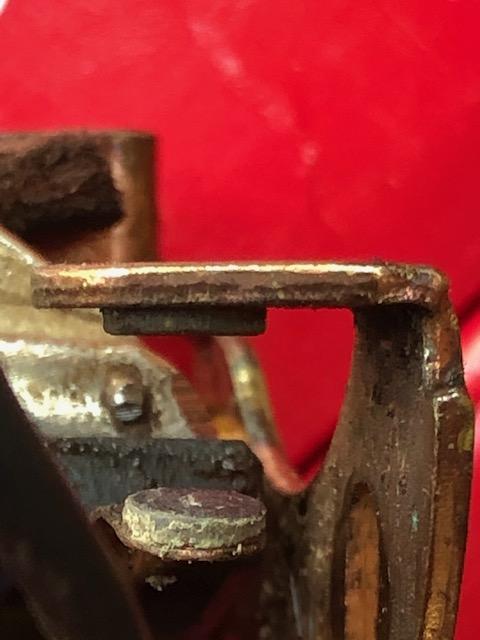
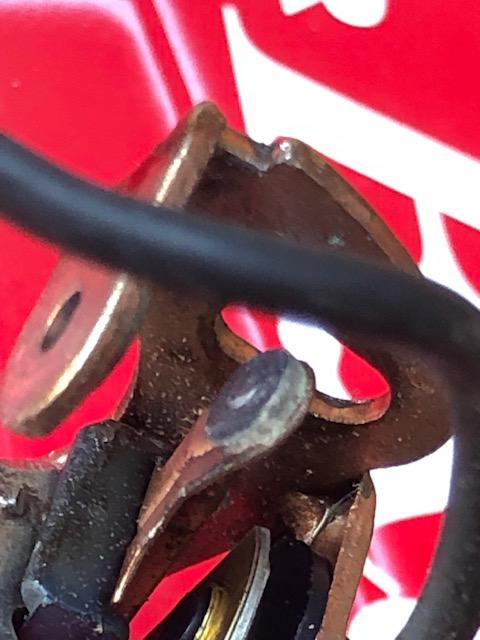
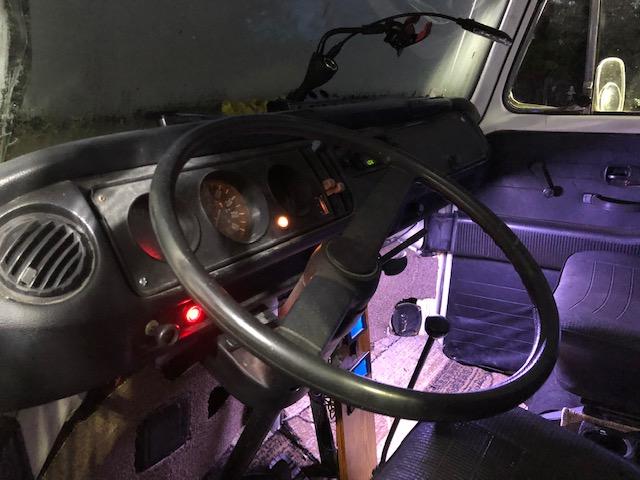
And while I had the kick panels off, I rebuilt the door switch for the dome light and wired in a footwell LED on the passenger side, it can also be activated on demand by a switch next to the defroster knob.

Image may have been reduced in size. Click image to view fullscreen.


Image may have been reduced in size. Click image to view fullscreen.
 

Sneaks

Rank IV

Enthusiast III

1,165
Maine
First Name
Scott
Last Name
Swenson
Ham/GMRS Callsign
KC1MUR
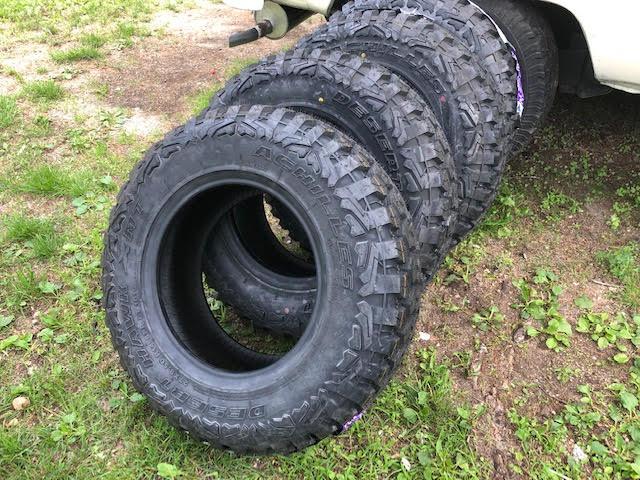
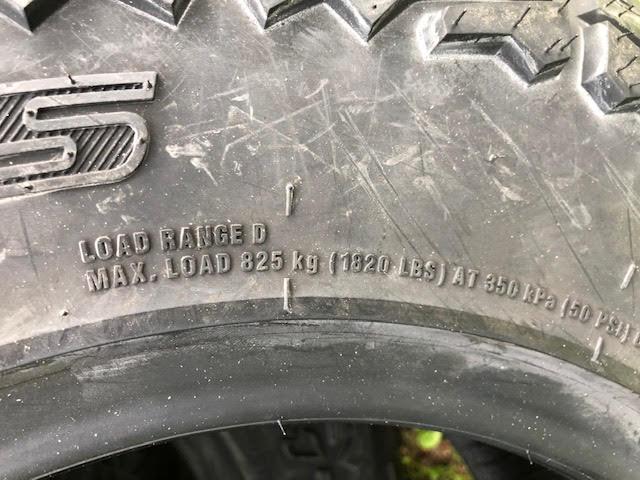
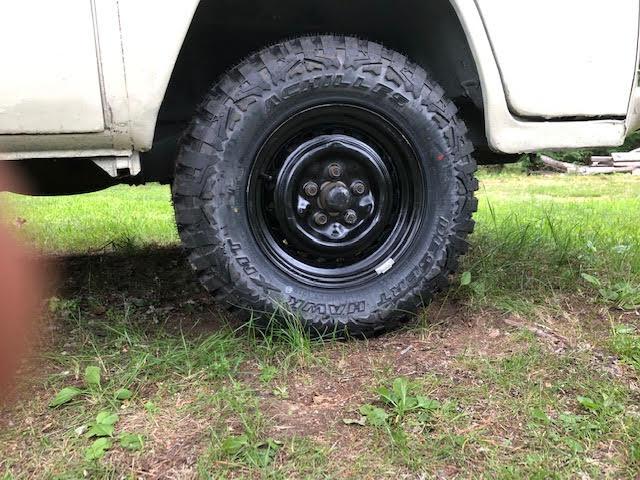
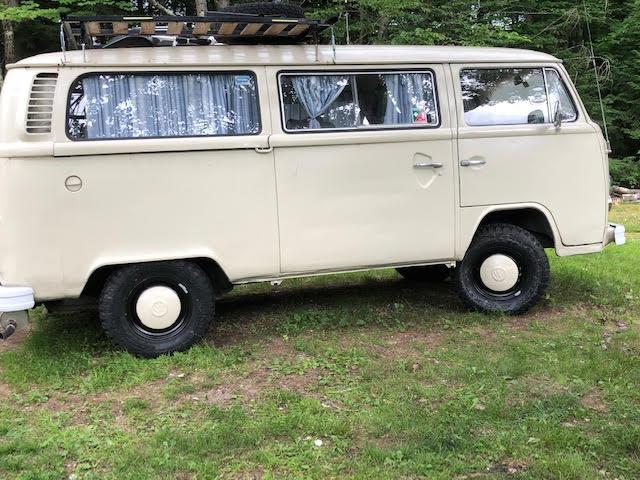
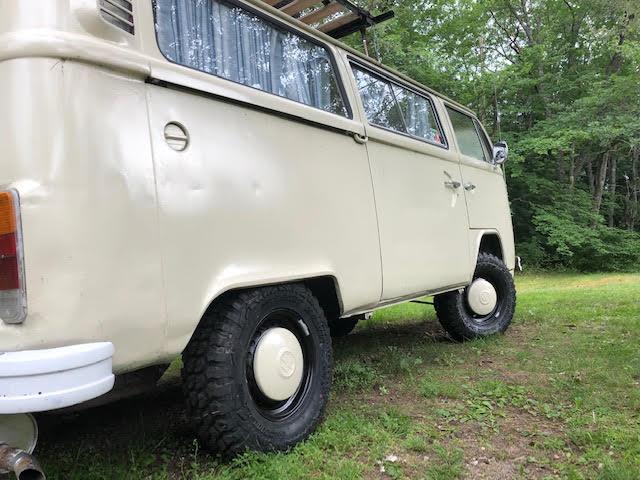
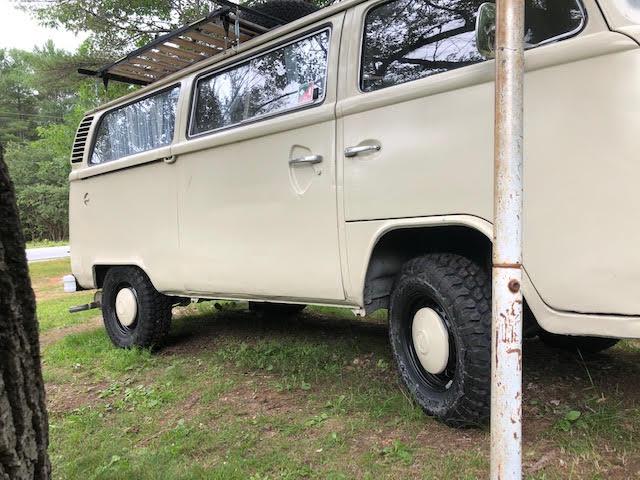
Arrived today but can't get them mounted where I bought them so I'll do it myself and then take them to VIP to get balanced. Achilles Desert Hawk XMT 27/8.5R14. I like the look of them, hope they look good on the bus.

Image may have been reduced in size. Click image to view fullscreen.


Image may have been reduced in size. Click image to view fullscreen.
 

Sneaks

Rank IV

Enthusiast III

1,165
Maine
First Name
Scott
Last Name
Swenson
Ham/GMRS Callsign
KC1MUR
I contemplated going to 15" but I don't have a machine shop local to open up the center hub to fit a late Bay so stuck with 14" for now :(
 
  • Like
Reactions: Guadamuz_j

Sneaks

Rank IV

Enthusiast III

1,165
Maine
First Name
Scott
Last Name
Swenson
Ham/GMRS Callsign
KC1MUR
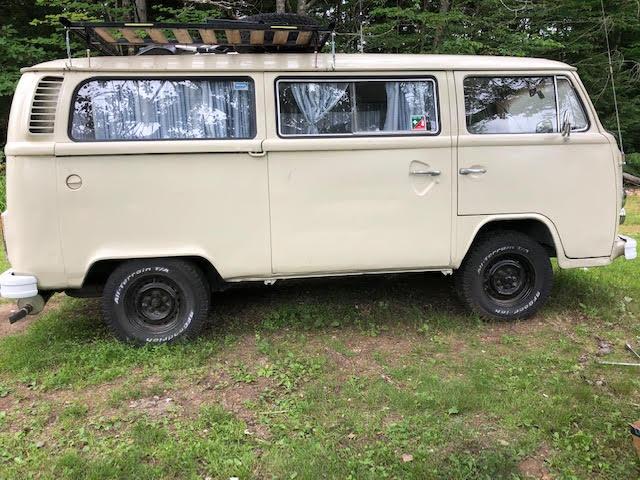
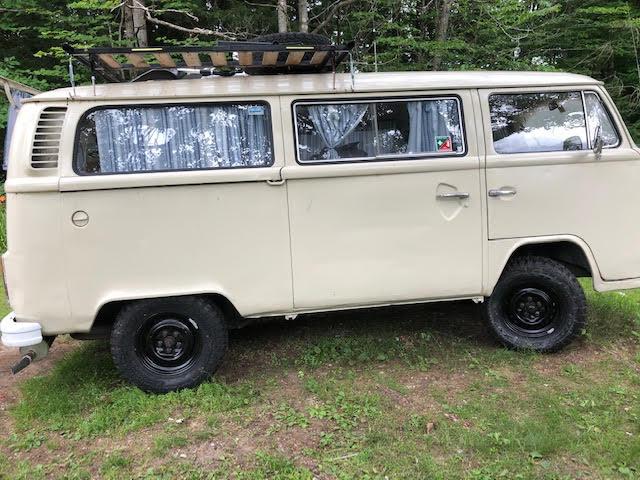
I took them to another tire shop and got them done this morning.

Before:

Image may have been reduced in size. Click image to view fullscreen.


After:

Image may have been reduced in size. Click image to view fullscreen.


Image may have been reduced in size. Click image to view fullscreen.


Though I think I like it better with the hubcaps on. Also going to bump the rear up a tiny bit on this side, has to go up about an inch on the driver's side to even out, but I'll wait until I get my new shocks before I do that job.

Image may have been reduced in size. Click image to view fullscreen.


Image may have been reduced in size. Click image to view fullscreen.


Image may have been reduced in size. Click image to view fullscreen.
 

Sneaks

Rank IV

Enthusiast III

1,165
Maine
First Name
Scott
Last Name
Swenson
Ham/GMRS Callsign
KC1MUR
Getting closer to on (and off) the road, got the SMP points from NAPA to replace the 25,000 mile set of Blue Streaks that we’re in there. Yeh, think they had seen better days.

Image may have been reduced in size. Click image to view fullscreen.


Image may have been reduced in size. Click image to view fullscreen.


Pulled distributor, installed and gapped the new points to .016, dwell was a whopping 84. OUCH. Was going to pull it back out and check my install but discovered a MASSIVE vacuum leak, both right side intake boots are just the fabric, the rubber disintegrated, so will fix those before doing anything else.

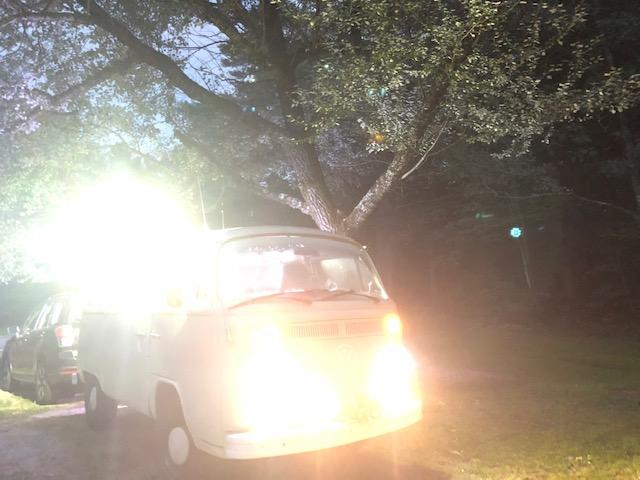
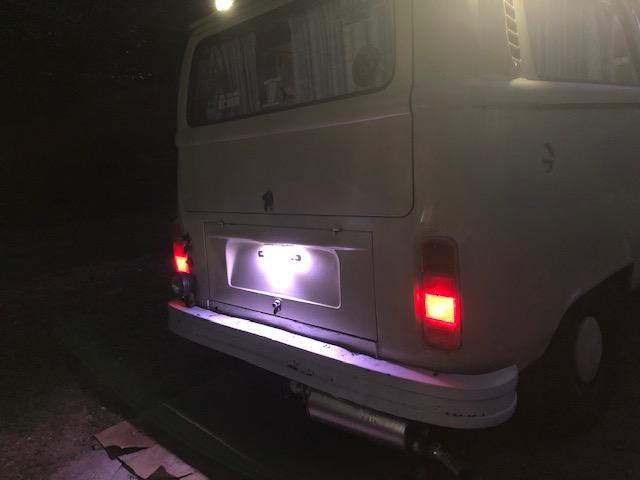
With that setback, time for a easy win. LED headlights, directional, brake\running lights. Will have to see how they do in the dark (checked them at night, huge difference over the old sealed beams and incandescent bulbs in light quality and - for the headlights - range and cut off) . I got some LEDs to use as marker lights but didn’t have the ambition to wire them up today, too damn humid.

Image may have been reduced in size. Click image to view fullscreen.


Image may have been reduced in size. Click image to view fullscreen.


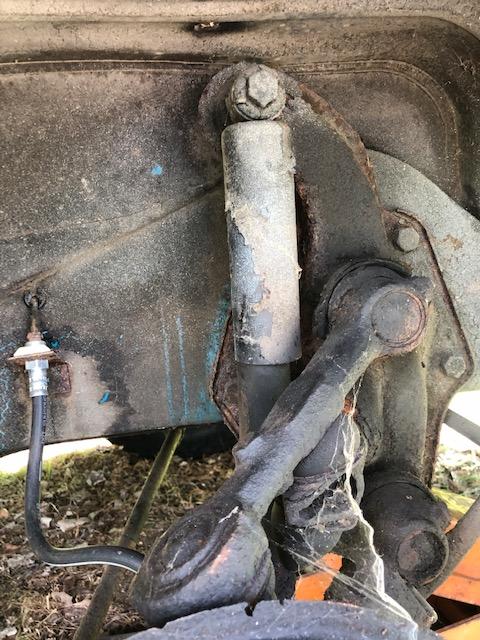
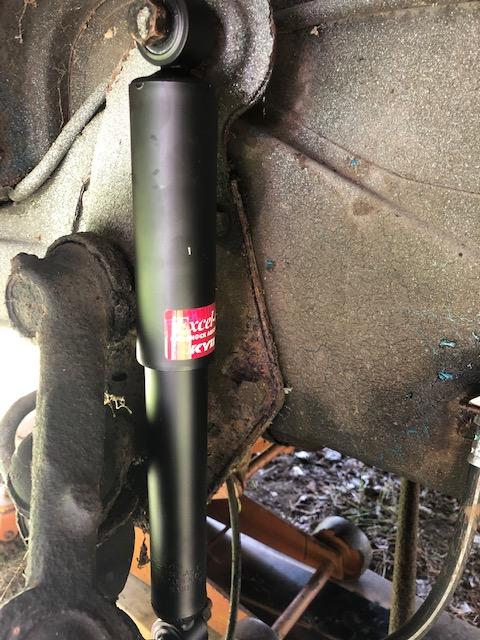
Decided to do one more easy win, out with the original shocks, in with some new GR2s up front. I didn’t do the rears yet, will do those when I reindex the torsions. With the intake boots shot, it can’t move right now and where it s parked is not the best spot to deal with that job so will wait.

Image may have been reduced in size. Click image to view fullscreen.


Image may have been reduced in size. Click image to view fullscreen.
 

Sneaks

Rank IV

Enthusiast III

1,165
Maine
First Name
Scott
Last Name
Swenson
Ham/GMRS Callsign
KC1MUR
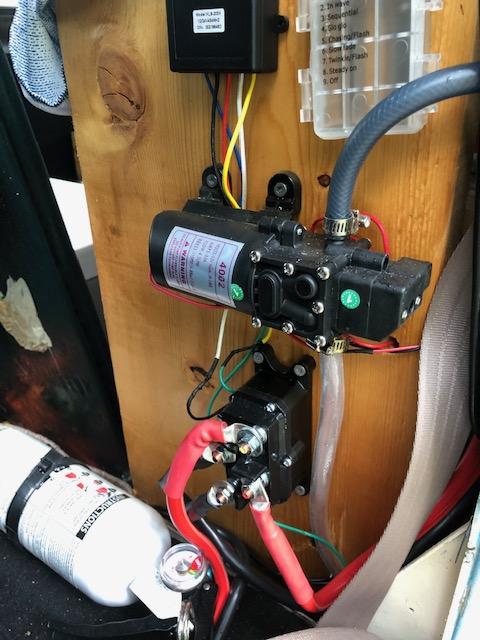
FedEx lost my windshield so while trying to source another one, I finally wrapped up the last of my electrical upgrades. Final step is some wire organization, will plug away at that this week.

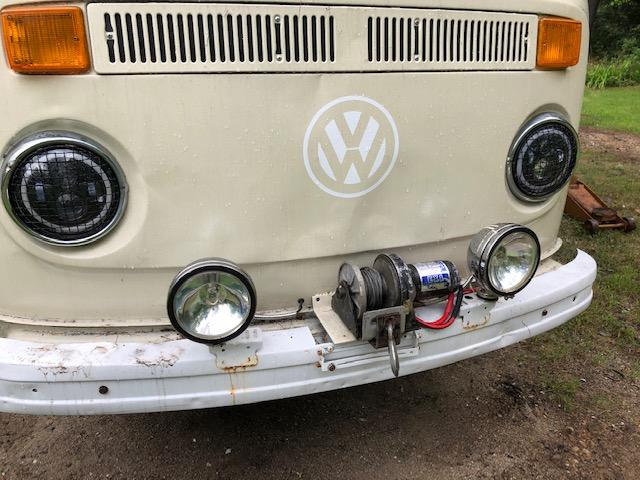
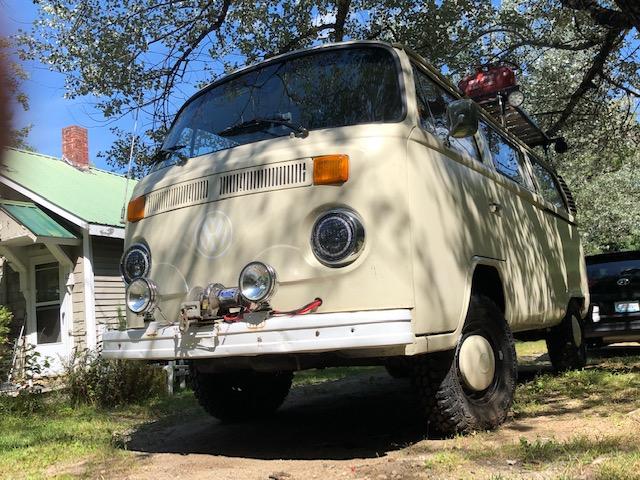
Big thanks to a member on the Samba (former Superwinch engineer) for sharing his knowledge and guidance on getting the winch wired up and working. I’m pleased. Gotta ditch the bracket in front of the fairlead so I can properly wind the cable.

Switching solenoid and wireless control, wired up from battery to solenoid to winch with 0/2 cable.

Image may have been reduced in size. Click image to view fullscreen.


Image may have been reduced in size. Click image to view fullscreen.


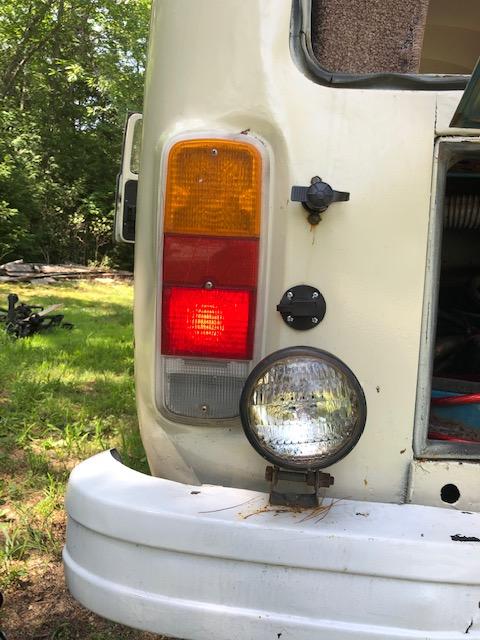
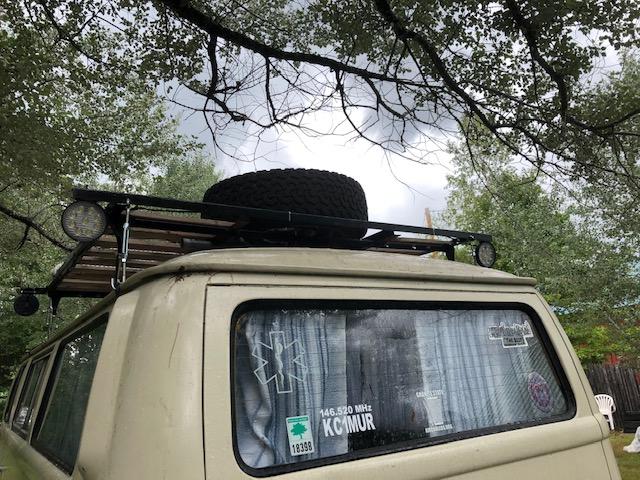
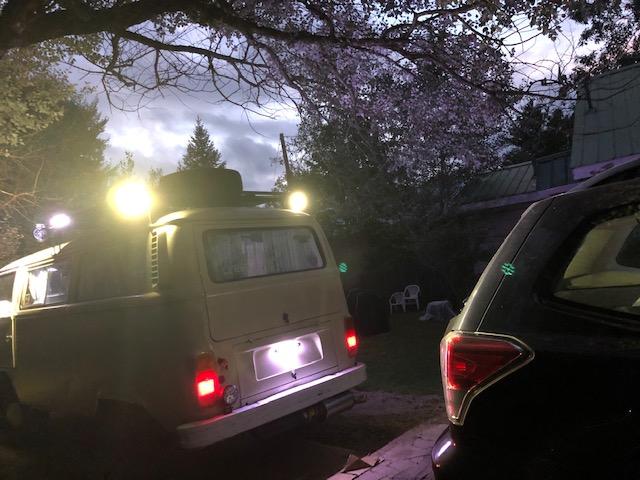
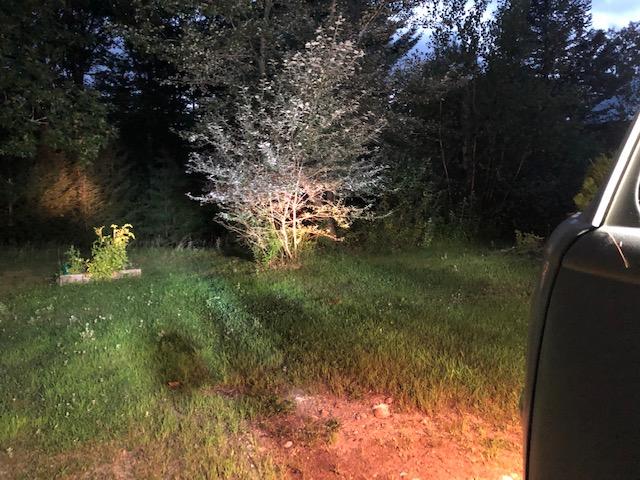
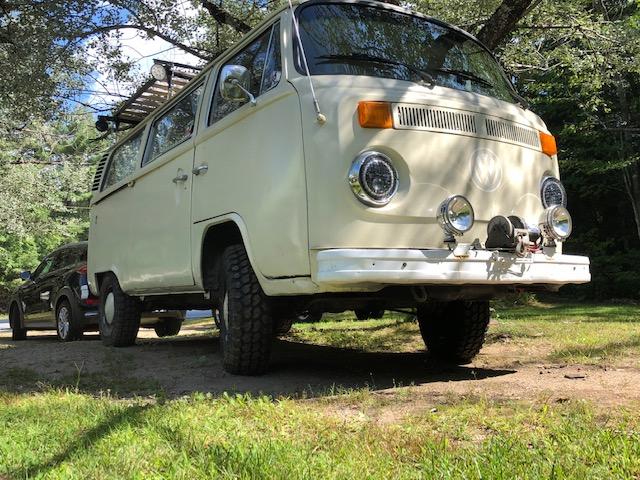
Mounted and wired up some 27w LEDs front and rear on the rack, switched from the cab so I can select front, back or both.

Image may have been reduced in size. Click image to view fullscreen.


Image may have been reduced in size. Click image to view fullscreen.


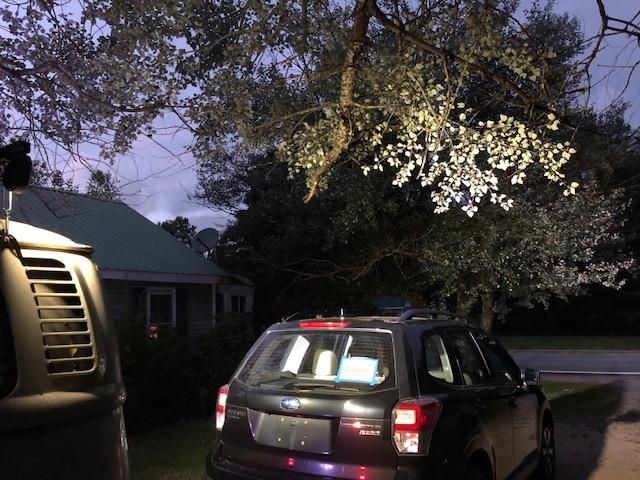
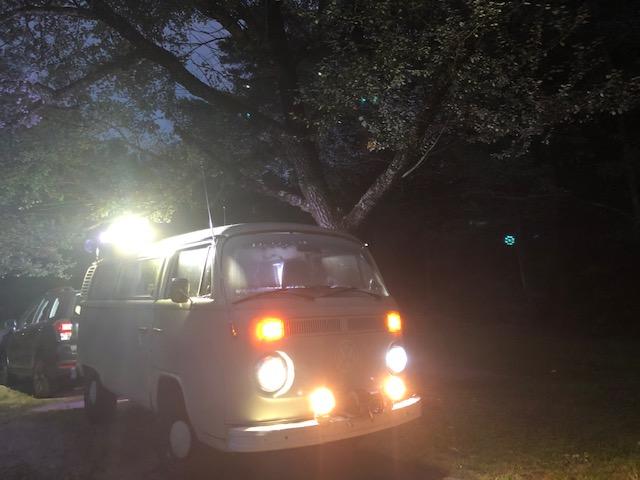
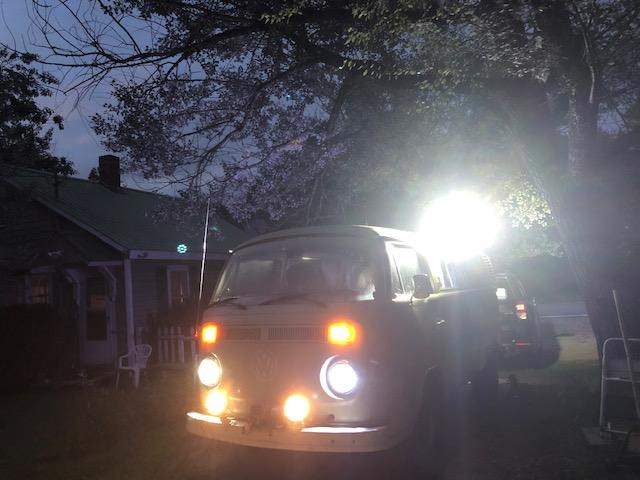
When combined with 200w LED headlights and old school 100w incandescent auxiliary lights, throws some good daylight forward and back, plus good broad downward out the side windows without glare
Smile


Back

Image may have been reduced in size. Click image to view fullscreen.


Image may have been reduced in size. Click image to view fullscreen.


Image may have been reduced in size. Click image to view fullscreen.


Front (LED directional/parking lights as well)

Image may have been reduced in size. Click image to view fullscreen.


Image may have been reduced in size. Click image to view fullscreen.


Image may have been reduced in size. Click image to view fullscreen.


Image may have been reduced in size. Click image to view fullscreen.


LEDs for license light, stop, turn, parking)

Image may have been reduced in size. Click image to view fullscreen.


Interior floor well light triggered off door switch or toggle

Image may have been reduced in size. Click image to view fullscreen.


Still need to chase down no cold idle issue and GET MY DAMN WINDSHIELD!
 

Sneaks

Rank IV

Enthusiast III

1,165
Maine
First Name
Scott
Last Name
Swenson
Ham/GMRS Callsign
KC1MUR
Windshield in, tuned up, vacuum leaks hunted down, cranked the torsions to 25.5 degrees out back, just the right lift I think. Cannot wait time get tagged and rolling.

Image may have been reduced in size. Click image to view fullscreen.


Image may have been reduced in size. Click image to view fullscreen.


Image may have been reduced in size. Click image to view fullscreen.
 
  • Like
Reactions: Rick Schlepphorst

Sneaks

Rank IV

Enthusiast III

1,165
Maine
First Name
Scott
Last Name
Swenson
Ham/GMRS Callsign
KC1MUR
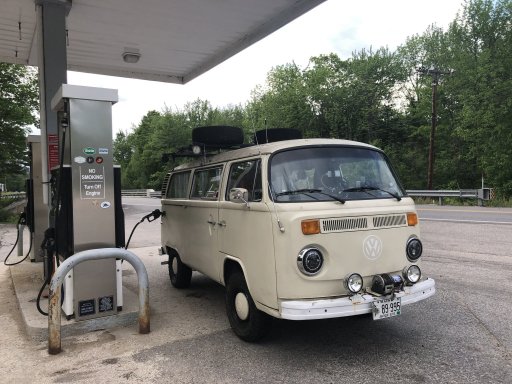
8 years later, finally legal. It died from fuel starvation a few minutes later but we aren’t going to talk about that lol.
59B08866-793D-4449-9716-2E04B80562CE.jpeg
CB0CEDEF-FAC7-43C9-BF26-0B3CC68C059C.jpeg
 
  • Like
Reactions: loper

Sneaks

Rank IV

Enthusiast III

1,165
Maine
First Name
Scott
Last Name
Swenson
Ham/GMRS Callsign
KC1MUR
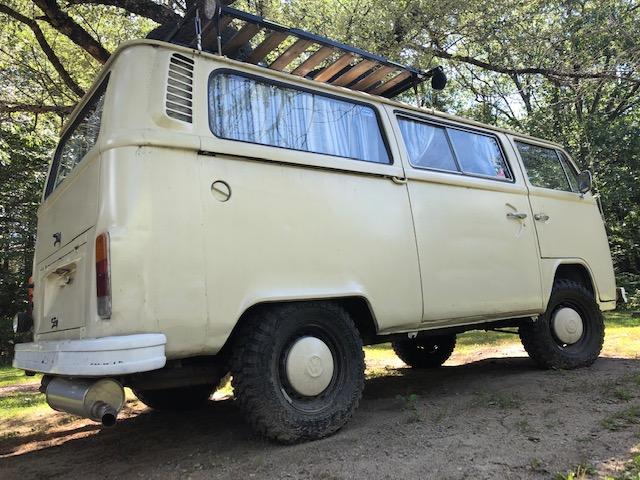
So the rack is STUPID loud. Took it off until I actuality need to use it. I’m planning on relocating the lights off it to bumpers front and rear, I’ll put the camp lights on the drip rails. Probably will try to fab up an air dam for the leading edge of the rack. So loud above 25mph that I can’t hear the engine. Gave it a bath, hit a few dirt roads for fun, starting off gentle to make sure nothing falls off:). Ducky seems happy :)

CEB30240-C229-4ED4-ABD7-81E45EBF8593.jpeg