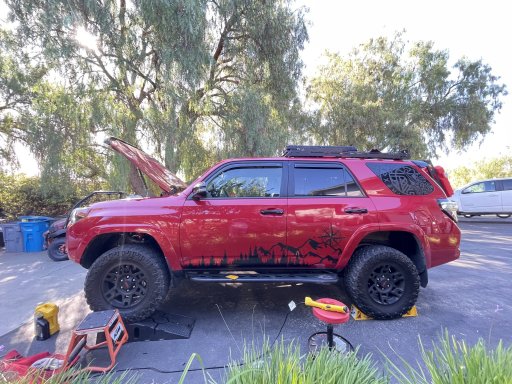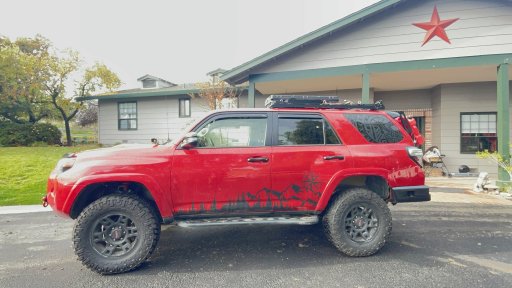
Alice - 2021 4Runner Venture Edition

  • HTML tutorial

Advtres

Rank VI
Member
Investor

Steward I

4,122
Hollister, CA, USA
First Name
Lizabeth
Last Name
Deliriumskid
Member #

30725

Ham/GMRS Callsign
KN6STB
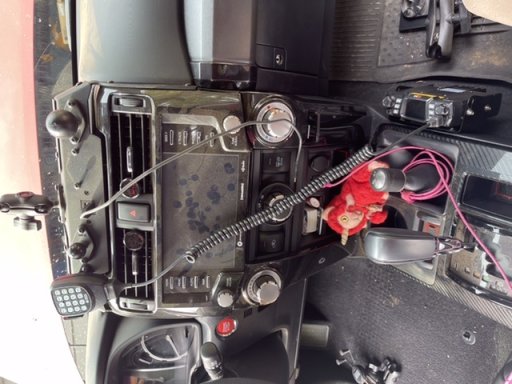
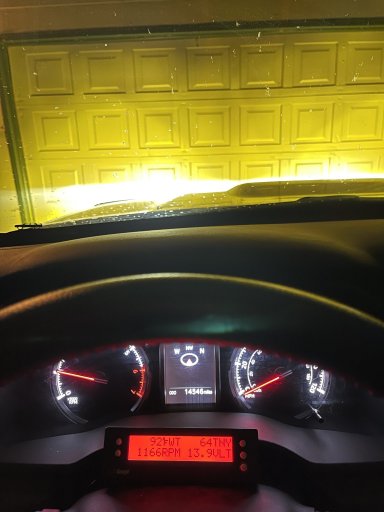
Was able to get the Scan Gauge 2 installed and programmed, now at least I can tell if the transmission is over-heating and a couple other variables. Overall pretty easy to install and I like the fact it is right there on the dash.

Also installed the Baja Squadron Amber fog lights… was that a difference ! They did not have the driving/combo lens in stock but sent me a lens set to switch out which I did. When I tried to install they were not fitting and realized I had put the valance on wrong so I had to re-do the orientation. (my motto why do it just 1x, I mean 3rd times the charm right? ).

The passenger side has a plastic cover that is over the fog light and it was a bear to release, wishing at these times I had 8 arms to get these things done.

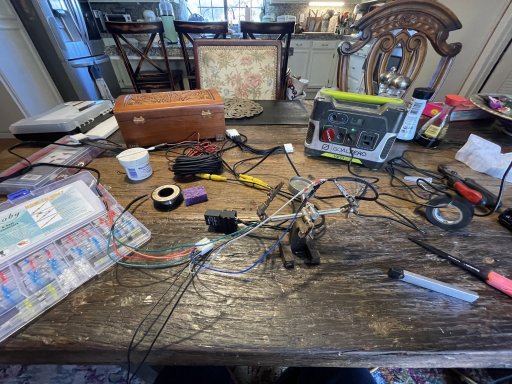
Got all the bits and bobs to do the radio installs next and have been bugging @TheBison for help on wiring questions! They have been super helpful and very patient! - Not sure with everyone else but once wires are involved I start to feel pretty overwhelmed so it is great to have such a knowledgeable group and resources to tap for encouragement and help!
tempImage3biWvj.jpg
 
Last edited:

Advtres

Rank VI
Member
Investor

Steward I

4,122
Hollister, CA, USA
First Name
Lizabeth
Last Name
Deliriumskid
Member #

30725

Ham/GMRS Callsign
KN6STB
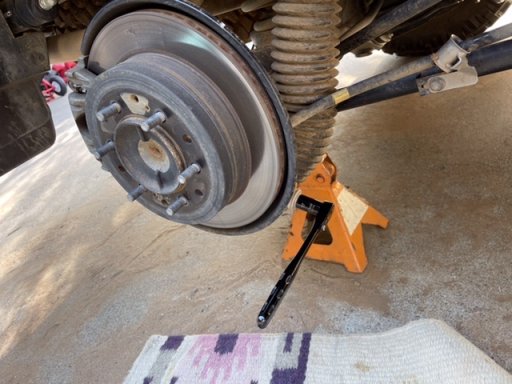
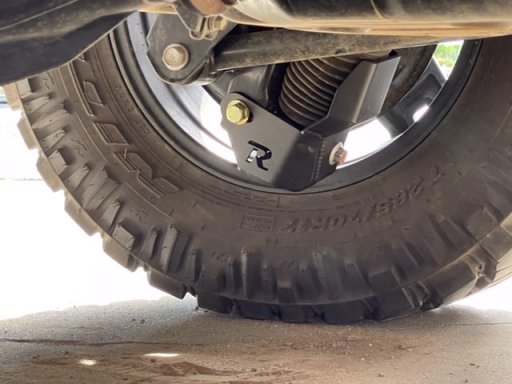
Installed a pair of Rago rear shock guards - It was a bear getting the shock bolt loose so I just removed the tire in order to get leverage. Cleaned up the U joint and oiled, and changed the engine oil and secured the scan gauge to the dash - Sunday is radio day - :dizzy:

E99ED9BD-F538-4C30-9D31-74F2DA057434.jpeg
E01F5B52-E0F1-42A6-B34D-2A68B625CC30.jpeg
 

Advtres

Rank VI
Member
Investor

Steward I

4,122
Hollister, CA, USA
First Name
Lizabeth
Last Name
Deliriumskid
Member #

30725

Ham/GMRS Callsign
KN6STB
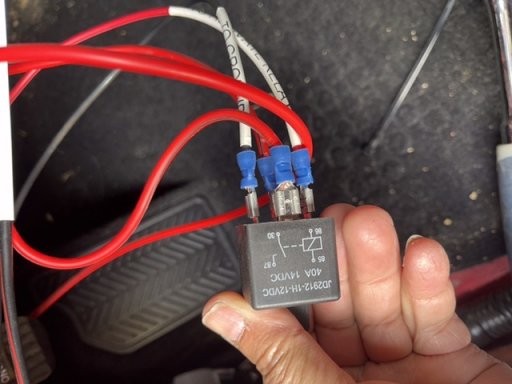
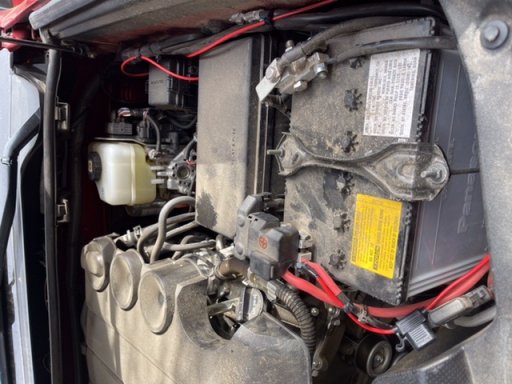
Installed the HAM radio and antenna, overall with the help of TheBison providing a very good diagram and a voice over, I did manage to get the thing to power on when the ignition is on… Now I am all fuddled up trying to program it… never give up - never surrender!
375D0B3F-3AA4-421E-A2EA-EAF579ED25CD.jpeg
D2BF75B8-8F17-43B0-A48A-7FE007B0E75C.jpeg
B5385DEE-A268-4676-B46C-B18111660626.jpeg
 
Last edited:

Advtres

Rank VI
Member
Investor

Steward I

4,122
Hollister, CA, USA
First Name
Lizabeth
Last Name
Deliriumskid
Member #

30725

Ham/GMRS Callsign
KN6STB
I did a few mods since the last post :
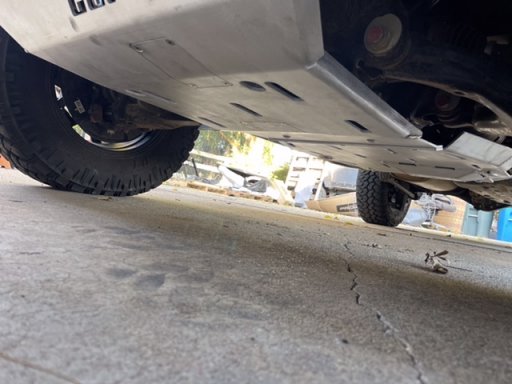
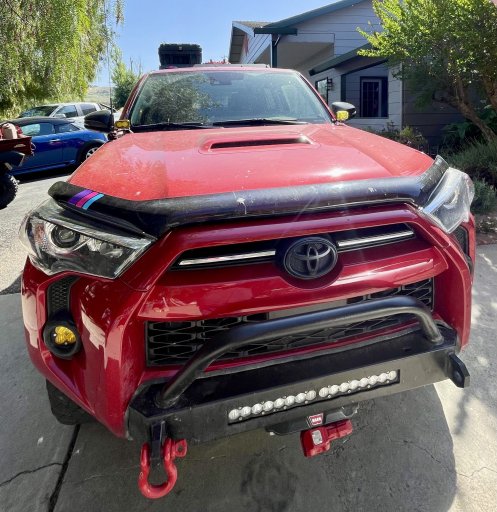
Installed a CBI full skid (aluminum)
Install Notes : Since I do not have a lift I did this the roll around on the ground way and it was pretty annoying, a billion screws which are all different size and in which human hands do not bend in the appropriate way to tighten… Other then that, its done, well until I go back and re-loctite everything.
One weird thing is that the rear skid does not go over the front skid but under it, which creates a visually ugly seam which may also be a rock grabber, only time will tell.
769C73EF-199A-4353-80F6-0DEF2D7266CF.jpeg
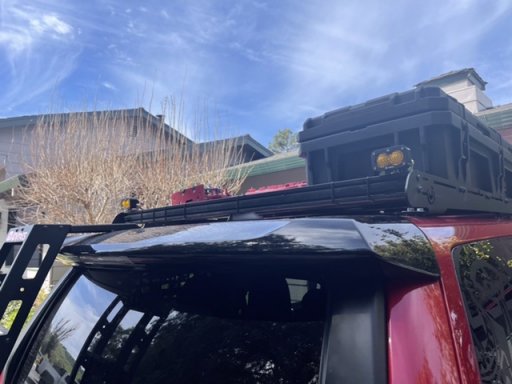
Installed S2Pro Chase lights :
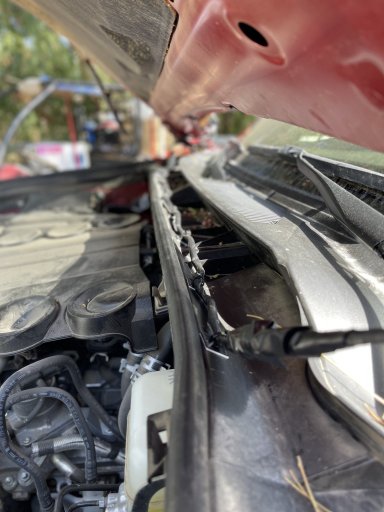
Install Notes: using the Baja light splitting harness was able to get everything wired up. Had to add an extension wire from the back of the roof rack splitter to the harness in the engine. If anyone has any hints to tricks to running the cable by the windshield, would love to hear them. I tried to press the wire w/harness cover into the drip channel, may or may not hold.
E3EF5CFE-B956-4B08-A521-17EB3B70EE40.jpeg

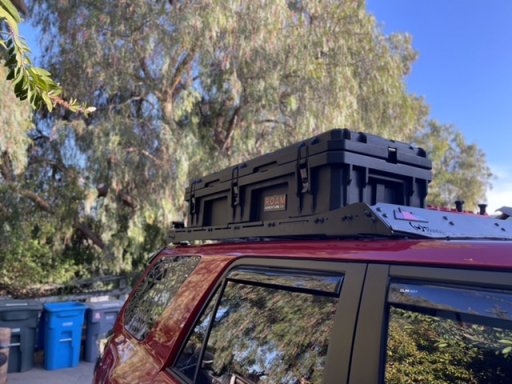
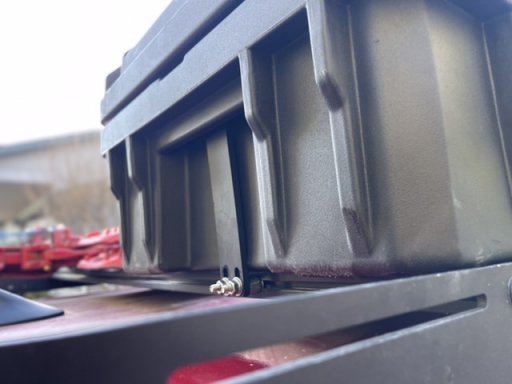
Installed an updated Roam box 93l with the Sherpa mounts. Had to re-adjust and add a bushing to get everything to tighten down.
Install Notes : I have a ¾ rack which may not be measured right for the mounts and screws provided. So I got longer carriage screws and spacers and we will see how it holds up to a washboard road. @Fireskyte for the idea! Love the box, and the hinge! Did I mention the hinge!!! :hearteyecat:
5323568A-0465-453E-9A88-70BA490E8CA8.jpeg9A1DB863-3F56-4ADE-9237-2F8B69601507.jpeg

Lastly the Engine ECU has been replaced so we will see if the drive start control error returns.
 

Fireskyte

Rank V

Advocate II

2,398
San Leandro, CA, USA
First Name
Rochelle
Last Name
Czajka
Member #

28117

I did a few mods since the last post :
Installed a CBI full skid (aluminum)
Install Notes : Since I do not have a lift I did this the roll around on the ground way and it was pretty annoying, a billion screws which are all different size and in which human hands do not bend in the appropriate way to tighten… Other then that, its done, well until I go back and re-loctite everything.
One weird thing is that the rear skid does not go over the front skid but under it, which creates a visually ugly seam which may also be a rock grabber, only time will tell.
View attachment 225869
Installed S2Pro Chase lights :
Install Notes: using the Baja light splitting harness was able to get everything wired up. Had to add an extension wire from the back of the roof rack splitter to the harness in the engine. If anyone has any hints to tricks to running the cable by the windshield, would love to hear them. I tried to press the wire w/harness cover into the drip channel, may or may not hold.
View attachment 225870

Installed an updated Roam box 93l with the Sherpa mounts. Had to re-adjust and add a bushing to get everything to tighten down.
Install Notes : I have a ¾ rack which may not be measured right for the mounts and screws provided. So I got longer carriage screws and spacers and we will see how it holds up to a washboard road. @Fireskyte for the idea! Love the box, and the hinge! Did I mention the hinge!!! :hearteyecat:
View attachment 225871View attachment 225872

Lastly the Engine ECU has been replaced so we will see if the drive start control error returns.
Very nice! I hope you enjoy the mods and someone can help with the wire routing.
 
  • Like
Reactions: Advtres

Advtres

Rank VI
Member
Investor

Steward I

4,122
Hollister, CA, USA
First Name
Lizabeth
Last Name
Deliriumskid
Member #

30725

Ham/GMRS Callsign
KN6STB
Curious...how do you like the Rago Rear Window Modular Storage Panels? Are they worth the cost? I'm still trying to justify that part.
Sorry to hear about your electrical woes.
I really like them. :hearteyecat:

They were pretty easy to install and have a good amount of space for securing items. So far no problem with the weight I have attached and when the rear hatch is packed I have not had any issue with items falling off or otherwise.

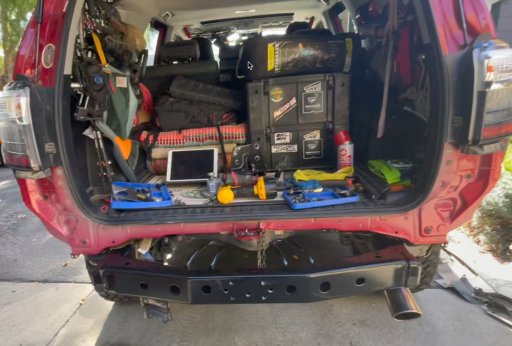
I keep most of the safety stuff on the passenger side ( eg fire extinguishers, axe, bear spray, USB lights and first aid ) right where I can see it and get to it in case of an emergency. On the driver side I have my extra radios and my geology stuff ( gold pan, rock hammer ), climbing sticks, the dogs kit ( food bowl/treats...) and my bathroom bag.

I use Gear Ties to secure things as fiddling through the holes with Molle type straps and accessories is a bit of pain as there is no way to easily access the window side of the panels.

They do not rattle and are very secure, I have a few nit picks but that's in the video below.

Install video here :

ps : the drive start control malfunction is GONE! - Turns out they needed to replace the engine ECU and so far no problems... Whew!
 
  • Like
Reactions: Newticus

Advtres

Rank VI
Member
Investor

Steward I

4,122
Hollister, CA, USA
First Name
Lizabeth
Last Name
Deliriumskid
Member #

30725

Ham/GMRS Callsign
KN6STB
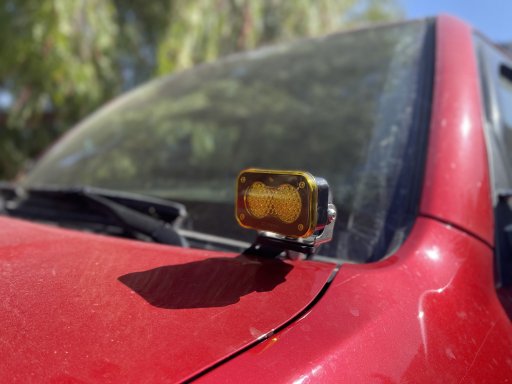
Finished installing my Baja Designs S2 pro ditch lights with the Rago low profile light brackets. The lights are white and I purchased the yellow rock covers. These are wired into the same switch as my chase lights, so one switch to rule them all.

IMG_1984.jpgtempImageCYEy8M.jpgtempImagej4OHW9.jpg
 

Advtres

Rank VI
Member
Investor

Steward I

4,122
Hollister, CA, USA
First Name
Lizabeth
Last Name
Deliriumskid
Member #

30725

Ham/GMRS Callsign
KN6STB
On the OB Trip out to the Blackrock I bent the passenger side spindle.. Lesson learned and now I know how to check all the fiddly gear in case anything happens in the future. Yet what that did show me, is I have a weak point with that spindle and the last thing I want is to be out wheeling on my hard earned vacation time to do or have some thing happen again, that with a little $, sweat and the right equipment upgrade could be avoided.

So I upgraded a few things ( you know the delicate bits on the 4Runner which rocks and bumps love to take out and which could be trip ending if severe enough)

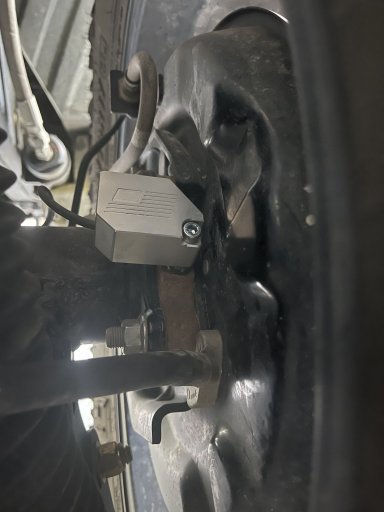
- ABS guards... Who knew, when I was installing the skid plate I looked over at the wheel and there was these little plastic bits, and I was like "huh" that seems you know a delicate little piece of equipment... what is it.. Turns out it is your ABS sensors and yes they do break. - ok lets put some metal over those. The fronts are easy to install, the rears not so much as you have no room to maneuver.

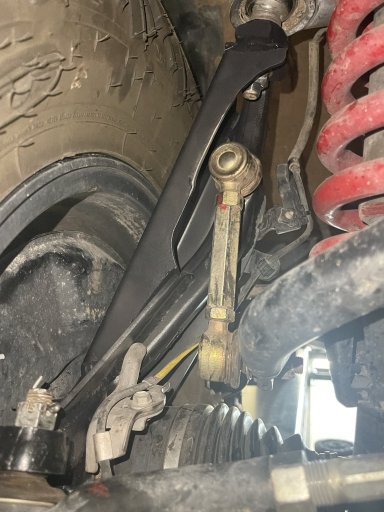
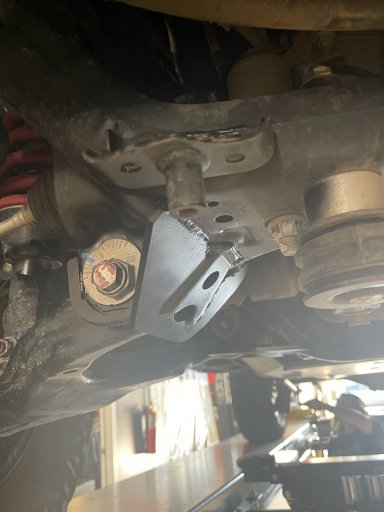
- Spindle... In a 4Runner, it is spindly... which means if you hit something, at full lock more then likely you are going to bend them, which is exactly what happened to me... - So ergo beefy spindle gussets ( Thanks to Annie over at Shaffer Offroad for hooking me up with a awesome set of Total Chaos )

- Cam Tabs - Awee they are so cute and flimsy... perfect that bad rock monster to give em an ol wallop... - Cam Tab guards Done! - The set is pretty solid. - Thanks again to Shaffer Off-road ( Aiden who did an awesome job of the welding of the Spindle and Tabs/slider and Alex for overall information!)

- Front facing w/anytime backup camera - Yes had I had one, or you know took the 2 minutes to actually get my a@@ out of my rig and look over the little rise in the ravine I would have seen nasty ol' rock and avoided it... Lesson learned... Pretty straight forward install

Camera, Spindle Gusset ( bend that!) , Cam Tab (Front and Rear) , ABS Guards
tempImageTeWlbf.jpg tempImagefY419g.jpg tempImageS7uQx6.jpg tempImageiQ37ko.jpg
 
Last edited:
  • Like
Reactions: Teja

Paw

Rank V
Launch Member

Enthusiast III

1,503
Redwood City
Member #

6223

start control malfunction : check out and maybe contact Vikings Garage on you tube. He is a Toyota mechanic I believe in the Midwest (been watching him for a while now) he owns a 5th gen 4runner and seems to know quite a bit about diagnosing weird problems and since he has no dog in this fight maybe he can offer a solution to tell your dealer.

Second I have the SSO slimline bumper on my 2017 4runneer (since 2017) and have had NO problems with airflow. You most likely don't need to do this now but I put a split length of thick rubber hose around the AC tubing to prevent the rub and check it about every 3-6 months for any sign of wear.
Best of luck with Alice.
 

Ocean_Ranger

Rank VI
Member

Expedition Master I

5,125
Santa Barbara, CA, USA
First Name
Sean
Last Name
Pickton
Member #

30373

Ham/GMRS Callsign
N6SRP (GMRS WROQ518)
Thanks for posting about these woes. I have a 2022 T4R with similar mods and a good chunk of off-road miles. So far I haven’t had any of those issues arise, but have appreciated learning from your experience.
 
  • Like
Reactions: Advtres

Advtres

Rank VI
Member
Investor

Steward I

4,122
Hollister, CA, USA
First Name
Lizabeth
Last Name
Deliriumskid
Member #

30725

Ham/GMRS Callsign
KN6STB
start control malfunction : check out and maybe contact Vikings Garage on you tube. He is a Toyota mechanic I believe in the Midwest (been watching him for a while now) he owns a 5th gen 4runner and seems to know quite a bit about diagnosing weird problems and since he has no dog in this fight maybe he can offer a solution to tell your dealer.

Second I have the SSO slimline bumper on my 2017 4runneer (since 2017) and have had NO problems with airflow. You most likely don't need to do this now but I put a split length of thick rubber hose around the AC tubing to prevent the rub and check it about every 3-6 months for any sign of wear.
Best of luck with Alice.
Thanks for the notes, the Engine Malfunction was a faulty ECU, Toyota changed it out, and so far no problems.
The bumper also has as you said, 0 problems.

Now to the AC tubing… FANTASTIC idea… And as a note to all you 4Runner owners out there… Either do that, or bend it away from your winch and/or if you have modified your front bumper, away from rubbing on your bumper.. I have already replaced my AC line, due to a small pin hole leak caused by it rubbing on you guessed it, my winch… it was not cheap.

See ya down the trail!
 

Ocean_Ranger

Rank VI
Member

Expedition Master I

5,125
Santa Barbara, CA, USA
First Name
Sean
Last Name
Pickton
Member #

30373

Ham/GMRS Callsign
N6SRP (GMRS WROQ518)
It looks like you and Alice did a few of the iconic passes in Colorado. Congratulations!! How did Alice and her IFS do on some of the off-camber sections on Black Bear? Was her turning radius reasonable on the switch backs? I am hoping that you’ll post some about those experiences.

Be safe out there!
 

Advtres

Rank VI
Member
Investor

Steward I

4,122
Hollister, CA, USA
First Name
Lizabeth
Last Name
Deliriumskid
Member #

30725

Ham/GMRS Callsign
KN6STB
It looks like you and Alice did a few of the iconic passes in Colorado. Congratulations!! How did Alice and her IFS do on some of the off-camber sections on Black Bear? Was her turning radius reasonable on the switch backs? I am hoping that you’ll post some about those experiences.

Be safe out there!
Alice did awesome on BlackBear Pass, turning radius was great and in fact I am sure she could have turned even better had she not had a newbie on the wheel -
You can watch the video if your interested here on YouTube.
 

Advtres

Rank VI
Member
Investor

Steward I

4,122
Hollister, CA, USA
First Name
Lizabeth
Last Name
Deliriumskid
Member #

30725

Ham/GMRS Callsign
KN6STB
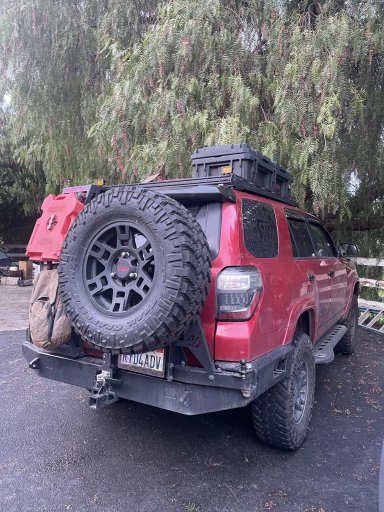
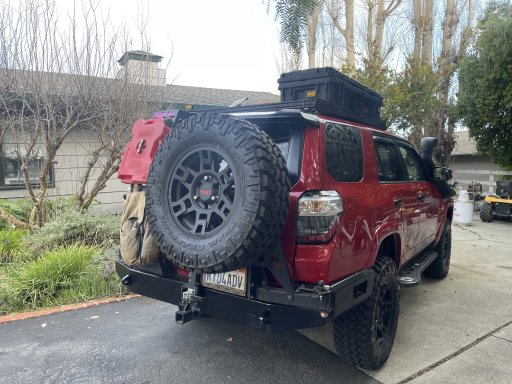
Just finished all the bits and bobs on the Hefty Fab works bumper install, the bumper is aluminum and the swing arm is steel.

I did the install myself but ran into problems with the rear shock reservoirs and had to take it into Shaffer Offroad to have them fit the lower wings.
I then had my spare mounted on a new rim so I can add it into the tire rotation.

Things I Like
1. It weighs in ( without tire ) at about 76 lbs -
2. It comes with a high hitch so I save a little there on low tail dragging.

Overall I like it though there are a few niggles after install.

Things I don't like
1. The tire carrier swing arm is not a smooth slide into the plate, so you have to shove it a bit with your shoulder to get it to latch.
2. The tire carrier does move a bit - meaning I can get it to wiggle by applying slight pressure on the tire. Not sure how it is going to hold up on the trail over time.
3. The side support wings needed to be modified by Shaffers due to some part of the rear assembly that was in the way ( ie they had to cut the wing ) - in video to come.
4. You will need to cut your muffler - so bye bye pretty chrome piece.

One thing I wish : The rear tire carrier does not have room for an off the shelf bolt on table, there is room to fit a custom table, so that is my next project!

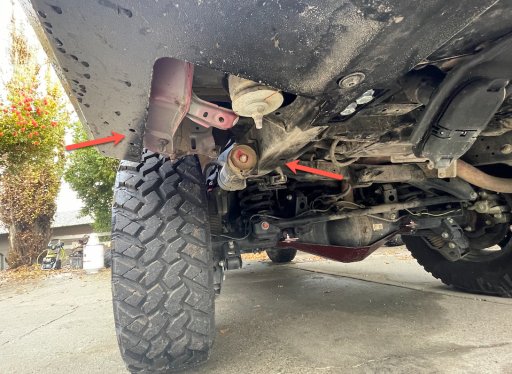
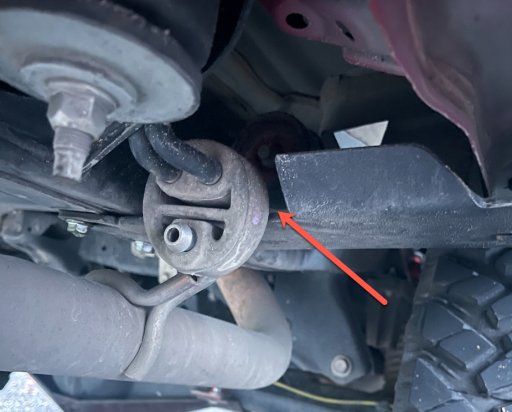
The red arrows show where the side wings install, and you can see the rear shock reservoir is in the way. Shaffer was able to swap out the bracket to get it to fit.
But now the reservoir is really close to the metal wing, so something I will need to keep on eye on when wheeling ( ie rubbing if there is a lot of flex )

Things I need to do :
1. Install the backup camera.
I am running 285s and I can kinda see using the backup camera, but going to install the RIGD camera anyway. The bumper comes with a camera holder.

A few pics from the install below

A naked bumper ready for a cut skirt
bumper.jpg
The skirt cutting went ok, no super professional but unless your me, you prob won't notice the boo boos.


Where the side support wings mount, I was doing pretty good up until this point and then came to an all stop as the reservoirs were to low... A call to Shaffers Offroad fixed that.
rearshock.jpg

Where the side support wing had to be cut because of this un-identified part - ps if anyone knows what it is please share!
rightwing.jpg

All put together with spare
IMG_4873.jpg

Side view, if your into that kinda thing :
IMG_4595.jpeg

Install Video - Is here !
See ya down the trail!
 
Last edited:
Fireskyte

Rank V

Advocate II

2,398
San Leandro, CA, USA
First Name
Rochelle
Last Name
Czajka
Member #

28117

Just finished all the bits and bobs on the Hefty Fab works bumper install, the bumper is aluminum and the swing arm is steel.
Alice looks sharp, you did a great job and I’m sure that Shaffer’s lined up the rest perfectly.
I did the install myself but ran into problems with the rear shock reservoirs and had to take it into Shaffer Offroad to have them fit the lower wings.
I then had my spare mounted on a new rim so I can add it into the tire rotation.

Things I Like
1. It weighs in ( without tire ) at about 76 lbs -
2. It comes with a high hitch so I save a little there on low tail dragging.

Overall I like it though there are a few niggles after install.

Things I don't like
1. The tire carrier swing arm is not a smooth slide into the plate, so you have to shove it a bit with your shoulder to get it to latch.
2. The tire carrier does move a bit - meaning I can get it to wiggle by applying slight pressure on the tire. Not sure how it is going to hold up on the trail over time.
3. The side support wings needed to be modified by Shaffers due to some part of the rear assembly that was in the way ( ie they had to cut the wing ) - in video to come.
4. You will need to cut your muffler - so bye bye pretty chrome piece.

One thing I wish : The rear tire carrier does not have room for an off the shelf bolt on table, there is room to fit a custom table, so that is my next project!

The red arrows show where the side wings install, and you can see the rear shock reservoir is in the way. Shaffer was able to swap out the bracket to get it to fit.
But now the reservoir is really close to the metal wing, so something I will need to keep on eye on when wheeling ( ie rubbing if there is a lot of flex )

Things I need to do :
1. Install the backup camera.
I am running 285s and I can kinda see using the backup camera, but going to install the RIGD camera anyway. The bumper comes with a camera holder.

A few pics from the install below

A naked bumper ready for a cut skirt
View attachment 248544
The skirt cutting went ok, no super professional but unless your me, you prob won't notice the boo boos.


Where the side support wings mount, I was doing pretty good up until this point and then came to an all stop as the reservoirs were to low... A call to Shaffers Offroad fixed that.
View attachment 248541

Where the side support wing had to be cut because of this un-identified part - ps if anyone knows what it is please share!
View attachment 248543

All put together with spare
View attachment 248542

Side view, if your into that kinda thing :
View attachment 248545
Install Video - Coming soon!
See ya down the trail!
 

Advtres

Rank VI
Member
Investor

Steward I

4,122
Hollister, CA, USA
First Name
Lizabeth
Last Name
Deliriumskid
Member #

30725

Ham/GMRS Callsign
KN6STB
Alice had a few updates, so catching them here.

- Changed oil, lubricate the drive line and serviced the Upper control arms, checked all fluids, and re-applied the William tells after I checked all bolts.
- Shaffer Offroad - Fluid Changes : Did the differentials (front and rear), transmission, transfer case.

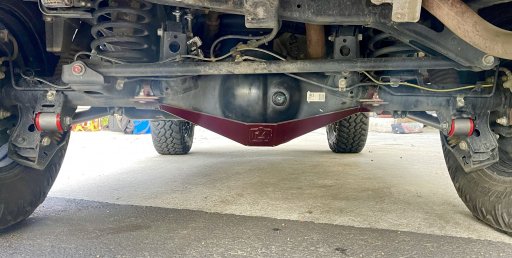
- Lower rear control arms - replaced with Sonora Steel - Shaffer off-road installed as I could not free the bolts. New bushings (red)
Should get slightly more articulation, time will tell.
- C4 Rear Diff rock cover - comes bare metal, I primed and painted it. Install ok, just a bit of a pain to get to all bolts.
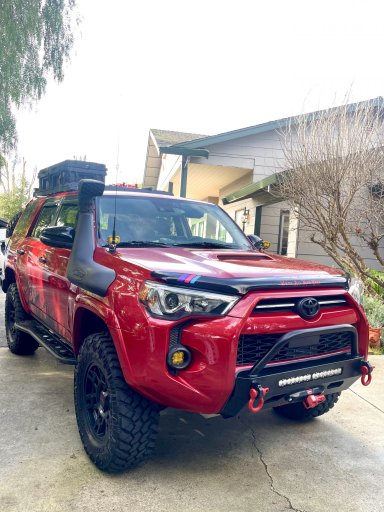
- ARB Snorkel - Shaffer Off road installed
Installed the snorkel not for water but mostly for dirt/dust.
- Swapped the 265's for 285's - Nitto Trail Grapplers
So far Love them! - an extra inch to clearance is not bad either!
- Mounted the spare onto a matching rim so I can now move it into the tire rotation.

IMG_4881.jpeg

IMG_4880.jpeg

IMG_4883.jpeg
 
  • Like
Reactions: danwyandt