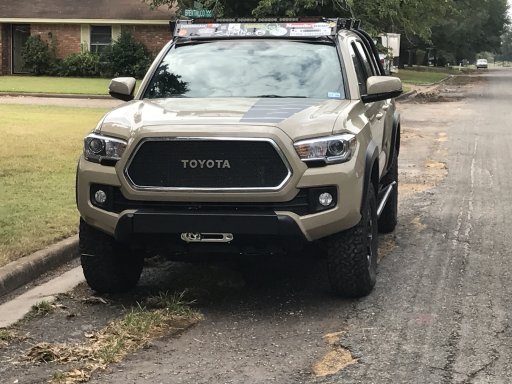
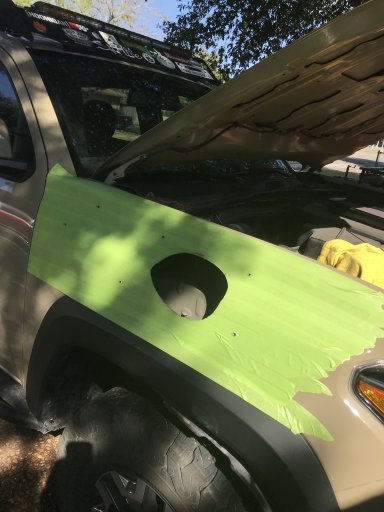
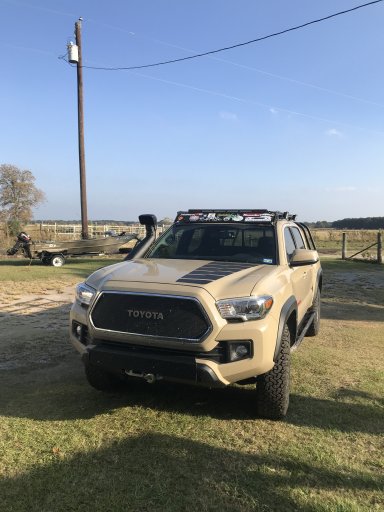
A new chapter in life.. Enter the Wombat.

  • HTML tutorial

Red Beard

Rank V
Launch Member

Traveler I

1,836
Mexia, Texas
Member #

6543

Yeah the only manual long bed option is an sr5 access cab 4x4, 2.7l I4, 5speed.

I pretty much refuse to drive anything but a manual. I have had to many auto trans trucks (work vehicles) leave me in a bind in the wrong places. Just don't trust them.
 

Red Beard

Rank V
Launch Member

Traveler I

1,836
Mexia, Texas
Member #

6543

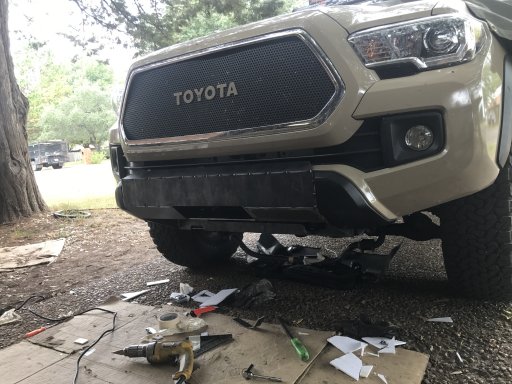
Been a few sense I've updated here. I have been really busy between work and my side jobs. We also just got back from a 25 day trip to the Philippines visiting family and doing some Toyota research when I could get away. Any way I clipped a coyote on the way home from the Houston airport when we got back from the PI. It didn't hurt anything but some clips on the lower valance on my bumper and the coyote.


So......


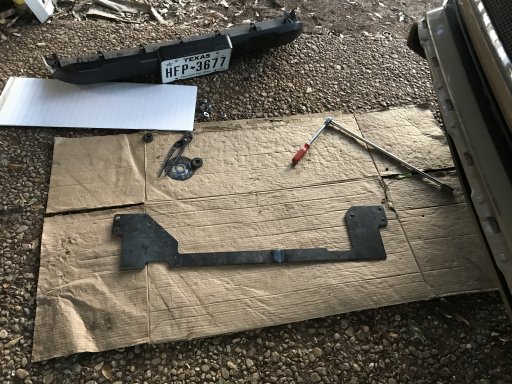
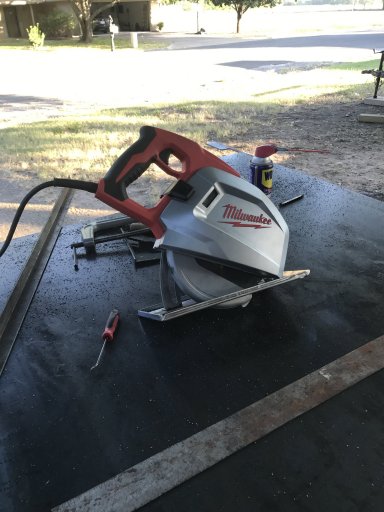
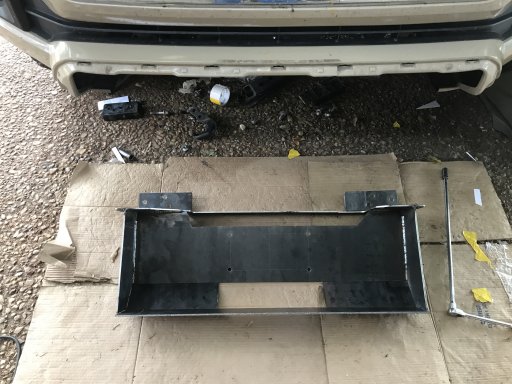
It is winch bumper build time. Went to the metal yard this morning and got material and then headed over to the laser cutter to get a couple of bumper base plates cut out.

IMG_4282.JPG
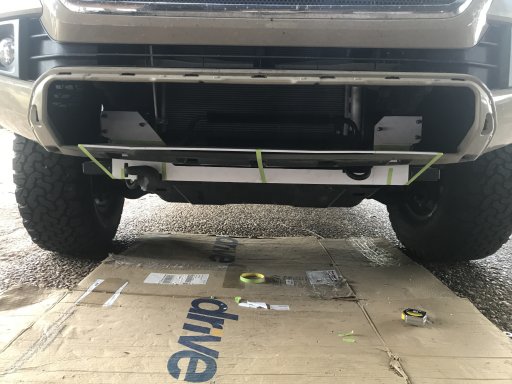
Foam board mock up.IMG_4292.PNG
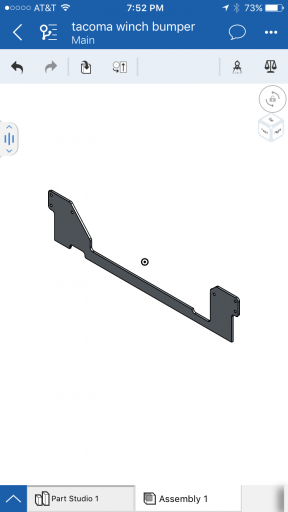
Cad drawing.
IMG_4287.JPG
Prototype..


More to come laterz!
 
  • Like
Reactions: Jimmy P

darthyota

Rank IV

Enthusiast III

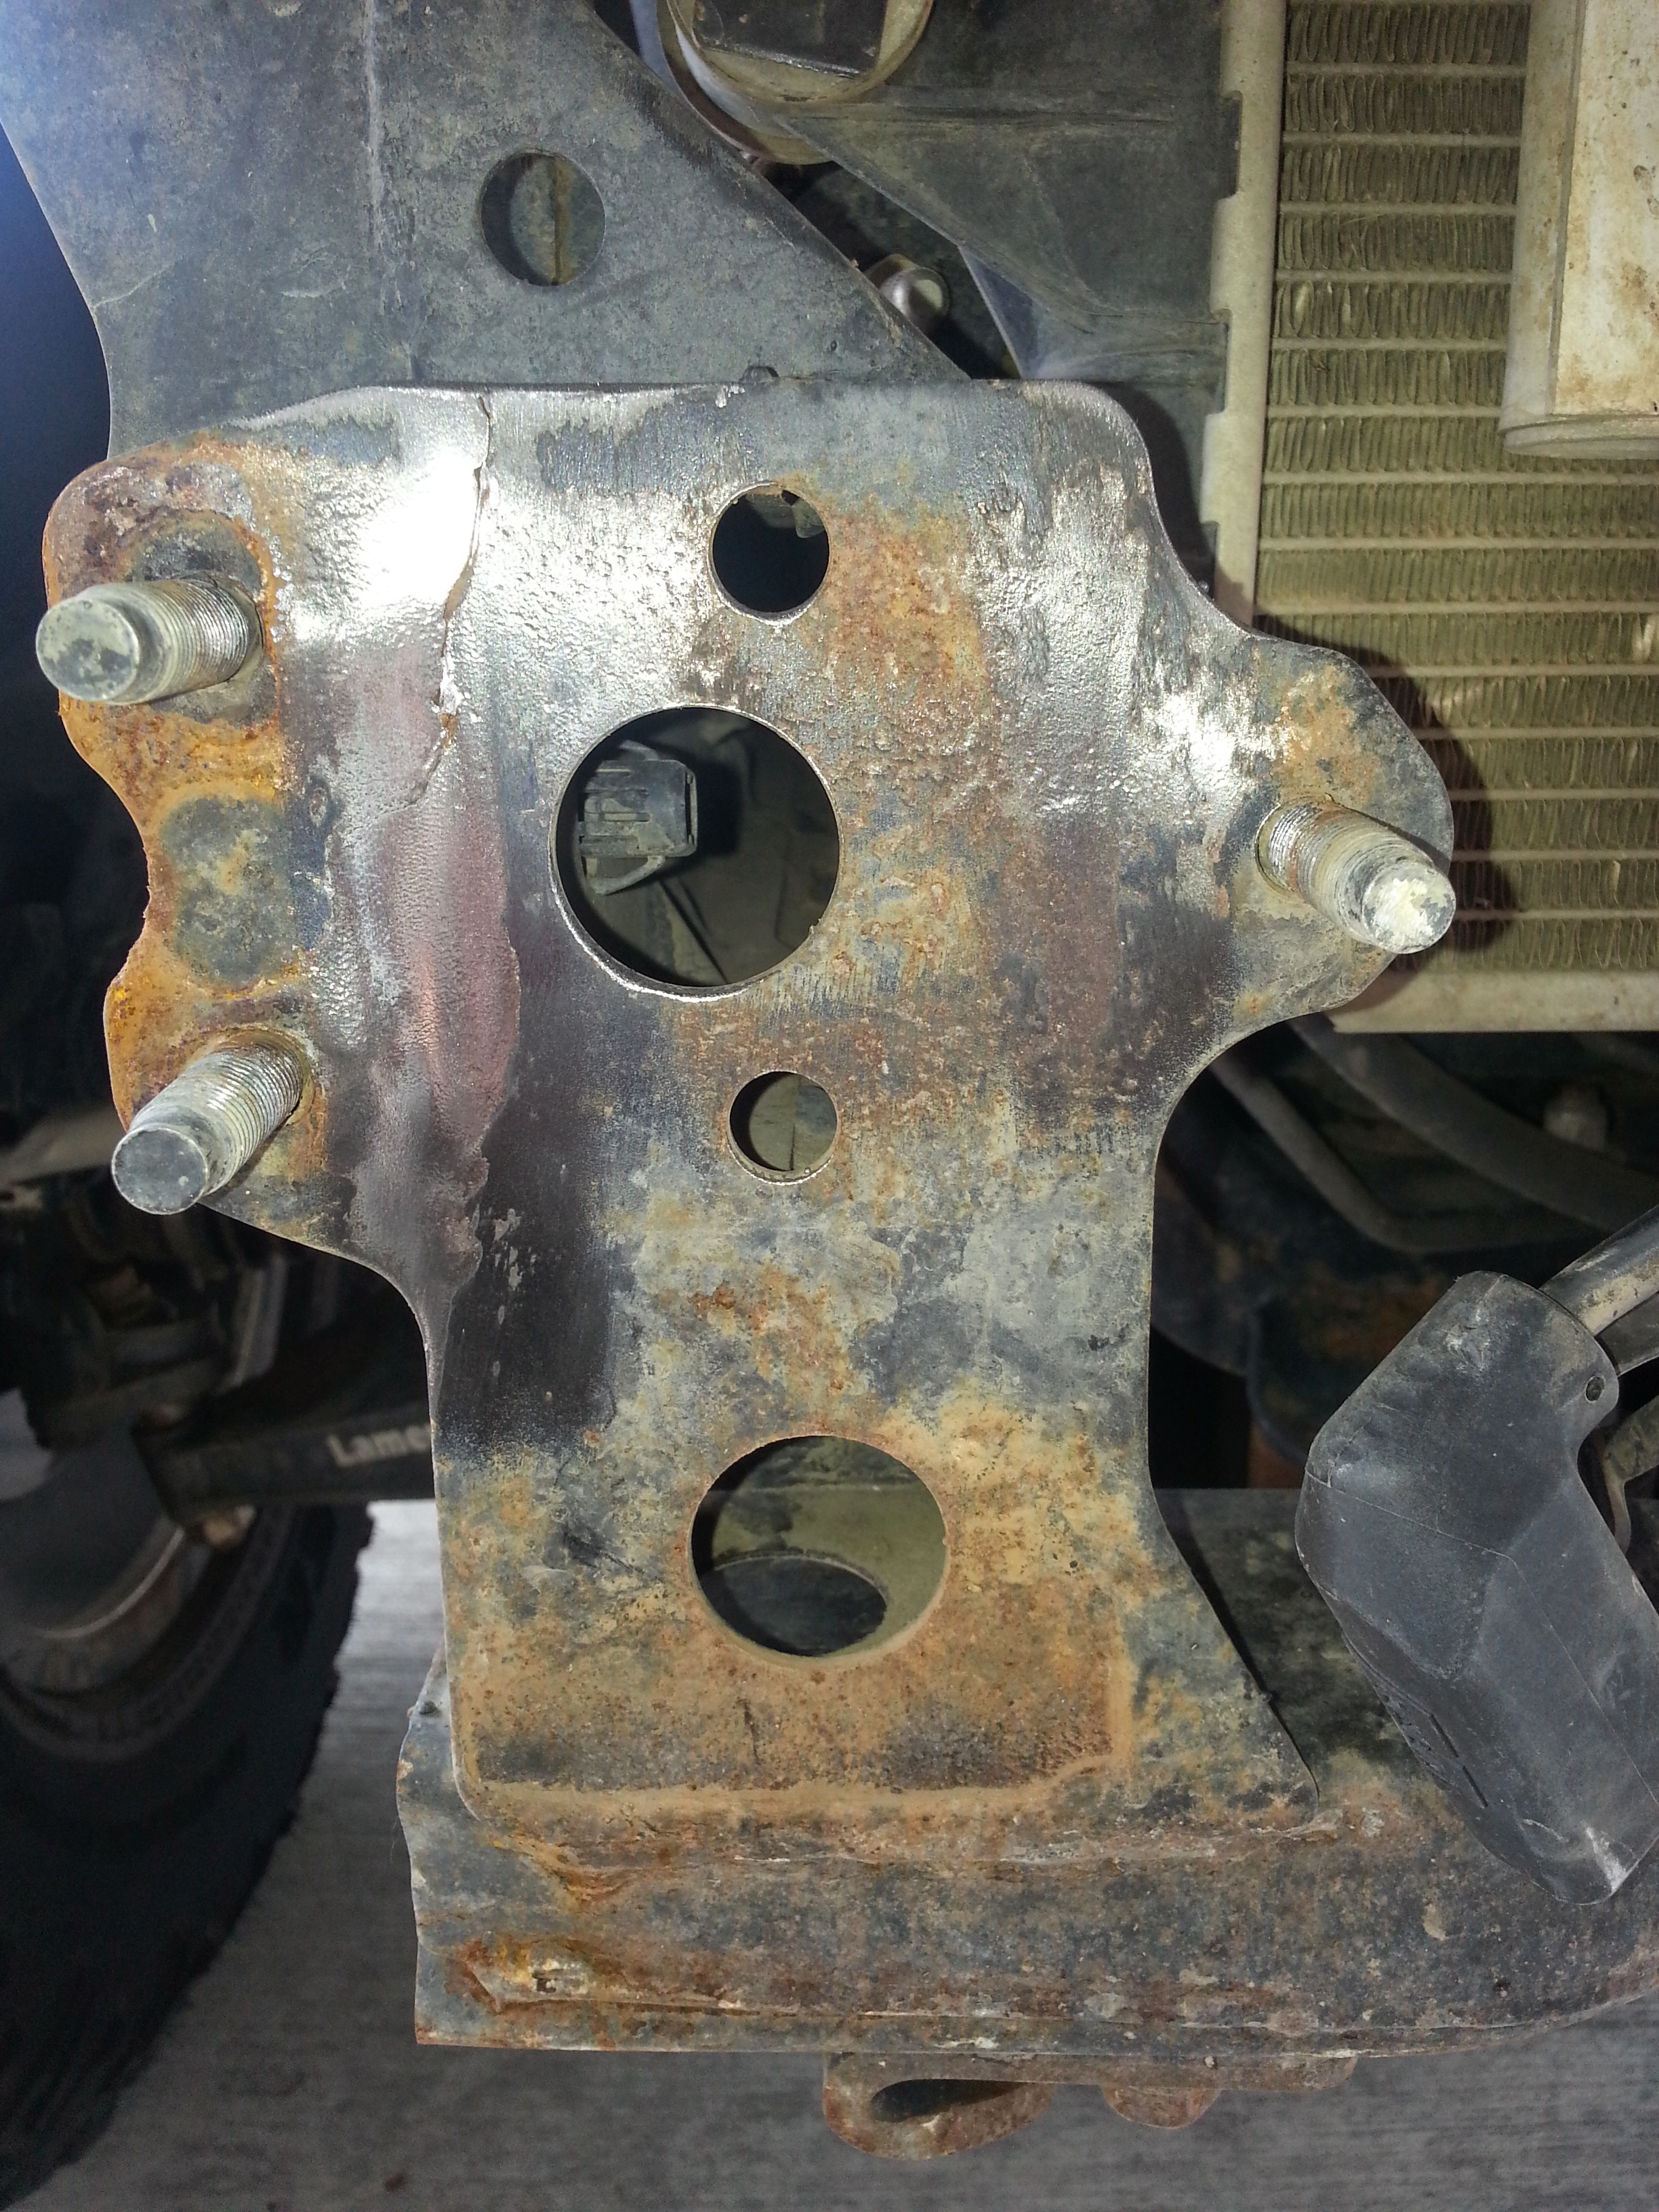
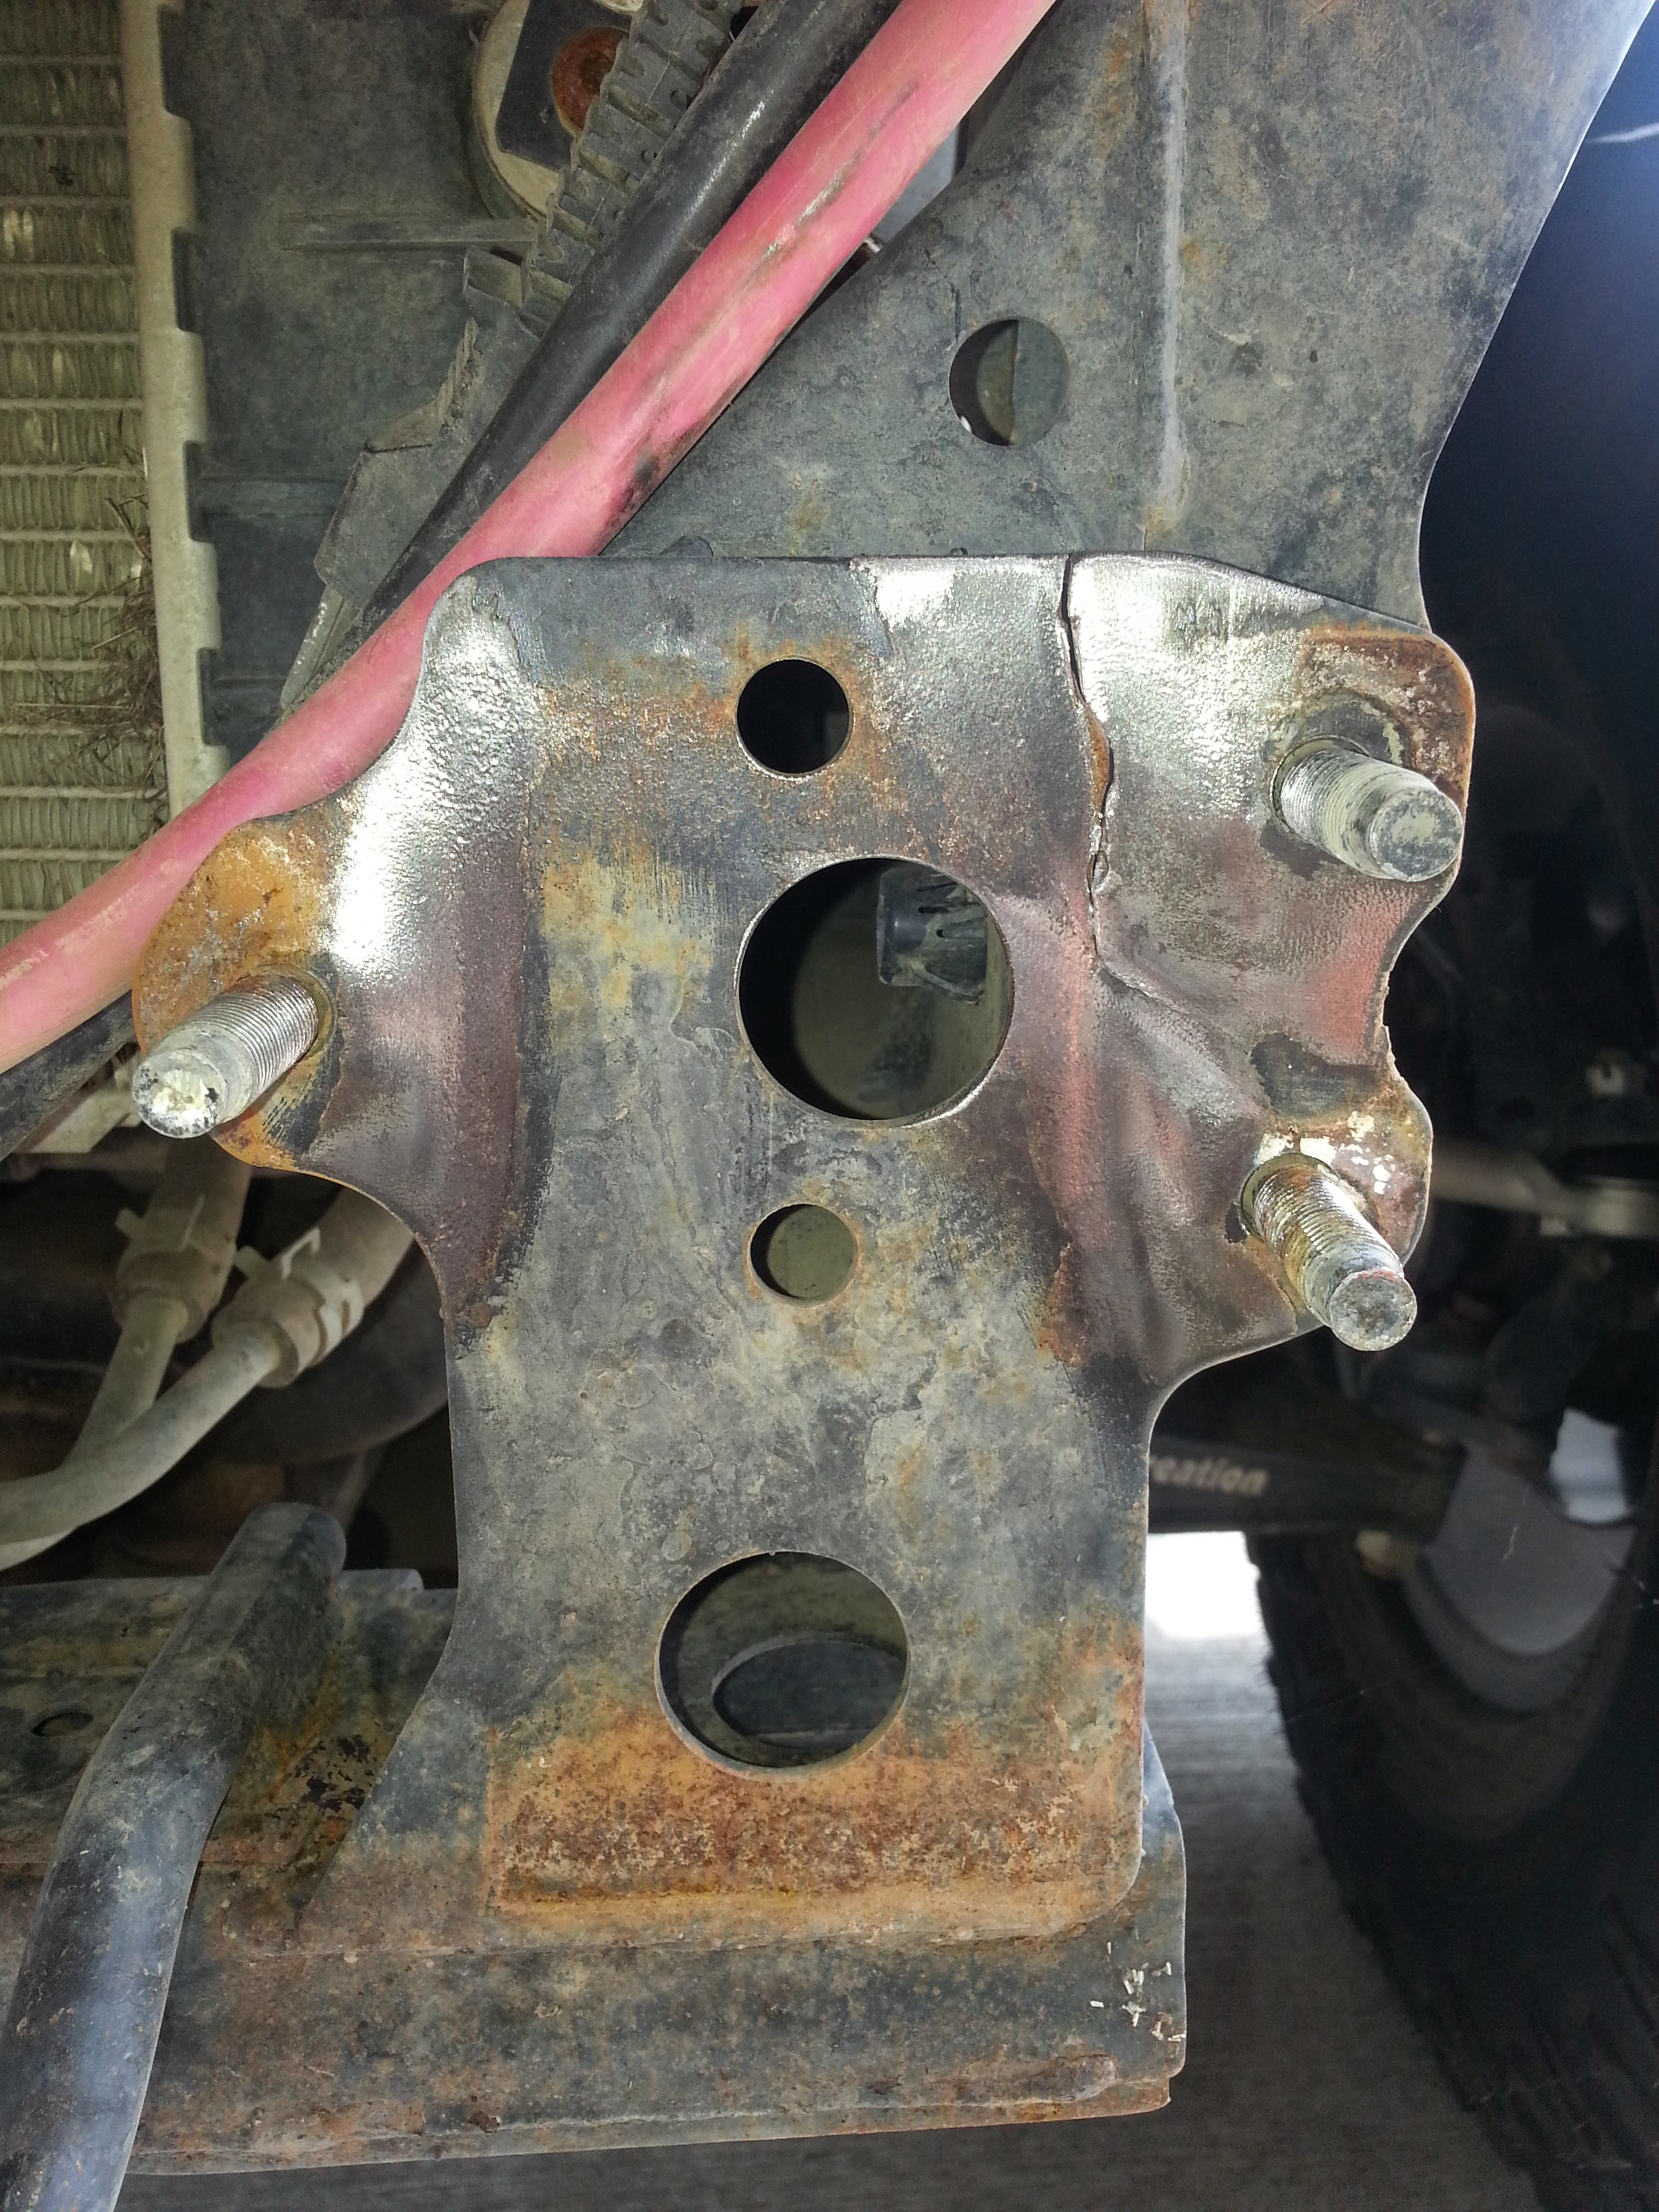
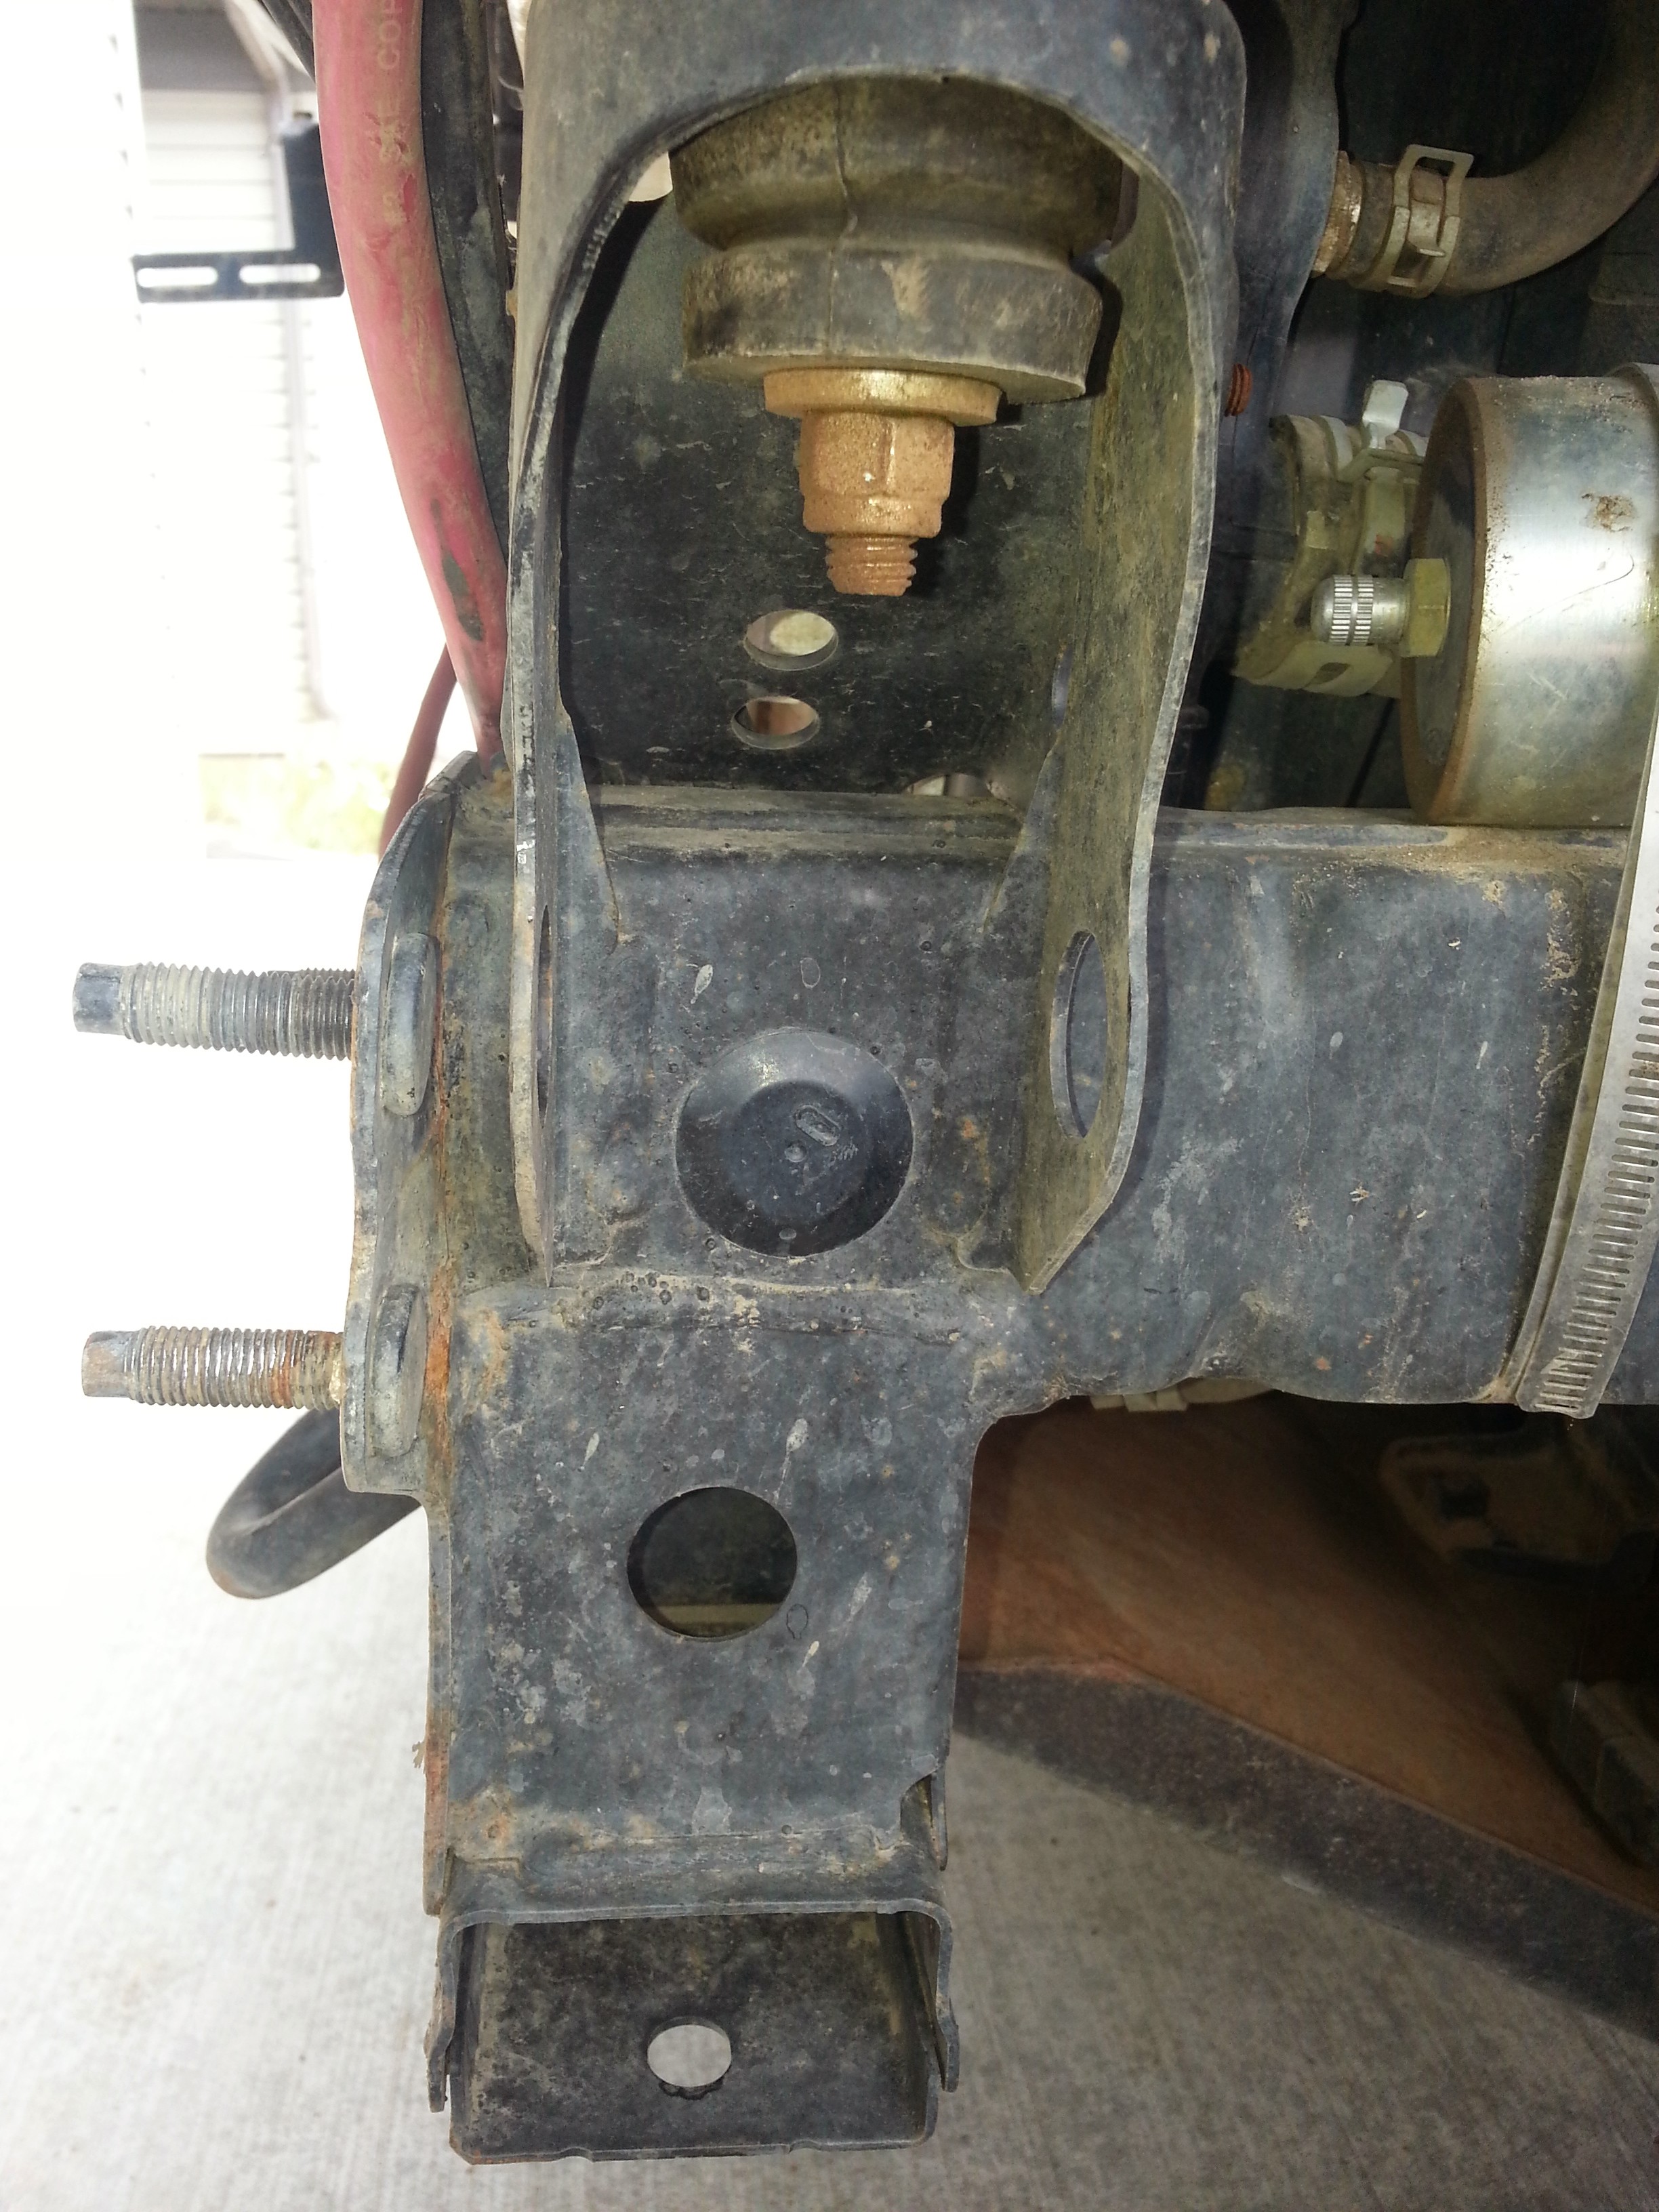
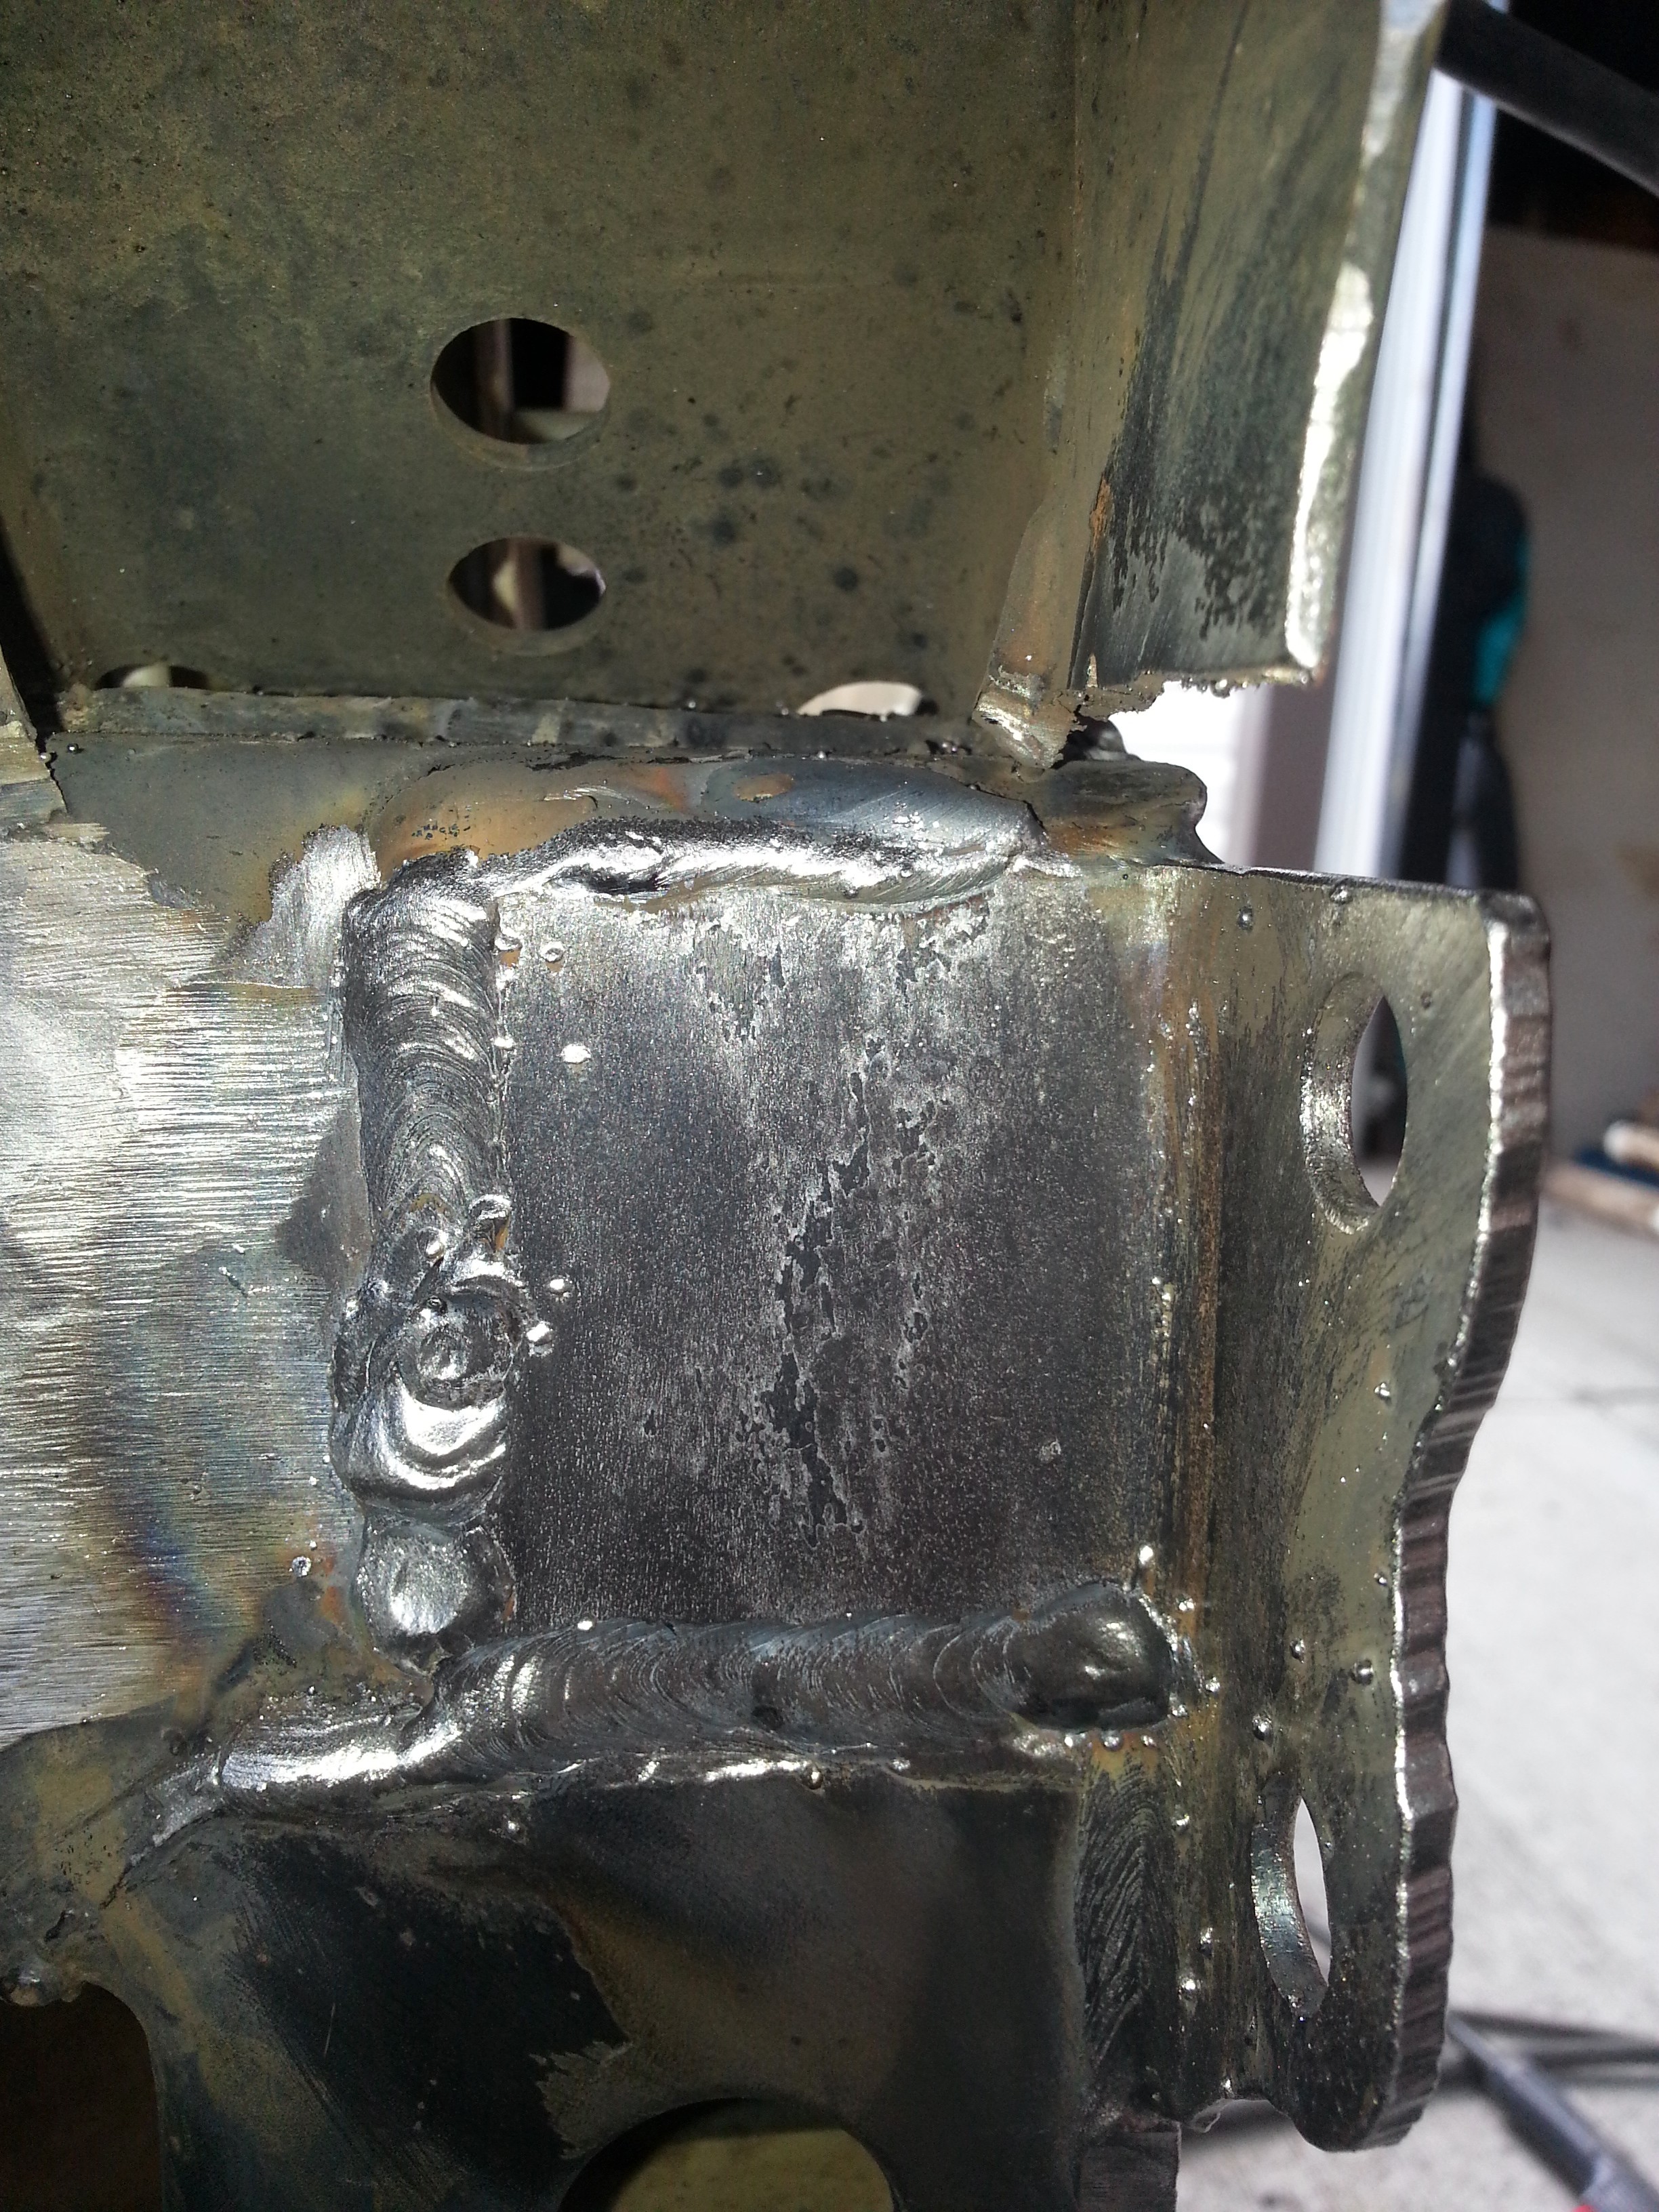
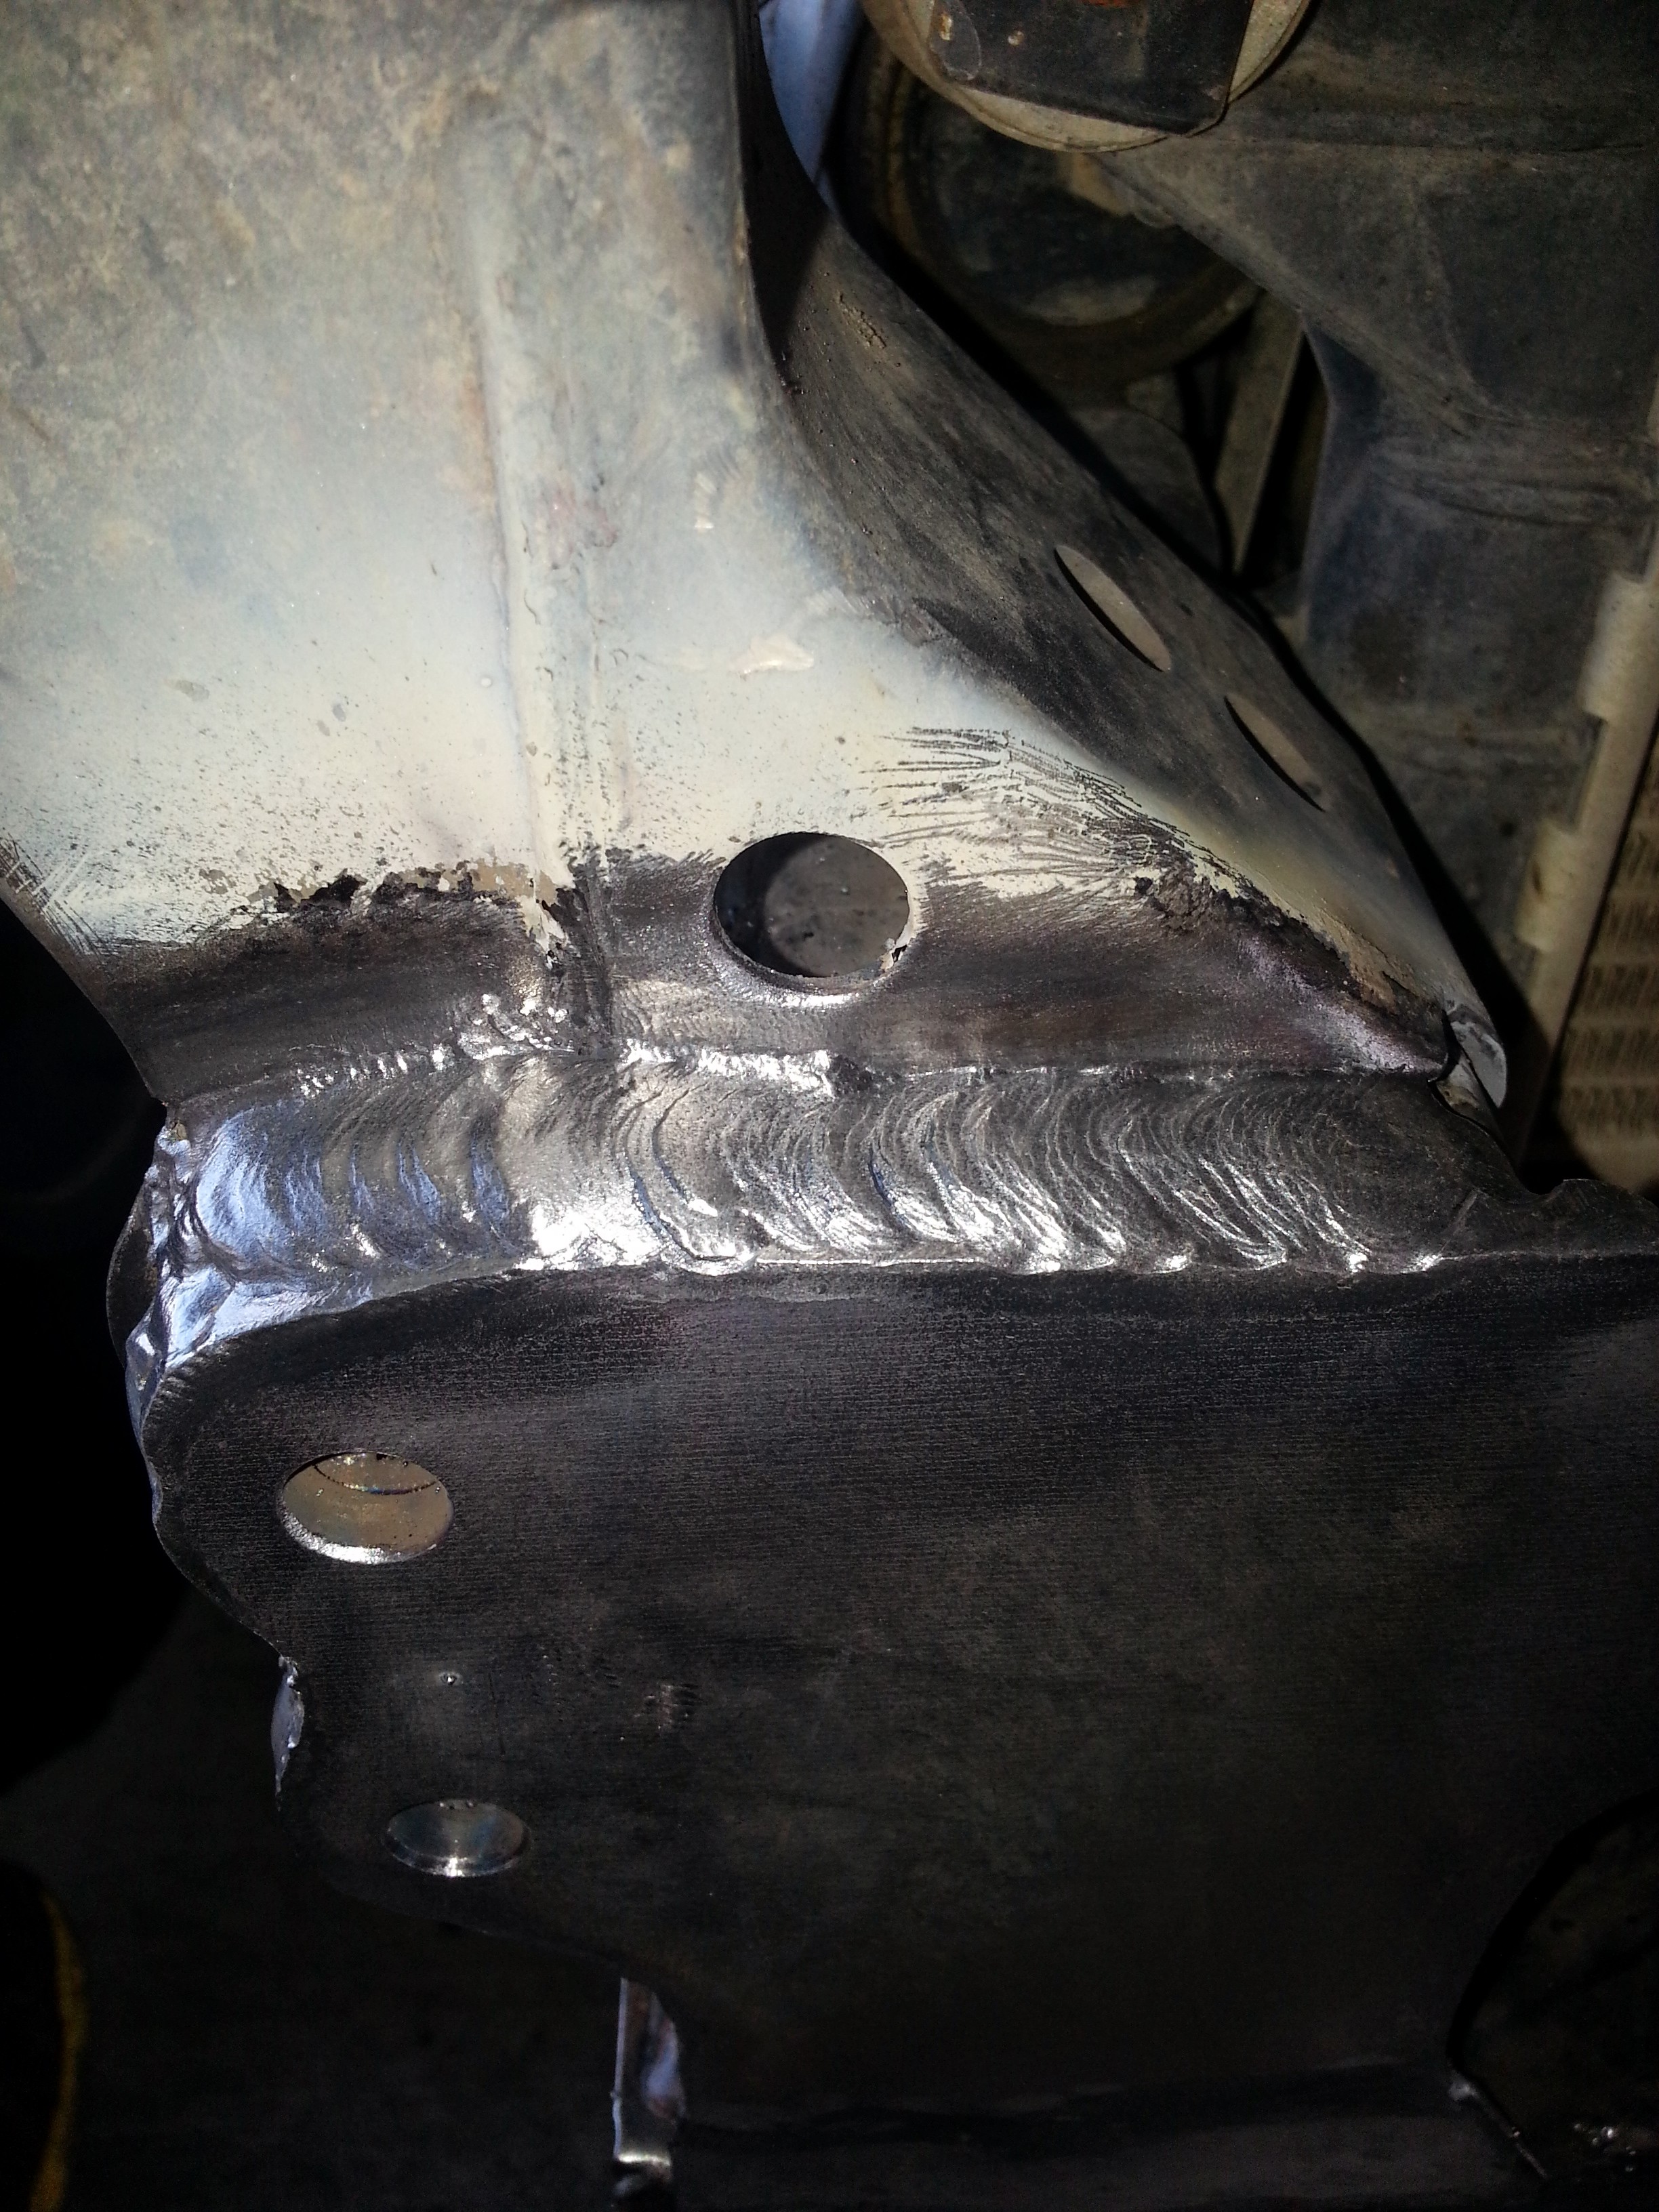
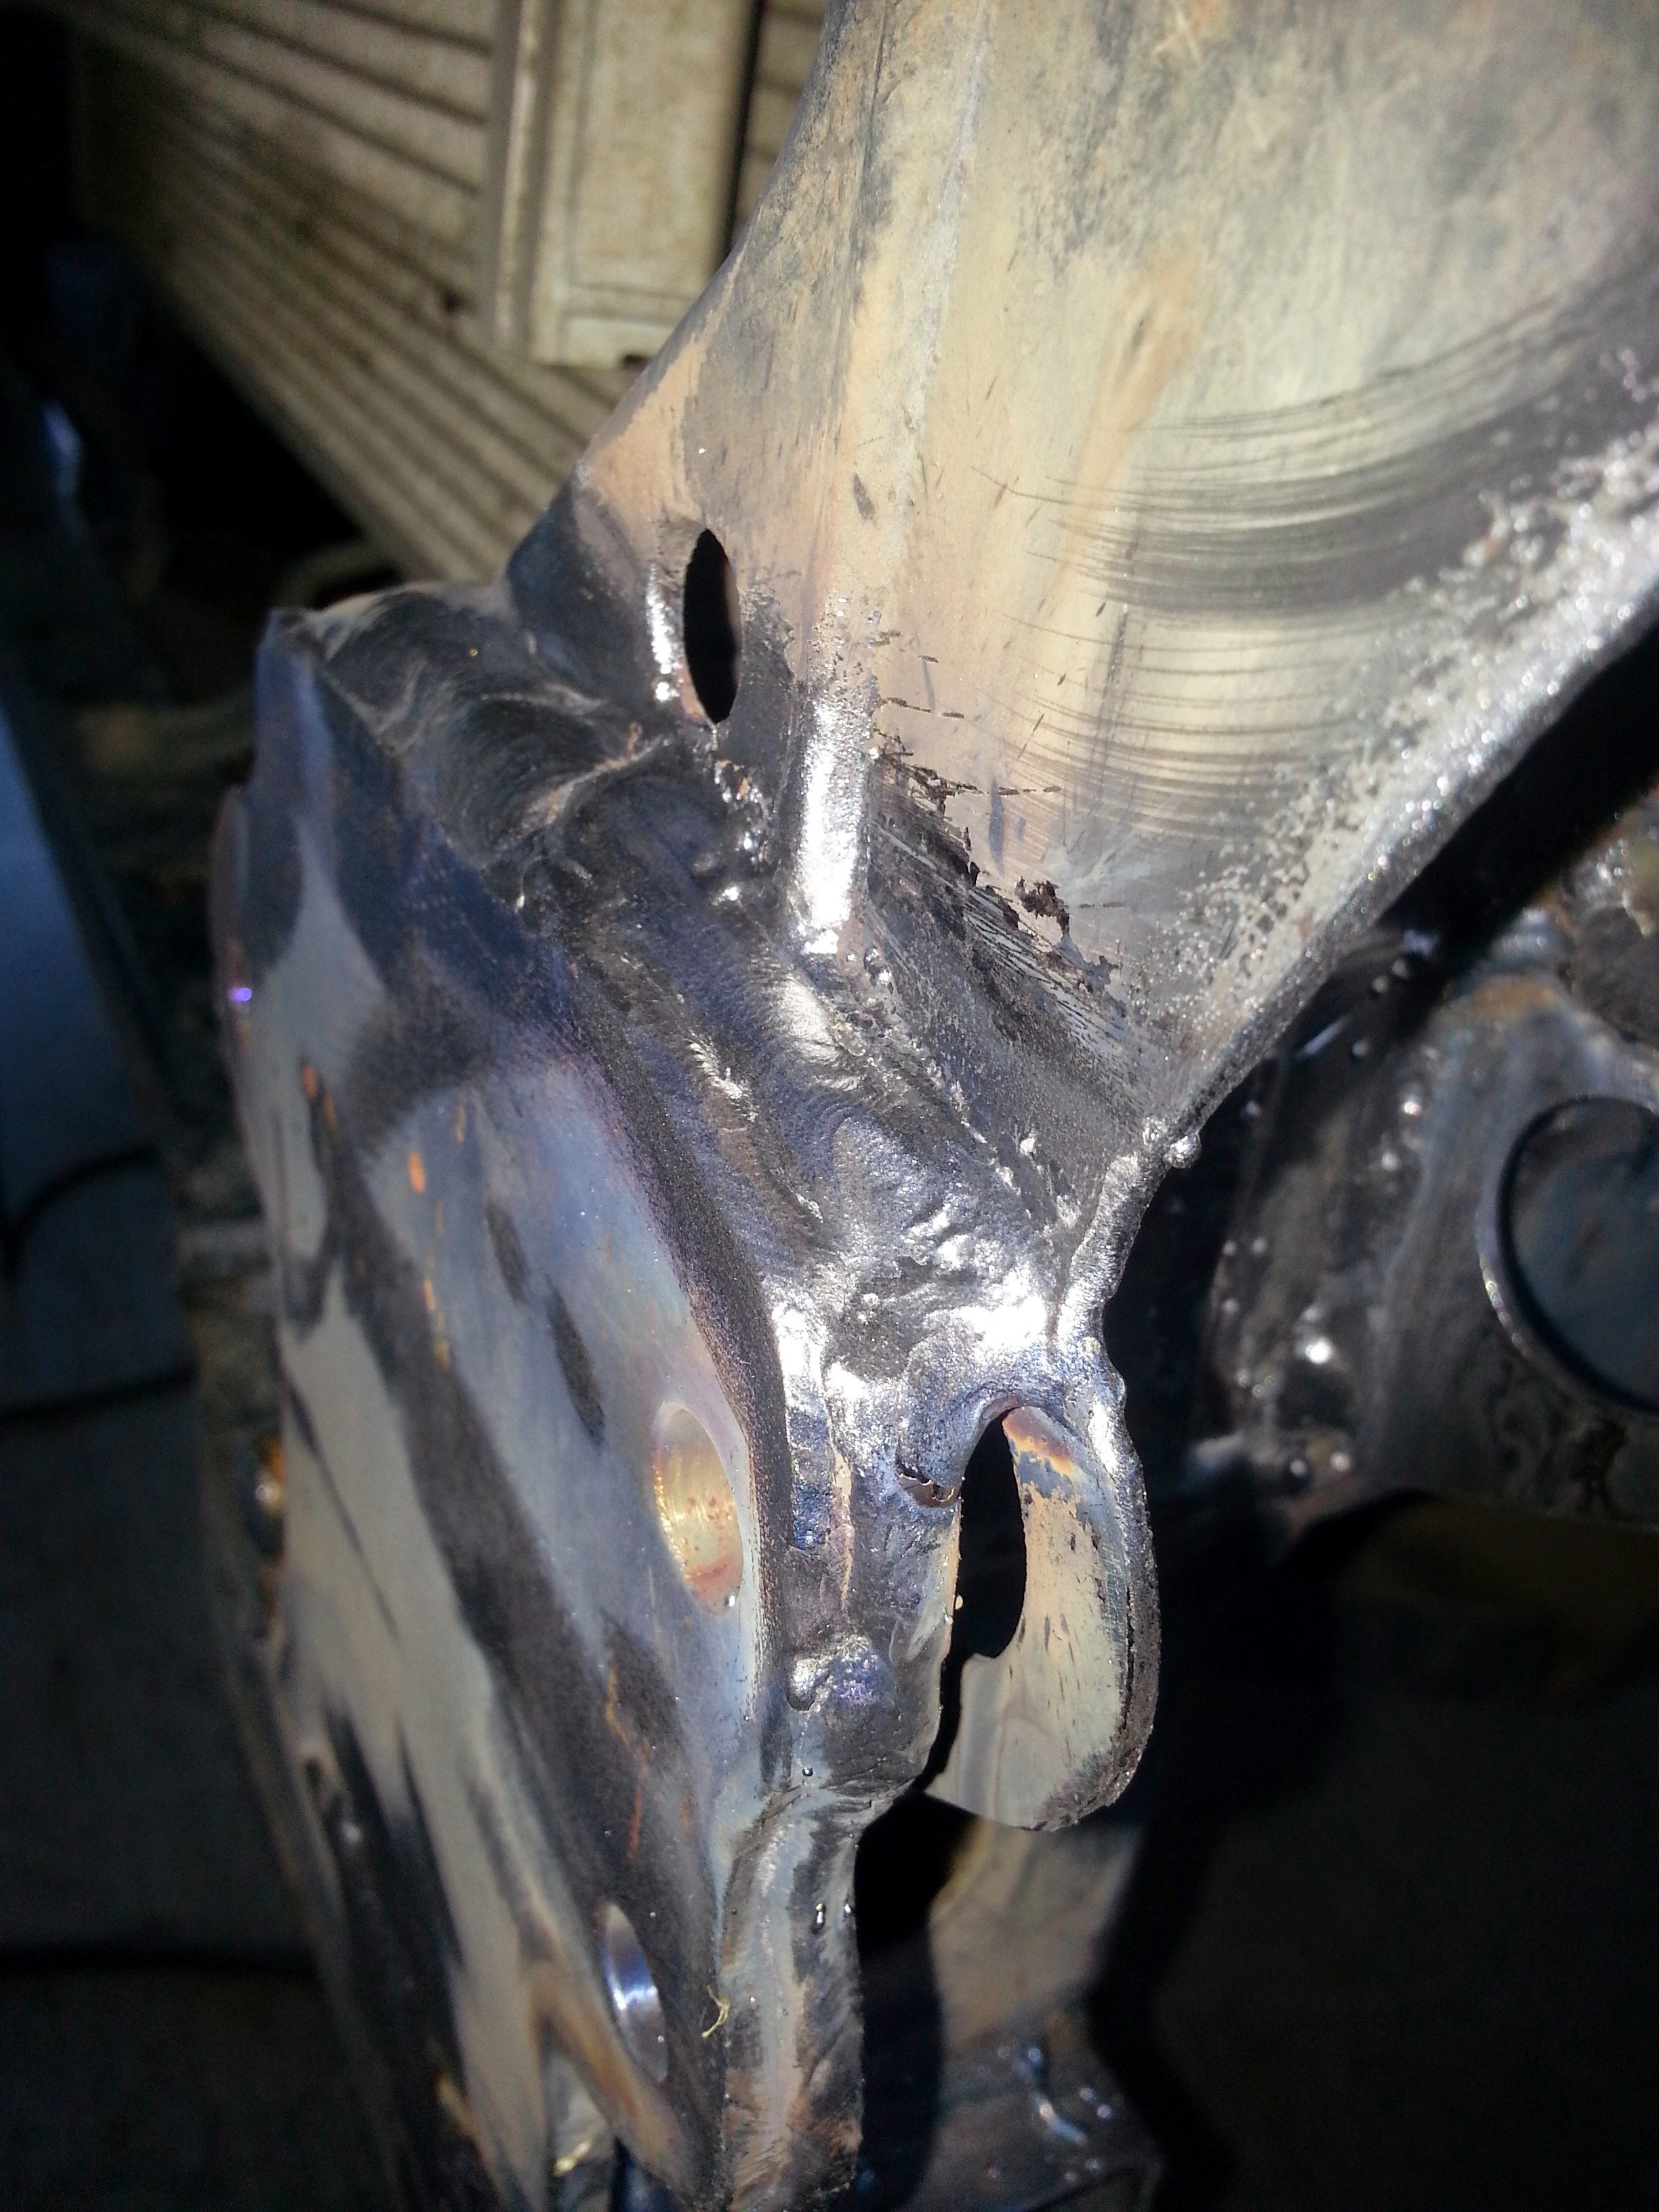
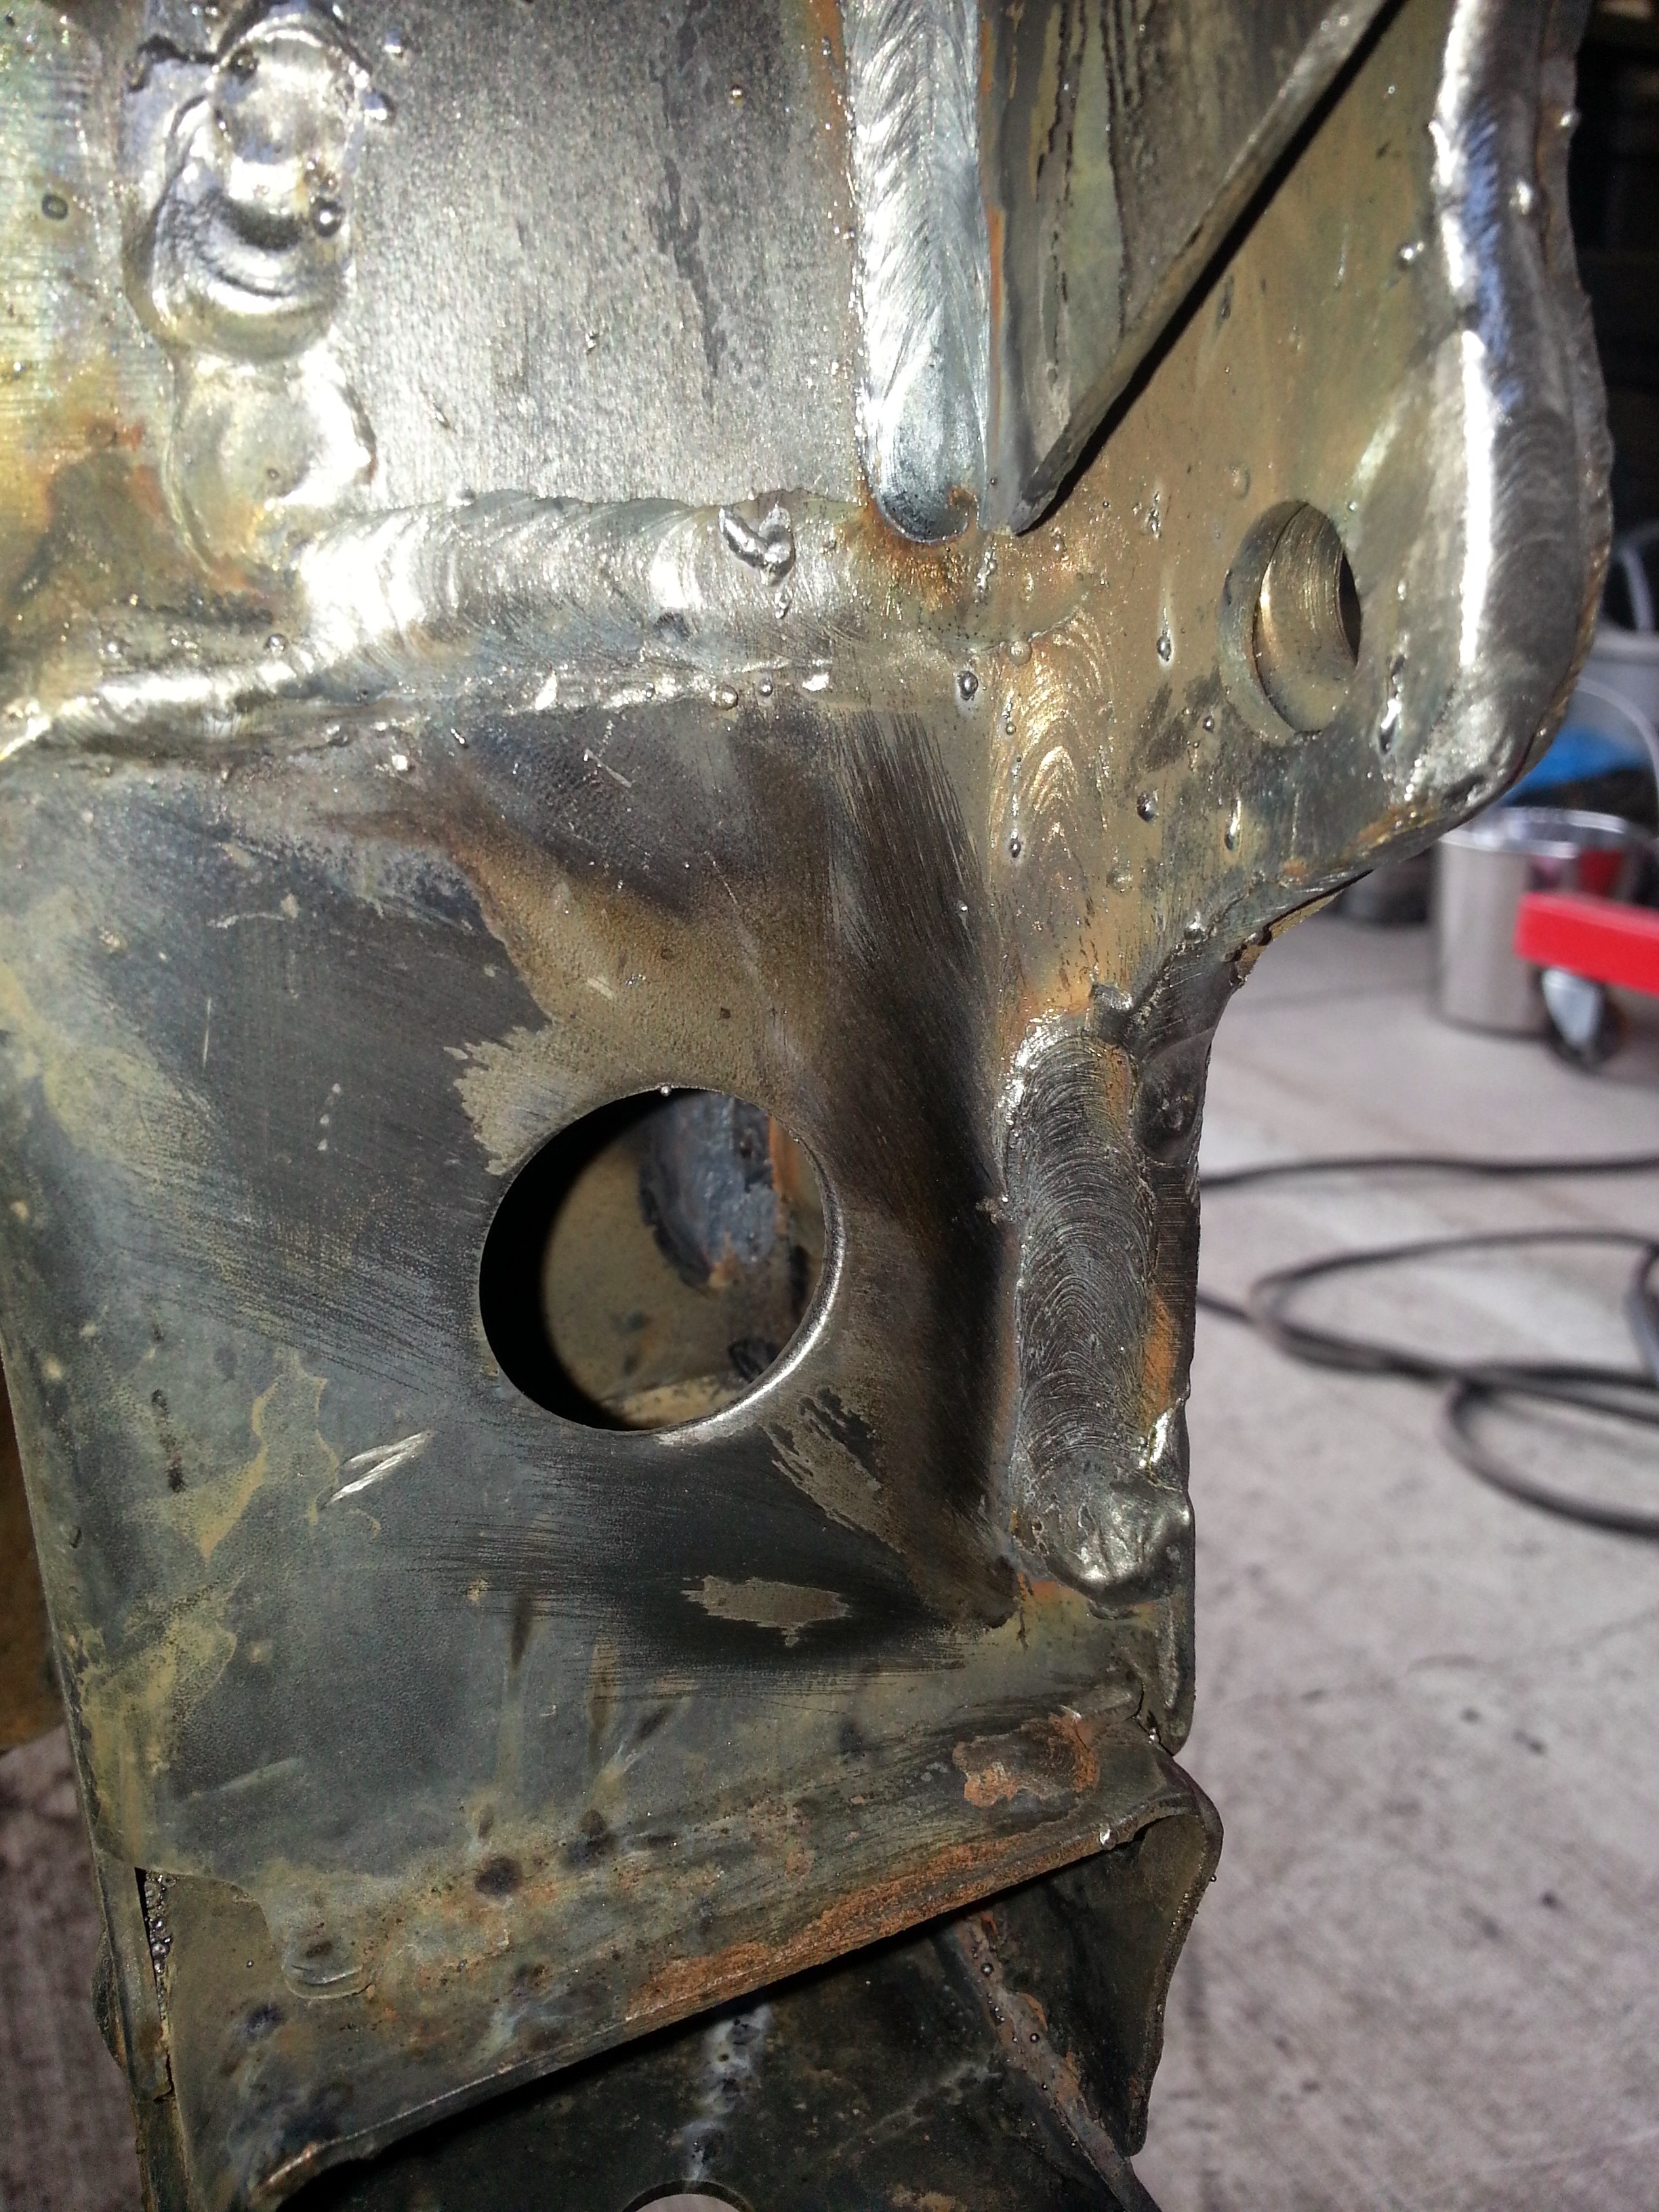
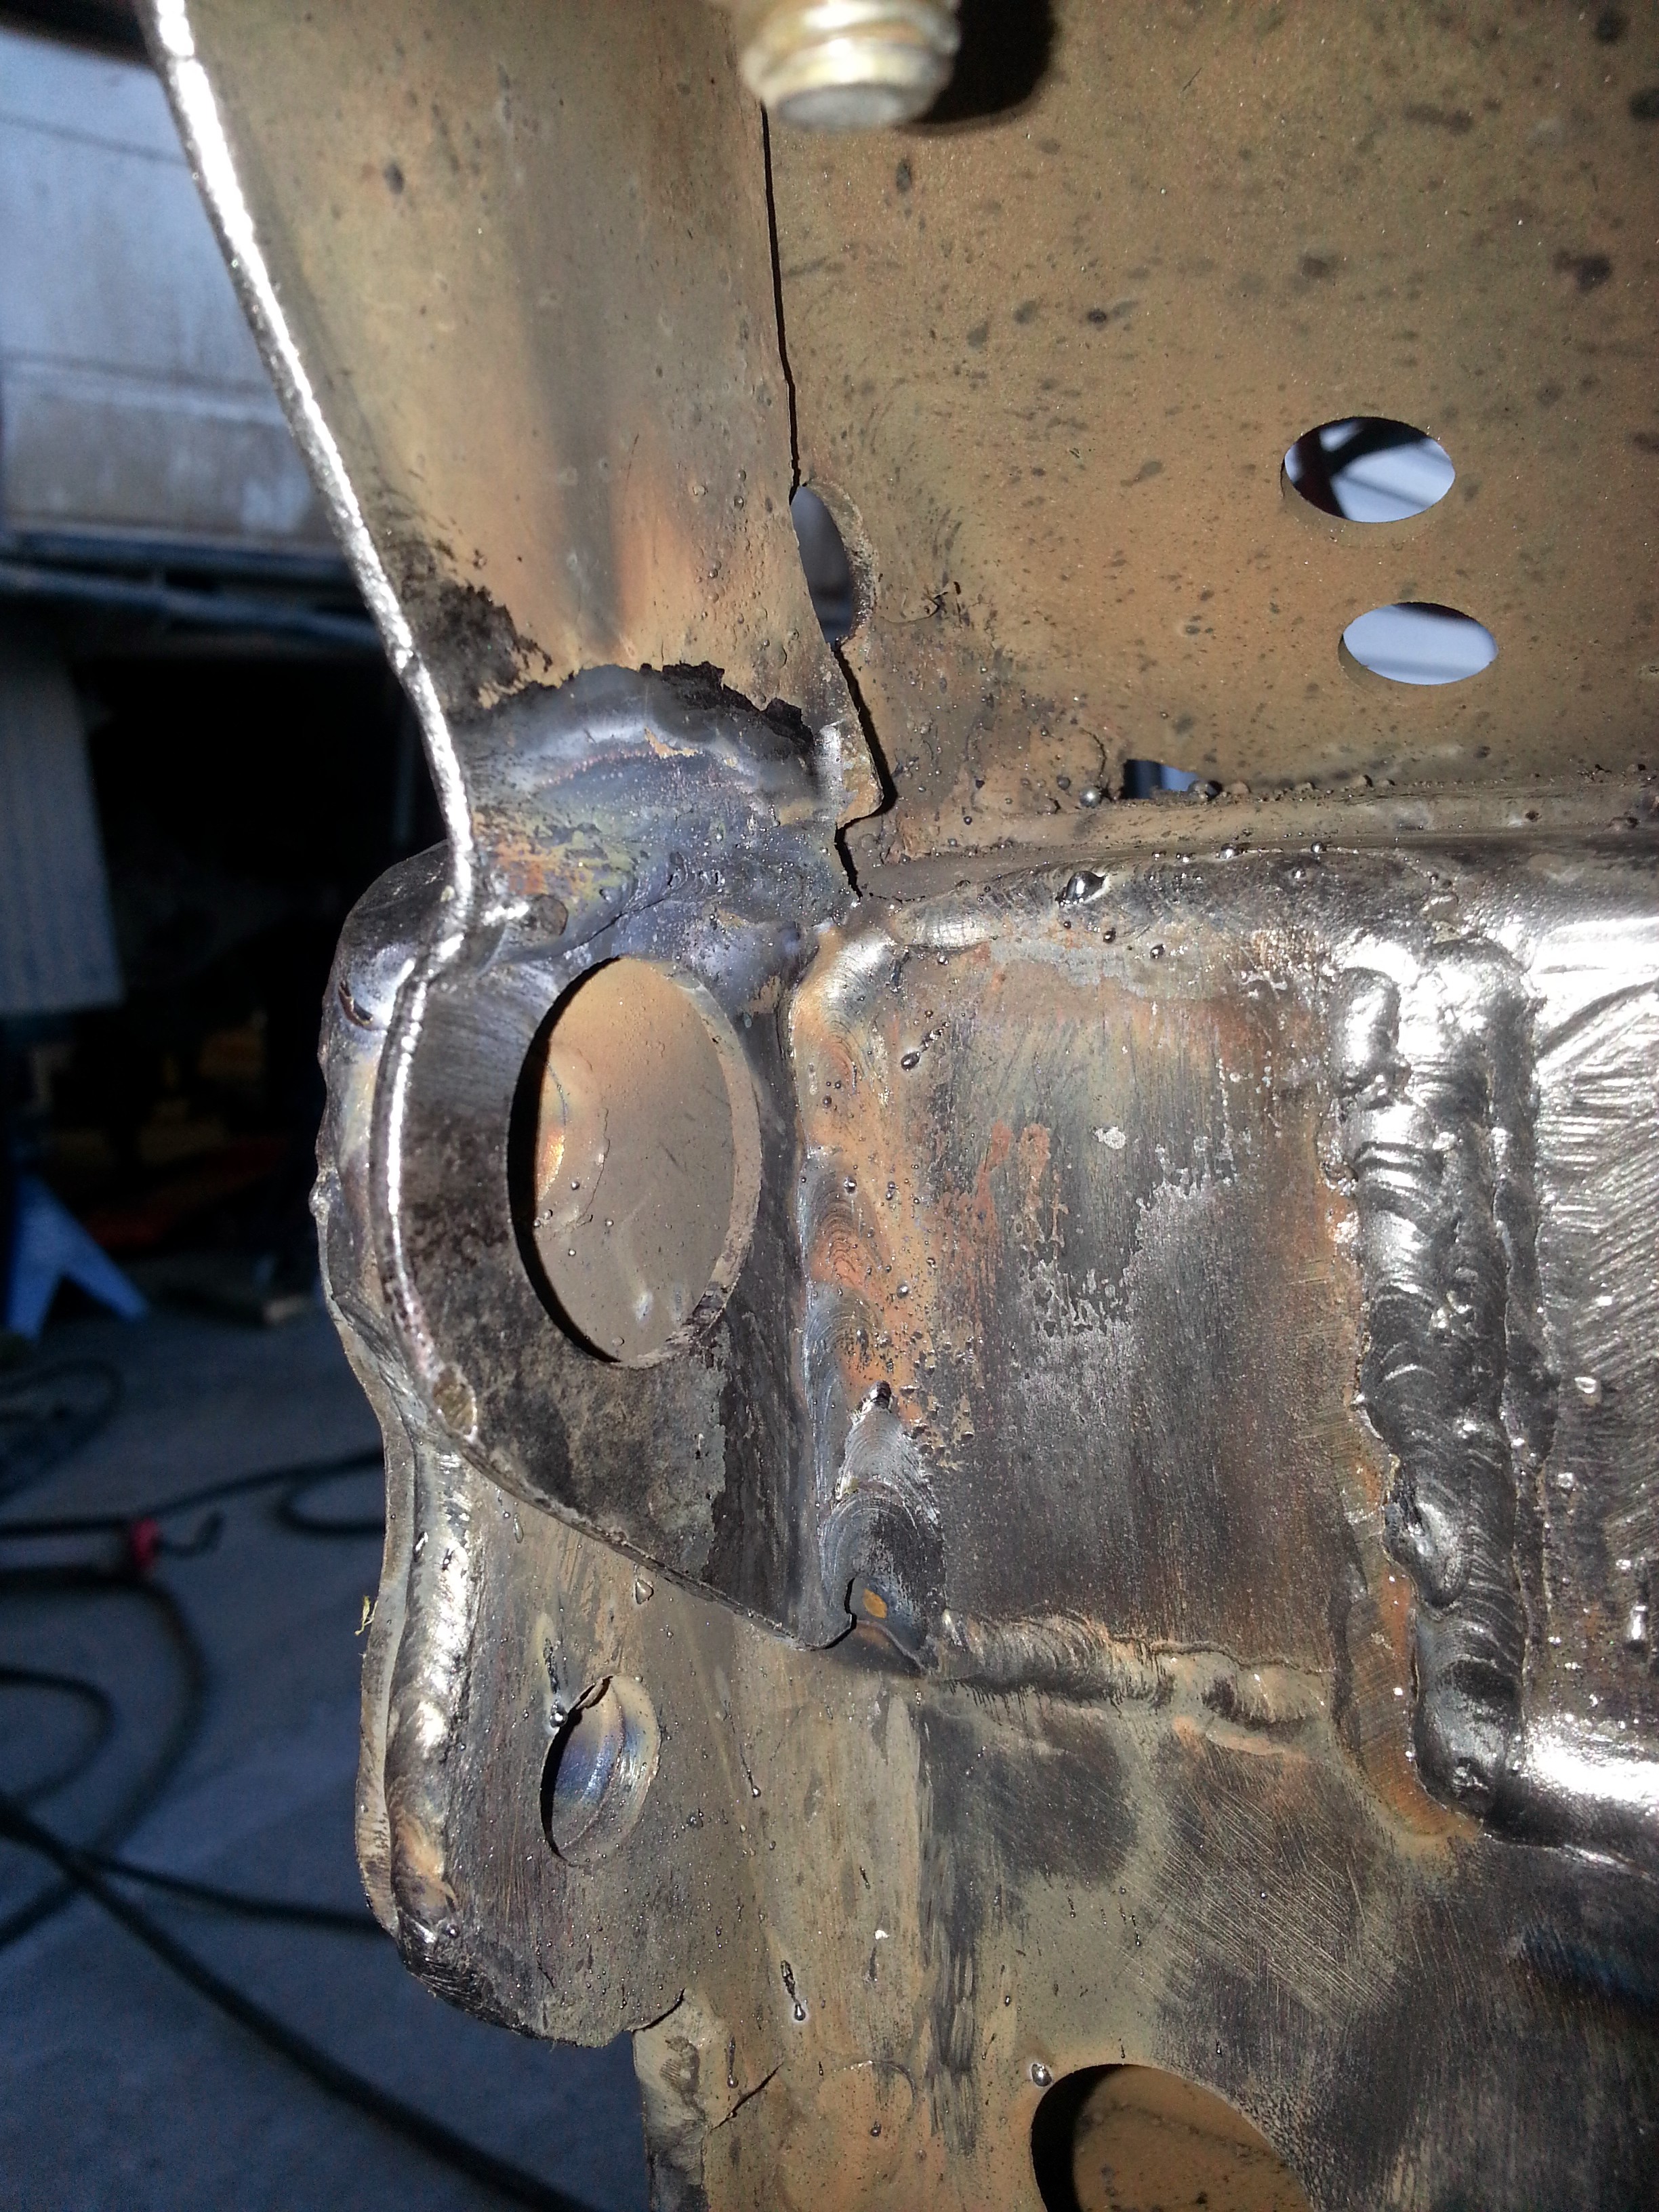
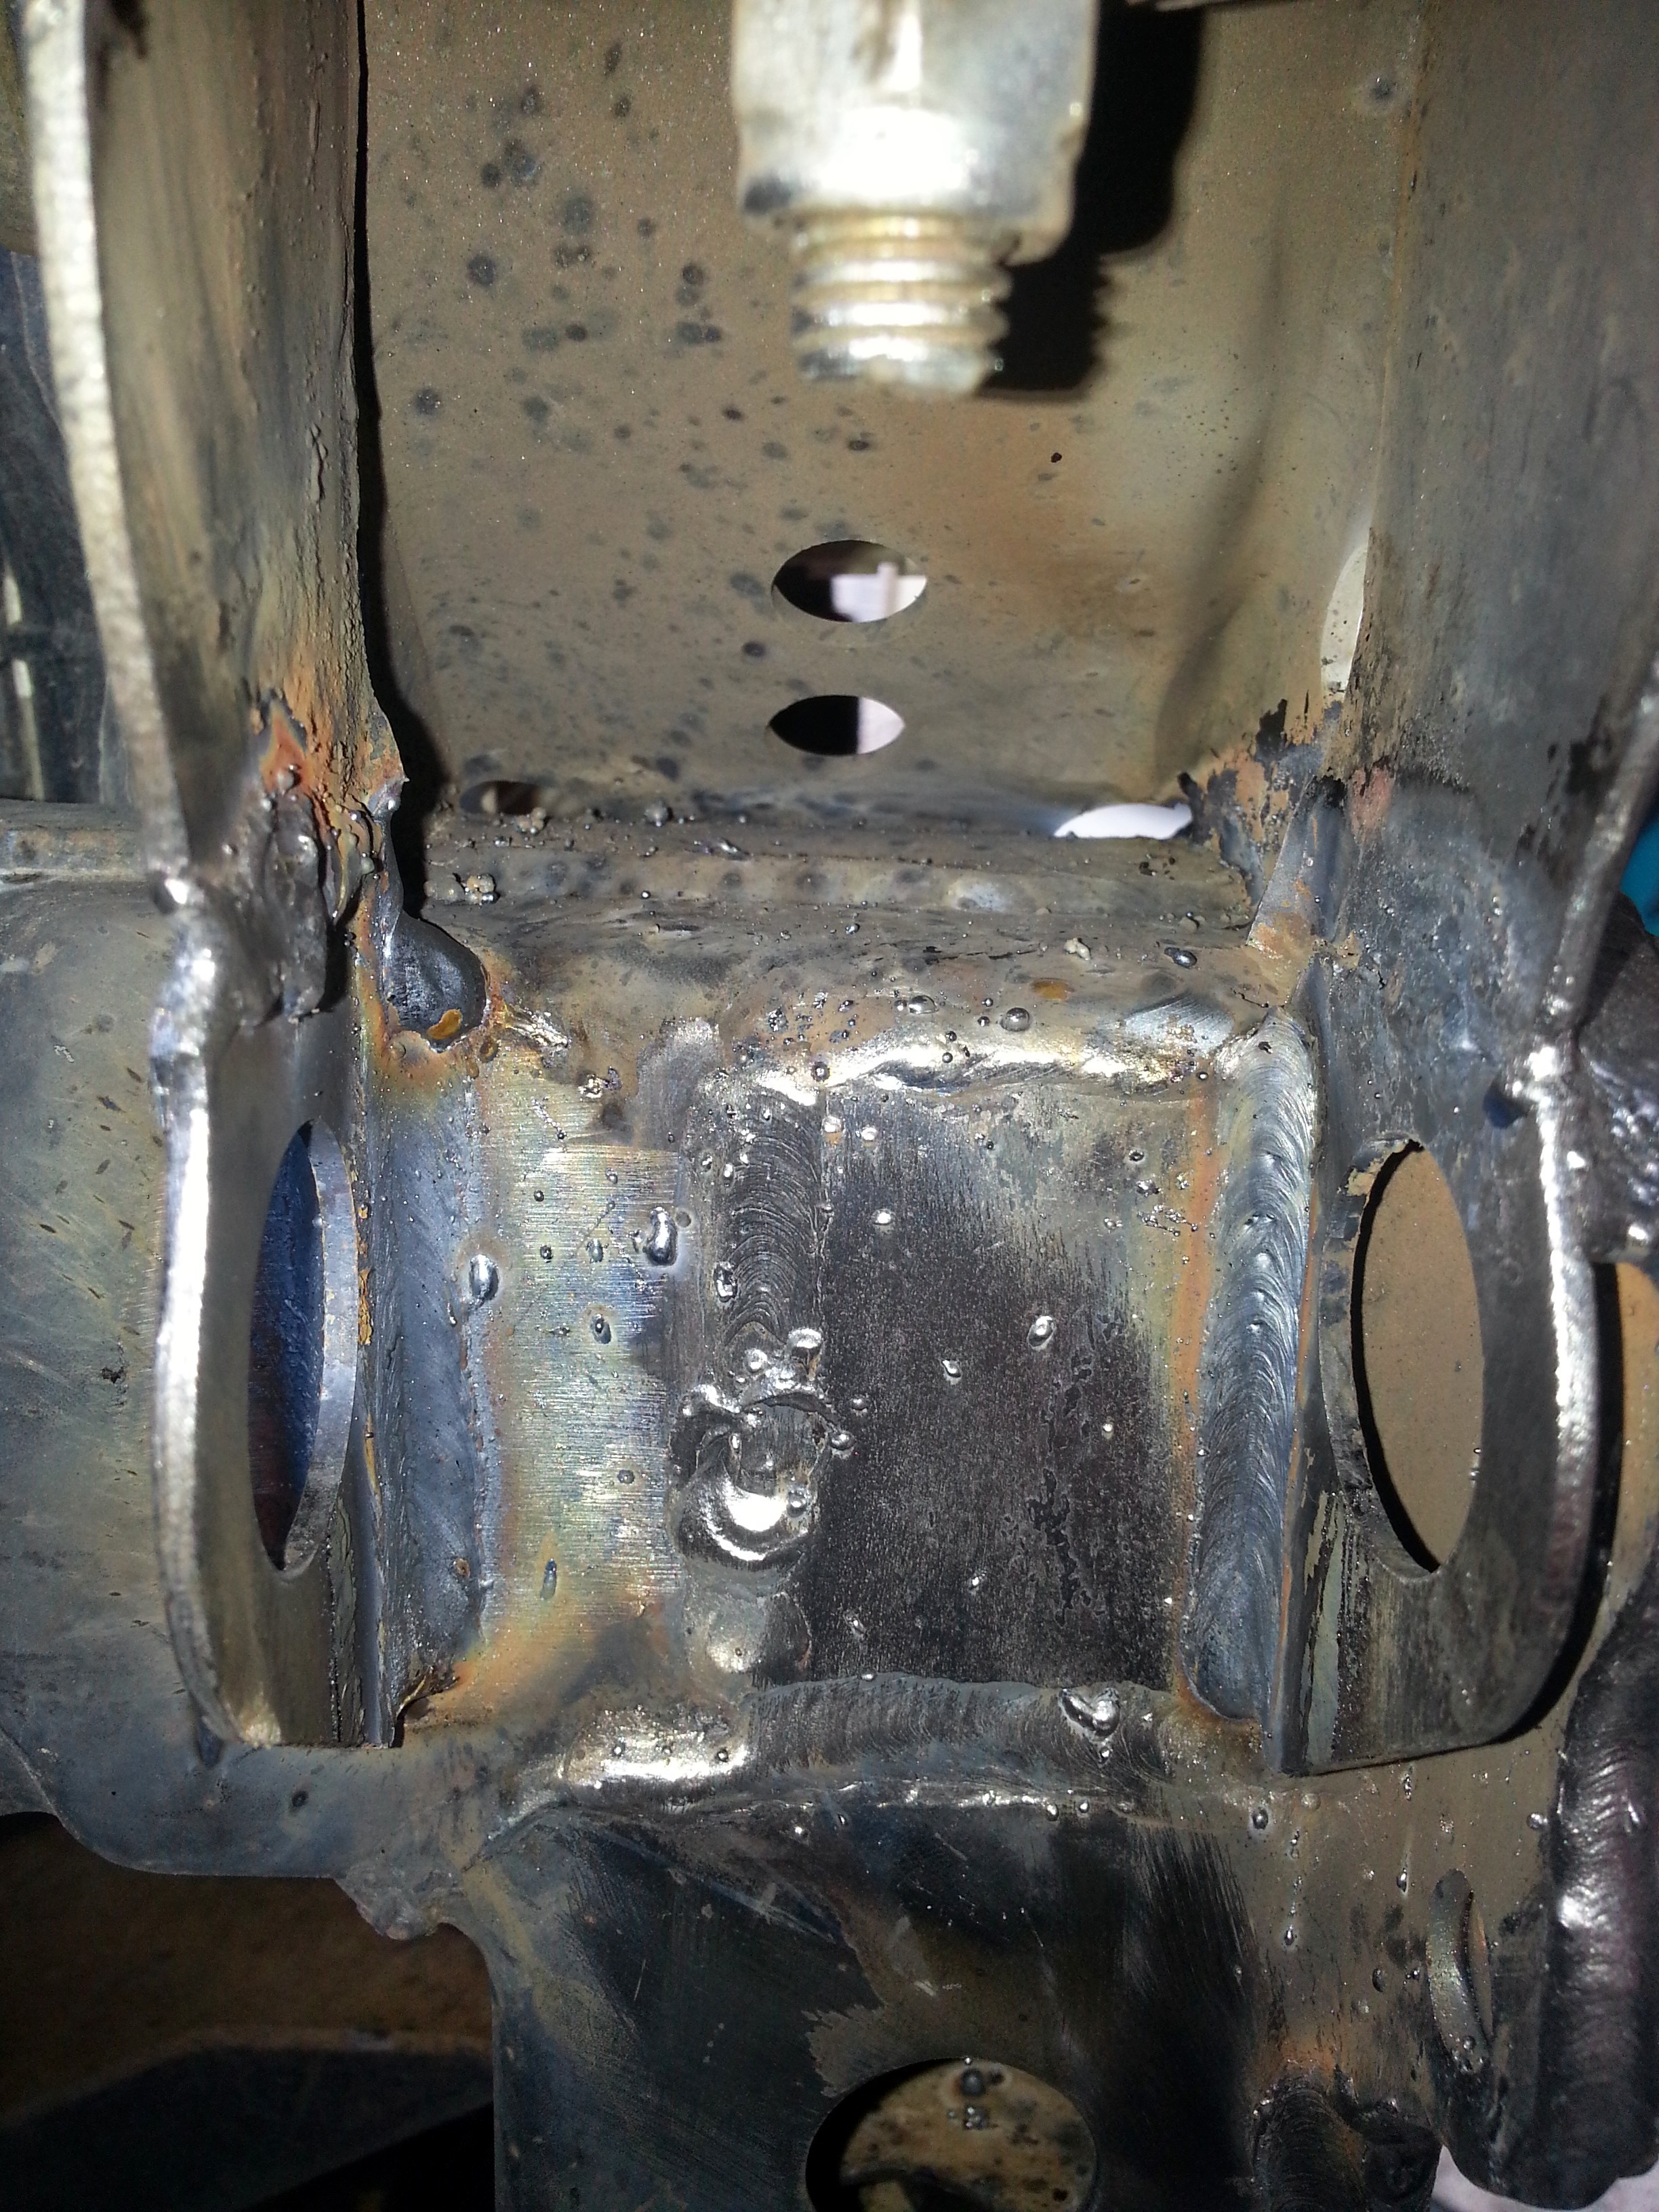
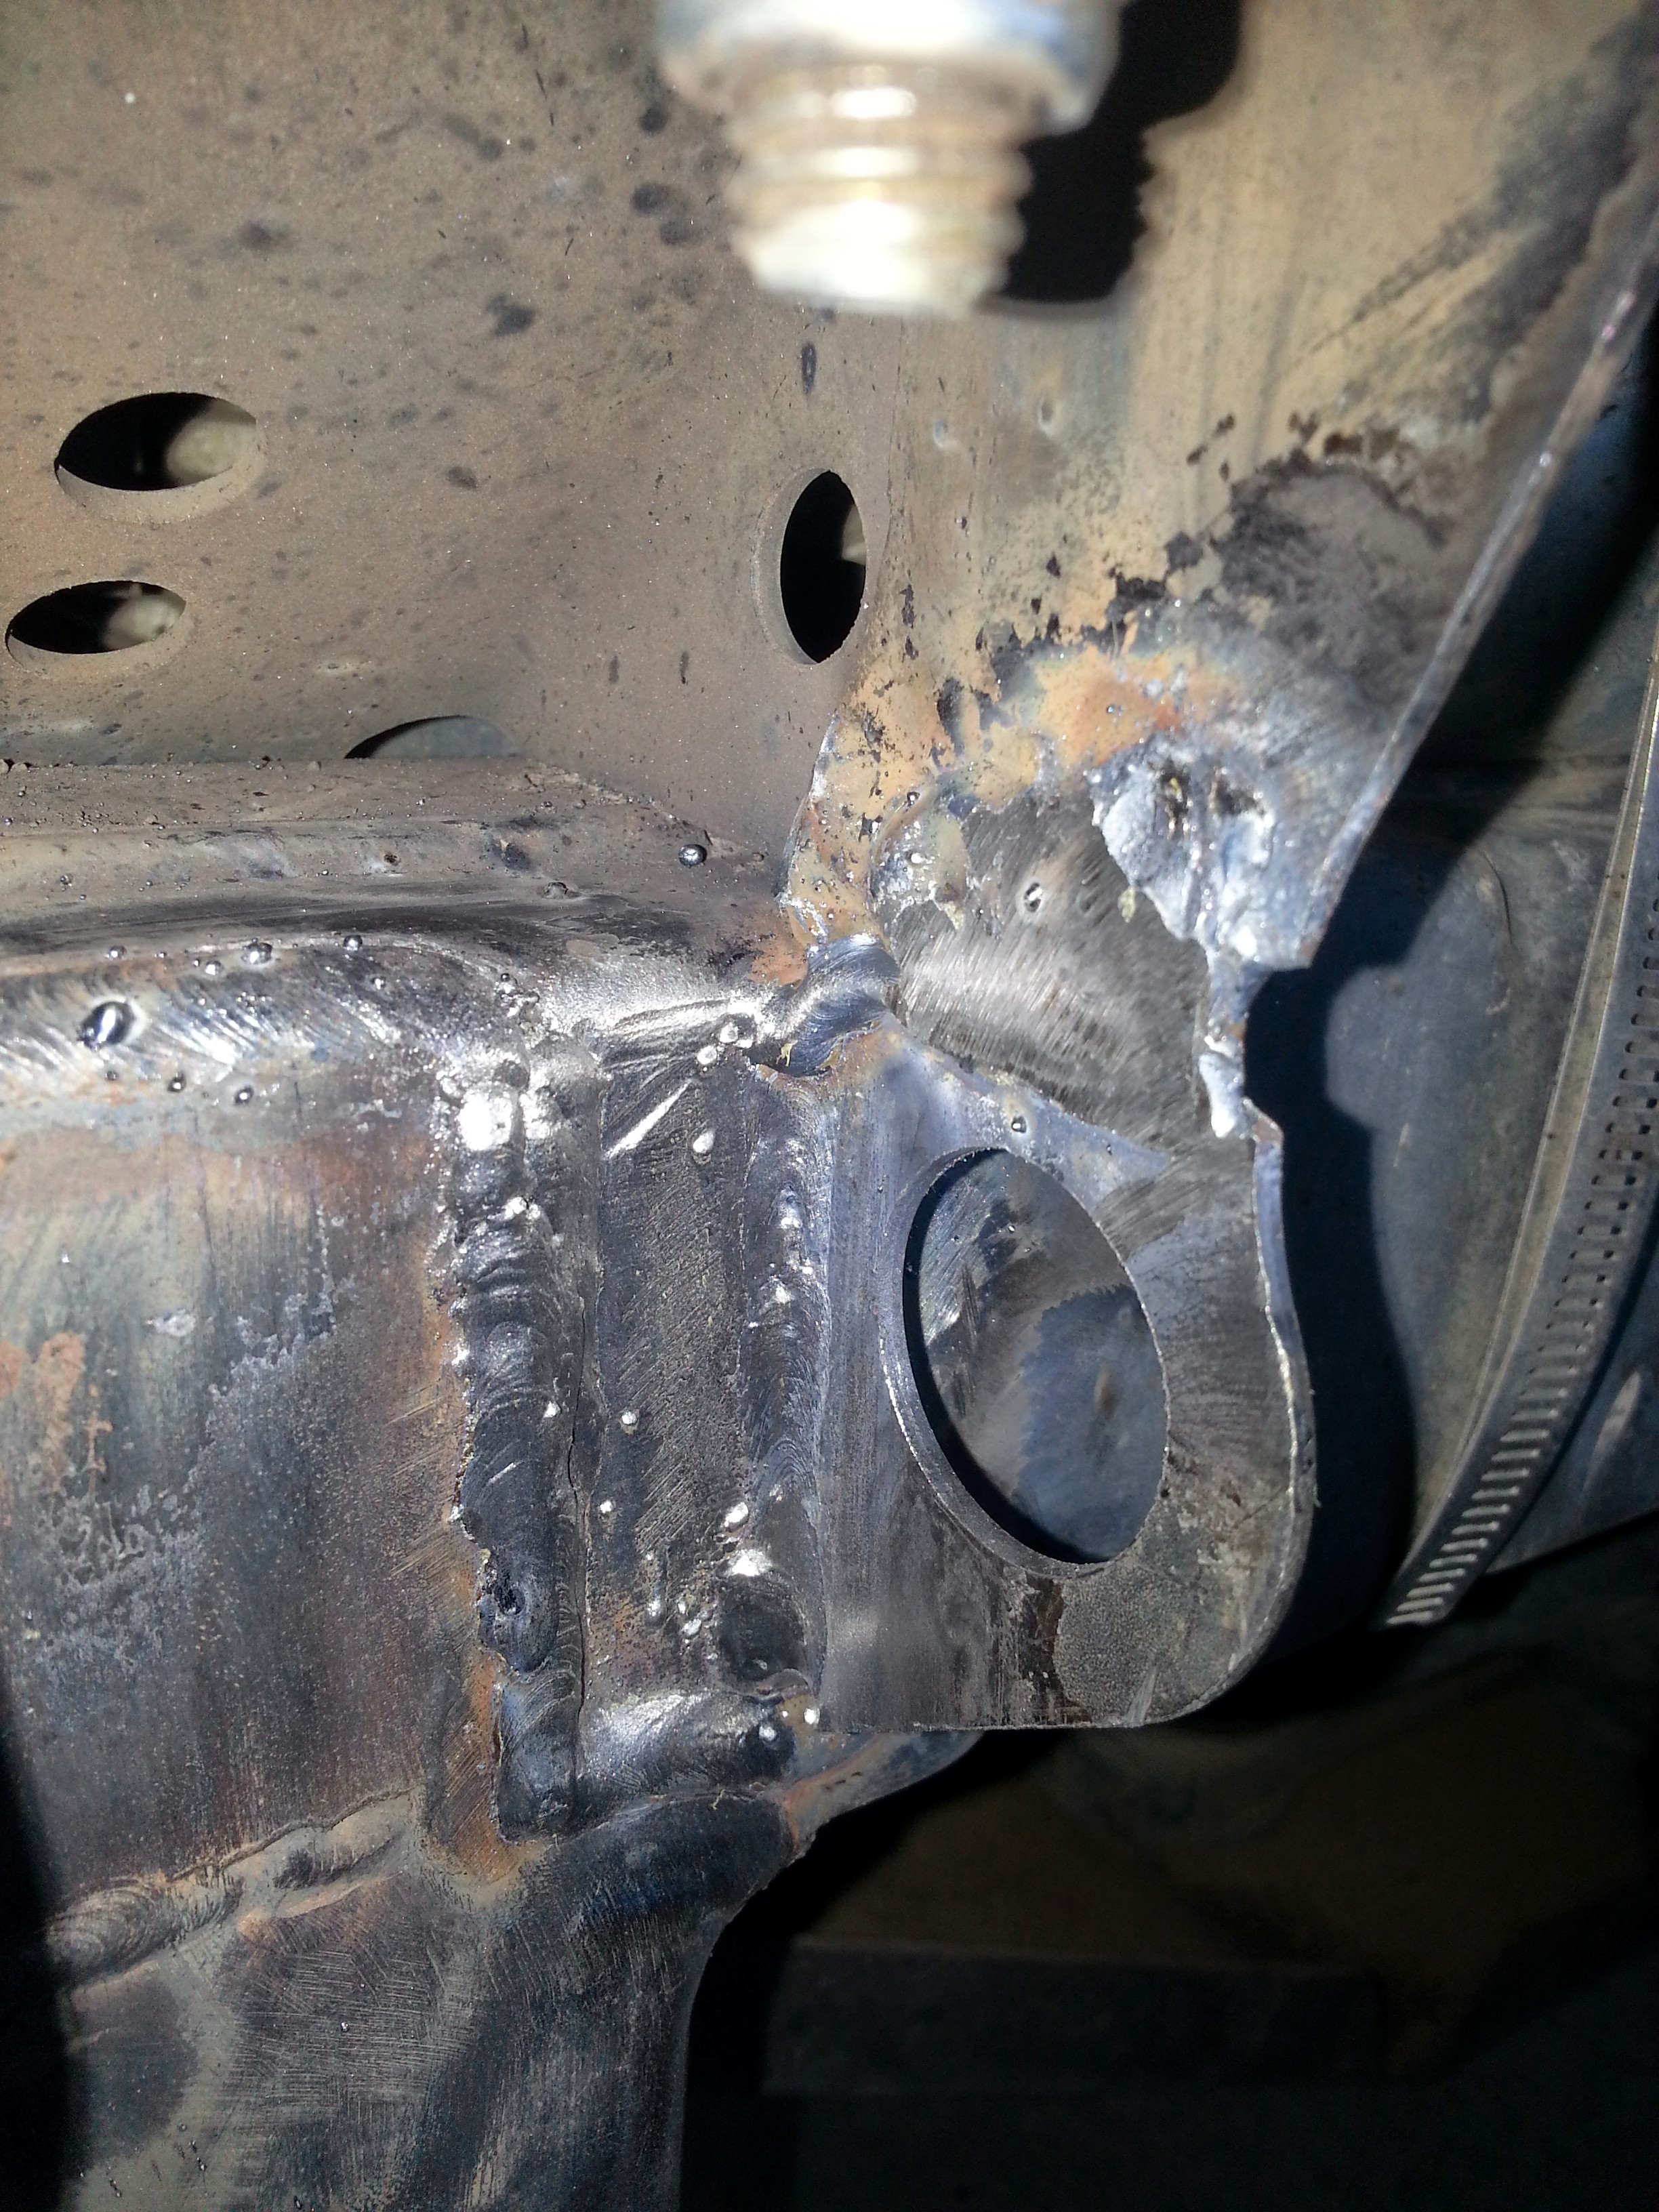
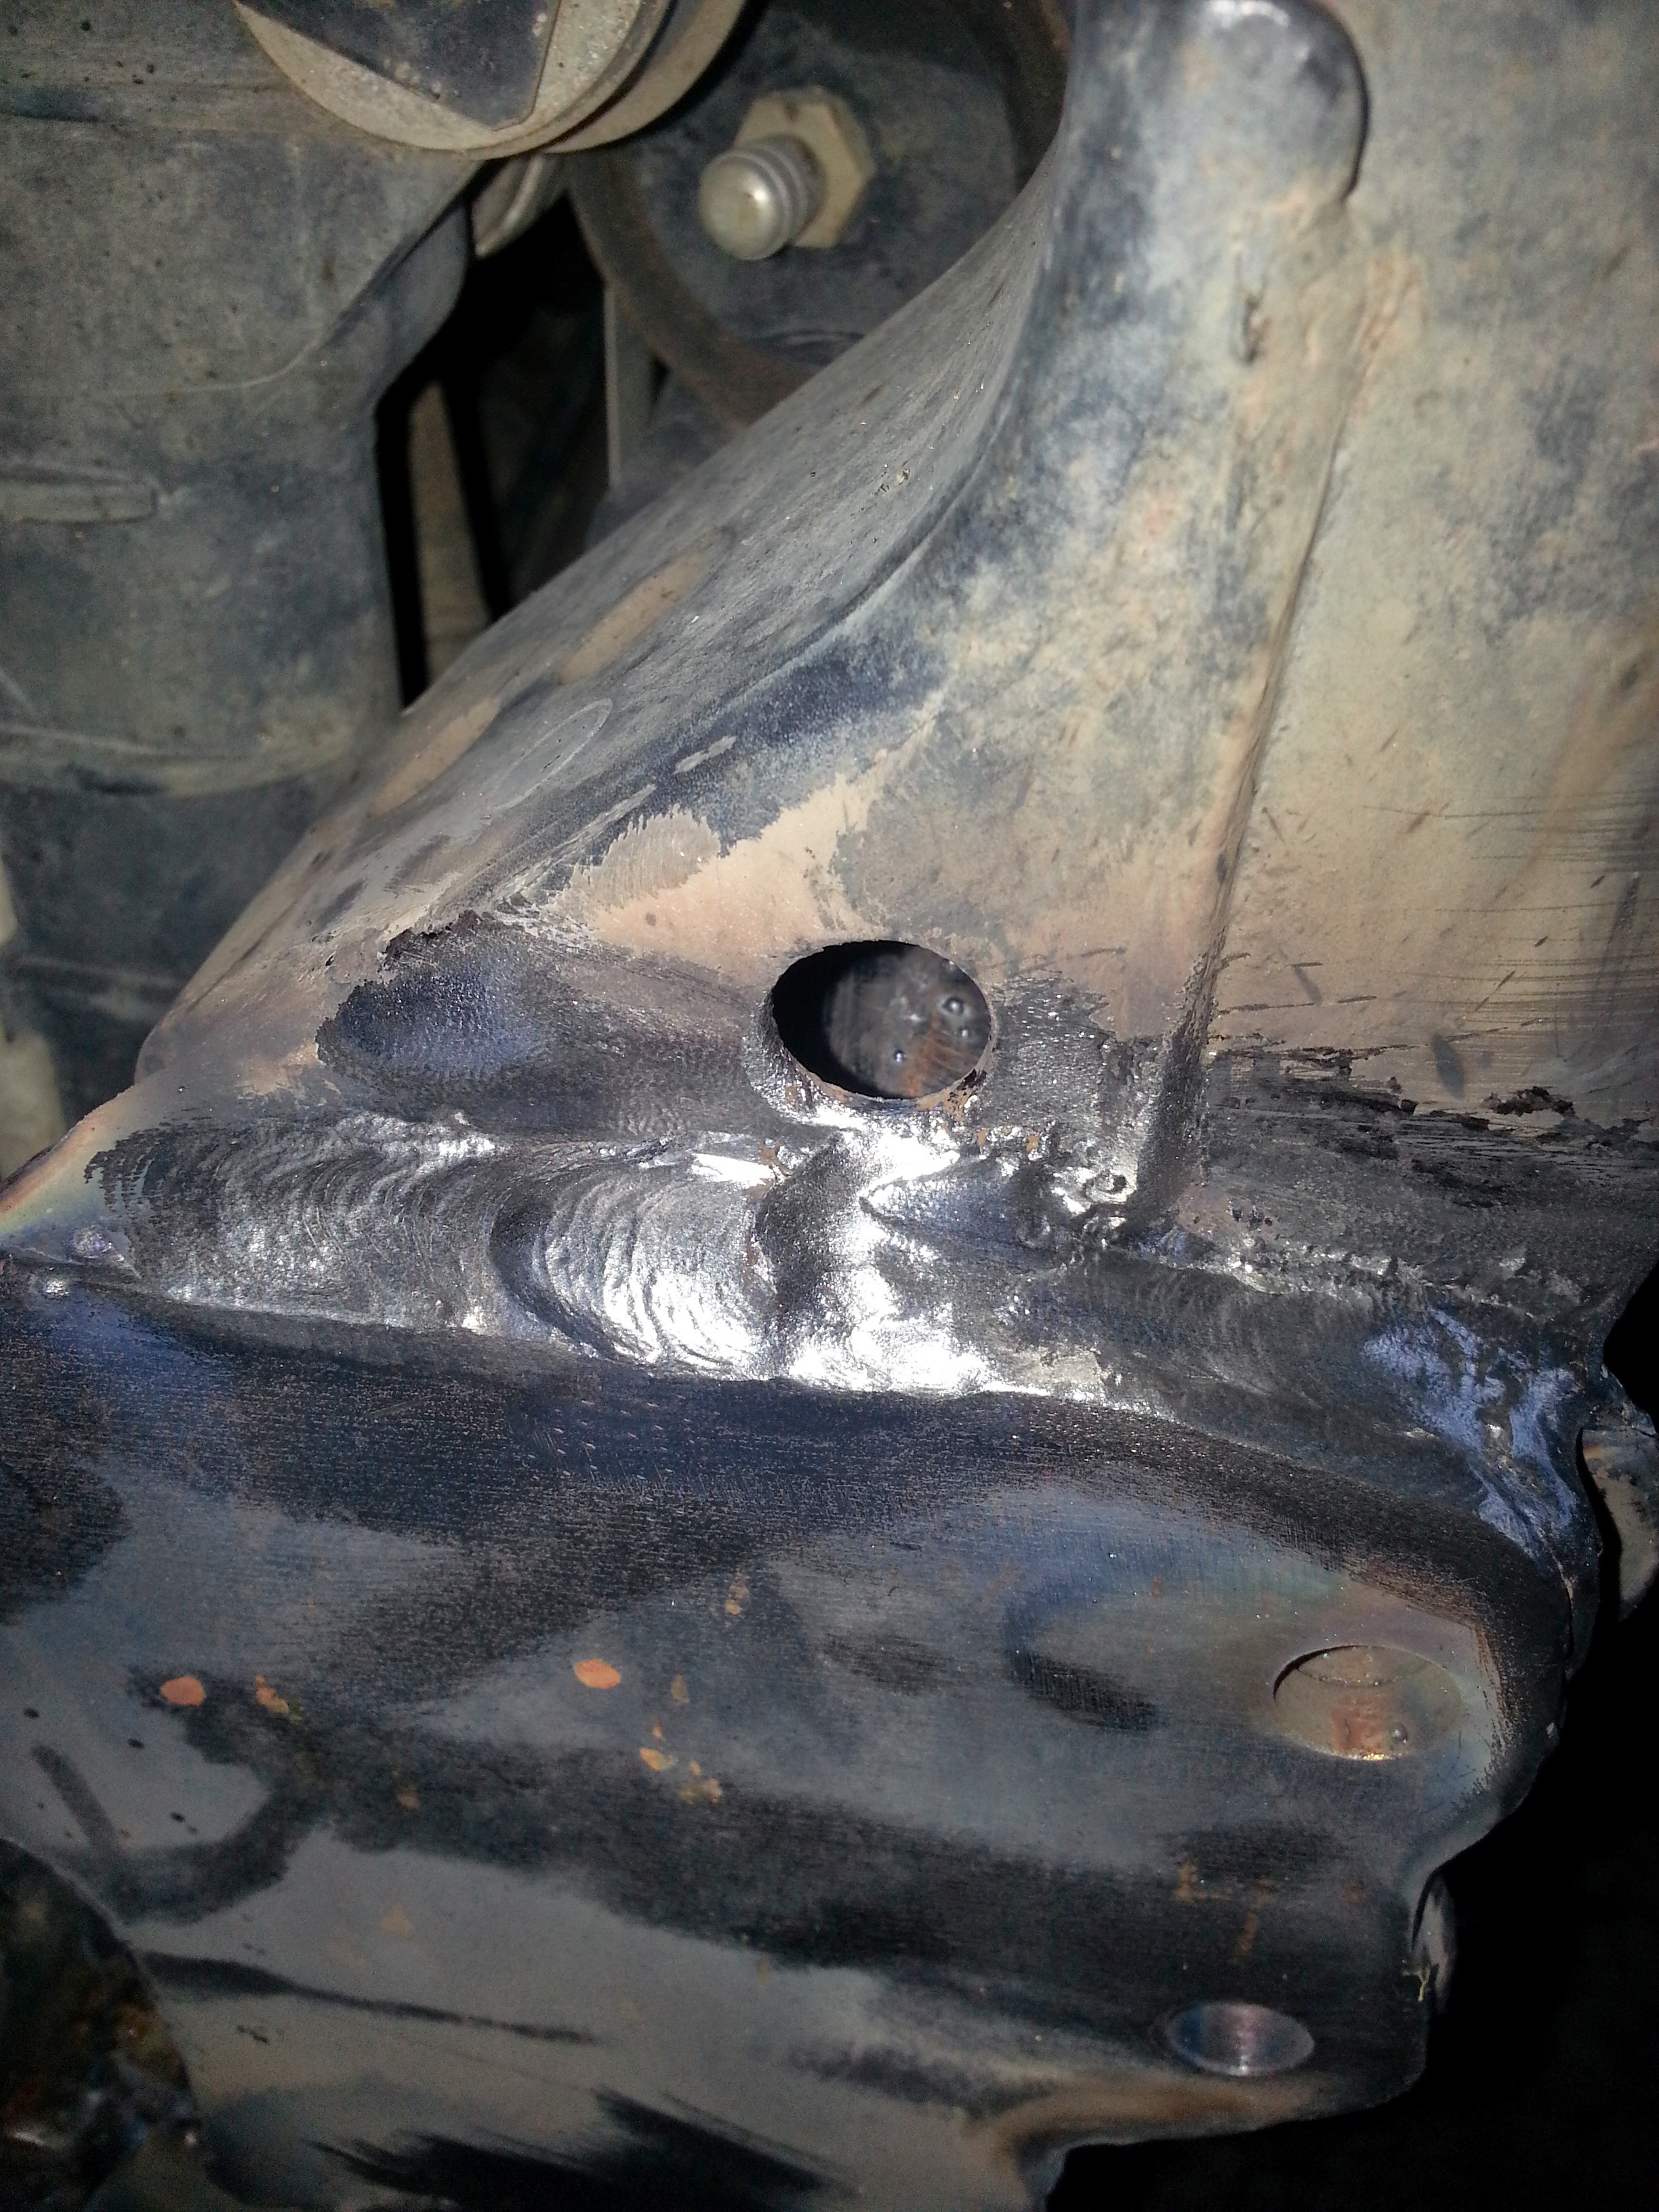
You're going to want to reinforce of replace the factory bumper mounting plates, a friend of mine almost pulled his off. Heres what I did to fix it.


Eventually we were going to replace the lower cross brace with 2x4x.25 wall tubing and add bumper mounts off that as well
 

Red Beard

Rank V
Launch Member

Traveler I

1,836
Mexia, Texas
Member #

6543

You're going to want to reinforce of replace the factory bumper mounting plates, a friend of mine almost pulled his off. Heres what I did to fix it.


Eventually we were going to replace the lower cross brace with 2x4x.25 wall tubing and add bumper mounts off that as well
Thanks for the input. I built the winch mount for my old FJ as well and these chassis are no different from those as far as their need of strengthening. I have already made have plans for that. The reinforcements I am going to build are going to be a similar to a couple of the frame braces that are on the market now combined with some of my own touches. Liked sleeved holes through the frame and crumple zone reinforcement.
 
  • Like
Reactions: darthyota

Red Beard

Rank V
Launch Member

Traveler I

1,836
Mexia, Texas
Member #

6543

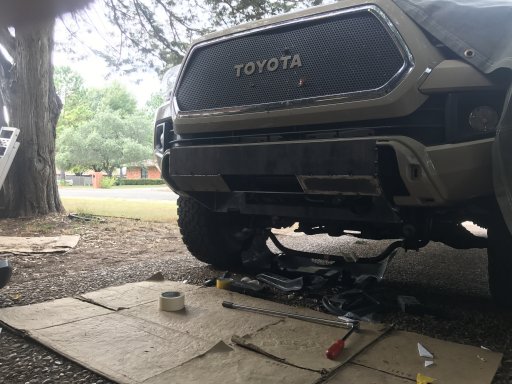
I am going to do my best to make this a no cut design on the plastic bumper cover (no promises) as well as making a small improvement on the approach angle. The lower valance should be the only part of the stock bumper that requires cutting. I plan on having a smooth transition from the bumper to the skids that will be built at a later date. I have already been able to avoid moving the power steering cooler from it's original location with plenty of clearance around it. Well it's almost 7am here and day light is burning so I better get to it.
 

Red Beard

Rank V
Launch Member

Traveler I

1,836
Mexia, Texas
Member #

6543

Getting closer...
IMG_4324.JPG

Cut 2" off the length of my truck and have picked up about 3* of approach angle.IMG_4326.JPG

IMG_4327.JPG
It is pretty heavy as it sets but I plan on cutting out some areas for access and to cut some weight.
 
Last edited:
  • Like
Reactions: Jimmy P

khorsa

Rank III

Advocate II

626
michigan
Great looking work. And your wife is awesome, "go buy your truck." As awesome as my wife who two weeks ago said, "Buy your jeep honey." How could I say no?
 
  • Like
Reactions: Red Beard

Red Beard

Rank V
Launch Member

Traveler I

1,836
Mexia, Texas
Member #

6543

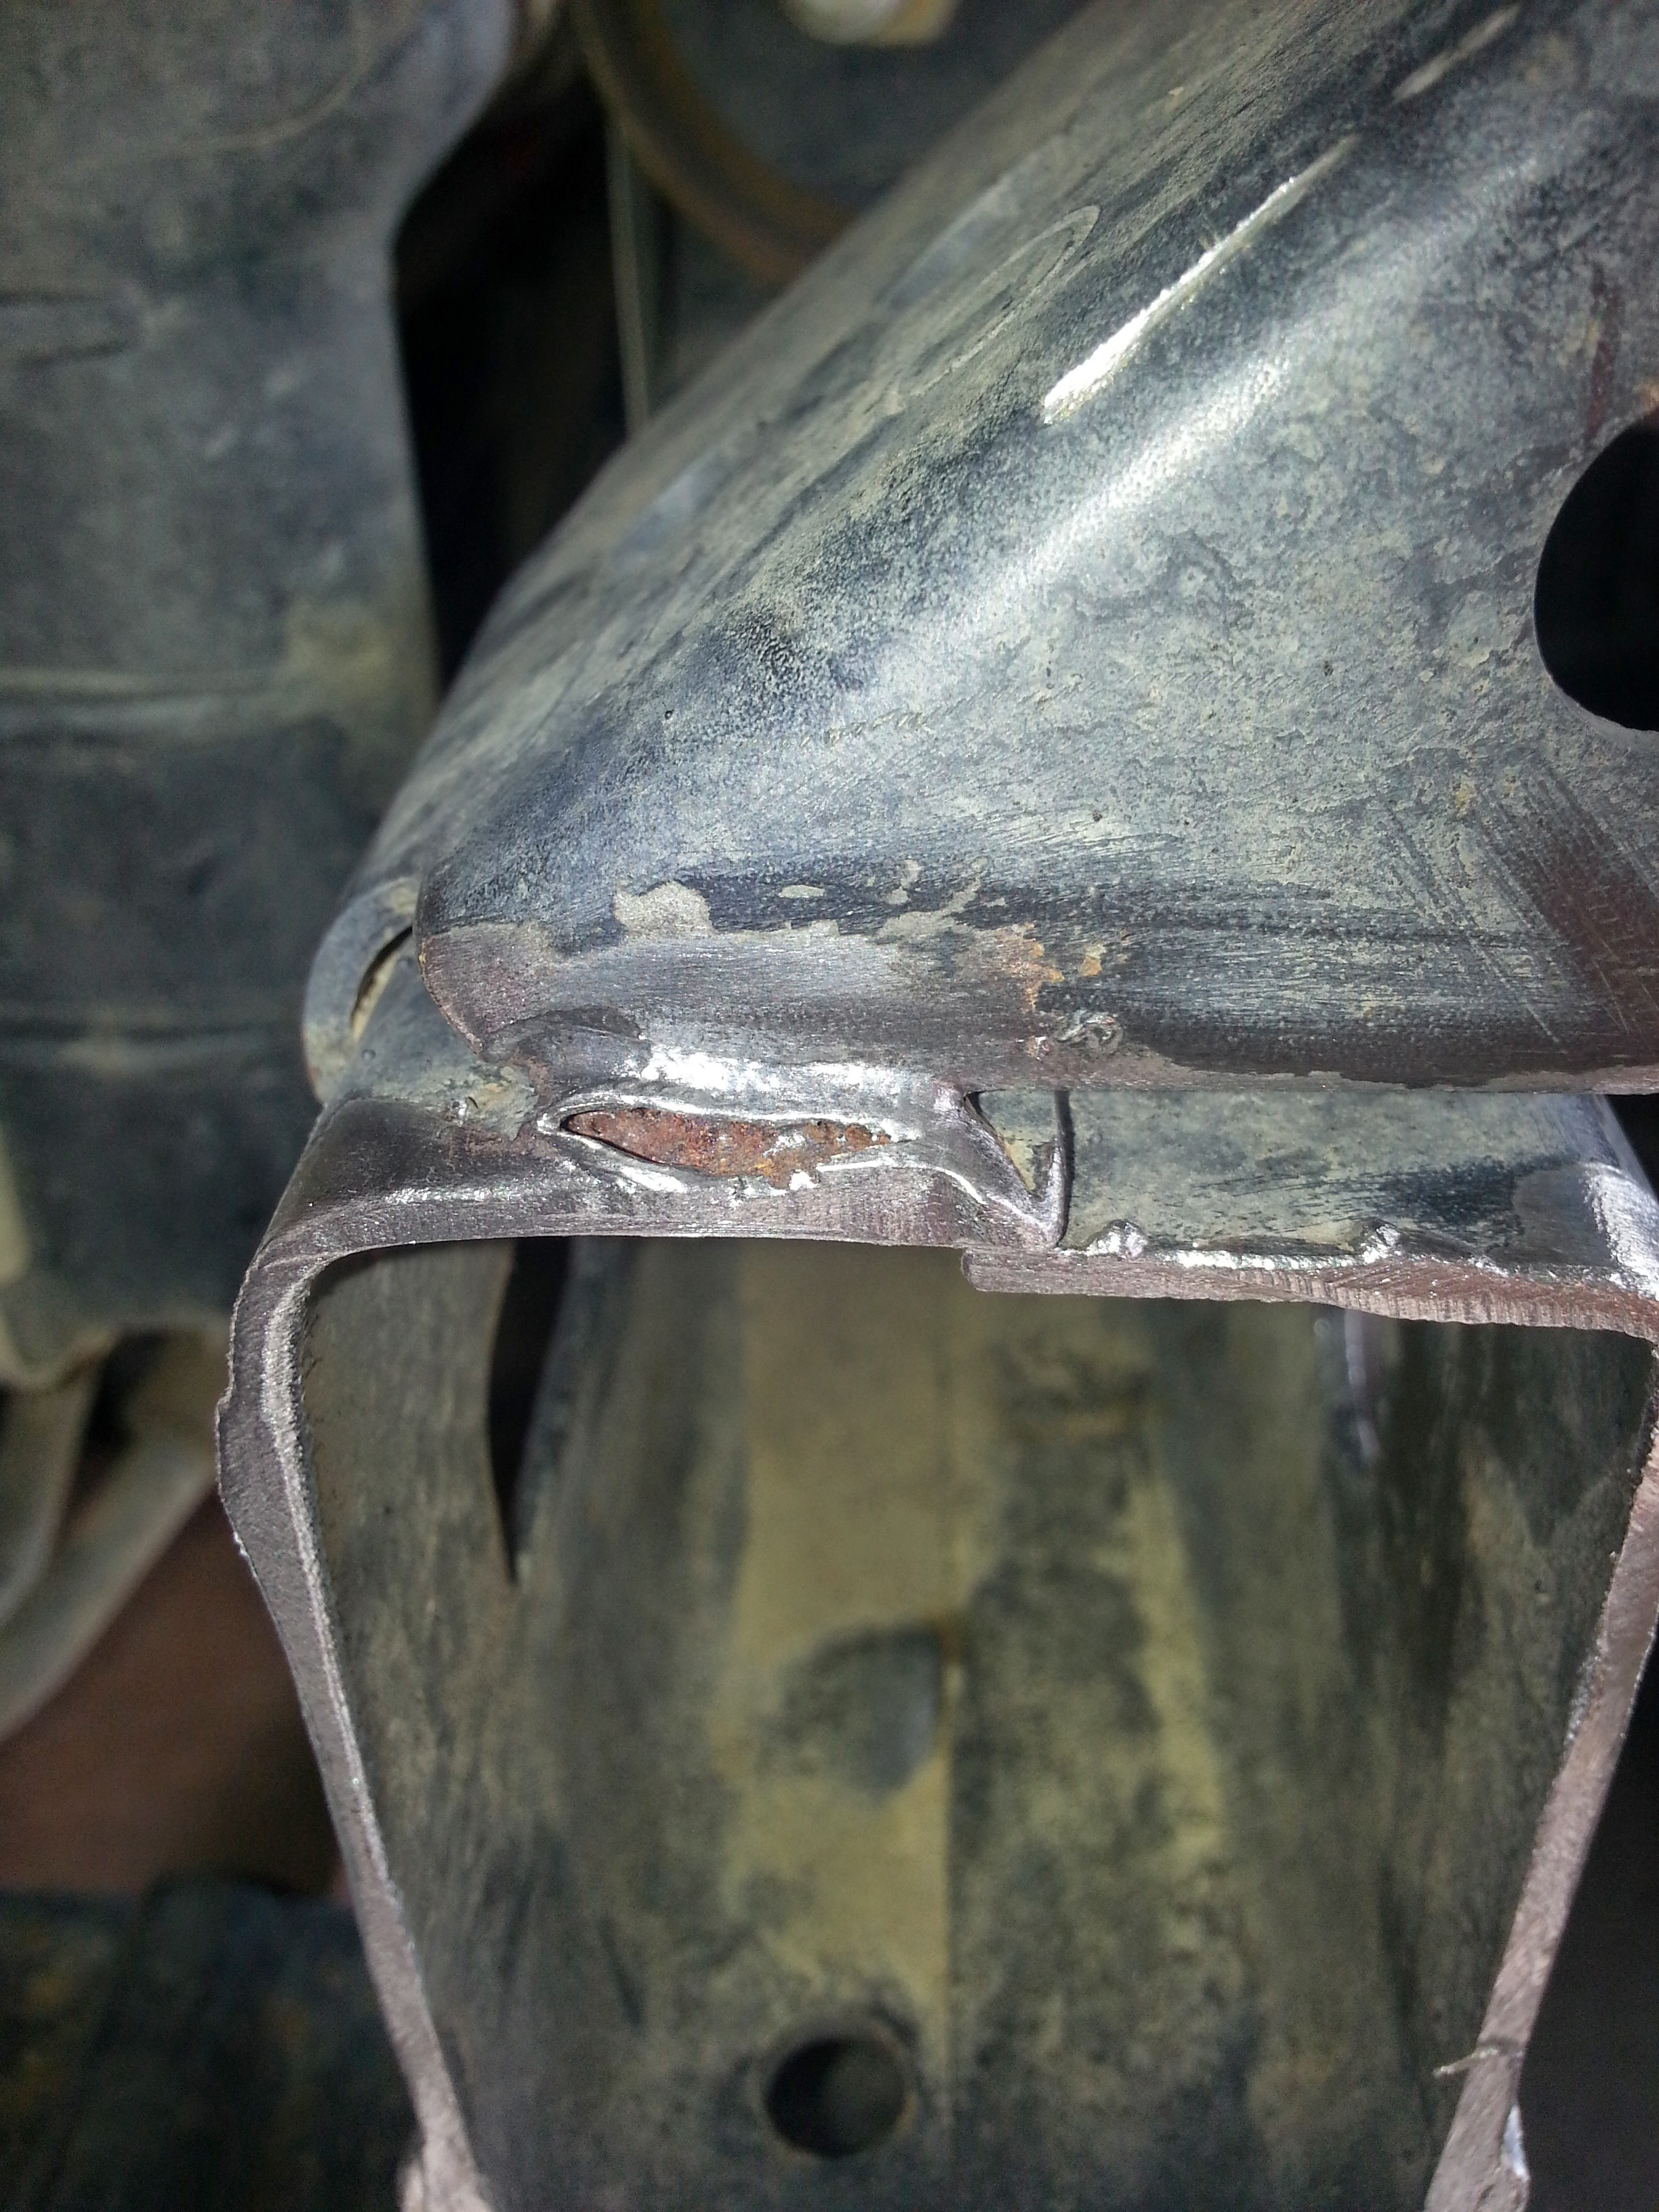
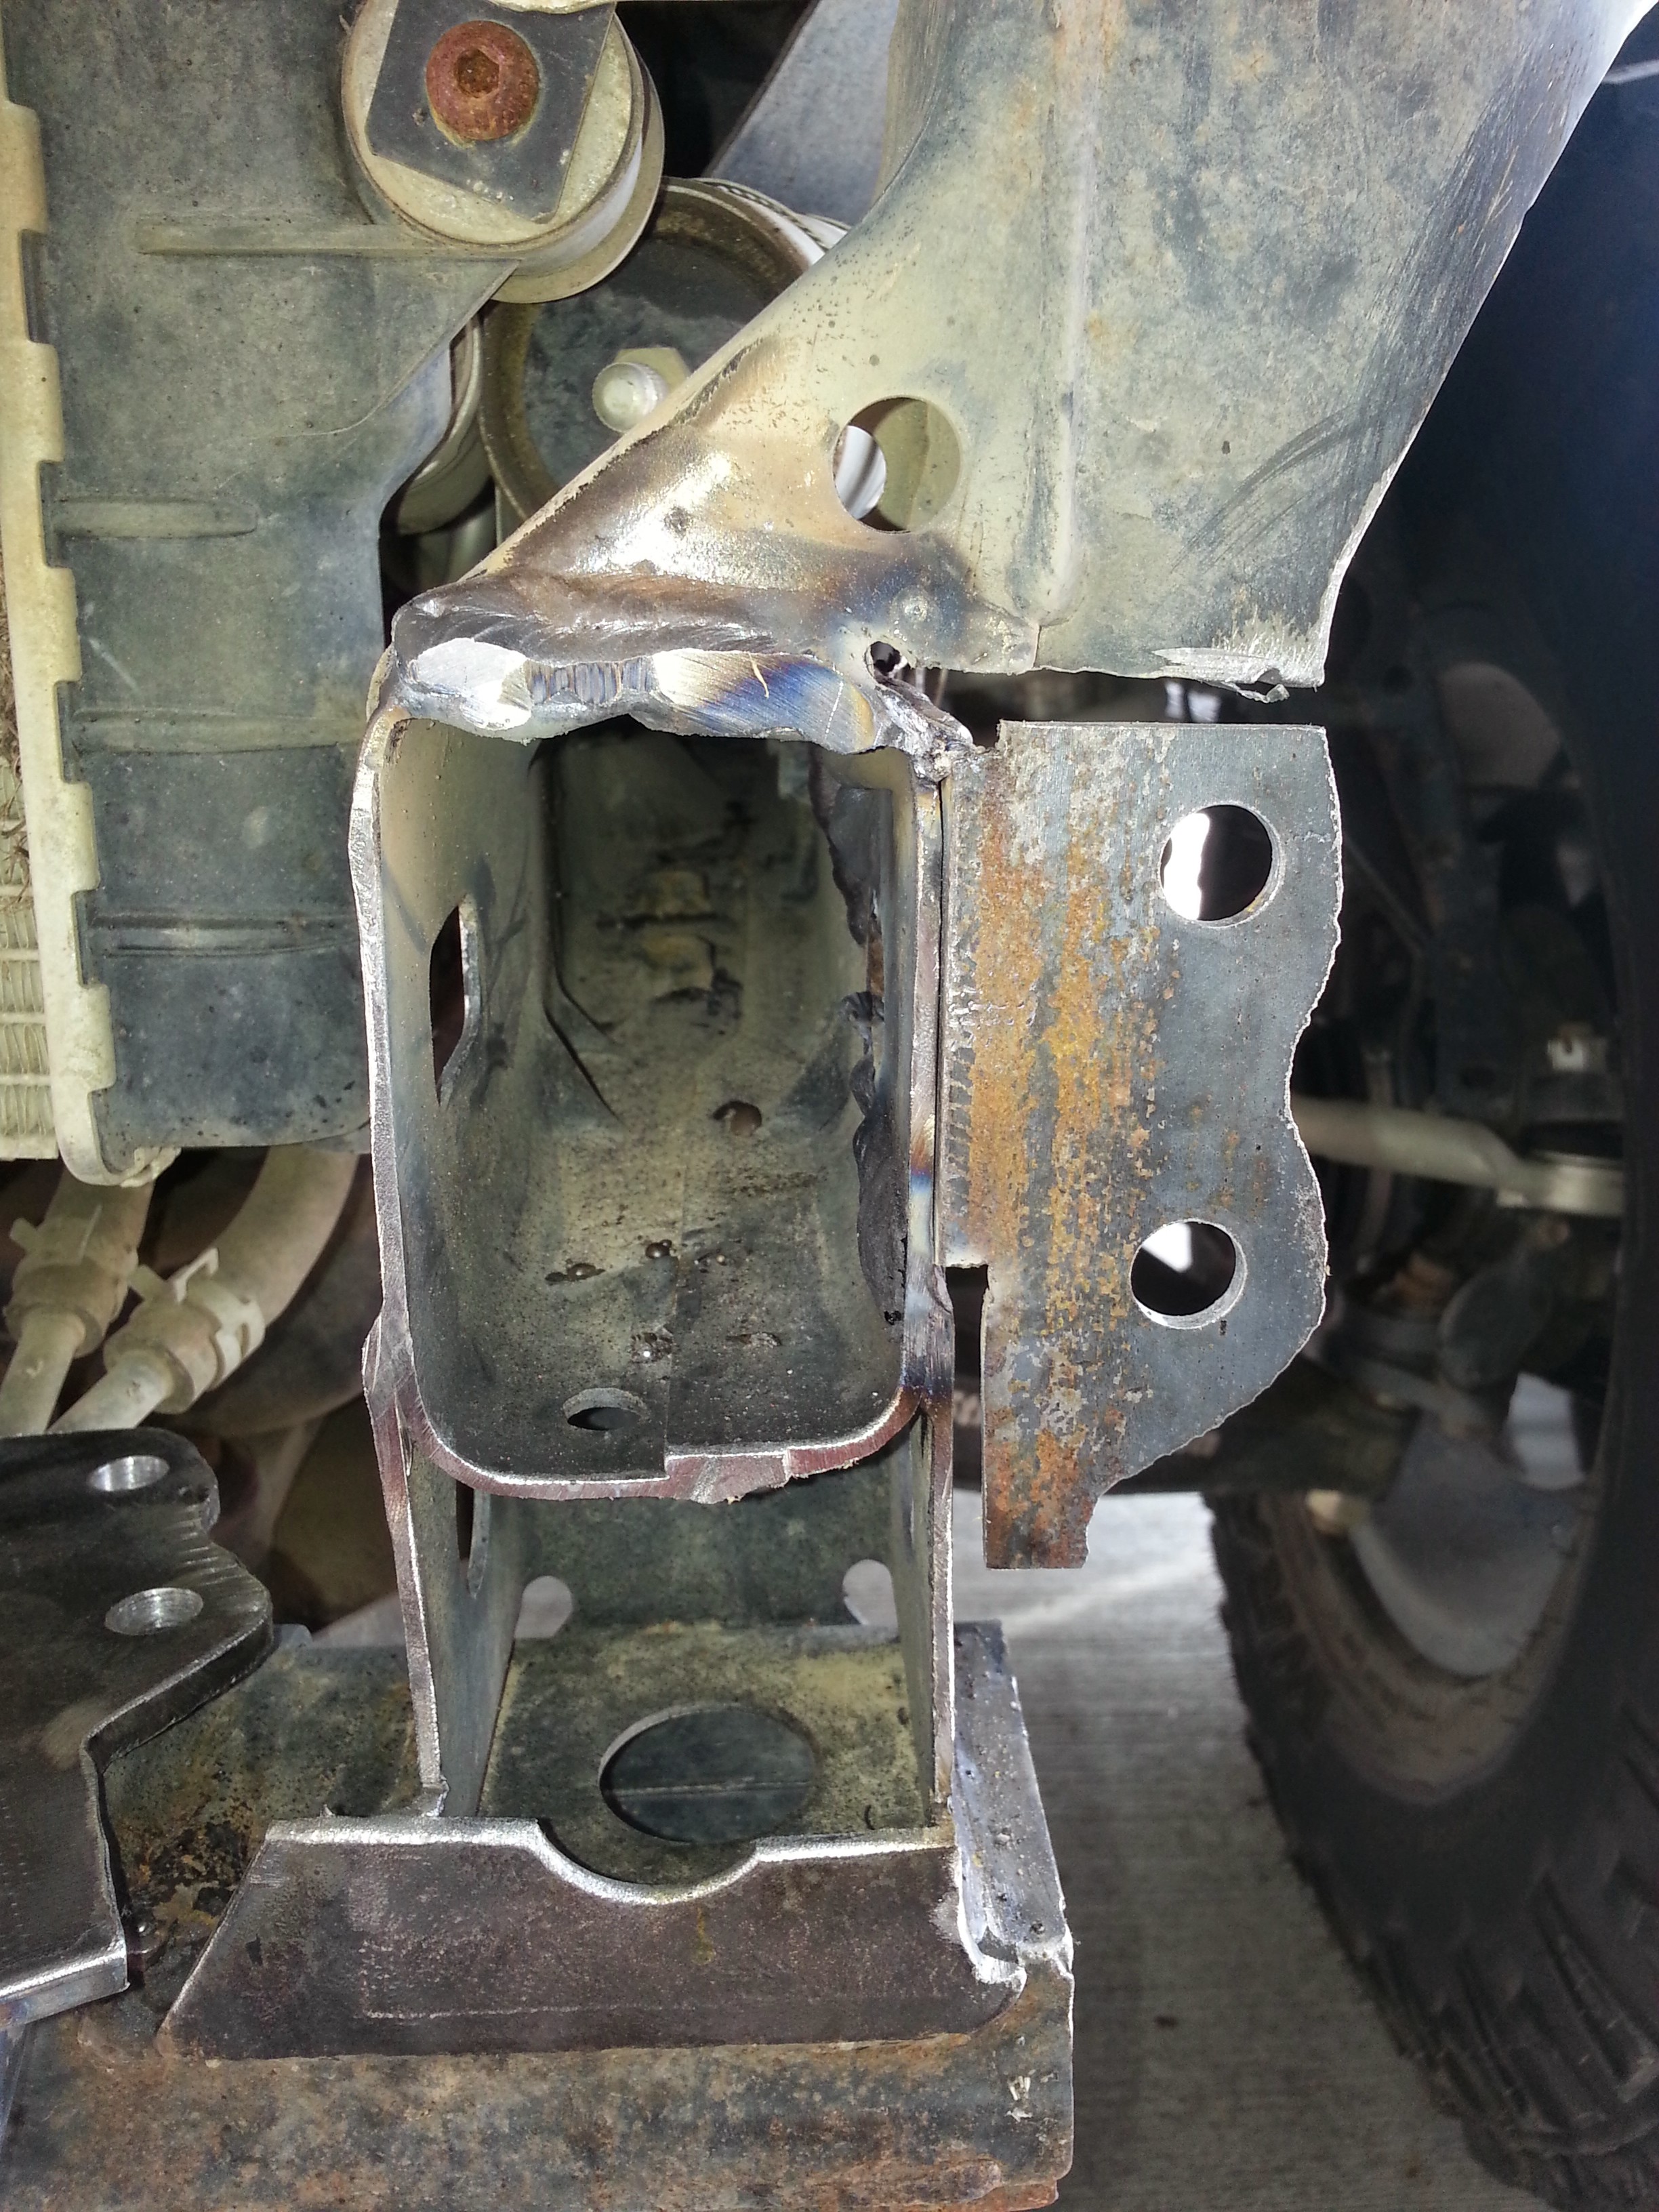
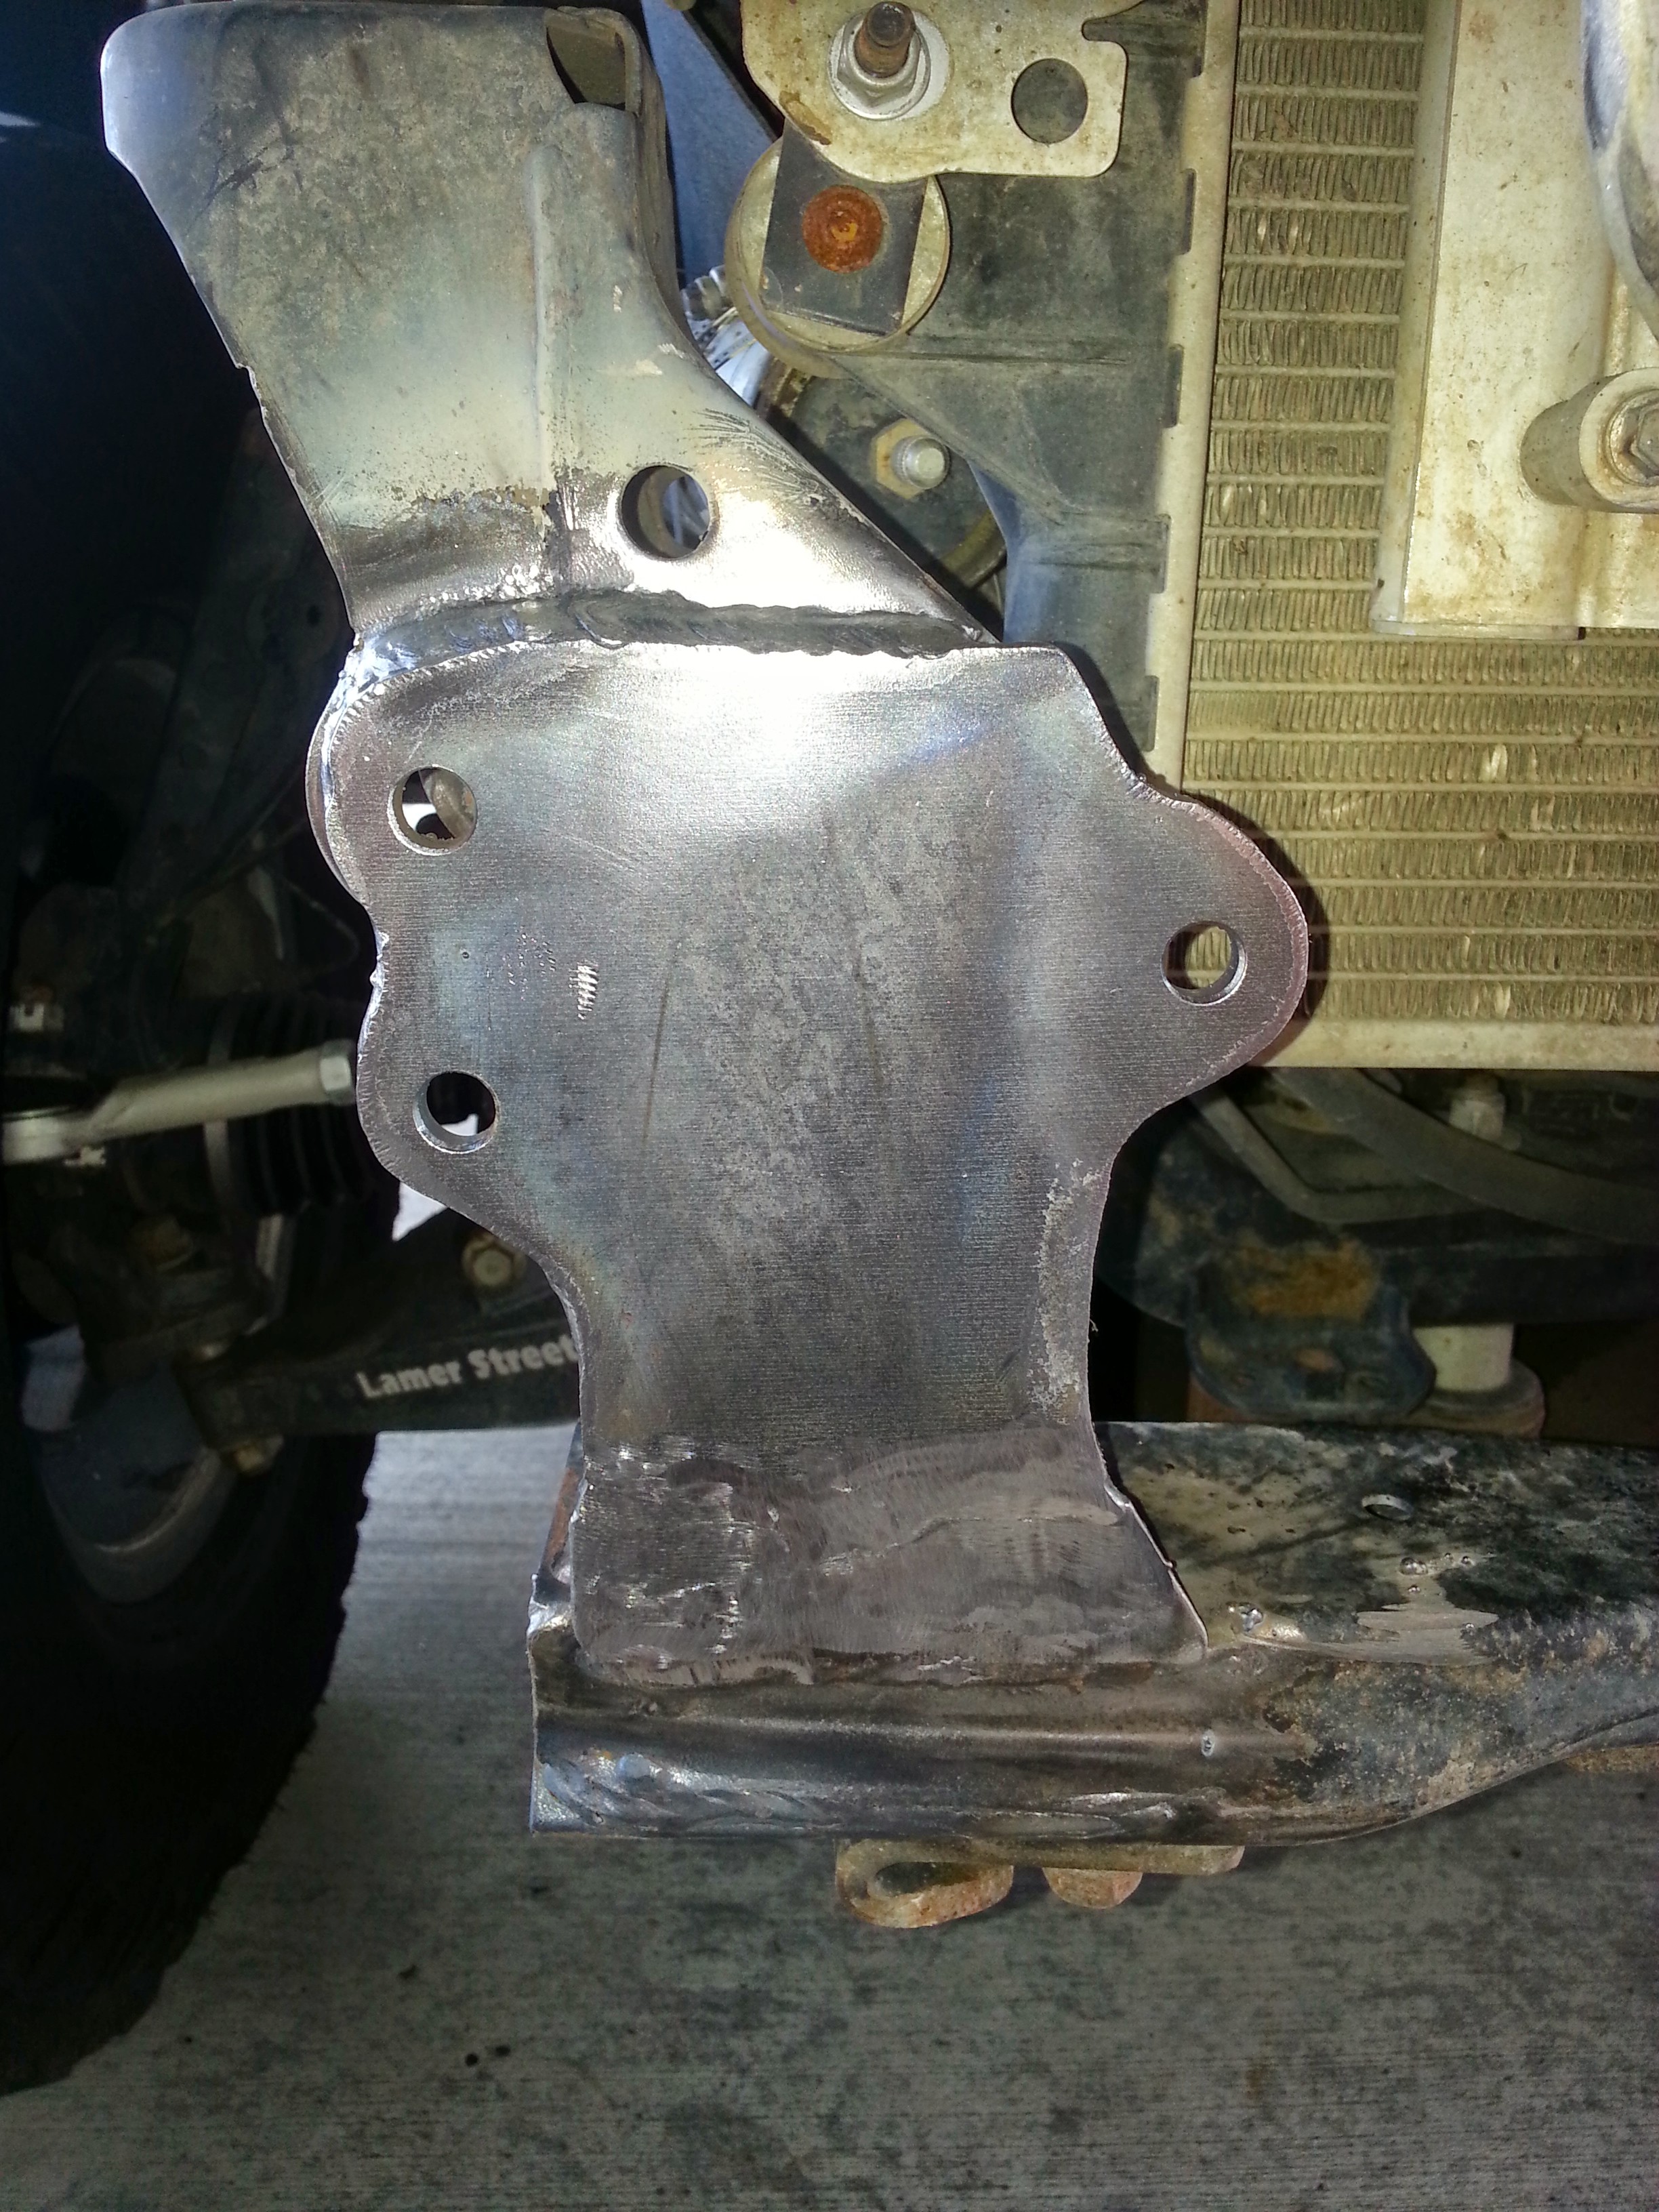
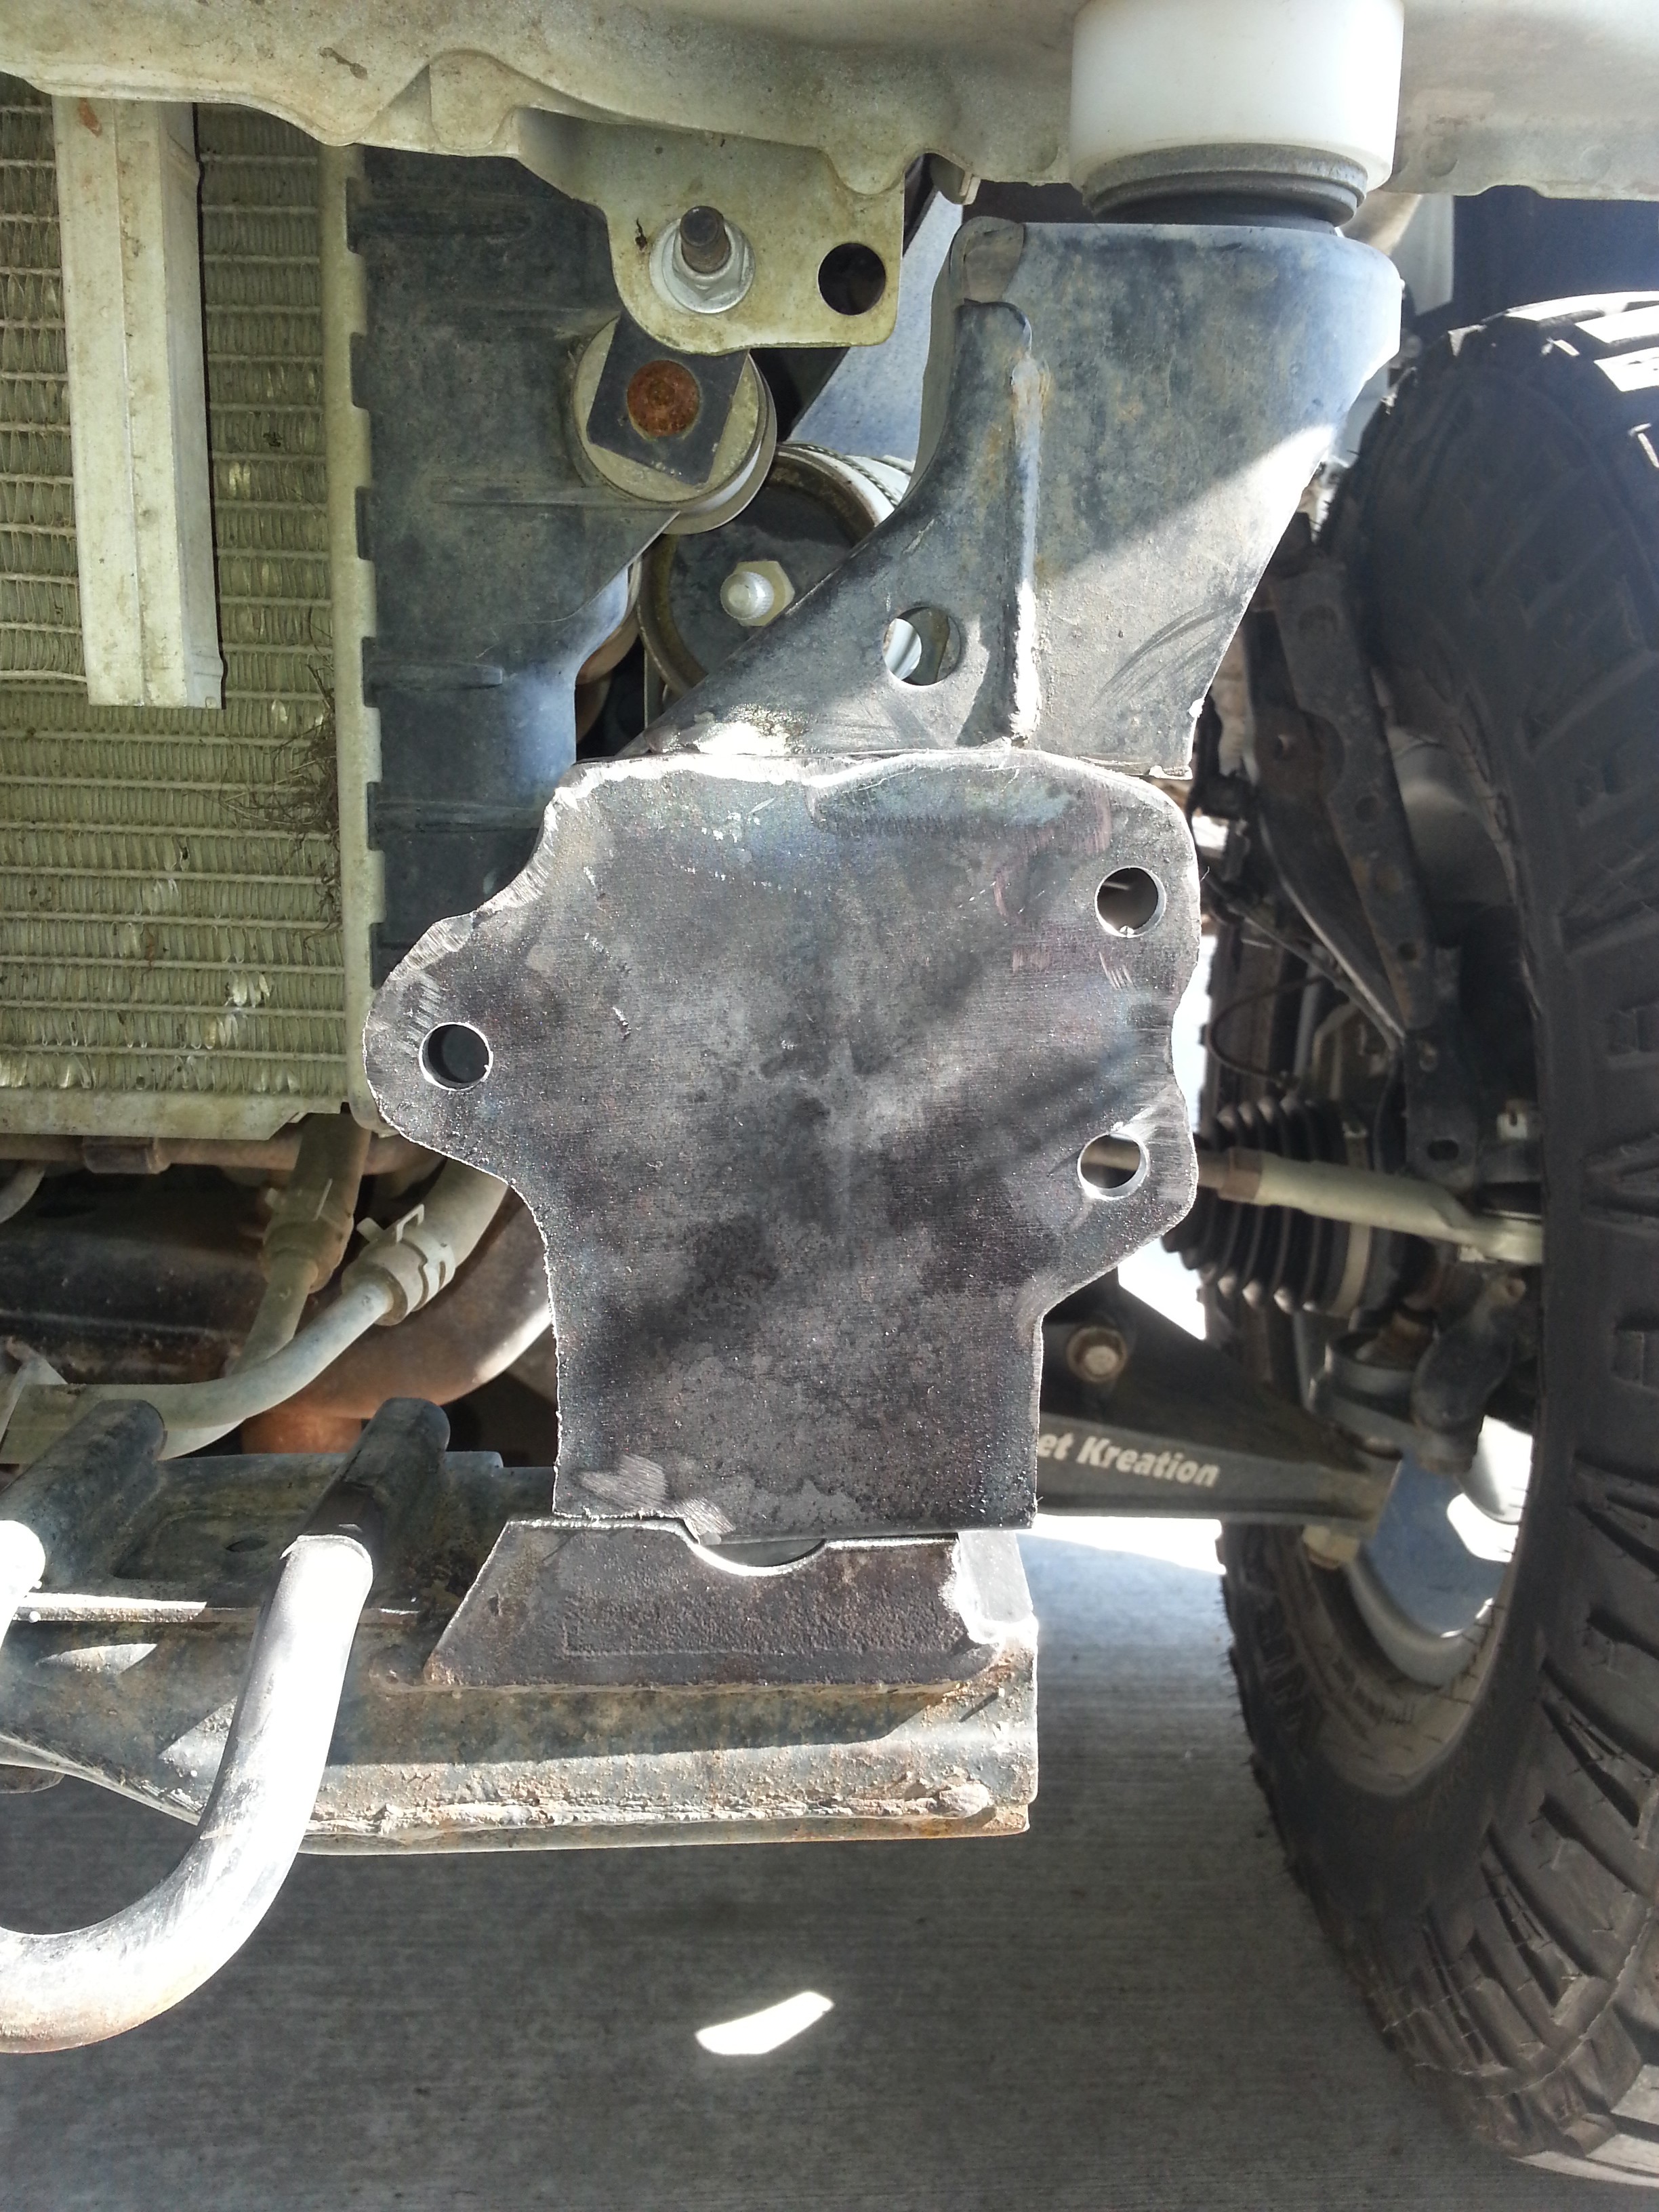
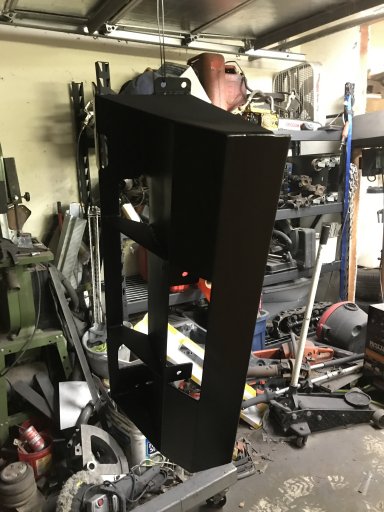
Ok I have the 95% of the bumper fab work done. The only thing left is the second set of frame braces but they are going to have to wait till I build my skids. What I have now is probably more than 75% of the Tacoma bumpers out there have. The frame braces are painted and installed. The bumper is hanging from my engine hoist with the paint drying. I'm taking a break from cleaning up my mucking fess I have made. Any who y'all don't wanna read all this crap so here is some pics.
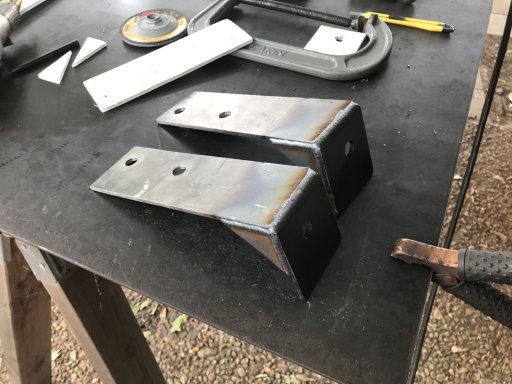
IMG_4336.JPG
Lower frame braces welded out.IMG_4342.JPG
Painted and installed.

IMG_4339.JPG
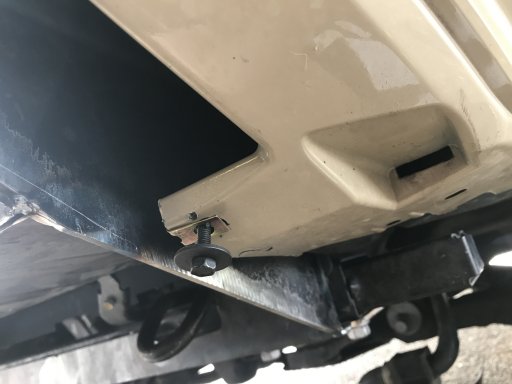
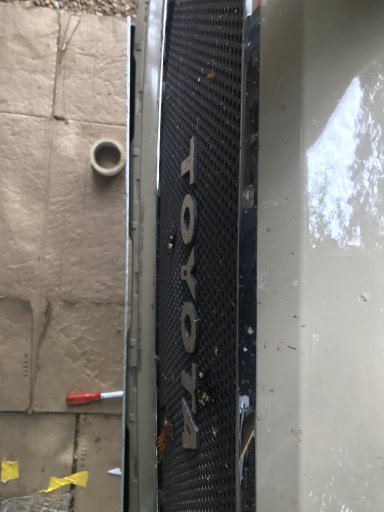
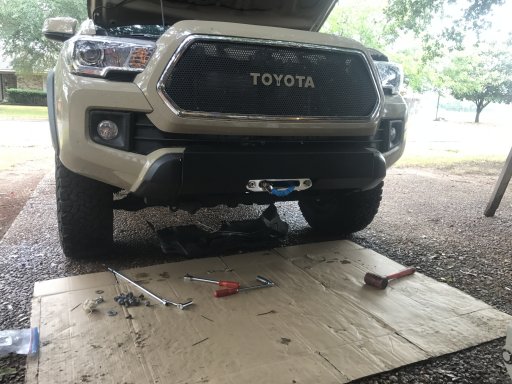
I reused the outer 6" or so of the lower valance. The clips that hold them on are part of what was damaged when I hit the coyote so I added a body bolt and Jclip to the edge of the bumper cover to hold them on now. This location sucks the valance pieces up close so no gap around the outer edges.
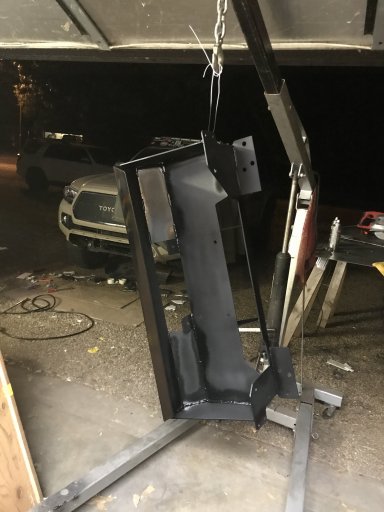
IMG_4340.JPG IMG_4341.JPG
There you have it one painted bumper/winch carrier hanging from a hoist with wet paint on it.
Pay no attention to the mell of a hess you see in the background. It has been a busy last few months.
 
  • Like
Reactions: Jimmy P

Red Beard

Rank V
Launch Member

Traveler I

1,836
Mexia, Texas
Member #

6543

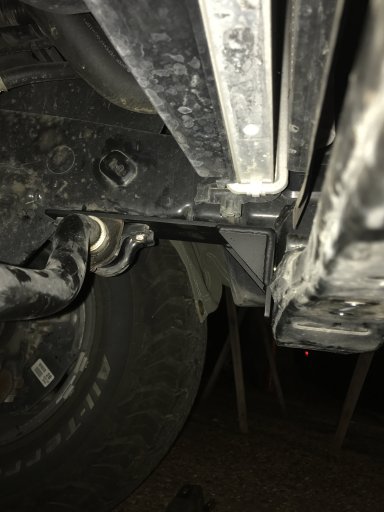
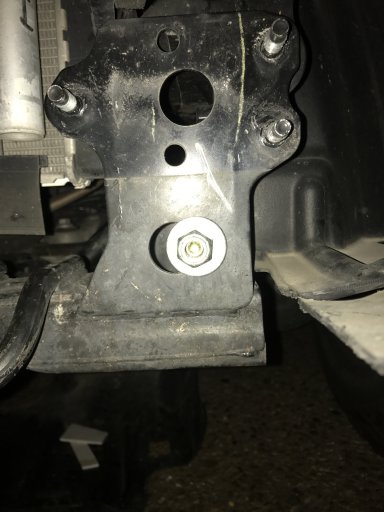
So where all do your reinforcements tie into?
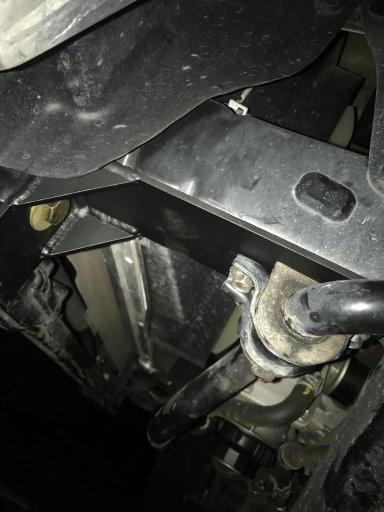
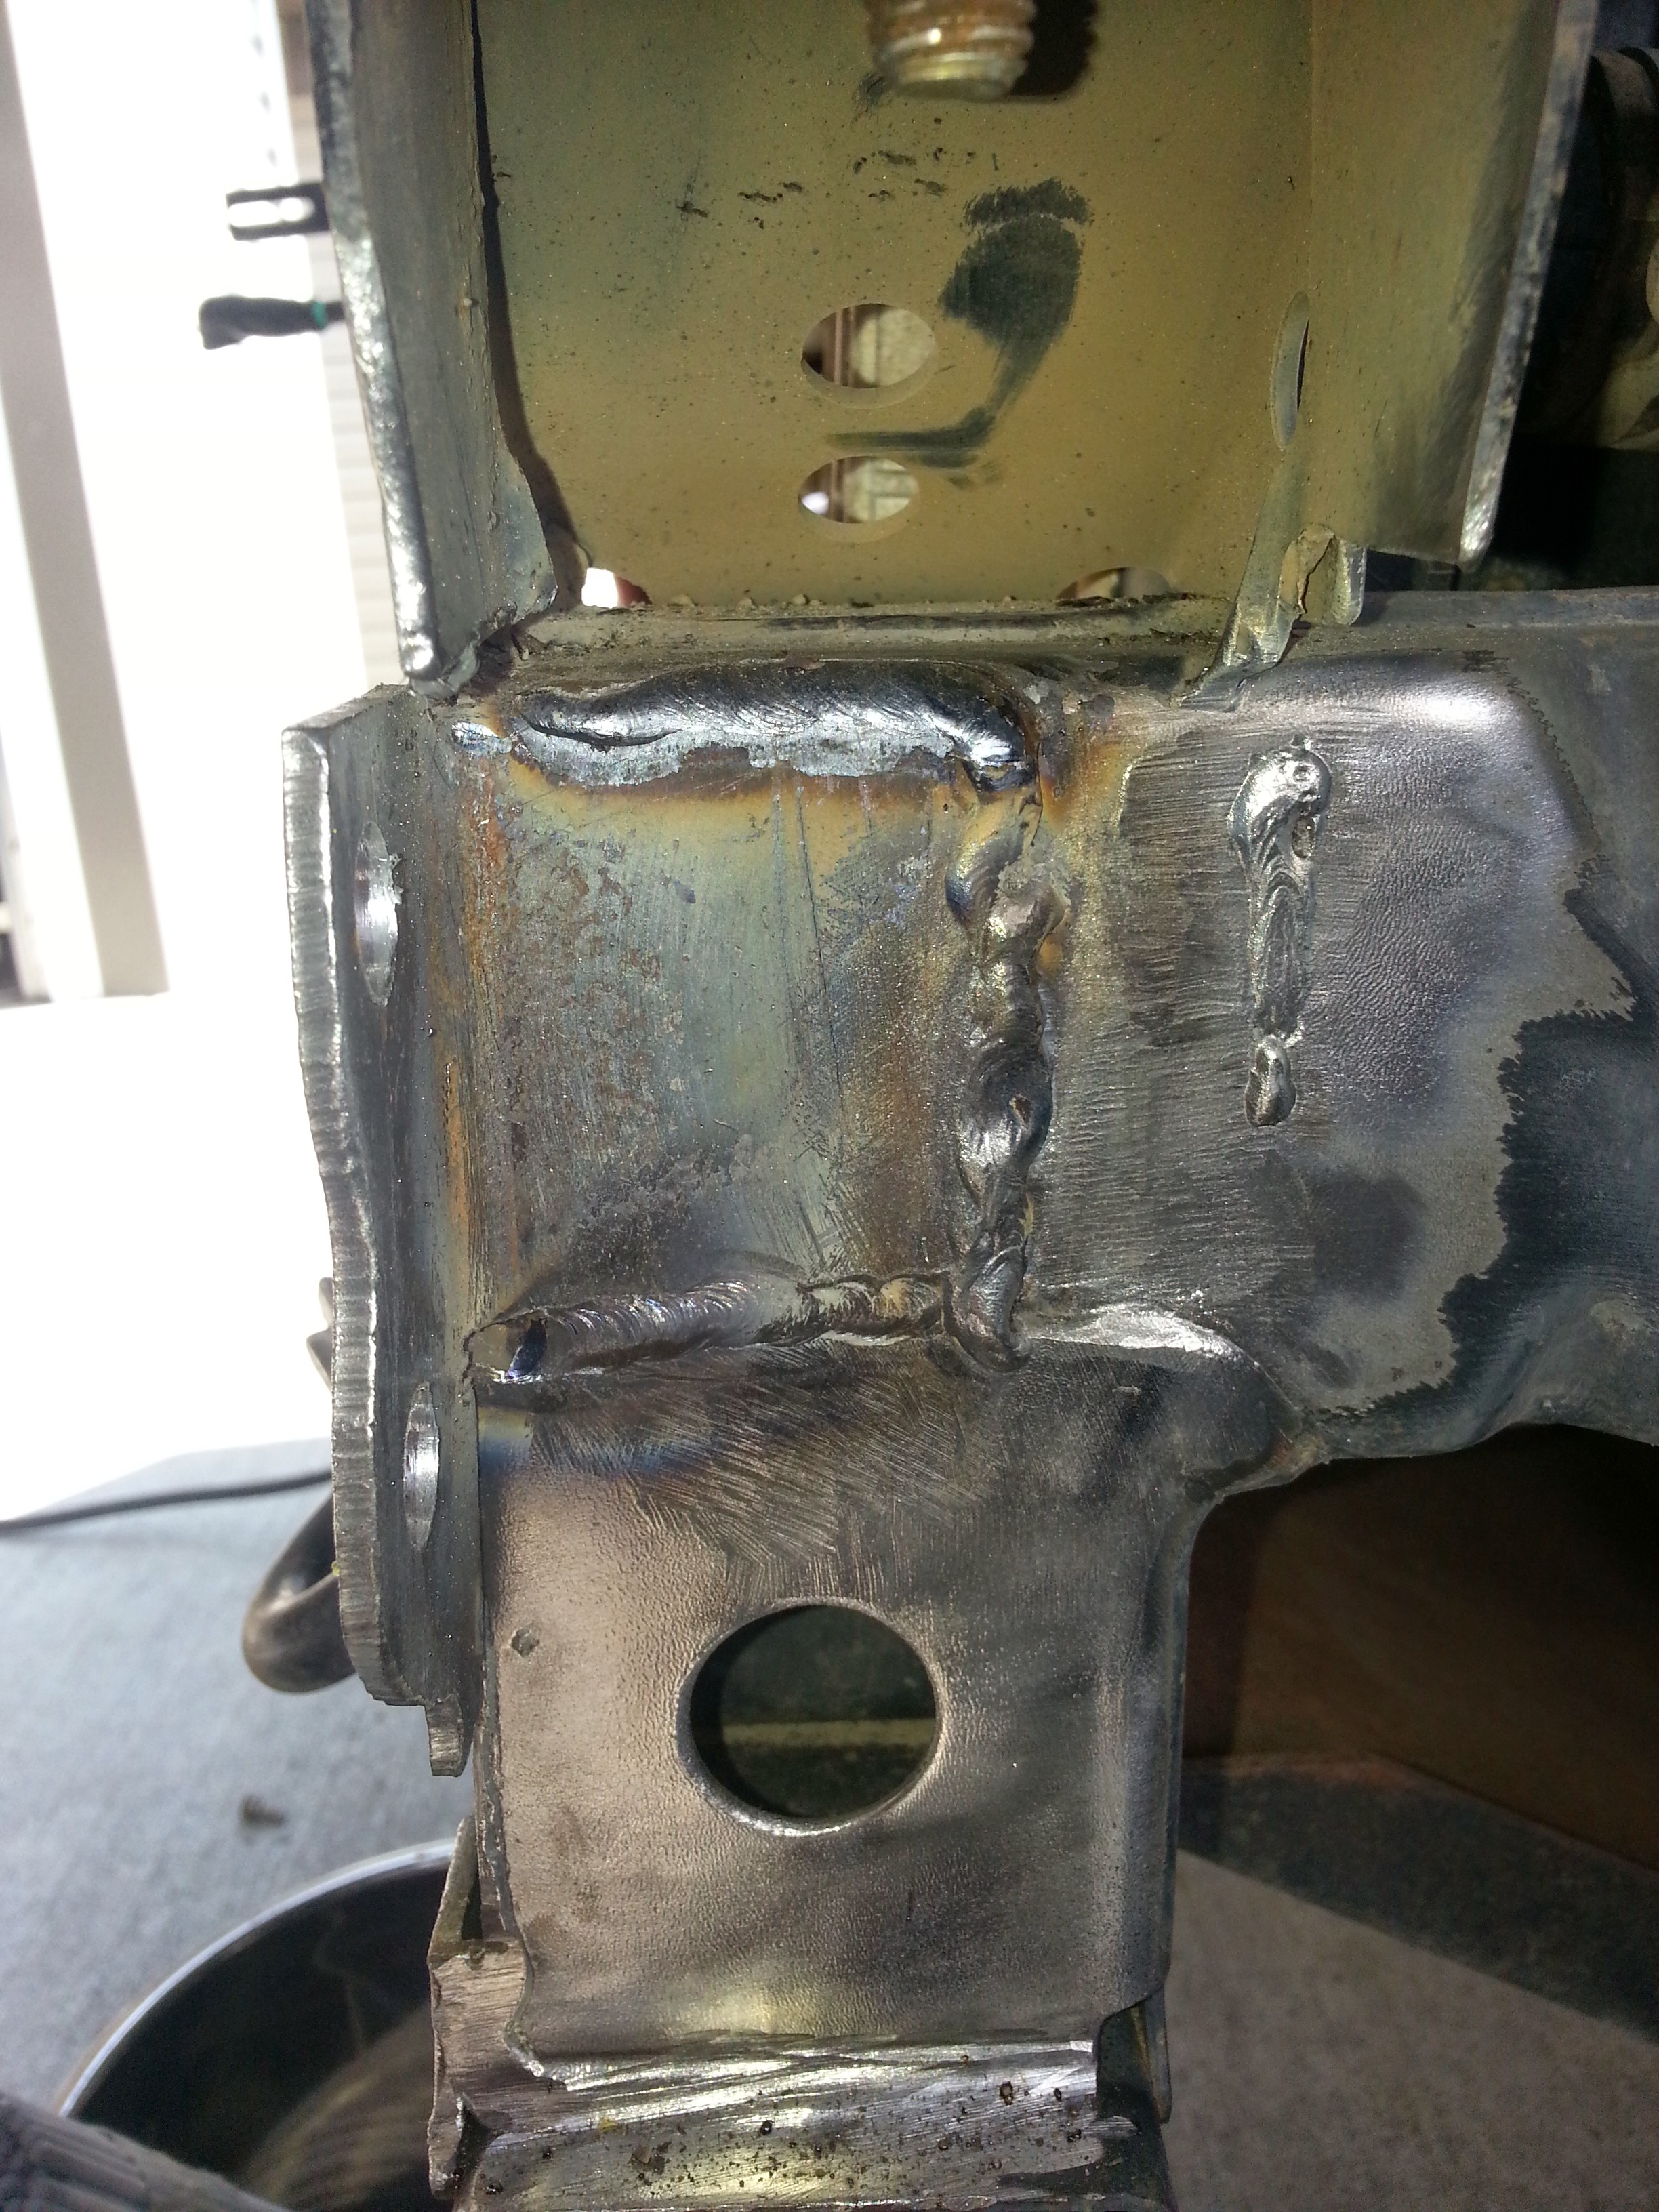
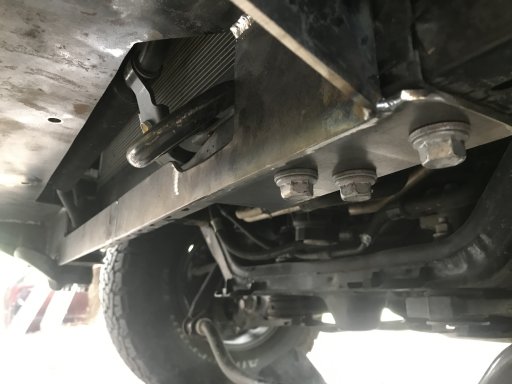
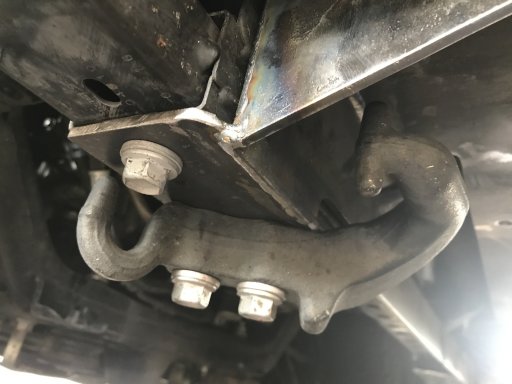
The ones that are on the truck now are bolted to the same location as the sway bar. The 1/2" bolt that ties them to the winch carrier front to back is sleeved with 3/4" .120 wall DOM tube through the frame to keep from crushing the frame horn.
IMG_4344.JPG IMG_4343.JPG
I also tied into the front cross member with six 12mm fasteners. IMG_4334.JPGIMG_4335.JPG
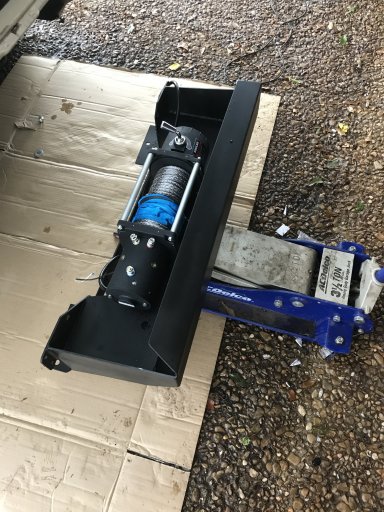
When I build the front skid it will also tie into the bumper and further reinforce the lower edge of it. Time is my only limitation here and now. The chances of needing the winch between now and when those items are completed are slim. I also have plans for braces on the vertical sides of the frame that tie into the stock bumper mount. The bolts that pass through the frame there will also be sleeved with the DOM material.