97 XJ Build

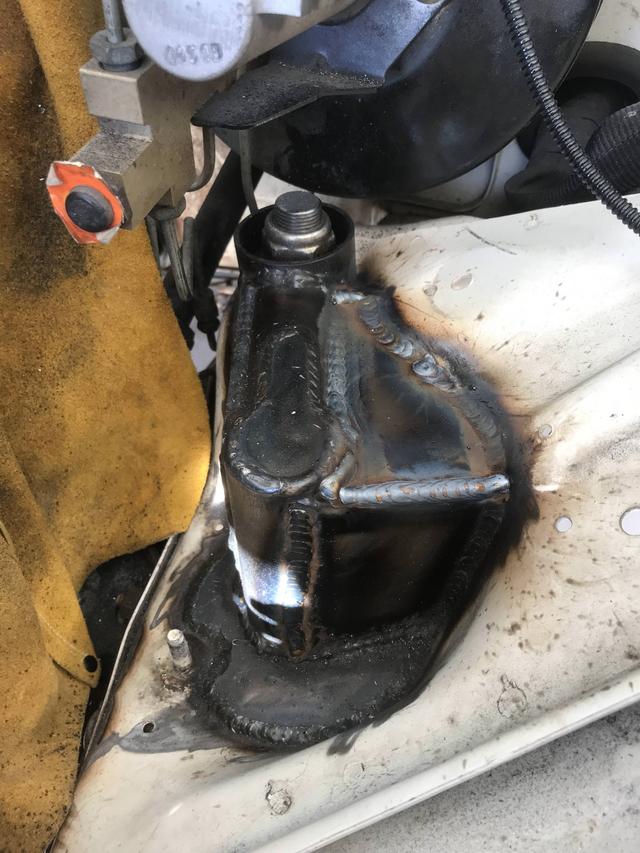
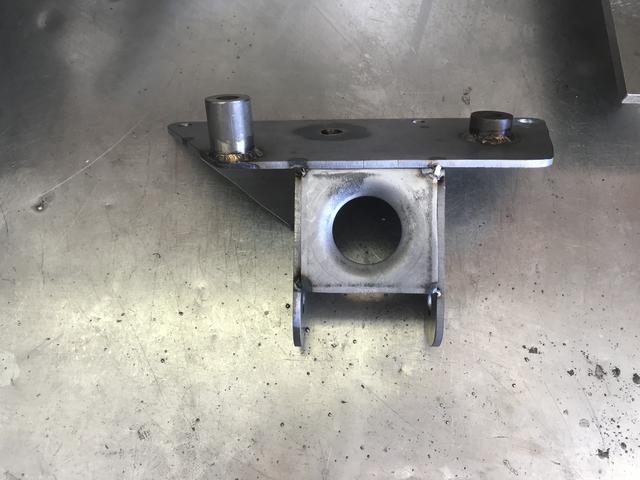
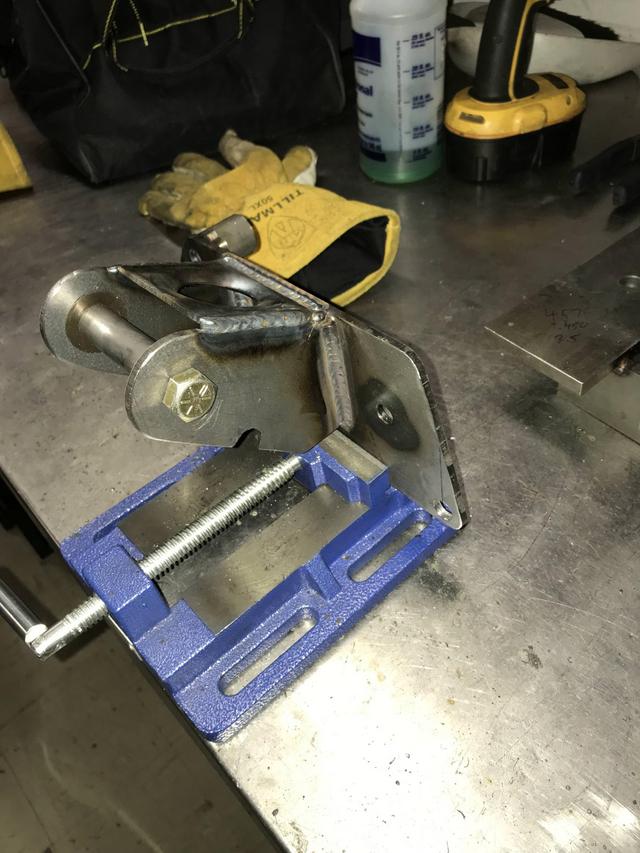
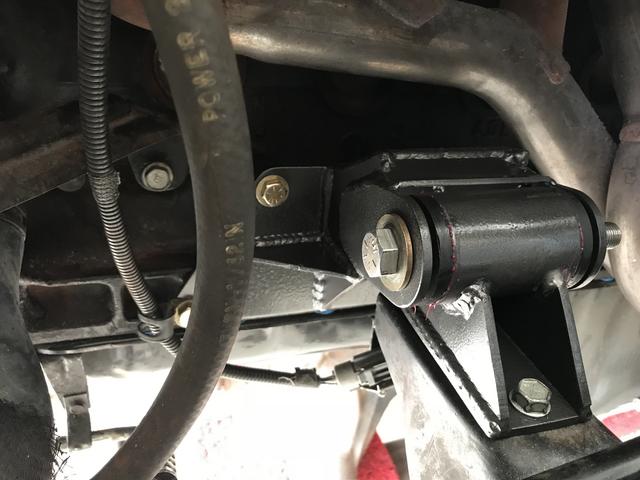
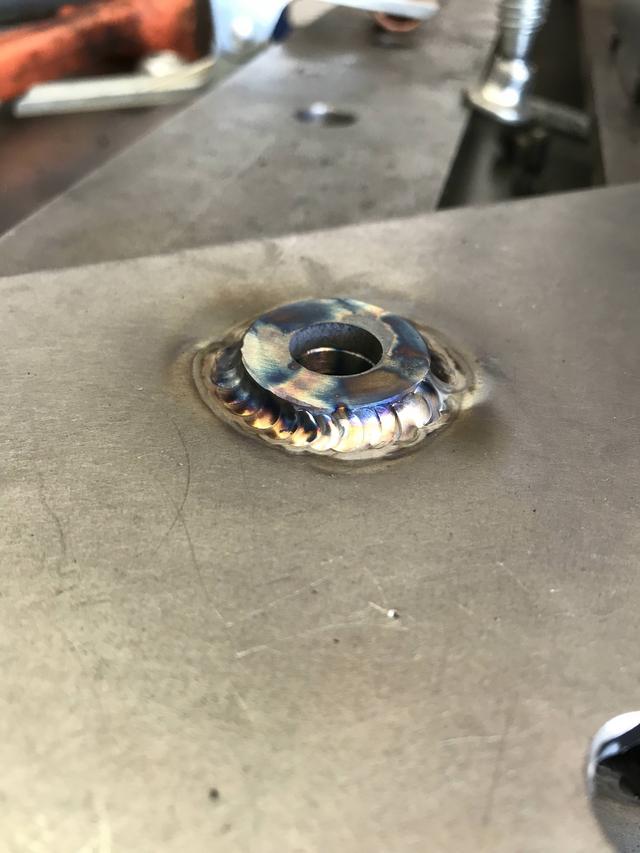
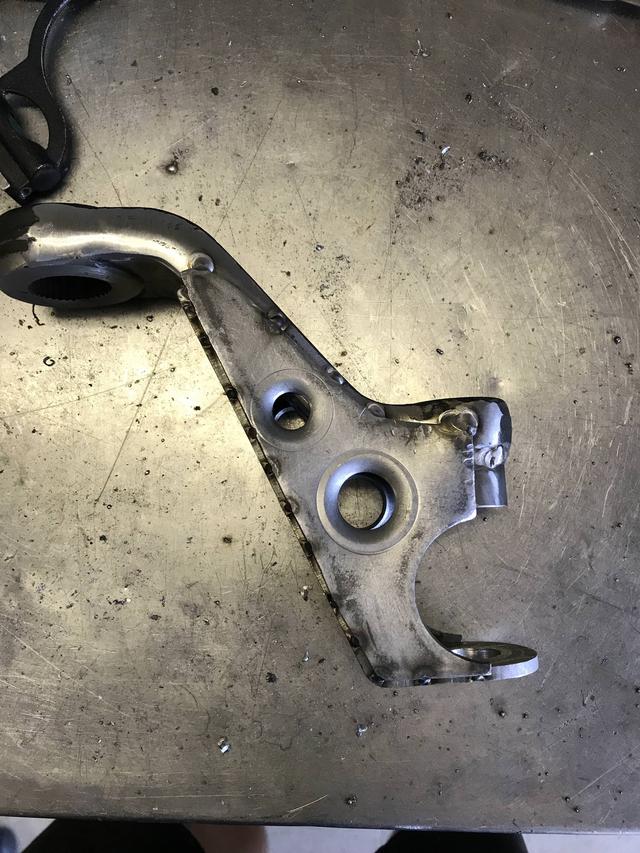
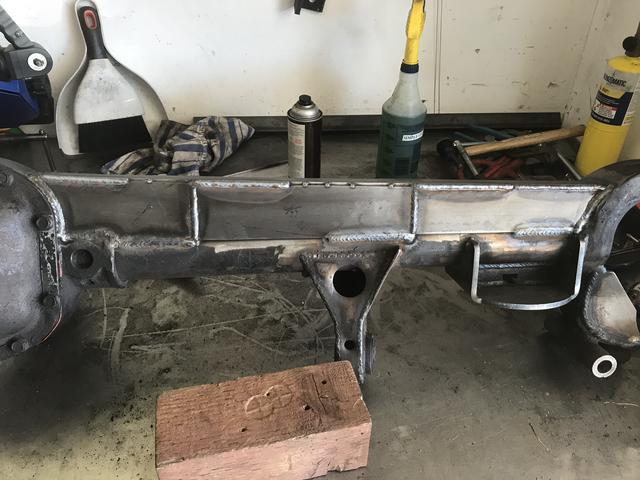
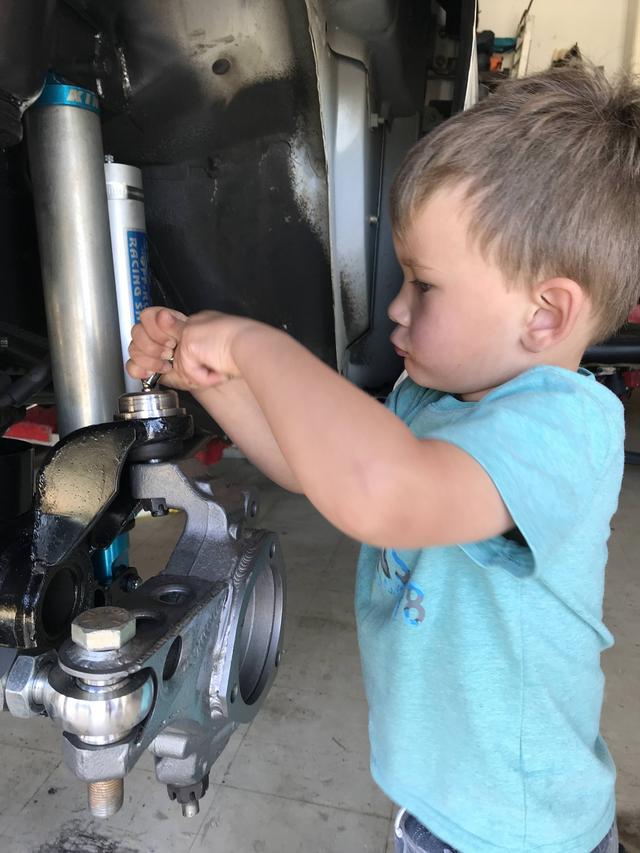
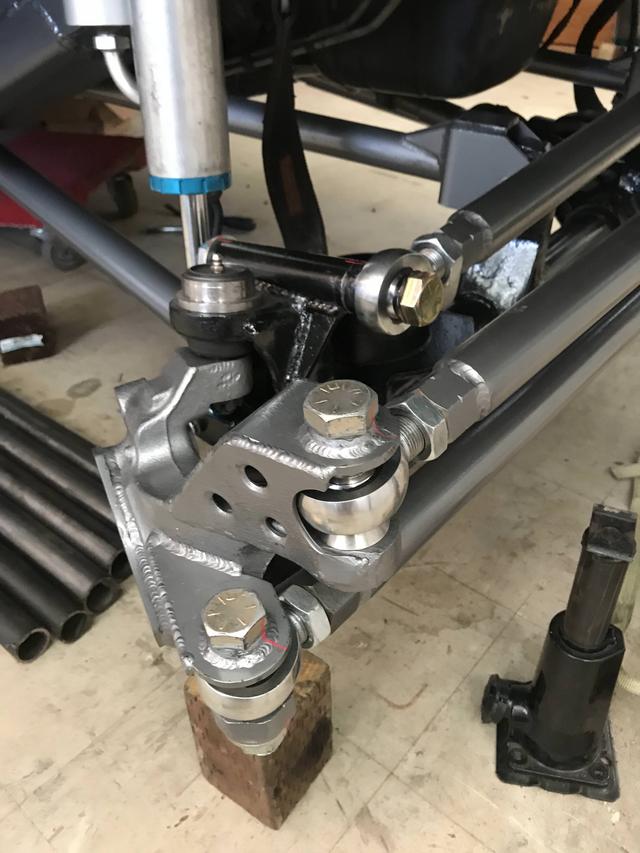
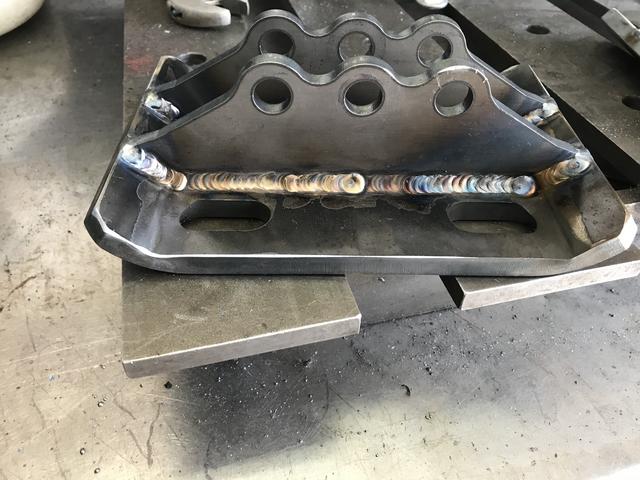
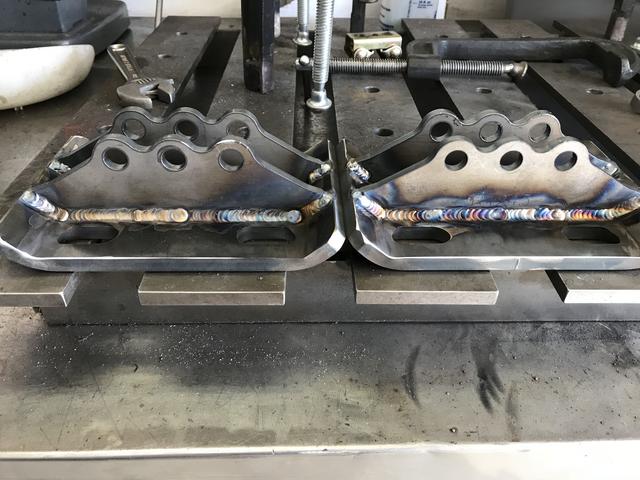
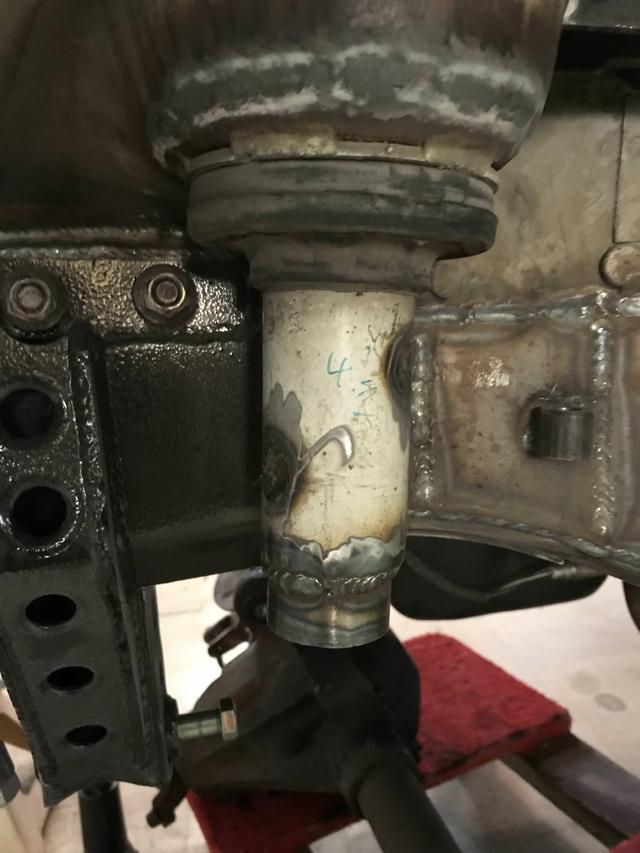
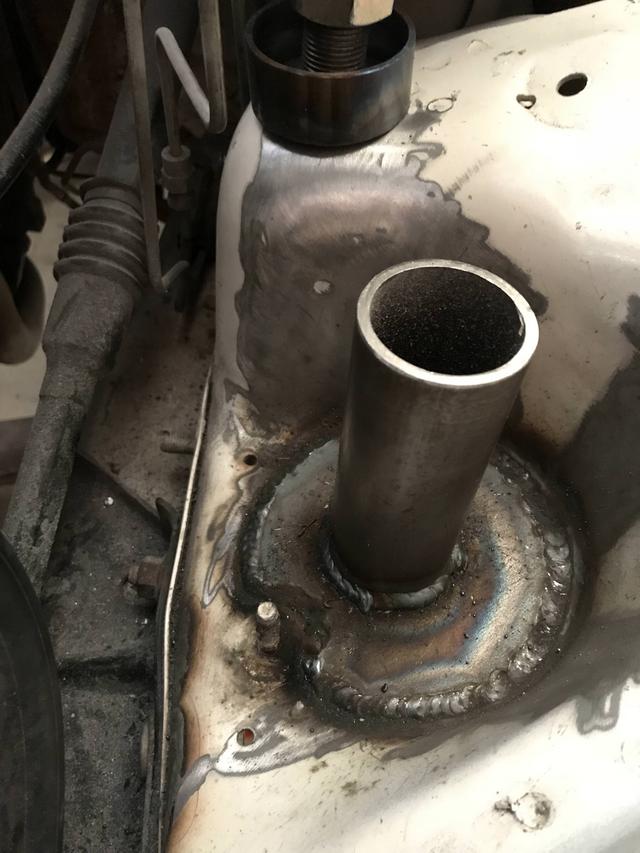
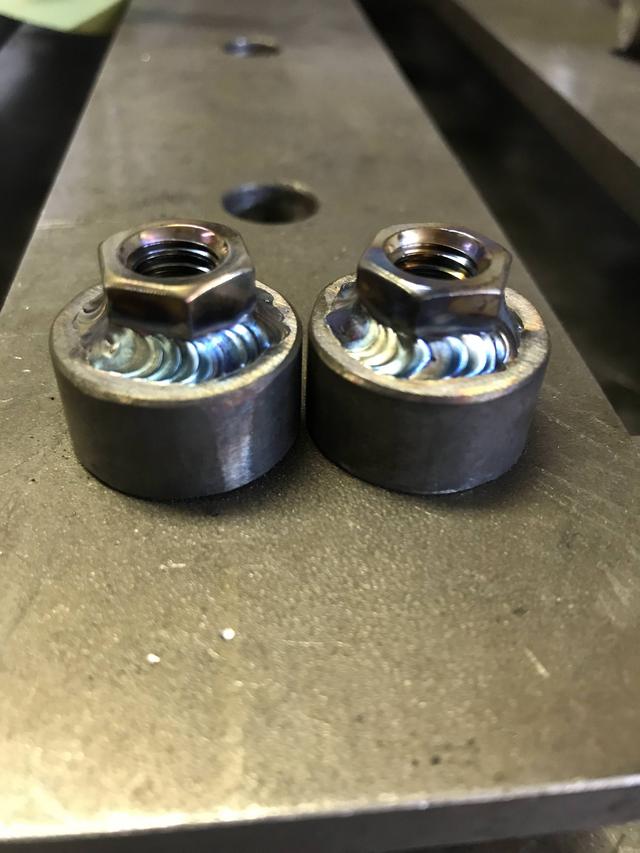
I started working on reinforcing the bump stops, shock mounts and front end in preparation for paint and final assembly. I cut of the bottom of the stock bump stops and sleeved them with 1.75” DOM. The new bump stop tube runs up into the engine bay and is attached with a 3/16” plate. I will tie the new bump stop tube into the top of the shock mount. The new bump stops have nuts welded (pictured) inside them for short urethane snubbers. I will use prothane coil inserts with a UHMW rod inside as the actual hard stop.
I cannot wait to be done welding on the thin galvanized sheet metal, it’s terrible to work with.

fZfDWFd.jpg

IgC4HGi.jpg

xl9Ckxw.jpg
 
It's coming together slowly. Got the SYE installed and t-case back installed. Fresh paint on the trans cross member and my fabricated transmission mount.

Started on the driver side motor mount. I love having my mini fixture table. Makes measuring stuff like this so easy.

Picked up a new toy. $200 for a very basic 3-1 mill/drill/lathe machine. It was never used and was still covered in grease from 1994. It is so nice to be able to face off tubing to make it square. I wish I would have paid attention better in High School shop class. I'm learning as I go.
JBtjvA9.jpg


TvrzIXK.jpg


EcA2zSa.jpg
 
Driver side motor mount done and installed. I made a really stupid mistake and somehow lost an inch when I located the through bolt holes on the motor plate side. Should have measured 4 times I guess. I was able to fix it, but it didn't come out as clean. At least its done.
918OdNj.jpg
 
  • Like
Reactions: Arailt and Jimmy P
That is impressive stuff your turning out , following your build. After seing how you beefed up the lower control arm mounts may do the same was planing to box them.
 
  • Like
Reactions: SByota
I just inherited an XJ and love seeing everyone building these up as overland rigs. Even though it's a pretty basic vehicle I really love mine. Great build, and envious of your fabrication skills!
 
  • Like
Reactions: SByota
Exhaust is all done and. The OEM system was rusted out and done. It was also tiny!! as small as 1.5" in places. It's all 2.5" now with a cheapie Summit Racing "race bullet" muffler, which is basically small glasspack. This was my first time doing exhaust, I'm pretty stoked on how it came out. Front axle truss and gears are next, the I can do final assembly on the front.

EgWYzRC.jpg

uGDOIaU.jpg

OvcFiUr.jpg
 
Last edited:
That looks great! I'm looking into exhaust as well and haven't been able to find the entire system in 2.5". I think I'll have to go to a local shop and have someone with a pipe bender and welder to connect the pieces I can find online.
 
Front axle is DONE! I built a full truss and added plates to the upper "C's". Welded out all of the link and shock mounts, threw in a set of 4:88 gears with all new bearings etc. This was my first time doing gears, it was and experience for sure. Lots of trial and error, swapping shims over and over again. Ended up super happy with the pattern and with backlash at .008". I would be able to do it so much faster now! Next step is putting the front end together, feels good to make progress.


l1rNSE9.jpg

6gAIETu.jpg

GLKv5CX.jpg

SPmh1VY.jpg
 
  • Like
Reactions: Arailt
Got an free driveshaft for the front, bummer is that it was 2" too short. I have a lathe, welder and some basic metal skills.... let's see if this will work. Chopped the slip yoke, made a sleeve out of DOM and got it to .003" from perfectly true. It only has 3/8" of plunge from bump to droop. Also had the best helper in the shop working on the front end.

NdaRGtW.jpg

uy2z2B6.jpg
 
Spent some time doing final assembly on the front end. It looks so pretty all clean and fresh. Anti-Seize has an amazing ability to get on EVERYTHING!! I looked like the tin man when I was done. Also burned in the rear leaf spring plates/lower shock mounts.


FcK1ynS.jpg

kQ0wydK.jpg

E1zvCS6.jpg
 
  • Like
Reactions: Arailt and Phildirt