Enthusiast III
In March of 2020 My wife and I purchased a 2020 Tundra for no other reason than I needed a newer vehicle.
In 2021 we got a Leer Cap to enclose the bed after we were involved in a rollover accident in her Highlander, and we suddenly had different feelings about loose objects in the car. (We rolled 6-10 tiomes)
In 2022 we decided to take a cruise, and a road trip to see what vacation style we liked better. The road trip was a bit more fun.
So this year the build started.
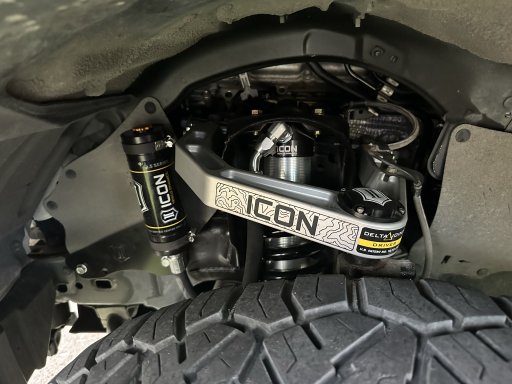
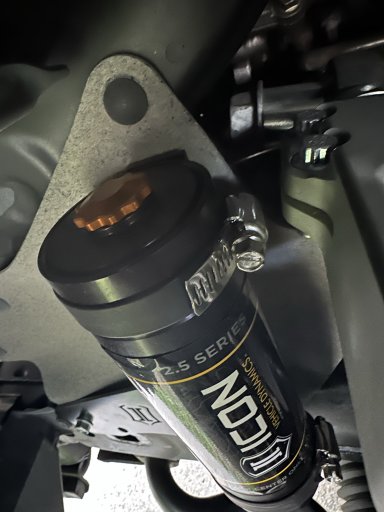
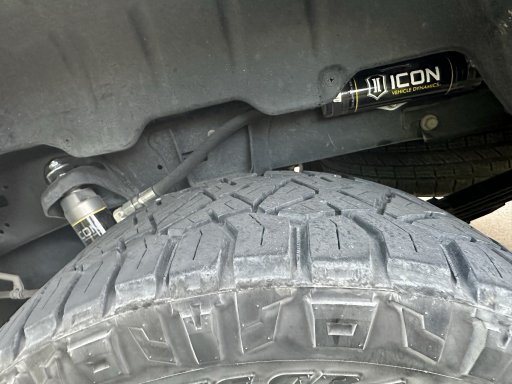
Icon Stage 8
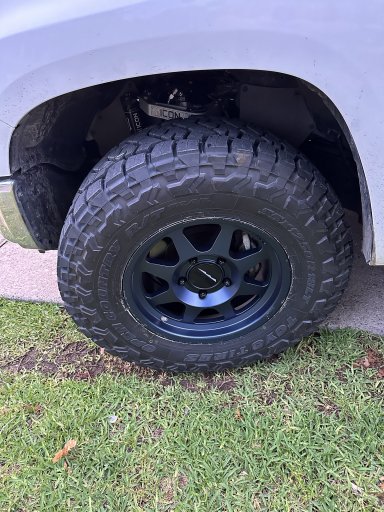
Method 301s in bahia blues
Toyo Open Country 35x12.50r18s
BMC chop
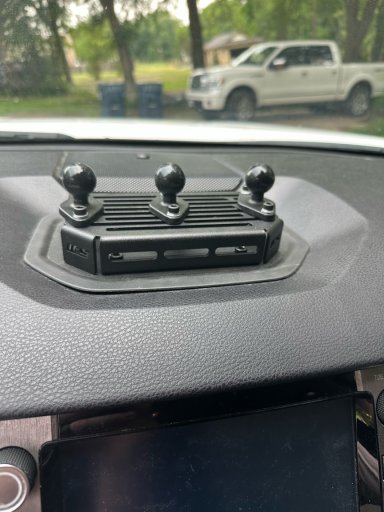
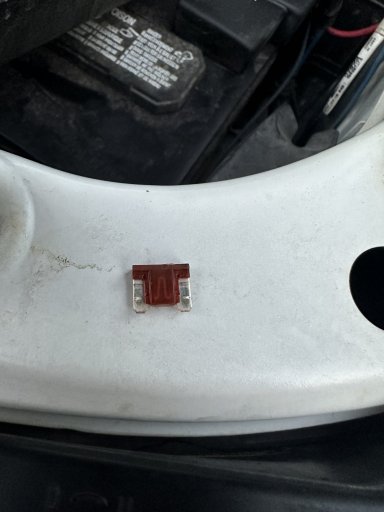
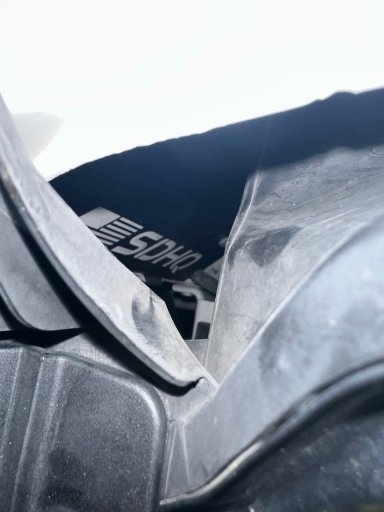
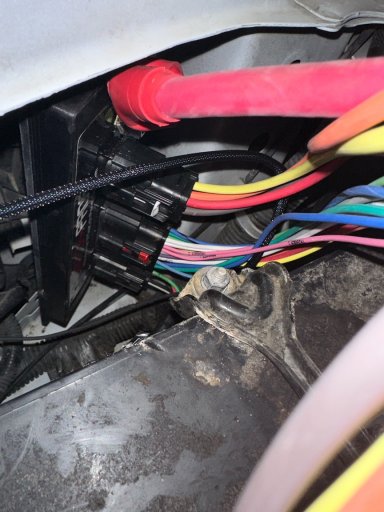
ICS Fab dash mount is in and being built, that will be installed shortly.
Not really sure where I go from here, I think from here out will be dictated by need rather than desire.
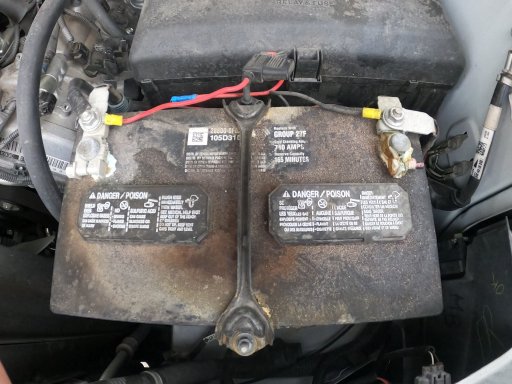
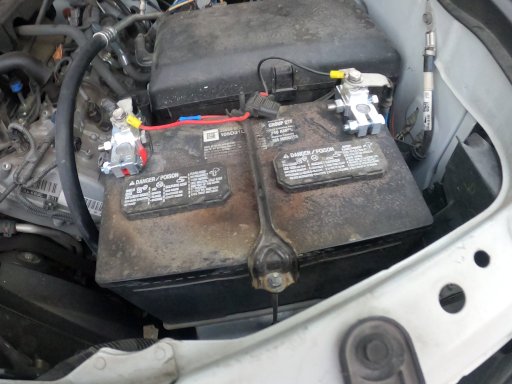
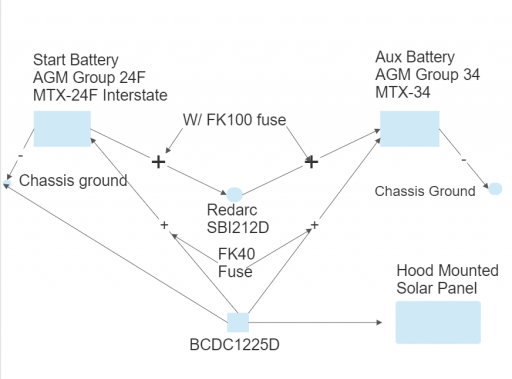
Dual Battery kit (researching) and ARB Lockers and 5.29s are the current itch. Likely, An ARB Dual Compressor is next.
In 2021 we got a Leer Cap to enclose the bed after we were involved in a rollover accident in her Highlander, and we suddenly had different feelings about loose objects in the car. (We rolled 6-10 tiomes)
In 2022 we decided to take a cruise, and a road trip to see what vacation style we liked better. The road trip was a bit more fun.
So this year the build started.
Icon Stage 8
Method 301s in bahia blues
Toyo Open Country 35x12.50r18s
BMC chop
ICS Fab dash mount is in and being built, that will be installed shortly.
Not really sure where I go from here, I think from here out will be dictated by need rather than desire.
Dual Battery kit (researching) and ARB Lockers and 5.29s are the current itch. Likely, An ARB Dual Compressor is next.
Attachments
-
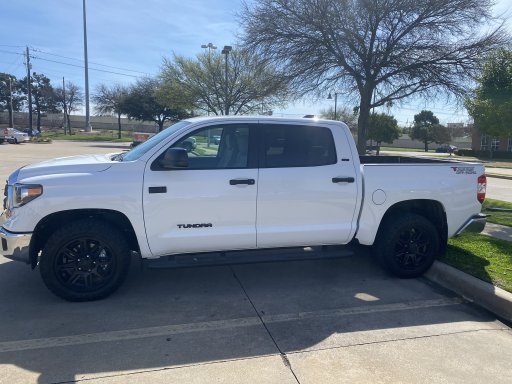 Stock Tundra.JPEG902.4 KB · Views: 62
 -
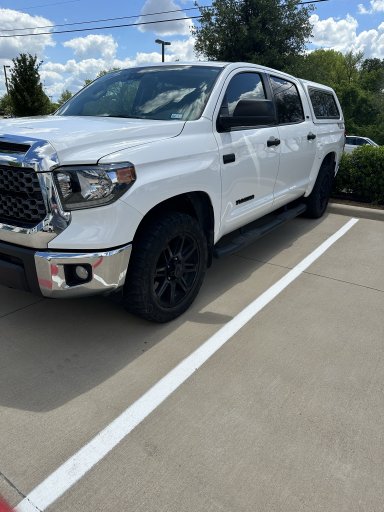 the last stock photo.JPEG1.1 MB · Views: 66
 -
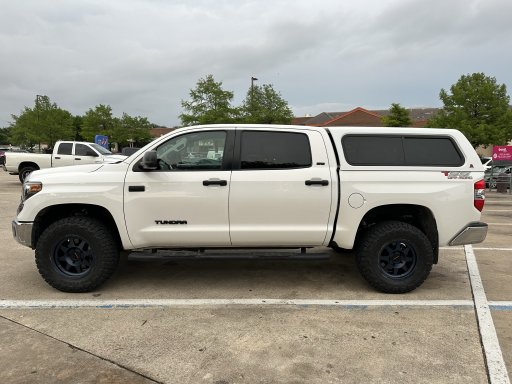 after lift and tires.JPEG964.9 KB · Views: 68
 -
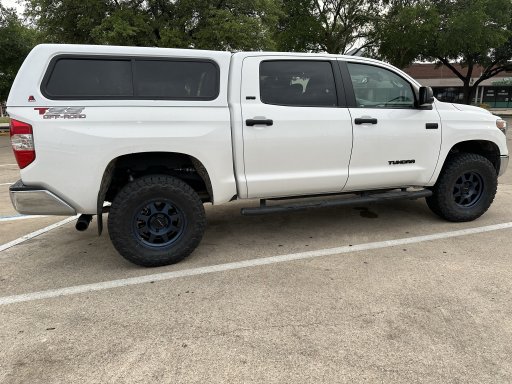 after lift and tires two.JPEG1.3 MB · Views: 65
 -
 front rim close up.JPEG1.2 MB · Views: 62
 -
 front uca.JPEG630.1 KB · Views: 60
 -
 Front Resi.JPEG615.9 KB · Views: 59
 -
 rear suspension.JPEG714.2 KB · Views: 57