As I begin this narrative I must give a little history which may give a little insight into why I went this direction.
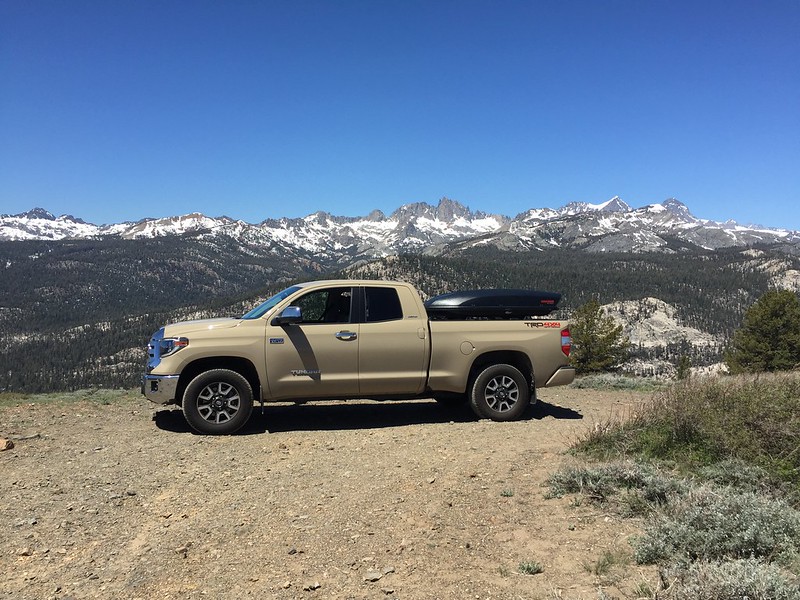
I would say this is my 7th, or 8th, true "adventure" vehicle (with another 4 or 5 of the two wheel variety). Some have been basic alterations - such as adding tires and a camper shell - while others have been an all out, wallet cringing, experience - aka Sportsmobile. I would hope I learned lessons along the way, but at times I, like others, have been tempted by the bling/cool temptress. Throughout it all I have found these things to be true: 1) My vehicle is a daily driver so a "rock crawler" is not what I'm looking for 2) I enjoy going down backcountry dirt roads, as well as , driving in sand and snow to get to locations to ride my mountain bikes, do trail runs, or just camp 3) My vehicle must comfortably sleep two people and a dog - being able to "close up" at night is a must 4) There must be a comfort level to driving long (or rough) distances 5) The vehicle must be robust/powerful enough to tow without feeling like your trailer is driving you...
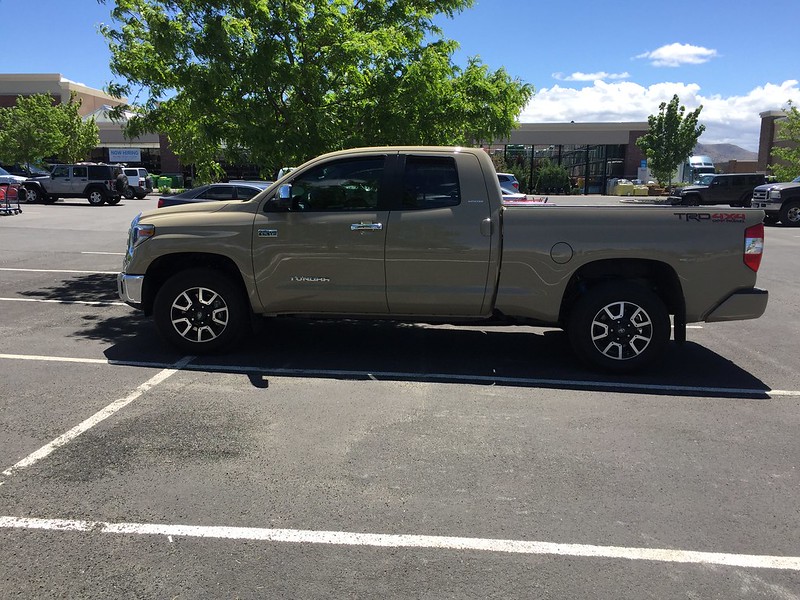
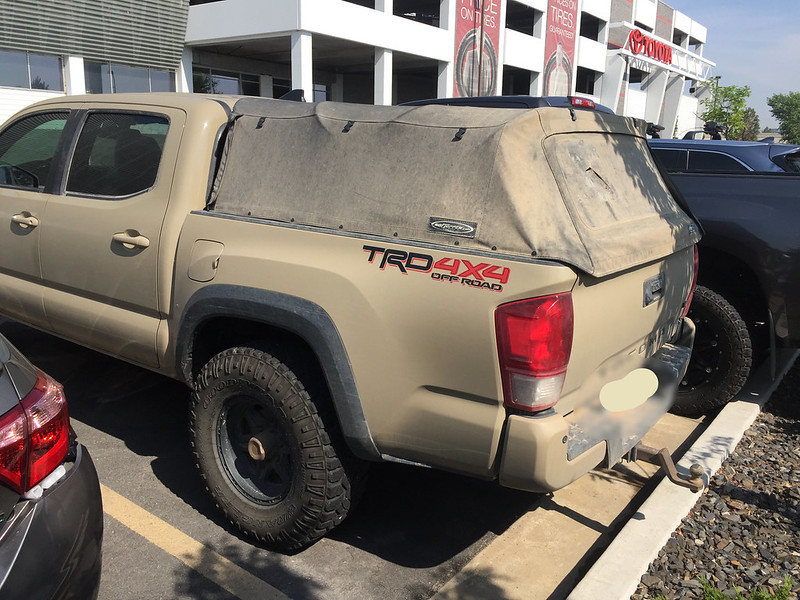
First, we start with the vehicle of course. A 2018 Tundra Double Cab Limited edition.
 IMG_7494 by cobblecrazy, on Flickr
I test drove the Crewmax version, and although it was the same length, I thought the Double Cab "felt" more like a truck. There was plenty of room in the back of the Double Cab for passengers to ride comfortably (although I wish they had kept the vents for the rear passengers like the Crewmax). I wanted the 6'5" bed for hauling items, but, mostly, because I know I wanted to be able to comfortably sleep in the back. One of the things I had originally had on my list was the bench seat in the front (with the drop down center console), but we discovered you could not get the heated seats in the bench seat. As I spend a considerable amount of time recreating in winter and colder conditions, the heated seats were something I was not willing to give up. I did end up with the TRD Off-Road, but I knew most of the "package" would go by the wayside with alterations.
If I were to make one observation (and something I put in my after purchase survey to Toyota) I would hope they would start to eliminate at least some of the chrome all over the front.
I would say this is my 7th, or 8th, true "adventure" vehicle (with another 4 or 5 of the two wheel variety). Some have been basic alterations - such as adding tires and a camper shell - while others have been an all out, wallet cringing, experience - aka Sportsmobile. I would hope I learned lessons along the way, but at times I, like others, have been tempted by the bling/cool temptress. Throughout it all I have found these things to be true: 1) My vehicle is a daily driver so a "rock crawler" is not what I'm looking for 2) I enjoy going down backcountry dirt roads, as well as , driving in sand and snow to get to locations to ride my mountain bikes, do trail runs, or just camp 3) My vehicle must comfortably sleep two people and a dog - being able to "close up" at night is a must 4) There must be a comfort level to driving long (or rough) distances 5) The vehicle must be robust/powerful enough to tow without feeling like your trailer is driving you...
First, we start with the vehicle of course. A 2018 Tundra Double Cab Limited edition.
IMG_7494 by cobblecrazy, on FlickrI test drove the Crewmax version, and although it was the same length, I thought the Double Cab "felt" more like a truck. There was plenty of room in the back of the Double Cab for passengers to ride comfortably (although I wish they had kept the vents for the rear passengers like the Crewmax). I wanted the 6'5" bed for hauling items, but, mostly, because I know I wanted to be able to comfortably sleep in the back. One of the things I had originally had on my list was the bench seat in the front (with the drop down center console), but we discovered you could not get the heated seats in the bench seat. As I spend a considerable amount of time recreating in winter and colder conditions, the heated seats were something I was not willing to give up. I did end up with the TRD Off-Road, but I knew most of the "package" would go by the wayside with alterations.
If I were to make one observation (and something I put in my after purchase survey to Toyota) I would hope they would start to eliminate at least some of the chrome all over the front.

 IMG_7541
 IMG_7781
 IMG_7782
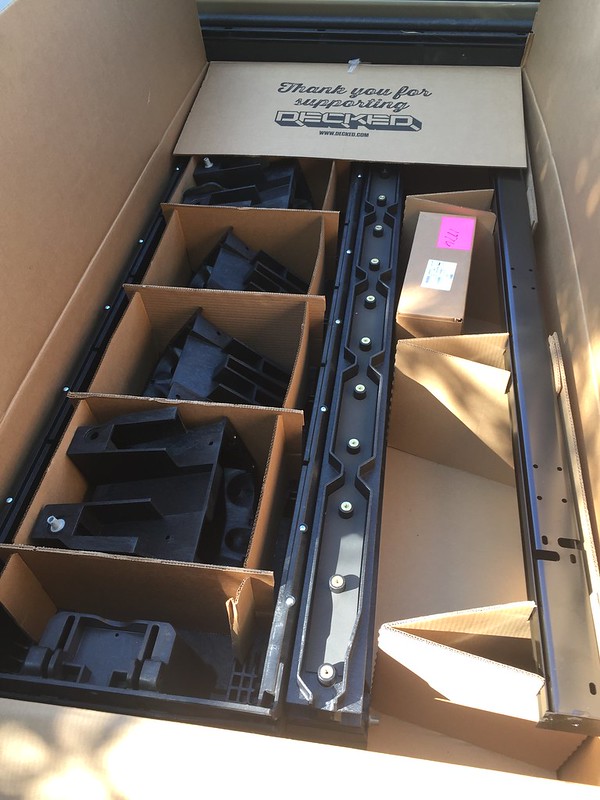 IMG_7783
 IMG_7784
 IMG_7785
 IMG_7689
 IMG_7690
 IMG_7699
 IMG_7787
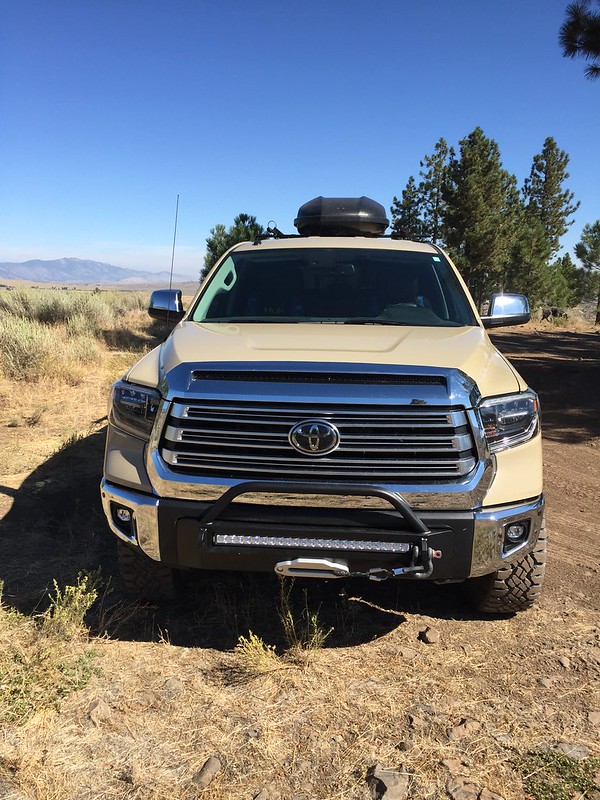 IMG_7816
 IMG_7789
 IMG_7820
 IMG_7821
 IMG_7822
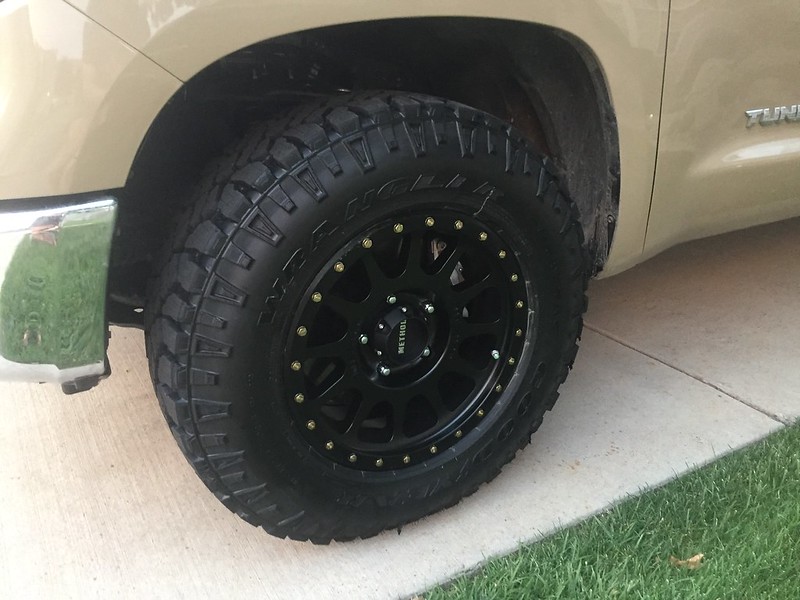 IMG_7804
 IMG_7798
 IMG_7799
 IMG_7800
 IMG_7812
 IMG_7813
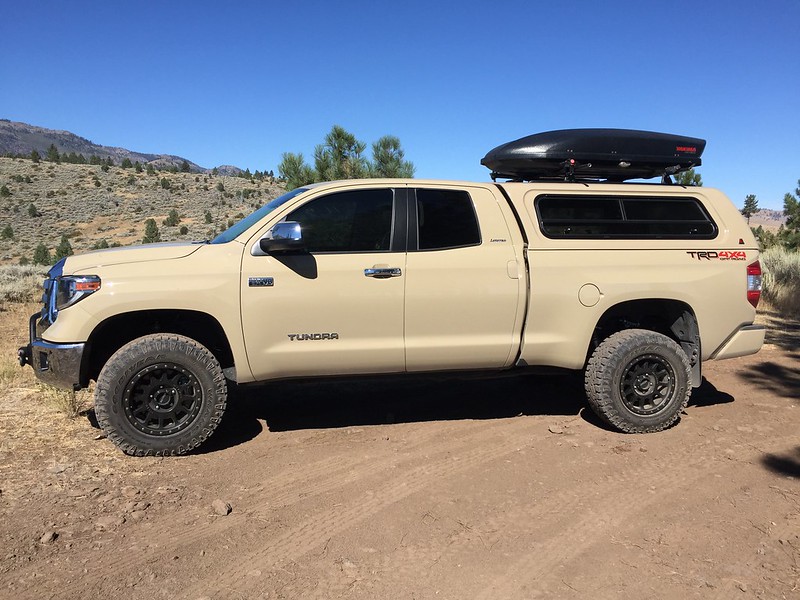 IMG_7814
 IMG_7818
 IMG_7823
 IMG_7825
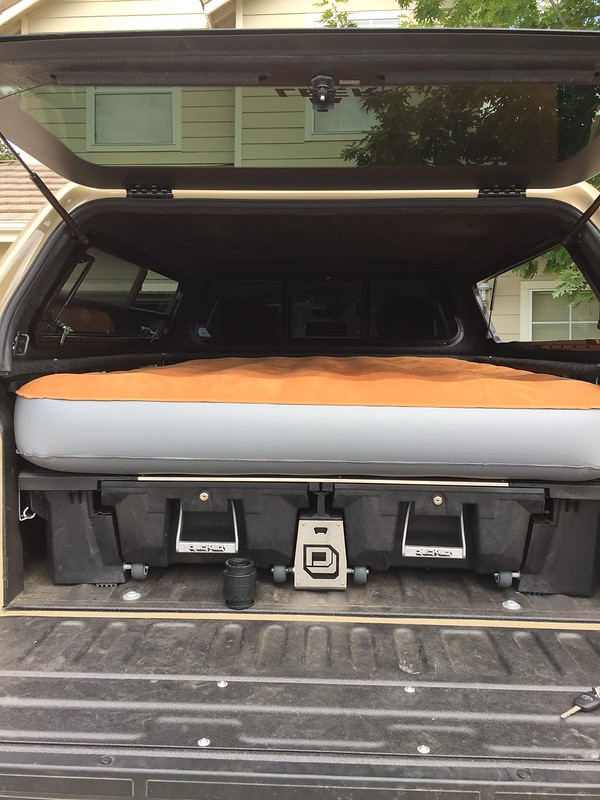 IMG_7806
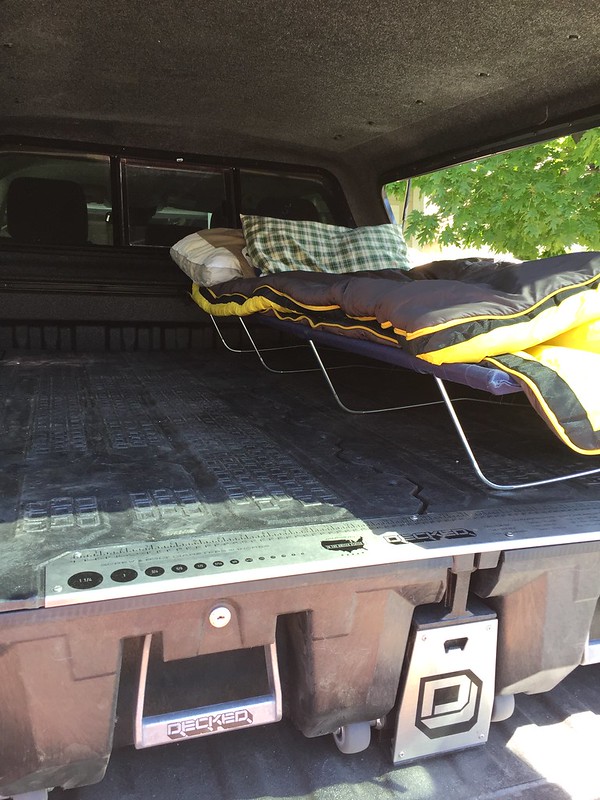 IMG_7828
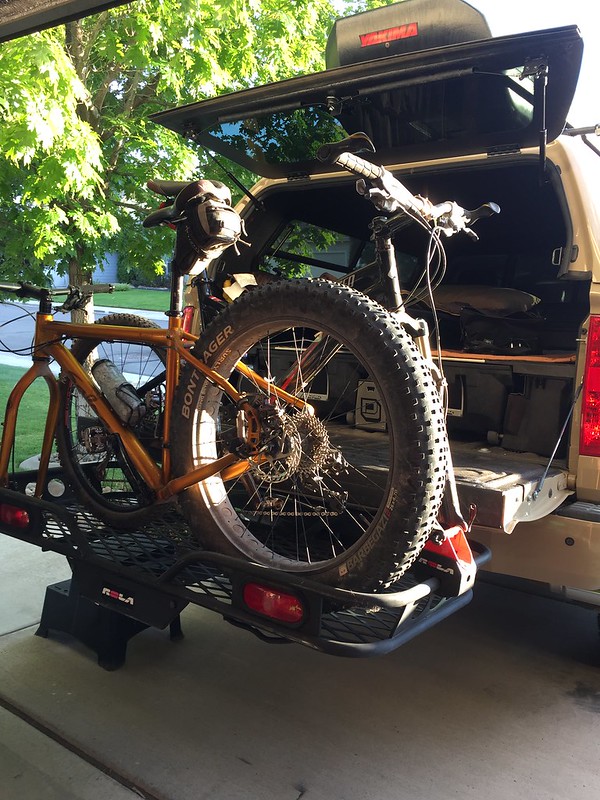 IMG_7830
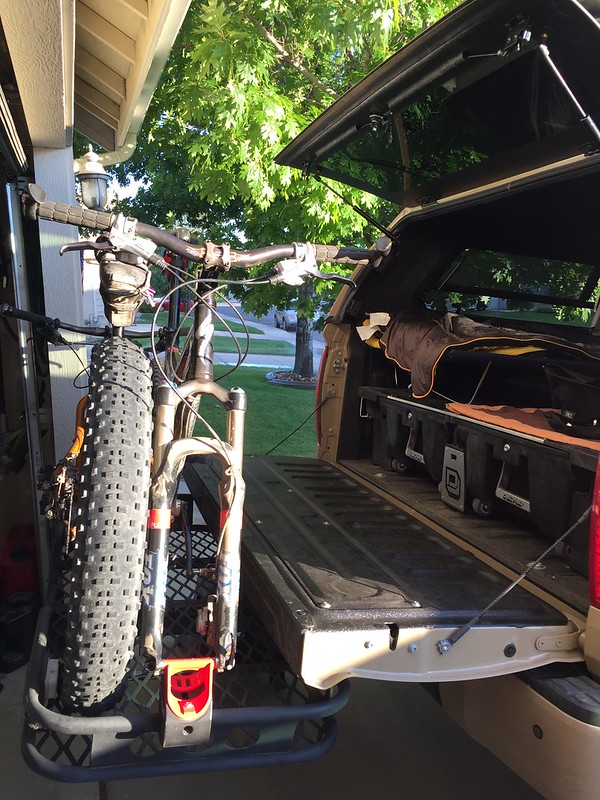 IMG_7829

 IMG_7735