Pioneer III
- 9,026
- First Name
- Deb
- Last Name
- Lee (Ironhorse Overland)
- Member #
-
14314
- Ham/GMRS Callsign
- KM6YKU
- Service Branch
- Army Reserves
Going to go slow and steady on modifications to my 2016 Willys. The Willys edition is fairly trail ready, not a Rubicon but comes with Rock sliders, upgraded suspension, rear lockers and slightly larger wheels/tires, so while he will eventually get a lift etc, I decided to add Comms and Nav first.
First up a Yaesu FTM-400 XDR mounted on the factory footman loop via a Rugged Ridge CB Radio Mount and the faceplate on mounted in the goodie tray on the dash via a homemade mounting bracket held down by double-sided tape and the OEM screw already there. A little trimming of the rubber tray and it slipped right over the new bracket so I can still use it. Paired the Radio with a Diamond antenna and a CP-5M antenna mount on the drivers'side of the hood.
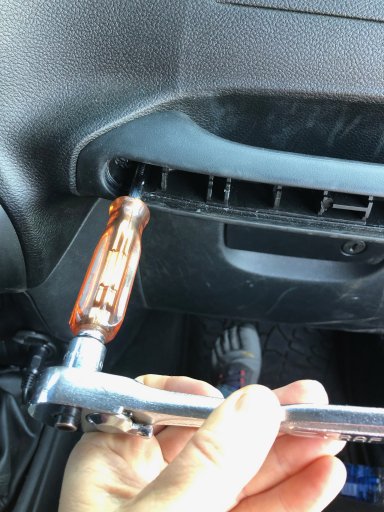
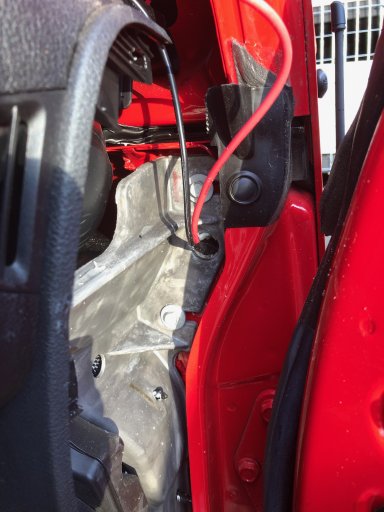
Thought this was going to be an easy install until I realized running wires through the firewall of a manual transmission JK must be done through very very tiny little holes. One on the passenger side and one on the driver's side, accessed via removal of the side panels of the dash. These little pass-throughs are quarter sized on the interior but are not large enough to pass anything larger than about ¼” or less on the exterior, this includes coax fittings and wiring with in-line fuses. So a little bit of drilling to make the drivers side hole a tad bit larger and the cutting and splicing of the power leads and the wiring was done. After all that I realized the coax I had was way longer then I needed so I’ll be needing to un-solder cut and re-solder the coax to the right length and could have avoided the bit of drilling. Oh well, live and learn.
Body of the Yaesu mounted to the cool little bracket that uses the footman loop
The hole looks big from this side, but is narrowed by various metal folds and protrusions on the other side :-(
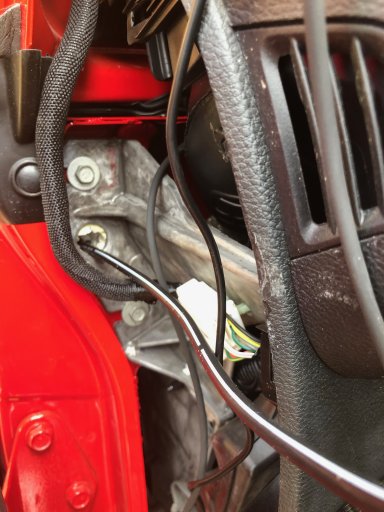
The hole looks big from this side, but is narrowed by various metal folds and protrusions on the other side :-(
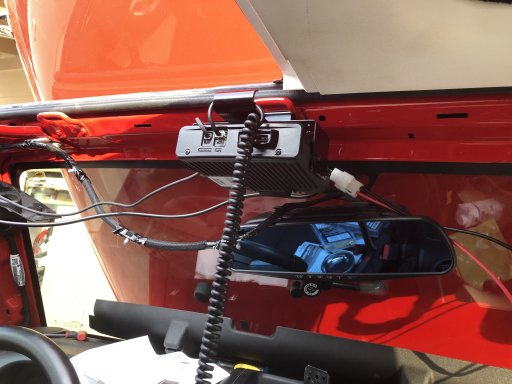
Finished install all nice and sturdy and out of the way but will stay dry during a water crossing :-) and still easy to take the roof off.

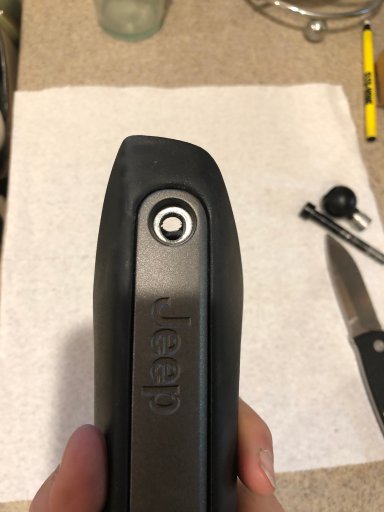
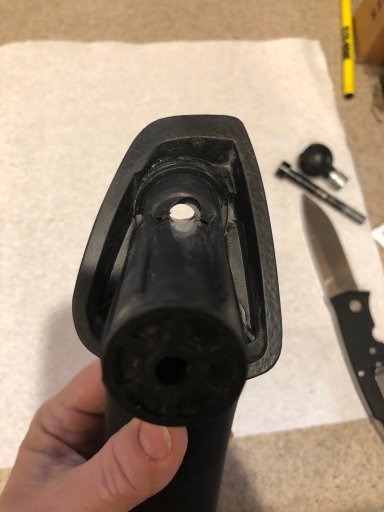
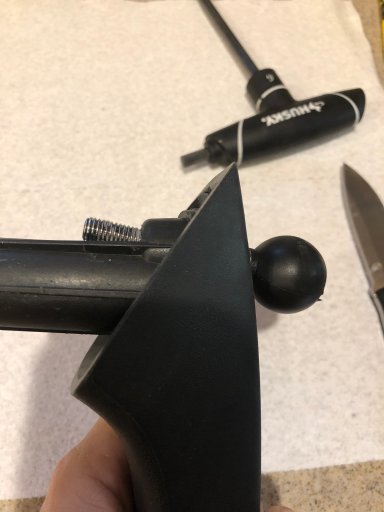
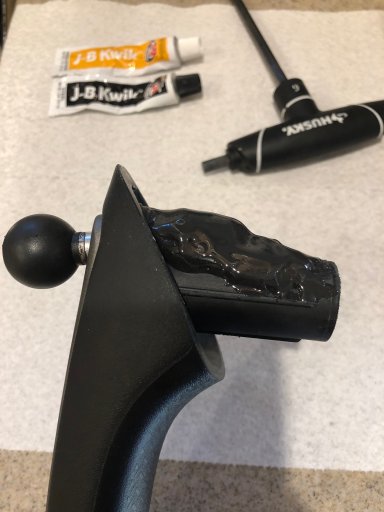
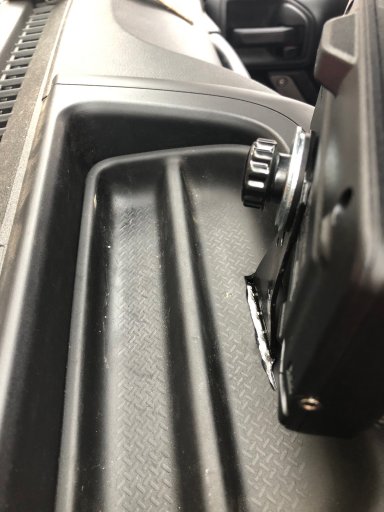
The little dash screw that's under the rubber mat, is holding down a home made bracket. used some 2 sided tape for a little extra grip and bought the screw knob at ACE.
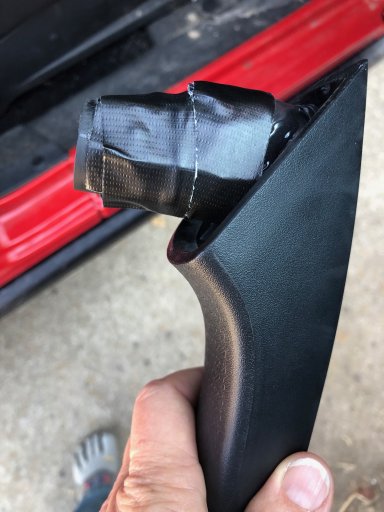
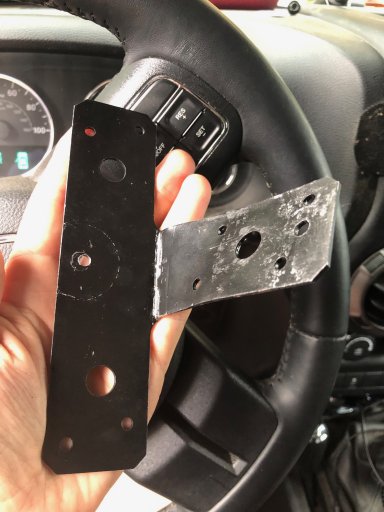
My little bracket.
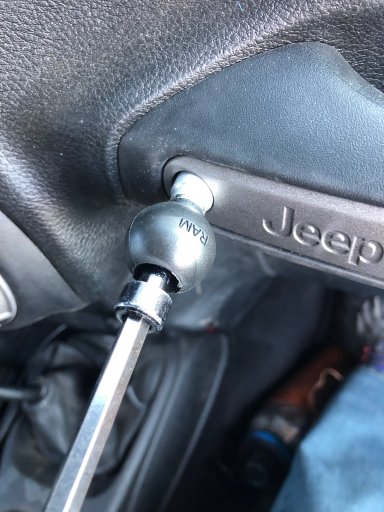
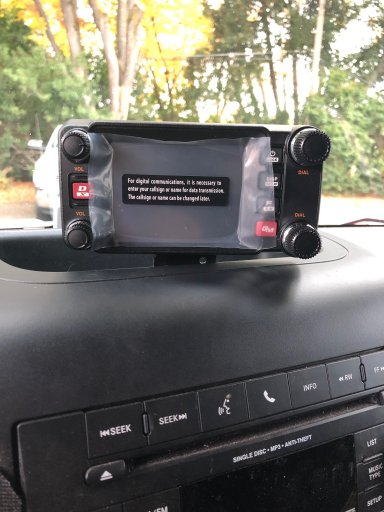
Finished mount. Passed my HAM Tech on Dec 1. can't wait to get my call sign.
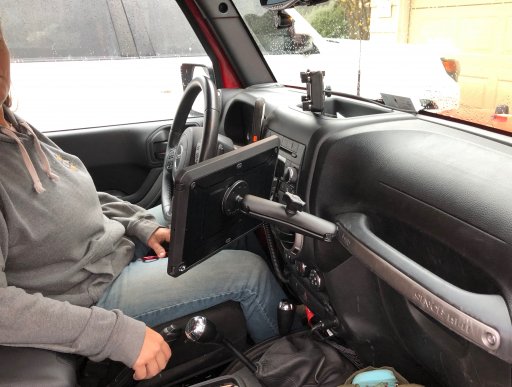
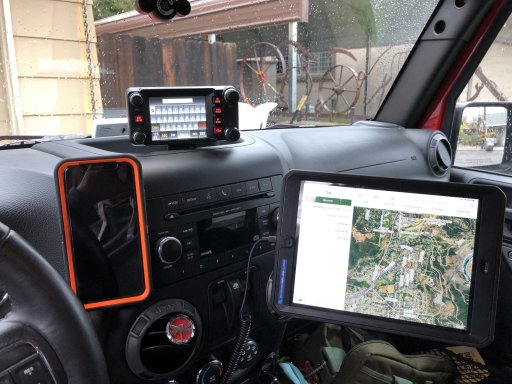
Finished comms and Nav Center. the phone is mounted via velcro and has been that way for the last 2 years. The iPad mount will be featured in another post.
First up a Yaesu FTM-400 XDR mounted on the factory footman loop via a Rugged Ridge CB Radio Mount and the faceplate on mounted in the goodie tray on the dash via a homemade mounting bracket held down by double-sided tape and the OEM screw already there. A little trimming of the rubber tray and it slipped right over the new bracket so I can still use it. Paired the Radio with a Diamond antenna and a CP-5M antenna mount on the drivers'side of the hood.
Thought this was going to be an easy install until I realized running wires through the firewall of a manual transmission JK must be done through very very tiny little holes. One on the passenger side and one on the driver's side, accessed via removal of the side panels of the dash. These little pass-throughs are quarter sized on the interior but are not large enough to pass anything larger than about ¼” or less on the exterior, this includes coax fittings and wiring with in-line fuses. So a little bit of drilling to make the drivers side hole a tad bit larger and the cutting and splicing of the power leads and the wiring was done. After all that I realized the coax I had was way longer then I needed so I’ll be needing to un-solder cut and re-solder the coax to the right length and could have avoided the bit of drilling. Oh well, live and learn.
Body of the Yaesu mounted to the cool little bracket that uses the footman loop
The hole looks big from this side, but is narrowed by various metal folds and protrusions on the other side :-(
The hole looks big from this side, but is narrowed by various metal folds and protrusions on the other side :-(
Finished install all nice and sturdy and out of the way but will stay dry during a water crossing :-) and still easy to take the roof off.
The little dash screw that's under the rubber mat, is holding down a home made bracket. used some 2 sided tape for a little extra grip and bought the screw knob at ACE.
My little bracket.
Finished mount. Passed my HAM Tech on Dec 1. can't wait to get my call sign.
Finished comms and Nav Center. the phone is mounted via velcro and has been that way for the last 2 years. The iPad mount will be featured in another post.