2013 Land Rover LR4/Discovery 4 Build Thread

  • HTML tutorial

finlayforprez

Rank V
Founder 500
Launch Member

Member II

1,963
Ronks, PA, USA
First Name
David
Last Name
West
Member #

0001

Enjoyed seeing your build in progress. How is the road noise from the Baja rack?
Thanks so much! The build is just about done, but it is taking me a while to finish this darn build thread! I certainly can't hold a candle to @gulfstreamchris and his amazing LR4 build thread!

I'll finish posting at some point this week......... Stay tuned.
 
  • Like
Reactions: gulfstreamchris

finlayforprez

Rank V
Founder 500
Launch Member

Member II

1,963
Ronks, PA, USA
First Name
David
Last Name
West
Member #

0001

Enjoyed seeing your build in progress. How is the road noise from the Baja rack?
Hey there, I am just coming back to this thread to work on my build story. @gulfstreamchris inspired me with his incredible LR4 build thread. I realized I did not answer your question about road noise with the Baja Rack. I would say it is very minimal, even at higher speeds and loaded up with gear/equipment. I have had a Voyager Rack and Urban Offroad rack, both are more noisy than the Baja Rack, but the Urban Offroad rack was ridiculously noisy. It literally sounded like a jet engine above my LR4!!!
 
  • Like
Reactions: JimmyPresley

finlayforprez

Rank V
Founder 500
Launch Member

Member II

1,963
Ronks, PA, USA
First Name
David
Last Name
West
Member #

0001

Different Rock Sliders (and some skids):

I posted earlier about my first experience with the Urban Offroad rock sliders and some photos, but later on I decided that I needed more protection, and after cracking my plastic compressor cover on a rock, determined that I needed sliders that actually cover and protect the entire EAS unit. I decided to go with the Tactical 4x4 rock sliders, which actually bolt onto the frame, provide extremely robust protection, and can be used as Hi Lift jacking points. Since these sliders extend under the vehicle and protect the EAS, you need to use a supplied compressor bracket to raise the compressor to fit. Some of the older model compressors (Hitachi) did fit before the 2012 model year, but anything late model 2012 and beyond required the new bracket to lift the compressor (AMK). As you can see, the sliders do cover the entire EAS area:


The install is not tough, but these are big heavy sliders that definitely take a bit of strength to lift them into place, line up, and bolt onto the frame. I would highly recommend putting strips of rubber or high-quality foam anywhere that the slider articulates with the body of the vehicle. If you do not, then after a couple weeks expect some pretty annoying creaking. Noises usually do not bother me, but this was extremely annoying. One other note about noise, since the compressor gets lifted closer to the cabin, it creates a lot more noise when working to raise the vehicle. There is not much you can do and it's not bad at all.

Here are a few photos of the Tactical 4x4 sliders:


I know these are terrible photos, but there are lots of photos available online or at @gulfstreamchris build page. I also have the Tactical 4x4 gas tank skid and transfer case skid plates. Both provide some great protection, but these are heavy and of course make the LR4 feel a bit less nimble. HAHA! I don't have great photos, but here is one and you can see others on my Instagram page.


finlayforprez

Rank V
Founder 500
Launch Member

Member II

1,963
Ronks, PA, USA
First Name
David
Last Name
West
Member #

0001

Great stuff David. Love your details in your posts. All great info. Good to know the noise is the same as it's quite noticeable when the pump kicks on.


Sent from my iPhone using OB Talk
Thanks so much! I kind of did a terrible job with photos, as I still can't figure out a good way to organize them and post them on here. I'm just not good at this stuff hahaha
 

finlayforprez

Rank V
Founder 500
Launch Member

Member II

1,963
Ronks, PA, USA
First Name
David
Last Name
West
Member #

0001

Front Bumper, Winch, and Off-road Lights

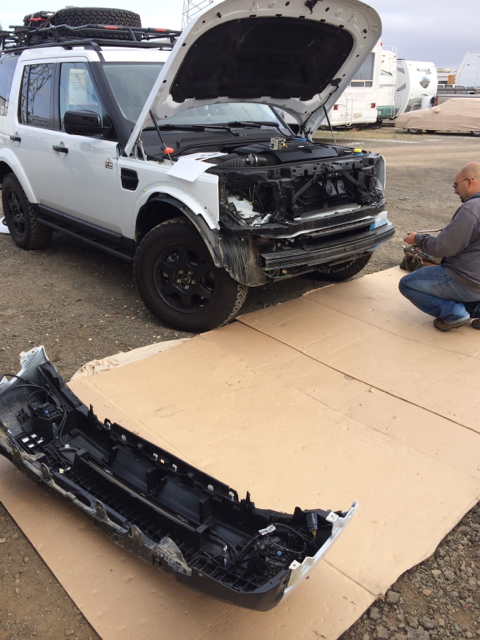
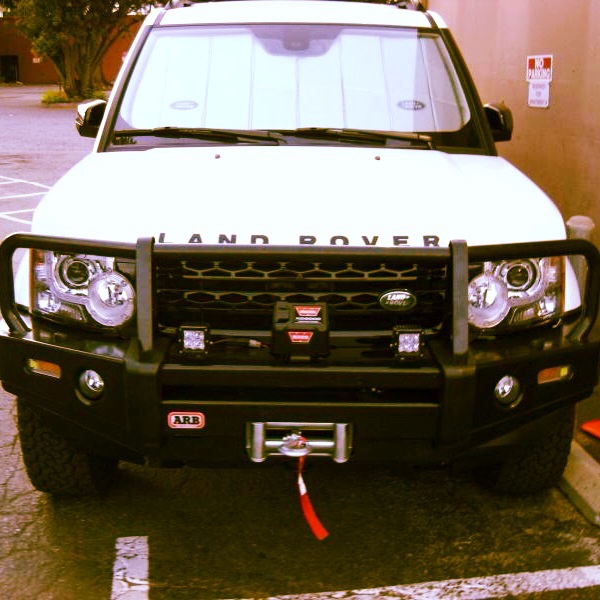
The next modification I did was to install a steel front bumper and self-recovery winch. There were only two options at the time for the NAS LR4, the ARB or the Tactical 4x4. You can head over to the LR4/Discovery 4 forums and read tons of information on why people chose the one they did, but let me give you a quick summary. The ARB is a quality front bumper, machine made for relative precision, and looks good. It is also the only Bumper that is technically DOT approved. The Tactical 4x4 is made here in the US in southern CA. I personally like the look of the ARB a bit better, as it's pretty classic overland. The Tactical 4x4 is really nice, but for me the style is sort of more "bro" to me, if that even makes sense. The Tactical 4x4 does have better approach angles and overall set up for off-road challenges. Both of them accommodate a winch and install is a bit annoying, but not bad. The Tactical 4x4 install requires that the washer reservoir be relocated, which the ARB does not. The ARB is more plug and play, but the electrical hook up can be rather daunting. The instructions from Australia are not very good at all, but you can figure it out. The Tactical 4x4 instructions are decent, and they have a ~30 minute YouTube video showing it almost step by step. I think in the end you have to make the choice based on looks, how you use your LR4, and comfort of install. I think both of them require a bit of mechanical skill, a decent install area, some tools, and a lot of patience. In the end, I went with the ARB and WARN XD9000 winch. I also put on Rigid Dually off-road lights.

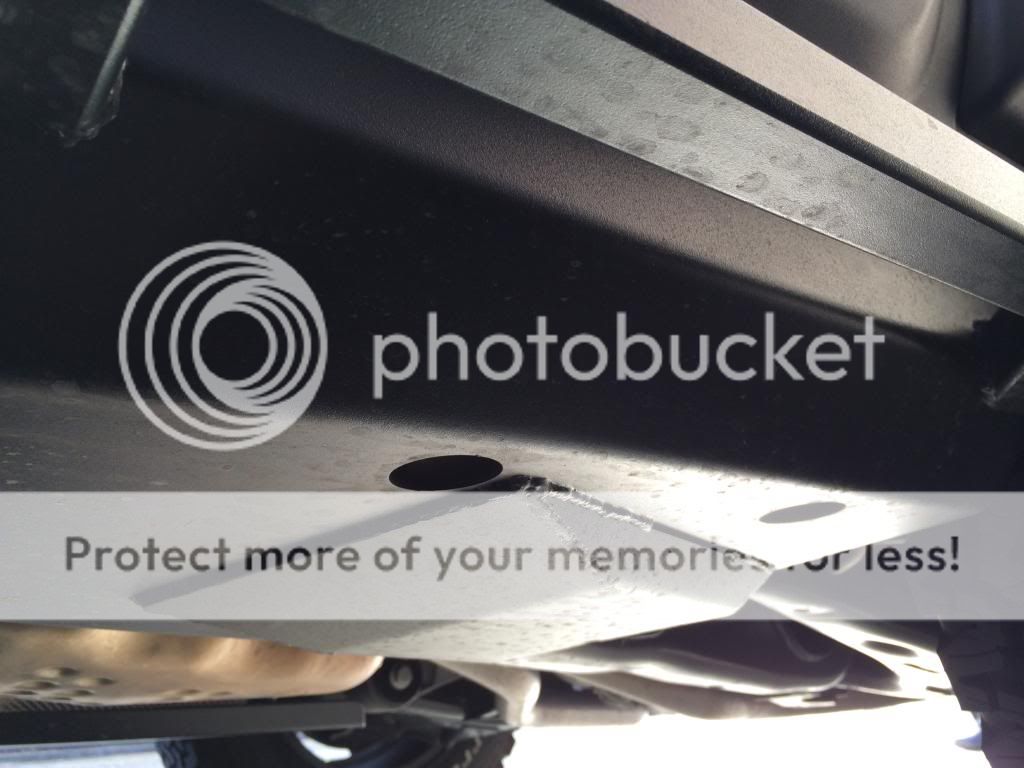
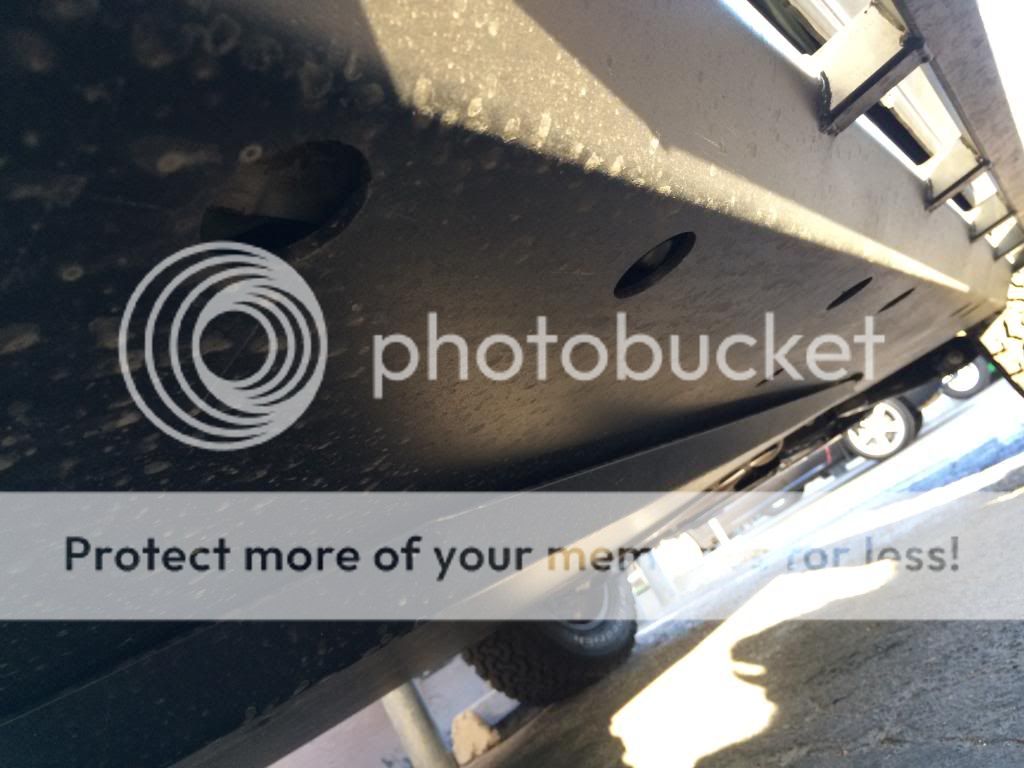
Here are a few photos of the install with notes. First, you have to remove the front bumper. I was careful, but if you want to save your bumper not sure it'll work to put it back on, but I'm sure it's possible. My suggestion is to just be sure you want a steel front bumper before jumping into the commitment.


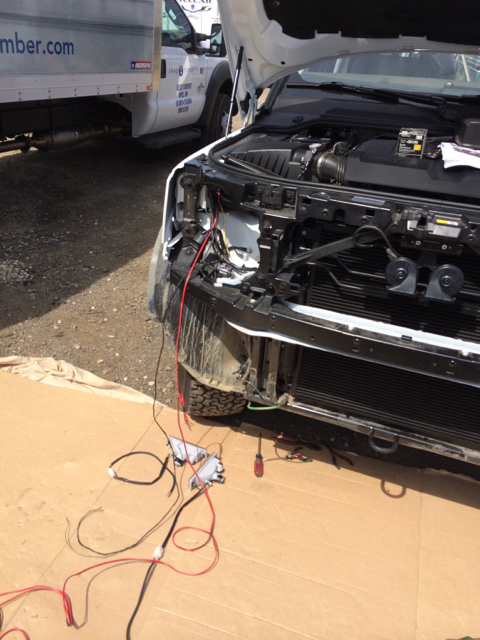
Just keep the what seems like millions of pieces, screws, and bits of install fun very well organized. My advice is to prepare everything and lay it out first before you tackle the install. It has the potential to be a nightmare if you are not organized and prepared. The wiring really got me boggled and it looked like my rover threw up electrical wires as I was organizing everything.


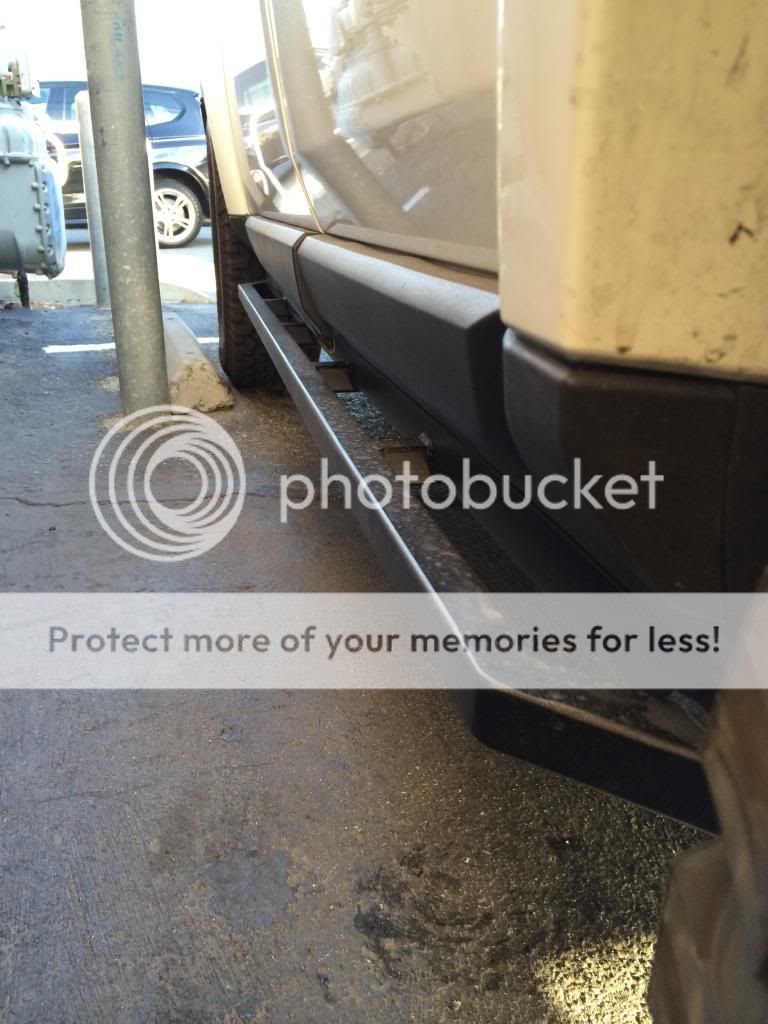
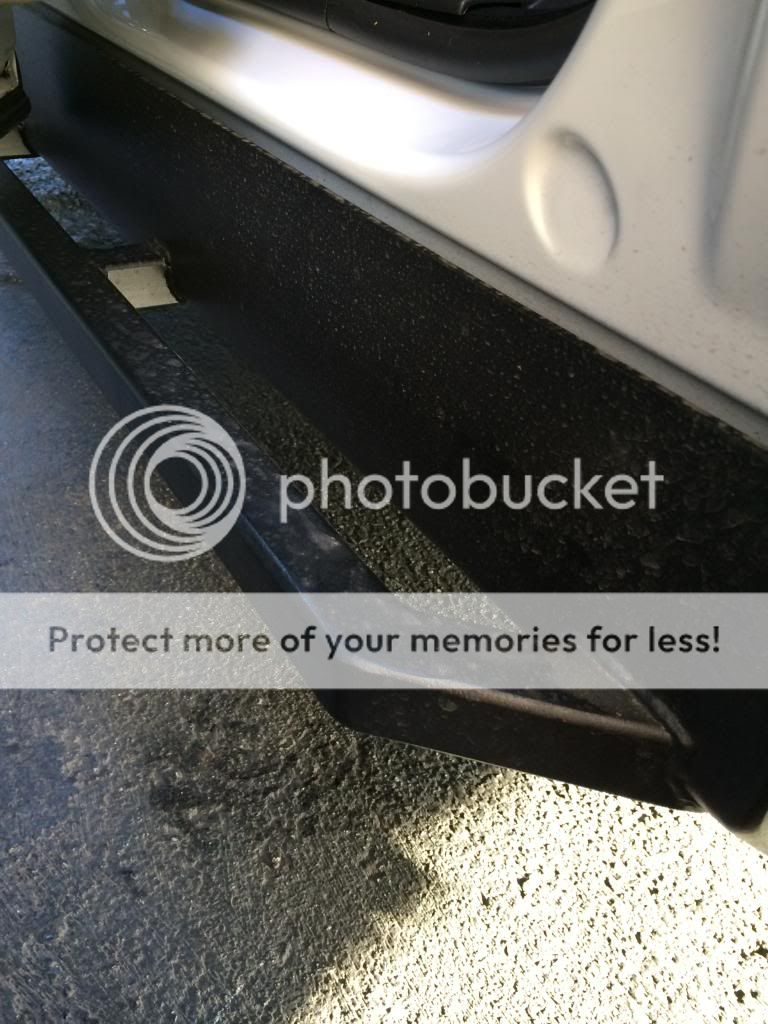
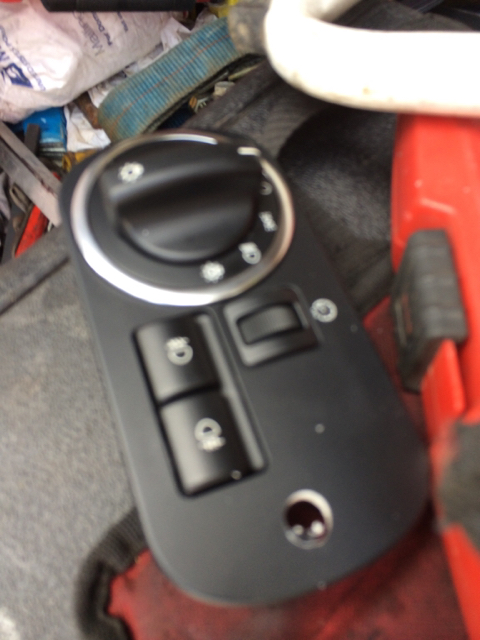
Just take your time with everything, including the winch install, and don't rush or cut corners with anything. ARB supplies scotch clips to tie into the headlamp harness, but I chose to use heat shrink connectors and really took my time with the electrical connections, that was the hardest part for sure. I also wanted to wrap everything really well and as clean as possible. For the off-road lights, I used the stock light switch plate cover, ran the wires through the firewall, and then drilled a hole for a really clean install and look.


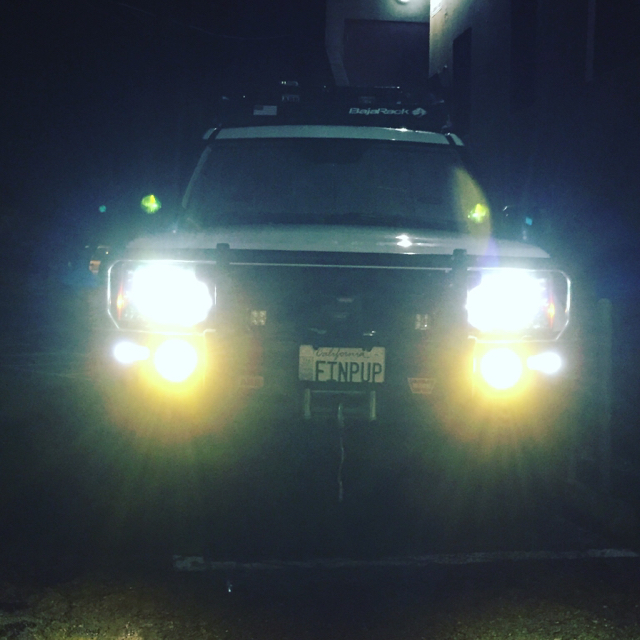
Here are a few final photos:


I later added yellow HID fog lights and they really increased visibility.


finlayforprez

Rank V
Founder 500
Launch Member

Member II

1,963
Ronks, PA, USA
First Name
David
Last Name
West
Member #

0001

Great description and photos. How's weight? Is it noticeable?
@gulfstreamchris made a few comments about this, but I haven't really noticed much difference, but I have barely driven an LR4 unmodified. It is definitely heavier and you can feel it with all the steel we have on our LR4s, but if you had only the front bumper, it's not bad.
 

TGF

Rank IV
Launch Member

Advocate II

1,298
Lunenburg, MA
Member #

4287

Sweet truck. Really like it - and of course I am partial to white Discoverys. ;) The brown interior is great. I just took part of the front of mine apart to replace the lights and bumper and add a winch, so it's fun to see your similar pics!
 
  • Like
Reactions: finlayforprez

finlayforprez

Rank V
Founder 500
Launch Member

Member II

1,963
Ronks, PA, USA
First Name
David
Last Name
West
Member #

0001

Sweet truck. Really like it - and of course I am partial to white Discoverys. ;) The brown interior is great. I just took part of the front of mine apart to replace the lights and bumper and add a winch, so it's fun to see your similar pics!
Thanks! Yes, the arabica interior is pretty rare... I ordered it special.
 
  • Like
Reactions: TGF

Wallace

Rank II
Launch Member

Contributor III

327
Del Mar, CA, USA
First Name
Adam
Last Name
Wallace
Member #

4981

Wheel/tire post 2 of 2....

I switched to the BFG A/T KO2s once they were available in 265/65R18 and have been extremely happy with their performance on and off the road and in many different terrains. Here are a few photos of the KO2s - this is my current setup and plan to keep this tire long term. I do rotate about every 3,000-5,000 miles and did a bit of research and testing to fit just the right pressure to run them on the road. Depending on the trail and condition, I air down to about 18-20PSI.
Do you mind sharing the road pressure you settled on? I just got the same setup (LR4, Compomotive, KO2s 265/65R18) haven't settled on a everyday PSI yet. (did a search of your posts, but could find if you ever listed)
 
  • Like
Reactions: finlayforprez

finlayforprez

Rank V
Founder 500
Launch Member

Member II

1,963
Ronks, PA, USA
First Name
David
Last Name
West
Member #

0001

Do you mind sharing the road pressure you settled on? I just got the same setup (LR4, Compomotive, KO2s 265/65R18) haven't settled on a everyday PSI yet. (did a search of your posts, but could find if you ever listed)
Hey there! Thanks for the message. I’m sorry I barely get on the forums. I did a lot of testing and found the sweet spot to be between 48-50psi..... depends on your weight. I know it seems high but I have a lot of heavy mods and did a lot of testing and below 48 was not good on the road. Wear has been great at the higher PSI.... I have heard folks go 46 and it’s good, especially if they don’t have a lot of weight. I hope that helps!
 
  • Like
Reactions: Wallace

Wallace

Rank II
Launch Member

Contributor III

327
Del Mar, CA, USA
First Name
Adam
Last Name
Wallace
Member #

4981

Hey there! Thanks for the message. I’m sorry I barely get on the forums. I did a lot of testing and found the sweet spot to be between 48-50psi..... depends on your weight. I know it seems high but I have a lot of heavy mods and did a lot of testing and below 48 was not good on the road. Wear has been great at the higher PSI.... I have heard folks go 46 and it’s good, especially if they don’t have a lot of weight. I hope that helps!
Thank you, that helped a lot!

Saw your recommendation when I got back to the truck from a hike today, so I aired up to 46 in the front and 48 in the rear for the drive home (mostly stock right now, other than a few bins, fridge and the full spare), big improvement over the 40/44 I had it at.
 
  • Like
Reactions: finlayforprez

finlayforprez

Rank V
Founder 500
Launch Member

Member II

1,963
Ronks, PA, USA
First Name
David
Last Name
West
Member #

0001

Thank you, that helped a lot!

Saw your recommendation when I got back to the truck from a hike today, so I aired up to 46 in the front and 48 in the rear for the drive home (mostly stock right now, other than a few bins, fridge and the full spare), big improvement over the 40/44 I had it at.
You are very welcome! Yeah, these run a lot better a bit higher for sure - def above stock suggestions. Glad I could help!
 
  • Like
Reactions: Wallace