Member II
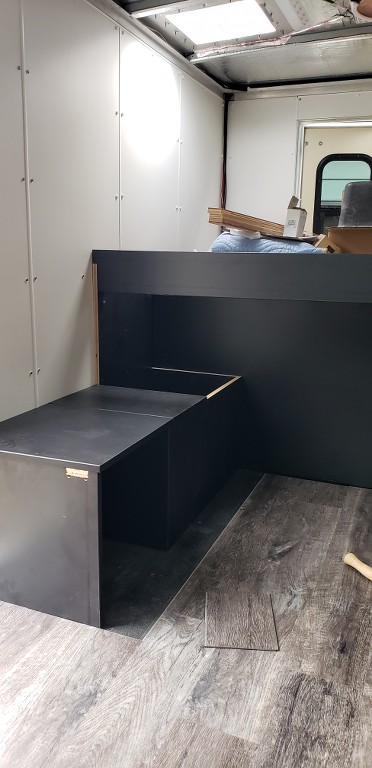
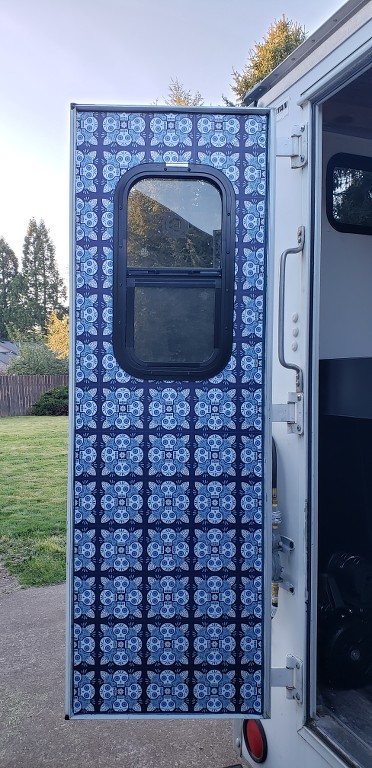
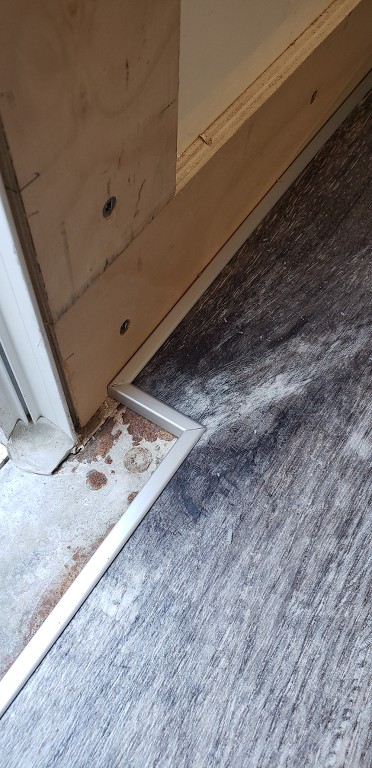
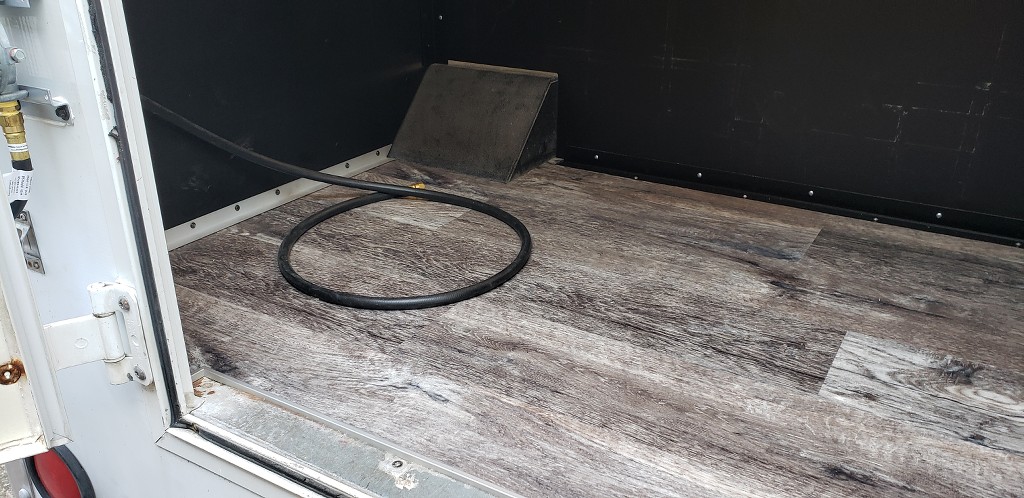
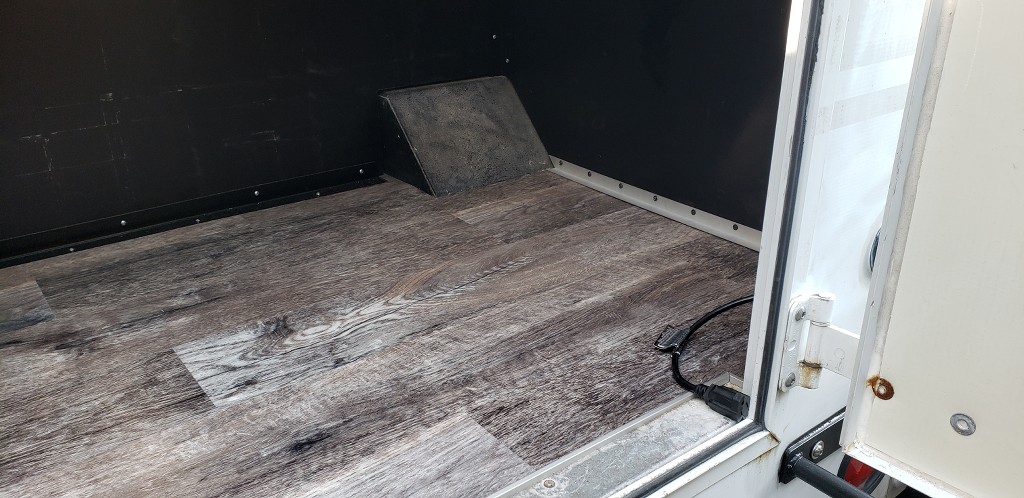
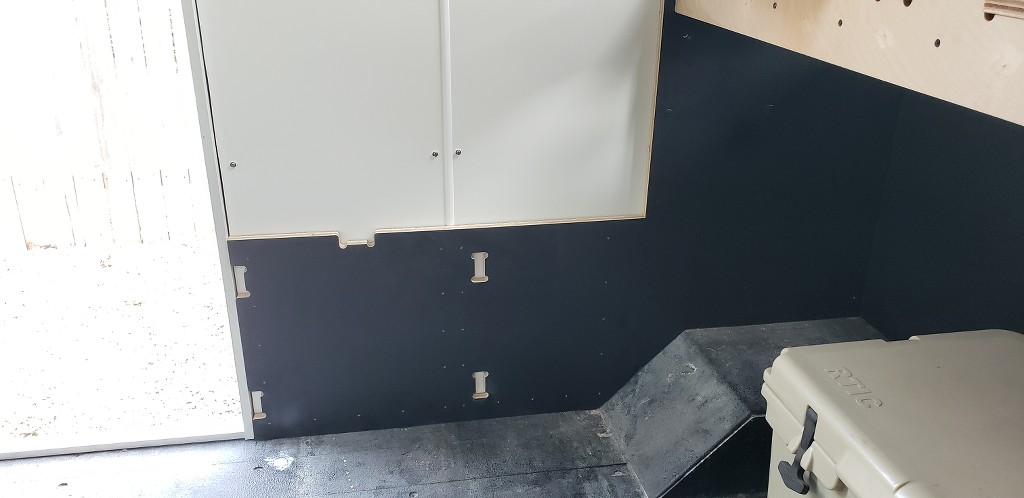
Over the weekend I was able to install the lvp flooring in the cargo area, and add a little aluminum j-trim & angle to help finish it off a little. The j-trim really added a clean look around the door opening, and the angle helped to close in the side some.
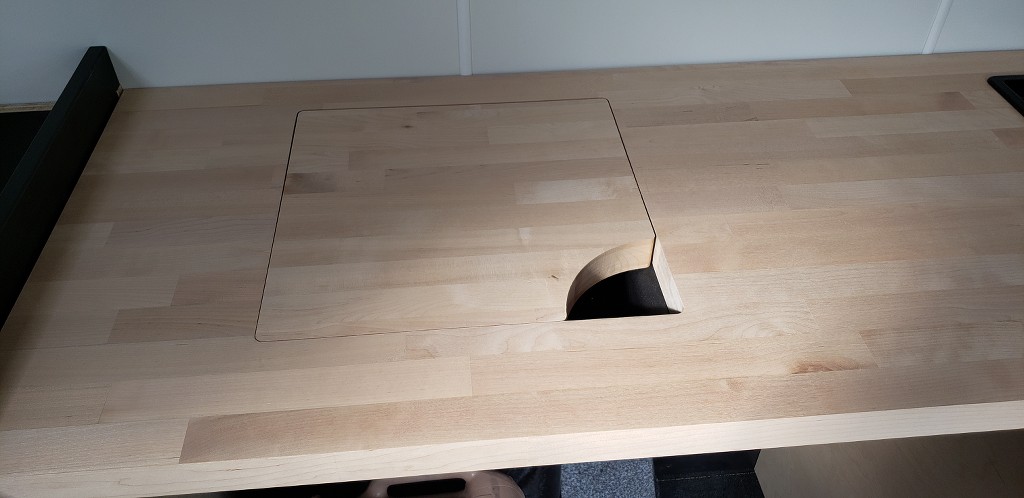
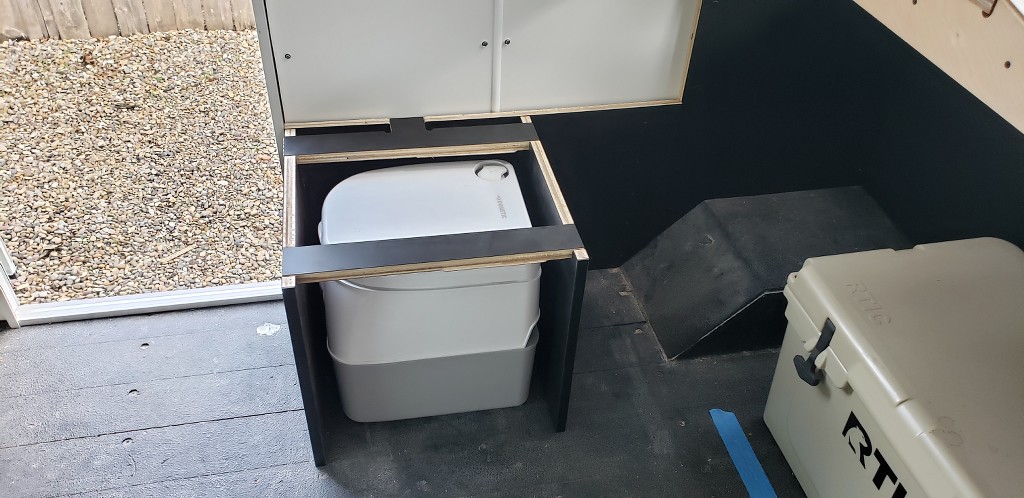
In addition to that I started to assemble a small storage area that'll be installed between the bed, and the door. This will house our Dometic toilet, and allow for a little bit of additional storage.
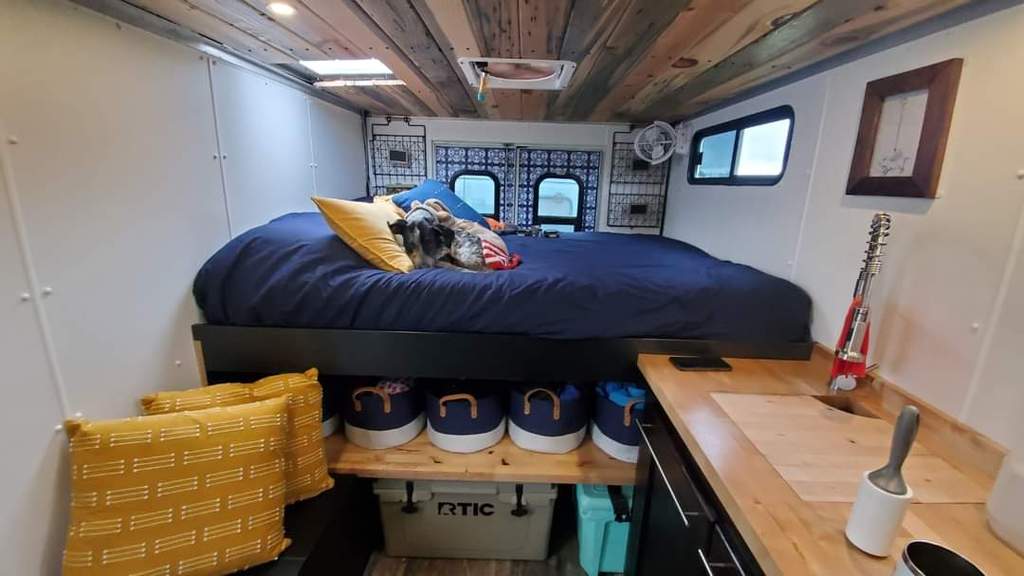
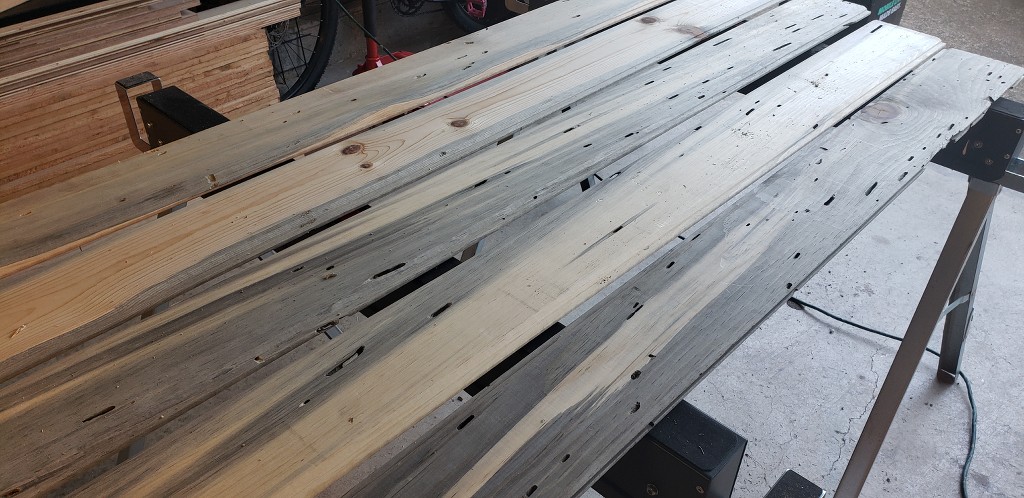
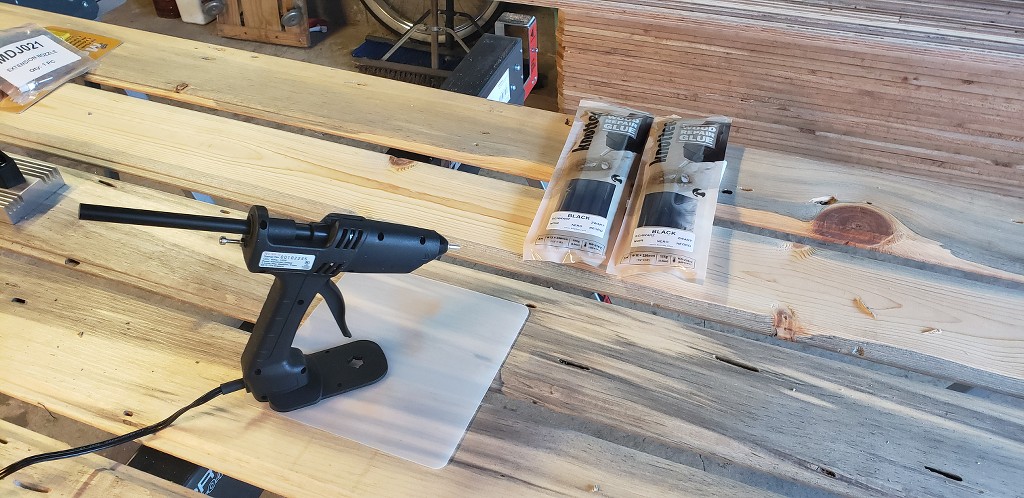
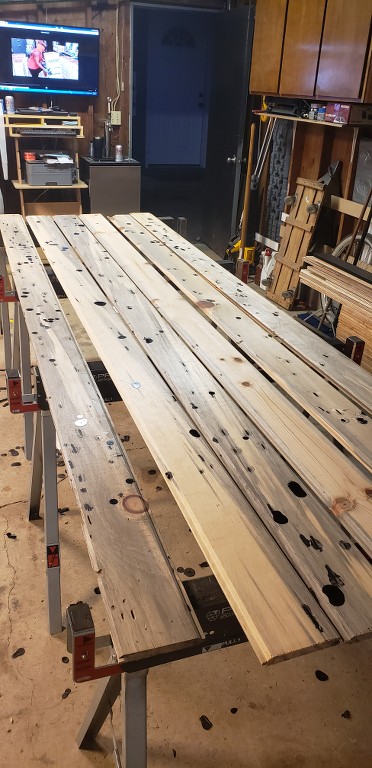
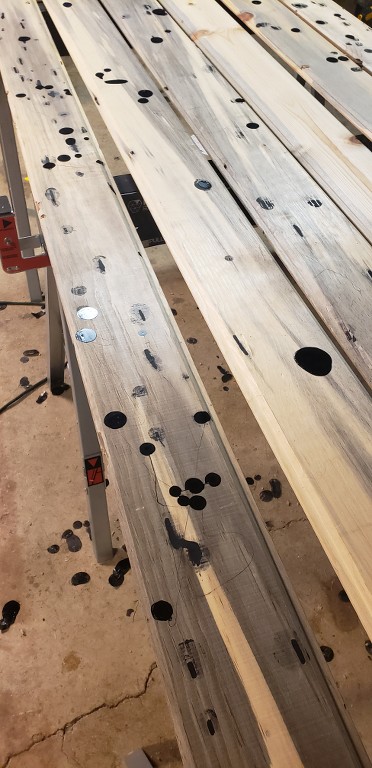
Lastly, I started prepping the wood for the ceiling. I went with blue pine or beetle kill pine. I love the way this wood looks, but it's going to take quite a bit of prep work before I can hang the pieces. The material is 5/8", 5-1/2" in width, and tongue & groove. I'm currently in the process of cleaning out all the beetle channels, and filling those with black hot melt wood filler. Once the filling is complete I'll have to finish sand everything before sealing the wood. I'll be using a shellac on the side facing the metal roof, and a poly on the visible face. Installation will consist of rivet nuts in the rood ribs, and stainless black oxide FHCS recessed into the wood.
In addition to that I started to assemble a small storage area that'll be installed between the bed, and the door. This will house our Dometic toilet, and allow for a little bit of additional storage.
Lastly, I started prepping the wood for the ceiling. I went with blue pine or beetle kill pine. I love the way this wood looks, but it's going to take quite a bit of prep work before I can hang the pieces. The material is 5/8", 5-1/2" in width, and tongue & groove. I'm currently in the process of cleaning out all the beetle channels, and filling those with black hot melt wood filler. Once the filling is complete I'll have to finish sand everything before sealing the wood. I'll be using a shellac on the side facing the metal roof, and a poly on the visible face. Installation will consist of rivet nuts in the rood ribs, and stainless black oxide FHCS recessed into the wood.