2006 Trailblazer

  • HTML tutorial

hardtrailz

Rank V

Advocate II

1,663
Indiana
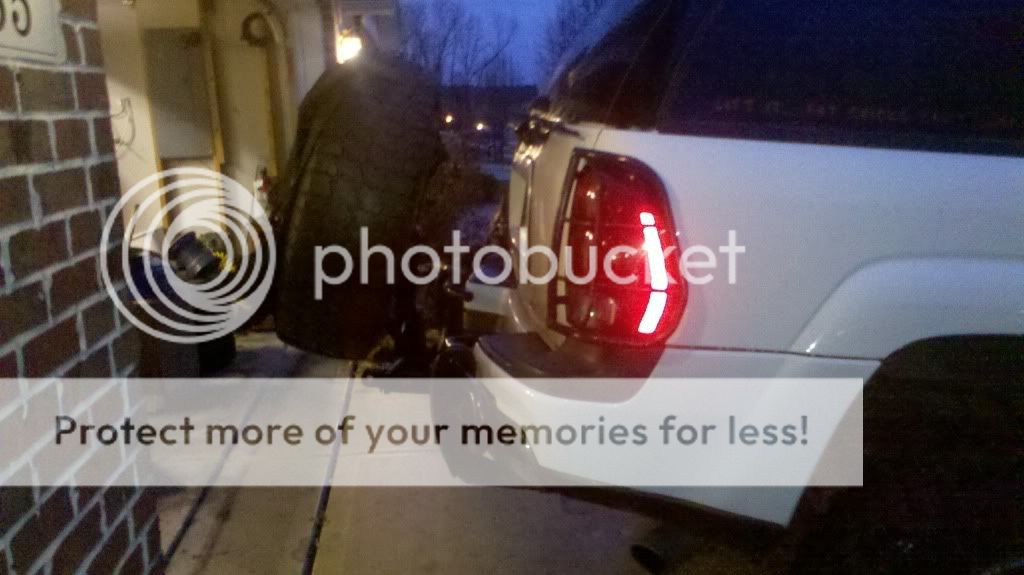
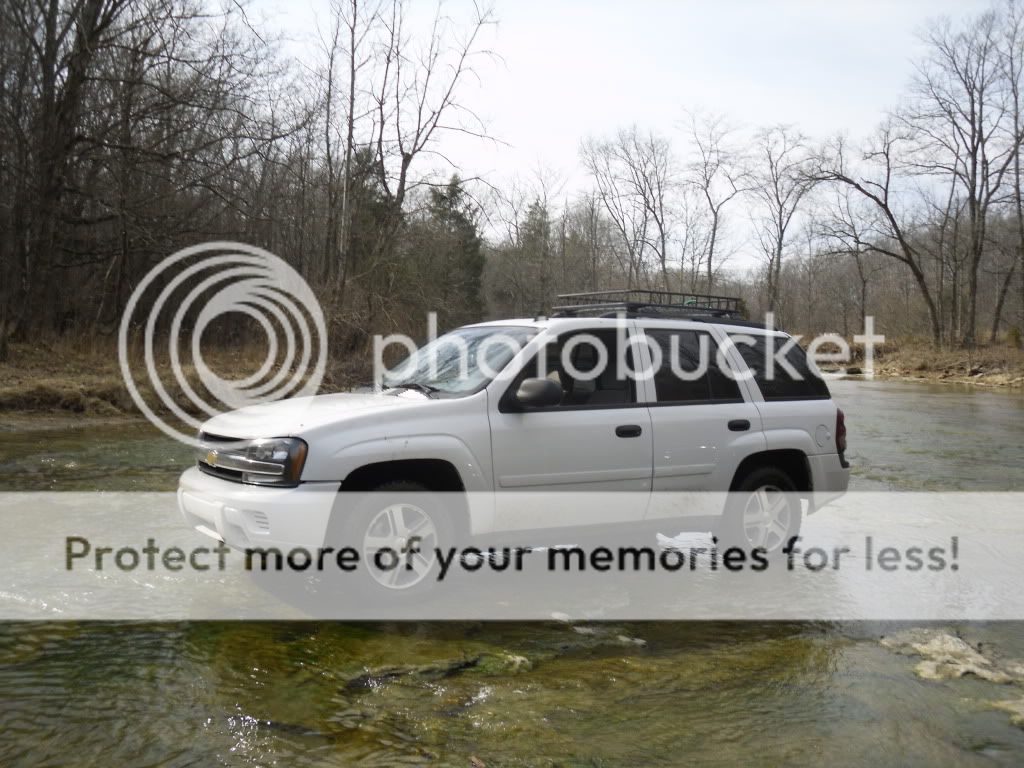
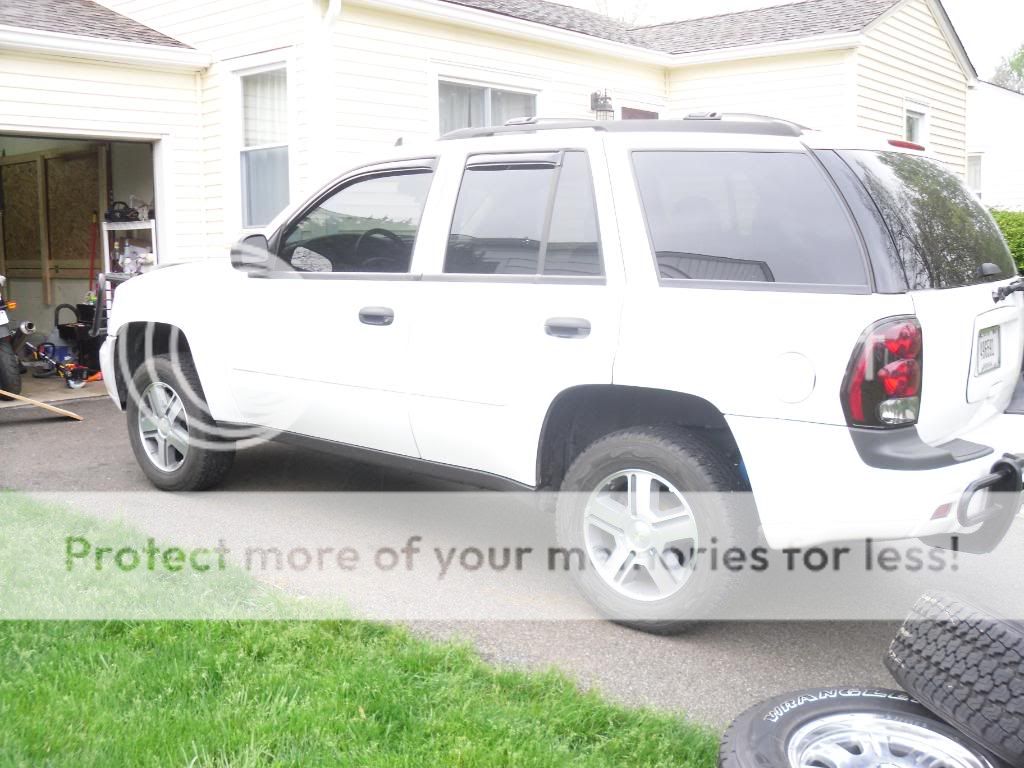
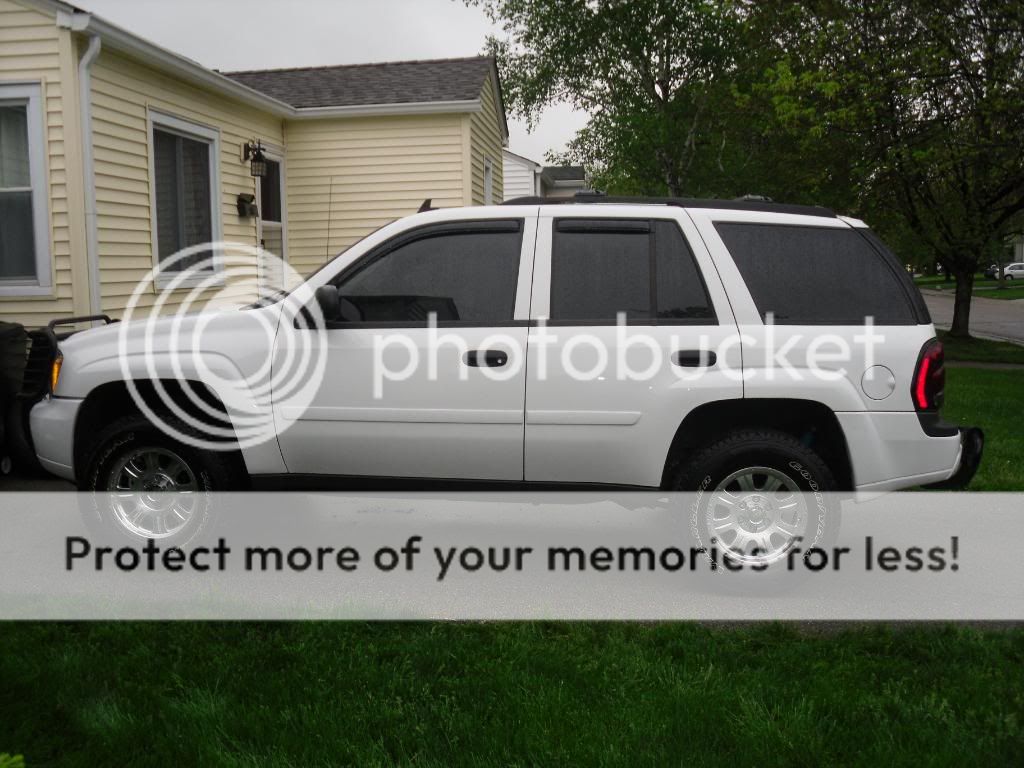
Bought used in early 2009...
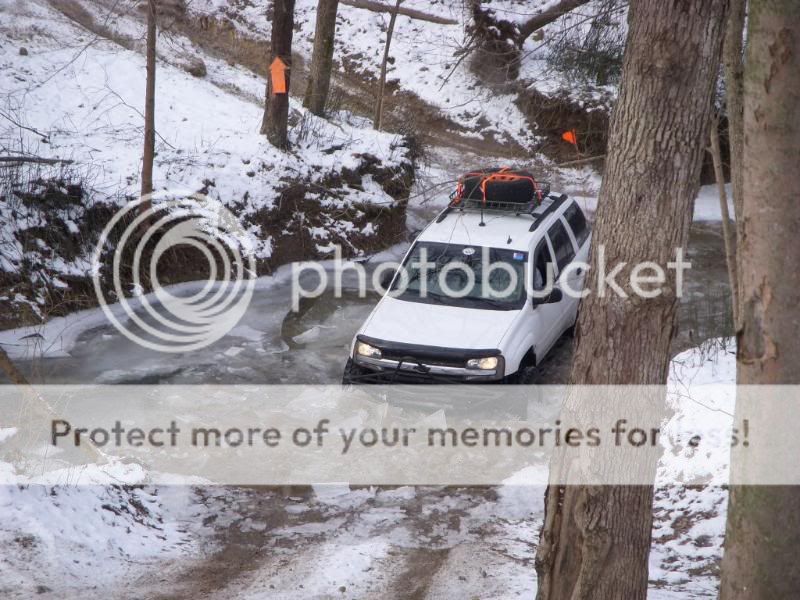
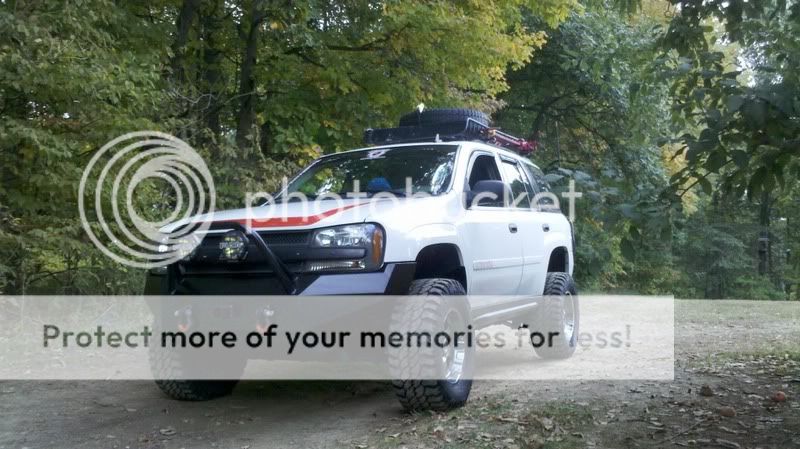
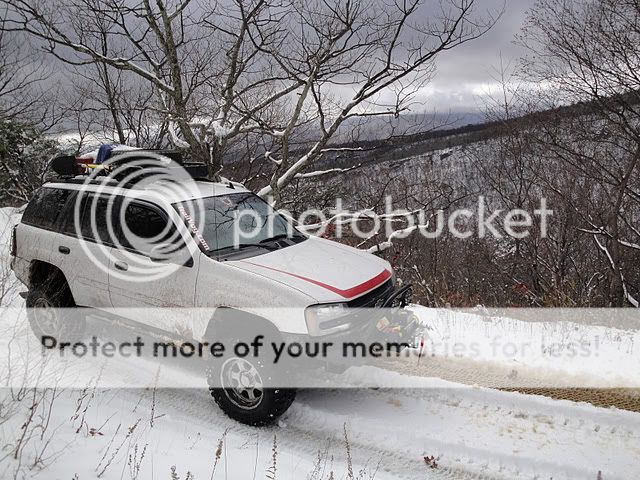
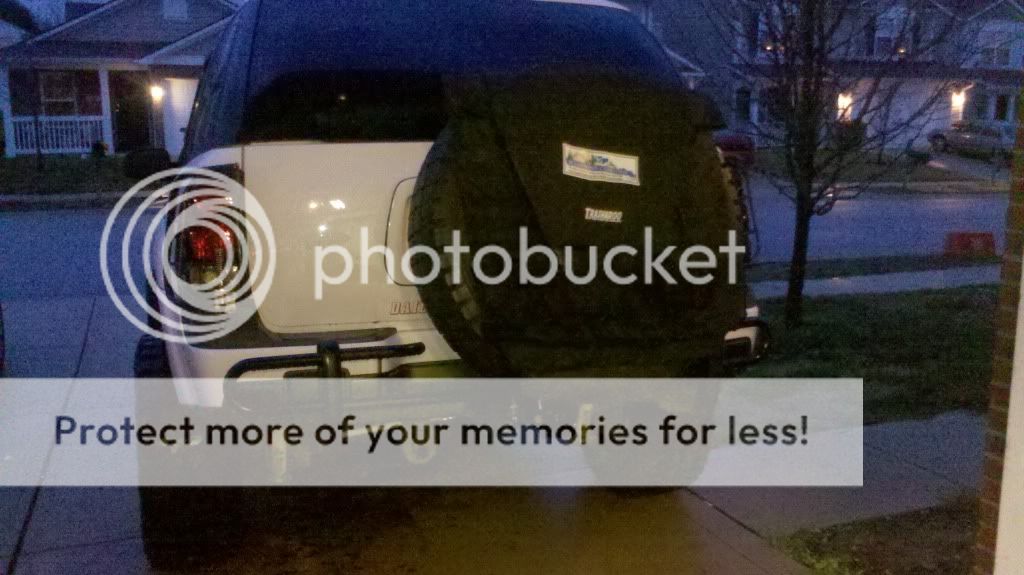
Put a Thule basket on basically right away, but stock otherwise. Promised it would stay that way as well....


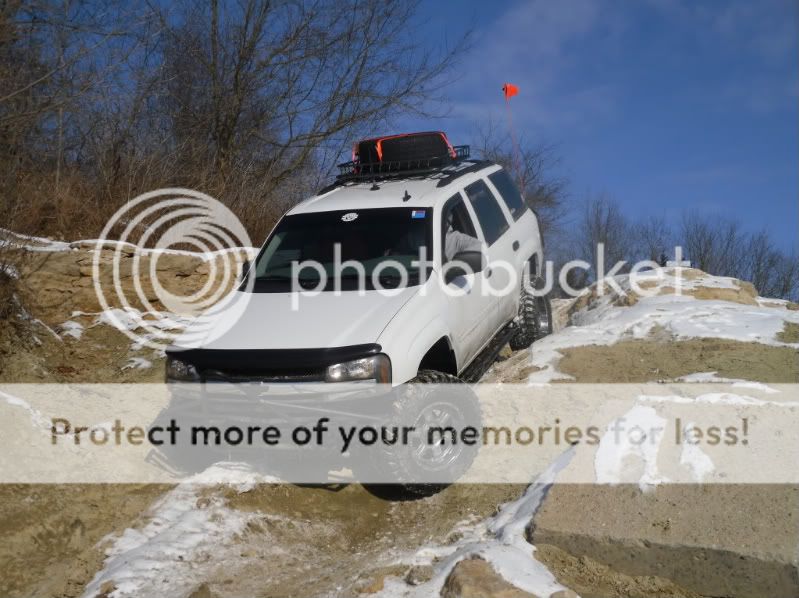
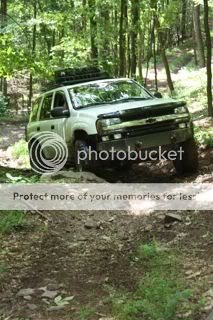
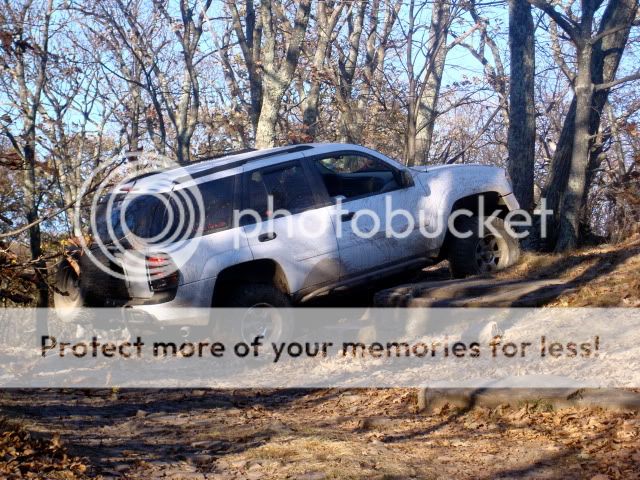
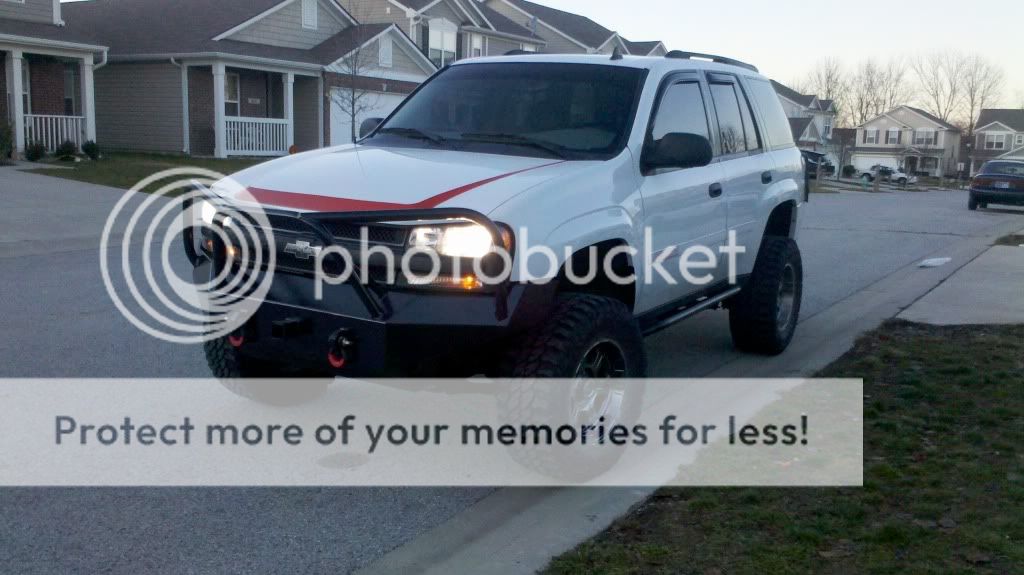
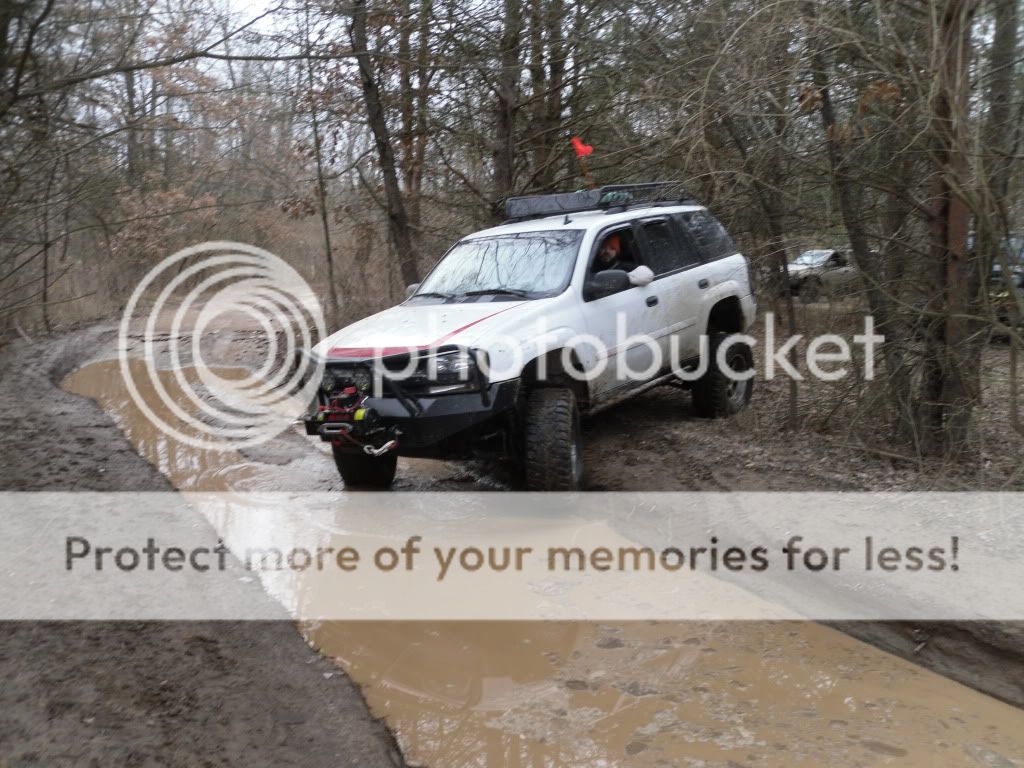
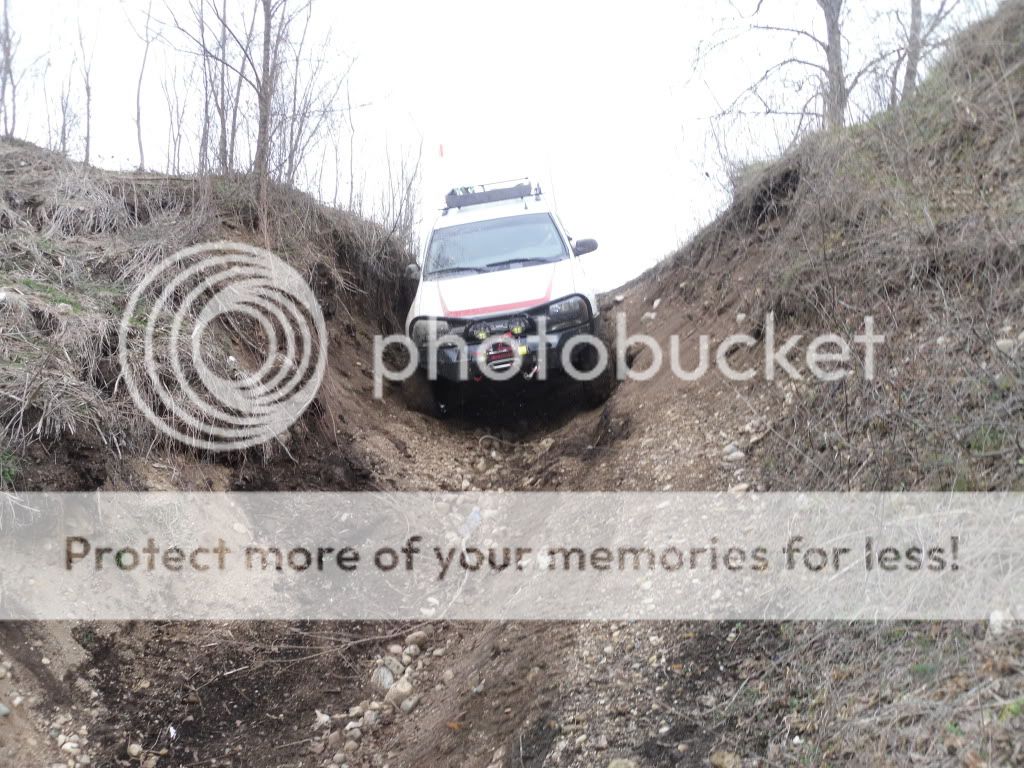
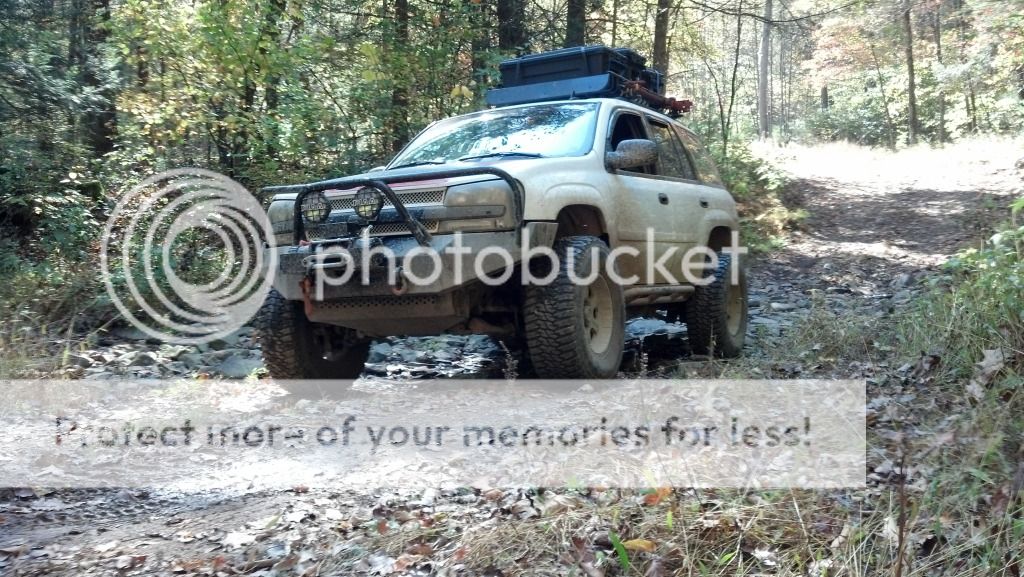
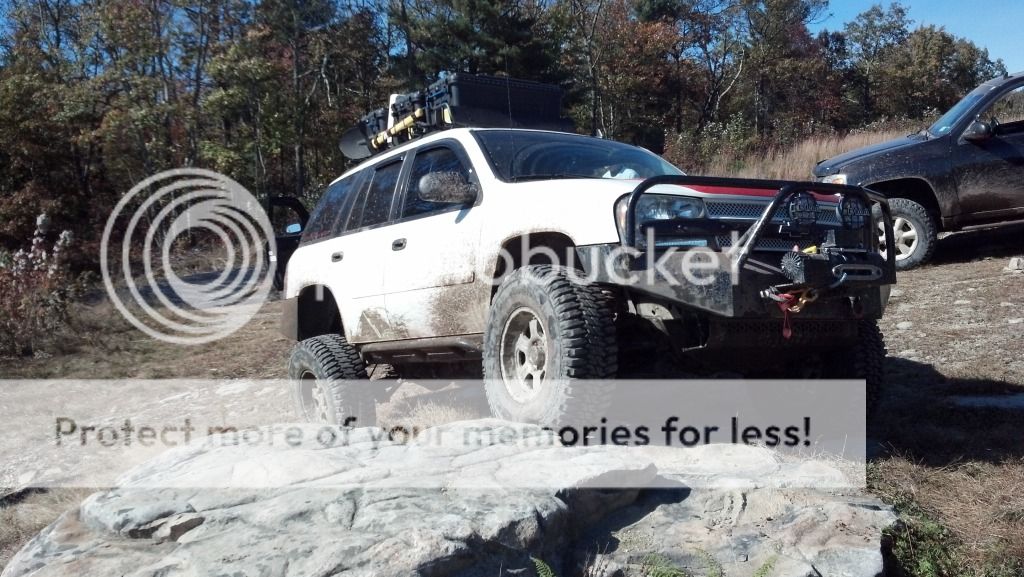
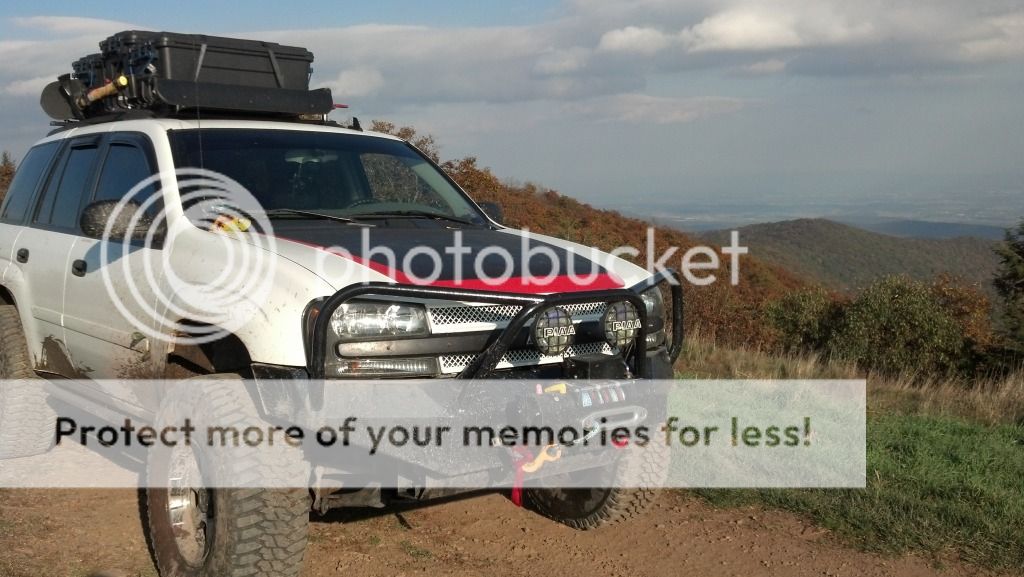
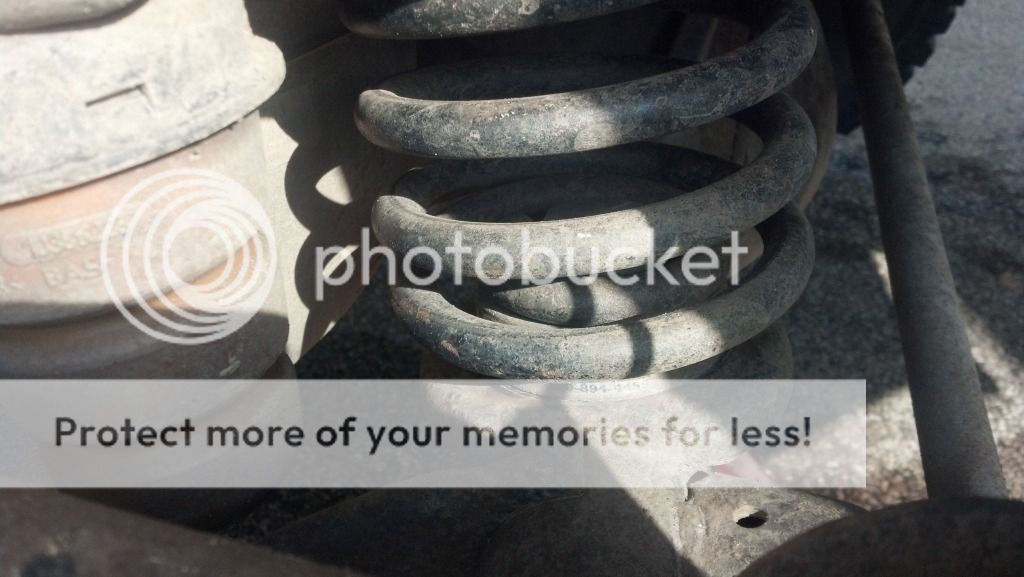
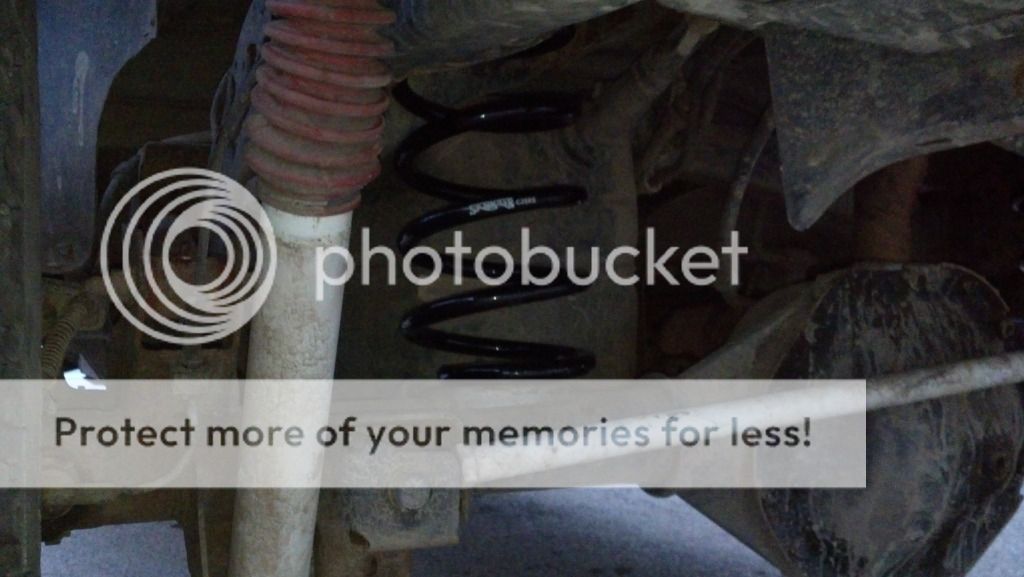
Then MarkMC 2.5 inch lift w Bilstien HD's all around


and some 265-70-17 Silent Armors


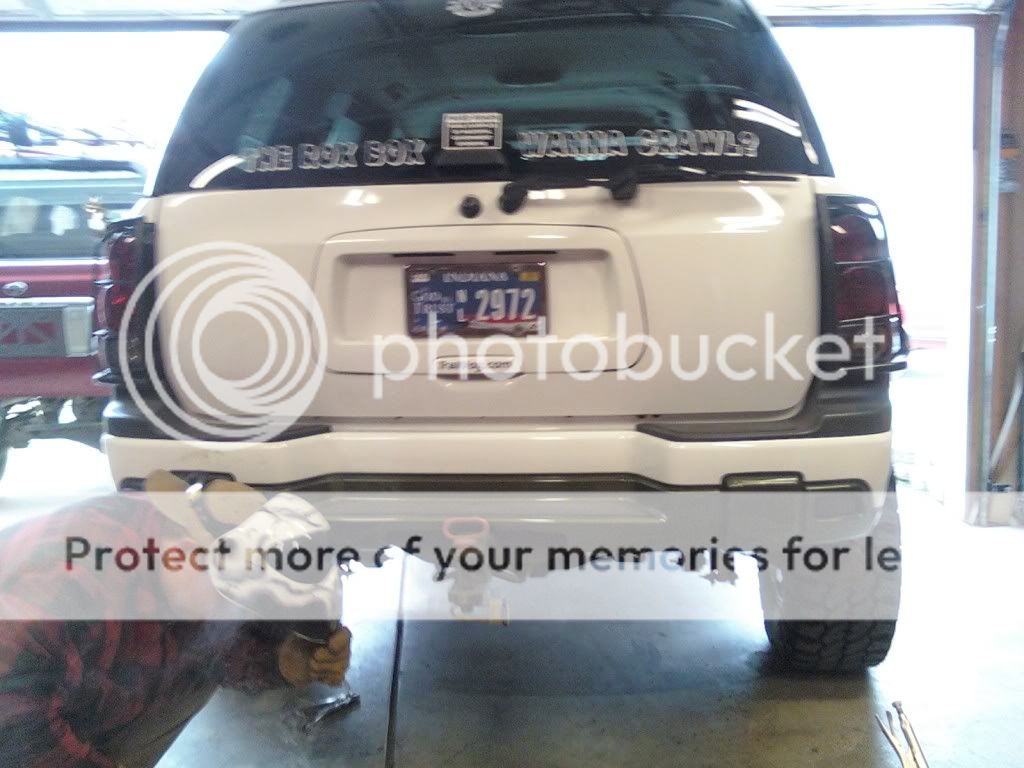
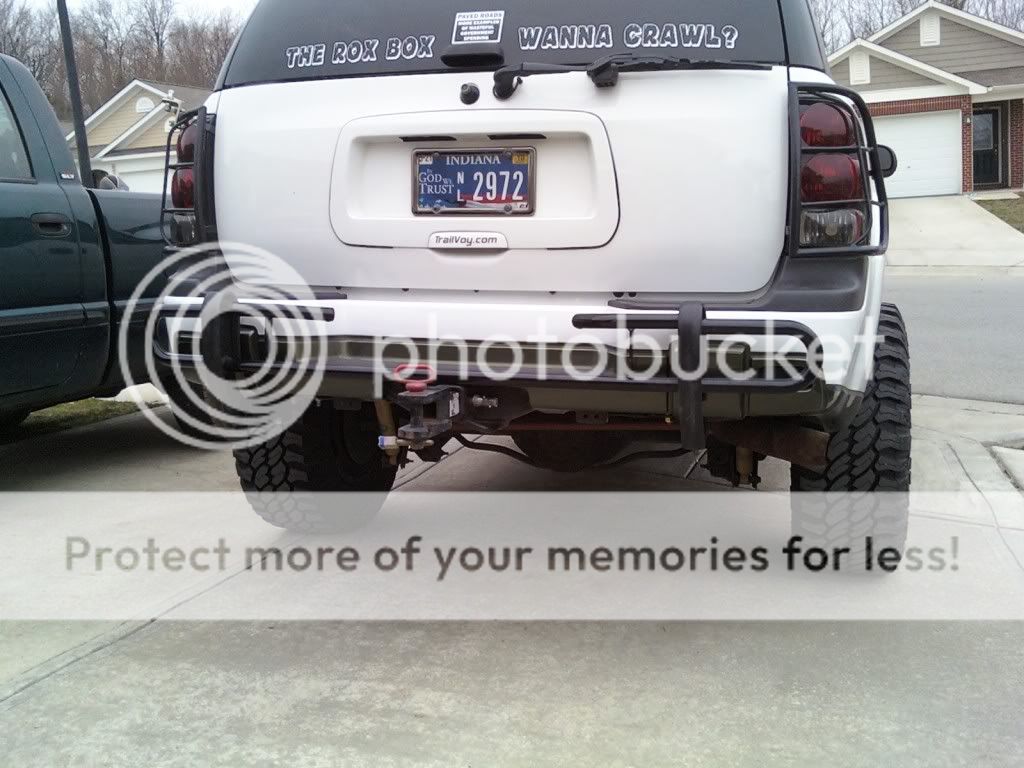
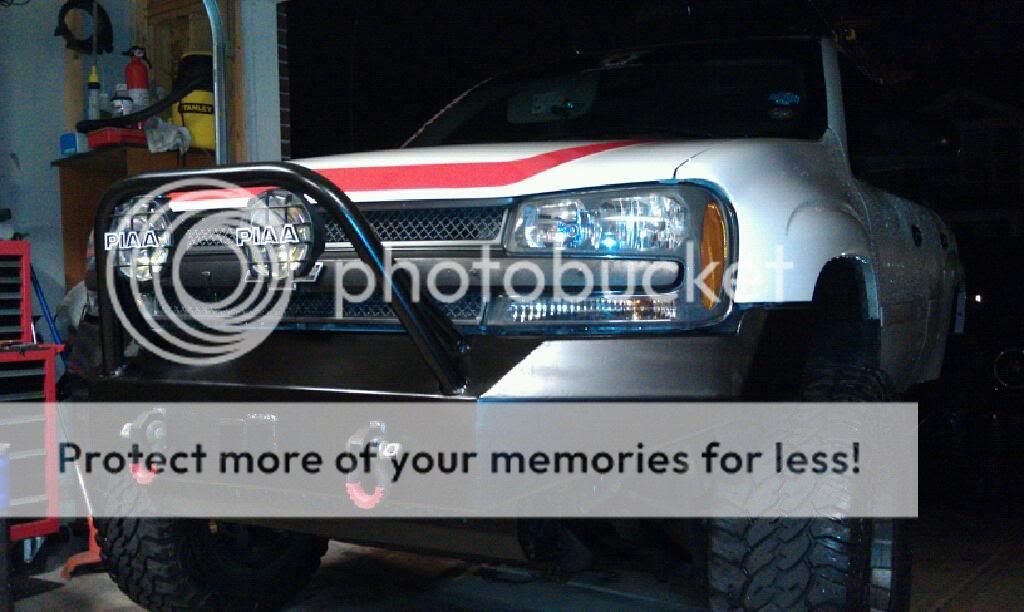
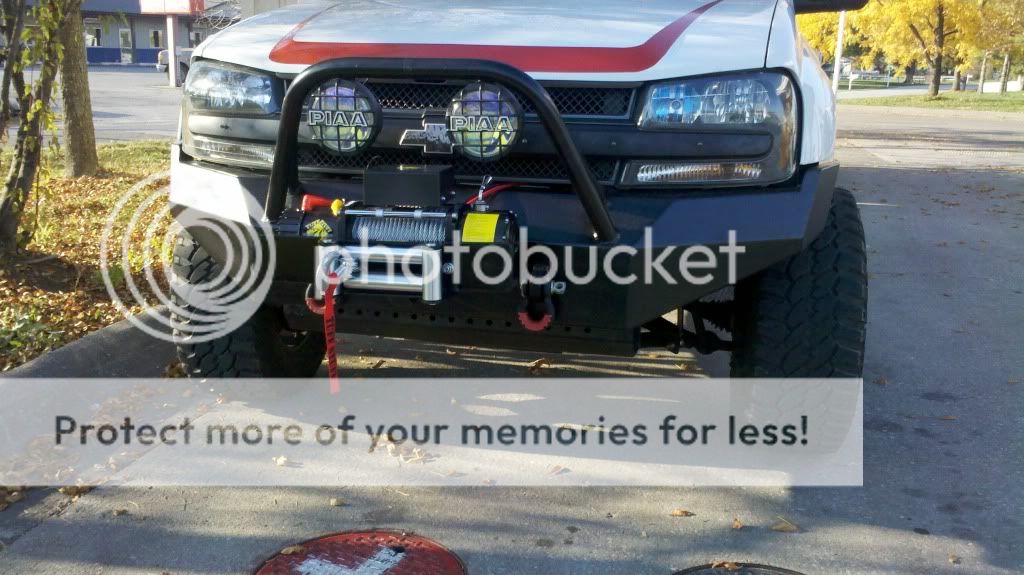
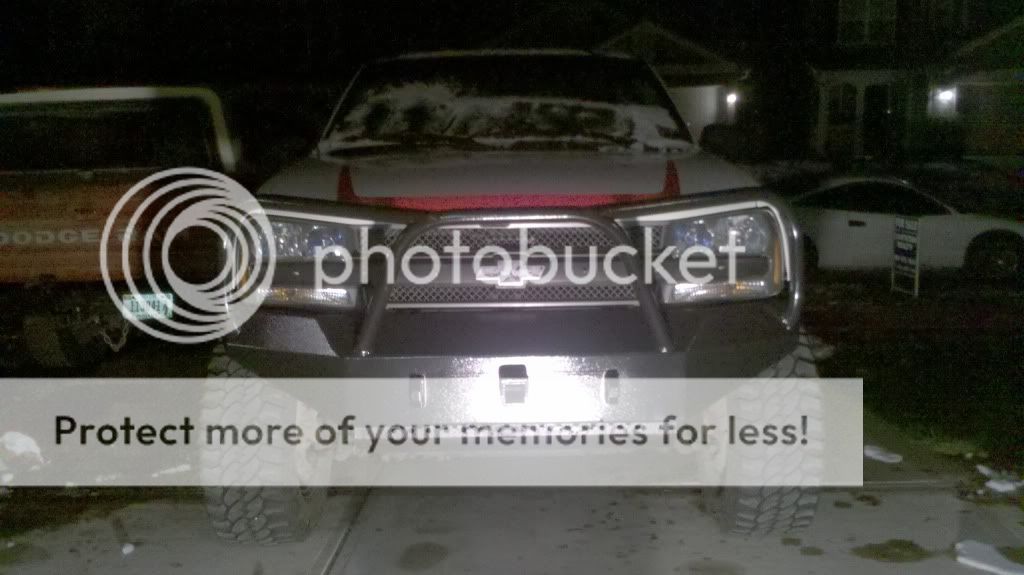
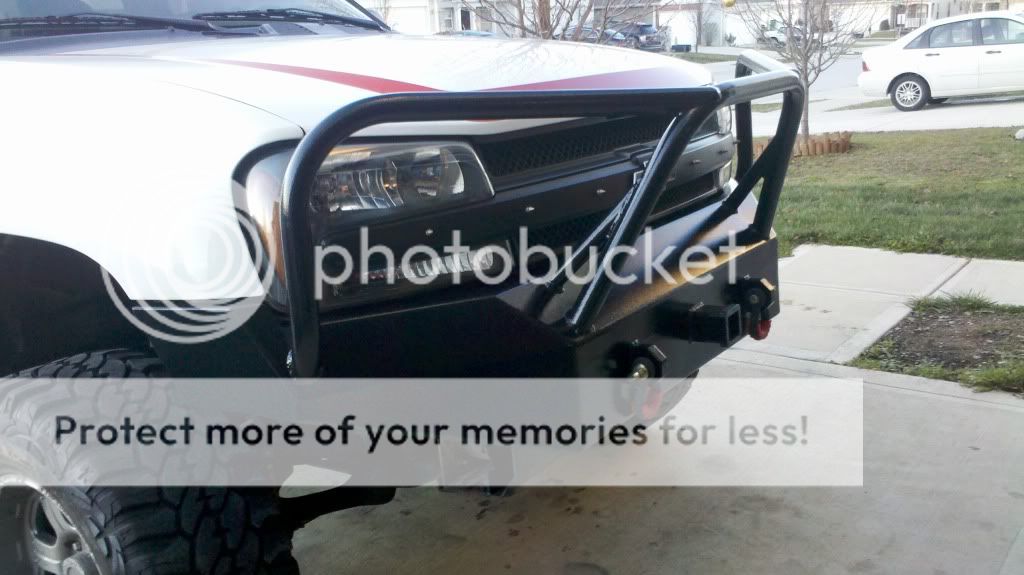
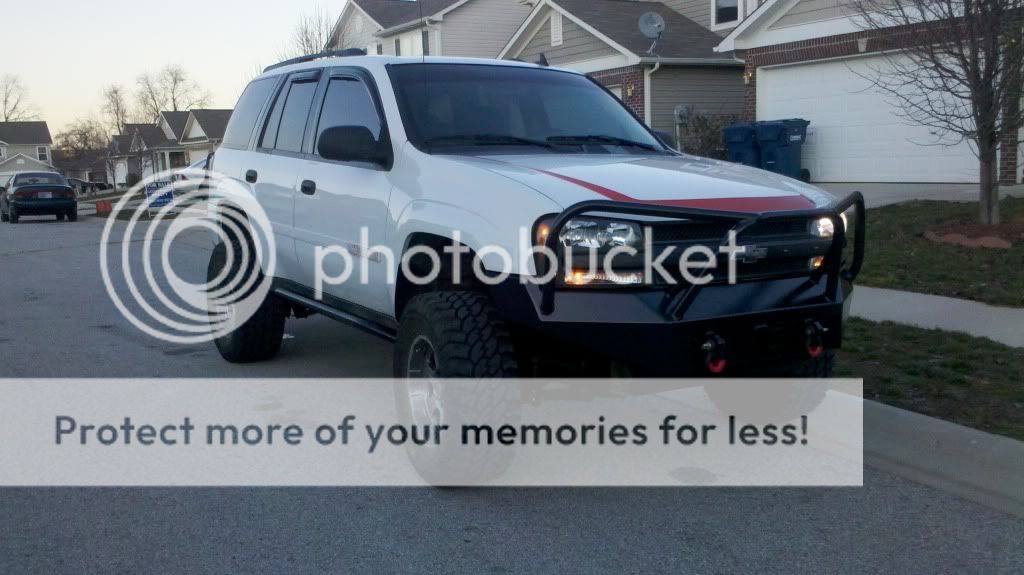
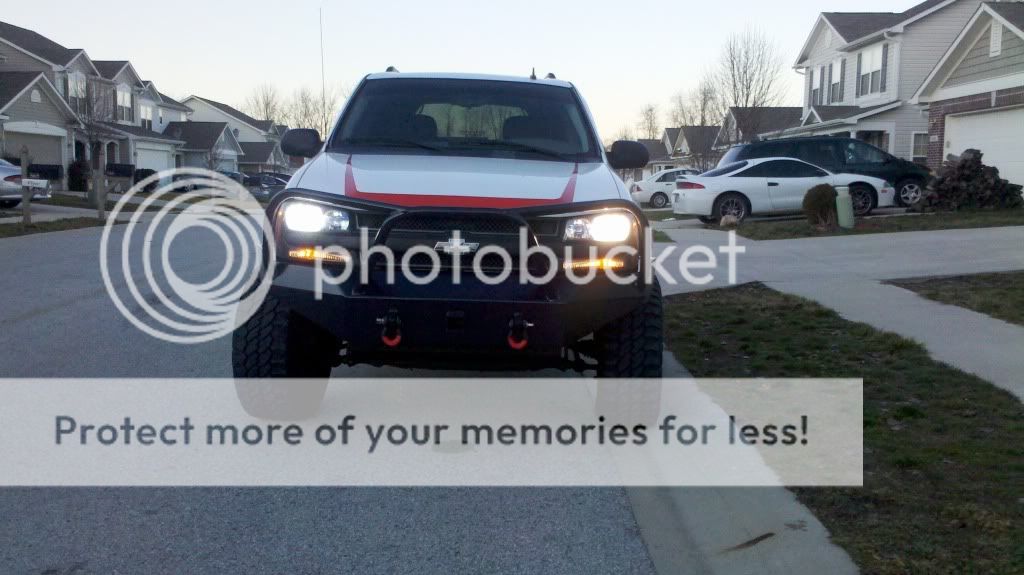
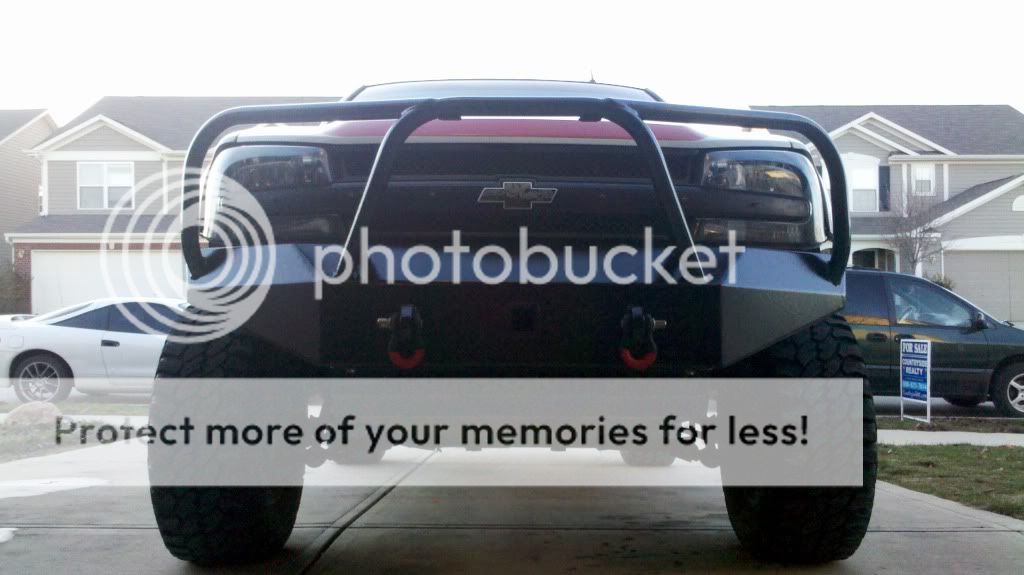
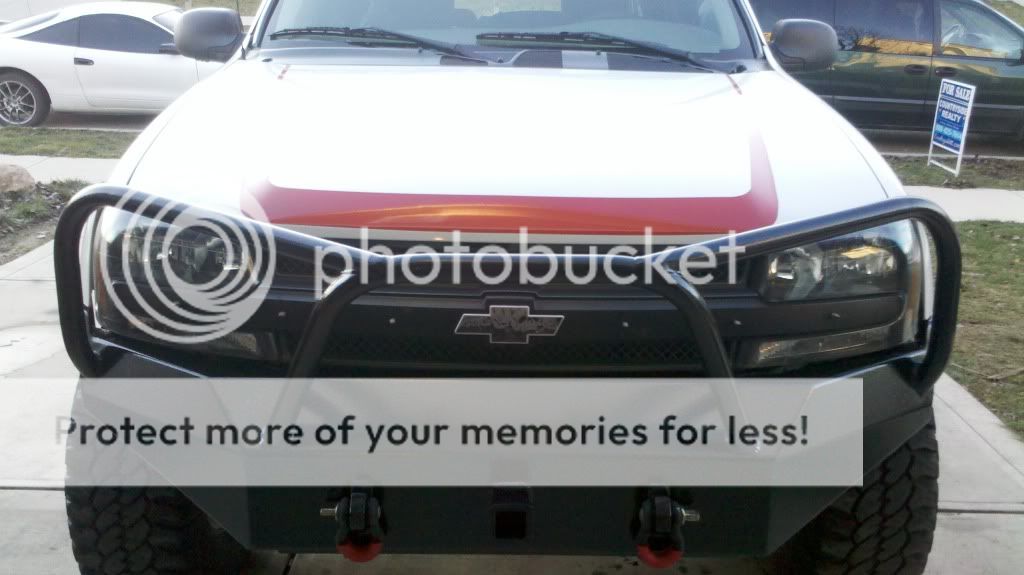
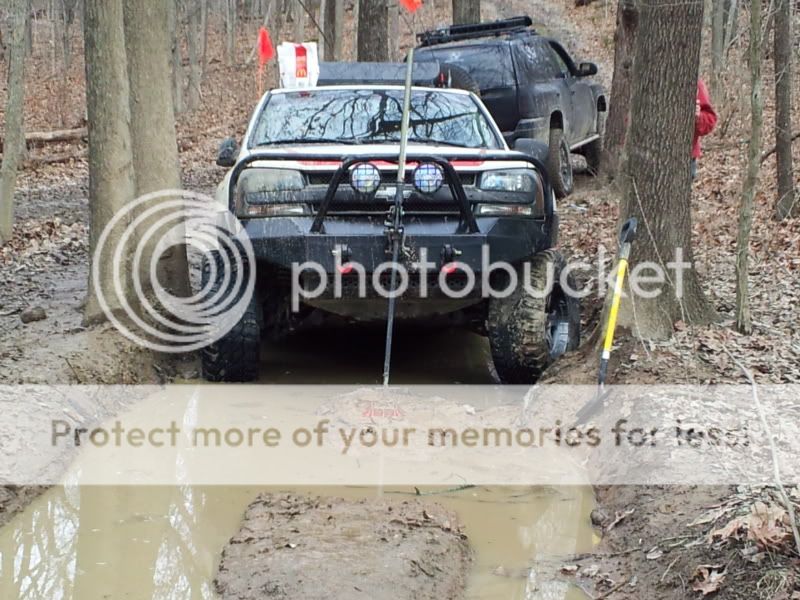
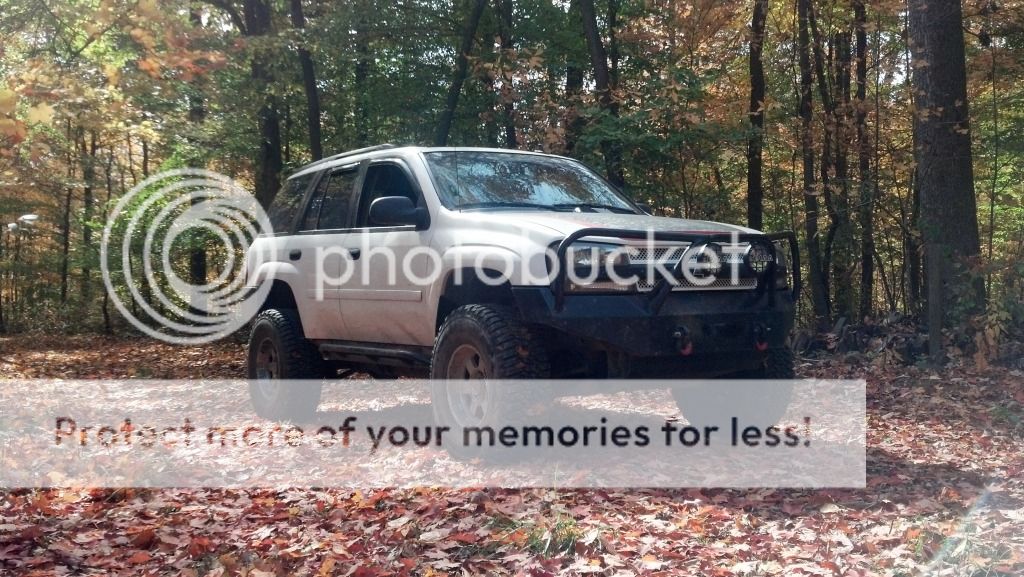
and front and rear brushguards


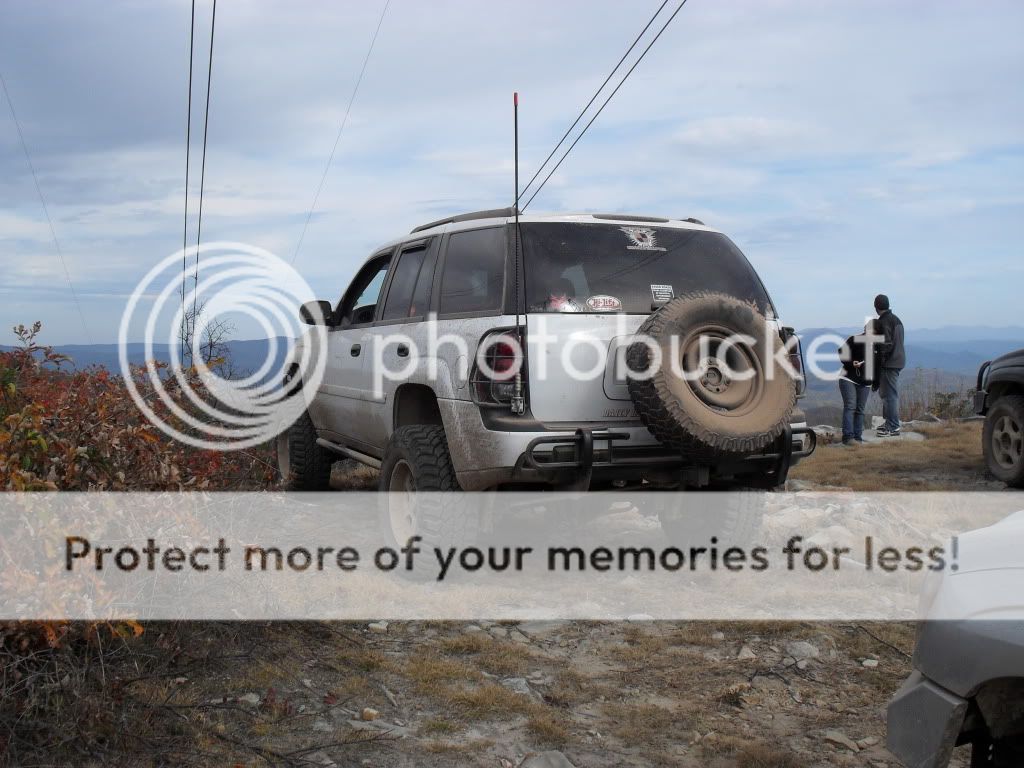
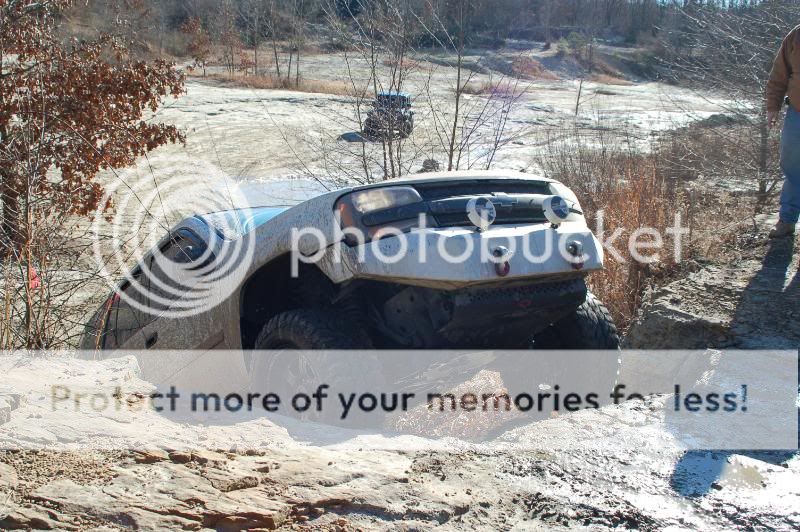
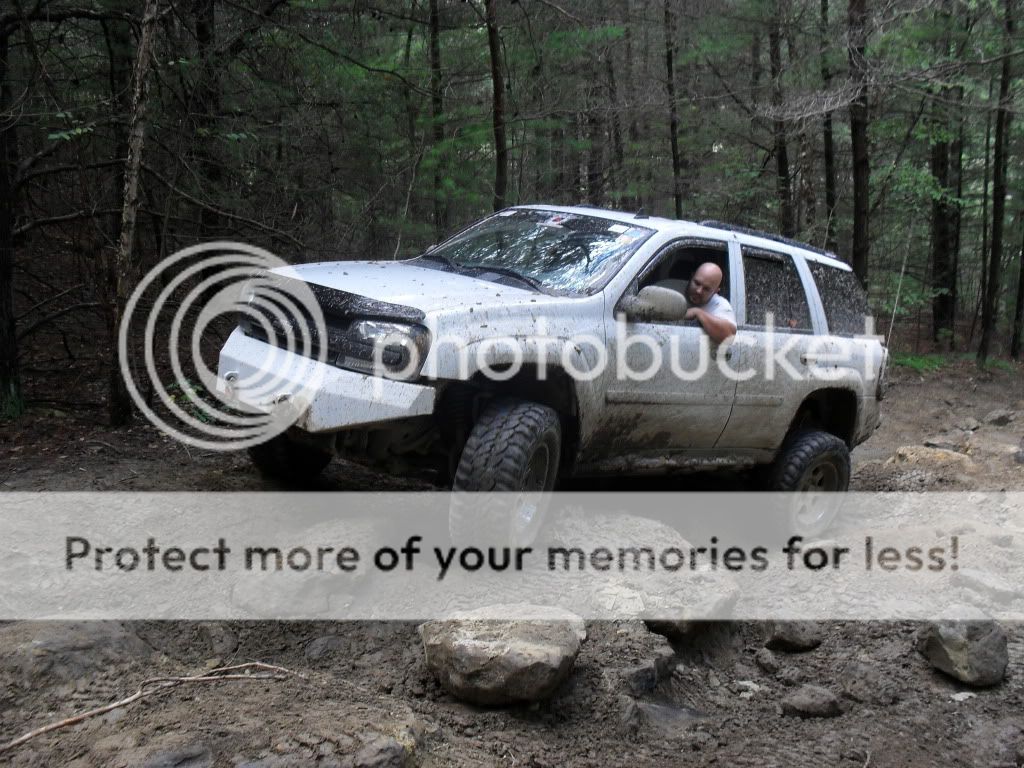
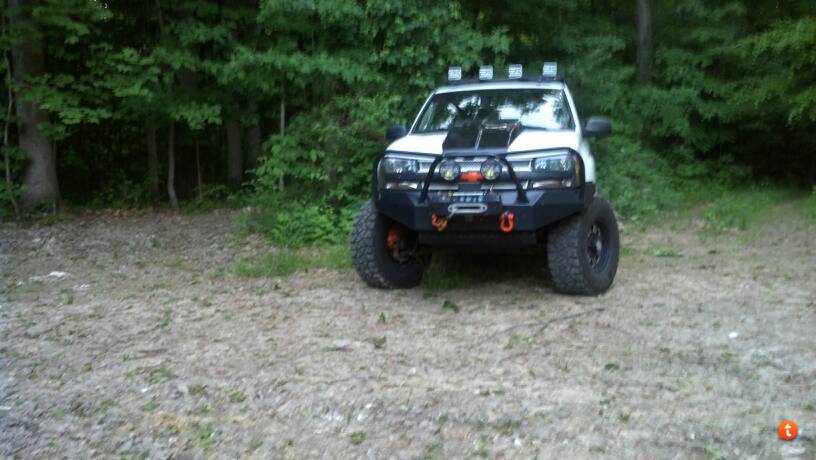
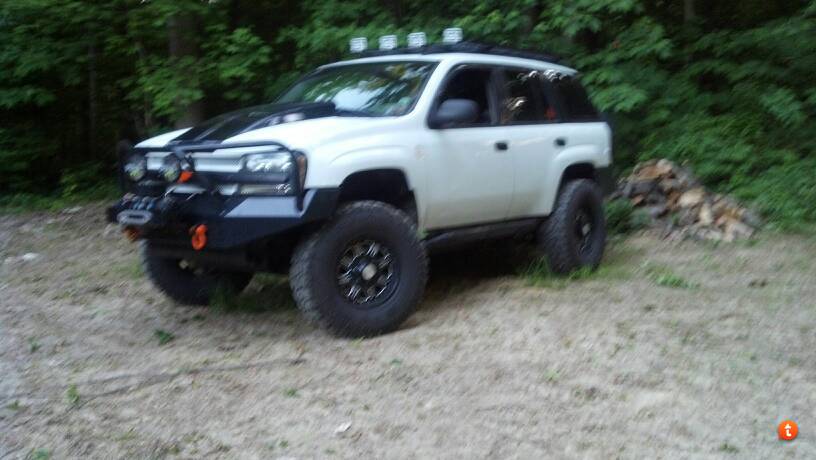
Then 2 inch body lift which negated the brushguards


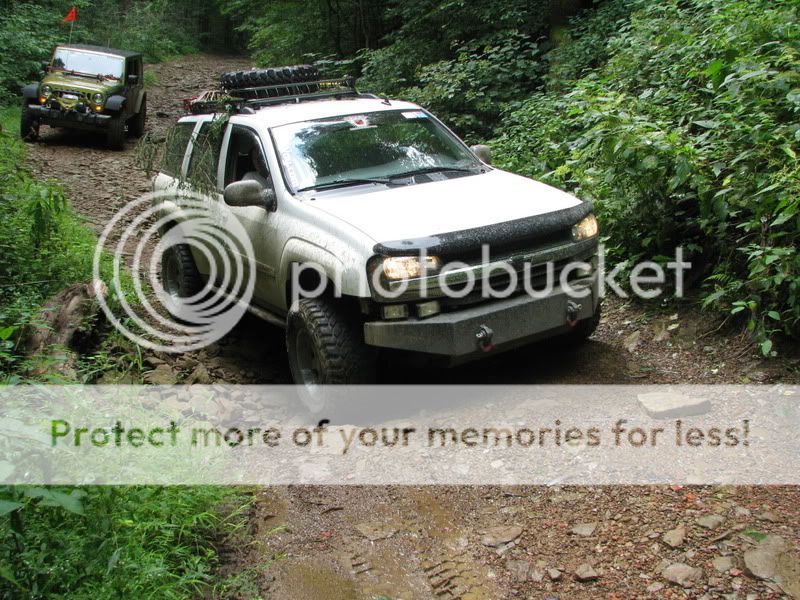
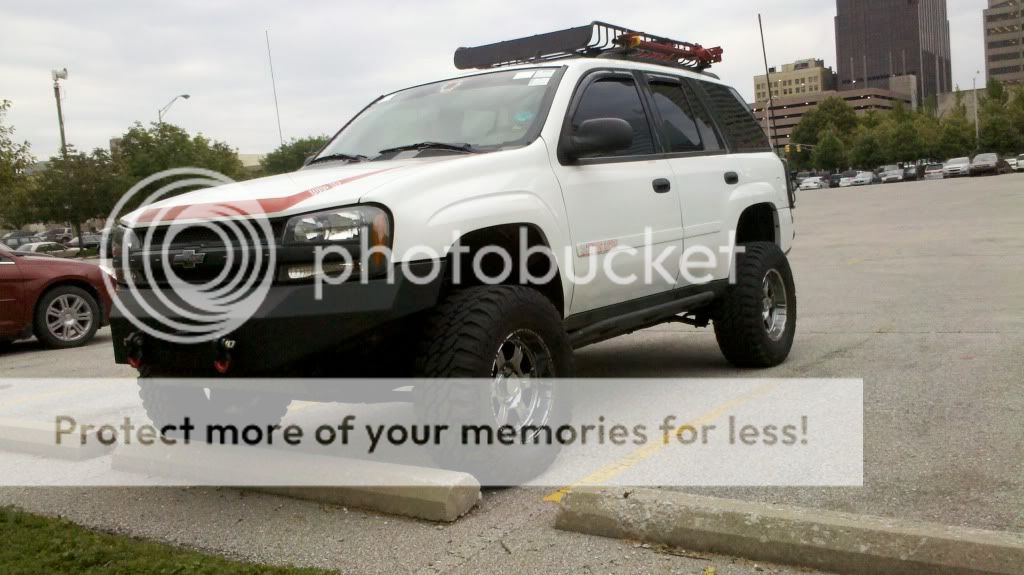
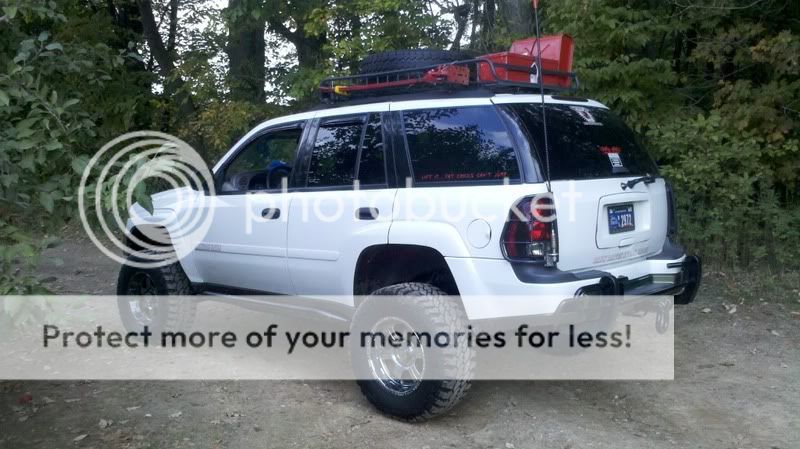
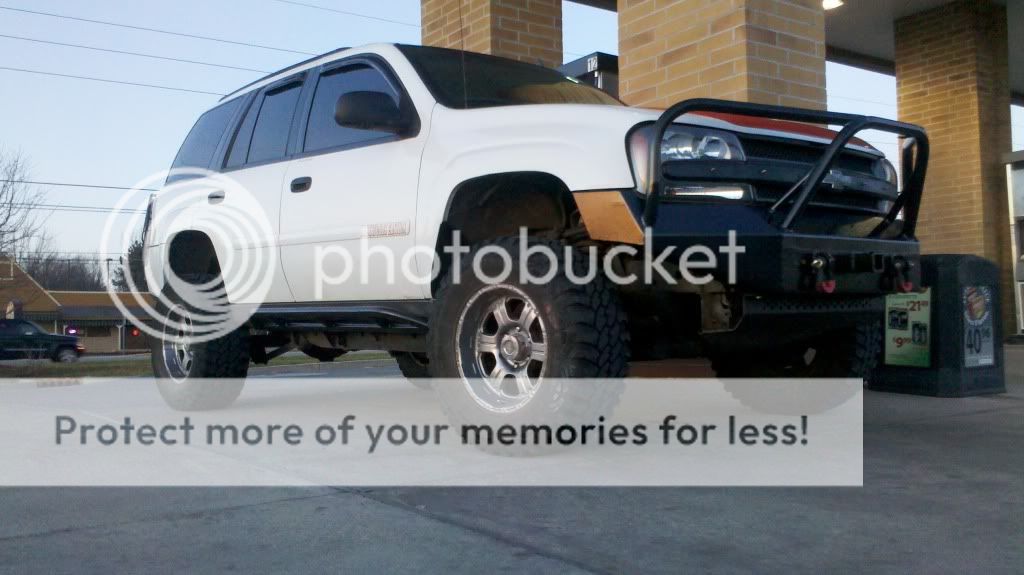
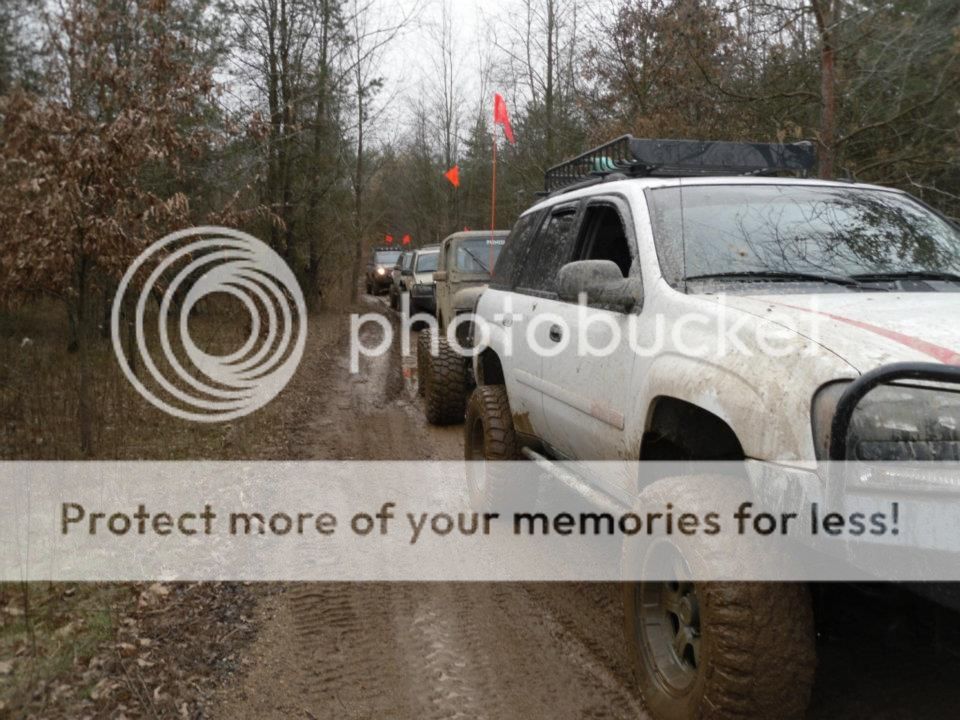
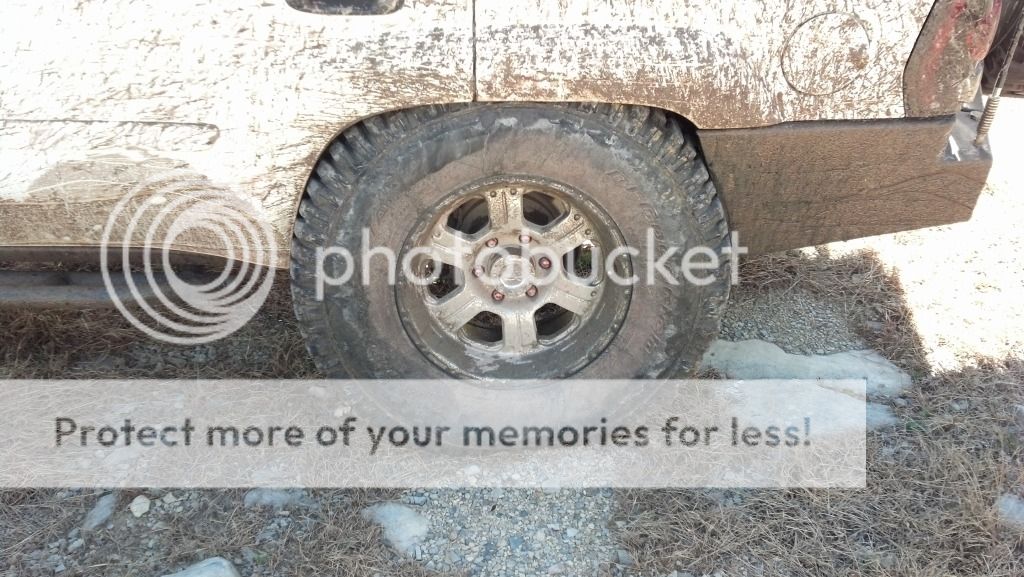
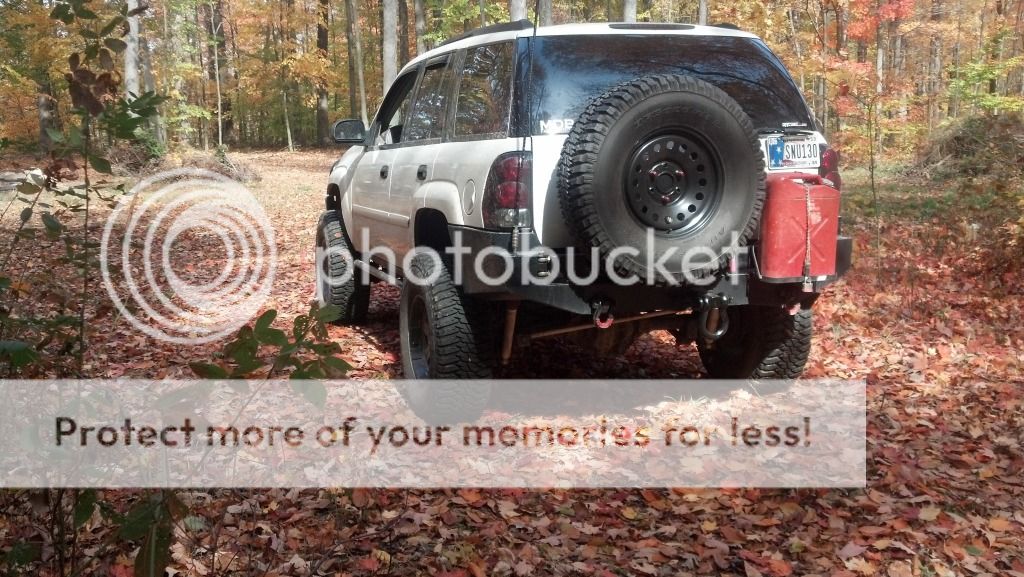
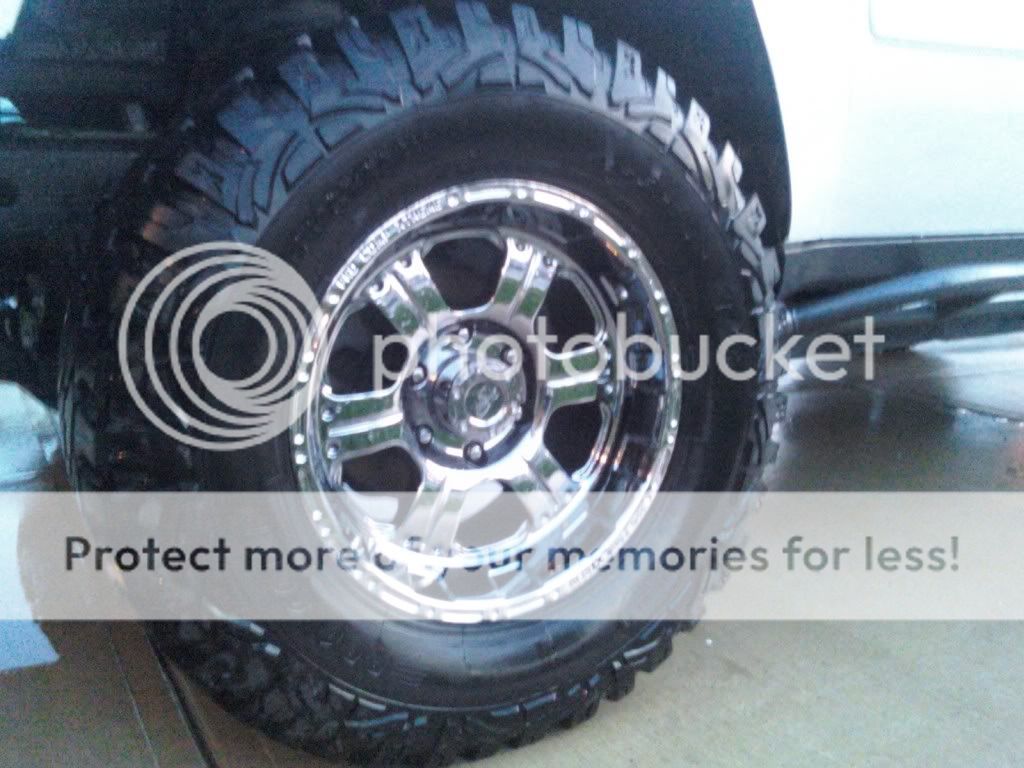
Then some Pro Comp Wheels and tires. 305-65-17 on 17x9


Then upped it to a 3 inch body lift


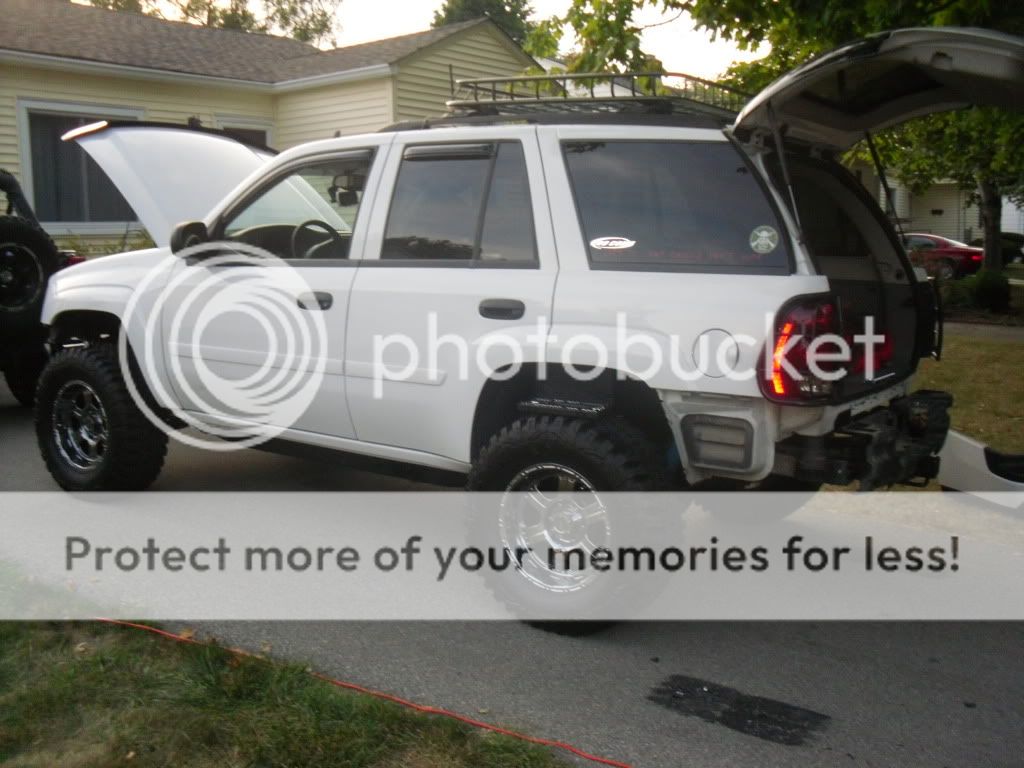
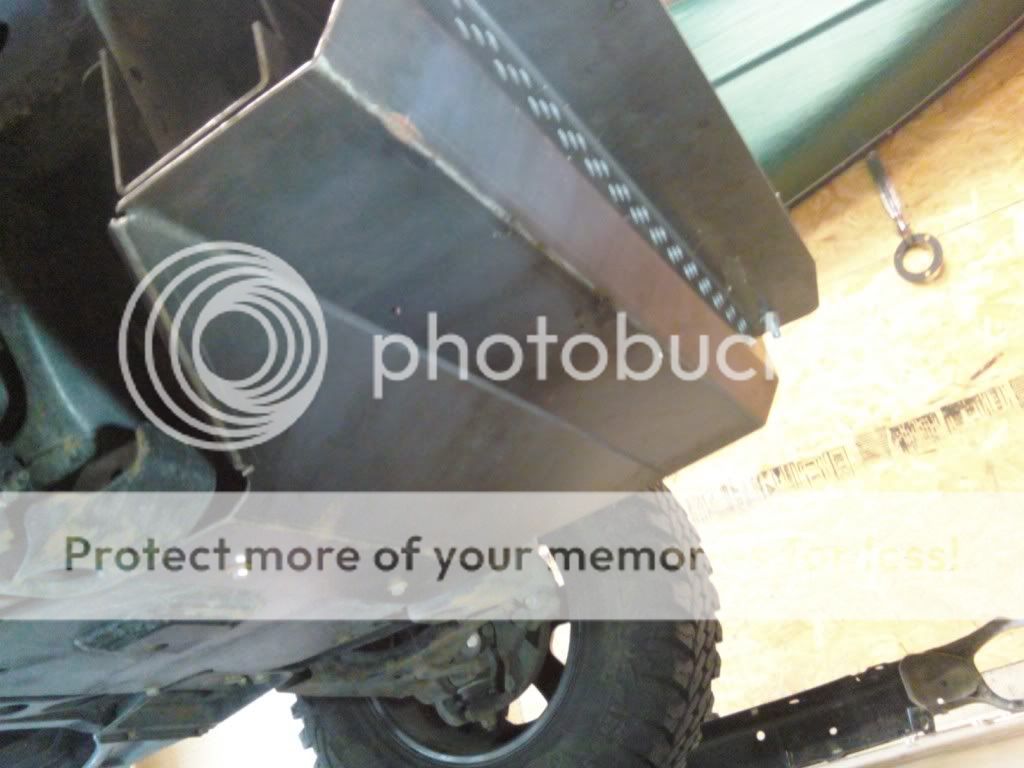
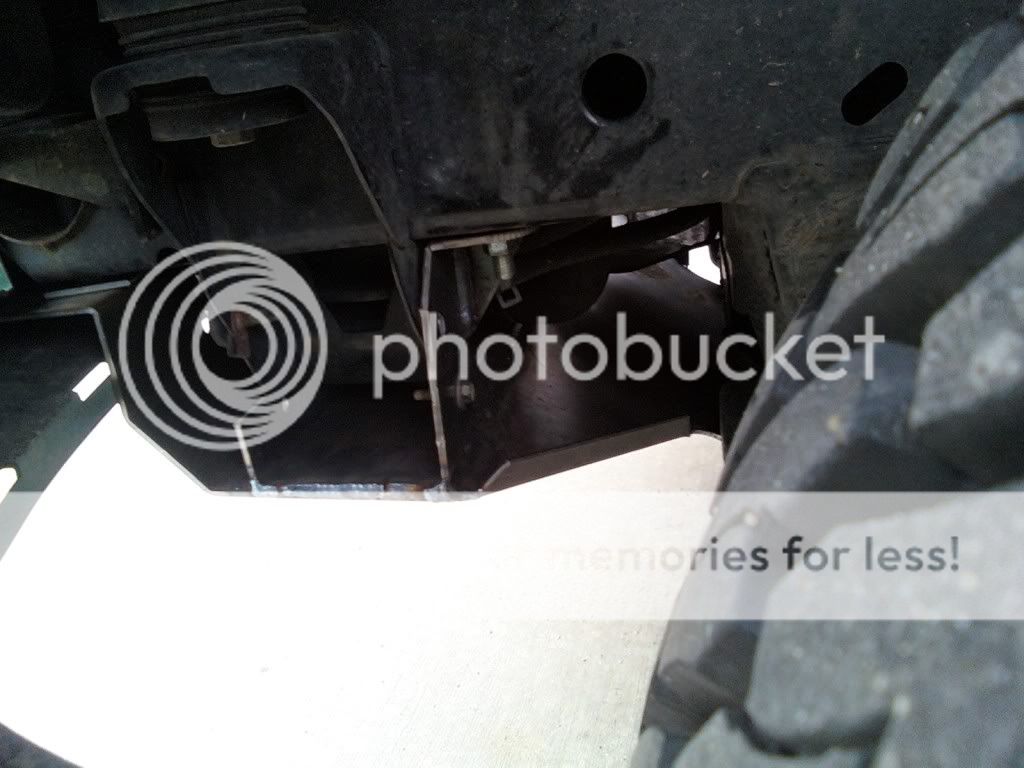
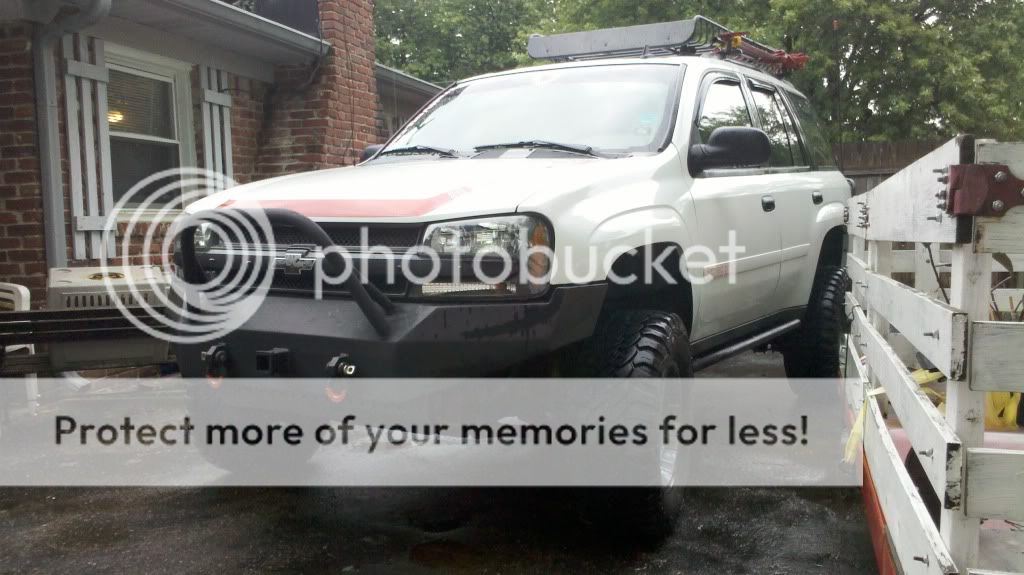
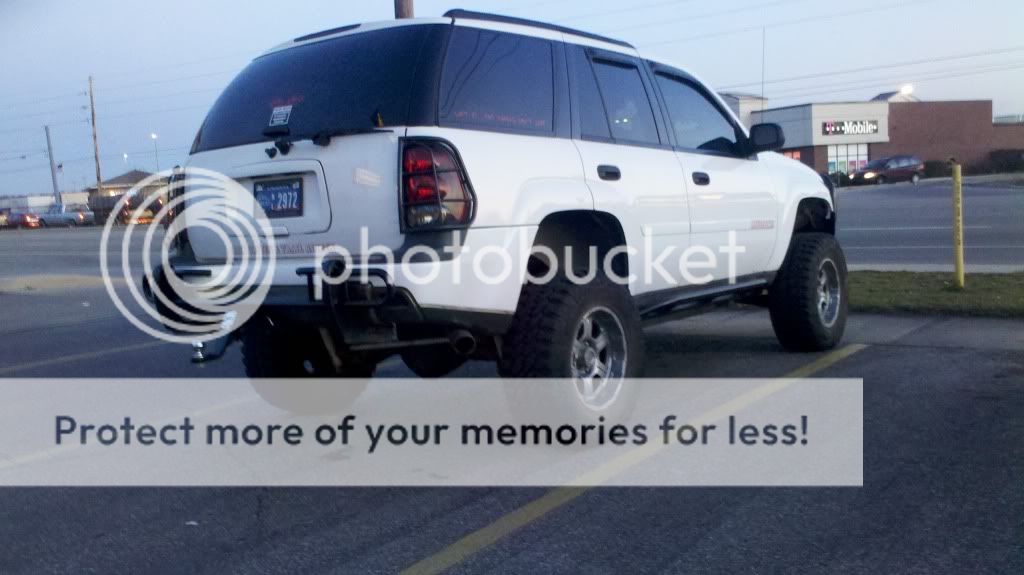
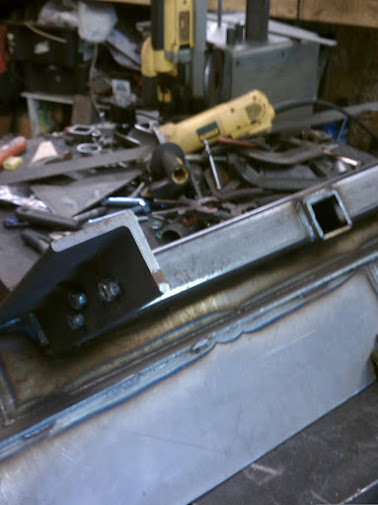
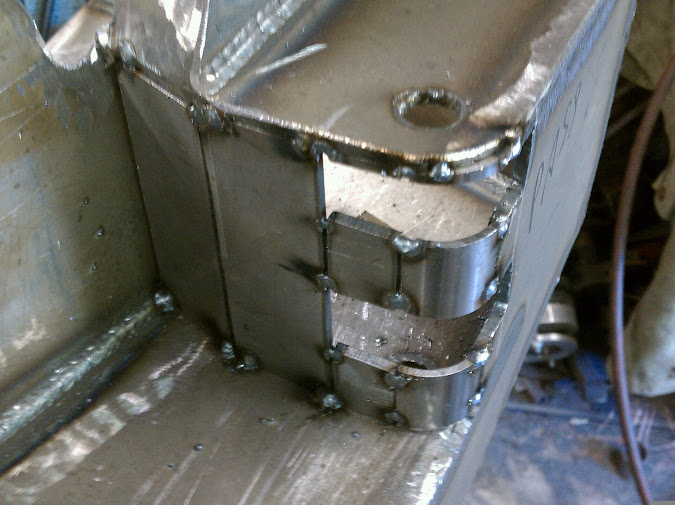
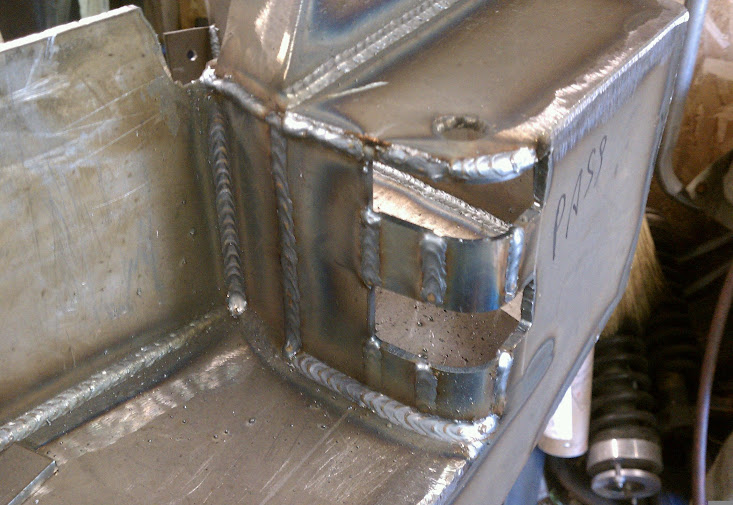
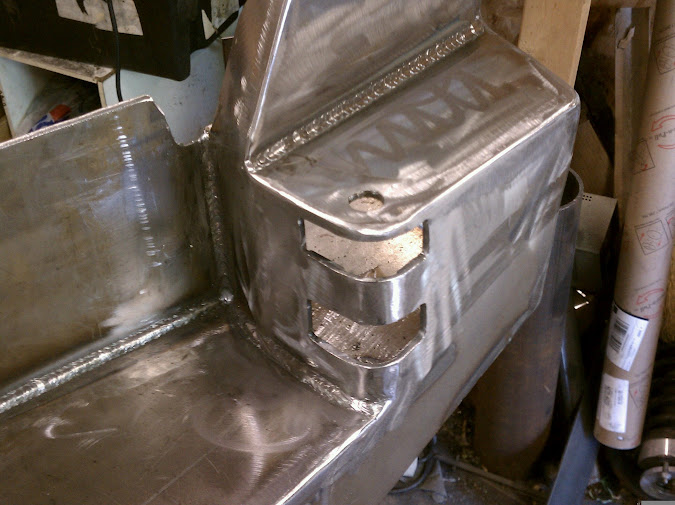
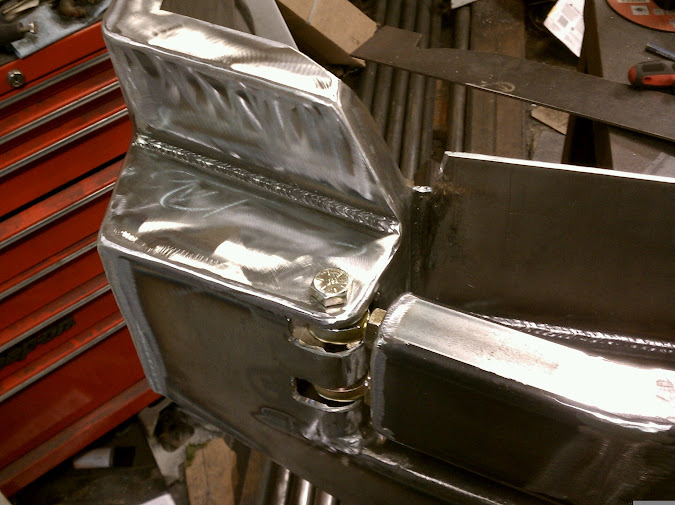
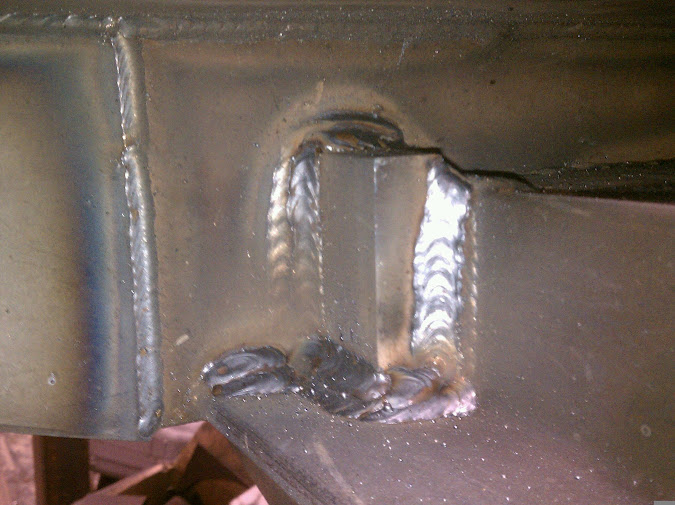
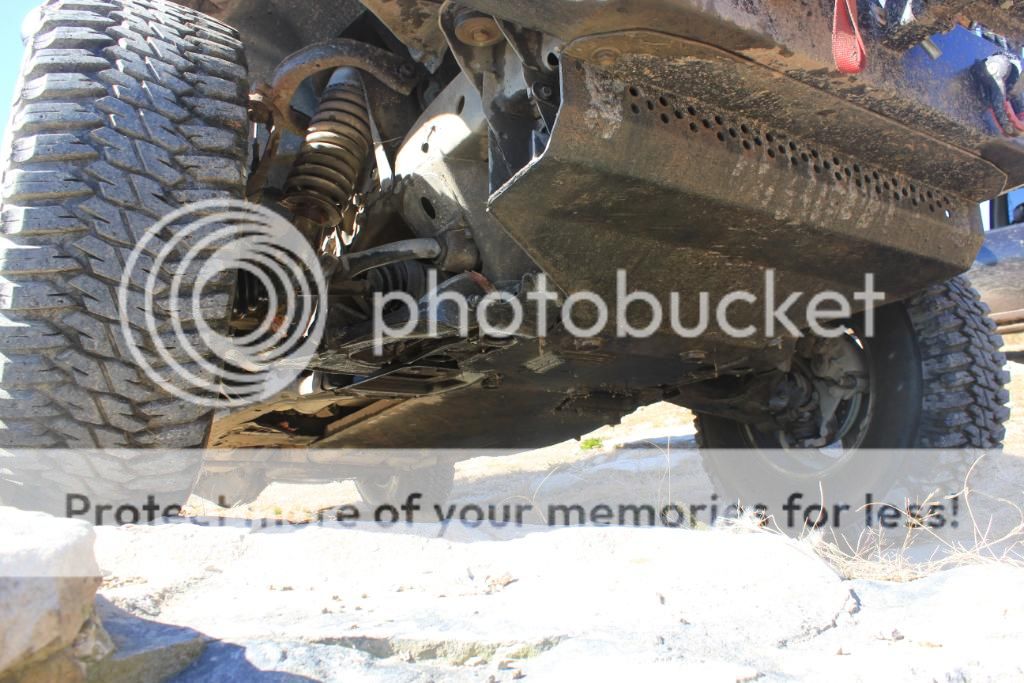
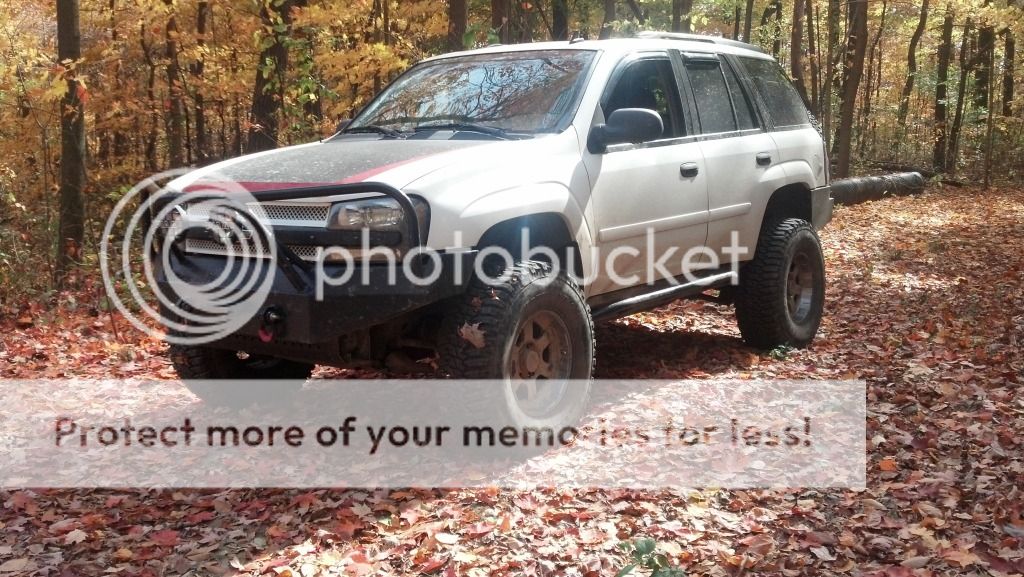
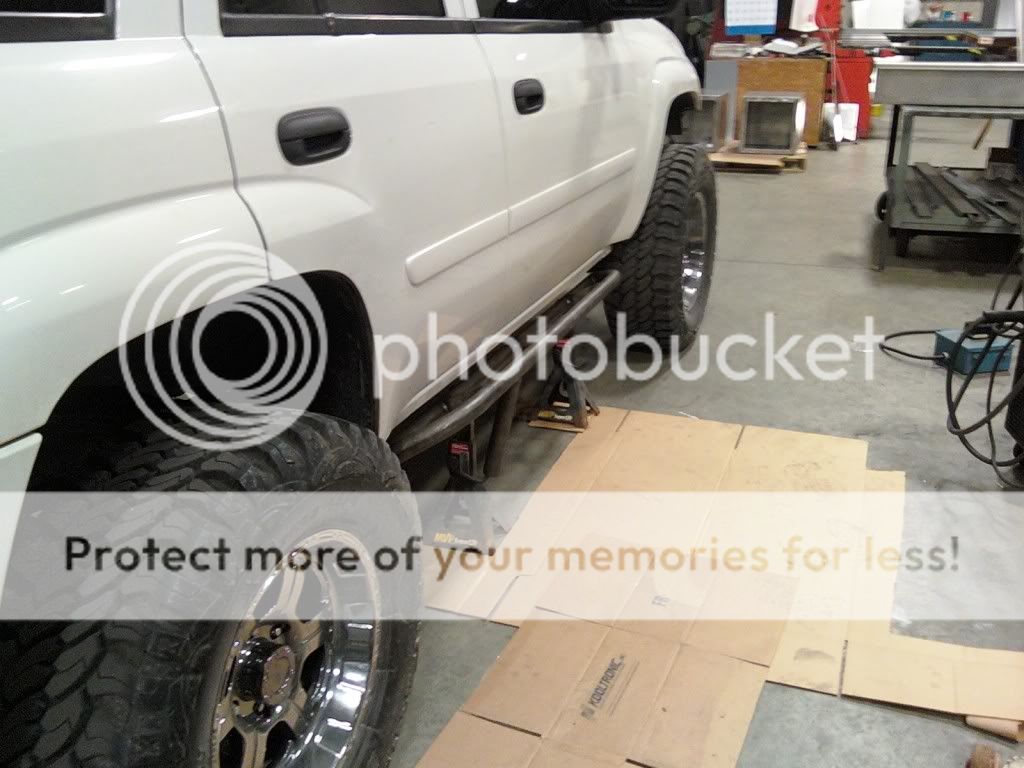
Then some TrailGear sliders Adding plates and gussets, they were welded to frame


[/QUOTE]
 
  • Like
Reactions: überlander

hardtrailz

Rank V

Advocate II

1,663
Indiana
Now it needed armor...
Steel Oil Pan skid, Radiator skid from MDB Fab plus cut and remounted the rear brushguard


Folding Tire Carrier- has different now, but still similar


And the front bumper had lots of fun for awhile. Tried a tube one, made first plate one, then another and another and another...

Homemade tube stinger thing I bought off a Silverado and adapted so I did not have plastic to break


The original "let try this" bumper MDB built for me after I asked about c channel to make one. Now on another's truck


The 3 inch body lift bumper with wings and shackle mounts. Now on to another truck


My replacement for that one. Wings, Shackle mounts, Reciever...


Current--Added Light Hoop/Deer Catcher


12,500 LB winch on Beautiful custom mount by MDB Fab


Along the lines it has also gotten upgraded with
Mark's new three inch spacer lift
2 inch longer Japanese rear coils
Stronger 88 front coils
Adjustable panhard bar from suicidedoors.com
Removed rear swaybar completely
Custom front swaybar links
Extended rear tubular control arms
Drilled slotted rotors and ceramic pads
Pcmforless tune
Custom hooker catback exhaust
Cobra 75WX cb w 48 inch Firestik
Led lighting in fenderwells
Led interior
LED Reverse Lights
LED License Plate lights
VVME 35watt 6000K HID headlights
Custom vinyl hood stripe, pillars, and other decals thanks to HighVoltage
GM leather seat covers
Fire ext
Lots of Straps and Tools
Yakima Load Warrior with Extention
Hi-Lift Jack
Shovel
Ax
 
  • Like
Reactions: überlander

hardtrailz

Rank V

Advocate II

1,663
Indiana
It does get used. I drive it to and from trails and all over the countryside exploring. It has been to George Washington National Forest in VA a few times, WindRock TN, Badlands in Attica, IN, Redbird near Dugger, IN, and lots of other places. It always surprises people and takes good care of me.


Some of the pics I really like...


hardtrailz

Rank V

Advocate II

1,663
Indiana
Bumper is back from powdercoat. Pics dont do it justice...


Some pics with the bumper and the folding hitch spare and trasharoo setup.


Couple weeks ago at Badlands...


hardtrailz

Rank V

Advocate II

1,663
Indiana
As of now I have some parts to hopefully get some upgrades done this month.

New 315-70-17 Treadwright Guard Dogs
New 17x9 Pro Comp 6032 wheels
New Lug Nuts and Locks
30,000 mile 4.10 geared front diff from SS
20,000 mile 4.10 geared 14 bolt from SS
Used Open carrier for 14 bolt w new timken bearings and shim kit
New LockRight for 14 bolt
New CV shaft to replace one w torn boot
3/4 ton tie rods ends w full replacement set for spares
New 150 Watt KC Daylighters
New 4x6 yellow fog lights for camp lights
New decals from HighVoltage and various companies
Used Viking 7/16th Synthetic winchline with thimble and hook
New locking hitch pins to keep stuff from running off

Took some time to take all the cut off parts off the rear and get it ready for carrier and locker. My one avenue fell through, so I may try the install myself, but the thing is far easier to handle with everything stripped off.

Everything cut and hanging off it


The pile of extras


Rotors are good, panhard and swaybar are good, caliper are good and pads look great


Ready for carrier and locker, plus some cleanup and paint I think.
 

hardtrailz

Rank V

Advocate II

1,663
Indiana
From BartonMD...

"Not done yet, but here's a sneak peek...

Still needs some gussets on the tire carrier, and little stuff here and there, but a teaser pic:


Real class 4 receiver that I wouldn't have a problem towing a car trailer or camper with, and/or using a load-distributing hitch with:


Progress on making the radii


Add 1" to the center portion, and this would look good as just a standard step-bumper, without the tire carrier:


And with the 35" tire... Glass still opens with the tire in the "closed" position:


Yeah, and I don't think the shackle mounts are going anywhere... Tripple-pass welded at 210amps, all around the back side, directly to the 3x3x3/8" angle frame mounts...


As an aside, a lot of the reason for splitting them on this one, was so he didn't have the full length of arm out there, just to get into the hatch. Kind of cuts down on being able to put stuff in if you've driven-thru a parking spot, or have parallel parked and there's somebody behind you. With the way we're mounting the jerry can holder on the other arm, without a jerry can in it, the lift gate will still open with just the tire swing open. The gas struts, which aren't on yet (tonight), are over-center when closed, so they should hold the gates closed just a little bit, then you pop them over center, and they open the gates up. Because of this, Kyle should be able to unlatch the tire side and swing it open, while the jerry can side will stay closed by itself... We'll see how well it actually works, but that's the plan. Because the tire is so large, though, and the mount offset a bit, he'll still be able to mount a 2' wide table on the tire side, similar to James'.

We're also putting a tab on the tire side, and a mating tab on the center latch post, so that he can put a padlock behind the arm, there, so somebody doesn't just come up and open his tire-carrier in a parking lot or garage. Also adds a little bit of security for the latch, even with a carabiner through it, since this style of latch doesn't come with a secondary safety-latch that you pull with your index finger like the straight latches can come with...

Mike"


Additional post...
"Got 'er all finished up and in the truck to go to powdercoat in the morning... Been working on it since 4 this afternoon.

Here's a video I uploaded to show the swing-outs in action:

[video]www.youtube.com/watch?v=kwdEor2TTeA[/video]

Mike"
 
  • Like
Reactions: AT71 and Lassen

hardtrailz

Rank V

Advocate II

1,663
Indiana
Spent the past weekend in George Washington National Forest. Great time wheeling and camping. Left IN Thursday night and returned on Sunday night. Found out I need some bumpstops pretty badly and the rear coils are not up to the task and will be replaced since they collapsed on themselves partially.


New Transmission skid plus existing rad and oil skids from MDB Fab.


hardtrailz

Rank V

Advocate II

1,663
Indiana
Replaced the failed Japan rear springs and spacers with Skyjacker 25 springs. Rear is 1 inch higher than front now.


Old collasped springs


New Springs


Stance now...


Re-installed the interior divider/cage thing that came with it when I bought it. Was done by American body co or something like that. Previous owner had a wheel chair and this was to keep it from hitting the pasengers or him in a wreck. It mounts where rear coat hooks are and in some threaded holes above the driver and passengers head. The gate slides from behind front seats to behind rear seats. I put it in for 2 reasons...protect lil one from flying objects I keep back there and for mounting a few things.

Reason for it..She always want to ride in "big truck" but seems to nap once she is in.


Behind rear seat


It sure does look funny back there without the normal load of stuff. I dont think it has been that empty in couple years, but it is nice to have everything in the garage to update and re-sort and re-supply. Be a good thing before winter kicks in.
Fits nicely between cargo cover and back of seat.


  • Like
Reactions: überlander

Overland-Indiana

Overland Bound - Midwest Regional Ambassador
Launch Member

Influencer II

3,316
Kokomo
Member #

0750

I love the transformation from grocery getter to badass off road rig! We need to hit some trails sometime, Kyle.
 

hardtrailz

Rank V

Advocate II

1,663
Indiana
Radflo Coilovers's In the front and new 35x12.5 Fierce Attitude tieres on 17x9 Black Rhino wheels...


Spare Tire mounted n balanced


hardtrailz

Rank V

Advocate II

1,663
Indiana
2-9-14 Return to Badlands

I went out for the day with 6 JKs. It was cold and solid ice under the snow, but fun. TB really impressed the people along. Everyone was 35s or 37 inch tires and at least one locker. My tires did amazing and managed every climb first try even when dual lockered rigs were needing a bypass after multiple attempts. I do know the 4.2s power was noticed a couple times and it really did help keep wheel speed when needed. I took very few pics and Jeep guys did not seem to want many of the TB, but here a few.

--For those that have been around Badlands and know the trails. We did the Orange Trail first. All the drops/hills/off-chamber is made even more interesting when frozen. Kinda wished I had my front swaybar hooked while in the little tllted s-turns. Supposedly there is some video, but who knows if it will ever surface.


Went up this hill first try. One of 3 of 7 to do it first try.


Up


UP


and Over


Actually made me happy to have the Radflo as there was a 10-12 inch bump at the bottom that hit hard and if you did not hit it about 15 mph, you did not make it. Guess the tires caught some air but I have not seen a pic yet.

Trails were pretty but treacherous and controlled slides were necessary.


Couple random pics from a buddy's cabin we stayed at the night before. All hand built with native wood. No electric, just lanterns, woodstove, and a rain barrel for water.


View from loft when you wake up


Ordered up some stuff recently.

New hubs
New ball joints
Upgrade to 13 inch front drilled n slotted rotors
New ceramic pads
Fresh Tie rods
New light emitting device

New speakers and amp for subs


Plans/Hopes/Thoughts
Debating swapping rear shocks to Rough Country
Build front swaybar links (had parts about a year)
Need to Chassis Saver the rust on inner doors
Install rest of LED underbody/rock lights
Find and fix power steering link
Paint and reinstall the trans and TC skids
Rebalance one tire n wheel- rotating in spare proved they did not get it right
Figure out a good way to transport fishing poles
 
  • Like
Reactions: SLO Rob

hardtrailz

Rank V

Advocate II

1,663
Indiana
New rotors pads n ball joints


Came upon a deal on a fairly rare cowl hood and since I always wanted one...it went on


Did find my trans mount is shot and the rear brakes are now squeaking so more work soon.
 
  • Like
Reactions: SLO Rob

hardtrailz

Rank V

Advocate II

1,663
Indiana
New tranny mount is in. Took out a bunch of slop that had developed.

Got the rear drilled n slotted rotors and new ceramic pads installed.

Built some simple bolt on sway bar links for the front since I towed a lil enclosed trailer down to Lake Barkley and figured they might be helpful. Worked well.


hardtrailz

Rank V

Advocate II

1,663
Indiana
Decided to try out the LED Lightbar thing and I see why people love them. I only have the bumper mounted 20 incher wired up until I get some mounts built for the 32 in the basket, but it is AMAZING. I can only imagine what the upper will add. I went with the combo bars with the ends as flood pattern and centers as spot. Seems to be really nice. I also went back to my Yakima Load Warrior to help protect the bar on the roof. Wanting to redo the roof rack whole setup again, but figured since I had this...why not use it.

Anyway: A few pics.


Quad beams- HID low and cheap imitation hid high beams


20 inch bar


Both
 

hardtrailz

Rank V

Advocate II

1,663
Indiana
Tossed the basket back up top. Painted the hood all white for now. Washed it. Filled it with fuel. Added new reverse led lights.


These reverse lights..
Super Bright 3157 12LED +12W Cree Car White Light Bulb Turn Signal DRL Lamp 360°
 
  • Like
Reactions: SLO Rob

hardtrailz

Rank V

Advocate II

1,663
Indiana
Changed the mounts on the light bars and slapped the hi lift back on. Did some wire brushing and painting. Removed most decals. Got rid of orange accents. Got LED tails. Started swapping to new winch so the old can go to live on the trailer. Swapped the grill again. Cleaned off skids and changed oil. Found a rag in the garage and gave the boy a hose and we gave it a quick bath. Thank goodness white hides so much and pics dont show the bumps and bruises so much. Basically got a day and spent it trying to clean up and dial in the rig.


  • Like
Reactions: SLO Rob

hardtrailz

Rank V

Advocate II

1,663
Indiana
Hopefully that covers about everything til now. Only other differences is the new jerry can in black and swapped in a new 12,500 lb winch of same brand to use the old on our car trailer. Running the metal wire on it for now. Have begun another front bumper build with the winch mount built in and also adding some LED driving lights frenched in,

Have to say I do like how it all works. 15-16 mpg and comfy to ride in. Feels safe and solid with the family in it. Tows most anything i want it to. Getting a lil rust on inner door bottoms, but have some Chassis Saver to fix that once my shop is built.

Current shots


hardtrailz

Rank V

Advocate II

1,663
Indiana
Thanks. It has been a bunch of work, but it has been fun. Much of the stuff for the platform got prototyped on it, so it felt like doing some mods over and over, but it really has turned out well and works far better than most would believe. It will get yet another front bumper here in not too long with the winch mount built in.
 
  • Like
Reactions: ach078