1984 Ford Bronco Project

  • HTML tutorial

Lanlubber In Remembrance

Rank V
Launch Member

Member III

2,827
Mimbres, NM, USA
First Name
Jim
Last Name
covey sr
Member #

16986

Ham/GMRS Callsign
none - BREAKER BREAKER HAND HELD CB AND WALKIE TALKIE
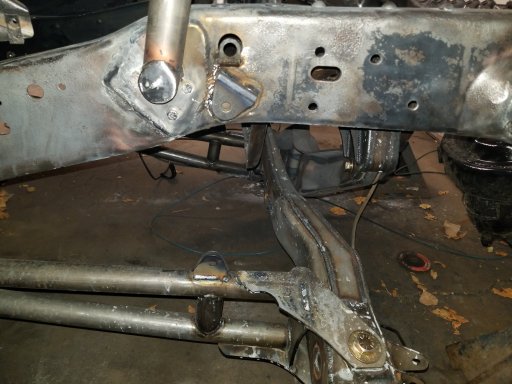
A little more done on the front suspension. I finished welding up the shock hoops.

View attachment 174074

View attachment 174075

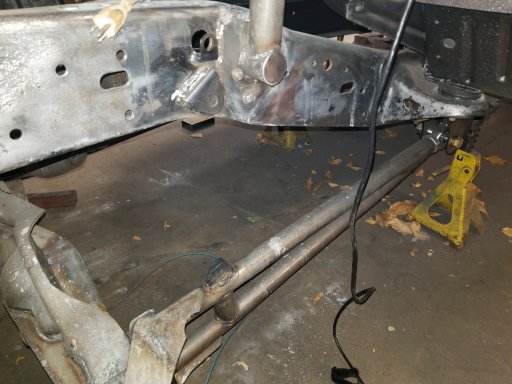
I put the axle beams in place and put the coil-overs in place. It is fitting pretty nicely.

View attachment 174076

I still have to let the nitrogen out and remove a spring so I can make sure everything clears before I weld the lower mounts on to the axle beams.

View attachment 174077

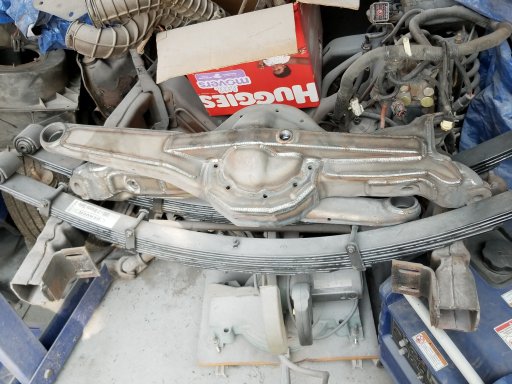
The new radius arms a just a slight step up.

View attachment 174078

View attachment 174079

Completely compressed.

View attachment 174081

And fully extended. both sides are check and now to weld the lower mounts on the axle beams.

View attachment 174082

Comparison of the original size front shocks to the new coil-overs.

View attachment 174084

My ocd kicked in again and I had to cap the ends of the lower tubes on the upper shock mounts. Not much practical need but I looks a lot more finished this way.

View attachment 174083

Now, I just need some more clean up and prep to add a few more finishing touches to the front suspension.
Did you build all that yourself or was it a kit. Looks really nice. I agree with you on capping the open end tubing. Will you keep the collapsible front frame rail section or cut them off and extend your from frame rails ? Will you be building your own winch bumper ? This rig will be a tank when your finished !! :-)
 

Enthusiast II

1,250
Hartford, SD
As much as I'd like to claim I built it. It is a kit. I'm not sure on the front of the frame yet. I've built a winch bumper previously for my other bronco. But it had the straight front frame so not sure if the mount could be easily reconfigured. But most likely I'll have to decide between building a new bumper or changing the front of the frame.
 

M Rose

Local Expert
Mod Team
Member

Advocate III

5,584
Northeast Oregon, United States
First Name
Michael
Last Name
Rose
Member #

20990

Ham/GMRS Callsign
W7FSB
Service Branch
US ARMY Retired
As much as I'd like to claim I built it. It is a kit. I'm not sure on the front of the frame yet. I've built a winch bumper previously for my other bronco. But it had the straight front frame so not sure if the mount could be easily reconfigured. But most likely I'll have to decide between building a new bumper or changing the front of the frame.
While the front frames are similar, the pre-crumple zone is wider. I had to modify the “ShadowFax” winch plans to stretch the winch plate... without going back and looking at your old bumper, you might get by with two 1/4” spacers.
 

Lanlubber In Remembrance

Rank V
Launch Member

Member III

2,827
Mimbres, NM, USA
First Name
Jim
Last Name
covey sr
Member #

16986

Ham/GMRS Callsign
none - BREAKER BREAKER HAND HELD CB AND WALKIE TALKIE
As much as I'd like to claim I built it. It is a kit. I'm not sure on the front of the frame yet. I've built a winch bumper previously for my other bronco. But it had the straight front frame so not sure if the mount could be easily reconfigured. But most likely I'll have to decide between building a new bumper or changing the front of the frame.
No shame in buying prefab components IMO.
The only reason I asked is because I've not seen a shock mount hoop with that configuration. Usually they are horse shoe shaped and tied into the roll bar cage with a double flange connection similar to your cross bar connection. I'm comparing your layout to an off road pre runner configuration that I've seen in some off-road magazines. I'm pretty sure they do it their way because they are built for racing, not rock crawling.
Great job as I see it ! Onward :-)
 

Enthusiast II

1,250
Hartford, SD
While the front frames are similar, the pre-crumple zone is wider. I had to modify the “ShadowFax” winch plans to stretch the winch plate... without going back and looking at your old bumper, you might get by with two 1/4” spacers.
I did a quick tape measure check when I first took it apart and remember it being pretty close. May just have to adjust mounts.
 
  • Like
Reactions: M Rose

Enthusiast II

1,250
Hartford, SD
No shame in buying prefab components IMO.
The only reason I asked is because I've not seen a shock mount hoop with that configuration. Usually they are horse shoe shaped and tied into the roll bar cage with a double flange connection similar to your cross bar connection. I'm comparing your layout to an off road pre runner configuration that I've seen in some off-road magazines. I'm pretty sure they do it their way because they are built for racing, not rock crawling.
Great job as I see it ! Onward :-)
I've debated on tieing it to the main cage. Just not sure its necessary for my use. But on the other hand I may do something dumb when left unsupervised...
 

M Rose

Local Expert
Mod Team
Member

Advocate III

5,584
Northeast Oregon, United States
First Name
Michael
Last Name
Rose
Member #

20990

Ham/GMRS Callsign
W7FSB
Service Branch
US ARMY Retired
I did a quick tape measure check when I first took it apart and remember it being pretty close. May just have to adjust mounts.
There is less than 1/2 difference with the pre 1991 being wider, so adjustments going from older to newer are a lot easier... 3/8” - 1/4” spacers is all the would be needed to shim the bumper back up.
 

M Rose

Local Expert
Mod Team
Member

Advocate III

5,584
Northeast Oregon, United States
First Name
Michael
Last Name
Rose
Member #

20990

Ham/GMRS Callsign
W7FSB
Service Branch
US ARMY Retired
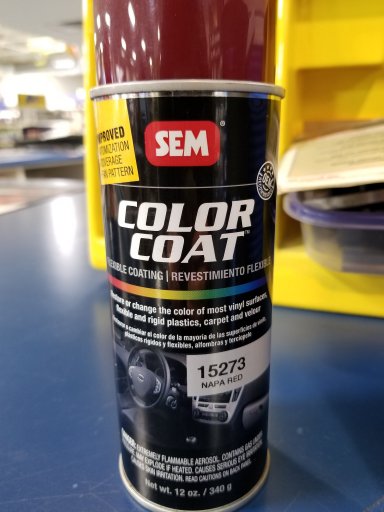
Now it was time to return it to the original color. First I scrubbed it all with a special soap that has some grit in it and helps to remove a leftover junk that would mess up the new coating. Then you spray it down with a wax and grease remover at wipe it down until clean. Right before you spray the color you spray down an adhesion promoter that is used wet on wet. The color has to go on while the adhesion promoter is still wet so it will melt into the plastic.

View attachment 149093

After the first light coat. of SEM Color Coat.

View attachment 149094

View attachment 149095

View attachment 149096

After 3 lightish coats it actually looked pretty decent.

View attachment 149097

View attachment 149098

View attachment 149099

This is how it looked before.

View attachment 149101

And of course a sort of final assembly picture to see about what it is like back together.


View attachment 149102

View attachment 149103

View attachment 149104

Turned out pretty good. I still have several panels and trim pieces to fit around the cage and then probably do the same refinishing to them.
What color did you use? A member on the FSB forum is looking for the red to redo his dash and plastic trim pieces.
 

Enthusiast II

1,250
Hartford, SD
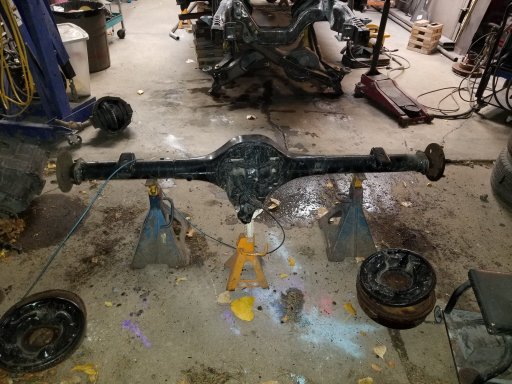
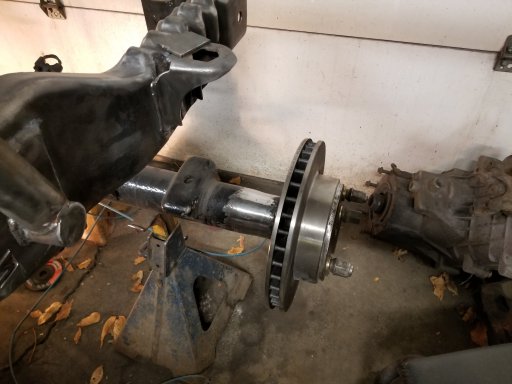
Also managed to get some work done on the rear brakes. Tore the drums off to make room for the new brackets and disk brakes.

20201011_200810.jpg

The rotors are the same as the front ones on the bronco/F-150

20201024_162814.jpg

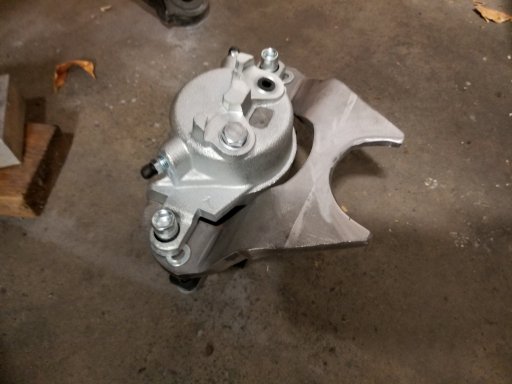
Caliper is off a early 80's chevy 3/4 ton. So replacement parts are easily sourced.

20201024_162818.jpg

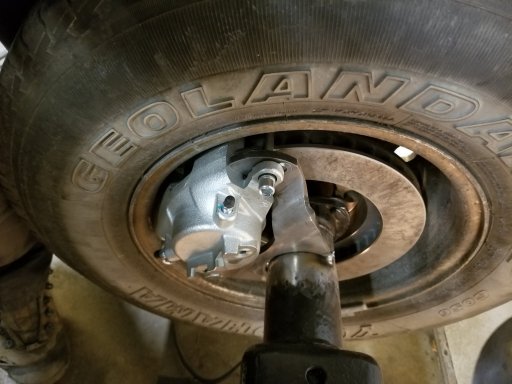
I'll have to double check after everything is fully welded but it's pretty tight with the factory 15 inch wheels. But may be doable if I want.

20201024_162835.jpg

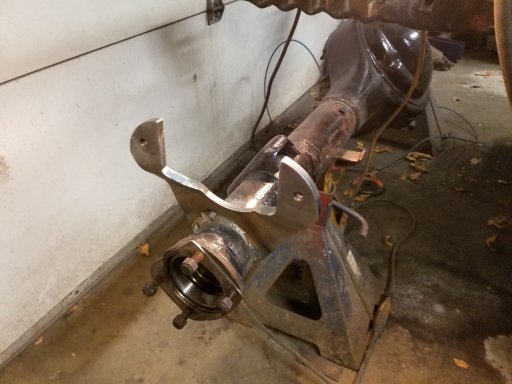
Brackets are all welded in. Still need to replace outer seals and bearings and press in some wheel studs. But that will have to wait.

20201024_181129.jpg

20201027_235027.jpg
 

Enthusiast II

1,250
Hartford, SD
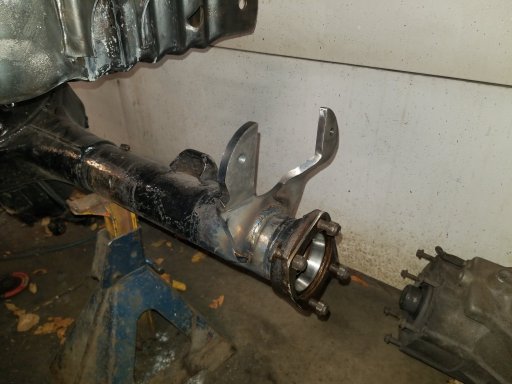
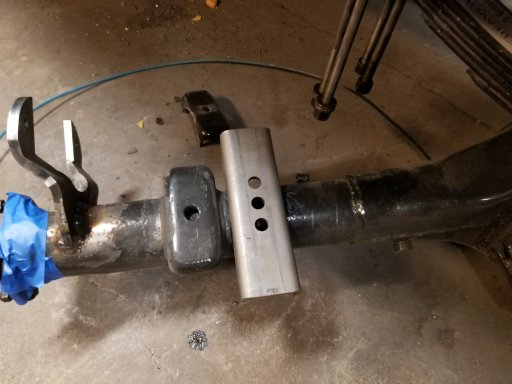
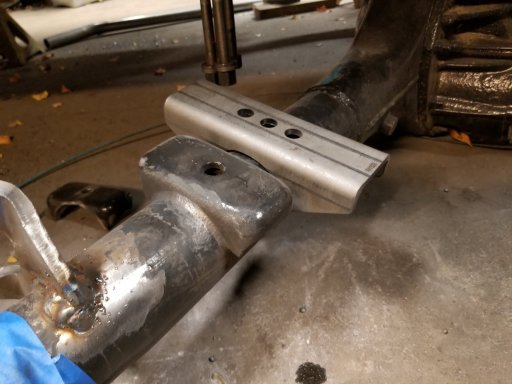
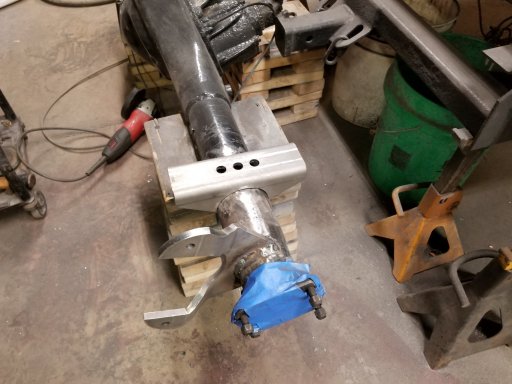
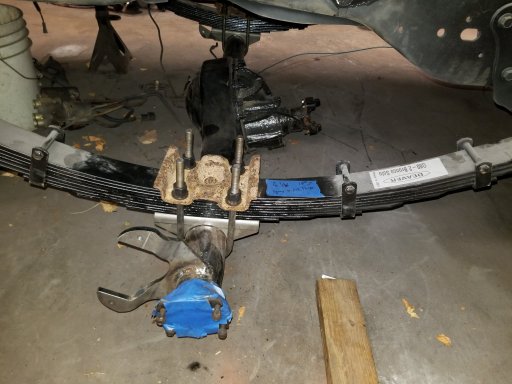
The original wedge blocks that set the pinion angle were cracked. So picked up some replacements spring perches so I can set the pinion angle correctly and gives the springs a little bigger mounting surface.

20201202_135925.jpg


20201202_135931.jpg

Old mount cut off and axle cleaned up. New one test fitted.

20201202_165739.jpg

And back in place. I'll wait until the rest of the drive train is in place so I can correctly set the pinion angle then I will weld them in.

20201202_182553.jpg

I still need to add the tabs to hold the flexible brake lines that go to the calipers. I also need to test fit the front clip so I can see if I like the way the bumper fits or if it can be easily modified to fit.
 
  • Like
Reactions: Sparksalot

M Rose

Local Expert
Mod Team
Member

Advocate III

5,584
Northeast Oregon, United States
First Name
Michael
Last Name
Rose
Member #

20990

Ham/GMRS Callsign
W7FSB
Service Branch
US ARMY Retired
It’s coming along great Dakota... I love the new spring perches... now you are making it very hard not to tear deeper into mine.
 

M Rose

Local Expert
Mod Team
Member

Advocate III

5,584
Northeast Oregon, United States
First Name
Michael
Last Name
Rose
Member #

20990

Ham/GMRS Callsign
W7FSB
Service Branch
US ARMY Retired
Thanks. Progress has been slow lately. Life likes to get in the way. It would probably go a little faster if I didn't overthink some things.
Overthinking leads to over engineering... over engineering leads to over built.... over built leads to awesome hardcore rig...
 

Enthusiast II

1,250
Hartford, SD
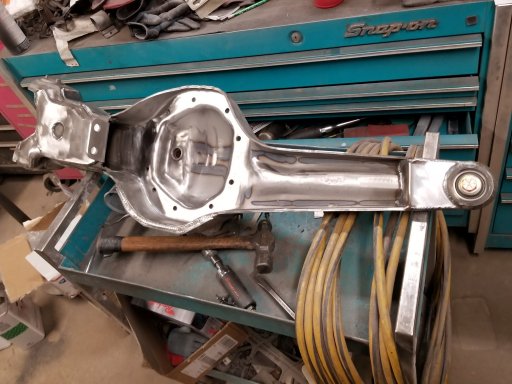
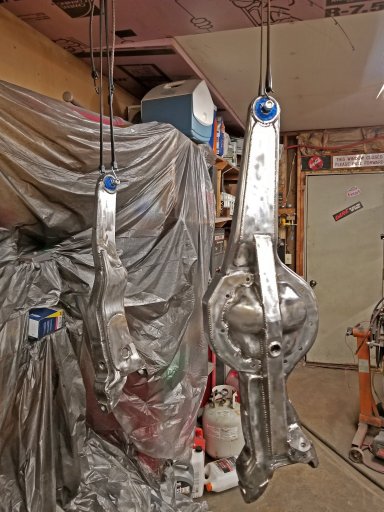
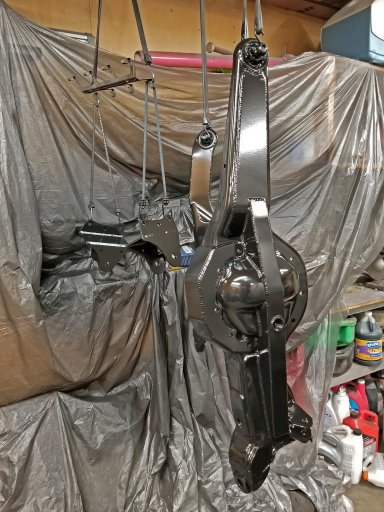
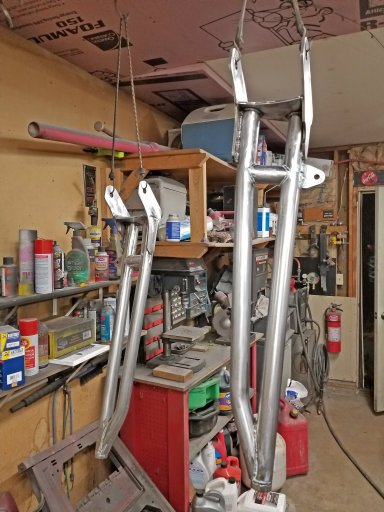
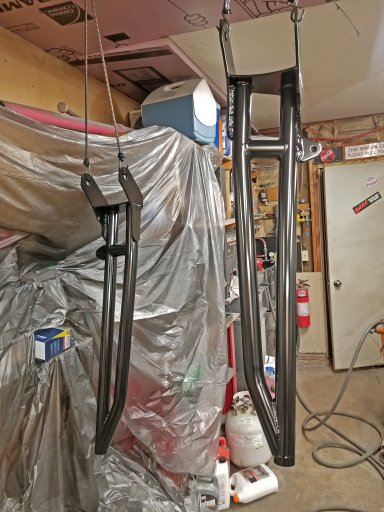
Time to start getting the axle beams and radius arms prepped and painted.

20200913_150242.jpg

Cleaned up and mostly sanded axle beams.

20201212_072949.jpg

20201212_072955.jpg

Sanded cleaned and ready for primer and paint.

20201212_180236.jpg

2 coats of epoxy primer and 3 coats of semi gloss industrial paint.

20201213_071246.jpg

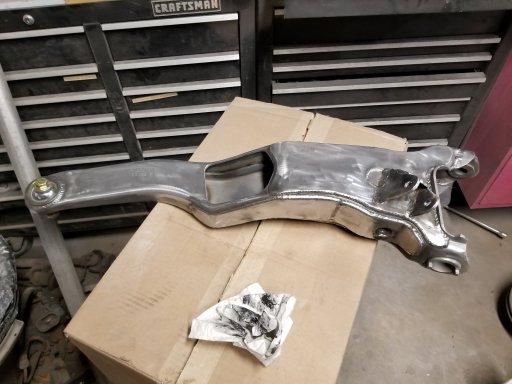
Radius arms prepped for primer and paint.

20201210_225616.jpg

20201212_072930.jpg

Turned out pretty decent. Just realized when I look at these pictures that I forgot to remove and paint the axle pivot brackets... Oops. Oh well there is plenty more stuff to paint.