zgfiredude
Rank VI

Steward I
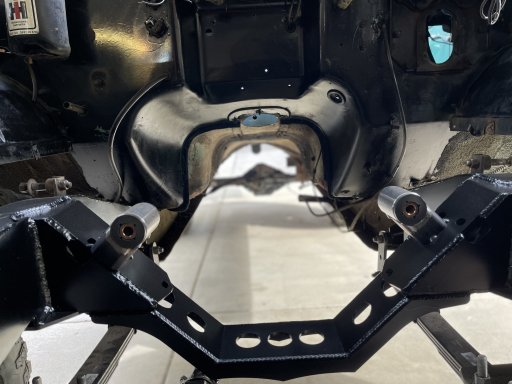
Corn ........ a hint back to the tractor roots.
Steward I

Explorer I
3030
I hope I will be able to make it. Will depend on my work load following our Refueling Outage.Looking good. Here's the announcement for Binder Bash 2023, hope to see you there.
Explorer I
3030


Explorer I
3030


Explorer I
3030
I love a Binder build as much as I love a manual transmission swap. This is delivering both in high doses, with a side-serving of really great metalwork. Thank you for sharing your project.
Explorer I
3030


Member III
16231
Explorer I
3030
It is in real good shape. The floors were patched at some point. not the way I would have done it but it works. Also, there is some rust bubbling through on the driver front fender near the bottom which is pretty normal. I will cut that out down the road once I get it driving.I'm floored by how clean that Binder is. Normally the tin worms eat those old Internationals up, but this thing just has surface rust in the usual places. That's a score!
It is in real good shape. The floors were patched at some point. not the way I would have done it but it works. Also, there is some rust bubbling through on the driver front fender near the bottom which is pretty normal. I will cut that out down the road once I get it driving.
Explorer I
3030


Explorer I
3030


Explorer I
3030
Explorer I
3030
Any progress on this?