Influencer III
- 4,312
- First Name
- Rex
- Last Name
- Drake
- Member #
19540
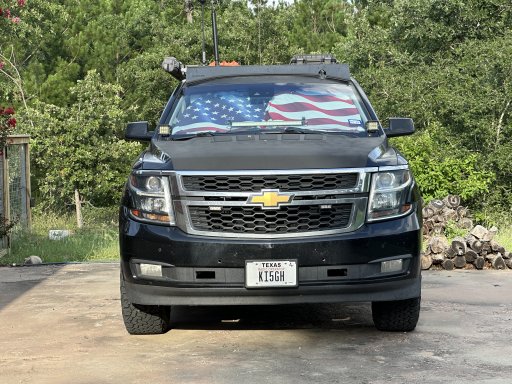
- Ham/GMRS Callsign
- KI5GH
- Service Branch
- Air Force
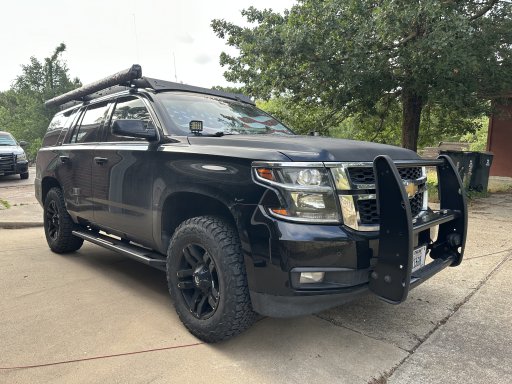
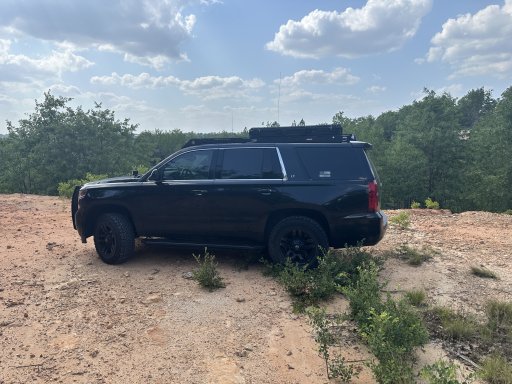
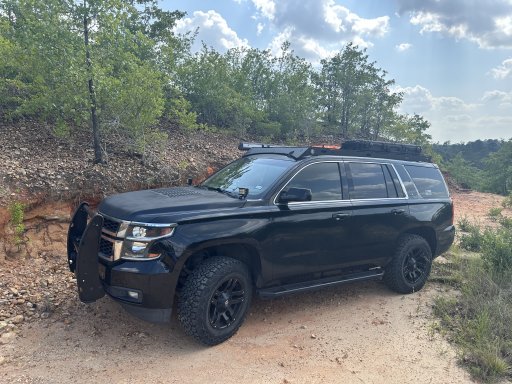
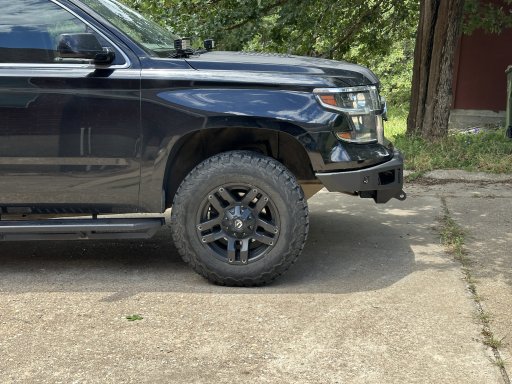
When I took this photo at Woodchuck Pass, Wyoming I had no idea that 4 miles later, both running boards would be broken and the teardrop have a shredded tire and cracked wheel.
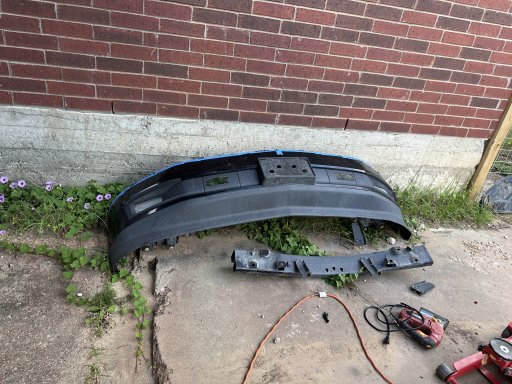
Today I finally removed the running boards and installed new aftermarket ones For $200. The Chevy house only wanted $4200 to replace them with new OEM ones.
View attachment 275477
View attachment 275484
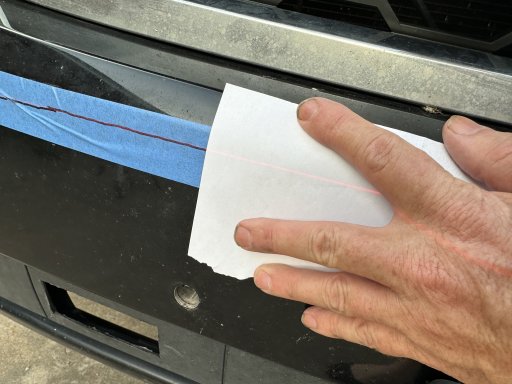
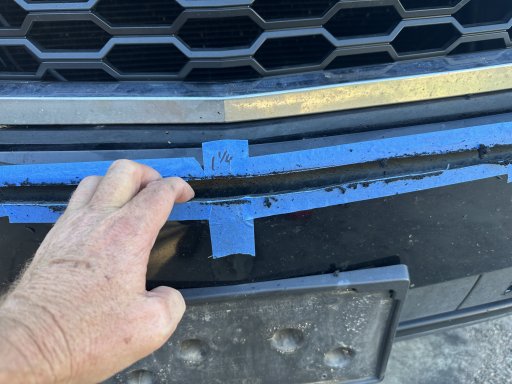
View attachment 275478View attachment 275480View attachment 275481View attachment 275482View attachment 275483
First running board mod. Can’t return em now!
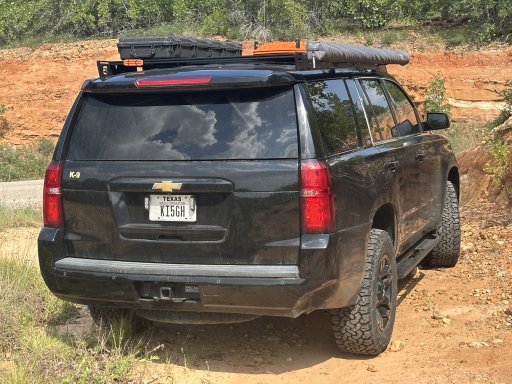
the open top in places May look cool, but at the rear end, it’s also where the hound steps to get in and out of the cabin. I had visions of a slipping foot, and broken doggie leg. No bueno.
I have an aluminum sheet that was a blank for a road sign. That’ll do for peace of mind.