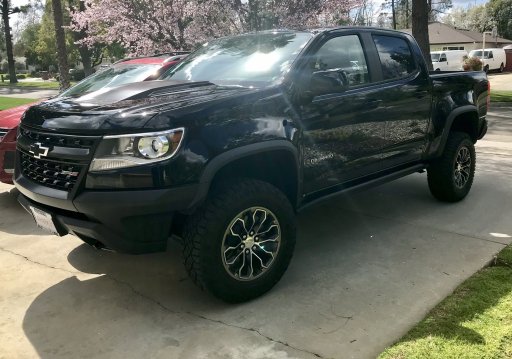
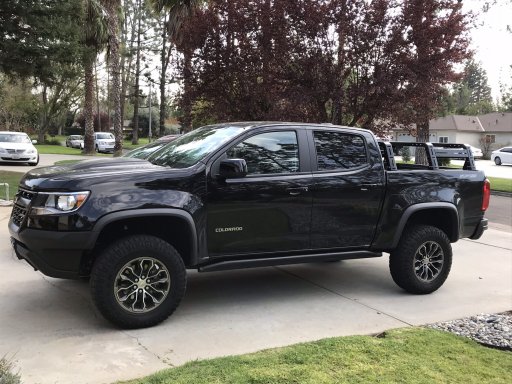
I thought I’d share my build process for my 2019 Chevy Colorado ZR2. It’s my first build, and the first I’ve worked on a truck or car in almost 30 years, so a ton of things are new to me in that regards, as well as overlanding in general.
I went with the ZR2 after doing a lot of research. At first, I had my eyes on the new Ford Ranger and the Colorado Z71 because the ZR2 was out of my price range. However, March came and Chevy launched some incredible deals that brought the price of the ZR2 down into my range. Meanwhile, I test drove the Ranger and liked some parts but other parts left me unimpressed. And all the dealers around my area wanted $5000 above MSRP to start.
So, the ZR2 was it.
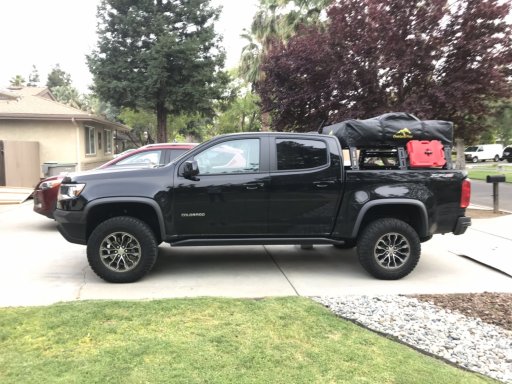
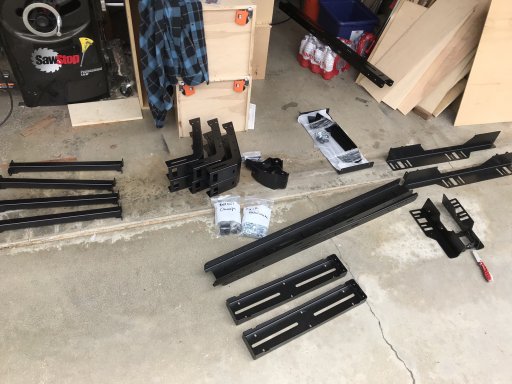
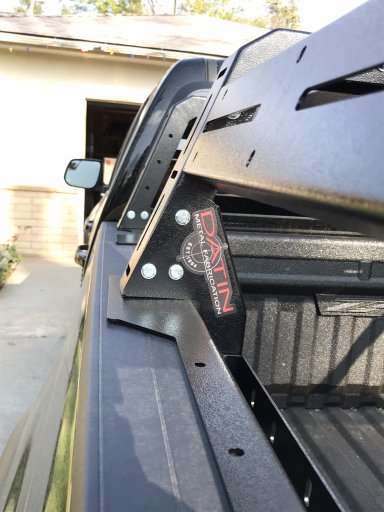
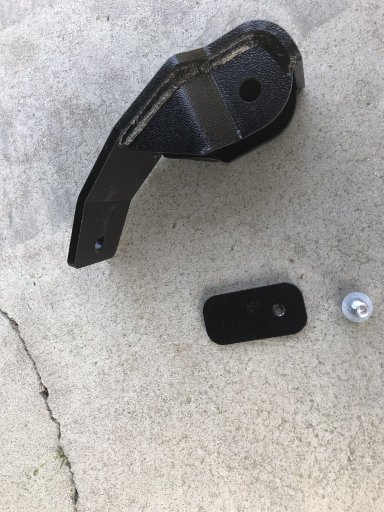
Next came the search for a bed rack because I wanted to go the RTT way. I reached out to Datin Fab and thought they’d be a good fit, so I ordered their rack, an interior accessory panel and some skid plates for my rear shocks.
All the parts arrived promptly and well packed. The only thing missing were the instructions, so I called them up, and they emailed them to me in less than five minutes — on a Saturday nonetheless.
The build took about 2 1/2 hours total, only because I built the entire thing and then realized I had to remove an exterior accessory panel and reattach it higher so I could add the interior panel.
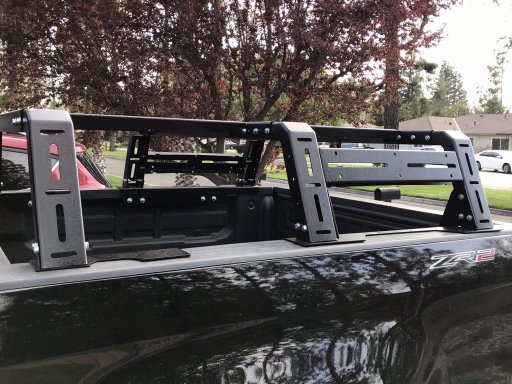
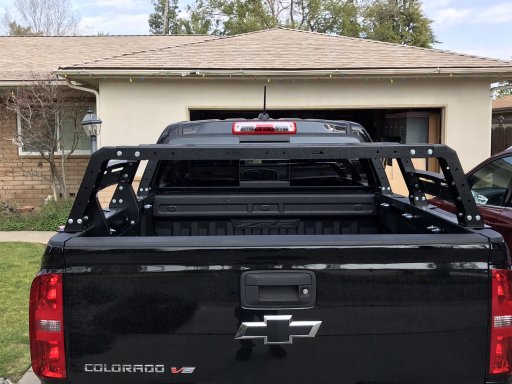
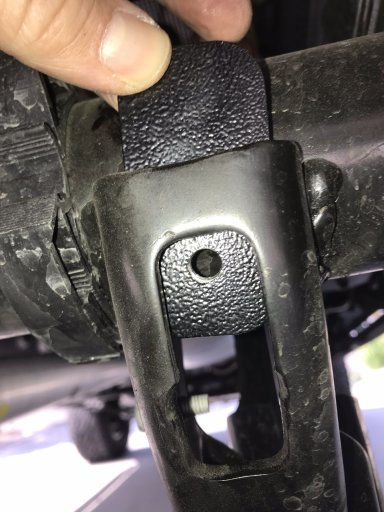
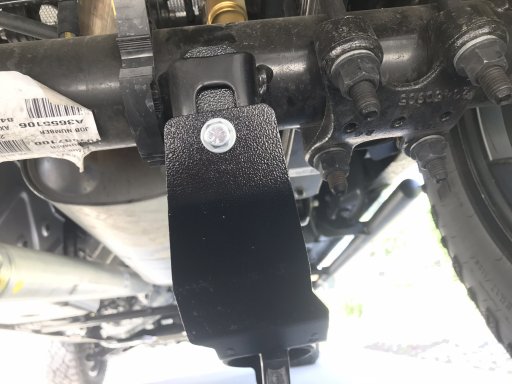
The following day, I installed the rear shock skids, which are bolt on with no drilling required. However, the fit was a little tight on one and required a little bit of persuasion.


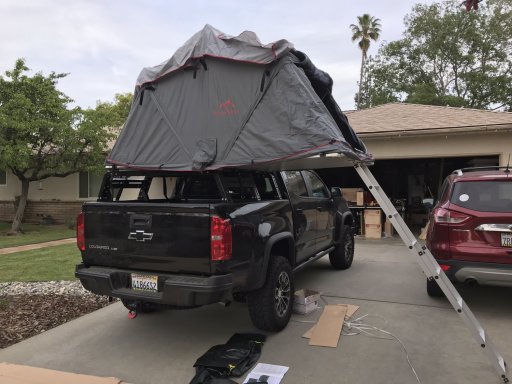
Next up, is deciding which RTT to go with. I’ve narrowed down to one from Overland Pros or Tepui.
I went with the ZR2 after doing a lot of research. At first, I had my eyes on the new Ford Ranger and the Colorado Z71 because the ZR2 was out of my price range. However, March came and Chevy launched some incredible deals that brought the price of the ZR2 down into my range. Meanwhile, I test drove the Ranger and liked some parts but other parts left me unimpressed. And all the dealers around my area wanted $5000 above MSRP to start.
So, the ZR2 was it.
Next came the search for a bed rack because I wanted to go the RTT way. I reached out to Datin Fab and thought they’d be a good fit, so I ordered their rack, an interior accessory panel and some skid plates for my rear shocks.
All the parts arrived promptly and well packed. The only thing missing were the instructions, so I called them up, and they emailed them to me in less than five minutes — on a Saturday nonetheless.
The build took about 2 1/2 hours total, only because I built the entire thing and then realized I had to remove an exterior accessory panel and reattach it higher so I could add the interior panel.
The following day, I installed the rear shock skids, which are bolt on with no drilling required. However, the fit was a little tight on one and required a little bit of persuasion.
Next up, is deciding which RTT to go with. I’ve narrowed down to one from Overland Pros or Tepui.
Attachments
-
 578.9 KB Views: 41