
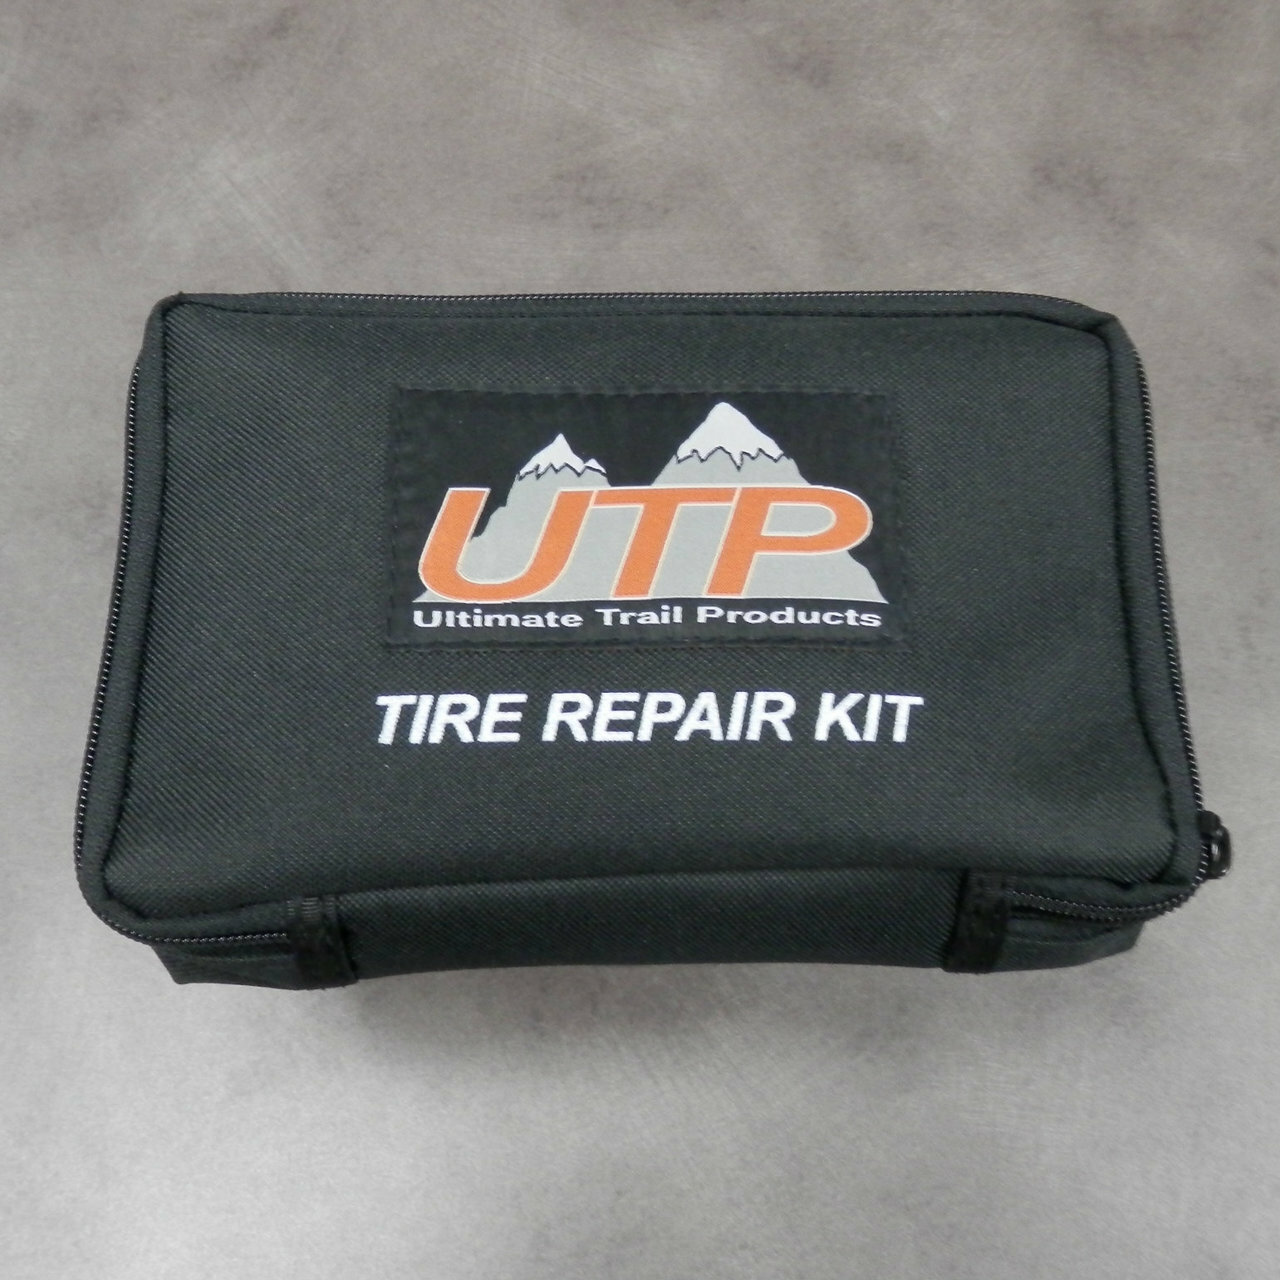
Benefactor
The UTP Tire Repair Kit is a great kit and has been used to plug many tires. I used it on a neighbor's tire after he saw me working on my truck one day and it lasted at least a month until he replaced the tire. The kit has also been used for demo purposes, with ~10 plugs in a single tire. Each plug held pressure after the first insertion.
Tire plugs should only be used on the tread face. In extreme situations they have been known to successfully plug sidewalls, but this often requires multiple plugs and can be tricky to get an airtight seal. Sidewall deflection is a big concern, so it's advisable to air up a plugged tire to reduce this. The shoulder of the tire is all but impossible to fix. Your best course of action is to get the spare on and hope for no more punctues. At least in the shoulder.
Another note is that while you may have heard of people running a plug for years without issue, taking a plugged tire to a tire shop will most likely result in you buying a new tire. As soon as the tech sees a plug, they will not work on the tire for liability concerns. Their only acceptable fix is to use a patch/plug combo, installed on the inside of the tire.
This is the most thorough repair kit I've seen. Any good kit will have a reamer, insertion tool, lube and plugs. But that's where they usually stop. UTP takes it a couple steps further by also including the following:
Side cutters
x2 valve stems
Valve stem tool
Pressure gauge
Retractable razor blade
Allen keys
Laminated instruction card (there's a pocket inside the storage pouch)
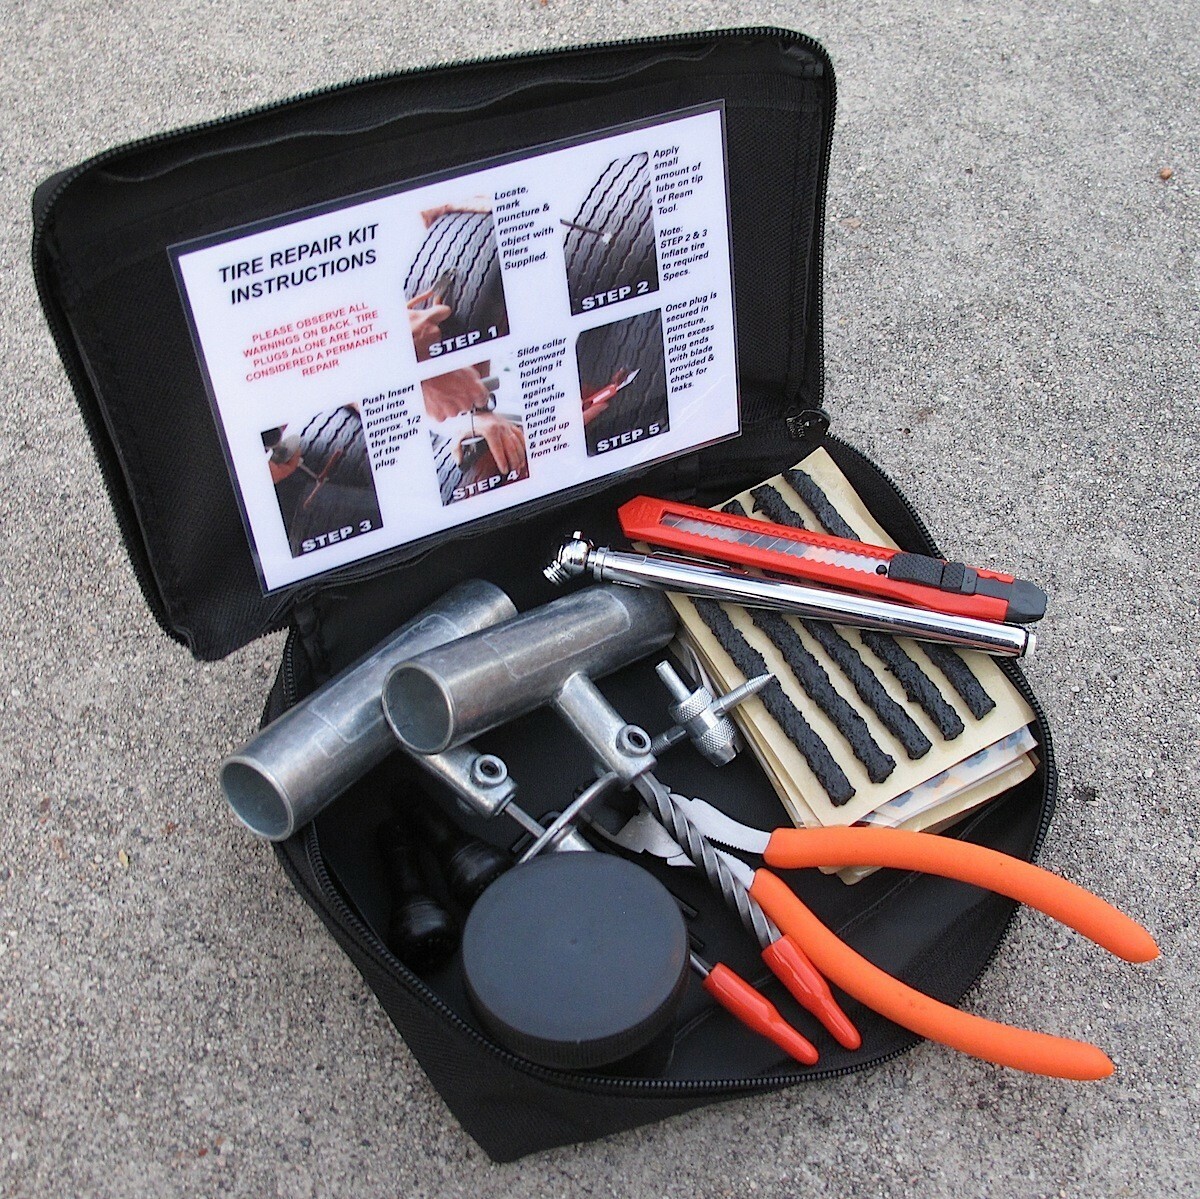
Both the reamer and insertion tool have metal T-handles and the tips secured with an Allen set screw. The T-handles offer a much stronger grip and control when using them. This is especially true for the reamer. Cheaper kits use an inline handle (like a screwdriver).
Be sure to read the instructions. I have seen people use lube on the plugs. This will prevent the plug from making good contact with the tire rubber and won't vulcanize as well. Use just a little on the tip of the reamer and everything should go smooth.
The case itself is just the right size to hold everything, and is actually a lot smaller than other kits with fewer items. It has a zipper to keep it closed. The bendy latch found on injection molded cases can wear out and break off so you have to use a strap or tape to keep it closed. It's a small issue, but annoying none the less. My kit is stored in a pocket behind the passenger seat, along with my Winchline.com Repair Kit (look for a video review of that soon!).
This isn't something that should only be kept in an offroad rig. In fact, I tend to think it's even better in a passenger car, as most tend to not have the additional tools needed to repair a tire on the side of the road, like the side cutter and razor blade. Always trim the tails of the plug to about an 1/8" off the tread. Don't let the road or trail do that for you. There's a chance they can stick to the road or a rock and pull out (or loosen) before they fully cure.
The couple of times I've used the supplied pressure gauge it has always matched the gauge I typically use. It's easy enough to get to that I lend it to someone who needs to check their tire pressure. Very small leaks may not register on any gauge. Pour water into a small spray mister with a few drops of liquid soap and spray it on the plug. Look for leaks in the form of growing bubbles, or small white patches that remain after the water runs away. Use this same technique to initially find the leak if it is not obvious.
The valve stem tool is a great addition. It can clean both the inner and outer threads, press the stem in (better than a stick or rock), remove the core, and also re-seat the entire stem/plug. Though you'll have to remove the tire to do this, and pull it out from the inside of the wheel.
If you're looking for a compact, and complete tire repair kit, you'd be hard pressed to find a better one than this. It has everything you need (and a little bit more) to make fast work of a flat.


