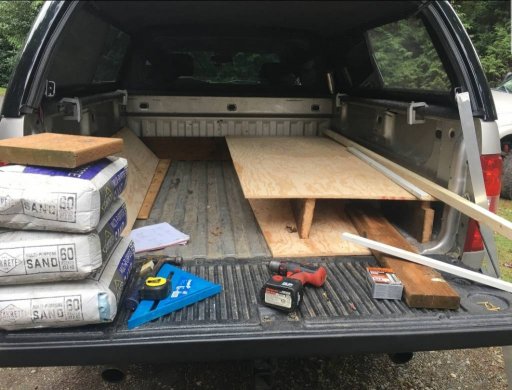
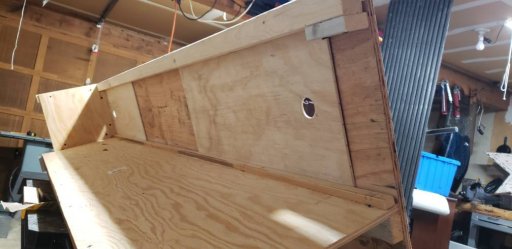
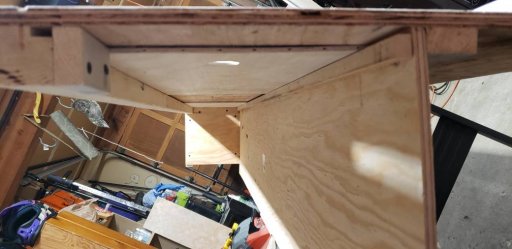
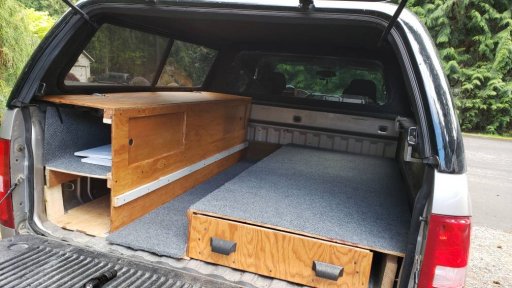
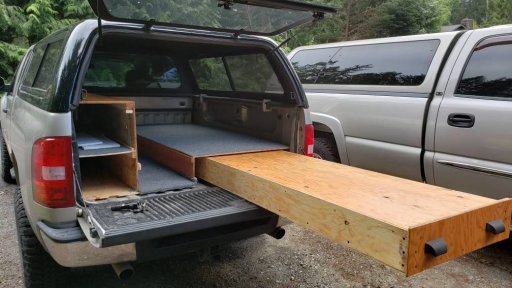
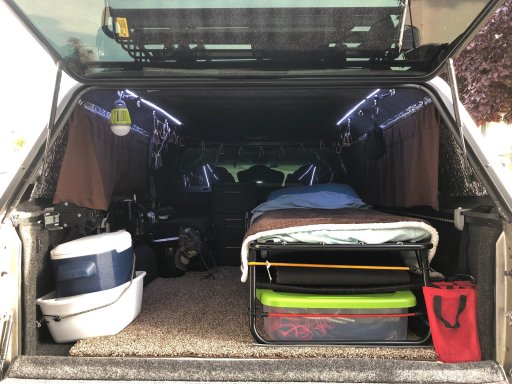
I've been slowly making progress through my build, we had a little snow which put a damper on things for a couple weekends but I'm back in action! So basically my plan is to put the bed on the right side, and have a cabinet/shelf on the left, with an isle in the middle to put my feet when I'm sitting. I'll also have a board to place at bed heighth in the isle section to extend the bed another 14 inches for a total 48 inch wide bed if my girlfriend comes along. You can see where it will rest on the side of the bed in one of the pictures, it's a blue colored piece of wood. You can also see where the other wide of the bed extension will rest on the cabinet. (Also a blue board)
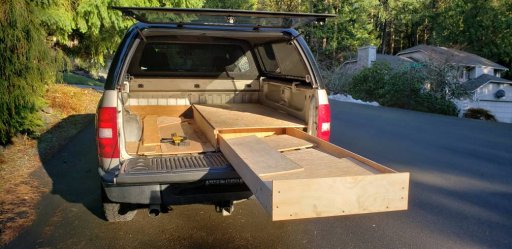
I have a drawer that slides underneath the bed, which isn't on rollers or anything. It takes some effort to slide but it's still pretty easy. A problem I ran into was the edge of the drawer hitting the plastic liner on the tailgate so I have to lift up slightly to get over that. I plan on making a lid to cover the top of the drawer so I can use it as a counter top. The lid will probably be in three sections in case I need to get to something under it while Its covered in stuff. This will be used for cooking.
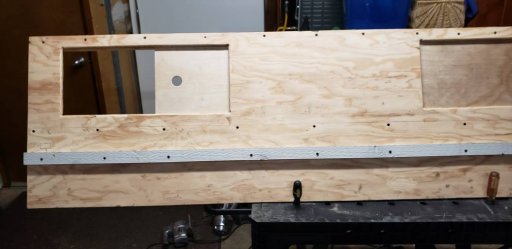
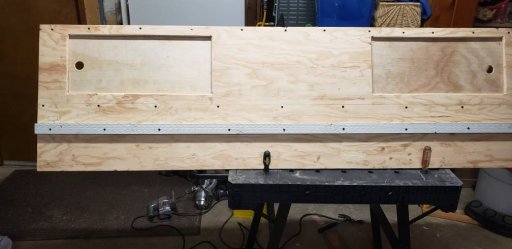
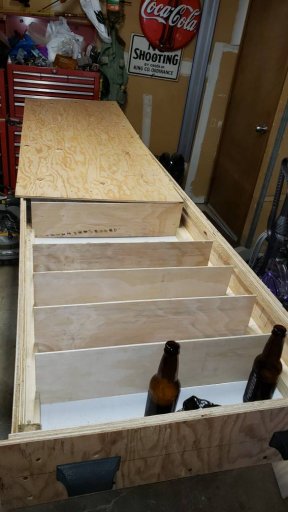
My cabinet/shelf was a lot more complicated than I thought it would be. It's still being made but it's almost finished. Its about 15 inches wide on the inside, which is plenty for me. The doors were simple to make. I didn't want to deal with hinges and swinging doors getting in the way, so I made sliding ones by cutting some channels from 1/4 inch plywood to slide through with some finger holes to grab. I'm going to line the top shelf with carpet to keep stuff from sliding around too much. Once everything is done and all the little things are completed I'll also line the bed and the floor in the isle with carpet. After that I'll run power to the inside for lights and accessories!
I've also had to make a few mechanical and electrical repairs too which has been taking up my time... :(
I'll add some more pics when I put the cabinet/shelf back Into the canopy
View attachment 89181View attachment 89183View attachment 89188View attachment 89191View attachment 89192View attachment 89193