Tacoma Camper Build

  • HTML tutorial

North American Sojourner

Rank VI
Member

Influencer I

3,240
Mid-Missouri, MO, USA
First Name
Dave
Last Name
Zimmer
Member #

30139

Service Branch
USN (ret)
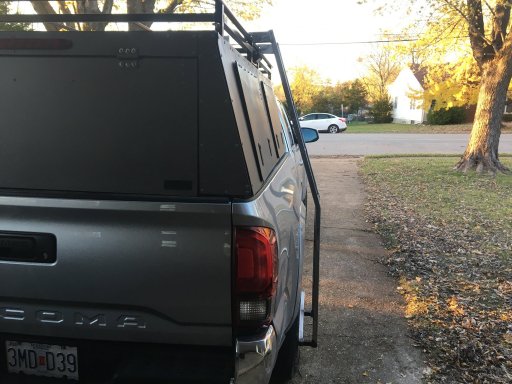
I have thought hard about posting this since I've sold the truck. Almost sad about it but excited for the new build too. So here we go. The camper/topper/cap/shell from hell.
LMAO.

Started on the shell within a few months of buying the 2019 Tacoma. Loved the truck, hated the driveline. I have no idea why I bought it and was actually glad I sold it. The shell was special though. Love it and still have it.

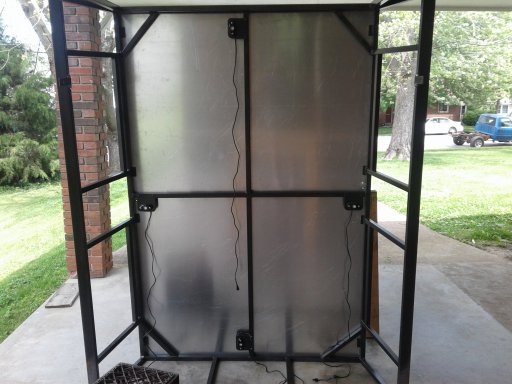
Started with a 1x1 frame on a 2x1 rail on the bottom.
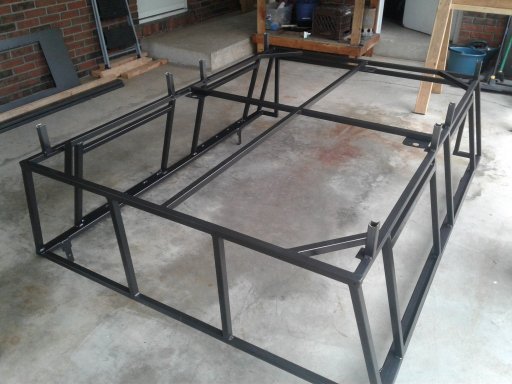
frame1.jpg

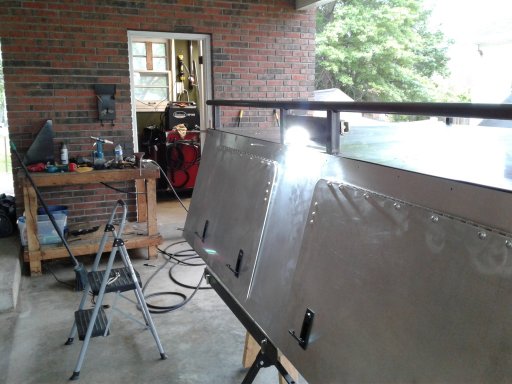
Skinned it in aluminum (063) I think top and sides. The doors were made from .125 aluminum and attached using 351,811 rivets....Kidding of course. I did buy a HF (harbor freight) air riveter. I used cork as a gasket and it had adhesive on one side. It was wonderful. Cork has held oil in oil pans for a century, upsidedown. LOL
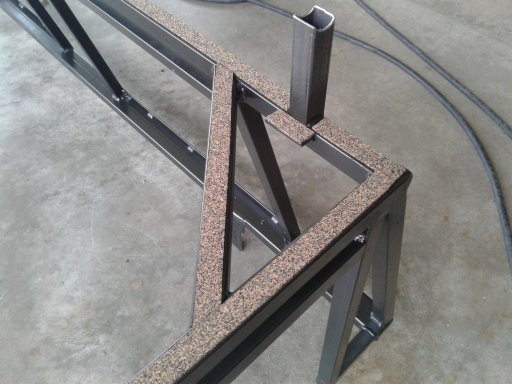
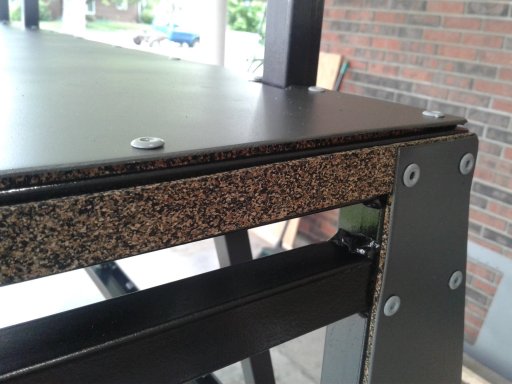
cork1.jpg

corner.jpg

So then I started to skin it. I had the sheets precut but still had to cut in the doors and other pieces.
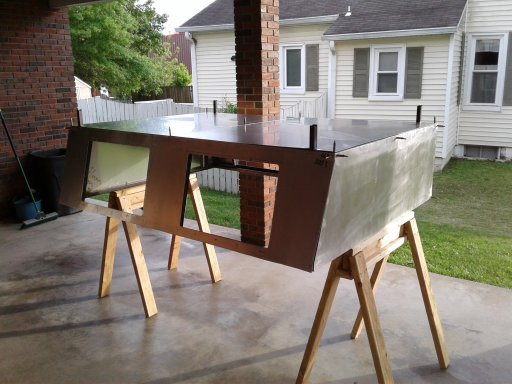
dried in.jpg

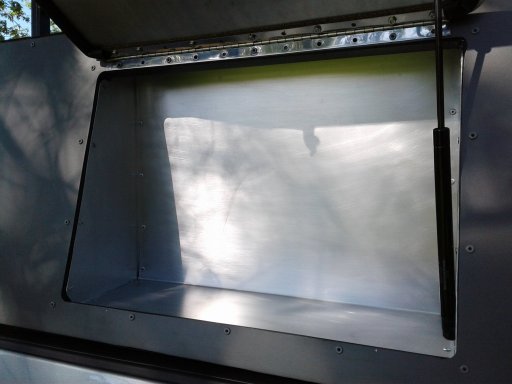
The doors were thick, and secure. I used stainless hinges and some cheap chinese latches. (should have gone with the good ones)
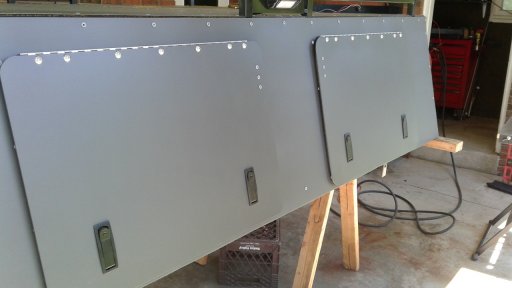
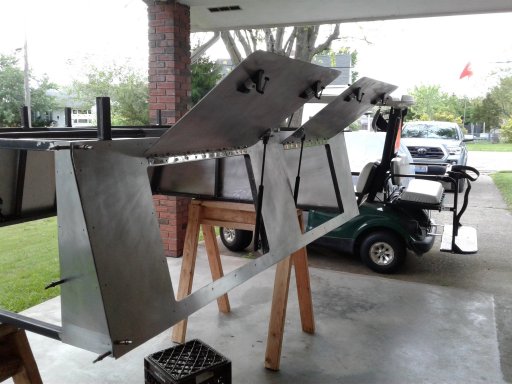
final driver both.jpg

open door.jpg
 

North American Sojourner

Rank VI
Member

Influencer I

3,240
Mid-Missouri, MO, USA
First Name
Dave
Last Name
Zimmer
Member #

30139

Service Branch
USN (ret)
Now on to the other 5,921 things to attach to it..LOL.
Due to a major design fault by me, the back door sucked. Had a gap from the rail to the door edge that I could not cover and be movable so I just sucked it up and delt with the little bit of water and dust. I don't think the dust would ever be 100% gone. Just would not happen.
I did manage to put a light on it tho. LOL

ladder3.JPG

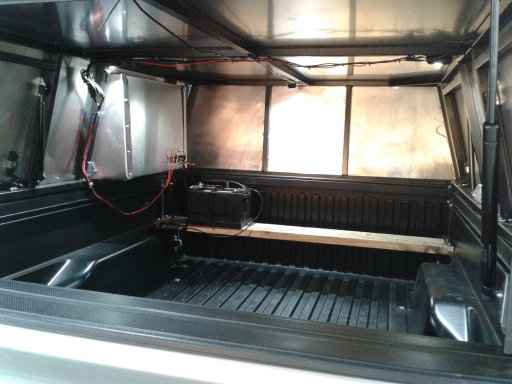
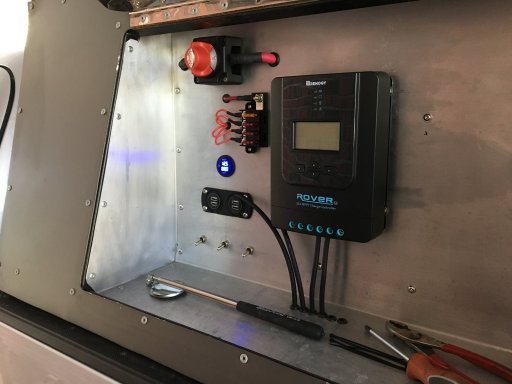
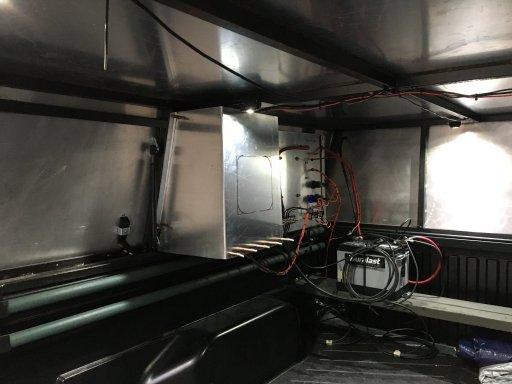
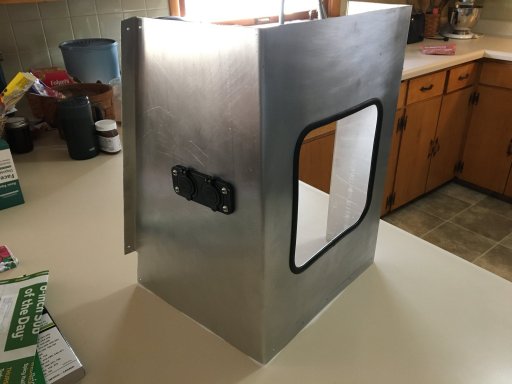
Next was a command center. LOL. Yeah, I wanted to jump out of the drivers seat, run back and open the first door and grab stuff, charge stuff, look at stuff and just be cool at the gas station...ahahahahhahaha. Kidding.
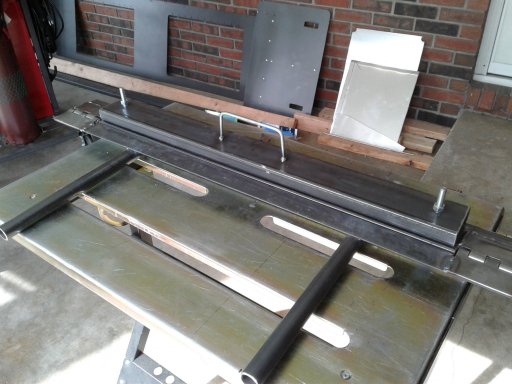
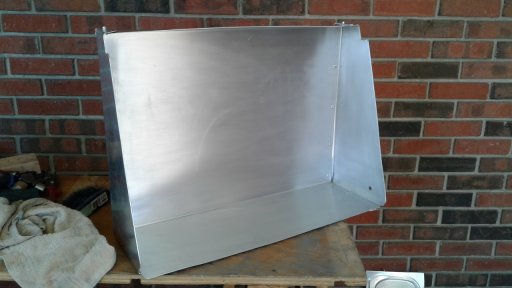
So I made a sheet metal bender (brake) and folded up some scrap left over aluminum.

brake.jpg

control1.jpg

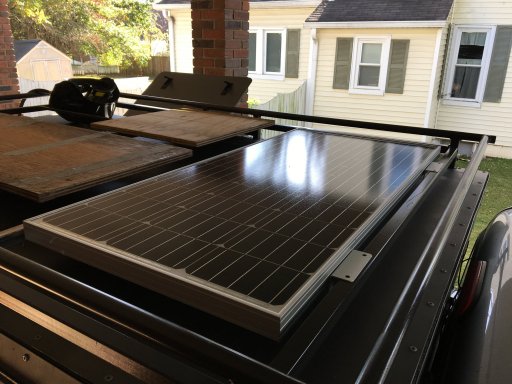
Of course I needed a battery in the back to charge all these toys I had, so I made a bench in the rear of the truck to hold the battery, and then installed the master switch, fuse box and charging ports with a battery, and aux battery monitor. Oh, I added a solar panel on the roof, and a MTTP solar controller in the command center too...

battery mount3.jpg

Boom, the cool stuff LOL

controller.JPG

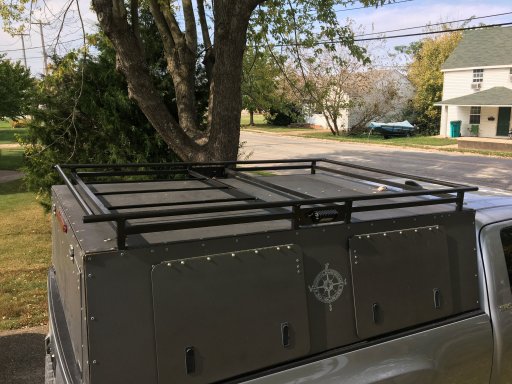
In order to mount the solar panel, I had to have a roof rack. The roof rack support stubs were added when I skinned the roof. It was the only good decision I have ever made, except the kids of course, but they don't like me so who cares..lol..........kidding of course.

roofrack1.JPG

solarpanel1.JPG

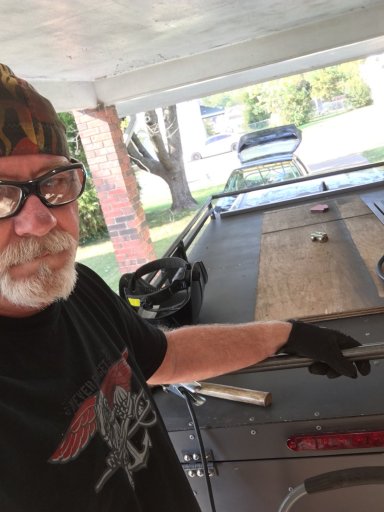
At this point I'd like to let everyone know I lost all my radio stations and 60% of my radio reception for not disconnecting the truck battery before welding on the roof, 16" from the radio antenna.....so there. That's a damn lesson for the youngsters....and old people like me.
Zim

roofrack.JPG
 

Attachments

North American Sojourner

Rank VI
Member

Influencer I

3,240
Mid-Missouri, MO, USA
First Name
Dave
Last Name
Zimmer
Member #

30139

Service Branch
USN (ret)
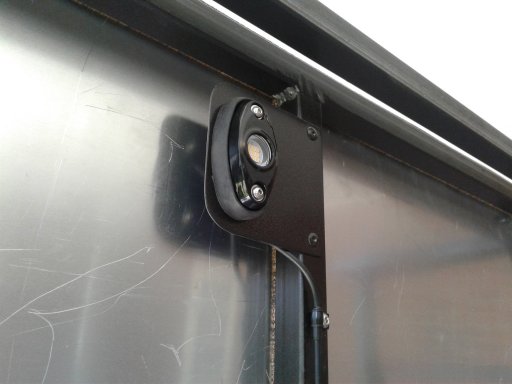
I had some lights from my old job at autozone, so I used those on the inside. There were 4 and they did a really nice job lighting up the joint. I also put 2 porch lights on each side for dark camp setup's.

light1.jpg

light2.jpg

porch1.jpg

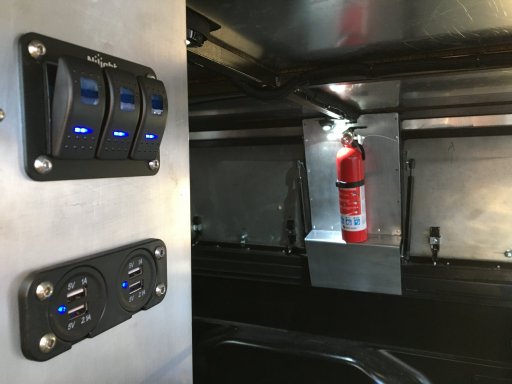
I turned my attention to the inside and wanted a indoor light switch panel, some more charging stations and a place for my cheapo first aid kit that was accessible from the second door.

panel4.JPG

panel6.JPG

fire3.JPG

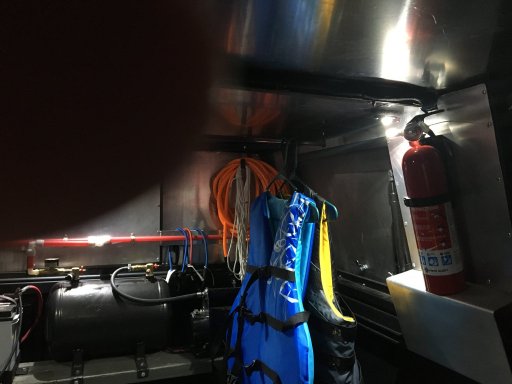
Also threw in the fire extinguisher. Also accessible from the other door. Setting a trend here...LMAO.
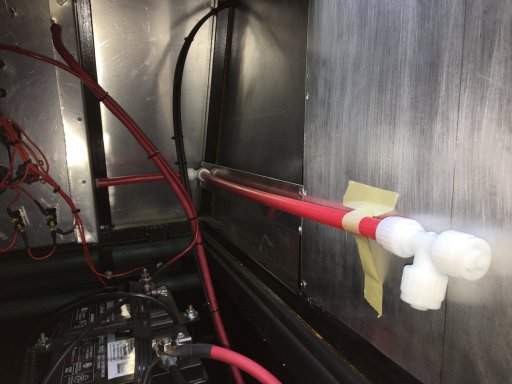
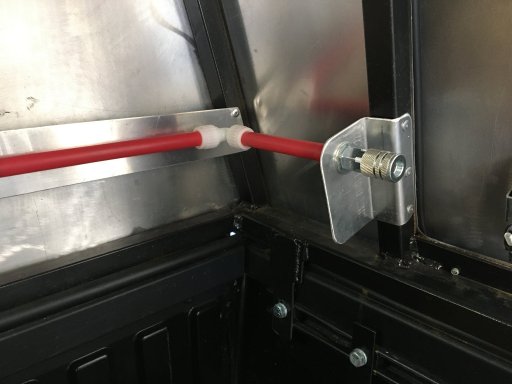
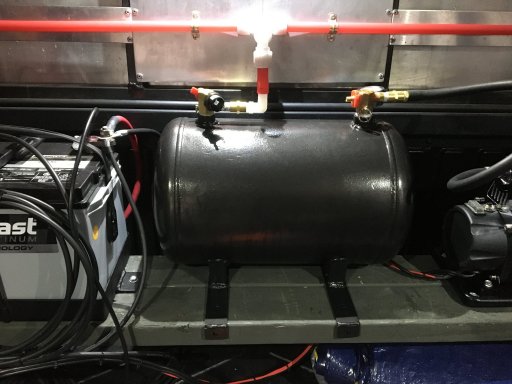
Now I needed air, but just not the typical air compressor set up. I wanted piped air at each side, with at least a two gallon tank of reserve air. Got the tank from HF and the Simtty from 4wheel and began the install.

airsys1.JPG


airsys3.JPG

tank3.JPG
 

North American Sojourner

Rank VI
Member

Influencer I

3,240
Mid-Missouri, MO, USA
First Name
Dave
Last Name
Zimmer
Member #

30139

Service Branch
USN (ret)
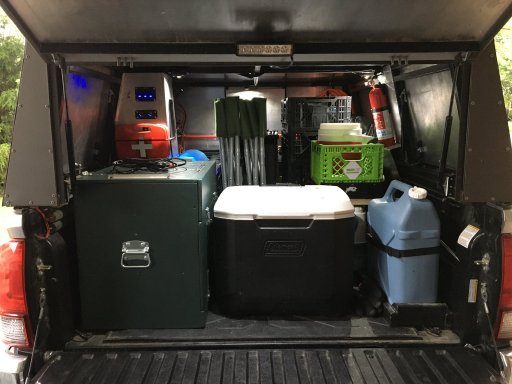
Camping time. Had been out camping during the build but the real trial was this trip up to Mark Twain Lake. The camper did awesome and carried the gear with no issues.

IMG-1432 (1).JPG

IMG-1464.JPG
Even put in a hanging rack for towels, suits, jackets that got wet.

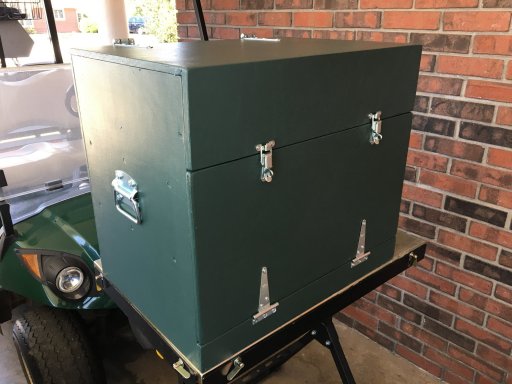
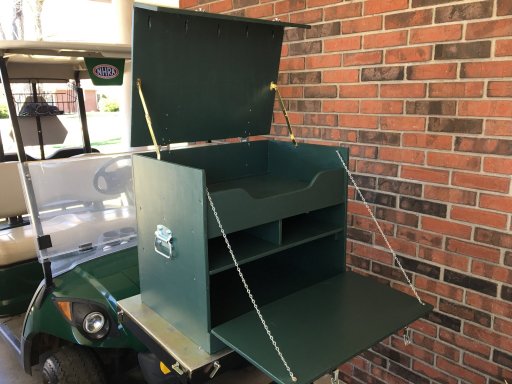
I've always wanted a chuck box for the kitchen gear. I went a little overboard on that but it's very useful.

chuckbox1.JPG

chuckbox2.JPG
A little bigger than I wanted but better to overbuild than under and not be able to add on...lol
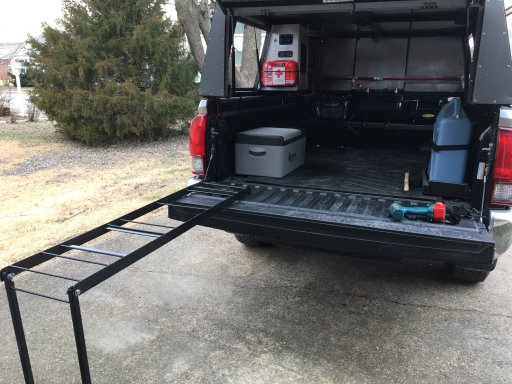
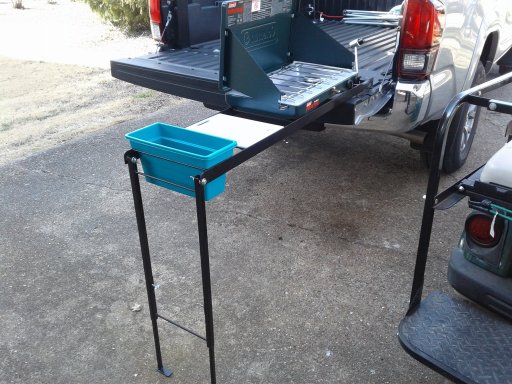
I had also built a kitchen rack I could swing out on the tailgate if I ever wanted to just stop and have a lunch. It worked great on several short trips.

refer2.JPG

I could put it on either side of the gate but it's neat, and less slippery than the tailgate.

kitchen2.jpg
 

North American Sojourner

Rank VI
Member

Influencer I

3,240
Mid-Missouri, MO, USA
First Name
Dave
Last Name
Zimmer
Member #

30139

Service Branch
USN (ret)
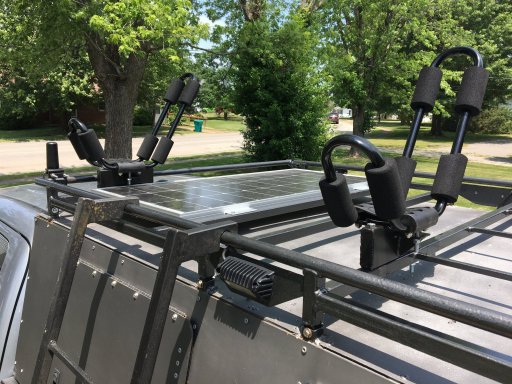
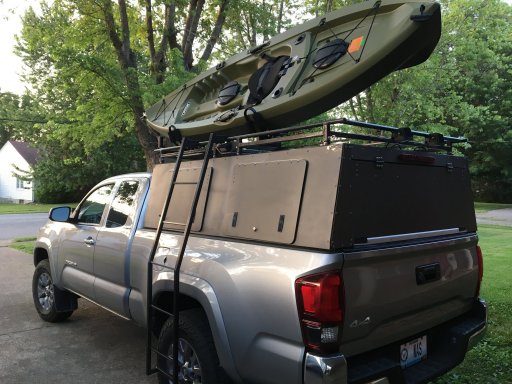
Then there was the kayak. No problem right? Holy kayak crap batman. This was a pain in my ass. Picked up some brackets because I can't bend 1" tube for less than $400. LOL. So for $45 I get the brackets, did the modification and mounted them on the roof rack. A little tight because of the solar panel, but it fit. Only problem was when the kayak was up there, it cut power to the panel...ahahahahahhahahaha. Design error No. 933a. LOL

IMG-1413.JPG

Also built the ladder to get up there and tie it all down.

IMG-1418 (1).JPG

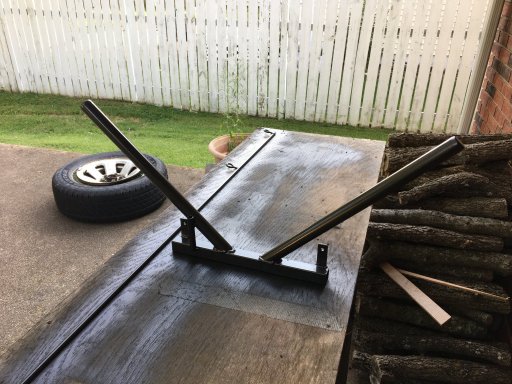
So this little thing was a champ. It was just a guide "V" to get the kayak up there with the brackets. This was the second try at this. First one was a dumbass attempt with rollers....lmao. It was bad, really bad.

IMG-1441.JPG

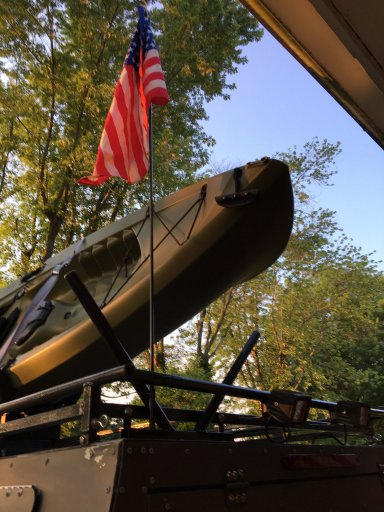
Even welded in a tube for our Flag. MERICA....

IMG-1443.JPG
 
  • Like
Reactions: ChristelandChantal

Sparrowmict

Rank II

Enthusiast I

404
Oklahoma
First Name
Raymond
Last Name
Farrow
Member #

27870

That looks amazing. well thought out. I freely admit to unnecessarily getting into something in my bed drawer system at the gas station and or putting things into my fridge or getting a beverage. sparks quite a few questions.
 

North American Sojourner

Rank VI
Member

Influencer I

3,240
Mid-Missouri, MO, USA
First Name
Dave
Last Name
Zimmer
Member #

30139

Service Branch
USN (ret)
That looks amazing. well thought out. I freely admit to unnecessarily getting into something in my bed drawer system at the gas station and or putting things into my fridge or getting a beverage. sparks quite a few questions.
I'll never admit to showing off Raymond. Cough, cough. LOL. I've opened my door a thousand times for nothing. Ahahahahahhahaha.
Zim
 
  • Like
Reactions: Sparrowmict