Hi Guys,
i have quite a todo list before our next long distance journy starts.
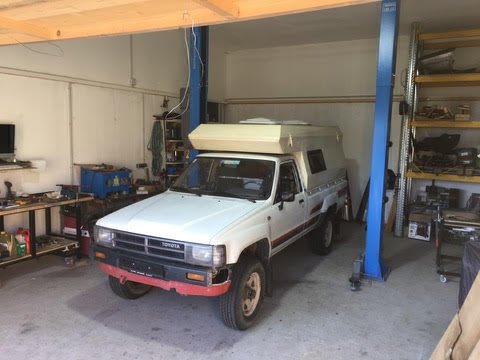
Regarding the car itself it's the same every time for most parts, but because my better half upgraded her standards quite a bit i have to do a lot of stuff with the camper.
I will keep you guys updated on the process in this thread and share some insights with you.
Todo Car:
Todo Camper:
So here it all begins:
i have quite a todo list before our next long distance journy starts.
Regarding the car itself it's the same every time for most parts, but because my better half upgraded her standards quite a bit i have to do a lot of stuff with the camper.
I will keep you guys updated on the process in this thread and share some insights with you.
Todo Car:
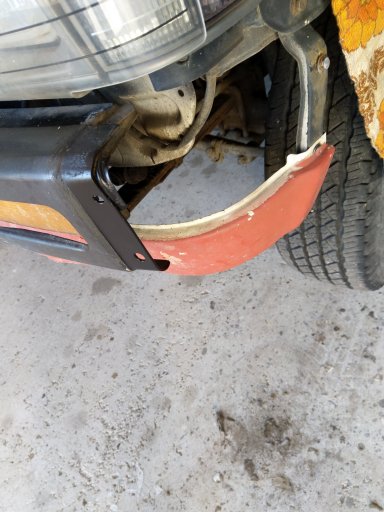
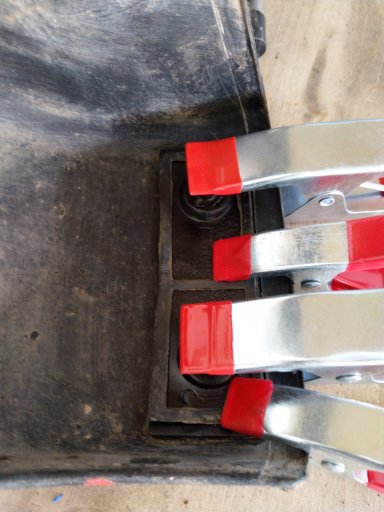
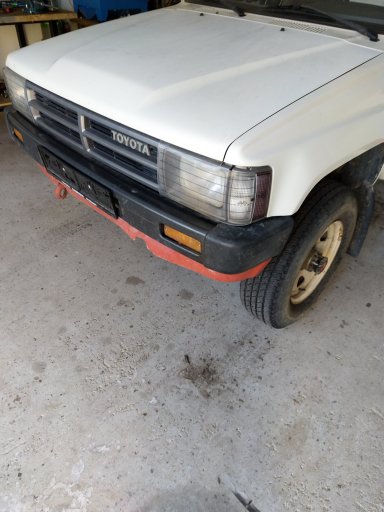
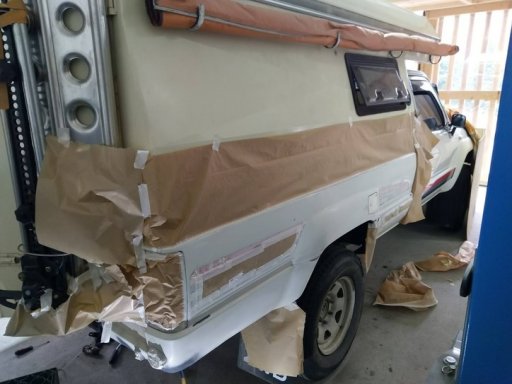
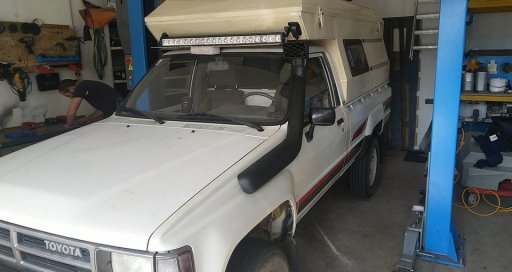
Changing all liquids and lubricationstiming beltalternator beltsglowplugsdifferential sealscardan shaft sealsleaf springsTiresrust preventionfixing the front bumper
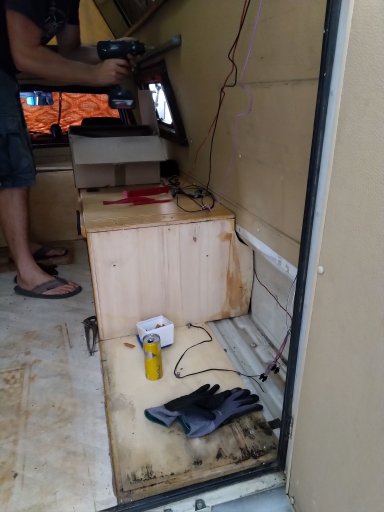
Todo Camper:
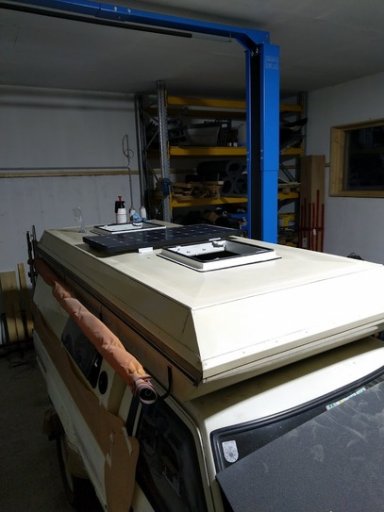
fixed solar panels- Two new AGM batteries
- b2b charger
- solar charger
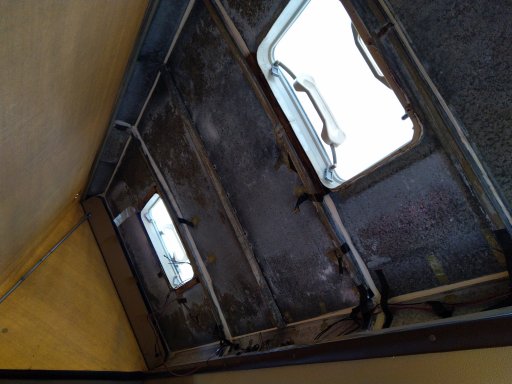
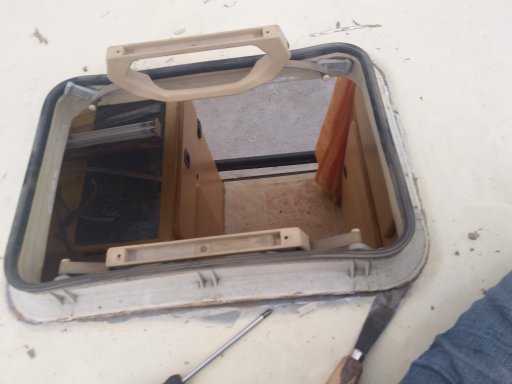
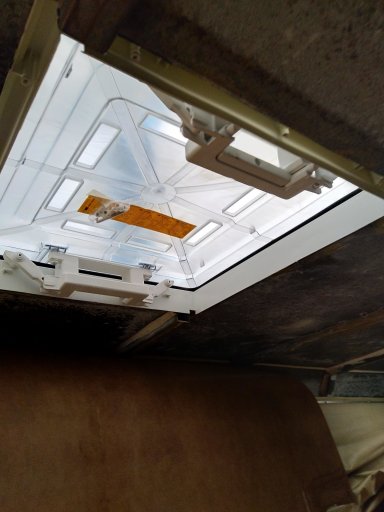
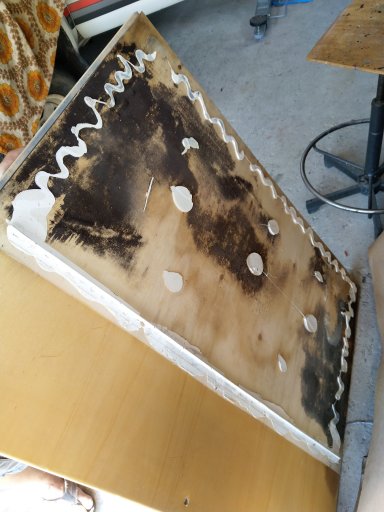
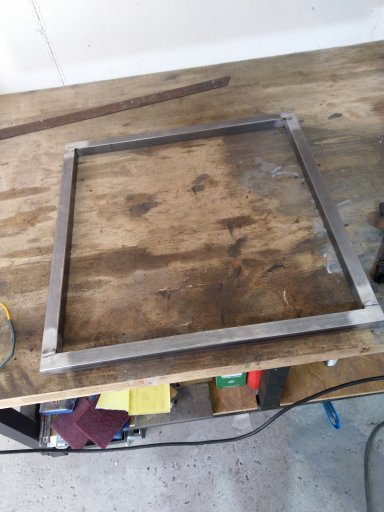
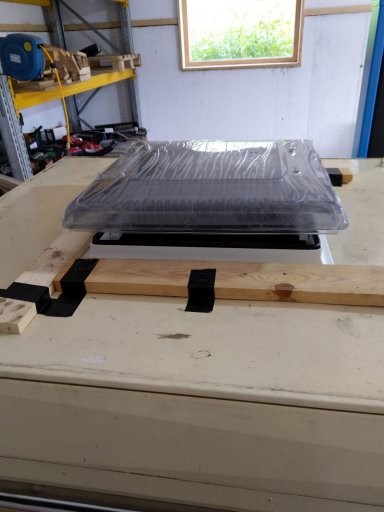
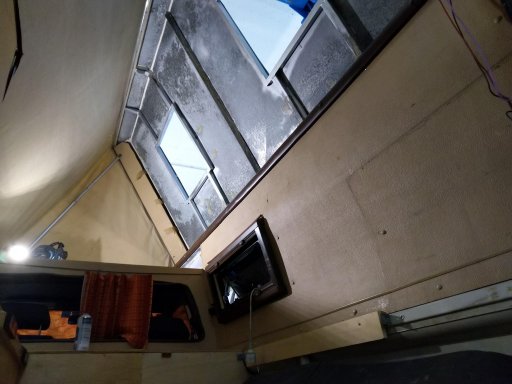
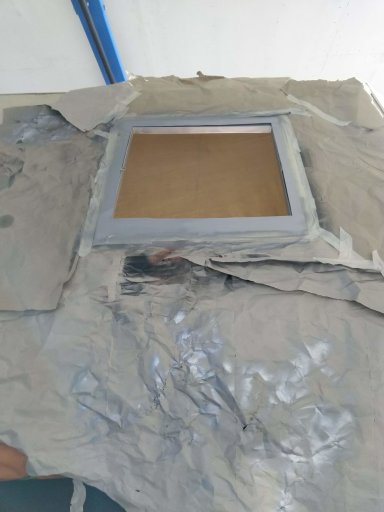
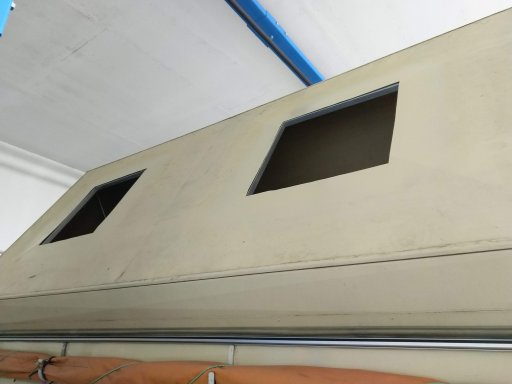
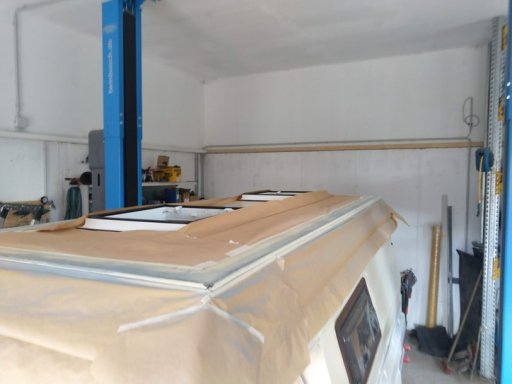
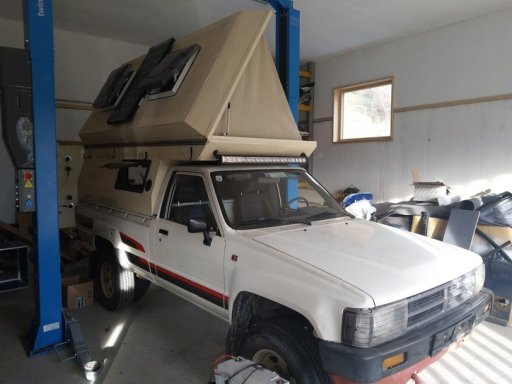
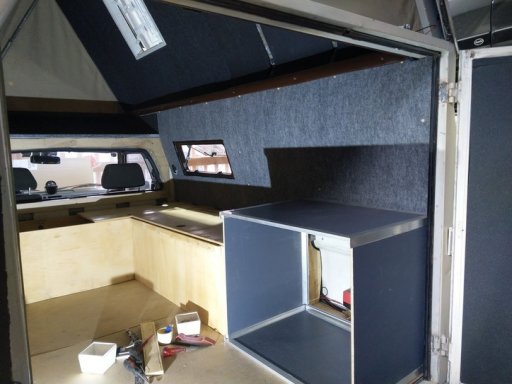
larger roof hoodsnew insulation- switching from LED illuminants to all LED low profile lamps.
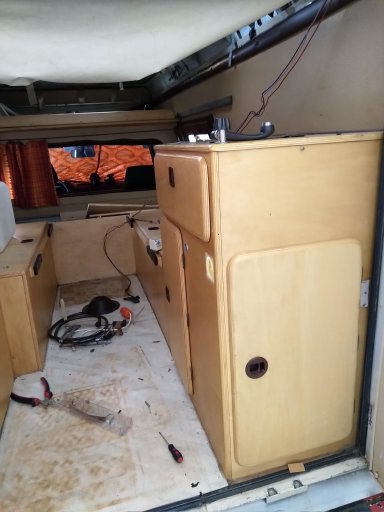
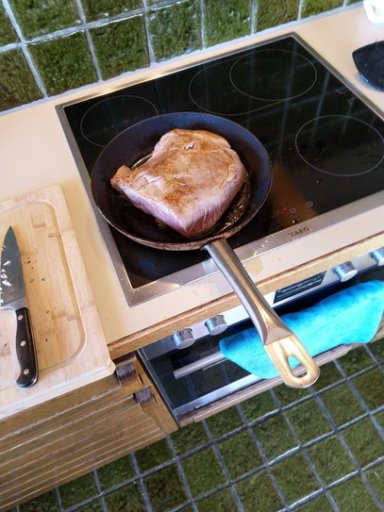
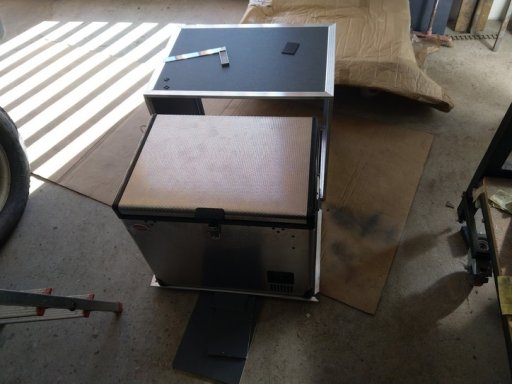
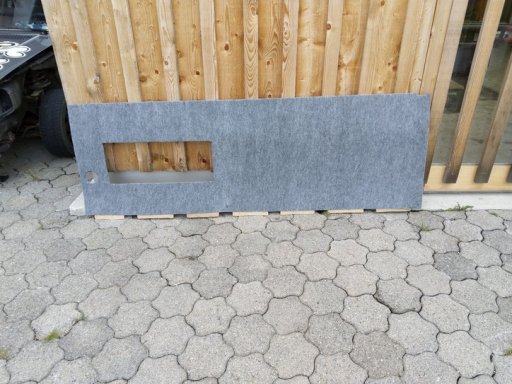
- new kitchen area/
fridge cabinet - under floor water tanks (100L) (+60L to the previous tank)
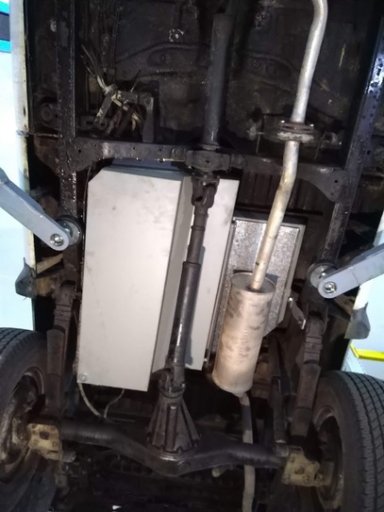
under floor diesel tank (60L) (back from a 180l spare tank in the camper to a smaller 60l under the car, 120L should be enough)switched to a 134 Long Ranger Tank that replaces the old one- complete new water system (with hot water)
- fixed water filtration system (portables are way to slow)
- new vehicle-heater (old one was a extremly loud)
- new outside shower (needs a hot water mixer now)
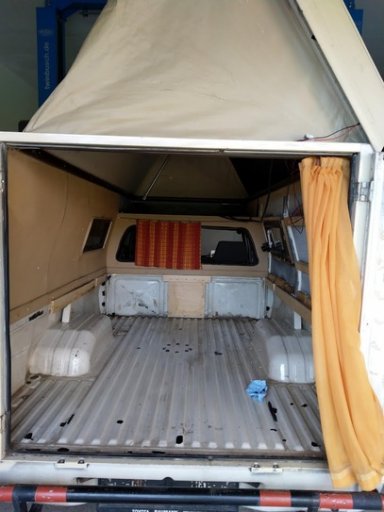
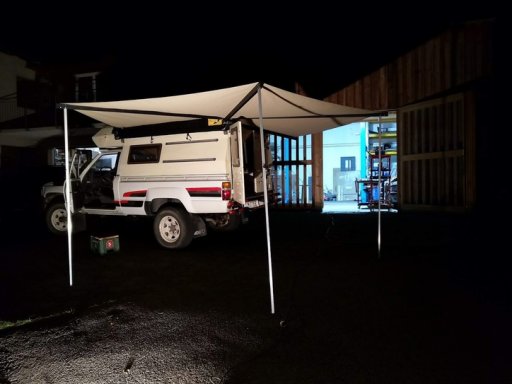
new awning (270°)new tent fabric(wont do, just fixed the old one)- rear spare wheel carrier (need the room where the spare wheel is placed for the 60L diesel tank)
outside attachment points (have to get as much stuff attached on the outside as possible, it's getting cramped inside)- info system (battery, water)
- backup camera
So here it all begins:
Last edited: