• Guest, UPDATE We went through the site migration runbook and completed all steps. We will need to complete the migration next week, but will leave the forums up for the weekend. A few days after maintenance, a major upgrade revision to the forum site will occur.
  • HTML tutorial

Steve’s 2016 Toyota 4Runner Modification and Adventure Thread

Steve

lost again...
Founder 500
Launch Member

Traveler III

Steve, in the last two pics, what type/manufacture rack is that?
The side rails are the 4Runner's stock rails. The inserts are used instead of the factory optional crossbars. They are extremely sturdy. The owner is probably around 200 pounds, and bounced a little on just one insert.

They are made by Rago Fabrication. If the original side rails were full length, I'd have gone this route over the Prinsu rack.

Link: https://goo.gl/JMEFbR
 

HappyOurOverlanding

Rank VI
Launch Member

Member III

The side rails are the 4Runner's stock rails. The inserts are used instead of the factory optional crossbars. They are extremely sturdy. The owner is probably around 200 pounds, and bounced a little on just one insert.

They are made by Rago Fabrication. If the original side rails were full length, I'd have gone this route over the Prinsu rack.

Link: https://goo.gl/JMEFbR
Thanks Steve. I was wondering how my style of RTT would attach to it. Unfortunately, after reviewing the video at Rago, there is not enough clearance from the roof to work with the bolt system of my RTT. I do like the low profile and what they're doing for accessories.
 

Steve

lost again...
Founder 500
Launch Member

Traveler III

I was wondering how my style of RTT would attach to it
The fellow who bought it said he was told to attach the whole assembly to the bottom of the RTT and *then* lift the whole thing into place. Doesn't seem particularly practical. Similar instructions for my Prinsu, but only attaching the two crossbars to the tent.
 

HappyOurOverlanding

Rank VI
Launch Member

Member III

The fellow who bought it said he was told to attach the whole assembly to the bottom of the RTT and *then* lift the whole thing into place. Doesn't seem particularly practical. Similar instructions for my Prinsu, but only attaching the two crossbars to the tent.
Have a friend that does that with his Thule rack and RTT. My issue is that I only have a 5 inch clearance going through the garage door (after a 2" lift and a K9 Rack). I have to load and unload the RTTfrom a 12 foot ramp. LOL... Thus my looking for a lower rack that I could get enough clearance to lift it in the garage. Oh well, I'll keeping dreaming and looking.
 

Steve

lost again...
Founder 500
Launch Member

Traveler III

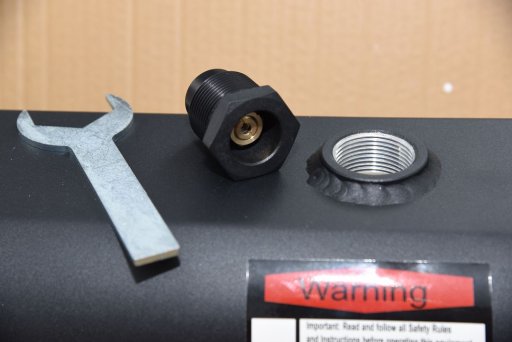
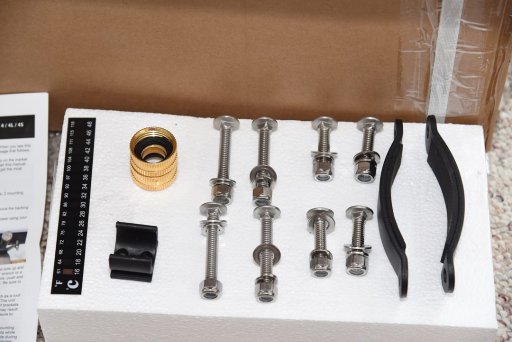
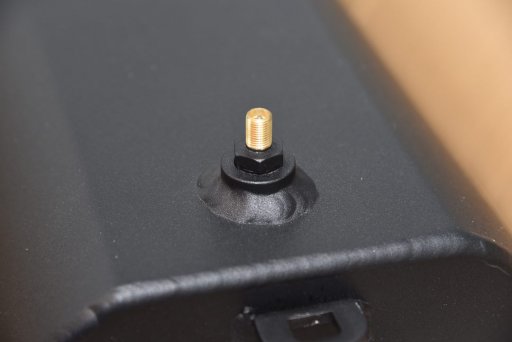
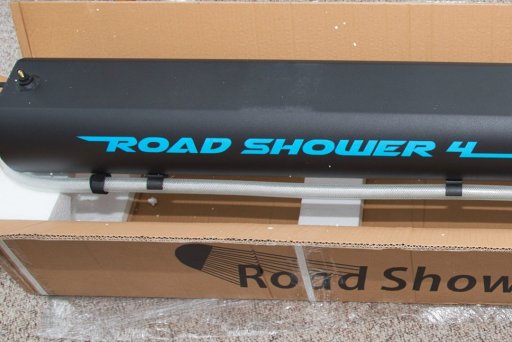
Upgrade time!

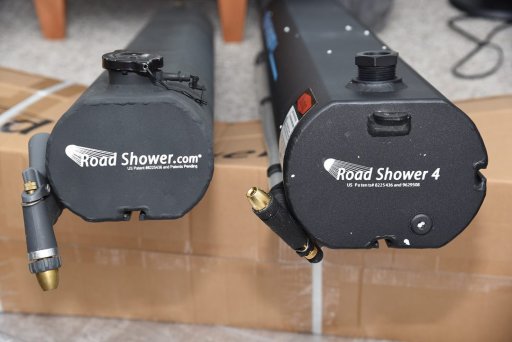
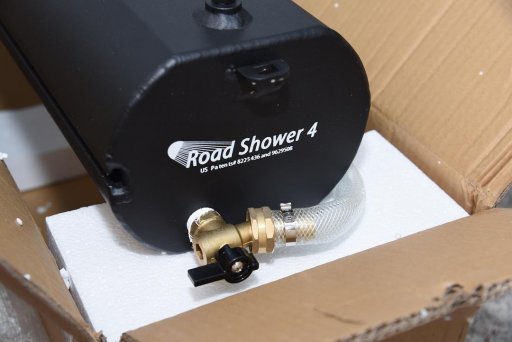
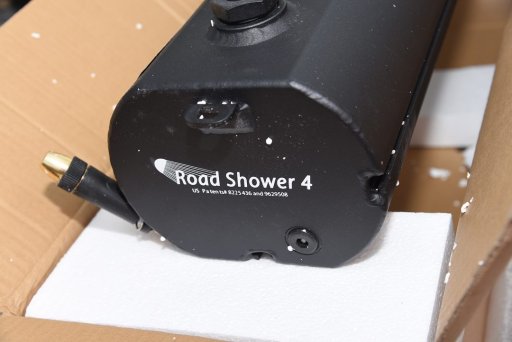
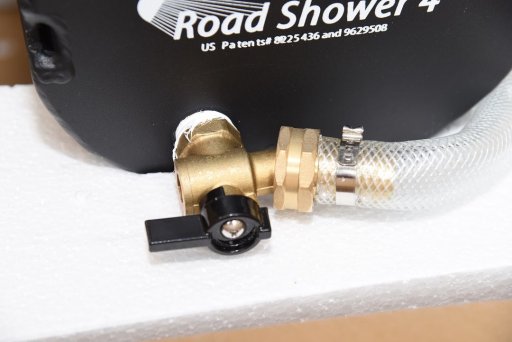
7 Gallon Road Shower 4 at 65 PSI is replacing the 5 gallon, 25 PSI Road Shower 2 on the 4Runner. This will empty the entire reservoir with one air pressurization!

A full test will be done once the weather warms up in the spring. It is already evident that the gang at RoadShower.com have made a lot of improvements.

27982991_1208257795970790_6485693764153088184_o.jpg 28060920_1208257835970786_3706952716568404112_o.jpg 27993701_1208257862637450_4674809960003589877_o.jpg 27982688_1208257875970782_364551437230249112_o.jpg 27912807_1208257922637444_6945135350876760630_o.jpg 27912796_1208257945970775_8809334234969862126_o.jpg 27907672_1208257902637446_2939903527512056713_o.jpg 27912729_1208257975970772_2187258377357389771_o.jpg
 

HappyOurOverlanding

Rank VI
Launch Member

Member III

Upgrade time!

7 Gallon Road Shower 4 at 65 PSI is replacing the 5 gallon, 25 PSI Road Shower 2 on the 4Runner. This will empty the entire reservoir with one air pressurization!

A full test will be done once the weather warms up in the spring. It is already evident that the gang at RoadShower.com have made a lot of improvements.

View attachment 48035 View attachment 48036 View attachment 48037 View attachment 48038 View attachment 48039 View attachment 48040 View attachment 48041 View attachment 48042
Question from the Newbie again... is it heated by the sun or do you run the water through a heating unit?
 

Steve

lost again...
Founder 500
Launch Member

Traveler III

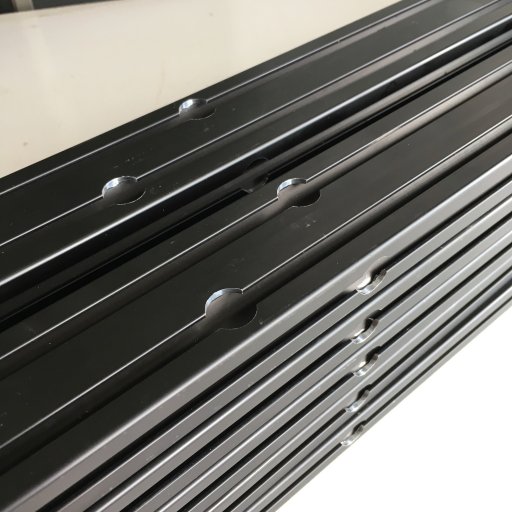
I got tired of having to remove my awning every time I added, removed, or moved something on my Prinsu rack. So I took all of the cross bars to a local machine shop and had them mill access holes to drop in or remove carriage bolts. Other folks who have done this had all four in a row, but that seemed to me like it would weaken the bar substantially, especially right on center. So I had mine staggered and offset one inch either side of center. There are no access holes on the bottom. This ought to make it easier to work with!

prinsuholes-X5.jpg
 

thejoking__explorer

Rank V
Launch Member

Advocate III

Hey Steve! First, I just wanted to say great build. I noticed you are running BFG KO2’s in 275/70/17 with a stock suspension. How are they working for you? Have you noticed any change in the quality/comfort of ride? Any change in acceleration?

Thanks Chris
 

Steve

lost again...
Founder 500
Launch Member

Traveler III

Hey Steve! First, I just wanted to say great build. I noticed you are running BFG KO2’s in 275/70/17 with a stock suspension. How are they working for you? Have you noticed any change in the quality/comfort of ride? Any change in acceleration?

Thanks Chris
Chris, I put the KO2s on the day after I bought the new 4Runner, so I have next to nothing to compare. I now have 24 thousand miles on them, and they still look like new. I would definitely do it again.
 

Steve

lost again...
Founder 500
Launch Member

Traveler III

Catching up on some additions to the 4Runner:

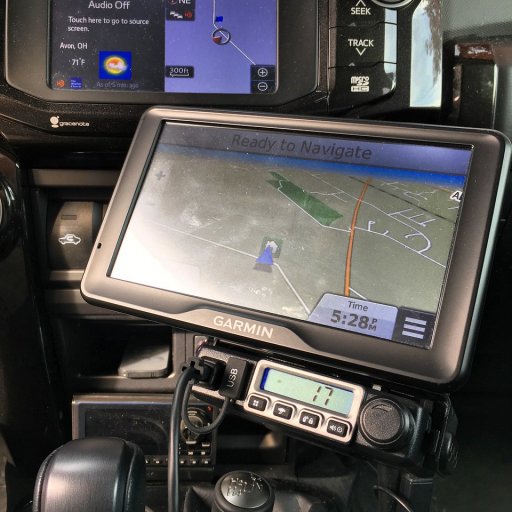
I added a Midland MXT115 GMRS radio. Actually, I bought it February 2017, but I didn't know anyone who uses GMRS. Some of the local 4Runner group finally got on board, so I brought mine out and added it to Kevin's RAM Mount solution.

IMG_4160-X2.jpg


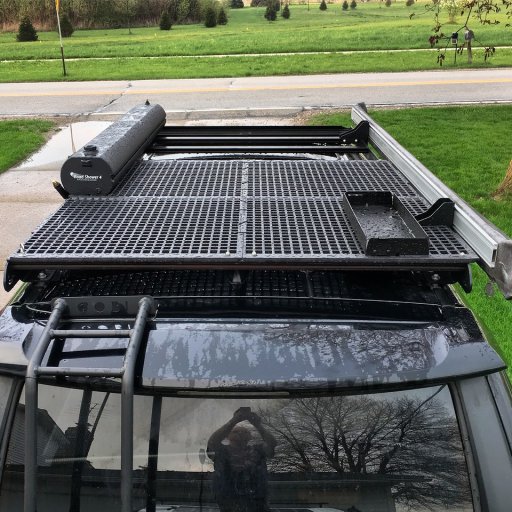
I also added two sheets of chicken coop flooring from FarmTec on my Prinsu roof rack. This makes sitting and standing on the rack much more comfortable. I can't wait to get to another situation where I'm on the roof with the camera! I mounted the base for the Front Runner Jerry Can mount, too.

IMG_4141-X2.jpg


[EDIT] After posting, I see this:

Screen Shot 2018-05-22 at 8.50.23 AM.png

Wow! A big thank you to everyone who's encouraged me over the past few years! A goodly portion of those posts are in the Upgrade Your Account thread, as well as a lot of "Here's an existing post on that topic for you to peruse" sorts of posts. :)
 
Last edited:

1SF4Runner

Rank I
Launch Member

Traveler I

Great thread, Steve! I just sat through 12 pages of awesome.

How has your experience been with your Anytime Backup Camera? Looking to add the "View Backup Camera at Any Time" mod to my rig.
 

Steve

lost again...
Founder 500
Launch Member

Traveler III

How has your experience been with your Anytime Backup Camera?
Great quality, easy installation, and the email support is fantastic. I just added a third camera on the back of my Hiker trailer, and connected it to the video switcher.
 

Ramay

Rank I
Founder 500
Launch Member

Contributor I

Super level - the icons are a +250lb, so no sag even when i have a trailer hooked up. Drives AMAZING


Sent from my iPad using OB Talk
I found this thread while looking through OB today. Below is an excerpt I posted on another thread but your suspension setup may be what I'm looking for. Here is what I posted:

"I plan on adding a SSO slimline front bumper and winch which will add a little over 100 lbs to the front over stock. I have an off road teardrop that I will be pulling as well with a fully loaded tongue weight of around 200 lbs. I'm really not looking for much overall lift. At most, around 2" lift in the front and 1" in the rear would be what I'm looking for. I would just like to remove most (not all) of the rake from the factory and possibly go up to 275's when I need new tires. I know that this is really specific but anyone has any experience or recommendations for a setup like this one, I'd appreciate hearing your thoughts. Thanks."

Do you think your set up would work for what I'm going for? Would I need any additional support for the added weight in the front? Thanks.
 

Steve

lost again...
Founder 500
Launch Member

Traveler III

Do you think your set up would work for what I'm going for? Would I need any additional support for the added weight in the front? Thanks.
Sorry, but I'm not going to be very helpful. My suspension is completely stock, and I don't have any plans to change it for the foreseeable future.
 

bmwguru

Rank V
Launch Member

Influencer I

Hey Steve, so I have been frantically reviewing potential mods for my new 4Runner and had a couple of questions in regards to what you have chosen.

1. I see that you went with 275-70-17s size tires but on a lot of the websites that I have looked at they list the max tire is 33", not sure how that translates to the size you have chosen or is they are actually one and the same?

2. You have said that you had not done any suspension but am curious as to where you go, mainly on road, fire roads, etc. I plan on doing the suspension but now am questioning that thought or at least postpone that mod till later.

I look forward to your replies (and help) !!!! :laughing::laughing:

Thanks again, you have given me some great ideas, I have already ordered the black out kit and am looking for a good deal with the fogs. I was never a huge fan of forums but reading yours I have rethought that and may start my own thread as this has been a big help....
That's the same size tire I run on my 2006 4Runner. It's a 32" tire.
 

Steve

lost again...
Founder 500
Launch Member

Traveler III

I've added a few things over the past couple of months, both for the truck and for the trailer or day trips.

  • NOCO GB40 Jump Starter
  • Kelty Noah's Tarp 9X9 (I already have the 16X16 for over the trailer. This is for over the truck lift gate or a standalone tarp tent.)
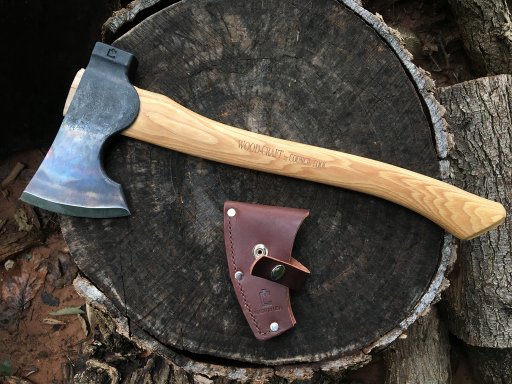
  • A beautiful Council Tool Camp Carver axe
  • Corona 14" pruning saw
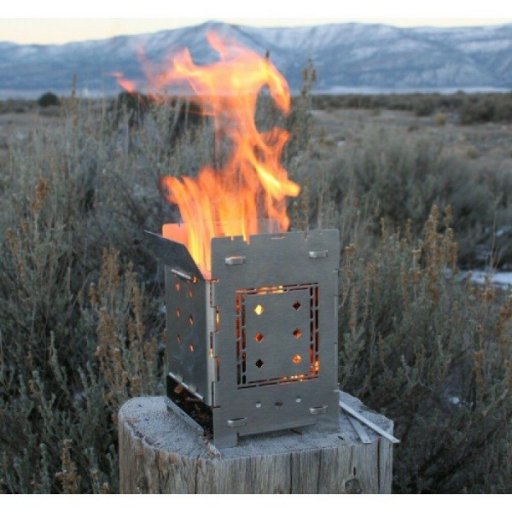
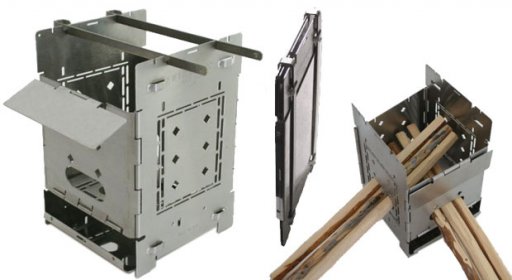
  • Firebox Stove 5" folding stove and accessories

I'm especially eager to get out and play with the axe and Firebox stove!

(All images from their respective manufacturers)
council-tool-Wood-Craft-Camp-Carver.jpg

Firebox-stove.jpeg

Firebox-G2-wood-stove.jpg
 
Top