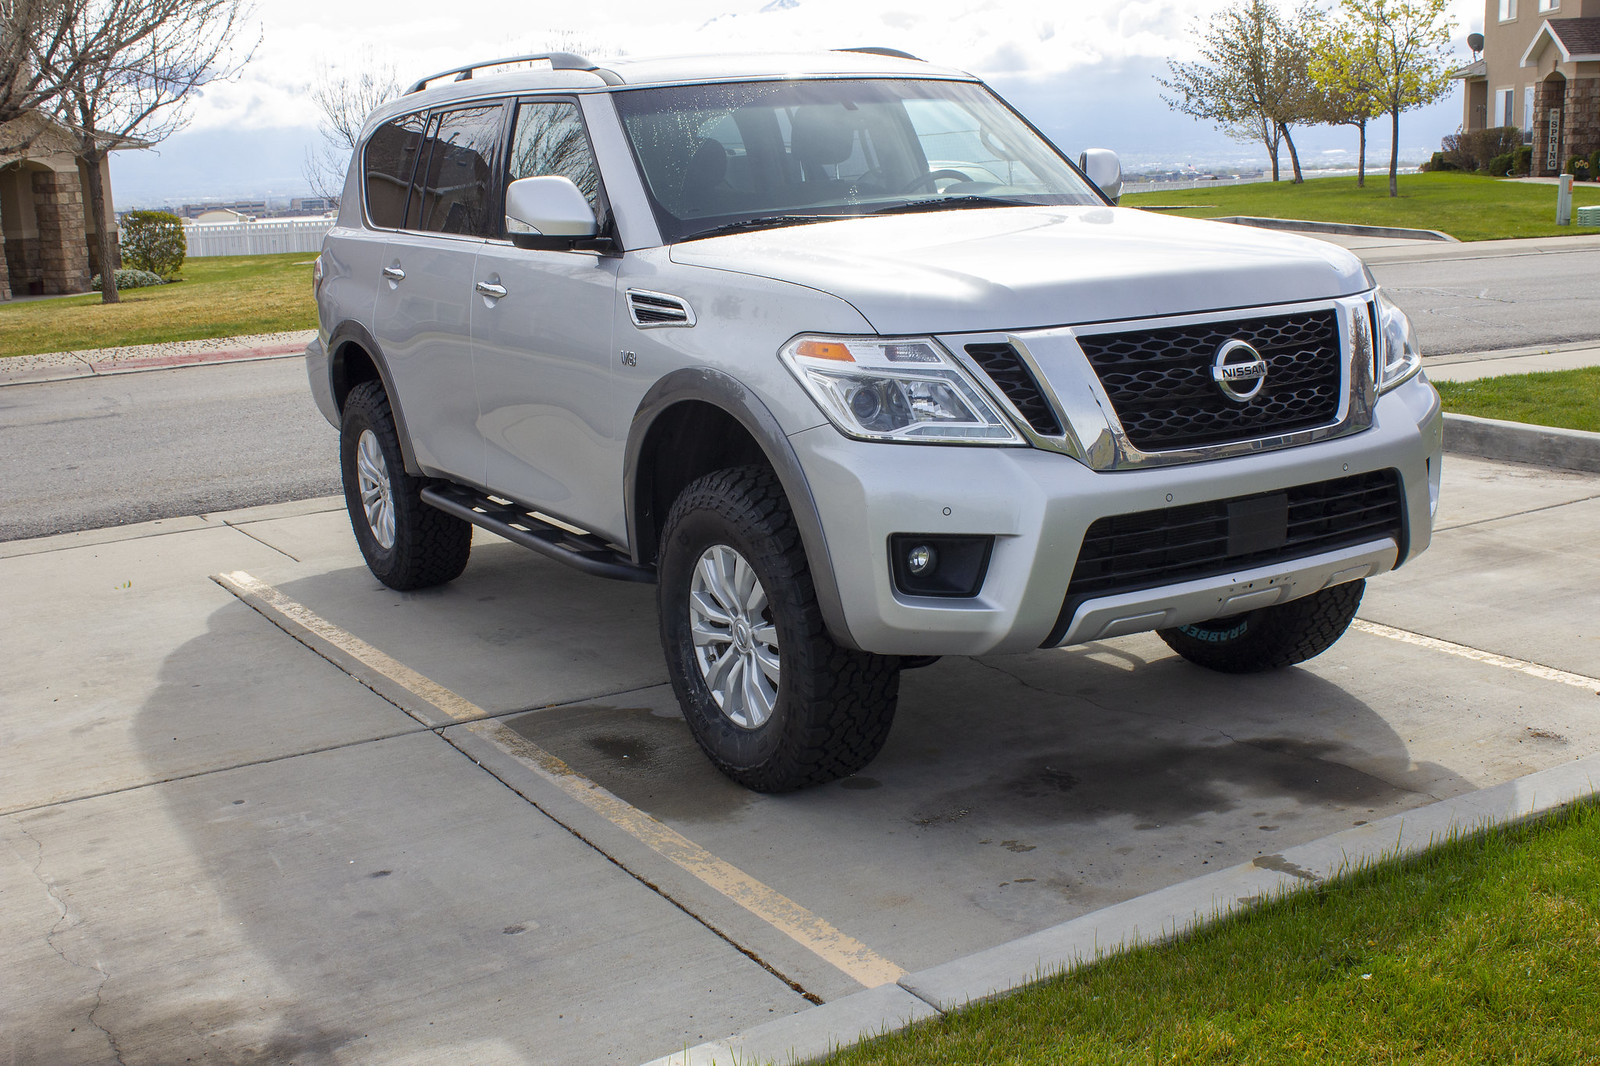
I’ve had a number of people reach out to me about Old Man Emu Patrol spring options, so I figured it was time to create a proper “build thread” for my Y62 Armada.
I’ll start with the lift install. This is not the easiest install in the world. As such, I did not take a ton of pictures because I was busy wrenching and swearing, but I will do my best to explain how I did it. I have access to a full shop which made this a bit easier, but you could do this in your driveway with the right tools. Also, I legitimately needed three people at points so bribe some friends to come help. If people have insight on how to do this smarter, easier; please pipe up. I could not find any instructions or build threads out there that documented the whole process before I started, just bits of information here and there that I pieced together. I’m hoping that this will help the next guy that comes along.

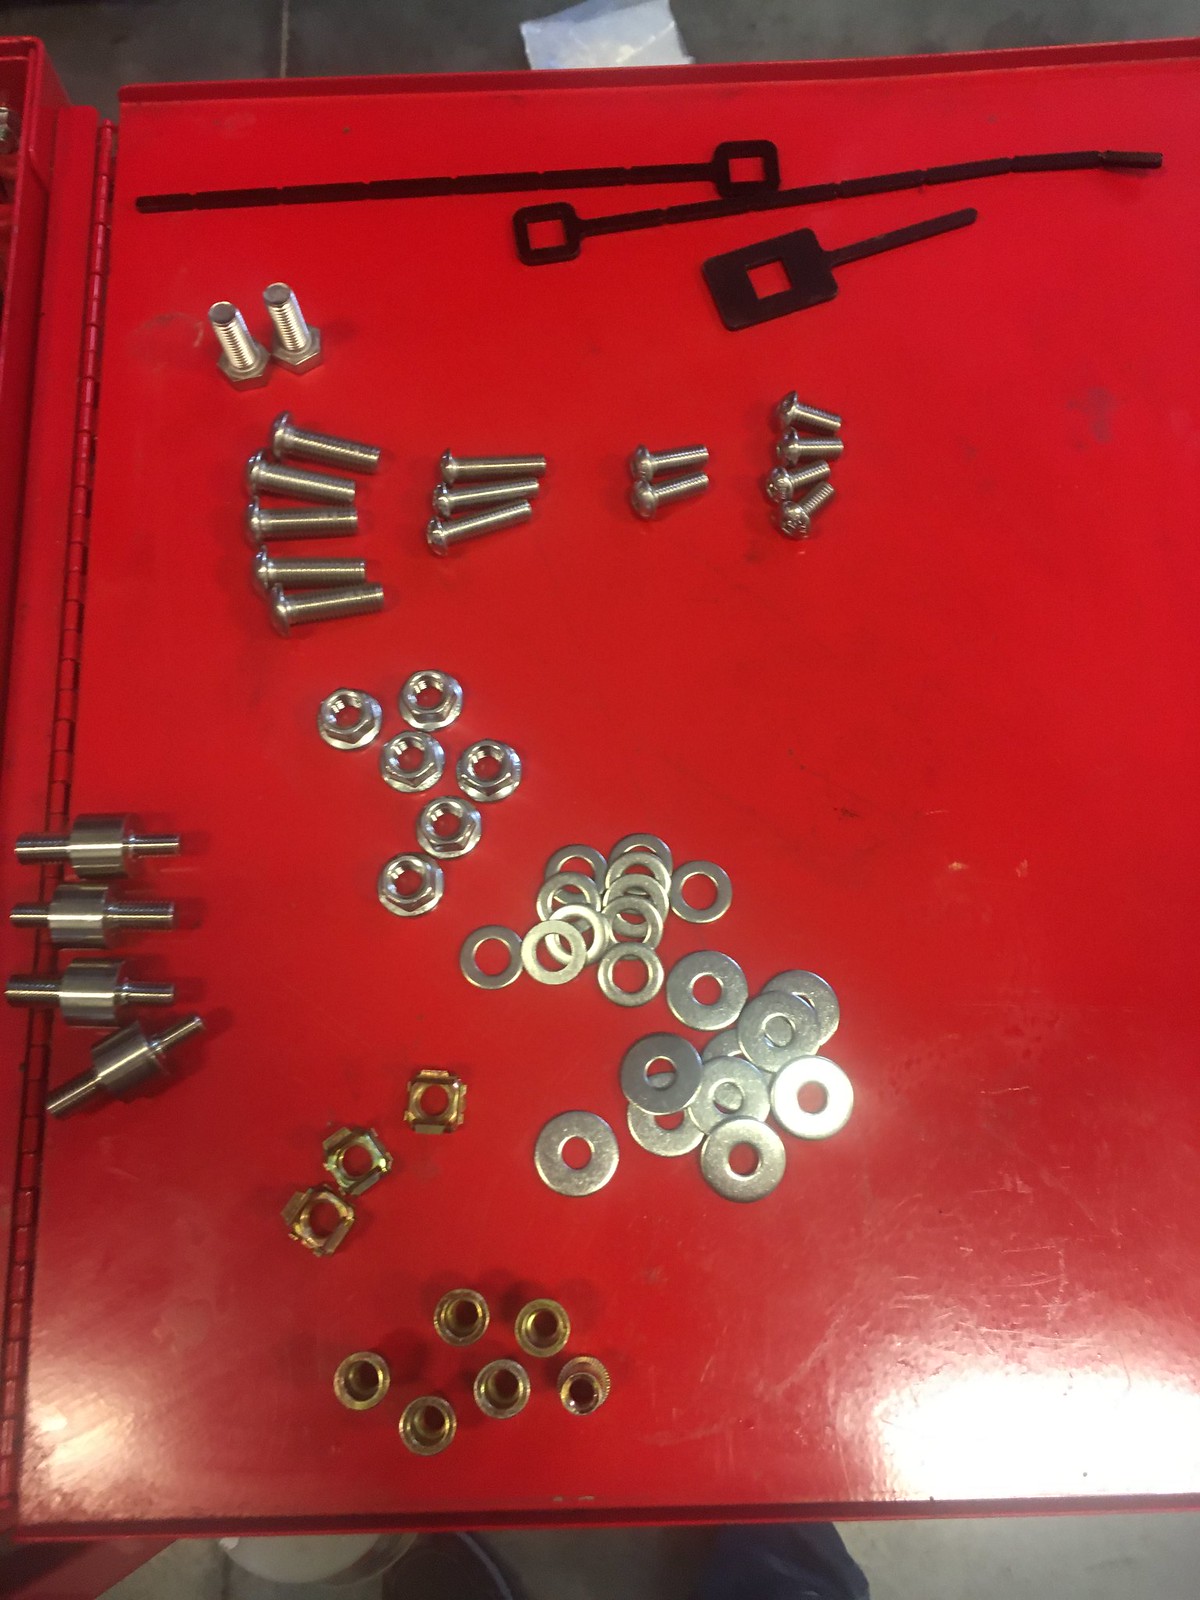
First, the parts list (All Old Man Emu parts were purchased from Cruiser Outfitters):
Front:
Springs: OME 2978
Struts: OME 90015 x2
Upper Control Arms: SPC 25560
Sway Bar: PRG Replacement End Links and Bushing Kit
Camber/Toe Adjustment Bolts: SPC 87520 (two kits, one per side)
Rear
Springs: OME 2986
Shocks OME 60084 x2
Camber/Toe Adjustment Bolts: SPC 87520 (modified, explained below) AND a 14mm x 2.0 thread die.
_________________________________
Rear Suspension:
First, obviously, jack up and support the vehicle on the frame then remove the rear tire of the side you will be working on. You will want to leave the other three tires on and touching the ground (This is because you need the weight of the vehicle to help you get the new spring into place).
Then disconnect the air compressor. You can either just cap the weather pack and air lines or remove the compressor and associated hardware all together, your choice.
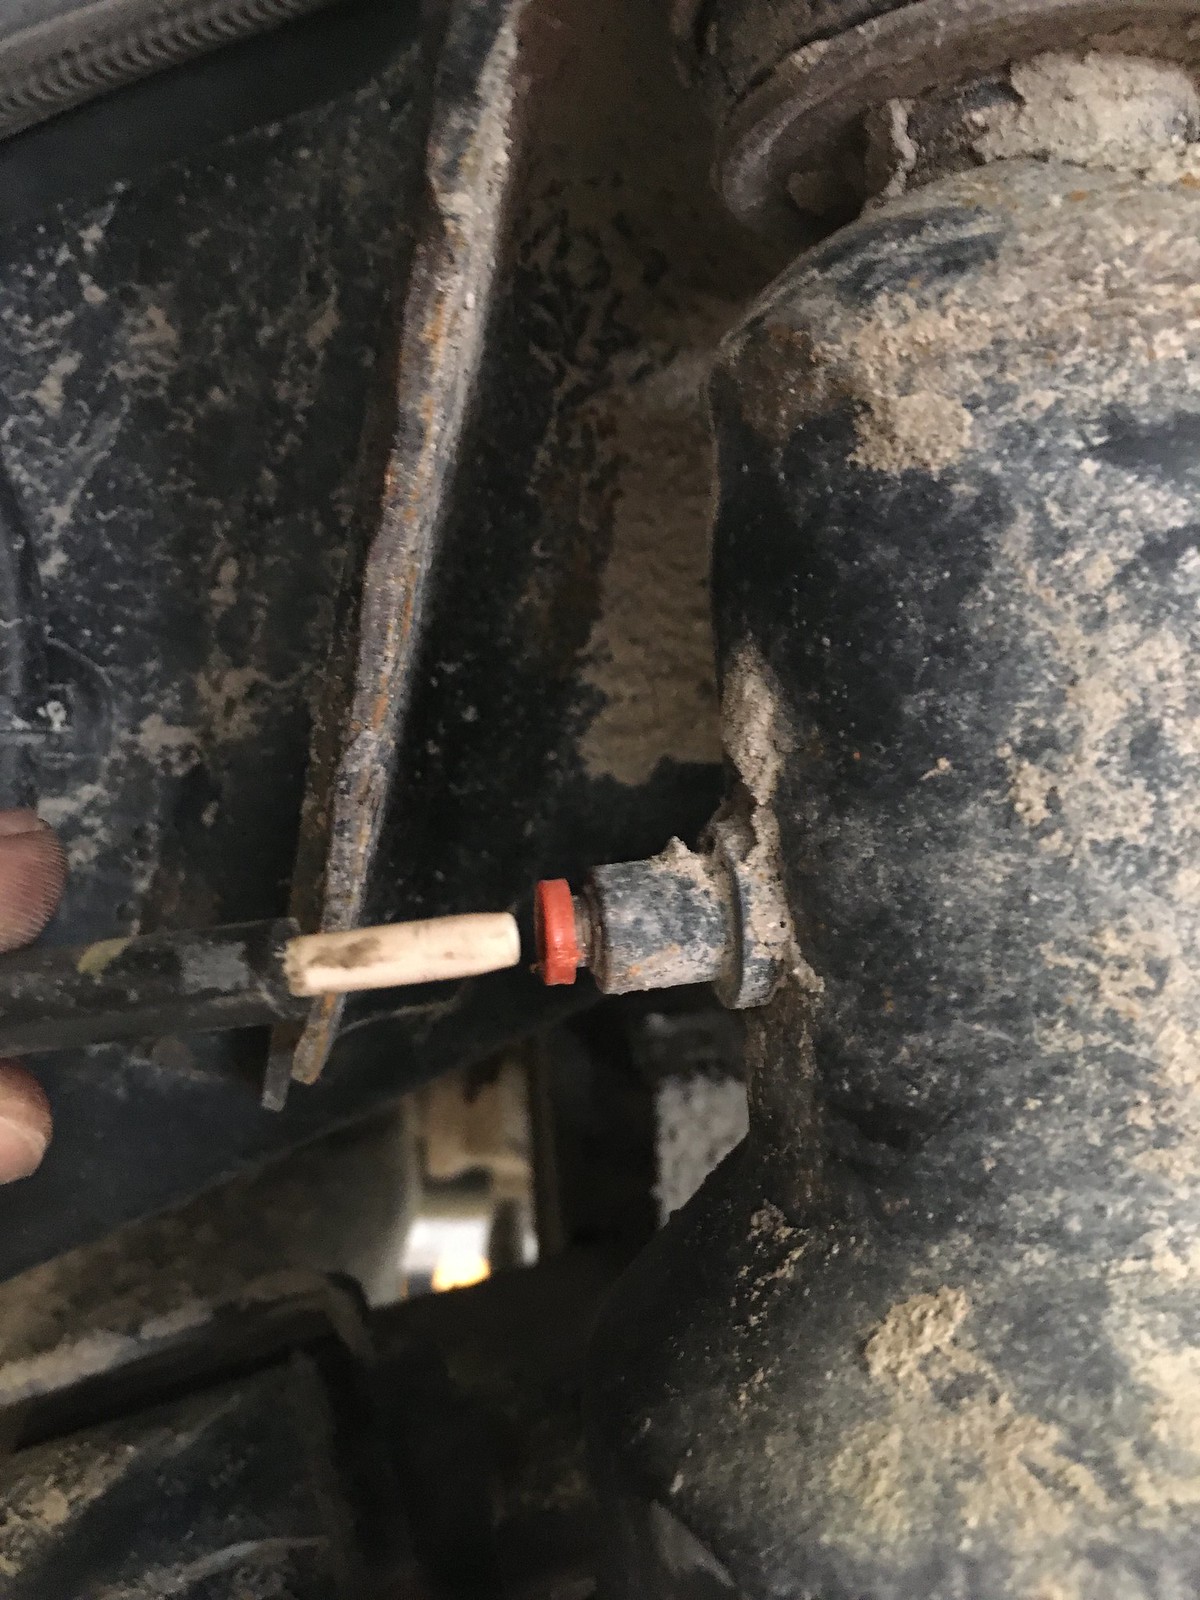
Next remove the air line from the shock. You do this by pushing the red ring towards the shock body with a flathead screwdriver, then pulling the air line out. This will cause a rush of air as the shock deflates.
Remove the top and bottom bolts from the shock and remove it from the vehicle.

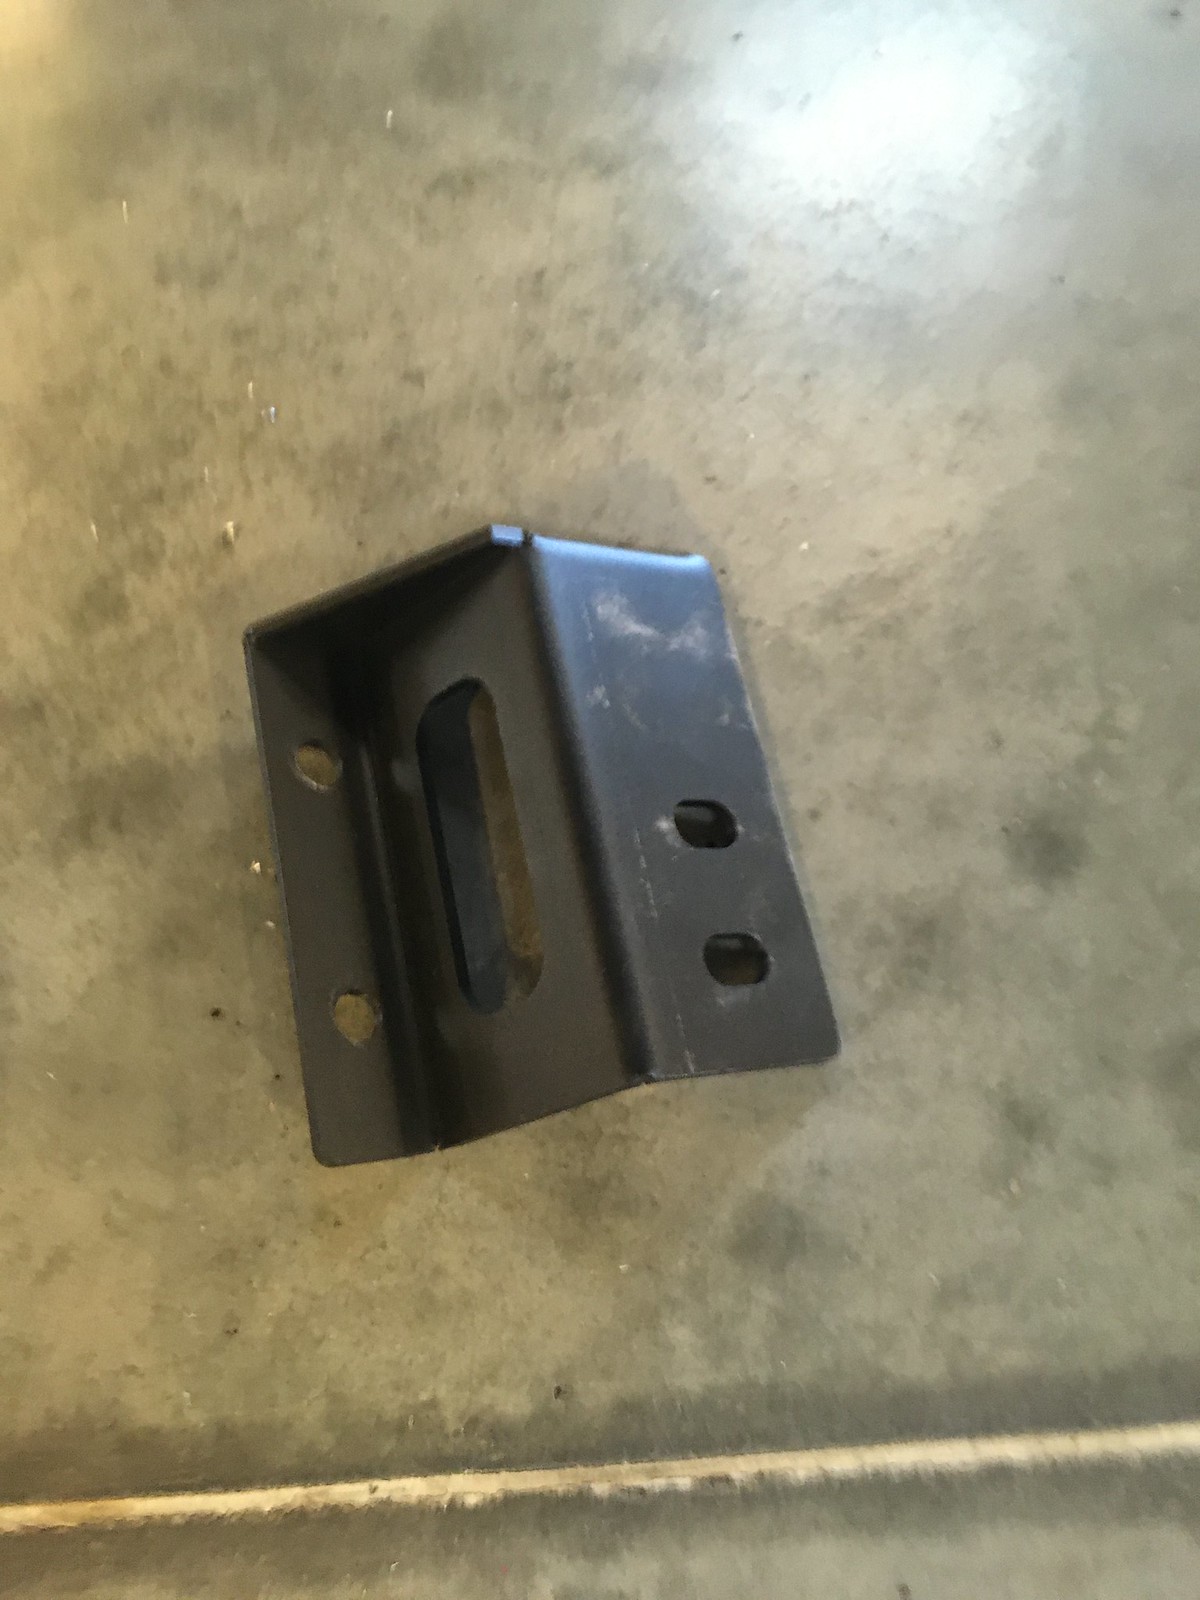
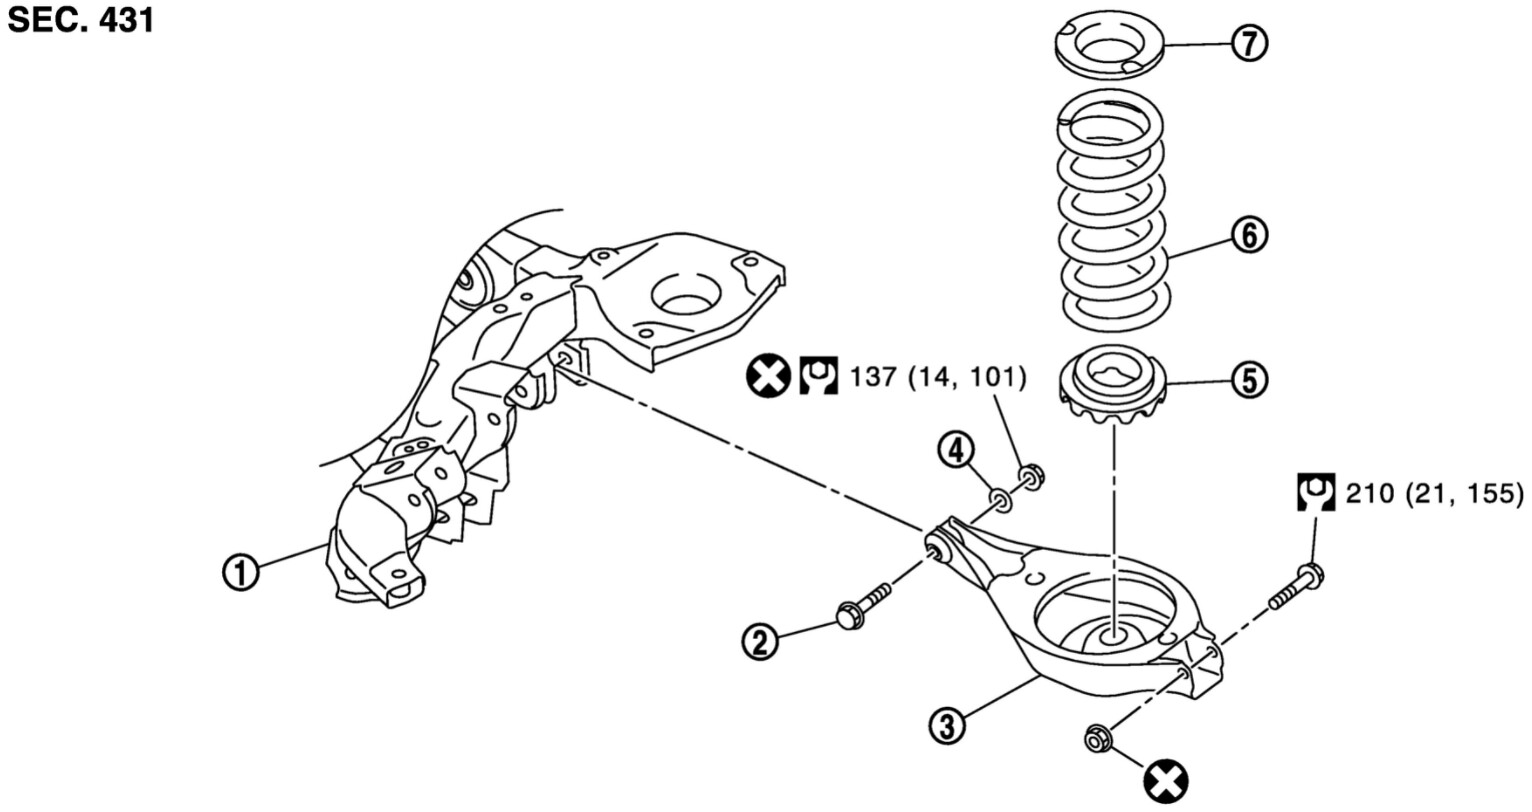
Now, unclip the ABS wire from the spring bucket as well as the air suspension height sensor. Support the underside of the spring bucket with a floor jack and remove the inner bolt from the bucket (#2 in the diagram). You do this for two reason, this is also the toe adjustment bolt which you will be replacing with a modified SPC 87520 and because when you are putting the new spring in, this is the straightest angle to get it into place.:
Slowly lower the jack until the spring is free and pull it out.

At this point, you should take the set of SPC 87520 camber bolts that you have for the rear toe adjustment and using the thread die, cut another ~1/2” of thread onto the bolt. Then, leaving the die on the bolt, shorten the bolt by a corresponding 1/2", file the nose down so its tapered a bit, and back the die out to clean up the threads.
This is where shiz gets real! The OME 2986 spring is about 4.5” longer than the stock spring (results will vary here depending on how worn your springs are) and has 2mm thicker bar. There is no way that we could find to get the new spring into place without compressing it about 3”. At this point, I feel obligated to say that is you are in any way uncomfortable with compressing a coil spring that much, I don’t blame you. Take the vehicle to a shop and have them install the lift.

We had a center pull style spring compressor (like this), though we had to modify it to be long enough by using a threaded bolt off of a pull hammer. We installed it with the spring sitting in the bucket and a flat steel plate under the bucket. Then we cranked on that sucker until it fit, like I said about 3” of compression was needed.

Once you can line the spring up with the upper bucket, put a floor jack underneath and slowly jack it up until you can put in the new toe alignment bolt. (You will start to lift the whole vehicle when you do this. That is why you need the other three wheels on the ground so you are using the weight of the vehicle to your advantage). Tighten that up and remove the jack and spring compressor.
Then install the new shock, which is just the reverse of removing it.
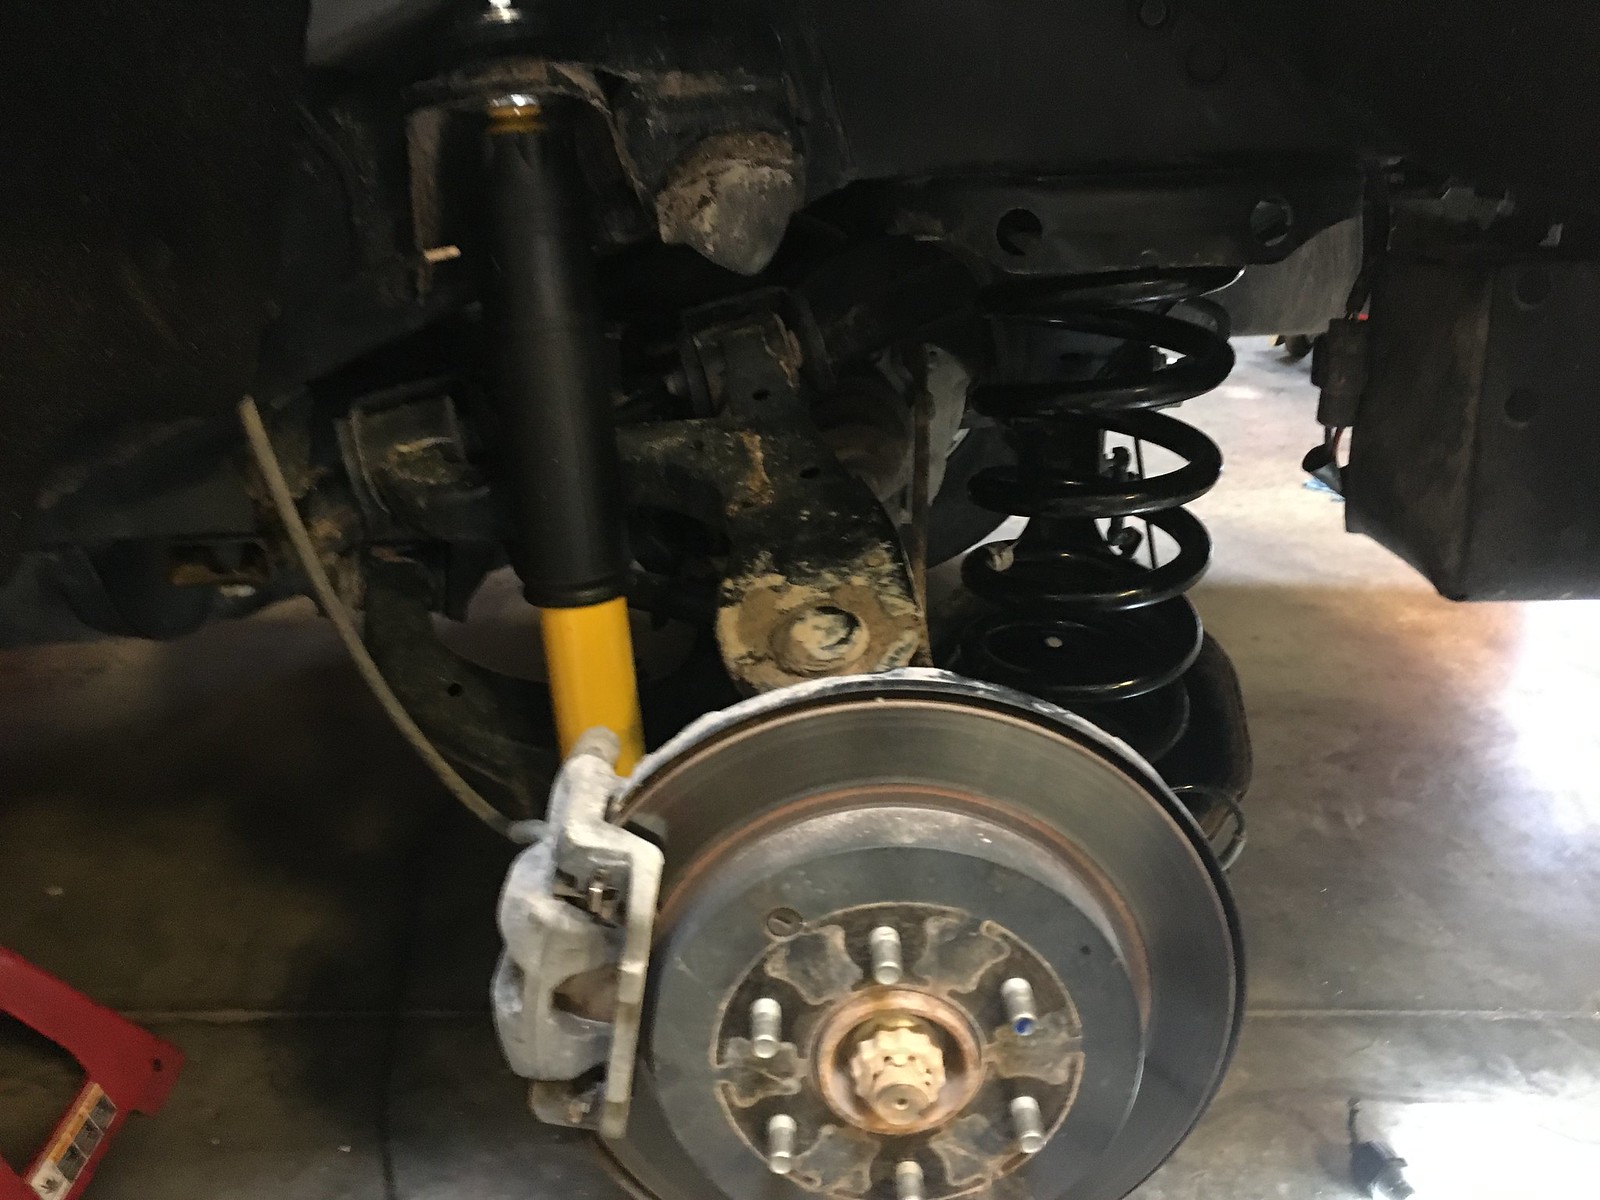
Put the wheel back on, and with the tire still in the air use the toe and camber adjustments to eyeball the wheel as straight as you can. Then tighten all the bolts up to spec.
Repeat on the other side.
Front Suspension:
Jack up the front end, support the vehicle on the frame and remove the wheels.
You will first need to remove the old strut assemblies. This is simply taking out the bottom bolt and the three nuts on the top. Once everything is loose, it should just pull out.
Now, dismantle the old strut, pull the top plate off, and then using that with the OME parts, assemble the new strut. You’ll need a way to compress the spring to do this, again you can rent compressors or you can just have a shop build them for you.
Next, you basically have to dismantle the rest of the front end. You’ll need to remove the steering knuckle (I hung the knuckle from the frame so I didn’t disconnect any brake lines):

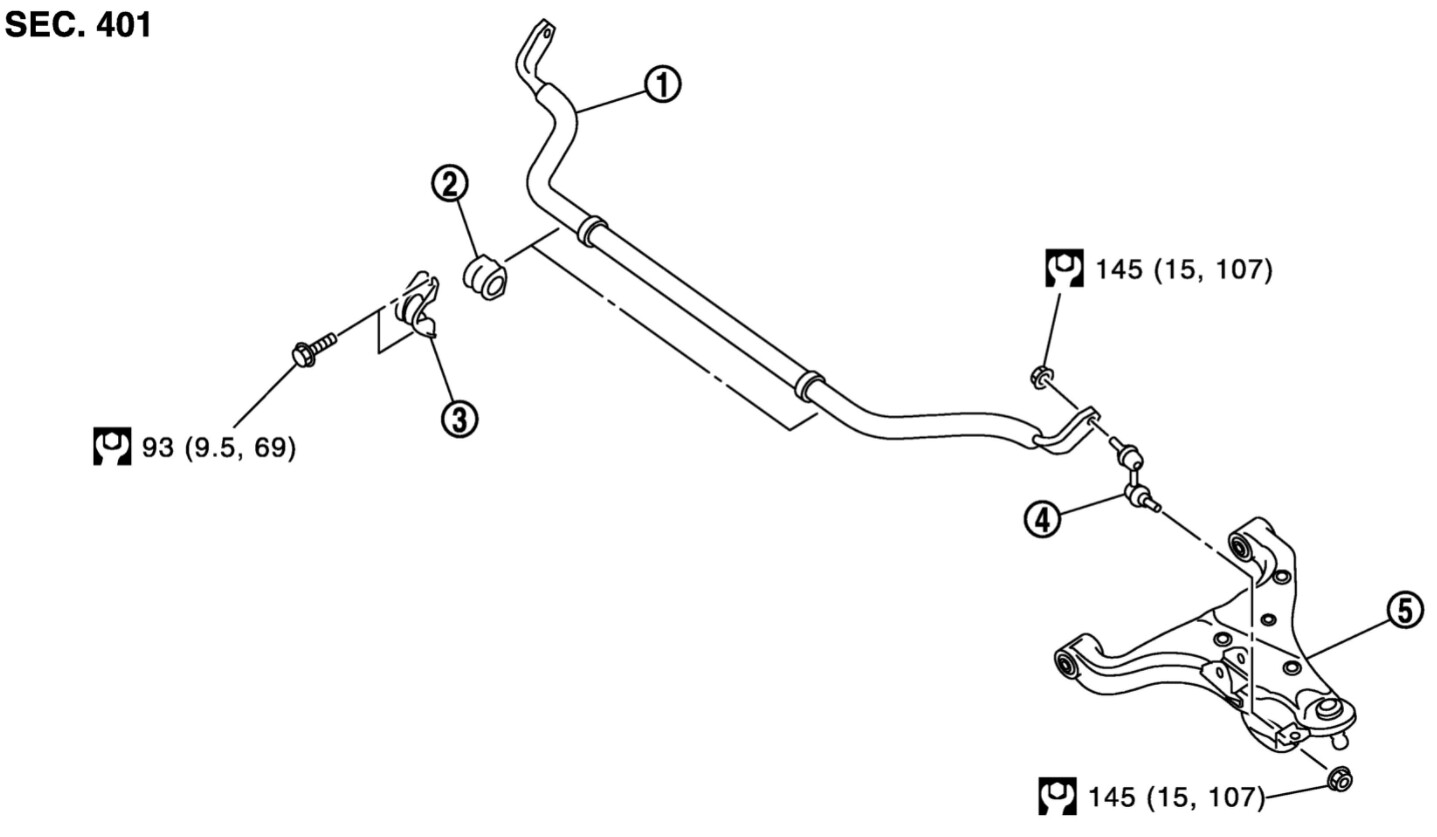
The sway bar:
And the upper and lower control arms:

Once you have done that, take your new SPC 25560 upper control arms and mock them up in place. Let the arm hit the upper strut tower and mark where it hits and then using your preferred tool, notch the tower so the UCA has maximum range of motion.


(Photo’s courtesy of leeleatherwood because his are way sharper than the ones I took.)
Remove the mocked up UCA.
Reinstall the lower control arm using the new SPC 87520 camber bolts. Leave the LCA loose for when you install the new strut.
Put the new strut into the upper strut tower and loosely reinstall the nuts. Then pull down on the LCA so you can fit the lower eye of the strut into place and install the bolt. Snug both the upper nuts and lower bolt.

Next install the new upper control arm. Follow the instructions from SPC for installing the ball joint. I installed mine as far back in the UCA as I could with them pointing forward, allowing for +0.5* greater camber and caster adjustment. Leave the UCA loose until you reinstall the steering knuckle.
Reinstall the steering knuckle and tighten everything to spec.
Put a floor jack under the LCA and use that to help align the steering knuckle with the upper ball joint. Once that is connected, then reconnect the tie rod and tighten both to spec.
Reinstall the wheels and put the vehicle on the ground. Now, replace the end links and bushings on the sway bar with the new ones and reinstall it on the vehicle.
Jack vehicle back up, eyeball the camber and toe as best you can and tighten everything to spec.
Now, get it aligned! You will have to sacrifice some rear camber to get the toe in spec, but that’s OK.
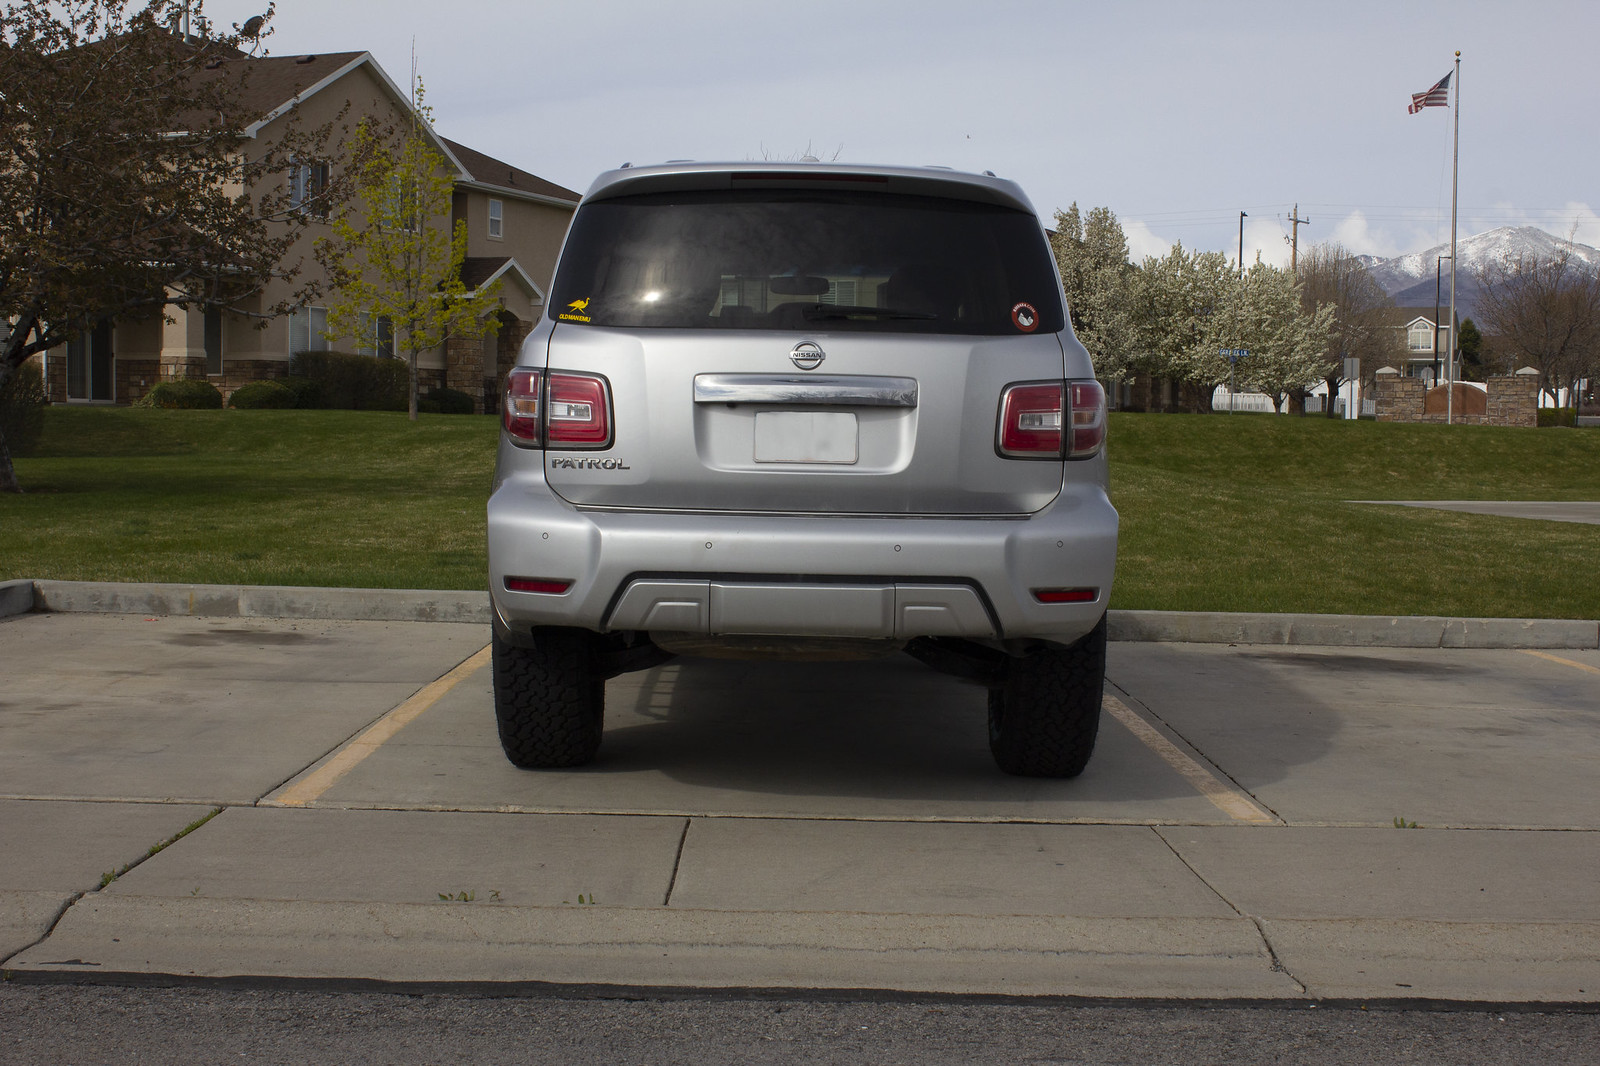
And you’re done!
Spare Tire:
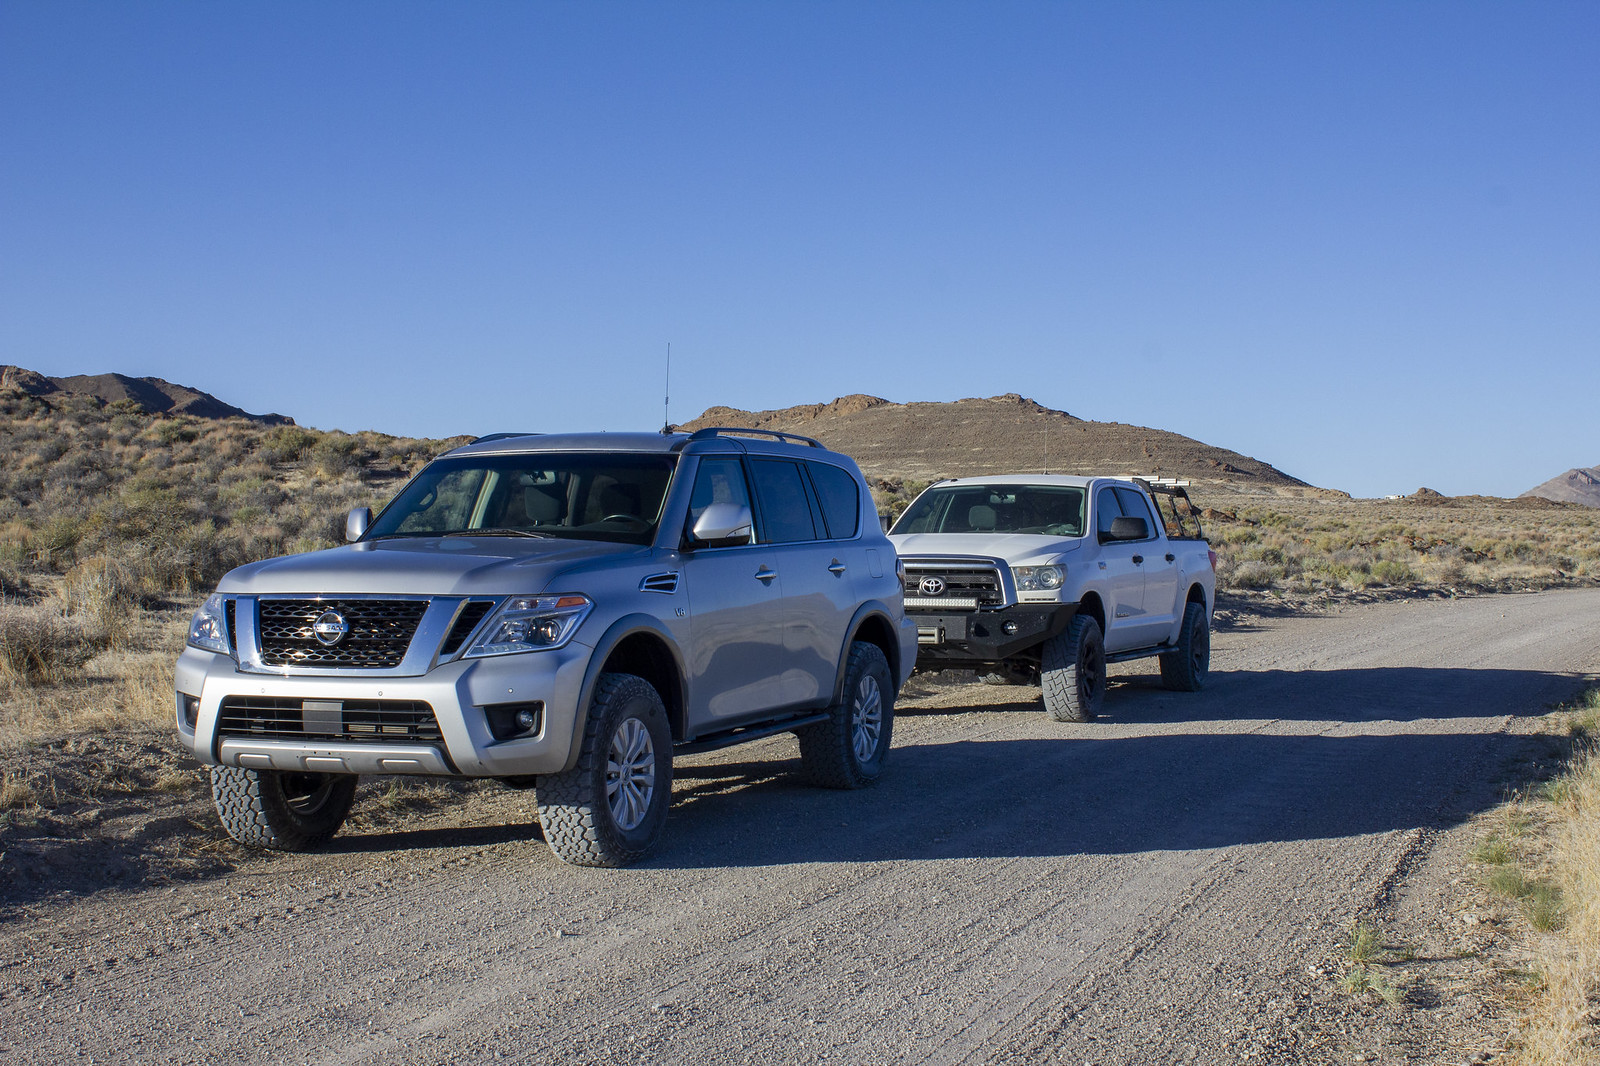
I’ve read in a couple places that you can’t fit a 35” tire in the factory spare location, this is incorrect. You can indeed fit a 35” tire there easily.


I’ll start with the lift install. This is not the easiest install in the world. As such, I did not take a ton of pictures because I was busy wrenching and swearing, but I will do my best to explain how I did it. I have access to a full shop which made this a bit easier, but you could do this in your driveway with the right tools. Also, I legitimately needed three people at points so bribe some friends to come help. If people have insight on how to do this smarter, easier; please pipe up. I could not find any instructions or build threads out there that documented the whole process before I started, just bits of information here and there that I pieced together. I’m hoping that this will help the next guy that comes along.
First, the parts list (All Old Man Emu parts were purchased from Cruiser Outfitters):
Front:
Springs: OME 2978
Struts: OME 90015 x2
Upper Control Arms: SPC 25560
Sway Bar: PRG Replacement End Links and Bushing Kit
Camber/Toe Adjustment Bolts: SPC 87520 (two kits, one per side)
Rear
Springs: OME 2986
Shocks OME 60084 x2
Camber/Toe Adjustment Bolts: SPC 87520 (modified, explained below) AND a 14mm x 2.0 thread die.
_________________________________
Rear Suspension:
First, obviously, jack up and support the vehicle on the frame then remove the rear tire of the side you will be working on. You will want to leave the other three tires on and touching the ground (This is because you need the weight of the vehicle to help you get the new spring into place).
Then disconnect the air compressor. You can either just cap the weather pack and air lines or remove the compressor and associated hardware all together, your choice.
Next remove the air line from the shock. You do this by pushing the red ring towards the shock body with a flathead screwdriver, then pulling the air line out. This will cause a rush of air as the shock deflates.
Remove the top and bottom bolts from the shock and remove it from the vehicle.
Now, unclip the ABS wire from the spring bucket as well as the air suspension height sensor. Support the underside of the spring bucket with a floor jack and remove the inner bolt from the bucket (#2 in the diagram). You do this for two reason, this is also the toe adjustment bolt which you will be replacing with a modified SPC 87520 and because when you are putting the new spring in, this is the straightest angle to get it into place.:
Slowly lower the jack until the spring is free and pull it out.
At this point, you should take the set of SPC 87520 camber bolts that you have for the rear toe adjustment and using the thread die, cut another ~1/2” of thread onto the bolt. Then, leaving the die on the bolt, shorten the bolt by a corresponding 1/2", file the nose down so its tapered a bit, and back the die out to clean up the threads.
This is where shiz gets real! The OME 2986 spring is about 4.5” longer than the stock spring (results will vary here depending on how worn your springs are) and has 2mm thicker bar. There is no way that we could find to get the new spring into place without compressing it about 3”. At this point, I feel obligated to say that is you are in any way uncomfortable with compressing a coil spring that much, I don’t blame you. Take the vehicle to a shop and have them install the lift.
We had a center pull style spring compressor (like this), though we had to modify it to be long enough by using a threaded bolt off of a pull hammer. We installed it with the spring sitting in the bucket and a flat steel plate under the bucket. Then we cranked on that sucker until it fit, like I said about 3” of compression was needed.
Once you can line the spring up with the upper bucket, put a floor jack underneath and slowly jack it up until you can put in the new toe alignment bolt. (You will start to lift the whole vehicle when you do this. That is why you need the other three wheels on the ground so you are using the weight of the vehicle to your advantage). Tighten that up and remove the jack and spring compressor.
Then install the new shock, which is just the reverse of removing it.
Put the wheel back on, and with the tire still in the air use the toe and camber adjustments to eyeball the wheel as straight as you can. Then tighten all the bolts up to spec.
Repeat on the other side.
Front Suspension:
Jack up the front end, support the vehicle on the frame and remove the wheels.
You will first need to remove the old strut assemblies. This is simply taking out the bottom bolt and the three nuts on the top. Once everything is loose, it should just pull out.
Now, dismantle the old strut, pull the top plate off, and then using that with the OME parts, assemble the new strut. You’ll need a way to compress the spring to do this, again you can rent compressors or you can just have a shop build them for you.
Next, you basically have to dismantle the rest of the front end. You’ll need to remove the steering knuckle (I hung the knuckle from the frame so I didn’t disconnect any brake lines):
The sway bar:
And the upper and lower control arms:
Once you have done that, take your new SPC 25560 upper control arms and mock them up in place. Let the arm hit the upper strut tower and mark where it hits and then using your preferred tool, notch the tower so the UCA has maximum range of motion.
(Photo’s courtesy of leeleatherwood because his are way sharper than the ones I took.)
Remove the mocked up UCA.
Reinstall the lower control arm using the new SPC 87520 camber bolts. Leave the LCA loose for when you install the new strut.
Put the new strut into the upper strut tower and loosely reinstall the nuts. Then pull down on the LCA so you can fit the lower eye of the strut into place and install the bolt. Snug both the upper nuts and lower bolt.
Next install the new upper control arm. Follow the instructions from SPC for installing the ball joint. I installed mine as far back in the UCA as I could with them pointing forward, allowing for +0.5* greater camber and caster adjustment. Leave the UCA loose until you reinstall the steering knuckle.
Reinstall the steering knuckle and tighten everything to spec.
Put a floor jack under the LCA and use that to help align the steering knuckle with the upper ball joint. Once that is connected, then reconnect the tie rod and tighten both to spec.
Reinstall the wheels and put the vehicle on the ground. Now, replace the end links and bushings on the sway bar with the new ones and reinstall it on the vehicle.
Jack vehicle back up, eyeball the camber and toe as best you can and tighten everything to spec.
Now, get it aligned! You will have to sacrifice some rear camber to get the toe in spec, but that’s OK.
And you’re done!
Spare Tire:
I’ve read in a couple places that you can’t fit a 35” tire in the factory spare location, this is incorrect. You can indeed fit a 35” tire there easily.
Last edited: