Ry’s budget ZJ

  • HTML tutorial

Ry+EmAdventures

Rank III
Launch Member

Enthusiast II

509
Winchendon, MA, USA
First Name
Ryan
Last Name
Laraba
Member #

19019

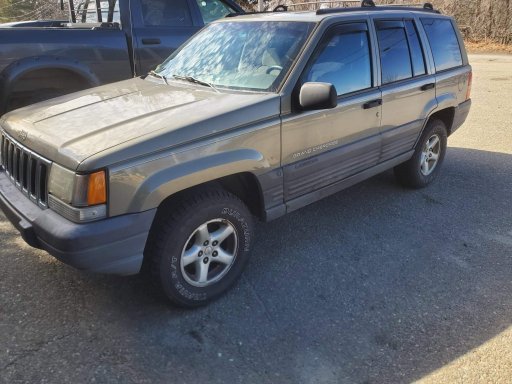
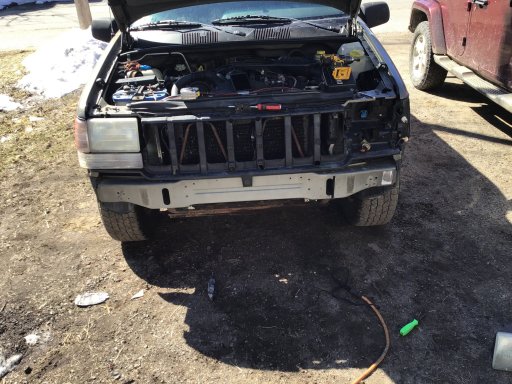
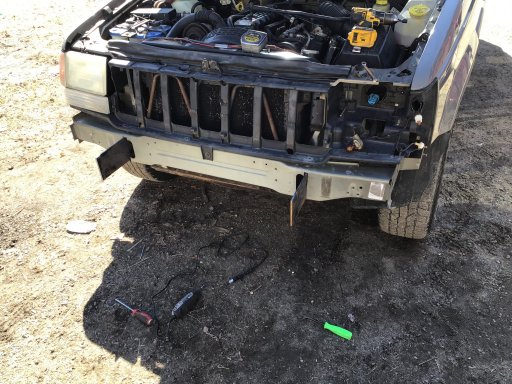
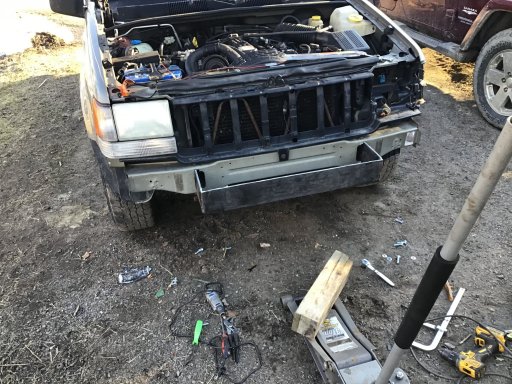
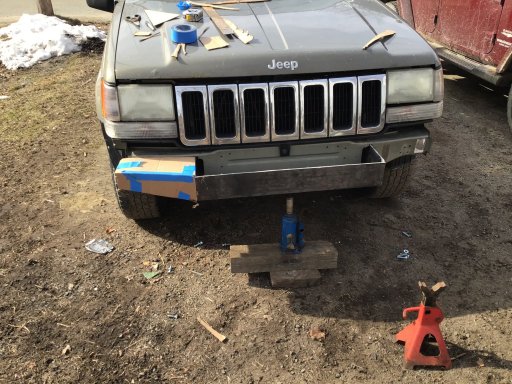
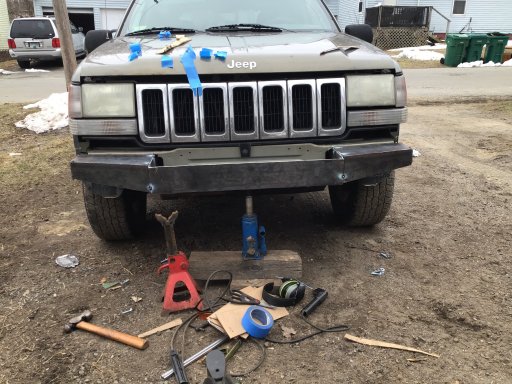
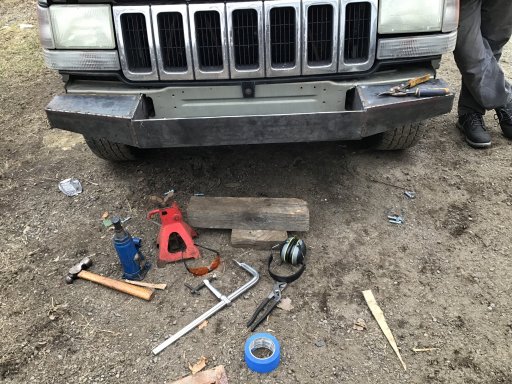
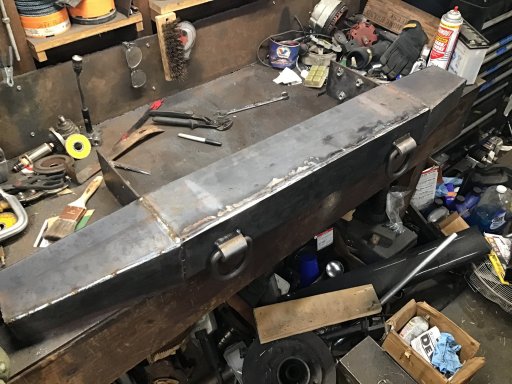
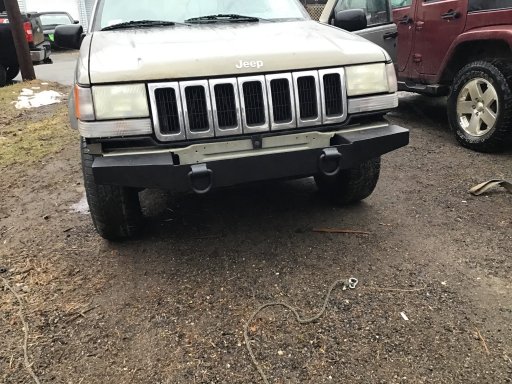
So after some talking, we decided that we want to do longer and bigger trips this year. That got us onto the topic of inviting a few of our friends on to A big trip to Maine this year. Not just for fun but also for safety reasons. Along with that came talks of another vehicle. Em’s Jku does very well for us but I wanted one of my own not only to invite others with us on trips but also to use on my camping trips. So the hunt began to find myself something. I have been a Jeep guy for a long time but this time i went into it open minded. my plan included trying to trade my Chevy pickup for something. Not only to get myself a rig but also to save on fuel. I searched Facebook marketplace and Craigslist And found a few I wanted to look at and that were interested in my truck. We hooked up the plow and off we went to a 99 4Runner. We got there and after checking out the bad rot on the frame decided that was the one. Number 2 was a 01 4runner at a wholesale yard. Super clean. Ran good however after test riding it realized its speedometer and odometer didn’t work. I don’t know much about Toyotas so I had to pass again. With another 99 4Runner on the horizon we headed out. looked good on the outside but once again New England winters got to that one as well, frame was more of a project then what I wanted. So headed back home. A week goes by feeling defeated, thinking about canceling the Maine trip and then the Jeep gods shined on me. .9 miles from my house I find a 1998 Jeep Grand Cherokee Laredo. The owner is asking 650 for it and tells me that it was running fine then one day sounded like it jumped timing or something and needed a new motor. Knowing Jeeps and their legendary 4.0 I talked him to $250. The unibody is spotless which is unheard of in New England. I get it towed home. I reset the distributor since the prev owner messed with it to try to fix it. Then off to Napa. bought A 60 dollar crankshaft position sensor and installed it. Turned the key and she woke right up! My plan is to budget build this thing but do it right. Stay tuned and adventure on! View attachment 143325
 

Ry+EmAdventures

Rank III
Launch Member

Enthusiast II

509
Winchendon, MA, USA
First Name
Ryan
Last Name
Laraba
Member #

19019

With the covid 19 pandemic going on, i (Ry) found myself out of wrk for 2 weeks so I figured it was time to do some work on the zj. After looking around online for a front bumper I came to the realization that with a little time and work, it would be cheaper to build my own. I received a pile of plate steal from work and off I went. View attachment 146790
started by taking the plastic and styrofoam front bumper cover off. I’ve already hit this a couple times. Once that was out of the way, I started by opening up the unibody ovals just enough for mounting tabs.View attachment 146791
View attachment 146792
View attachment 146793
next step was to cut some 1/4 inch thick steel. This is some of the steel I got from work. The power hacksaw made quick work of the steel. Then I tested it by sliding it into the frame rail.
View attachment 146794
View attachment 146795
View attachment 146796
I marked the holes in the frame and took the mounting brackets to the bench. I drilled out the holes to 1/2 and passed bolts through. Tightened them up and kicked the welder on. I welded the nuts to the plate and passed them back into the frame to make sure it lined up.
View attachment 146797
View attachment 146798
View attachment 146799
next came the center sectio, front plate, and some gussets. All are made from 1/4inch steel. welded on the inside and outside.
View attachment 146800
View attachment 146801
The center section is completed and fitted. Bumper starting to take shape. Next is the wings.
View attachment 146802
View attachment 146803
View attachment 146804
I built the wings out of 3/16 steel to save a little weight. I was going to make the wings square but Em talked me out of it and I am glad she did. Built it out of some card board, transferred it to the steel plate and cut it all out. Once cut out I left the bumper on the Jeep and decided best option was to tack it all on the Jeep first then pull it all off and fully weld it. Once again welded in and out.
View attachment 146805
View attachment 146806
View attachment 146807
I welded on some D rings that I got from the tractor store. Then cleaned up all the welds. And it was off to paint.
View attachment 146809
View attachment 146810
View attachment 146812
paint came out alright. I did 2 coats of primer,then about 3 heavy coats of flat black paint. overall pretty happy with it
View attachment 146813
View attachment 146814
All mounted up and ready to go. I figured it was a good idea to sandwich the unibody witha 3/16 plate. All in all I don’t think it’s going anywhere.
View attachment 146815
I noticed that the bottom of the radiator and condenser are exposed. I’m not a fan of that. It might not get a rock but a stick or log will punch it pretty easy. So to the steel I got.
View attachment 146816
this is what I came up with. 3/16 steel that I bent and drilled some holes.
View attachment 146817
All mounted up. Overall I’m happy with it. It’s bolted to the radiator support. I wish I had the ability to wrap that as well but maybe another time. Winch will be next and then a lift and some tires. Maybe I’ll get ambitious and make a rear bumper.
Adventure on!
Ry