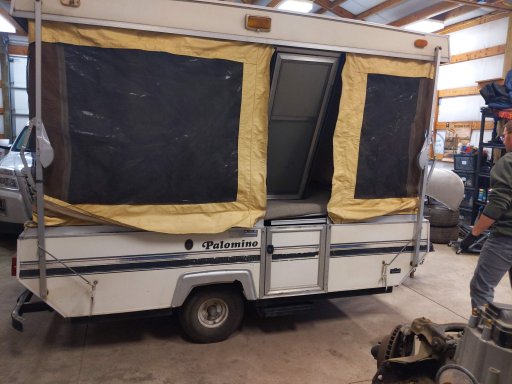
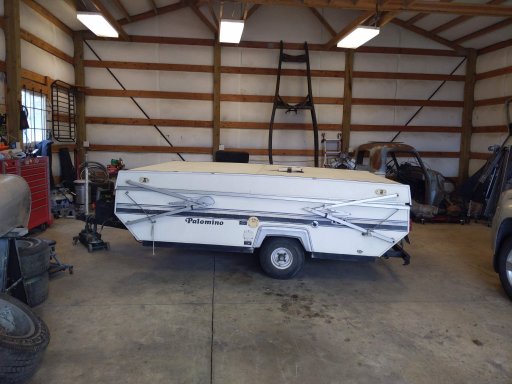
Ruby, the 1988 Palomino Colt. Turning a boring pop up into an adventure pony...

  • HTML tutorial

Dilldog

Rank V
Launch Member
Investor

Influencer I

2,358
Spokane, WA.
First Name
Dillon
Last Name
Wilke
Member #

20298

Ham/GMRS Callsign
KJ7LVO/ WRQL275
Service Branch
USAF
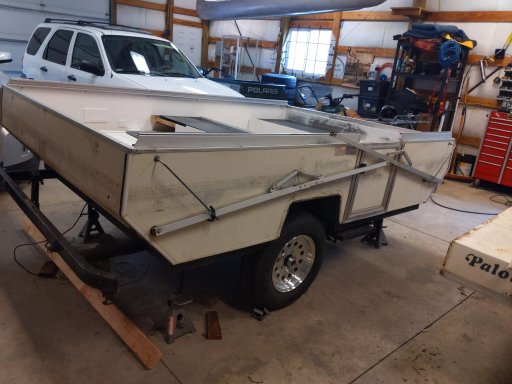
Here it is kids, my wife and mine pop up trailer build. I figured this was a good spot for this as we are literally touching and improving every single part of this trailer, essentially the original Palomino Colt was a template from which we started work.
The whole thing started like most rebuild projects with the statement, lets just go through it and make sure it is good to go. Well things that needed to be replaced quickly combined with the things that we may as well do while we are here to create an avalanche, you'll see what I mean soon enough.
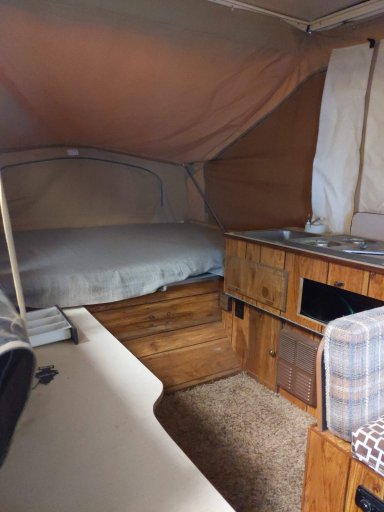
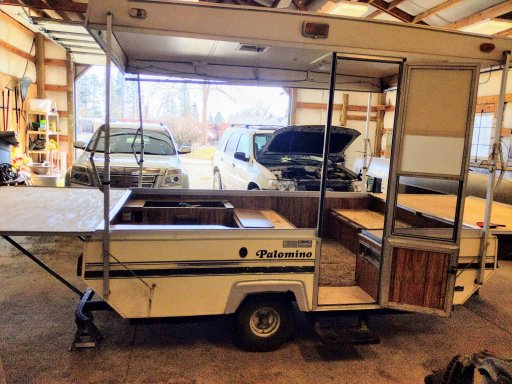
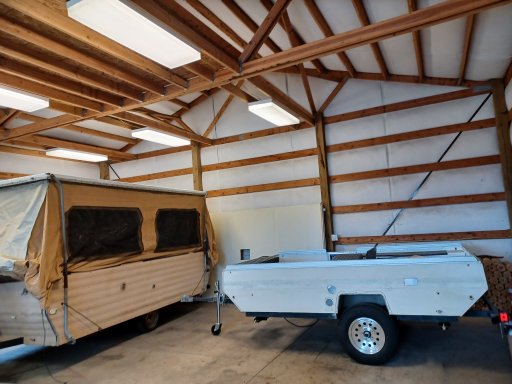
First things first, lets get it rolled into the shop and get it popped up...
PXL_20210307_180420392.jpg
PXL_20210307_182227487.jpg
PXL_20210307_184816070.jpg
PXL_20210313_185810279.jpg
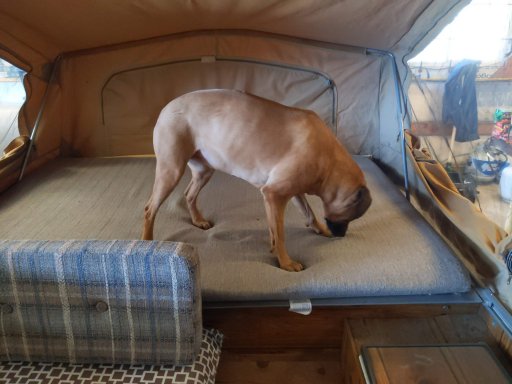
Once hound dog inspection was complete, work began...
 

Dilldog

Rank V
Launch Member
Investor

Influencer I

2,358
Spokane, WA.
First Name
Dillon
Last Name
Wilke
Member #

20298

Ham/GMRS Callsign
KJ7LVO/ WRQL275
Service Branch
USAF
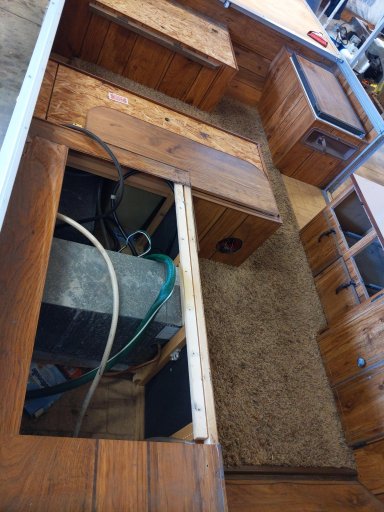
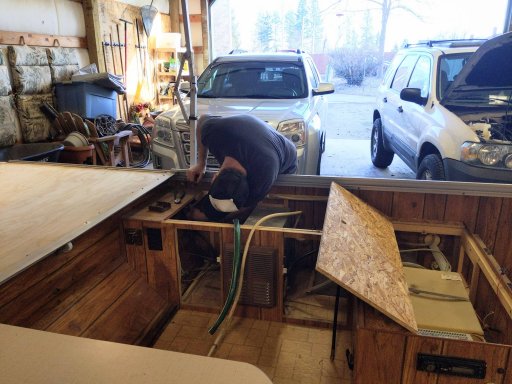
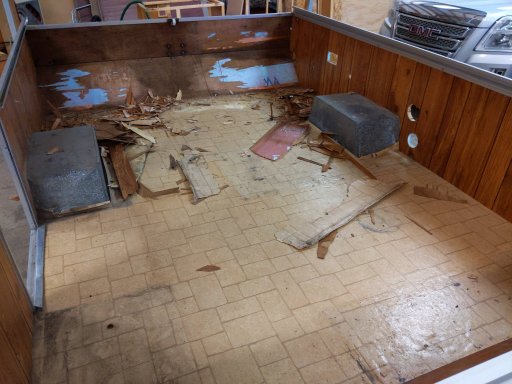
The tear down went quite quickly. My wife put her old house restoration skills to good use here...
PXL_20210313_215343254.jpg
PXL_20210313_215412239.jpg
PXL_20210314_000733021.jpg
PXL_20210321_223515955.jpg
 

Dilldog

Rank V
Launch Member
Investor

Influencer I

2,358
Spokane, WA.
First Name
Dillon
Last Name
Wilke
Member #

20298

Ham/GMRS Callsign
KJ7LVO/ WRQL275
Service Branch
USAF
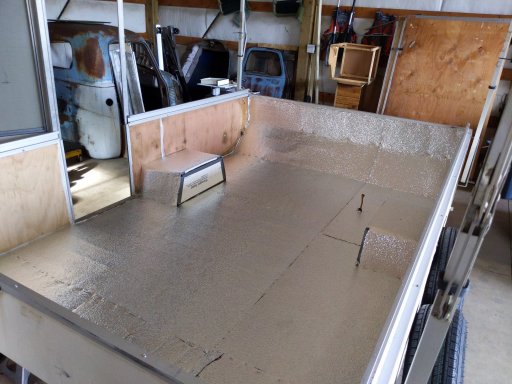
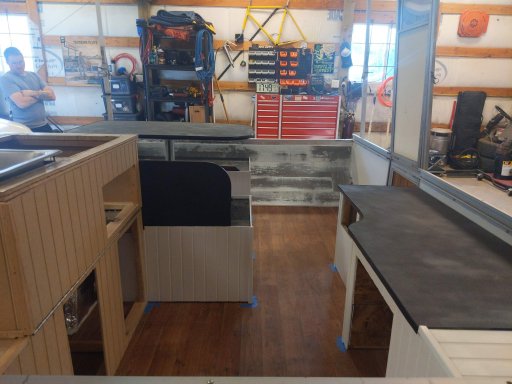
Now that tear down was complete my wife began focusing on rebuilding the interior and I started focusing on the chassis. The plan here was to rebuild all of the cabinets making them stronger but also by using redwood and cedar we would make them more resilient should they ever get wet, and naturally bug resistant. Install floor insulation and install new floor.
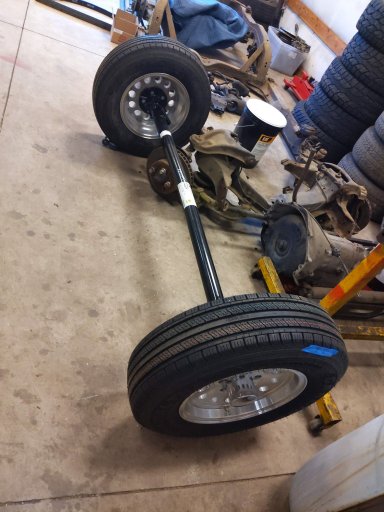
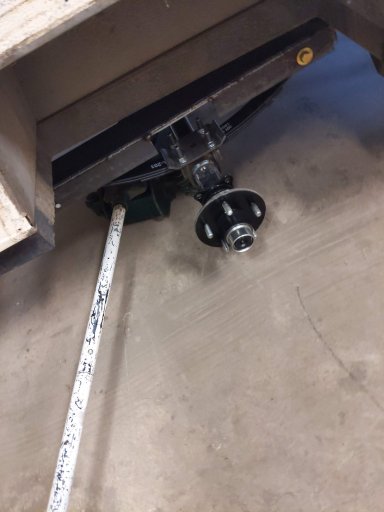
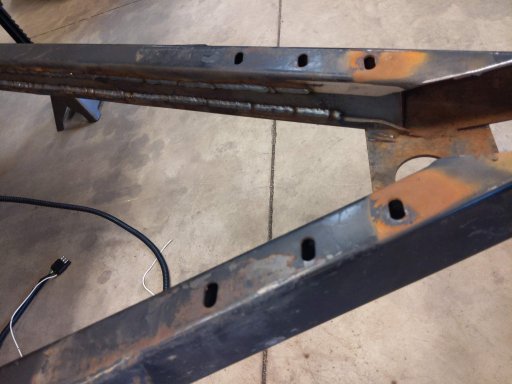
Meanwhile I would remove the original axle and build a spring box to mount traditional leaf springs and a new 3500# axle with the biggest tires I could reasonable make fit.
PXL_20210430_005345410.jpg
PXL_20210508_005519923.jpg
20210502_141833.jpg
PXL_20210508_170743735.jpg
PXL_20210516_022107142.jpg
PXL_20210606_195443993.jpgPXL_20210601_005118820.jpg
 

Dilldog

Rank V
Launch Member
Investor

Influencer I

2,358
Spokane, WA.
First Name
Dillon
Last Name
Wilke
Member #

20298

Ham/GMRS Callsign
KJ7LVO/ WRQL275
Service Branch
USAF
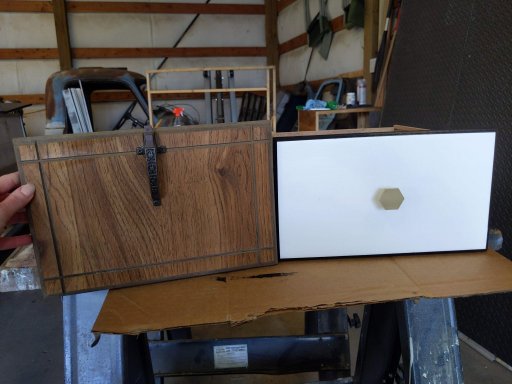
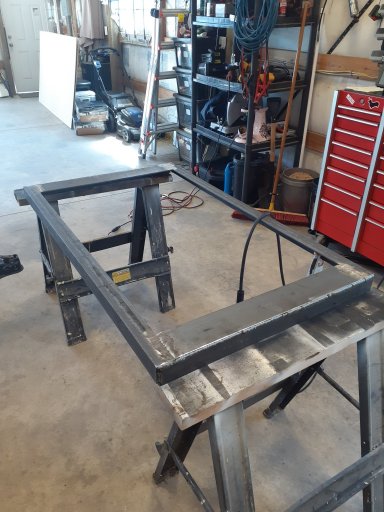
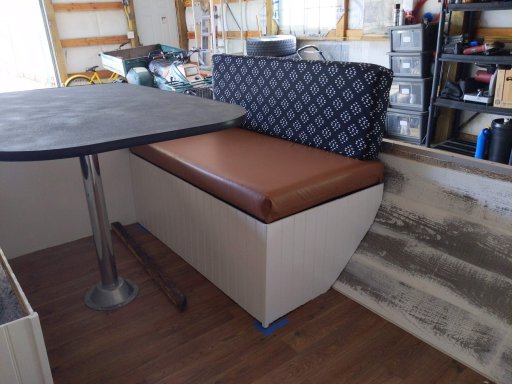
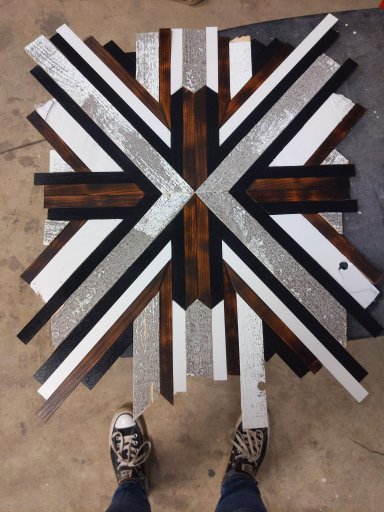
We are also stretching the tongue slightly to allow the trailer to go a full 90* to the Escape which will be the tow rig and also allow for some storage on the trailer tongue. The idea here is camp latrine storage. In order to make sure it is strong enough I started boxing in the trailer frame forward of the front bulkhead. While I was doing this my wife started sewing new seat cushions, and making a decorative insert for the door.
PXL_20210606_233624116.jpg
PXL_20210616_223612203.jpg
PXL_20210615_201840289.jpg
Next up, rebuilding the roof...
 

Dilldog

Rank V
Launch Member
Investor

Influencer I

2,358
Spokane, WA.
First Name
Dillon
Last Name
Wilke
Member #

20298

Ham/GMRS Callsign
KJ7LVO/ WRQL275
Service Branch
USAF
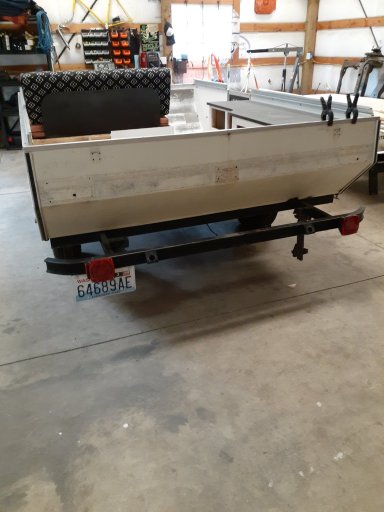
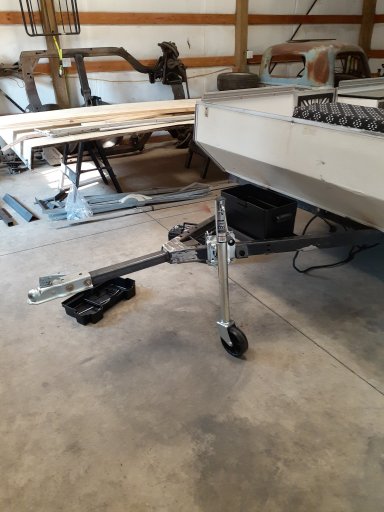
Did a little more work, got lights wired in and the tongue extension with battery box welded up. License plat is mounted on a hinge so it can swing flat to make sure if we drag the bumper it wont get torn off.
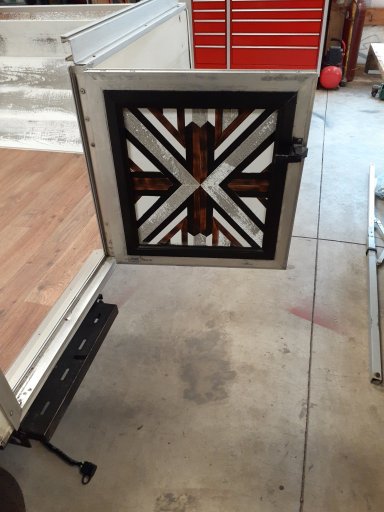
Also my wife installed the cool art. Next step is getting the stabilizer jacks installed and the rear spare tire carrier figured out. After that I will paint the steel parts, then my wife will paint the body work and Ruby will finally look like her namesake!
20210909_163154.jpg
20210909_163142.jpg
20210909_163552.jpg
 

Dilldog

Rank V
Launch Member
Investor

Influencer I

2,358
Spokane, WA.
First Name
Dillon
Last Name
Wilke
Member #

20298

Ham/GMRS Callsign
KJ7LVO/ WRQL275
Service Branch
USAF
Not much progress due to other things going on (stupid adult malarkey), anyway my wife got a bonus at work so that will be covering the new canvas. Other than that not much has been done, I was able to weld on some stabilizer jacks but thats about it. Fall and winter it gets really hard to work out in the shop, not having heat sucks.
It also looks like my wife and I are making a habit of rebuilding popups. Ruby got an older sister this past weekend names Olive, lol. Olive is a 1968 WagNmaster...
20211212_130641.jpg
 

zgfiredude

Rank VI
Member

Steward I

3,953
Silt, CO, USA
First Name
Brian
Last Name
Nichols
Member #

28938

Service Branch
Firefighter
Cool.....what did you do with the underneath part of the floor? I too have dealt with my share of unknown rot in a popup.....but they sure are fun!
 

Dilldog

Rank V
Launch Member
Investor

Influencer I

2,358
Spokane, WA.
First Name
Dillon
Last Name
Wilke
Member #

20298

Ham/GMRS Callsign
KJ7LVO/ WRQL275
Service Branch
USAF
Cool.....what did you do with the underneath part of the floor? I too have dealt with my share of unknown rot in a popup.....but they sure are fun!
The underside of the floor is intended to remain bare. As it is marine grade OSB it either needs to be 100% sealed (which is not practical) or one facing needs to be left un coated to allow the wood to breath. That being said, both popups have solid floors. Olive will need most if not all of the front wall replaced though.
 

Billiebob

Rank V
Launch Member

Member III

2,835
earth
First Name
Bill
Last Name
William
Member #

18893

I like the axle work.... slipper springs ?? can you 45 the notches ?
And the wheels, tires look positively retro, great choice.
 

Dilldog

Rank V
Launch Member
Investor

Influencer I

2,358
Spokane, WA.
First Name
Dillon
Last Name
Wilke
Member #

20298

Ham/GMRS Callsign
KJ7LVO/ WRQL275
Service Branch
USAF
I like the axle work.... slipper springs ?? can you 45 the notches ?
And the wheels, tires look positively retro, great choice.
Thanks man.
I went slipper spring to make spring mounting easier and cheaper. Also this is not going to be a serious off road trailer so it was a good trade off to me. As far as the notches go, i put a bead of weld at the corners to strengthen them. Also the sides of the spring box are 2x2x1/4 angle and the top is backed up by some 4 x 3/8 flat bar so I'm not expecting any issues there despite the sharp angle. As far as the design side of the notches, it was an oversight on my part, I made the notches after I installed axle and realized that as the spring compresses there would be no where for the spring plate to go. So I notched out the sides as there really shouldn't be much load on that part of the sub frame. Now if it were an off road trailer where I might side load the axle hard, or a multi axle set up where there would be significant side loading during turns I would have rebuilt it. That being said it is one of the ares on the sub frame that I will be inspecting for cracks.
 

Dilldog

Rank V
Launch Member
Investor

Influencer I

2,358
Spokane, WA.
First Name
Dillon
Last Name
Wilke
Member #

20298

Ham/GMRS Callsign
KJ7LVO/ WRQL275
Service Branch
USAF
Beautiful work on the re-build!

a quick question... Is that an old Schwinn Paramount hanging up on your wall?
Nope it's a 70s Motobacane. I have a soft spot for 70s French bikes. The French used much thinner wall tubing than anyone else for their racing bikes in the 70s and to make up for the strength used chromoly tubing. The result was a much lighter bike with almost the same strength (that frame is lighter weight than my 2019 Giant aluminum road frame). I say almost as these bikes have a bad habit of cracking on the side of the bottom bracket where the chain stay is welded on the chain ring side. So it is something special to find one without cracks, that frame is crack free and was a complete bike but all of the components were trash. Someday I'll rebuild it, lol