RoamingTimber's Jeep Grand Cherokee WJ

  • HTML tutorial

roamingtimber

Rank V
Launch Member

Advocate II

2,528
North Cascades, Washington
Member #

0525

Before we start the build posts, I want to talk about why I went with a WJ and what my goals for it are. I sold a 2006 Xterra to buy my WJ. The Xterra was lifted with a few other mods and it was a great rig. It went places and did things it was never intended to do, but its lack of lockers or LSD's and my growing family made it impractical to continue modifying it any further. If I spent the money to install a locker and the other things I wanted to do it would have been a sizable amount of money and it still wouldn't have fit my family. So I am now the proud owner of a 2000 Jeep Grand Cherokee aka WJ, it fits car seats better, has more usable cargo space and tows more than my Xterra did. I sought out a model with the Quadra Drive 4x4 system, its full time 4x4 with Vari-Lok LSD's front and rear and a 4Lo option. The Var-Lok axels are not perfect but they will add enough traction when I need it in my mostly mild off road use. The WJ I bought is bone stock, single owner and well maintained making it a good starting point. My goal is to make it more off road worthy, better to secure cargo and work out a solution to sleep in it. My goal is to accomplish as much of this as I can using just the money I sold my Xterra for. Below is my bone stock WJ ready for mods.
 

roamingtimber

Rank V
Launch Member

Advocate II

2,528
North Cascades, Washington
Member #

0525

After bringing my Jeep home I immediately ordered a 2.5" lift from Fat Bob's Garage, the kit included front and read coil springs 12lbs stiffer than stock, front and rear shocks and longer link arms for the rear trac bar. This kit will not only allow me to fit larger tires but it will also correct the overly soft, in my opinion, factory ride. The Jeep rolls a bit too much in the corners and dives too much under breaking. I ordered 265/75/17 General Grabber AT's to fit once the lift was installed. I've had these tires before and they are the best A/T for the money in my experience. They are also great in the snow which is important to me. While I was waiting for the lift and tires to arrive I completed a few simple mods detailed below.

First I removed the stock CD changer and turned the empty space into a storage compartment for my first aid kit and roadside emergency kit.


Next I drilled some holes in the plastic on the opposite side of the cargo area and a few in the sheet metal behind it, then using gear ties I secured my axe, machete and knife. I spend a lot of time in the mountains and use these tools are a regular basis, especially for clearing trail on search and rescue missions. I volunteer with my local sheriffs department.


Next up was working on the sleeping area. I my Xterra the only way to get a long enough area to sleep was to remove the lower cushions from the rear seats one the rear seats were folded flat. Nissan made this easy with a couple of quick release handle you could flip and the cushions popped right off. Jeep just fixed them in place with solid 1/4" pins. I cut the pins and replaced them with 1/4" by 3" long quick release pins from Home Depot. Quick and easy. Below is the seat cushion on my work bench with the new pins installed.


roamingtimber

Rank V
Launch Member

Advocate II

2,528
North Cascades, Washington
Member #

0525

Finally we get to the lift and tires. This is the 4th lift kit I've installed and by far the easiest, but it was not without its snags. No matter how much research I do, there always seems to be a rusted bolt or unforeseen complications awaiting and this lift was no different, but all in all it was pretty easy and straight forward. The axels swung down low enough to not need a spring compressor and the only fastener issue was one bolt on the lower shock mount of a front shock snapped but that was easily remedied by a trip to the local hardware store for a grade 8 replacement. The big unforeseen issue happened when the lift was finished and the wheels, shod in new 265/75/16 General Grabber AT's were mounted and the Jeep lowered off the jack stands. The rear shocks were resting tightly against the inside of each rear tire. I had read that tires would fit with this amount of lift and maybe a bit of rubbing, but mine were putting a good amount of pressure on the shocks. So took a trip to my local 4x4 shop, Olympic 4x4 supply and picked up a set of Rough Country 1.5" wheel spacers. Lucky for me the WJ shares a bolt pattern with the JK so they were in stock. I wasn't planning on using wheel spacers, I'm not a big fan of them. One more thing to check the torques on on a regular basis. I think I will start looking at new rims with a smaller back space so I can get rid of the spacers. Kind of a bummer though because I like my stock rims.
Once I had the wheel spacers on it was time to check for tire clearance, which yielded the need to trim the front bumper. Out came the angle grinder and a cut off wheel. I made a 2" cut along the bottom and angled it in going up the side leaving it connected on the top. I then pushed the flap of bumper I had created forward into the bumper and secured it with a few stainless steel sheet metal screws. This created a pretty clean finished product and left the wheel well liner intact to keep road debris out of the inside of my bumper.
Next came the Rhino Rack roof top basket. I bought 5 tires because I like full-sized spares for reasons that should be obvious to members of this forum. The spot for the spare is under the cargo floor in my Jeep and it wouldn't fit a larger than stock tire. So the least expensive option was to mount it on the roof. I get a pro deal on Rhino Racks so I ordered a roof top basket that would fit my tire and Jeep. Well, at least I thought I did. Turns out the upper rail of the basket is more narrow than the base and the tire wouldn't fit. Because I ordered it as a discount through a pro deal program I couldn't return it, so out came the angle grinder again and I notched out the top rail just enough to make the tire fit and secured the tire using a Rhino Rack spare tire mount to the floor of the basket. Obviously not the ideal setup but it will work for now. I think I will replace the basket with a wider one down the road. Next on my list is recovery gear and aux lighting. Below is my newly lifted and still clean Jeep.
 

roamingtimber

Rank V
Launch Member

Advocate II

2,528
North Cascades, Washington
Member #

0525

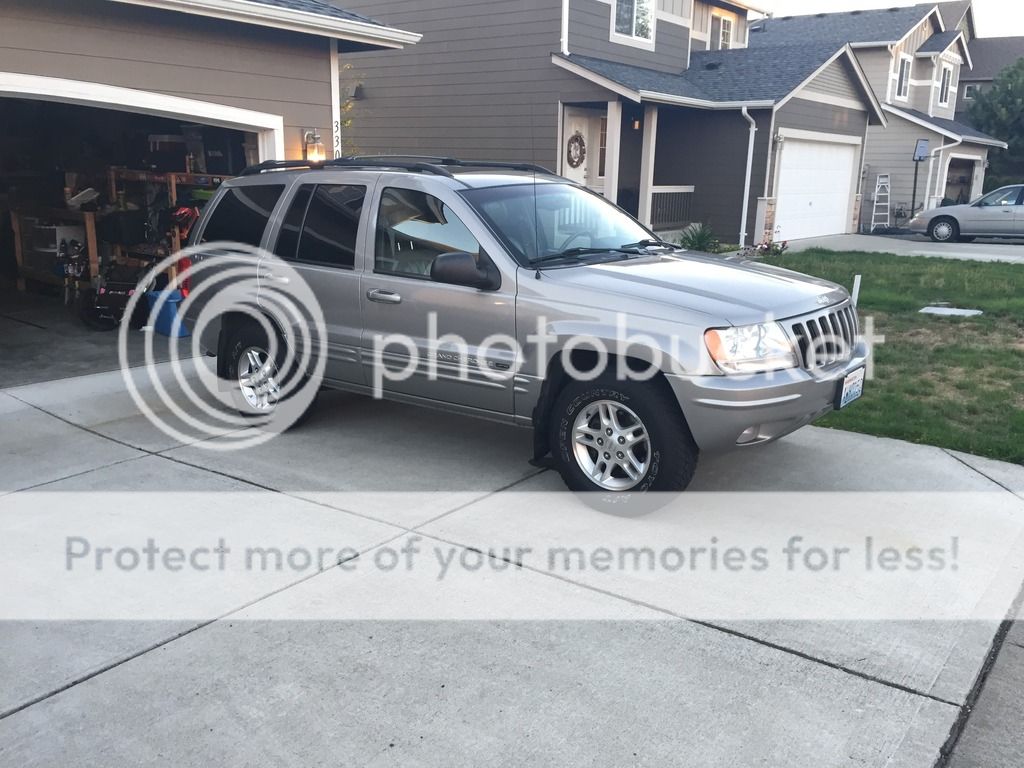
First of thank you to 
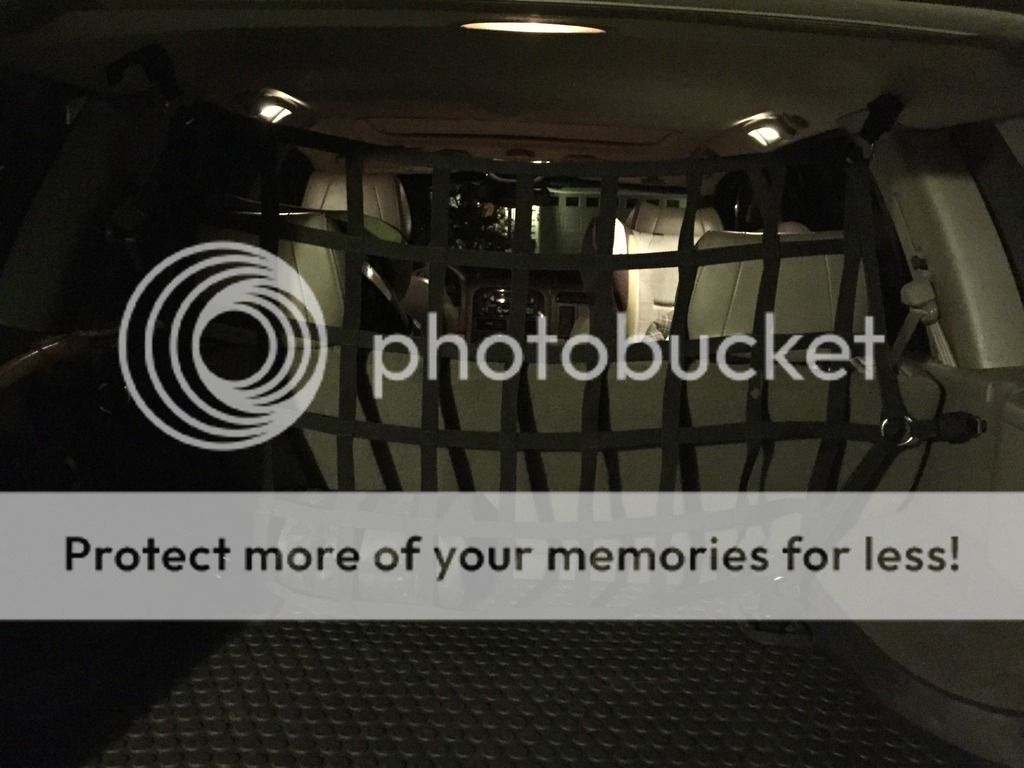
@jordanbrooks for the motivation, I've done some odds and ends, with a couple of big projects in the works. First odds and ends. I installed gear loops in the ceiling of my cargo area so I could install the raingler net I used in my Xterra. Not a perfect fit but it keeps the dogs in the back and will prevent getting beaned with any flying gear if things get sporty.


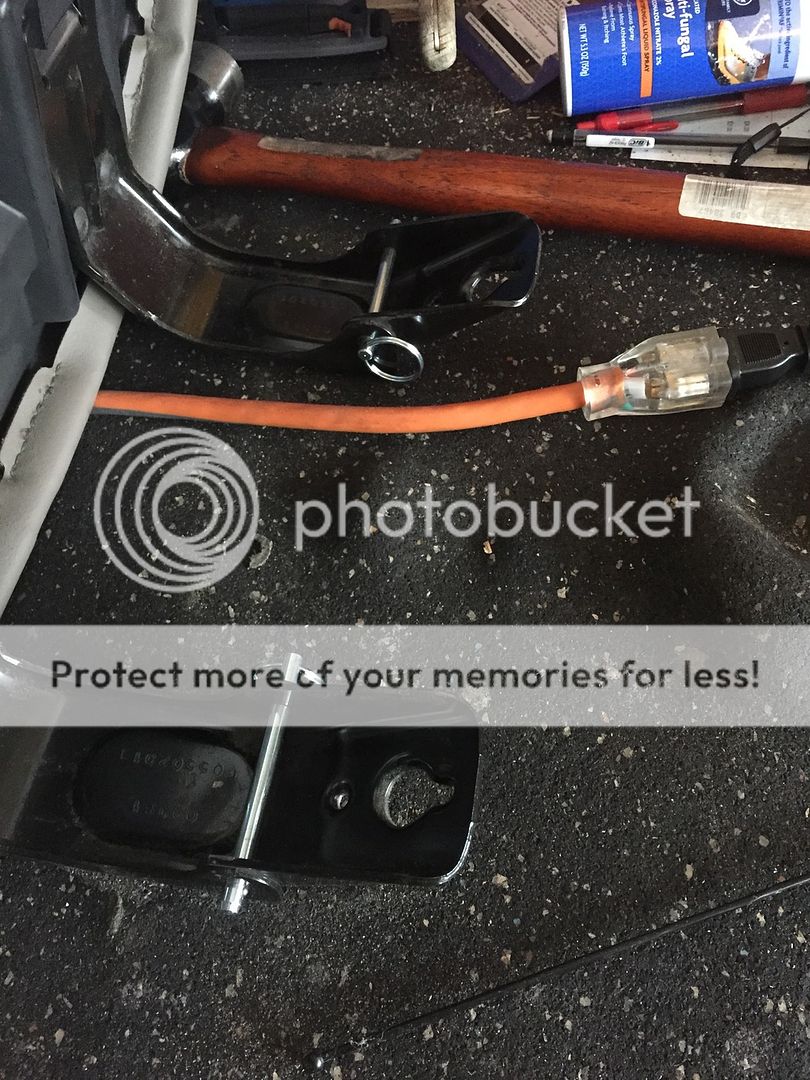
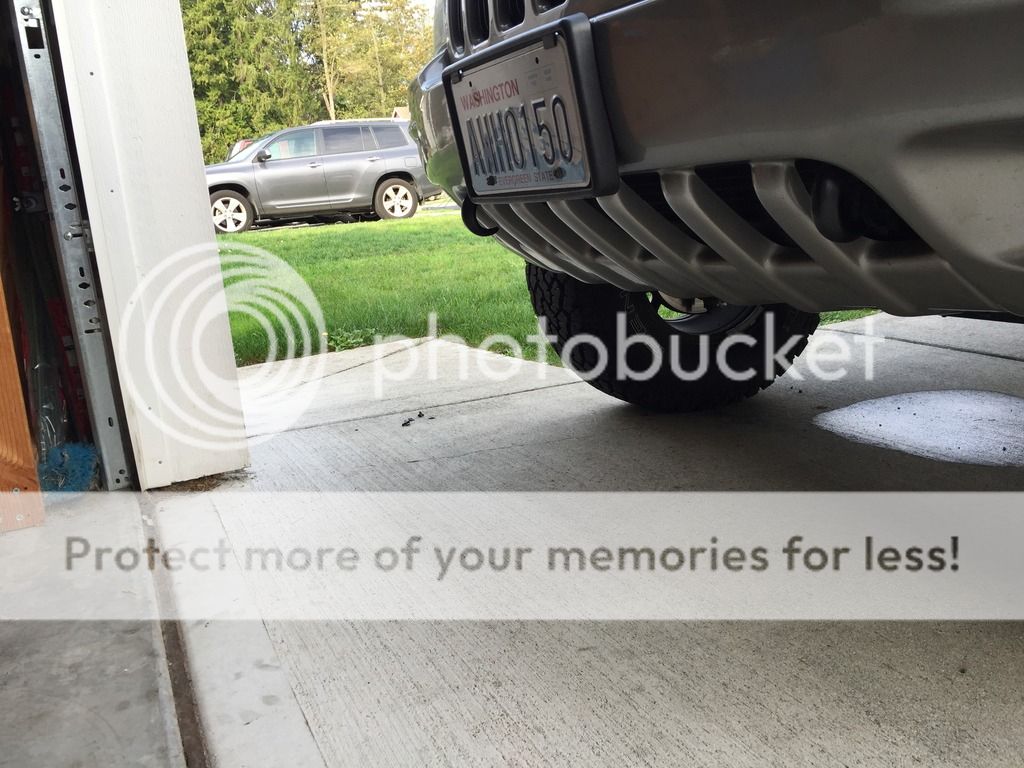
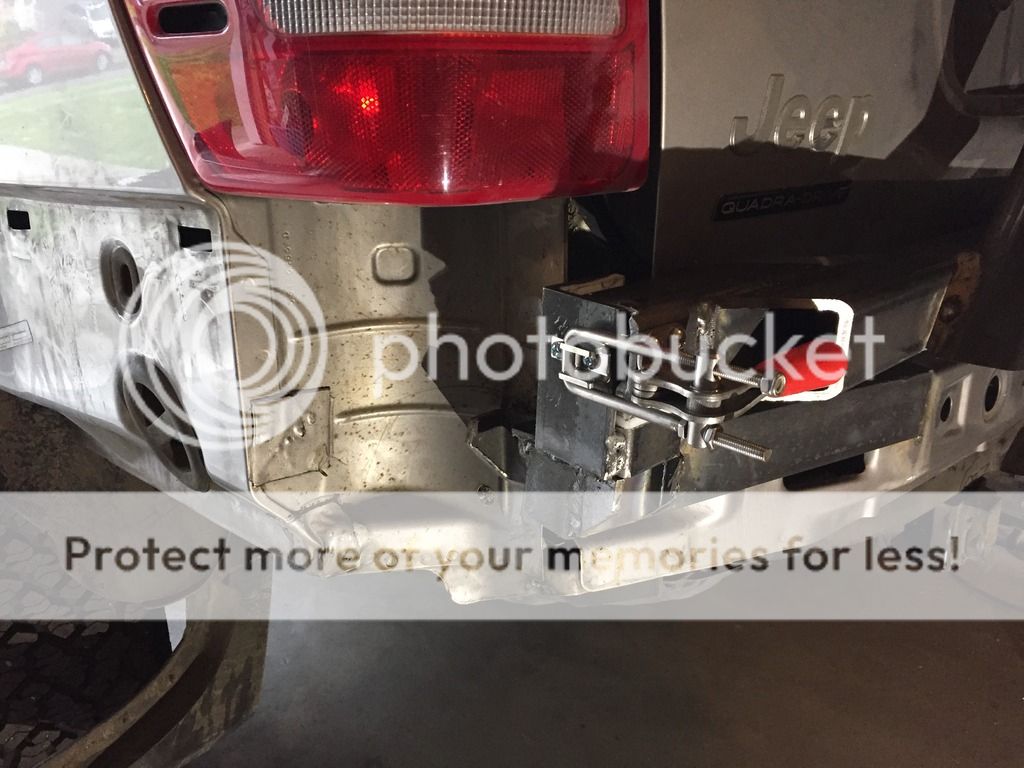
Next I added front recovery hooks to the Jeep.


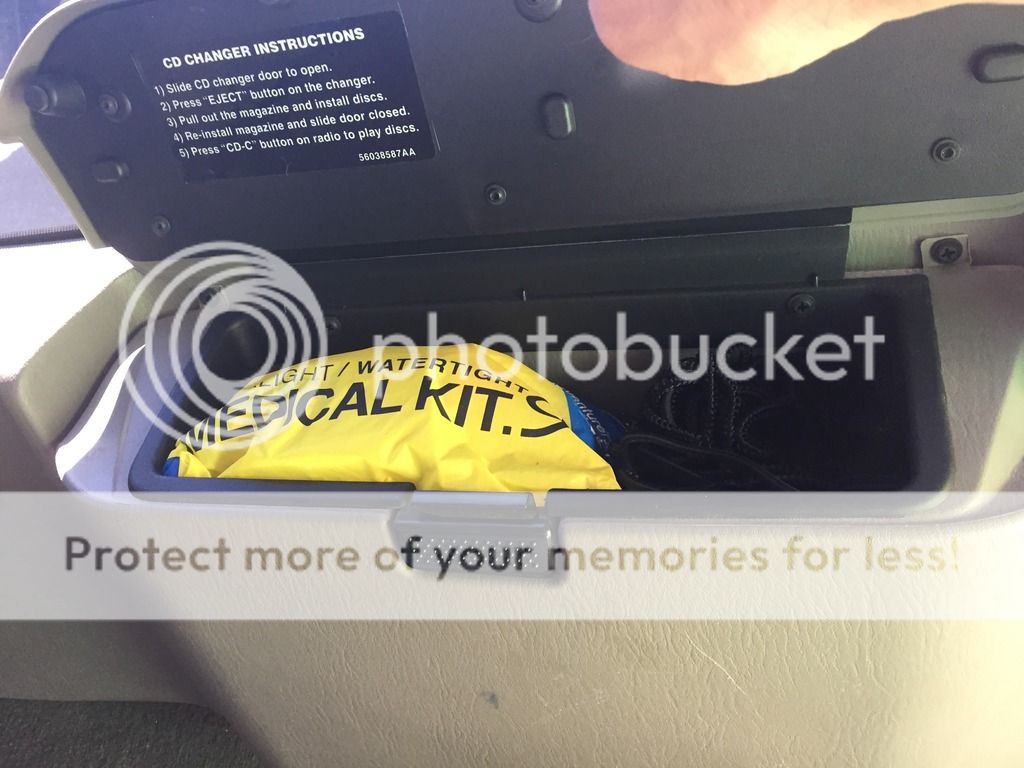
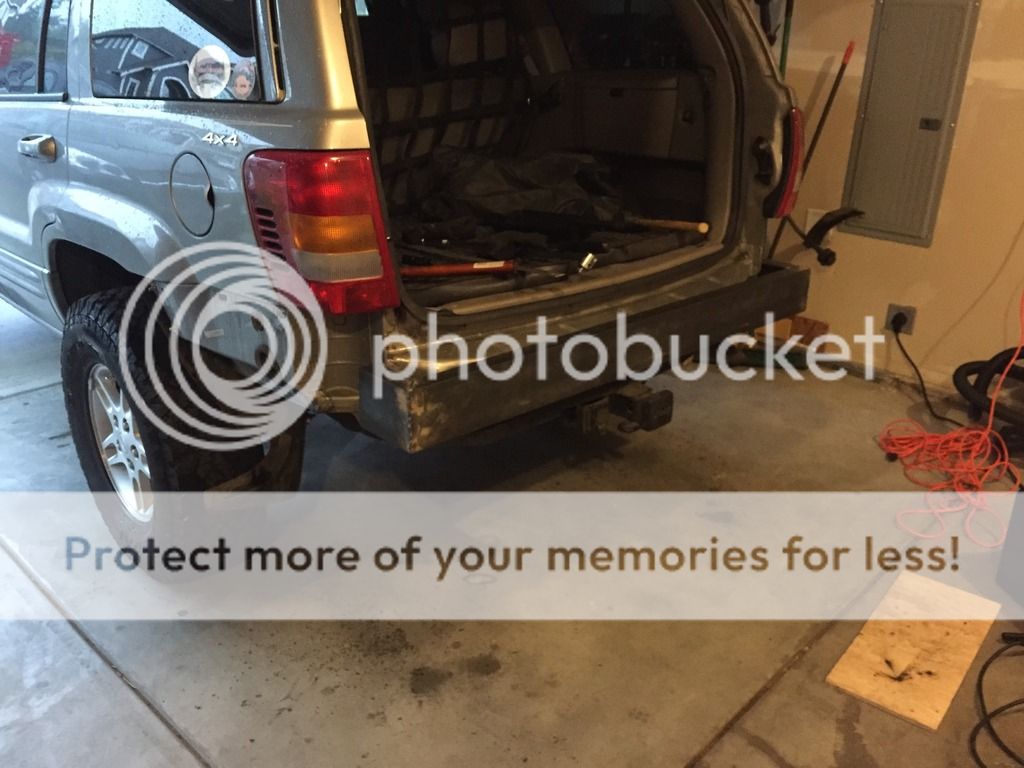
At some point i also filled the space under the cargo floor where the spare tire used to reside with all kinds of rig related gear, recovery straps, jumper cables, snow shovel, truck bag, ratchet straps, etc. Really convenient place to be able to store a lot of gear. I might end up installing a second battery in here when I go to a dual battery setup, haven't decided yet.


I wired up and installed an electronic trailer brake controller, but didn't take pictures because, it looks just like every other brake controller you have ever seen. Installation was pretty straight forward. I had to run power and ground wires directly from the battery and install a 20amp circuit breaker on the power line, then I had to tap into the brake light switch signal wire and finally attach the output voltage line from the controller to the wire for the trailer brakes that is part of the factory 7-pin trailer wiring. The only annoying part was taping into the brake light switch wire. Lying on your back under the dash with a soldering iron inches from my face is not my idea of a great time. But its done and now my Jeep is ready to tow a small travel trailer out to the ocean for our annual thanksgiving camping/clamming trip. Campers are not my idea of camping, but since we will have an infant with us, my wife insisted.

Finally the main thing I have been working on is my lighting issues. They performance of the stock headlight and fog light seems weak to me on the road, let alone in the mountains so something had to be done. I pick up a couple of cheap($50-60) 6.5" 35w degree light bars from Amazon to install in place of the stock fog lights to be a all around on/off road aux light. They are cheap knock offs of rigid industries lights but had positive reviews, except for their waterproofness. When mine arrived I could see the seal issues around the lens that was mentioned in most of the reviews. So I disassembled the light, applied some rtv silicon where it needed it and reassembled it. Besides the waterproofing and the plexiglass lens I'm pretty impressed with the solid construction of the lights for their price. Wiring was easy, I cut off the stock fog light plugs, making sure there was enough tail left on them to reinstall them if necessary, and soldered in some waterproof connectors, male one the light side, female on the Jeep side. I drilled a couple of holes to mount brackets and was done. When it was all said and done they looked sweet installed in place of the stock fog lights, I wish I had taken pictures, fail, I know. Below are some shots of the light output.

Just the stock fog lights, no headlights.

6.5" LED Light bars only.

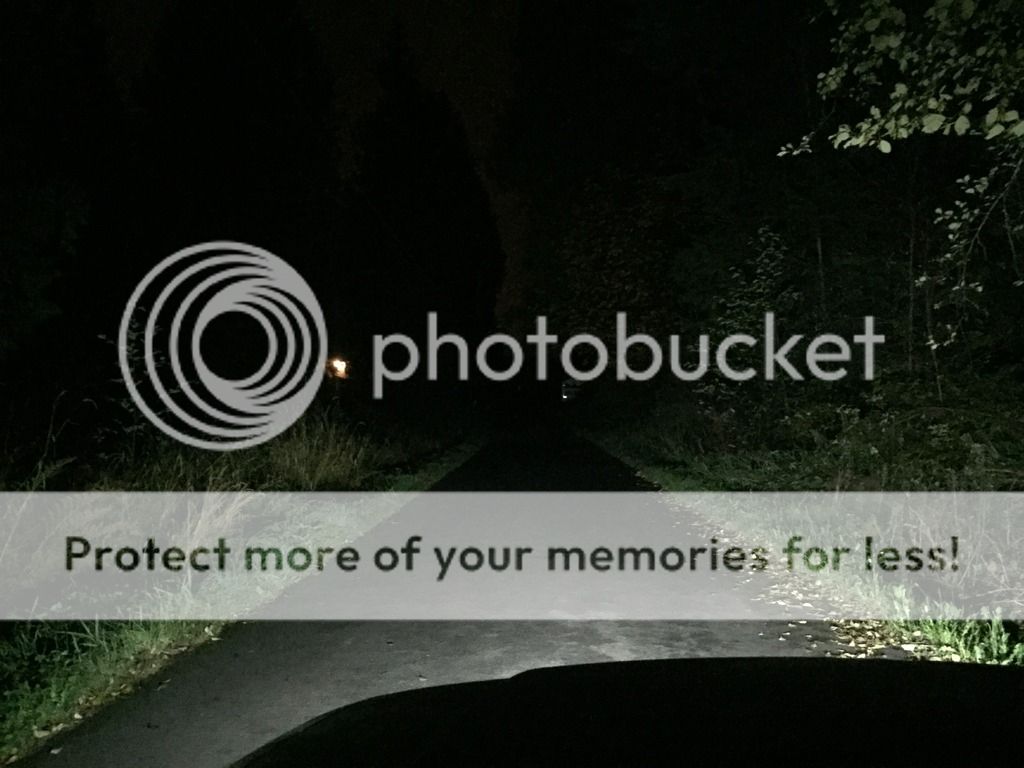
The light bars worked great, too well in fact. They through light at least 40' in all directions, when I ordered them I assumed that being cheap knockoffs they would under perform and just meet my needs, instead they worked far better than I could of hoped. I loved the light they put off but I couldn't leave them installed. These were meant to be used not just for aux light on the trail but also on the street like normal fog lights. They were way too bright for that, it hurt to look at the front of the Jeep when they were on. I'm too nice of a guy to drive around blinding all the on coming traffic. So back to the drawing board I went. After a little research I decided to reinstall the stock foglight housing and wiring, modified with a standard 9005 low light headlight bulb instead of the stock 9055 fog light bulb. 9055's are a 55w bulb, 9005's are a 65w bulb, the extra 10 watts, along with using GE Nighthawk bulbs, gave me a bright enough fog light to use on forest roads and still be tame enough for street use. The below picture was taken before I adjusted them a little higher, to throw light a little farther out.

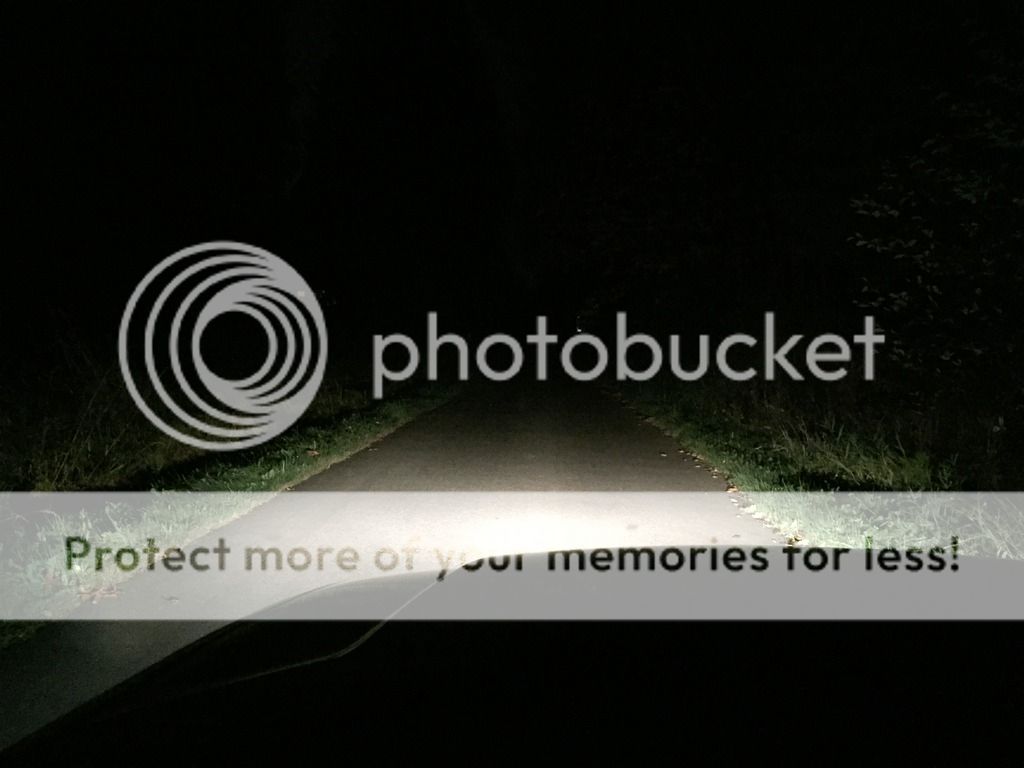
Modified stock foglight.

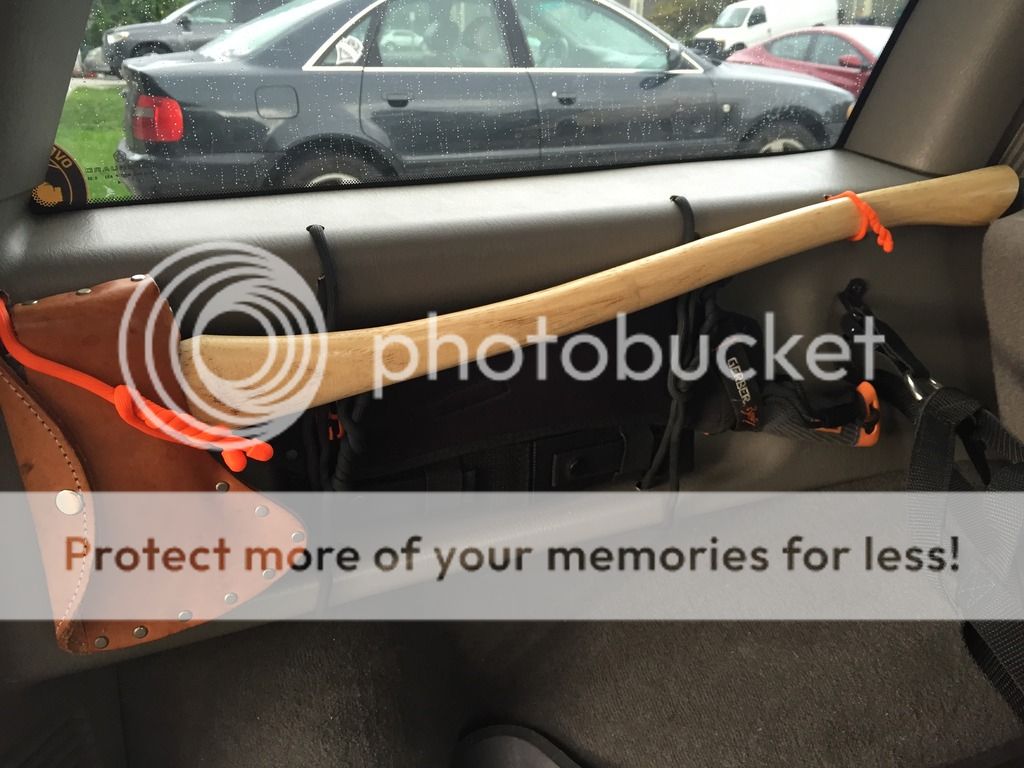
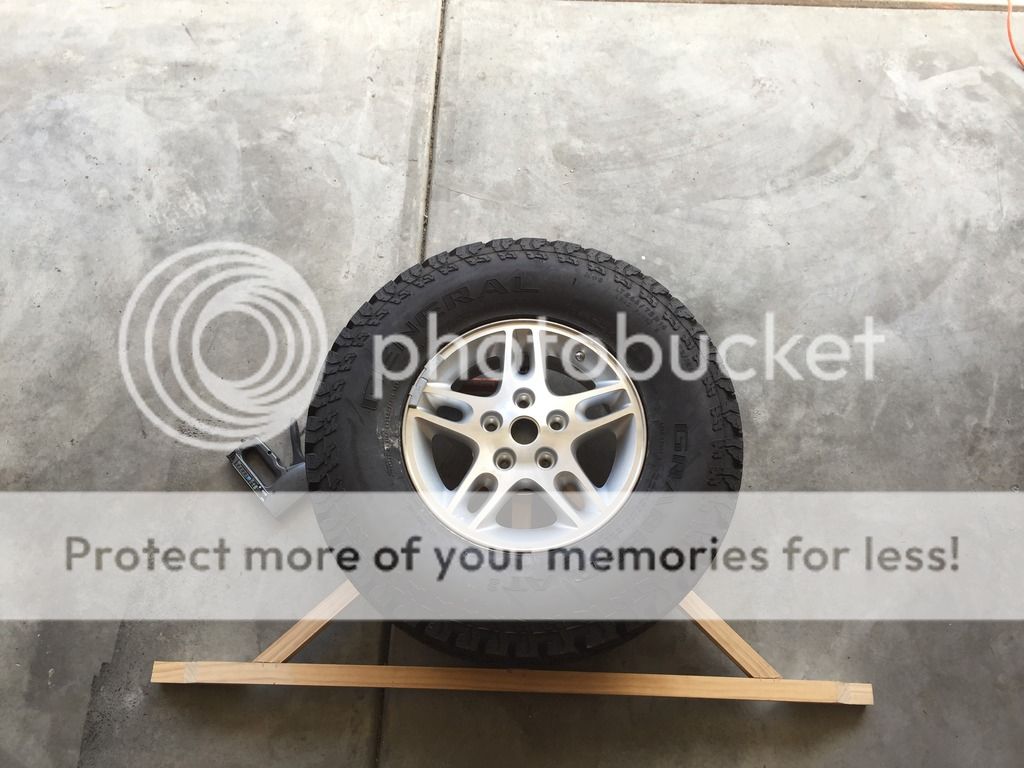
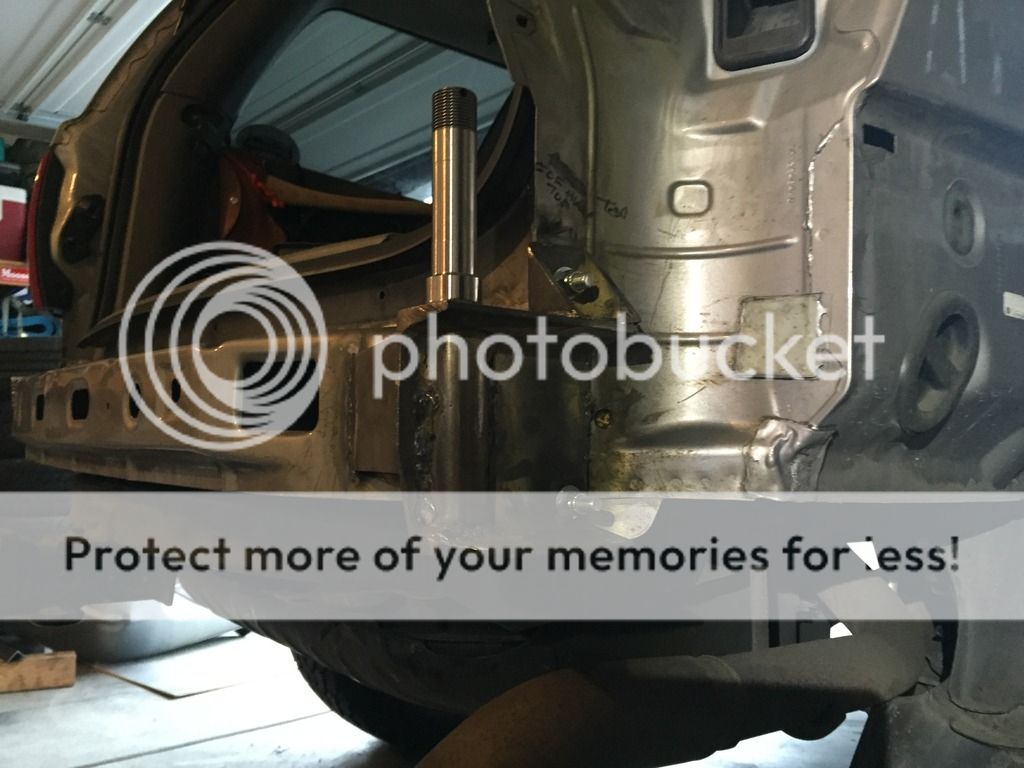
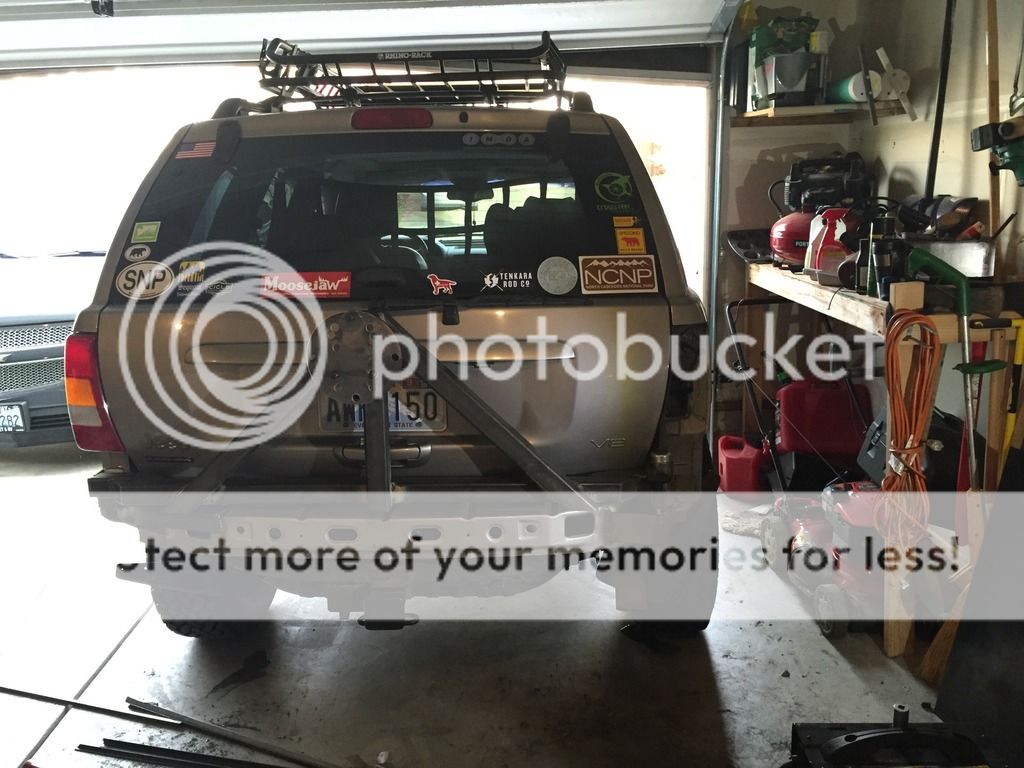
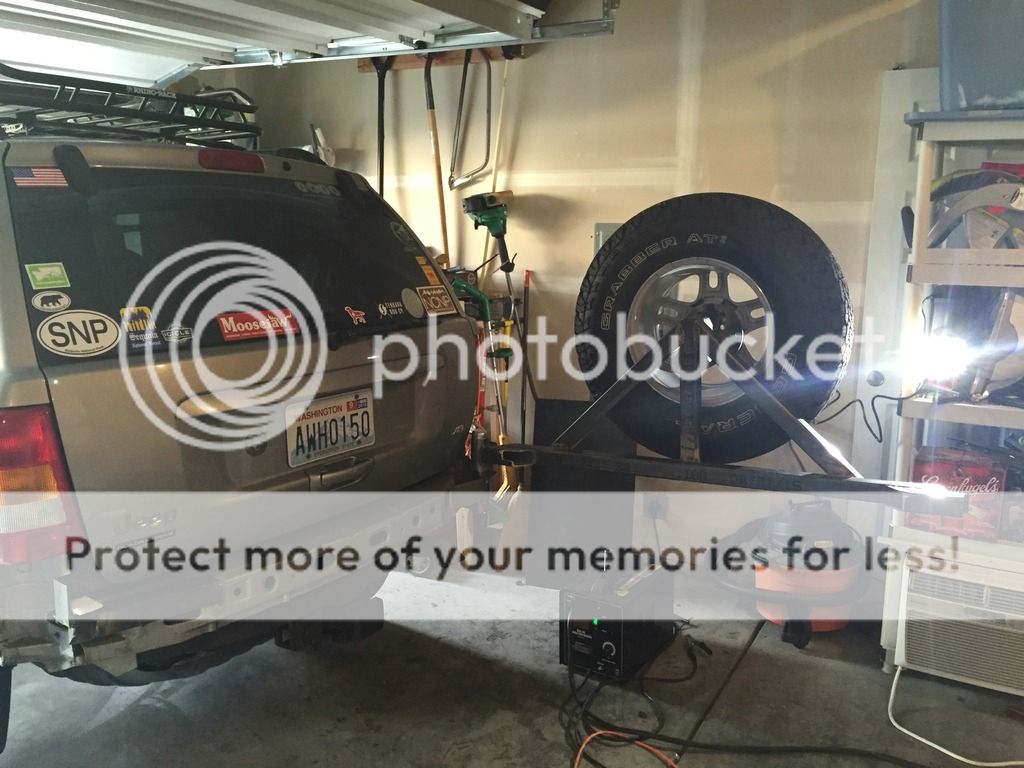
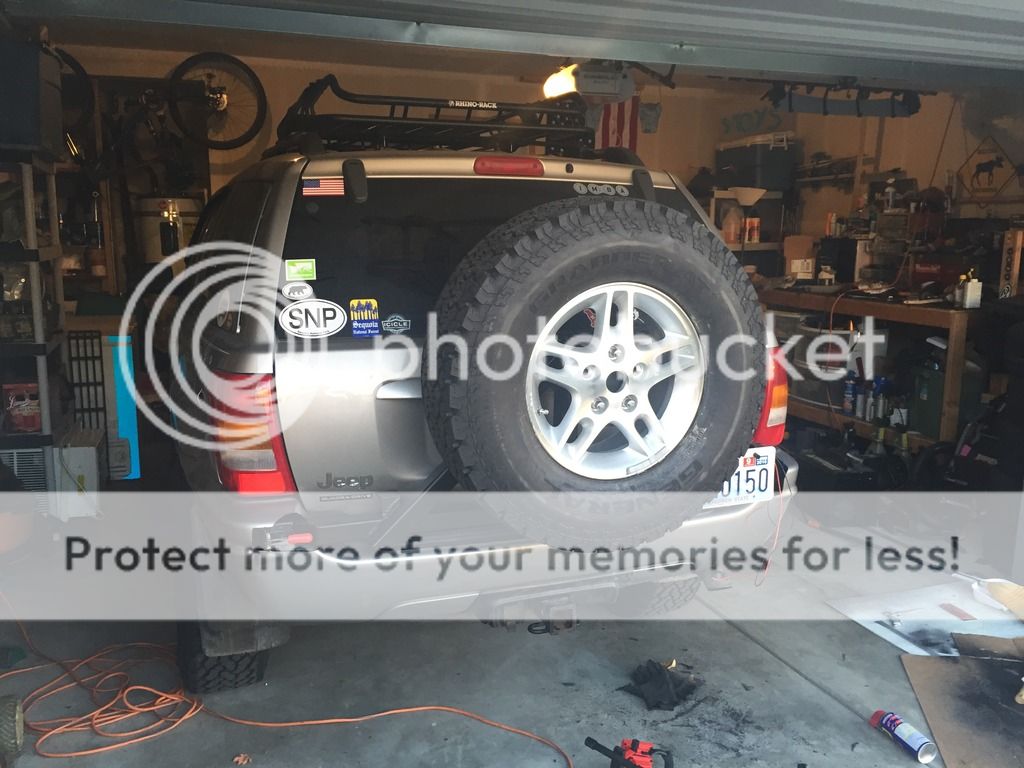
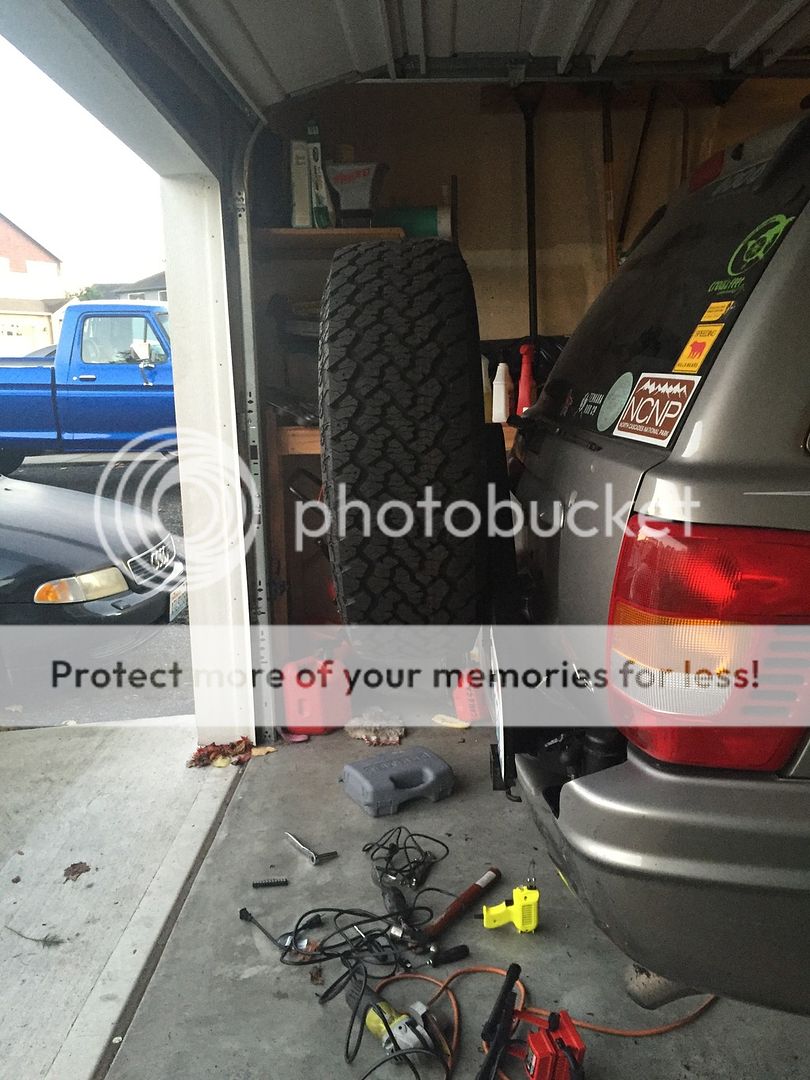
I have ordered another set of 6.5" 35w LED light bars, this time the narrower 30 degree spot to mount along with my now surplus 60 degree light bars for off road use. I just need to figure out where I am going to mount them. I want to mount all 4 directly to the Jeep, not to the roof rack, so I'm not sure how I'm going to balance that yet. I don't want to mount any lights to my roof rack because hopefully it won't be there for much longer. I have drawn up some plans to build a swing gate to mount my spare tire on and get it off the roof. When I do that I will remove the roof top basket and only install it when I am going to use it, like a ski rack. I wasn't impressed with the idea of the spare on the roof to start with and having it up there for a month now hasn't endeared it to me. I can hear the roof rack rattle under the weight and whistle in the wind. I don't thing it looks great up there, I can feel the change in the center of gravity and its not very practical. The tire takes up most of the roof top basket and to get it up and down isn't easy. I'm 6'1" and i still have to climb onto the roof to secure it. There is no way my 5'3" wife will ever get it down if she needed it, not to mention it weighs half what she does. I've got my design figured out, I just need to order the heavy duty hinge and latch, pick up some steel stock and start welding. I don't know how to weld at the moment, but I'm going to rent a welder and figure it out. I will post and update and maybe a full blown diy build thread on it when its done. Although I am building one for a WJ, it would apply to anyone with a lift gate that doesn't want go with a full-blown aftermarket number. The basic concepts could be applied to Xterras, 4Runner s, Land Cruisers, etc with minor modifications to the mounting and measurements. Ideally I will have this done before my Thanksgiving trip but we shall see. I have plans to include read mounted lights for trail use, a work light for camp sites, a fold down work space, shovel mount and at some point a hi-lift mount when I buy one.
 

Overland-Indiana

Overland Bound - Midwest Regional Ambassador
Launch Member

Influencer II

3,316
Kokomo
Member #

0750

Looks good man... I still need to get recovery points up front. I am thinking on waiting though since i'll be doing a off road bumper with winch...hopefully in the spring.
 

roamingtimber

Rank V
Launch Member

Advocate II

2,528
North Cascades, Washington
Member #

0525

When I installed my lift and larger tires i also installed a roof top basket and used that for my spare tire. I knew when I did this that it would be less than ideal and I was right. The tire and wheel combo weigh in around 70lbs, having that much weight that high up added a significant amount of body roll to the Jeep. I looked at new armored rear bumpers with integrated swing gate tire carriers but they are really expensive. I decided to build my own swing gate tire carrier and integrate it into the existing body of the Jeep. The two main issues to this were that the rear bumper is completely made of plastic and supported by styrofoam so it couldn't support any kind of tire carrier. The other issues was that I didn't know how to weld. I picked up a pretty basic 170amp wire feed welder from Harbor Freight for under $200 that would do everything I would need. I pulled off my rear bumper to look at exactly what structural metal I had to work with and take measurements to start drawing something up. After I had my initial design, I built a mock up from wood to test fit it. I had decided I was going to use 2" square tubing for the tire carrier so I used 2"x2" lumber for my mock up. 2"x2" lumber is not actually 2"x2", its like 1.75"x1.75". I knew this but figure it wouldn't be enough of a difference to matter (I was wrong).
Picture of my mock up.


I ordered my hinge and tire carrier plate for A to Z fabrication(atozfabrication.com). I picked their mega spindle, it's rated for a 37" tire plus accessories and I am only running 32"s. I like over kill. This hinge is basically a 1.5" solid steel spindle with a could of bearing races machined into it and some thread cut on top. Its beefy, and the machining was top notch. It comes with two cartridge bearings, an outer 2.25" sleeve(that the swing arm welds to) a lower dust seal, a washer, a castleated nut, a cotter key and a top dust cap. The tire carrier plate is a thick plate with a bunch of holes drilled into to mount whatever wheel bolt pattern you have. I also bought 3 wheel studs from them while I was at it. Next I went to McMaster Carr and ordered my latch I picked a U-bolt pull-action right angle toggle clamp. It sounds really complicated but when you see the picture, you'll know what I'm talking about. The one I bought is made from stainless steel and rated to 1000lbs. I found a place online that sold metal called Metal Supermarkets that looked promising. They will ship to you, but they have 80 locations across the US and one was close. Not only did they have what I wanted in stock, they could cut all my pieces to order! This made the build way easier. They cut everything except for the round cuts for the hinge so all I really had to do was weld it all together. They could have cut the round cuts too, but I would have had to wait another couple of days. Now that I had all my parts and materials I started to figure out the welding part. Welding has always seemed kind of daunting to me. Something easier to screw up than not. I found this to be not true at all. My cheap Harbor Freight welder has a chart on the top that tells you how to set the welder for whatever you are welding on. Then I just had to ground the metal, point the gun and pull the trigger. It took a few tries before I figured out how fast to move the gun for good welds, but that was it. It is super easy. I was shocked and I can't believe how long I put off learning to weld. I should have done this years ago!

Now that I had everything I needed and all the skills I needed I started to work on the Jeep this is where I started to run into issues. The stock design for the Jeep has a large styrofoam insert between the plastic shell and the metal of the Jeep. My original plan was to replace this with a single piece of 5" steel "C" channel welded to the unibody of the Jeep. I figured this would give me good, solid support to mount the hinge to. I had the "C" channel cut at 45 degree angles on each end so I could weld two smaller lengths of it on to create a closed box with the back of the Jeep for greater support and rigidity.
"C" Channel installed.

The problem I ran into with this design was that the stock plastic bumper curved inboard and forward way more than I had thought and it wouldn't fit back on over the "C" channel. I came up with a new design I thought would work. It moved the mounting point in a couple of inches towards the front of the Jeep but the mock up still just barely cleared for this new location so I figured I was good. After some cutting on the chop saw I welded my new hinge bracket to the passenger side of the Jeep. I wasn't really confident in the holding strength of the welds though. The body seam I was welding to under the tail light is several layers of sheet metal welded together from the factory and the closest thing to a frame your can find on a unibody, but being that it is just sheet metal it was burning away from the much thicker "C" channel as much as it was welding to it so I drilled 2 holes and ran a couple of bolts with nuts and locker washers just to be safe.
Oddly the gusset I welded to the bumper support welded up just fine.
Here is the new hinge bracket installed with the hinge spindle installed too.


I moved on to the swing gate its self. Like I said earlier this was all going to be made out of 2" square tubing. It had all been precut except for the two curved cuts I made with my angle grinder to mount up to the hinge. It went really quick and easy. Once it was done I installed it to check fit and it hit the lift gate! The .25" difference between the 2"x 2" lumber and the 2" square tubing was enough to make it hit! This was easily fixed with the angle grinder but it was still annoying and time consuming.
Picture of an early test fit.


Now it was time to work on the details. I had been planning this for so long I had time to think up extra stuff I wanted like some brackets for auxiliary lights, a fold down table and a shovel mount. Not to mention I still needed a bracket for my license plate. So I fabbed up all of that, except the shovel mount, which I still havent figured out. Once the details were done I cleaned it up with a flap disk on my angle grinder, primed it with spray can primer and painted it with spray can truck bed liner. It's not my best paint job, it was colder than I would have liked when I was painting so it didn't dry as nice as I was hoping. I might fix it in the summer with better weather for such things. It's still not totally done though. The table mounting brackets are welded on, the table is fabricated, I still need to figure out how I'm going to latch it and support it though and I haven't figured out how to squeeze my shovel on with the table installed at the same time yet. Also in the future I would like to add a hi-lift mount. I tapped into the tail light wiring just above the hinge to run the Amazon sourced license plate light and was even able to run the ground and supply wires for my auxiliary wiring through the factory grommet for the tail light. All in all I'm really happy with the build. It cost about $400 for parts and materials and took probably 40 hours of total work over 6 weeks or so to get completed with the majority of it done in about a week. Trimming the plastic bumper was easy. I made the cuts with the knife blade on my leatherman and cleaned it up with a sanding drum on my dremel. I have some rubber sheet to install in both holes in the bumper to try and keep put as much water and dirt as I can. A few other details I left out of the narrative: there is a spring loaded latch on the hinge side to hold it open, I installed 2 18w Amazon knock off led light bar flood lights hooked up to a sweet Over The River and Through The Woods switch to light up campsites and trails, Impit some reflective tape on the latch end to hopefully prevent anyone from running into it at night and last but not least I turned my Overland Bound member badge into the center hub cap for my spare. I think the pictures below will cover most of the build.


roamingtimber

Rank V
Launch Member

Advocate II

2,528
North Cascades, Washington
Member #

0525

@jordanbrooks I used the mega spindle from A to Z Fabrication for my hinge, it was the beefiness I could find and I like our kill on projects like this. For the latch I used a U-Bolt pill action 90 degree toggle clamp from McMaster Carr. The latch is rated to 1000lbs, the pull action keeps the carrier nice and tight and rattle free, and is made from stainless steel so it won't rust. I also used a couple of pieces of hdpe on vehicle side of the latch to mitigate vibration and rattles. My biggest piece of advice is when you pull the plastic bumper shell off to make your plans, use the styrofoam absorber as a guide for your measurements. As long as all of your support structure fits inside the dimensions of the absorber it will fit under plastic bumper shell. Let me know if you have any questions on anything. I still have most of my measurements and what not.
 

timberwolf_120

Rank VI
Founder 500
Launch Member

Influencer II

3,059
Ridgecrest, CA
Member #

0115

Wow that rear bumper is beautiful!

I like what you've done with your rig so far! For your front bumper (if your trying to stay stock looking) if you wanna run a winch not sure if you've seen it but hkoffroad.com offers a hidden winch mount that works with the factory bumper shell.