RAG Trailer Build

  • HTML tutorial

Advocate II

760
San Diego, CA, USA
Member #

3114

Wanted to share our trailer build here on OB. I built this for the family a few year's back and figured it would be fun to share here on OB. Some of you may have seen it on another forum, but I want to share here so I'll recreate as much as possible.

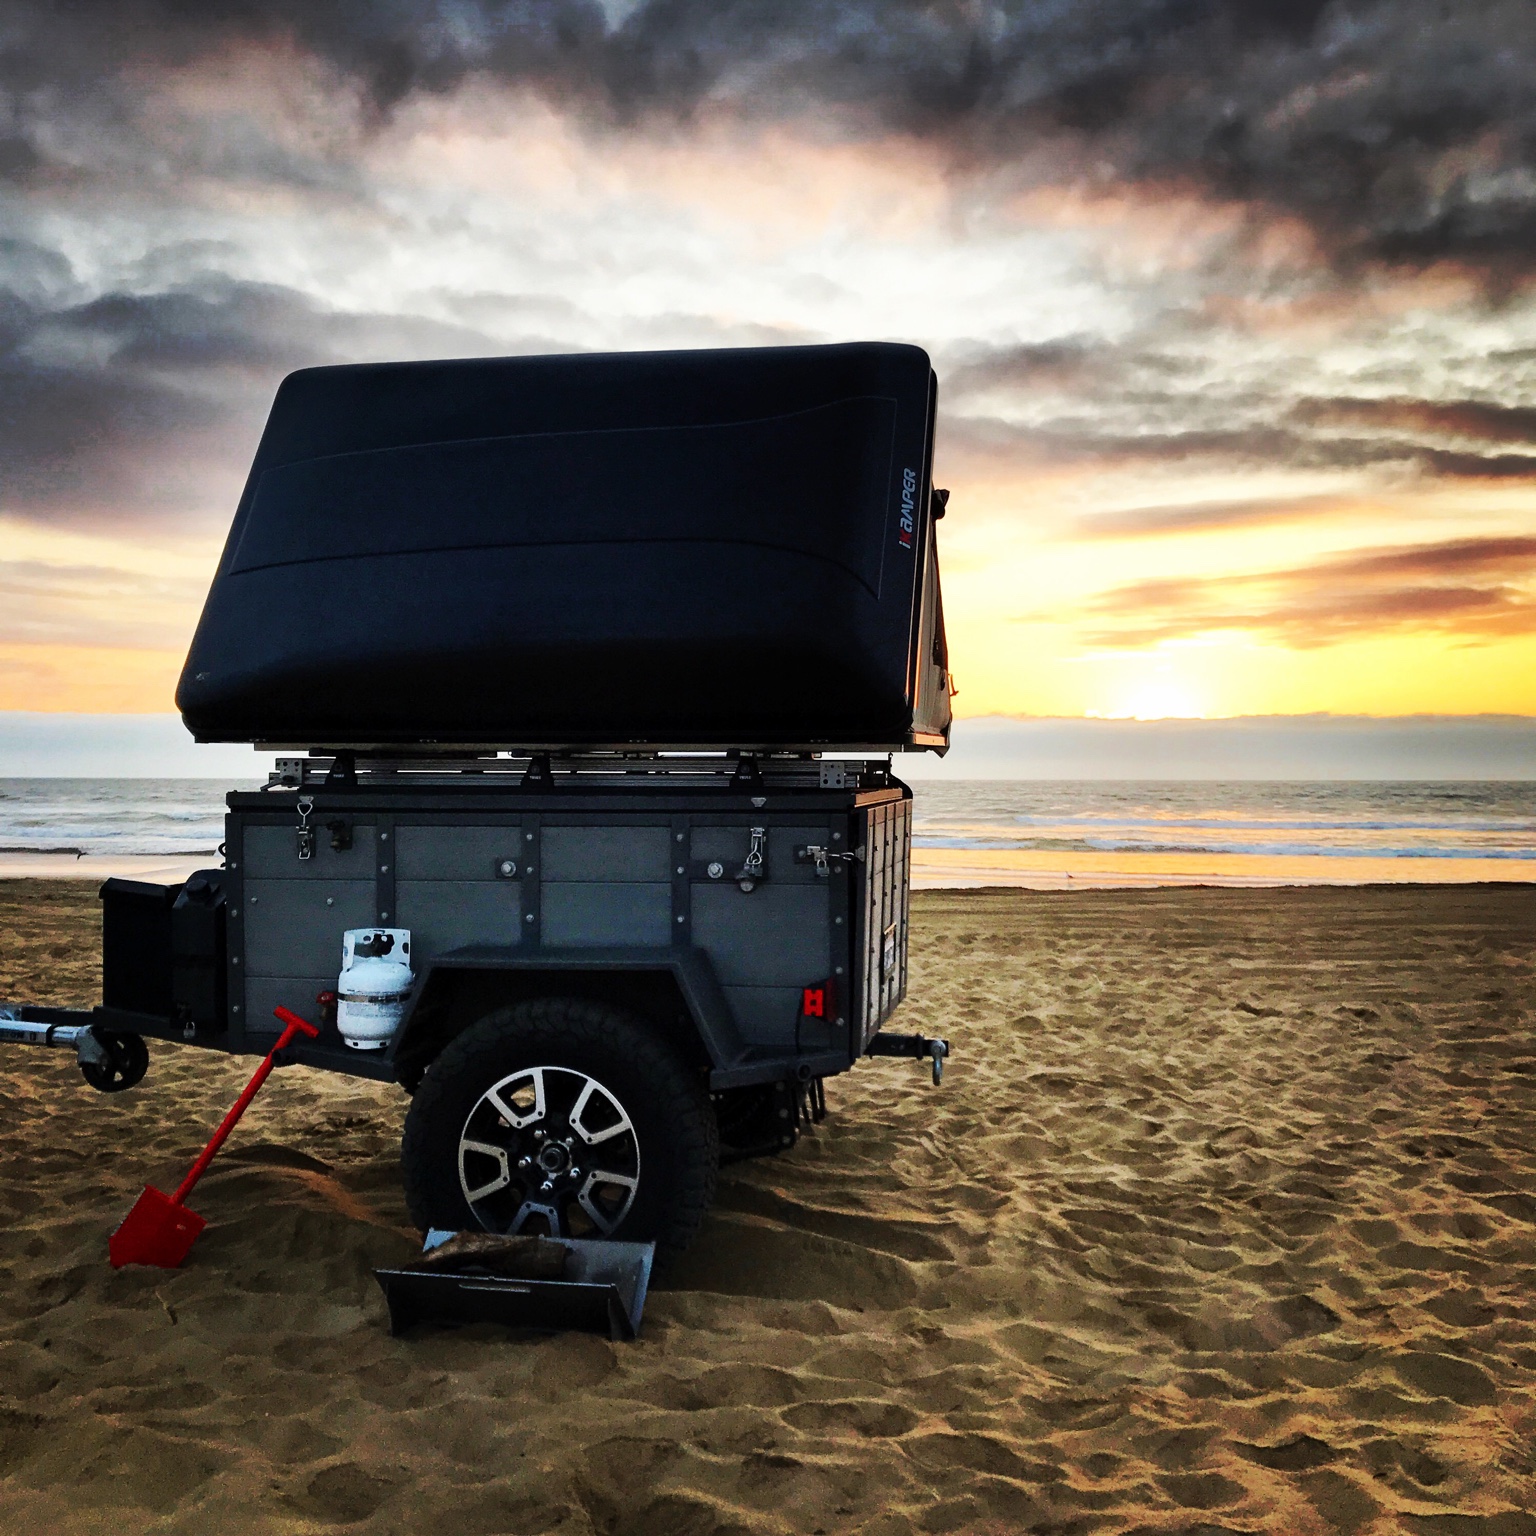
Here's how it looks today and below is how we got there!


Enjoy.

Here goes...

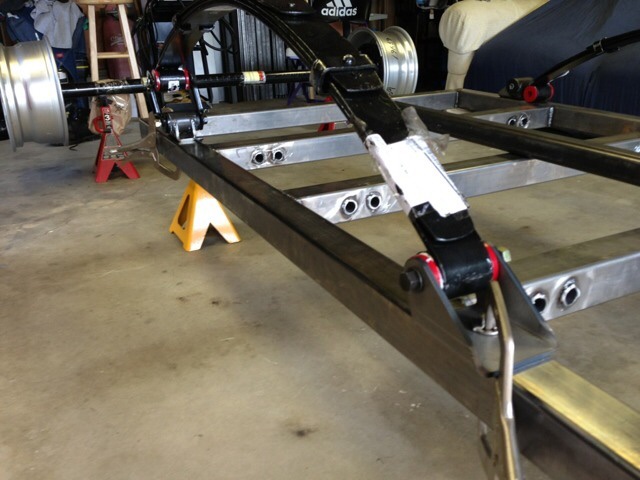
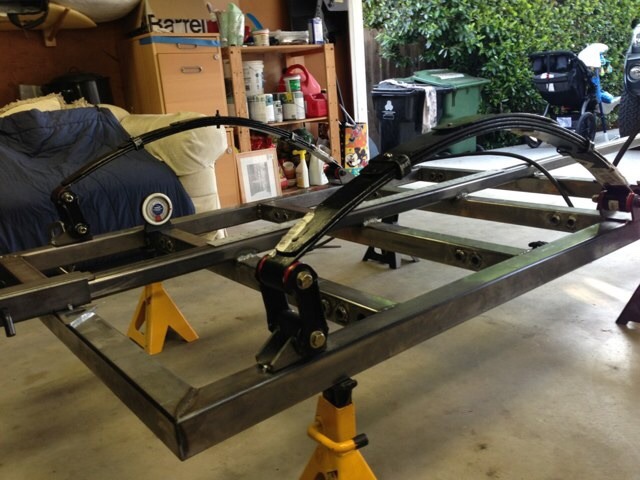
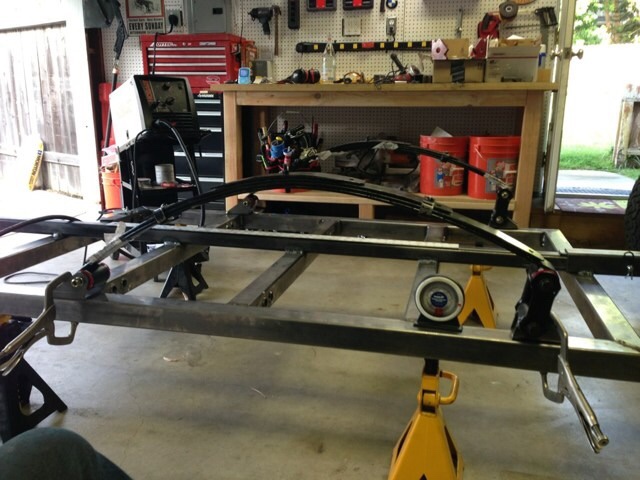
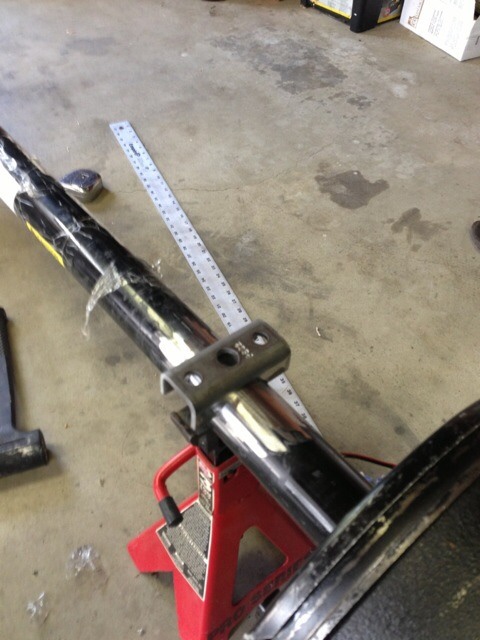
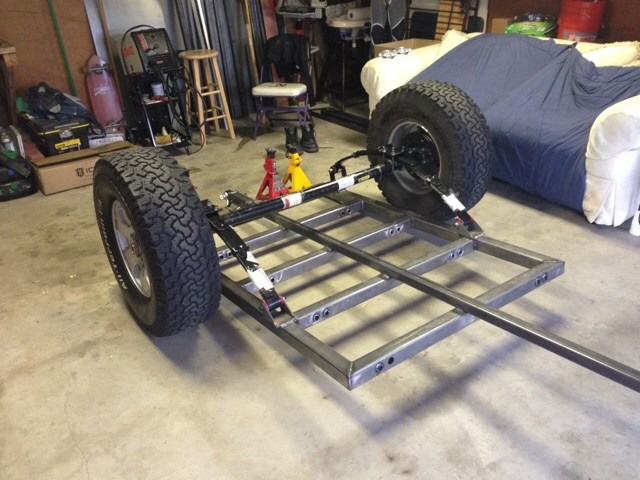
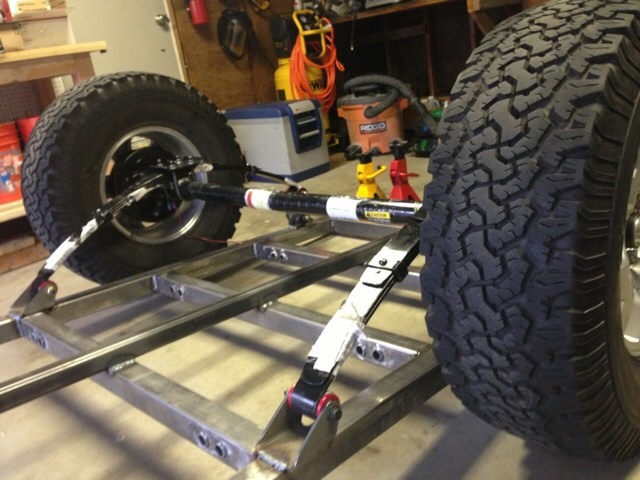
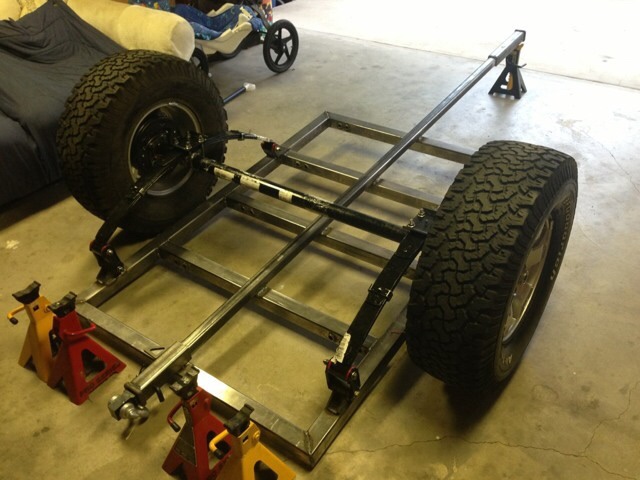
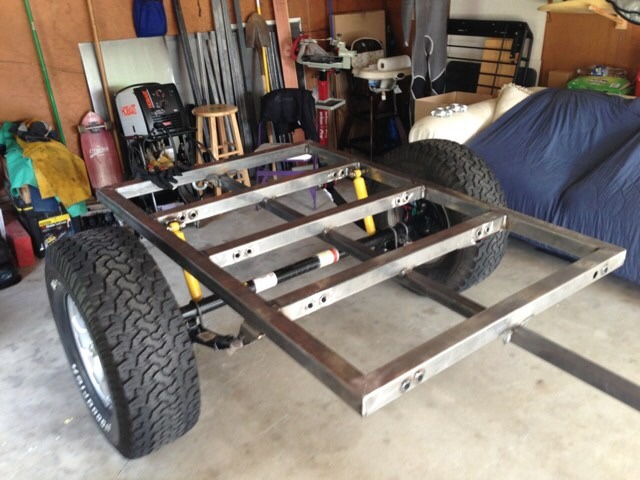
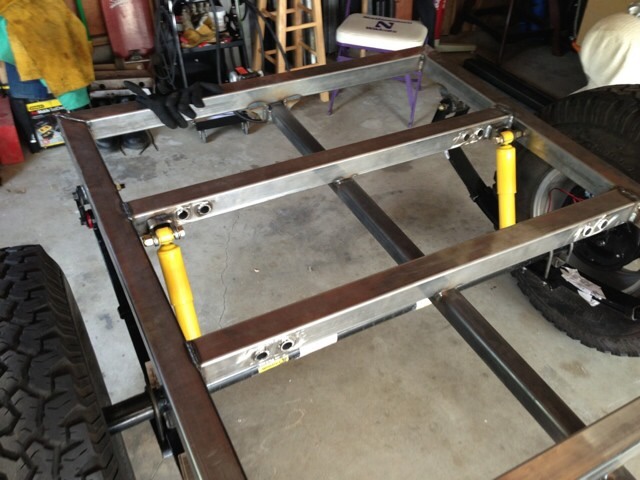
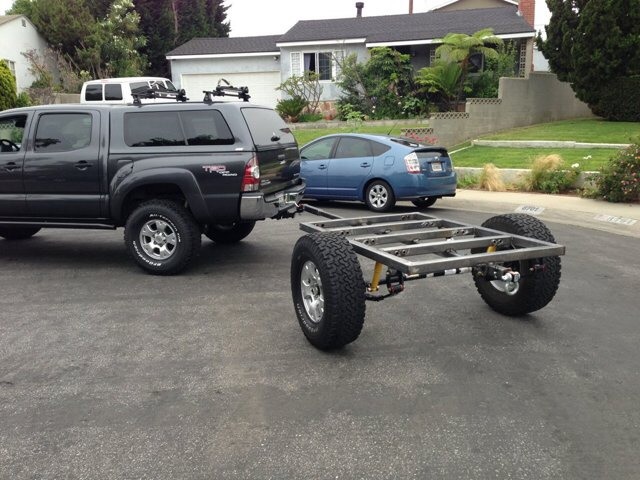
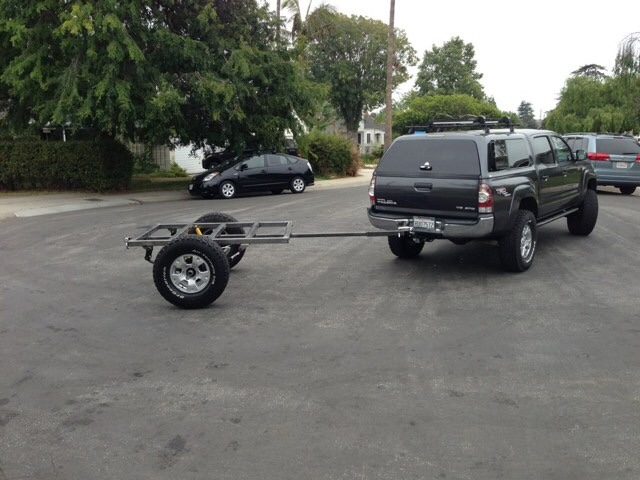
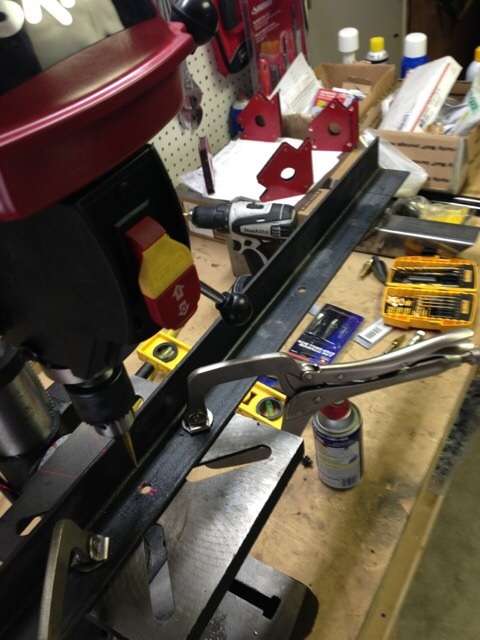
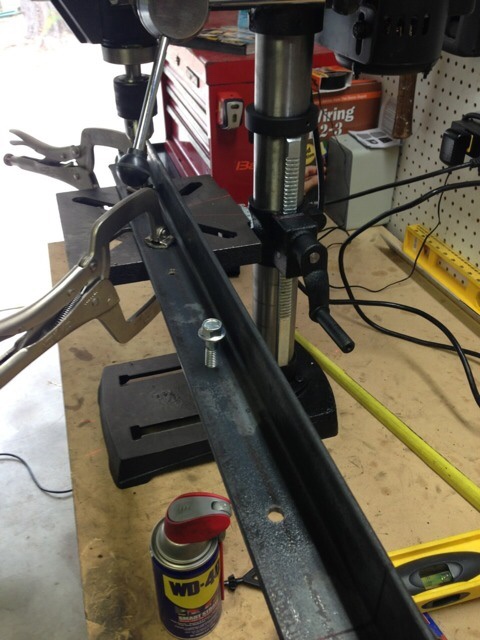
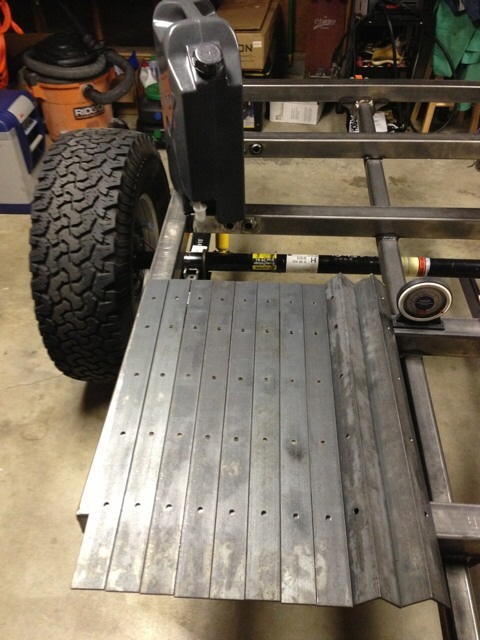
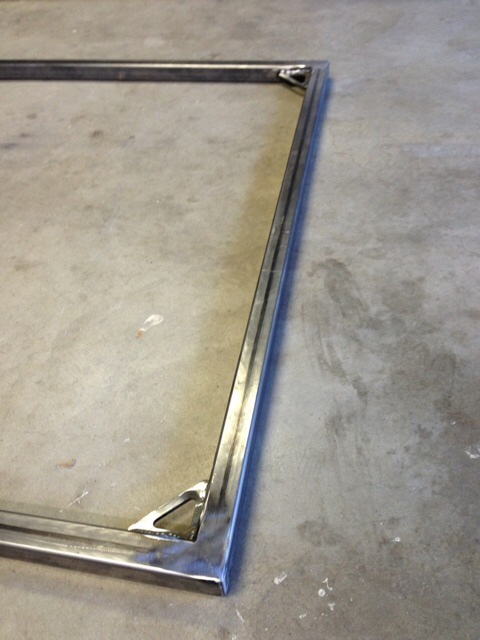
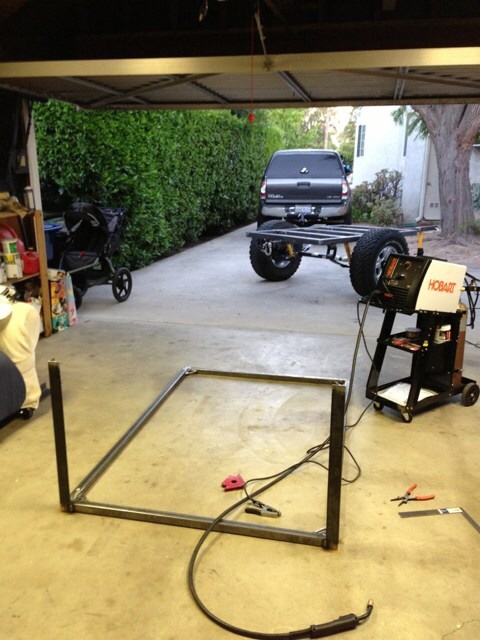
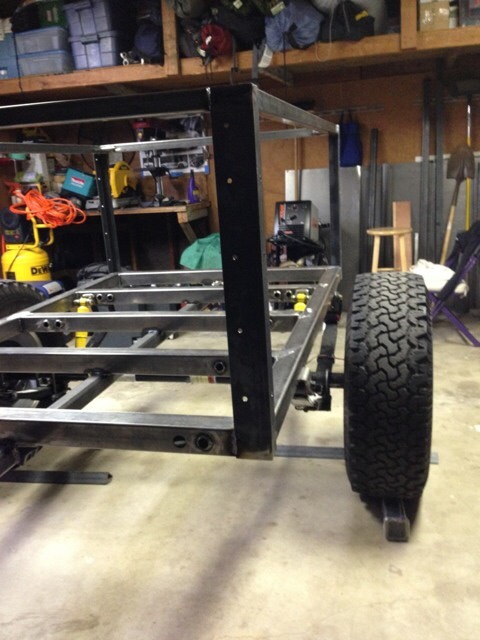
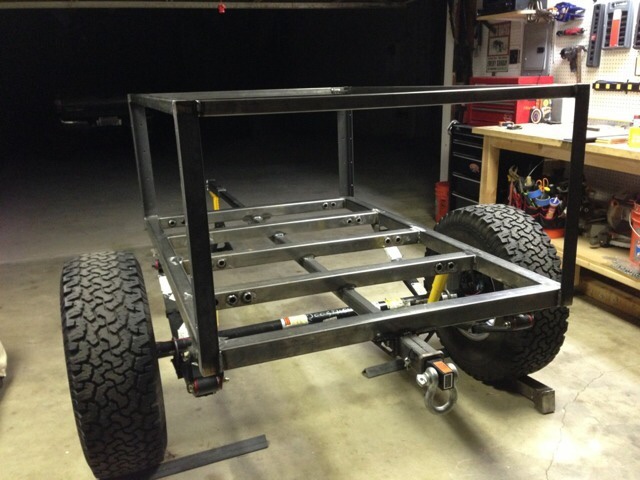
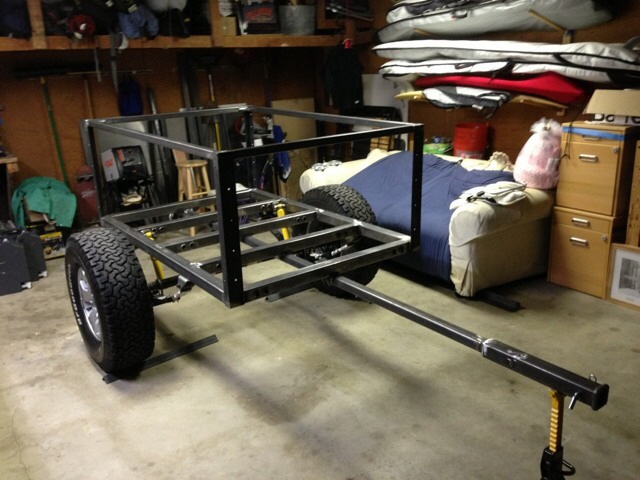
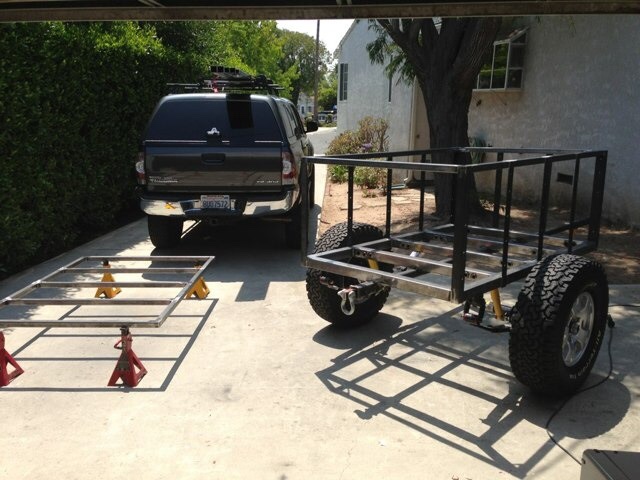
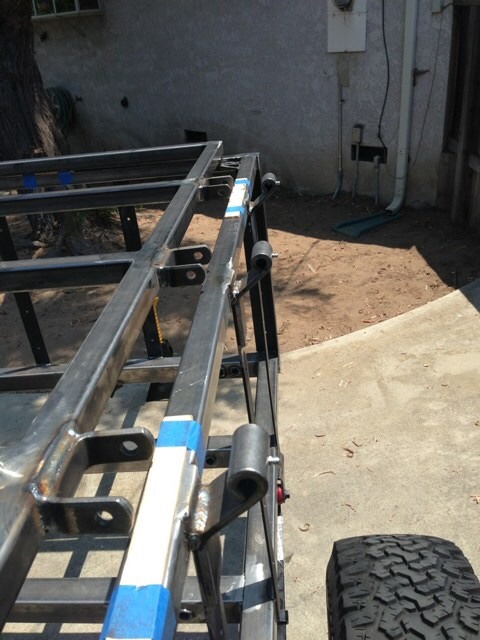
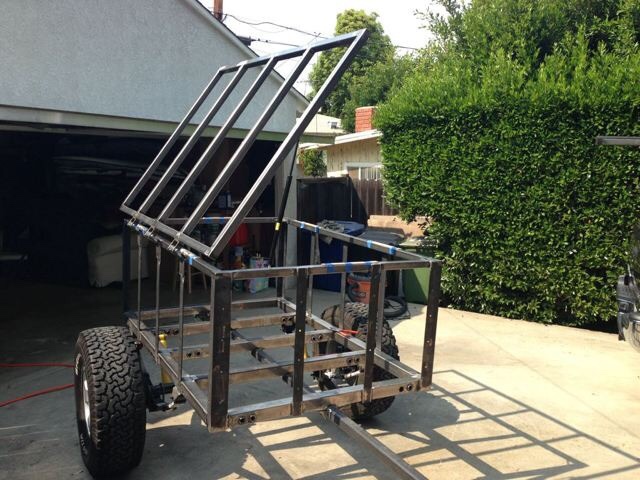
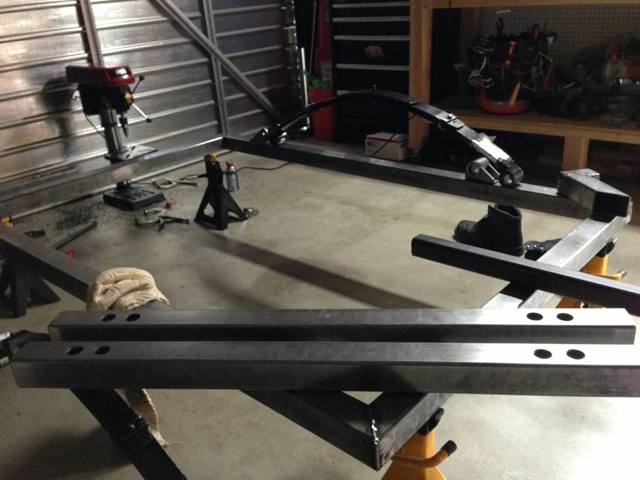
Decided after much debate and a growing family that I wanted to build my own trailer that will support an RTT. I've been enamored with RTTs for the longest time but just could never justify it as I felt that having one on the Tacoma alone wasn't worth it. Plus no place to put my surfboards : ) Also figured this would be a great way to hone my metal fab skills. Here's what I've done so far.

 
Last edited:

Advocate II

760
San Diego, CA, USA
Member #

3114

Got tires to match the Tacoma : ) Also drilled wider holes for the spring plates and fitted them to the suspension to make sure everything fits and works together. Started planning out where I'm going to put the tow bar and how far from the box I'm gonna have it. Measured and cut the receiver for the back of the trailer. It's actually starting to look like a trailer!


Advocate II

760
San Diego, CA, USA
Member #

3114

Got a lot done...Picked up a set of 285 BFG ATs tires. Fit and welded the tow bar with a receiver hitch on both ends. One to hook up to the Tacoma (probably will use a max coupler) and one in the rear of the trailer. The rear one is really in place because I think it looks cool and perhaps bc it may have some utility in the future. Maybe in case I need a tow point or if I want to carry a bike rack for the kids). Measured and welded the front spring hangers and the rear shackle hangers. Measured from the front receiver and made sure each of the front spring hangers was equidistant. Double checked by measuring from the front of the box as well. Once I had the front tacked on I mounted the rear shackle hanger so the shackles hang inward about 10 degrees. Tacked it all in place, took the leafs off and then burned them in for good. Next, I welded in the spring perches onto the axle for a spring-under application. That took a lot of measuring but I think I got it all squared up. When it was all done I mounted the axle to the leaf springs and the wheels to the axles. I've got a rolling chassis but it's upside down and too heavy to safely flip over! Oh well - I need to do some touch-up welds on the bottom anyway, so I'll probably unbolt the leaf and axle assembly from the frame, flip it over and reassemble it right-side up. Here are some pics.


khorsa

Rank III

Advocate II

626
michigan
That is nice. I'd love to build a trailer. Of course, I don't need a trailer and wouldn't pull one if I had one. But I want to build one lol.
 

ob4838

Rank V
Launch Member

Advocate III

1,615
Utah
Member #

4838

Very cool thanks for sharing your build. After the finsh is there anything that you would change or do over?

Sent from my SM-G900T using OB Talk mobile app
 

Advocate II

760
San Diego, CA, USA
Member #

3114

Very cool thanks for sharing your build. After the finsh is there anything that you would change or do over?

Sent from my SM-G900T using OB Talk mobile app
If I were to give one piece of advice, it would be to be hypersensitive of the weight and
Very cool thanks for sharing your build. After the finsh is there anything that you would change or do over?

Sent from my SM-G900T using OB Talk mobile app
Thanks - If I were to change one item, it would be the location of the axle. I was so concerned with how well it'd tow (tow's great) I didn't take into consideration the weight I ended putting up front. Ideally, with the axle forward just a bit ( centered on the 60-inch box) it would have been perfect. No big deal, but certainly I'd change if I were to fab another one. That being said, I'm surprised at how little I find my self saying, "man I wish that I...". Guess that's a good thing!
 
  • Like
Reactions: ob4838

Advocate II

760
San Diego, CA, USA
Member #

3114

Got a bit more done...

Put together the top of the box. Used a sanding flap to get It all smooth.


Then put the angle iron corners together. It was a challenge to get these things all lined up. The inside corners of the angle iron aren't 90-degree corners - they're rounded so when I butted them up against the trailer frame they weren't exactly square. I ended up using a ratchet strap to keep everything squared up.


Then had to find a way to put it on the trailer... Struggled at first but eventually got it. I clamped some flat bars on the corners so there was something the box could rest on while I welded it up.


Got it welded onto the frame - I think it looks good : )


Threw the ARB fridge on there to see how it looks...

 
Last edited:

Advocate II

760
San Diego, CA, USA
Member #

3114

I had a very productive few days and felt like I got a lot done...

Welded up the side supports...


Built the lid... 14 gauge metal on top. Opens up fine now but may need to go with the 175-pound shocks. We'll see when the tent arrives.


Welded on the hinges... These things are great, very strong, work smoothly and are easy to weld. Good buy from Northern Tools.


Beefed up the lid shock mounts... The lid weighs about 150 pounds. The way these shock mounts came, they would've never lasted.


Open sesame!


I didn't figure out until it was too late that I have it open on the driver's side. Oh well... I'm not overly exercised about it.
 
  • Like
Reactions: khorsa and Jimmy P