Poverty Spec Overlanding

  • HTML tutorial

will_beck2143

Rank III
Launch Member

Advocate II

684
Huntington Beach
Member #

2143

Hi guys,

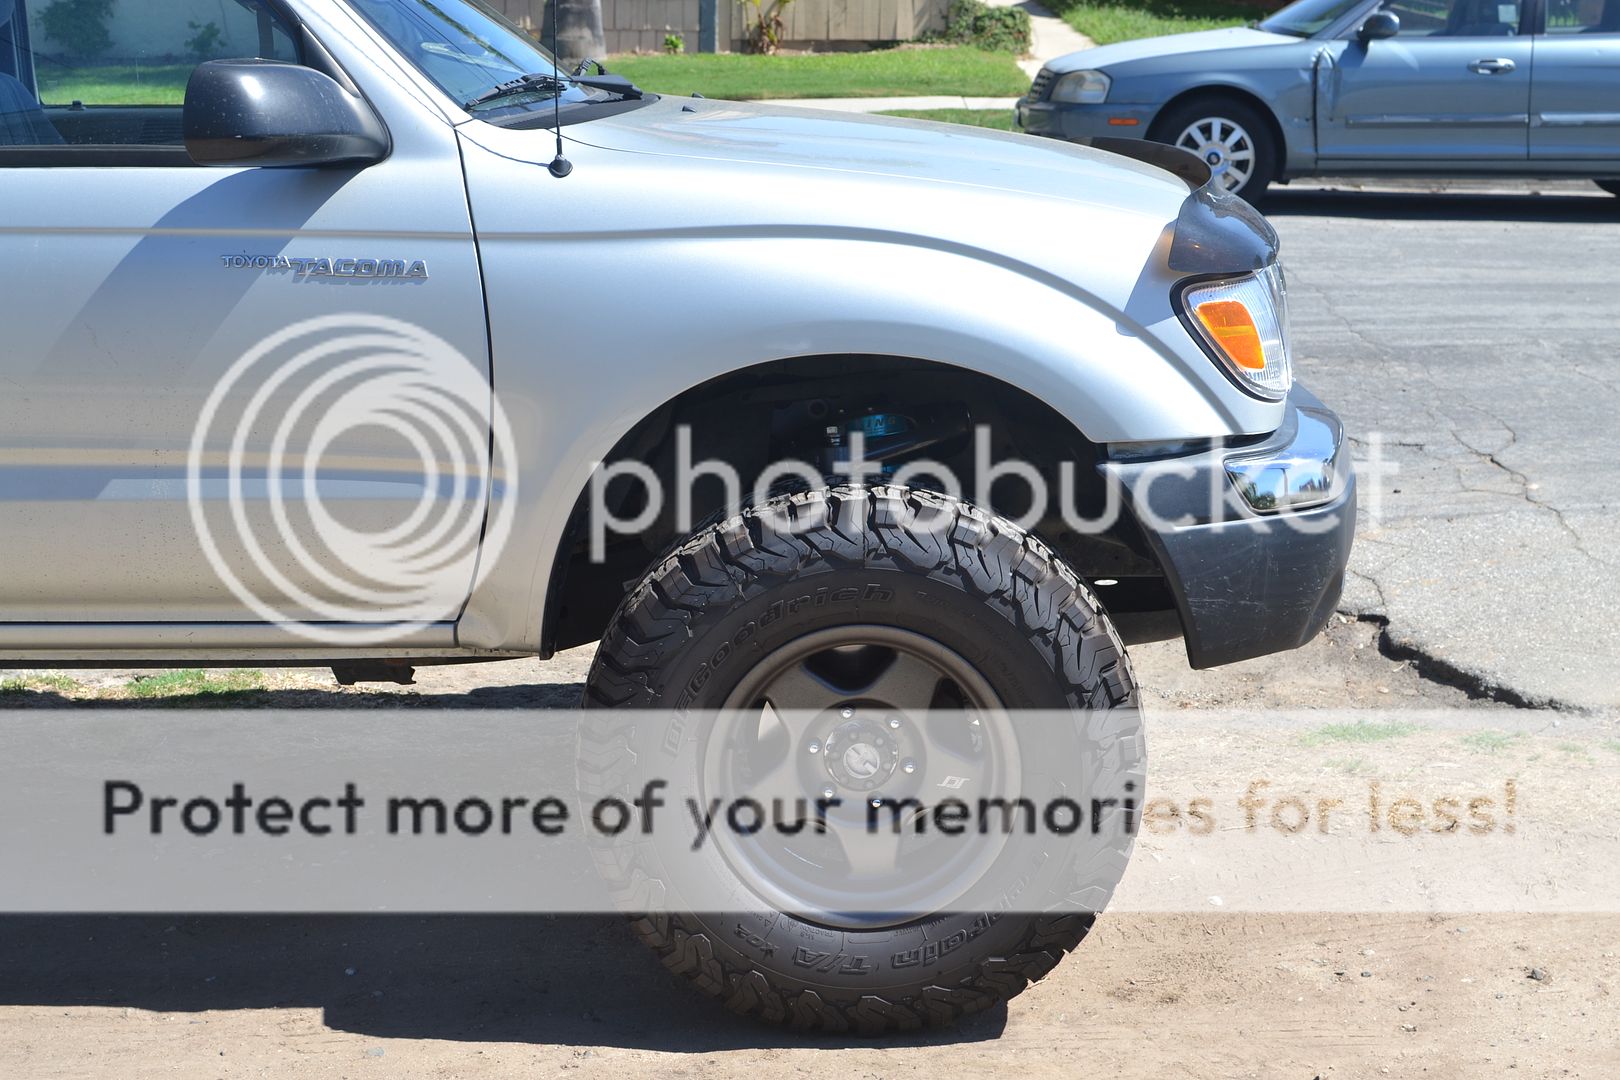
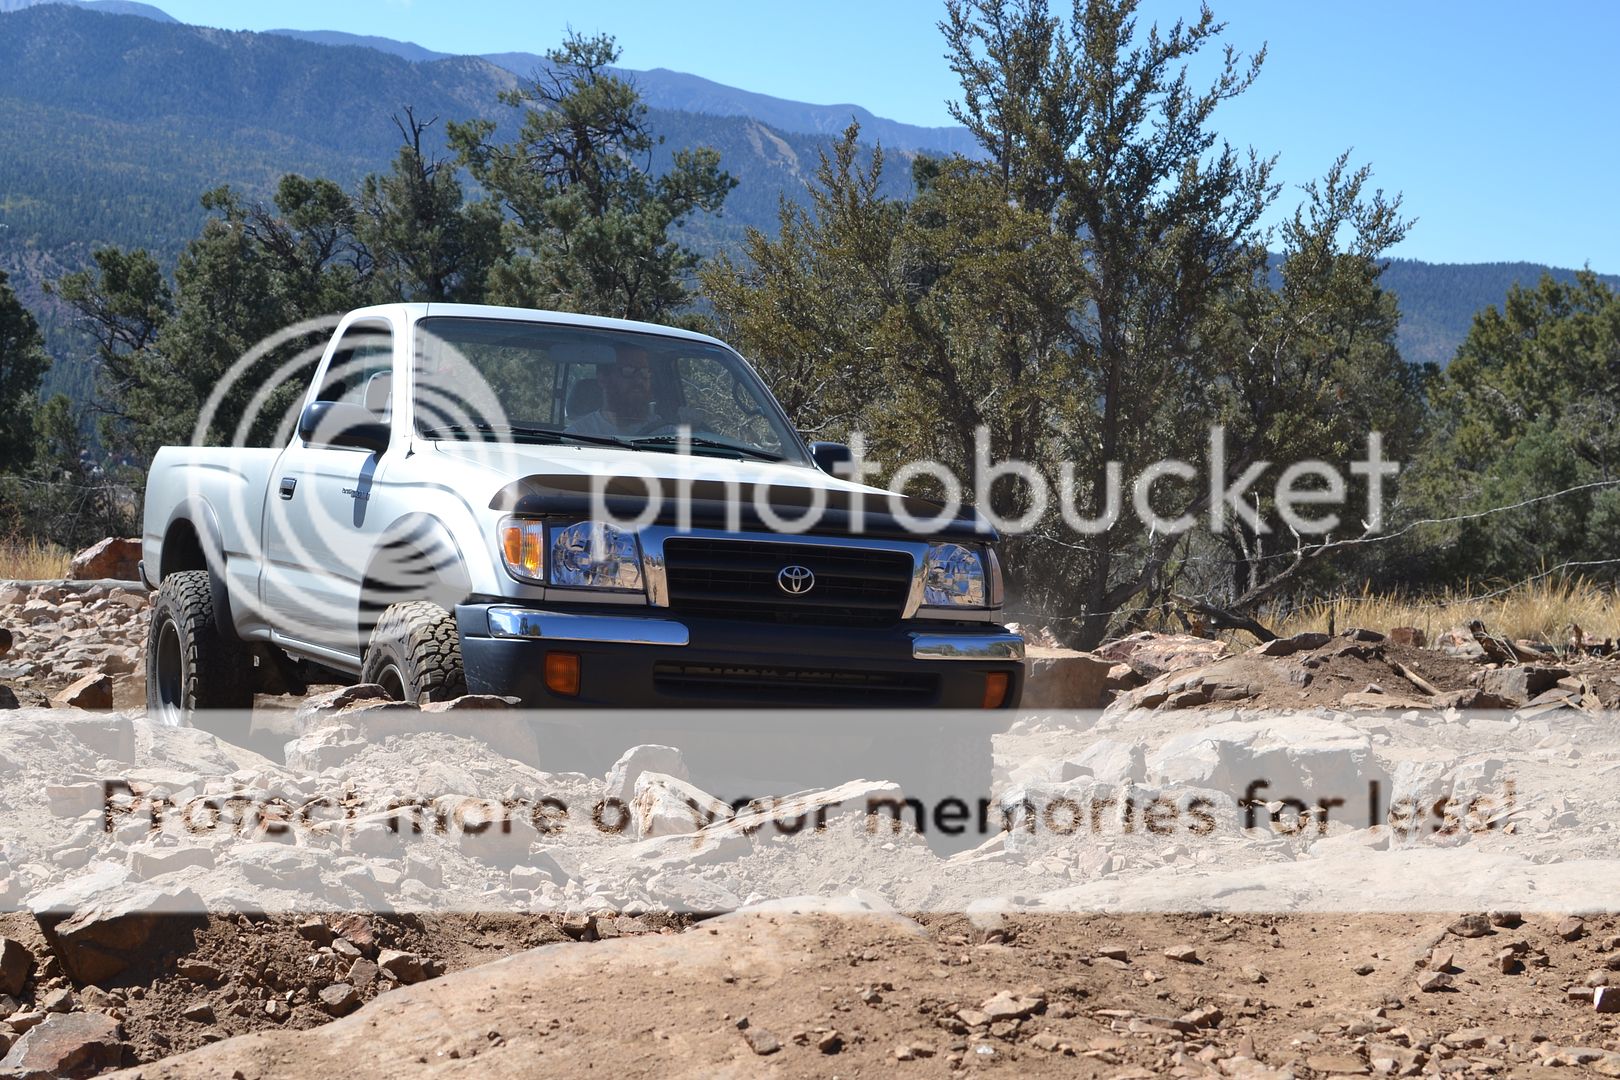
Purchased a 2000 Reg Cab, 4x4, 5spd about 2 years ago now. Literally manual everything, down to the hubs. This will be a slow boring build thread, with an abundance of pictures.

This is being cross posted from other pages, so excuse any weird gaps.

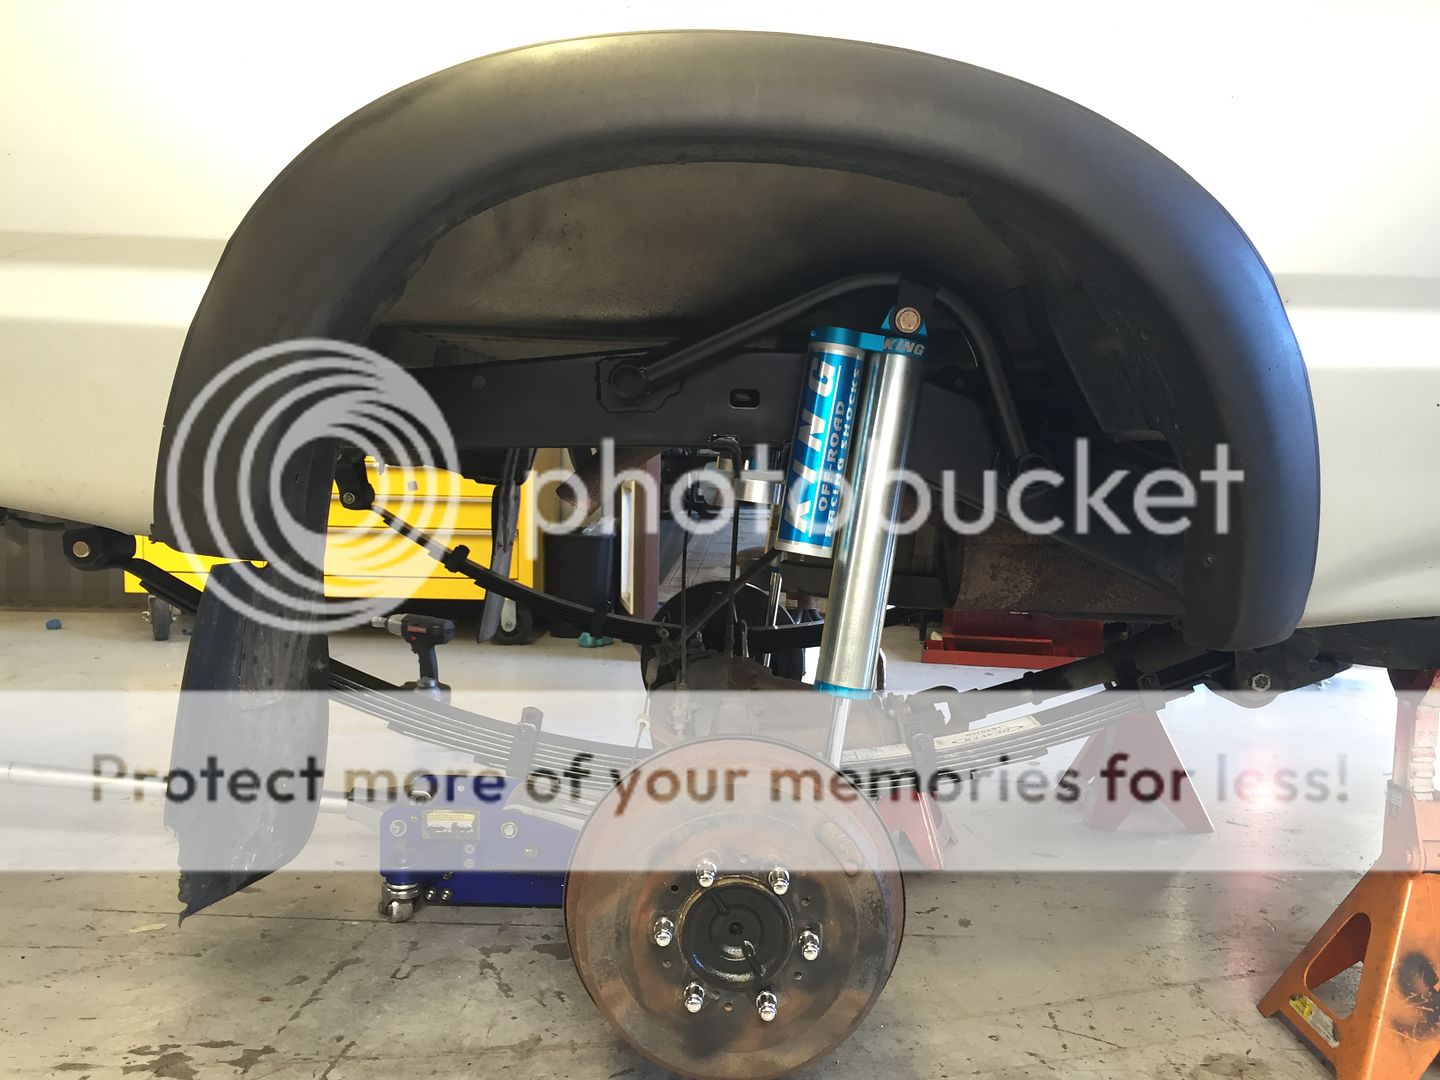
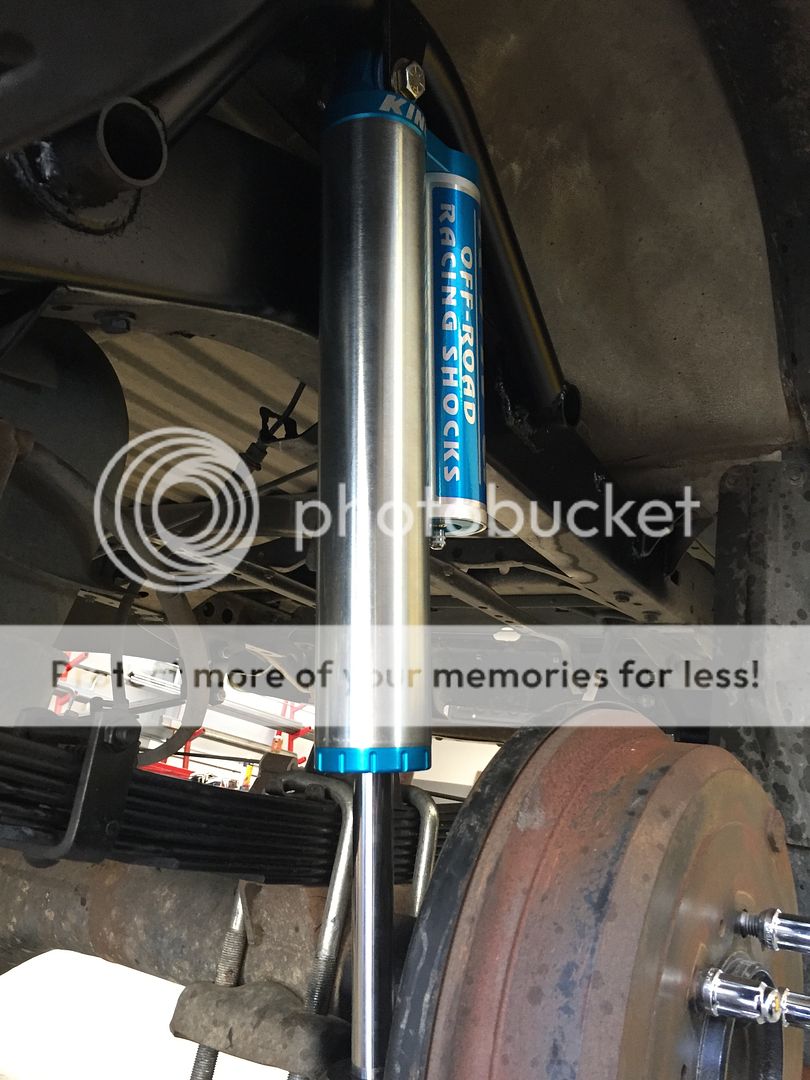
Here are some pictures....


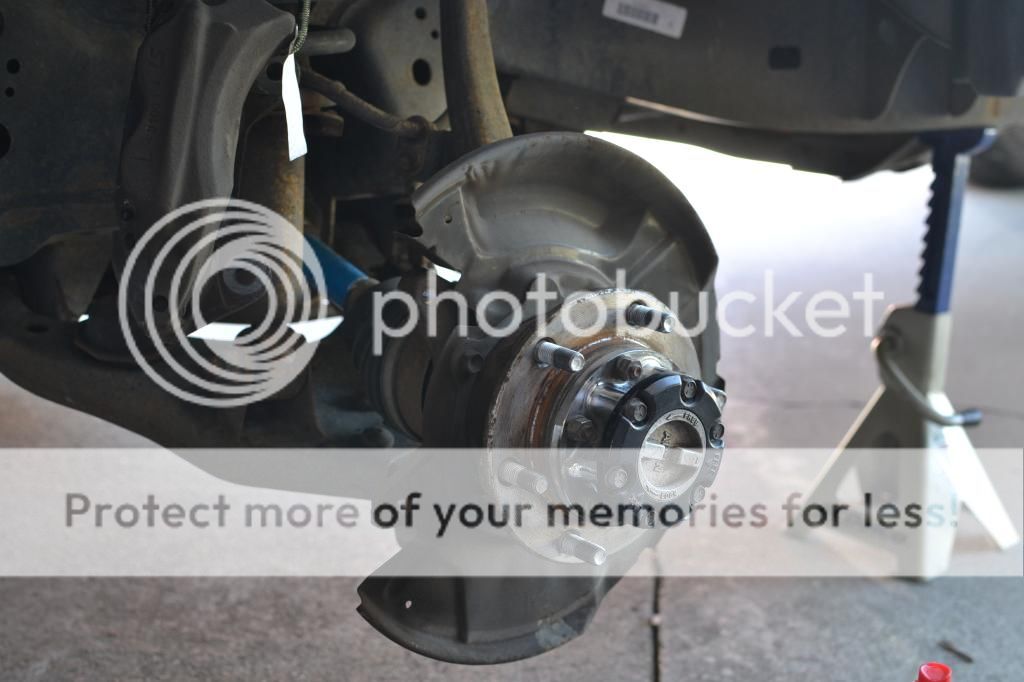
This is gonna need a good cleaning...


Like i said, manual everything :)
 

will_beck2143

Rank III
Launch Member

Advocate II

684
Huntington Beach
Member #

2143

New plugs and wires, courtesy of the local Toyota dealer.


New front brakes. When i order coilovers and new UCA's, i'll take the time to completely de-grease, clean and re-paint anything within a reasonable distance.


  • Like
Reactions: Cody Bundura

will_beck2143

Rank III
Launch Member

Advocate II

684
Huntington Beach
Member #

2143

Picked up a set of Kings for the front. Going to drop them off at King for a rebuild before i install. Still searching for a set of UCA's. Found a great deal on a set of used Icon's, but that may not happen :( Otherwise it is between TC and Camburg, leaning towards Camburg.


will_beck2143

Rank III
Launch Member

Advocate II

684
Huntington Beach
Member #

2143

Coilovers and Camburg upper arms installed. Still on the hunt for a set of rear leafs. Still need to get around to cleaning everything up. I just got so frustrated with that dang upper ball joint, it didn't leave much time for anything other than swearing haha


  • Like
Reactions: Cody Bundura

will_beck2143

Rank III
Launch Member

Advocate II

684
Huntington Beach
Member #

2143

This is seriously the best $35 i've ever spent. Can finally adjust the coilovers on the truck. Ride height adjustments have never been this easy. 10" of mind blowing front suspension travel. TT/Class 1 here i come!


  • Like
Reactions: Cody Bundura

will_beck2143

Rank III
Launch Member

Advocate II

684
Huntington Beach
Member #

2143

Spent most of the weekend painting and installing a set of 01-04 fender flares i managed to snag from someone who's truck was totaled with front end damage. Mine just had the DLX fender trim, and with the new wheels and tires, i wasn't a big fan of the tire/fender relationship. Should help cut down on water being thrown in the rain, and mud, rocks etc from being whipped at my elbows while driving offroad.


Also, i ordered new flare pads online. Took some searching, and digging around, but i was able to find part # 75696-35020. I thought this was for the rear fenders, and would be longer than needed for all of them, so i ordered four. More on this mishap later.... Also, since i don't have the pre-punched holes in my fenders, but still wanted a little more piece of mind, i grabbed some "EXTREMELY STRONG" Scotch double sided tape. We will see how that claim holds up over time.


will_beck2143

Rank III
Launch Member

Advocate II

684
Huntington Beach
Member #

2143

Before i could install the new flares, i had to take off my dinky OE DLX chrome baby flares. More like cholo fender trim than anything else, but a 10mm wrench and some time, and they were off. Not surprisingly, the fender behind it was filthy with 15 years of dirt and dust. These wonderful flares are up for sale if anyone wants them. I'll hold onto them for a while, but they'll eventually go in the trash.

Took a little simple green, water, and quick detailer to clean up the paint. The old trim doesn't have any pads, so there's a wonderful scar in the clear coat on all four corners now. Not a big deal, its not through the paint so it won't rust, and will be more than hidden by the new flares.


  • Like
Reactions: Cody Bundura

will_beck2143

Rank III
Launch Member

Advocate II

684
Huntington Beach
Member #

2143

Now to put on the new to me flares...

The "Pad, Body Outside" as Toyota calls it, comes with a thin strip of self adhesive foam on the back side. I decided to put the pad on before i installed the flares, but i have a feeling at the factory they put the flare on first, slide the pad in, then remove the adhesive backing. Doing it my way was tedious, and it wanted to keep rolling under even though i peeled and stuck as i went. I can't imagine anyone in a factory getting paid to take as long to install them as i did, so there has to be a better way.

I did the front two flares first, and there was about 4" of extra pad. Trimmed it off, no big deal. However, the front flares are substantially smaller than the rears. Doubtfully less than the 4" of leftover i had. This is where i realized that there must be a different part # for the rear. After installing the pad on the rear flares, i had about 3" of flare left without pad. Luckily i saved the 4" cutoffs from the front, and was able to bridge the gap. I would recommend finding the rear part # and ordering two front, two rear, or just four rear ones. Doesn't really make a difference in the long run i imagine, but i kind of wish the pad were one continuous piece.

At first i tried installing the flares without the Scotch double sided tape, but the holes don't all line up perfectly (within an 8th of an inch, but not perfect) so the flares didn't really want to sit exactly right in the front. Pulled them back off, slapped on the sticky tape, and now they're fine.


hopdup

Rank IV
Launch Member

Advocate III

1,097
Aliquippa
Member #

3834

Absolutely beautiful! I love when these trucks roll into the shop. It's like going back in time to when 4 wheelers had that low dollar nostalgia.


Sent from my iPhone using OB Talk
 
  • Like
Reactions: will_beck2143

will_beck2143

Rank III
Launch Member

Advocate II

684
Huntington Beach
Member #

2143

Did Gold Mountain on stock rear suspension. Oh, and this was my first time offload in a manual transmission vehicle. I've had them in cars for years. New experience for sure lol.


  • Like
Reactions: dj_mccomas

will_beck2143

Rank III
Launch Member

Advocate II

684
Huntington Beach
Member #

2143

Found a Lexus stuck down one of the trails... How they even got that far i don't know, but they were only 200 yds from pavement when they got stuck. Had to help them out...