Enthusiast III
Back when I first met my wife, an I asked her if she liked camping... She told me only if she could have a hot shower. She was puzzled when I said if that is your only requirement, that is easy to solve.
So over the years we tried a few variations, The Zodi, was a breakthrough. and when we saw it in use, we quickly bought one. Of course it has it flaws. but it still lives with the camping gear, and used a few times in the house when the power went out for extend time.
later on, a group of friends picked up the Ecotemp L5. now this was a step better, electric start, so you don't burn the heat exchanger out like the Zodi will with out water flow. and with a on/off shower head, and a 12v demand pump. about as close to turn key as you can get once it is setup
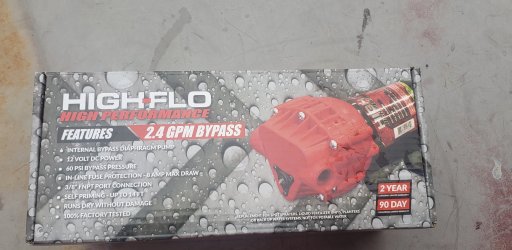
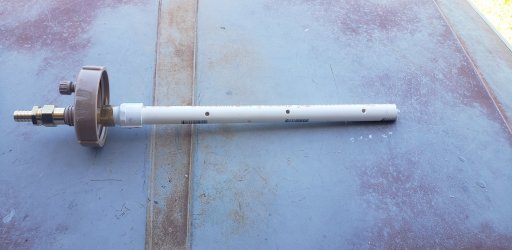
So the on demand water system 2.0 was born. A trip to tractor supply resulted in a 12v demand pump and some misc parts coming home with me.
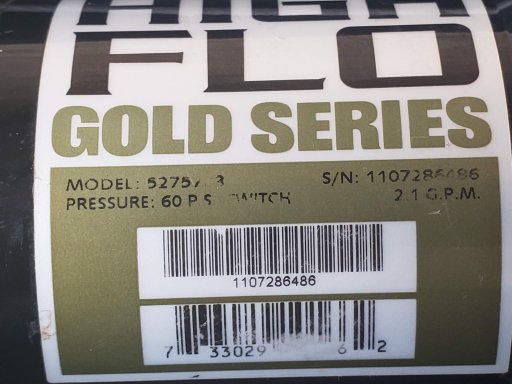
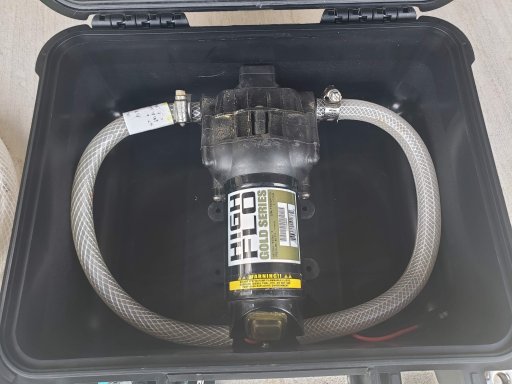
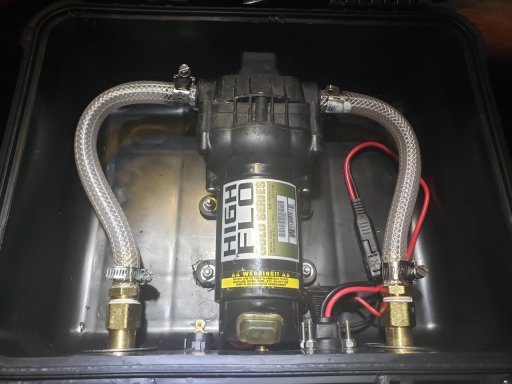
The data plate is starting to wear a bit, but you can still read it 60psi @2.1GPM FIMCO model 5275087
Now this kinda rode around as a bare pump for years hooked up as needed, kinda a pain actually. I needed a a better solution. a member on another site mention using the new Apache case from Harbor freight for his portable system that he builds, Since I already had the pump... I "borrowed" his idea. I went and picked up the case and checked it with my pump.

The new Pelican knockoff sold by Harbor Freight did indeed fit.
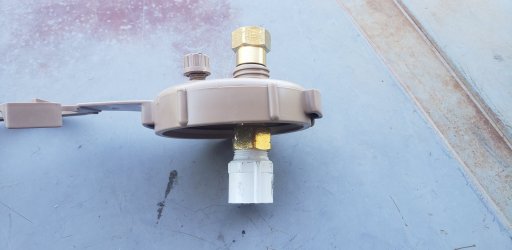
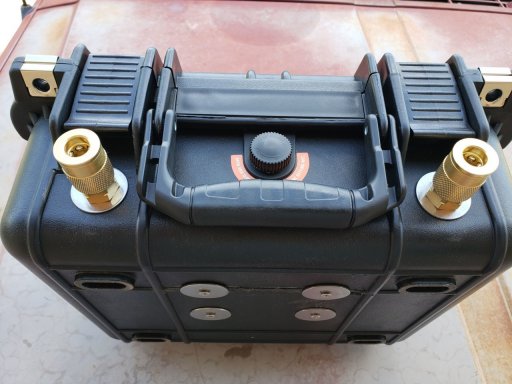
I did a dual washer under the home brew Bulk head fittings, a large fender washer inside, and standard washer outside of the case. and again "Borrowed" the idea of the QD fittings
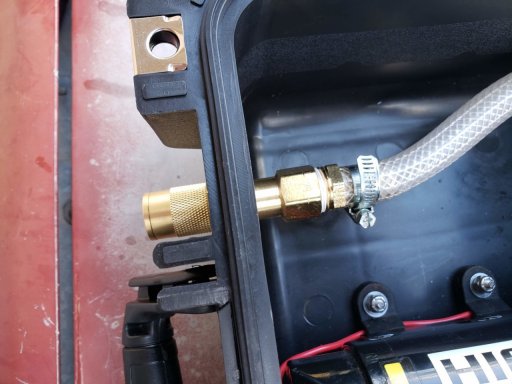
Stainless hardware was used as well, with Nylocks since getting everything really tight is hard with out compressing the rubber isolator mount on the pump. something you want to avoid so you do not loose the vibration isolation.

Because of how I placed the pump, I ended up grinding down one of the ribs on the bottom so the fender washers would lay flush.
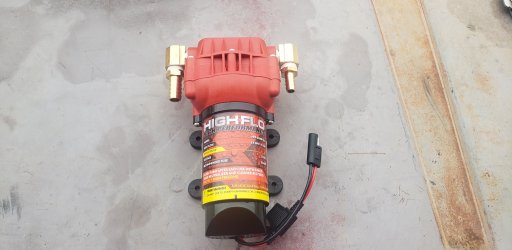
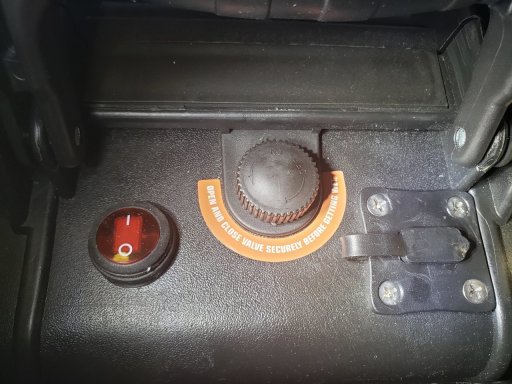
The cap on this SAE power inlet is a tight fit, pliers help to get it pulled free. but it appears to be durable rubber, and the leads are 12 gauge.

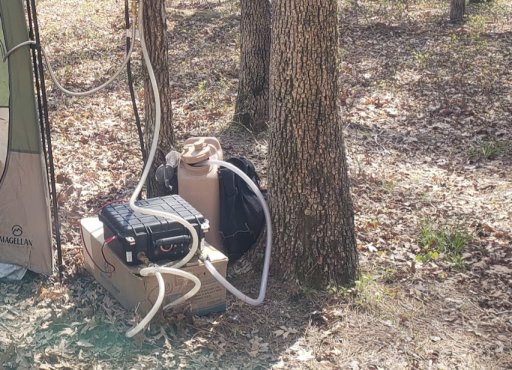
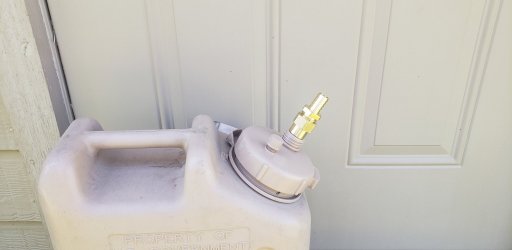
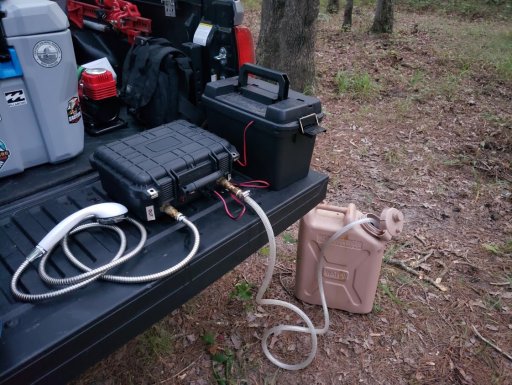
The shower head is from the Ecotemp L5 heater, and I had set it up so I could use the sprayer with the just the pump or the pump and heater. The water in the water in Scepter MWC, was plenty warm ( in the middle of August in Oklahoma) and 5 gallons was just about right for 2 people for a quick shower. Inside the box is a 30ah AGM battery, bit crude still since I did not get around to building a proper portable battery system yet.
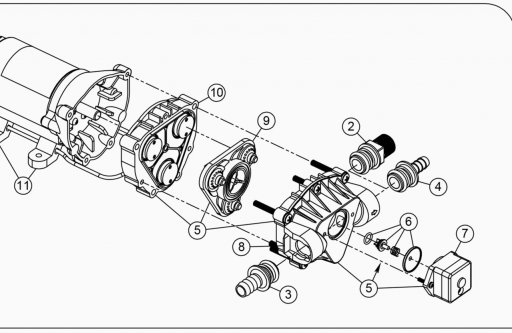
After tearing down and inspecting everything, the rubber parts for tears or nicks, and the plastic for cracks or other defects. I cleaned everything up an reassembled it. When I went to test the pump again, the leak was not as bad, but still there. So once more I tore the pump down, dried all the parts off. I then applied a thin bead of clear silicone to the mating surfaces of part #10 and #5 in the below diagram. along with a thin bead around the edge of the diaphragm.
I let everything dry for a couple of hours, and retested. This time the leak was gone.
How long this fix will last, I have no idea. it was to the point where I was going to have to either buy parts to fix it, or replace the pump. This pump had lived most of its life in my Jeep, and has probably been frozen at least once. So I did not want to risk buying a new diaphragm or check valve only to find the housing had a fine crack that I missed.
So over the years we tried a few variations, The Zodi, was a breakthrough. and when we saw it in use, we quickly bought one. Of course it has it flaws. but it still lives with the camping gear, and used a few times in the house when the power went out for extend time.
later on, a group of friends picked up the Ecotemp L5. now this was a step better, electric start, so you don't burn the heat exchanger out like the Zodi will with out water flow. and with a on/off shower head, and a 12v demand pump. about as close to turn key as you can get once it is setup
So the on demand water system 2.0 was born. A trip to tractor supply resulted in a 12v demand pump and some misc parts coming home with me.
The data plate is starting to wear a bit, but you can still read it 60psi @2.1GPM FIMCO model 5275087
Now this kinda rode around as a bare pump for years hooked up as needed, kinda a pain actually. I needed a a better solution. a member on another site mention using the new Apache case from Harbor freight for his portable system that he builds, Since I already had the pump... I "borrowed" his idea. I went and picked up the case and checked it with my pump.
The new Pelican knockoff sold by Harbor Freight did indeed fit.
I did a dual washer under the home brew Bulk head fittings, a large fender washer inside, and standard washer outside of the case. and again "Borrowed" the idea of the QD fittings
Stainless hardware was used as well, with Nylocks since getting everything really tight is hard with out compressing the rubber isolator mount on the pump. something you want to avoid so you do not loose the vibration isolation.
Because of how I placed the pump, I ended up grinding down one of the ribs on the bottom so the fender washers would lay flush.
The cap on this SAE power inlet is a tight fit, pliers help to get it pulled free. but it appears to be durable rubber, and the leads are 12 gauge.
The shower head is from the Ecotemp L5 heater, and I had set it up so I could use the sprayer with the just the pump or the pump and heater. The water in the water in Scepter MWC, was plenty warm ( in the middle of August in Oklahoma) and 5 gallons was just about right for 2 people for a quick shower. Inside the box is a 30ah AGM battery, bit crude still since I did not get around to building a proper portable battery system yet.
*** Update ***
Last time I used the water pump, I noticed it was leaking. The leak was not terrible, and it was contained in the Apache case, which lead to the discovery the case still holds water. The rubber feet from the pump sealed the small holes up nicely.After tearing down and inspecting everything, the rubber parts for tears or nicks, and the plastic for cracks or other defects. I cleaned everything up an reassembled it. When I went to test the pump again, the leak was not as bad, but still there. So once more I tore the pump down, dried all the parts off. I then applied a thin bead of clear silicone to the mating surfaces of part #10 and #5 in the below diagram. along with a thin bead around the edge of the diaphragm.
I let everything dry for a couple of hours, and retested. This time the leak was gone.
How long this fix will last, I have no idea. it was to the point where I was going to have to either buy parts to fix it, or replace the pump. This pump had lived most of its life in my Jeep, and has probably been frozen at least once. So I did not want to risk buying a new diaphragm or check valve only to find the housing had a fine crack that I missed.
Attachments
-
 160.8 KB Views: 87