Hello Everyone,
This thread is going to highlight my overland trailer build based off the Dinoot Trailer.
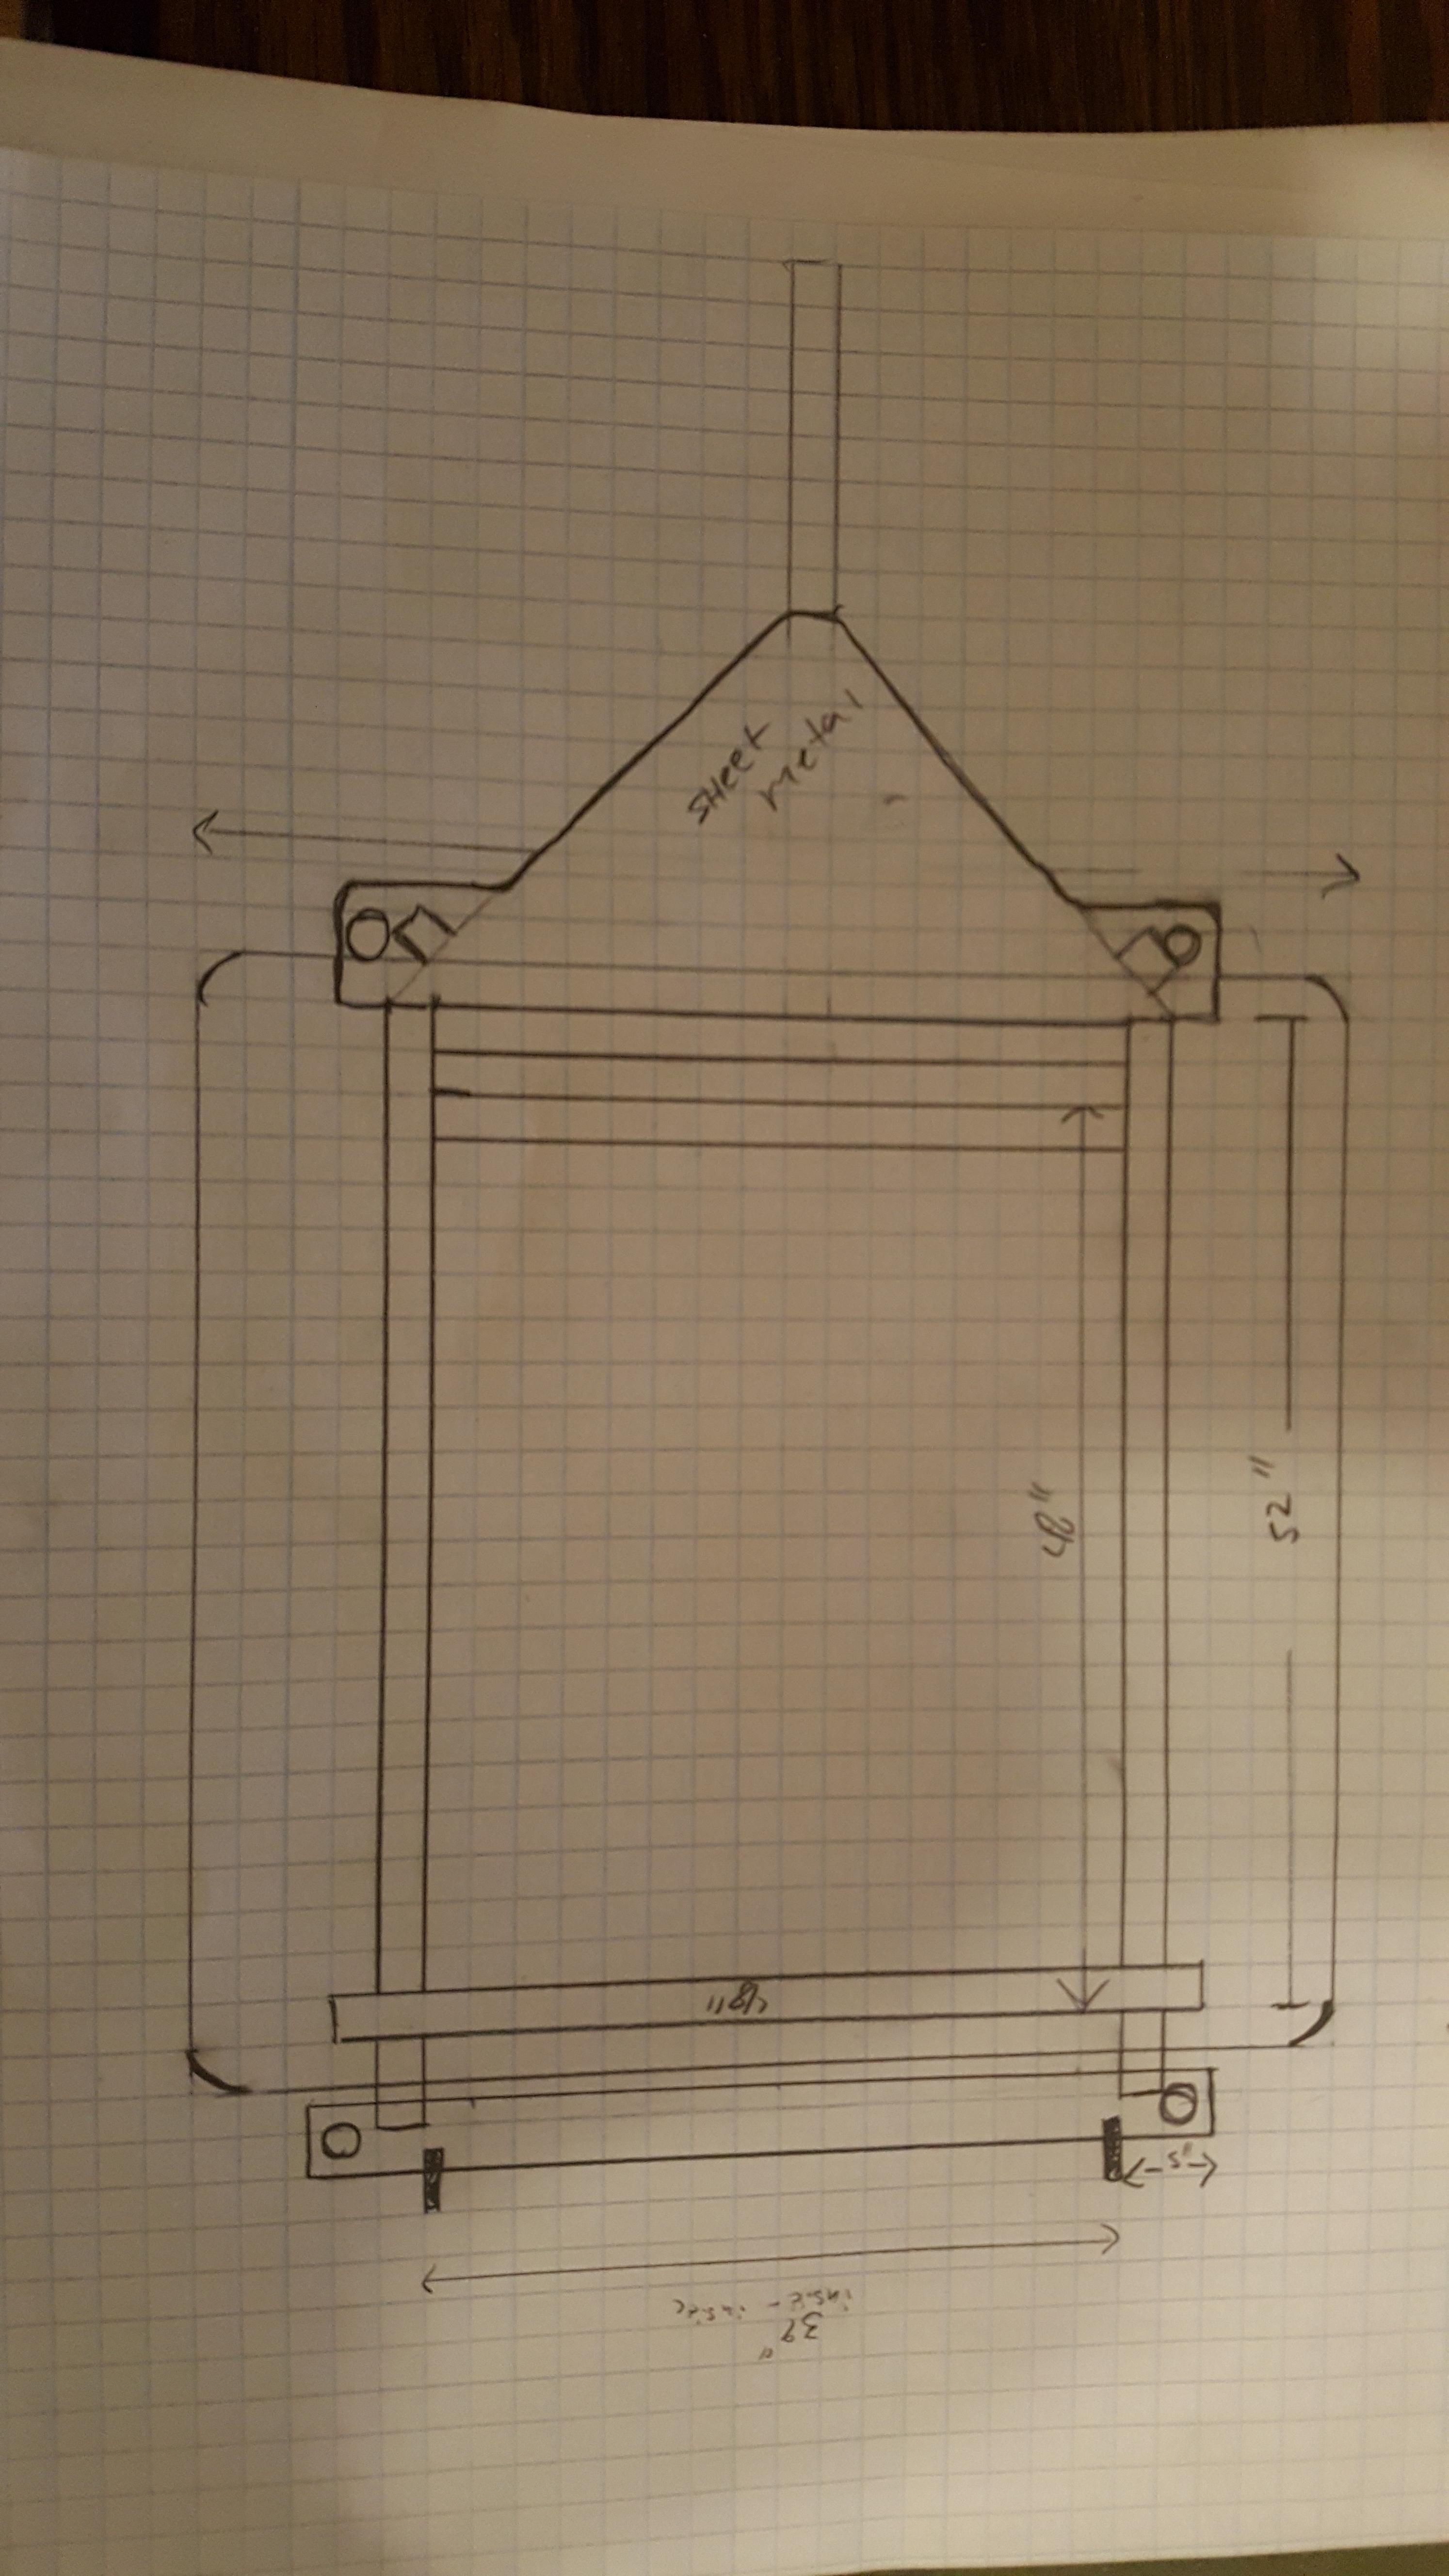
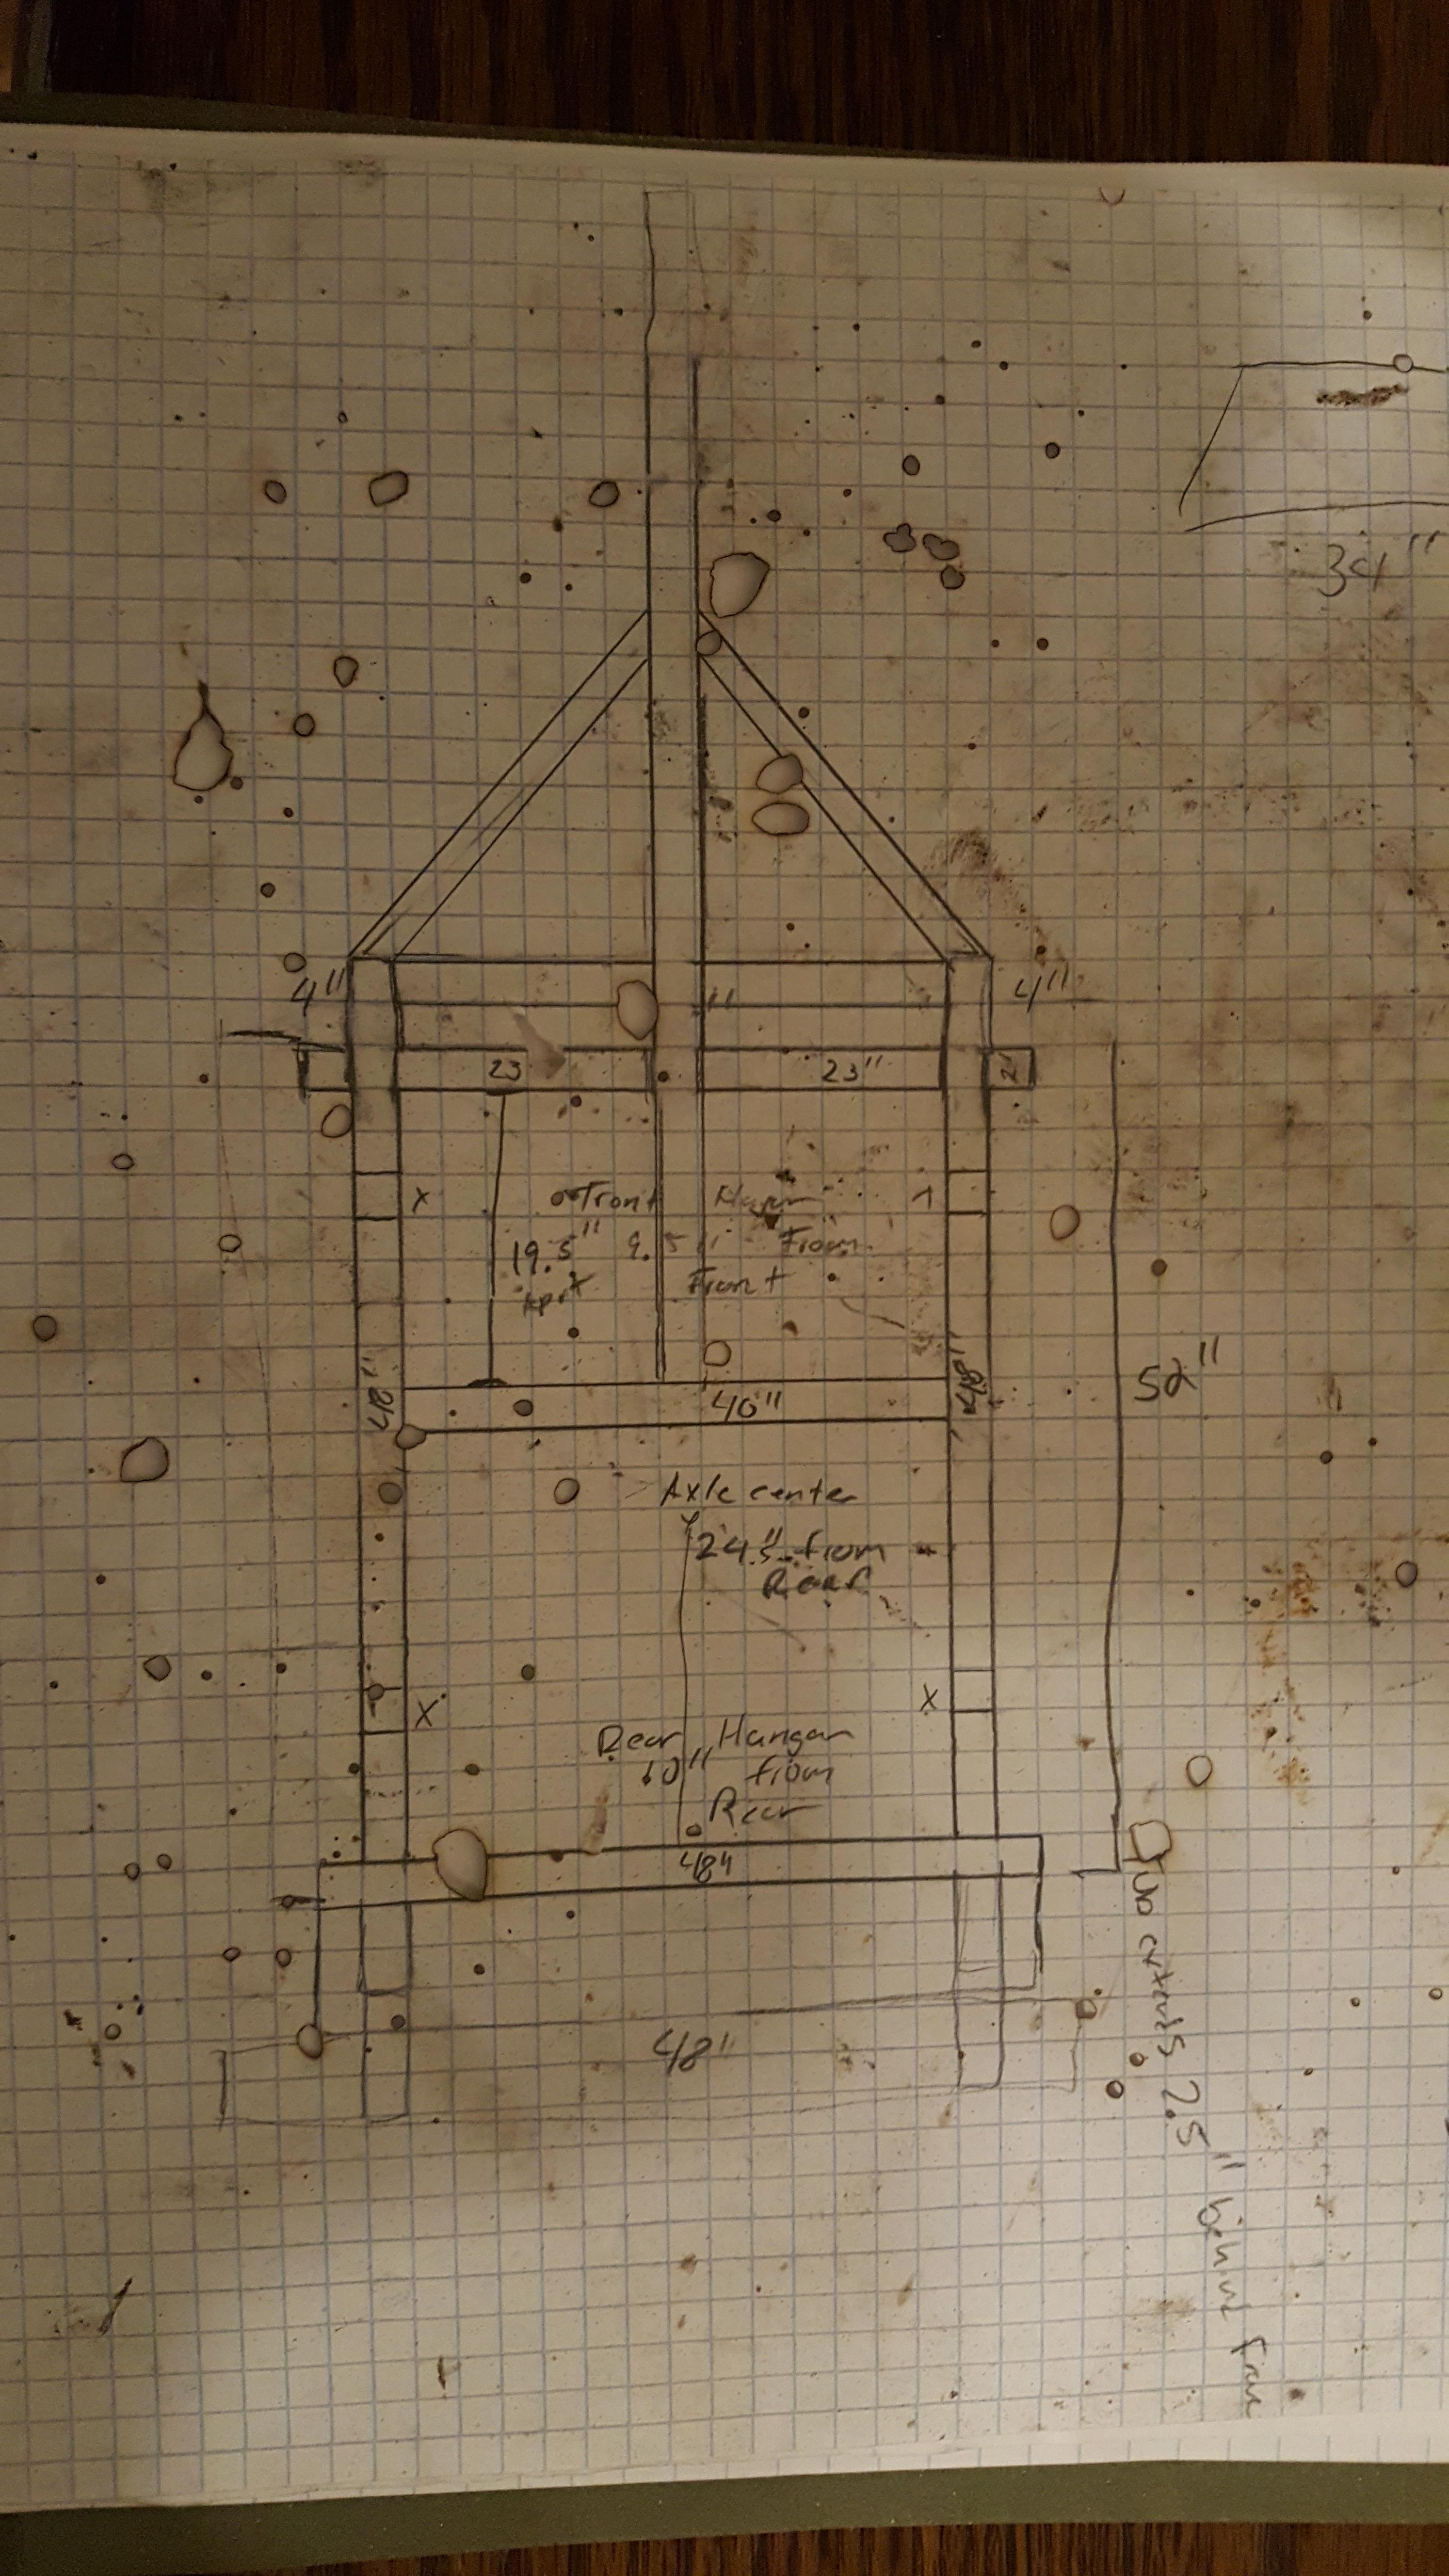
These plans are based off the supplied dinoot frame plans, if i remember correctly this is 6" longer than a standard dinoot (more on why later) They're a little charred from the welding.. oops
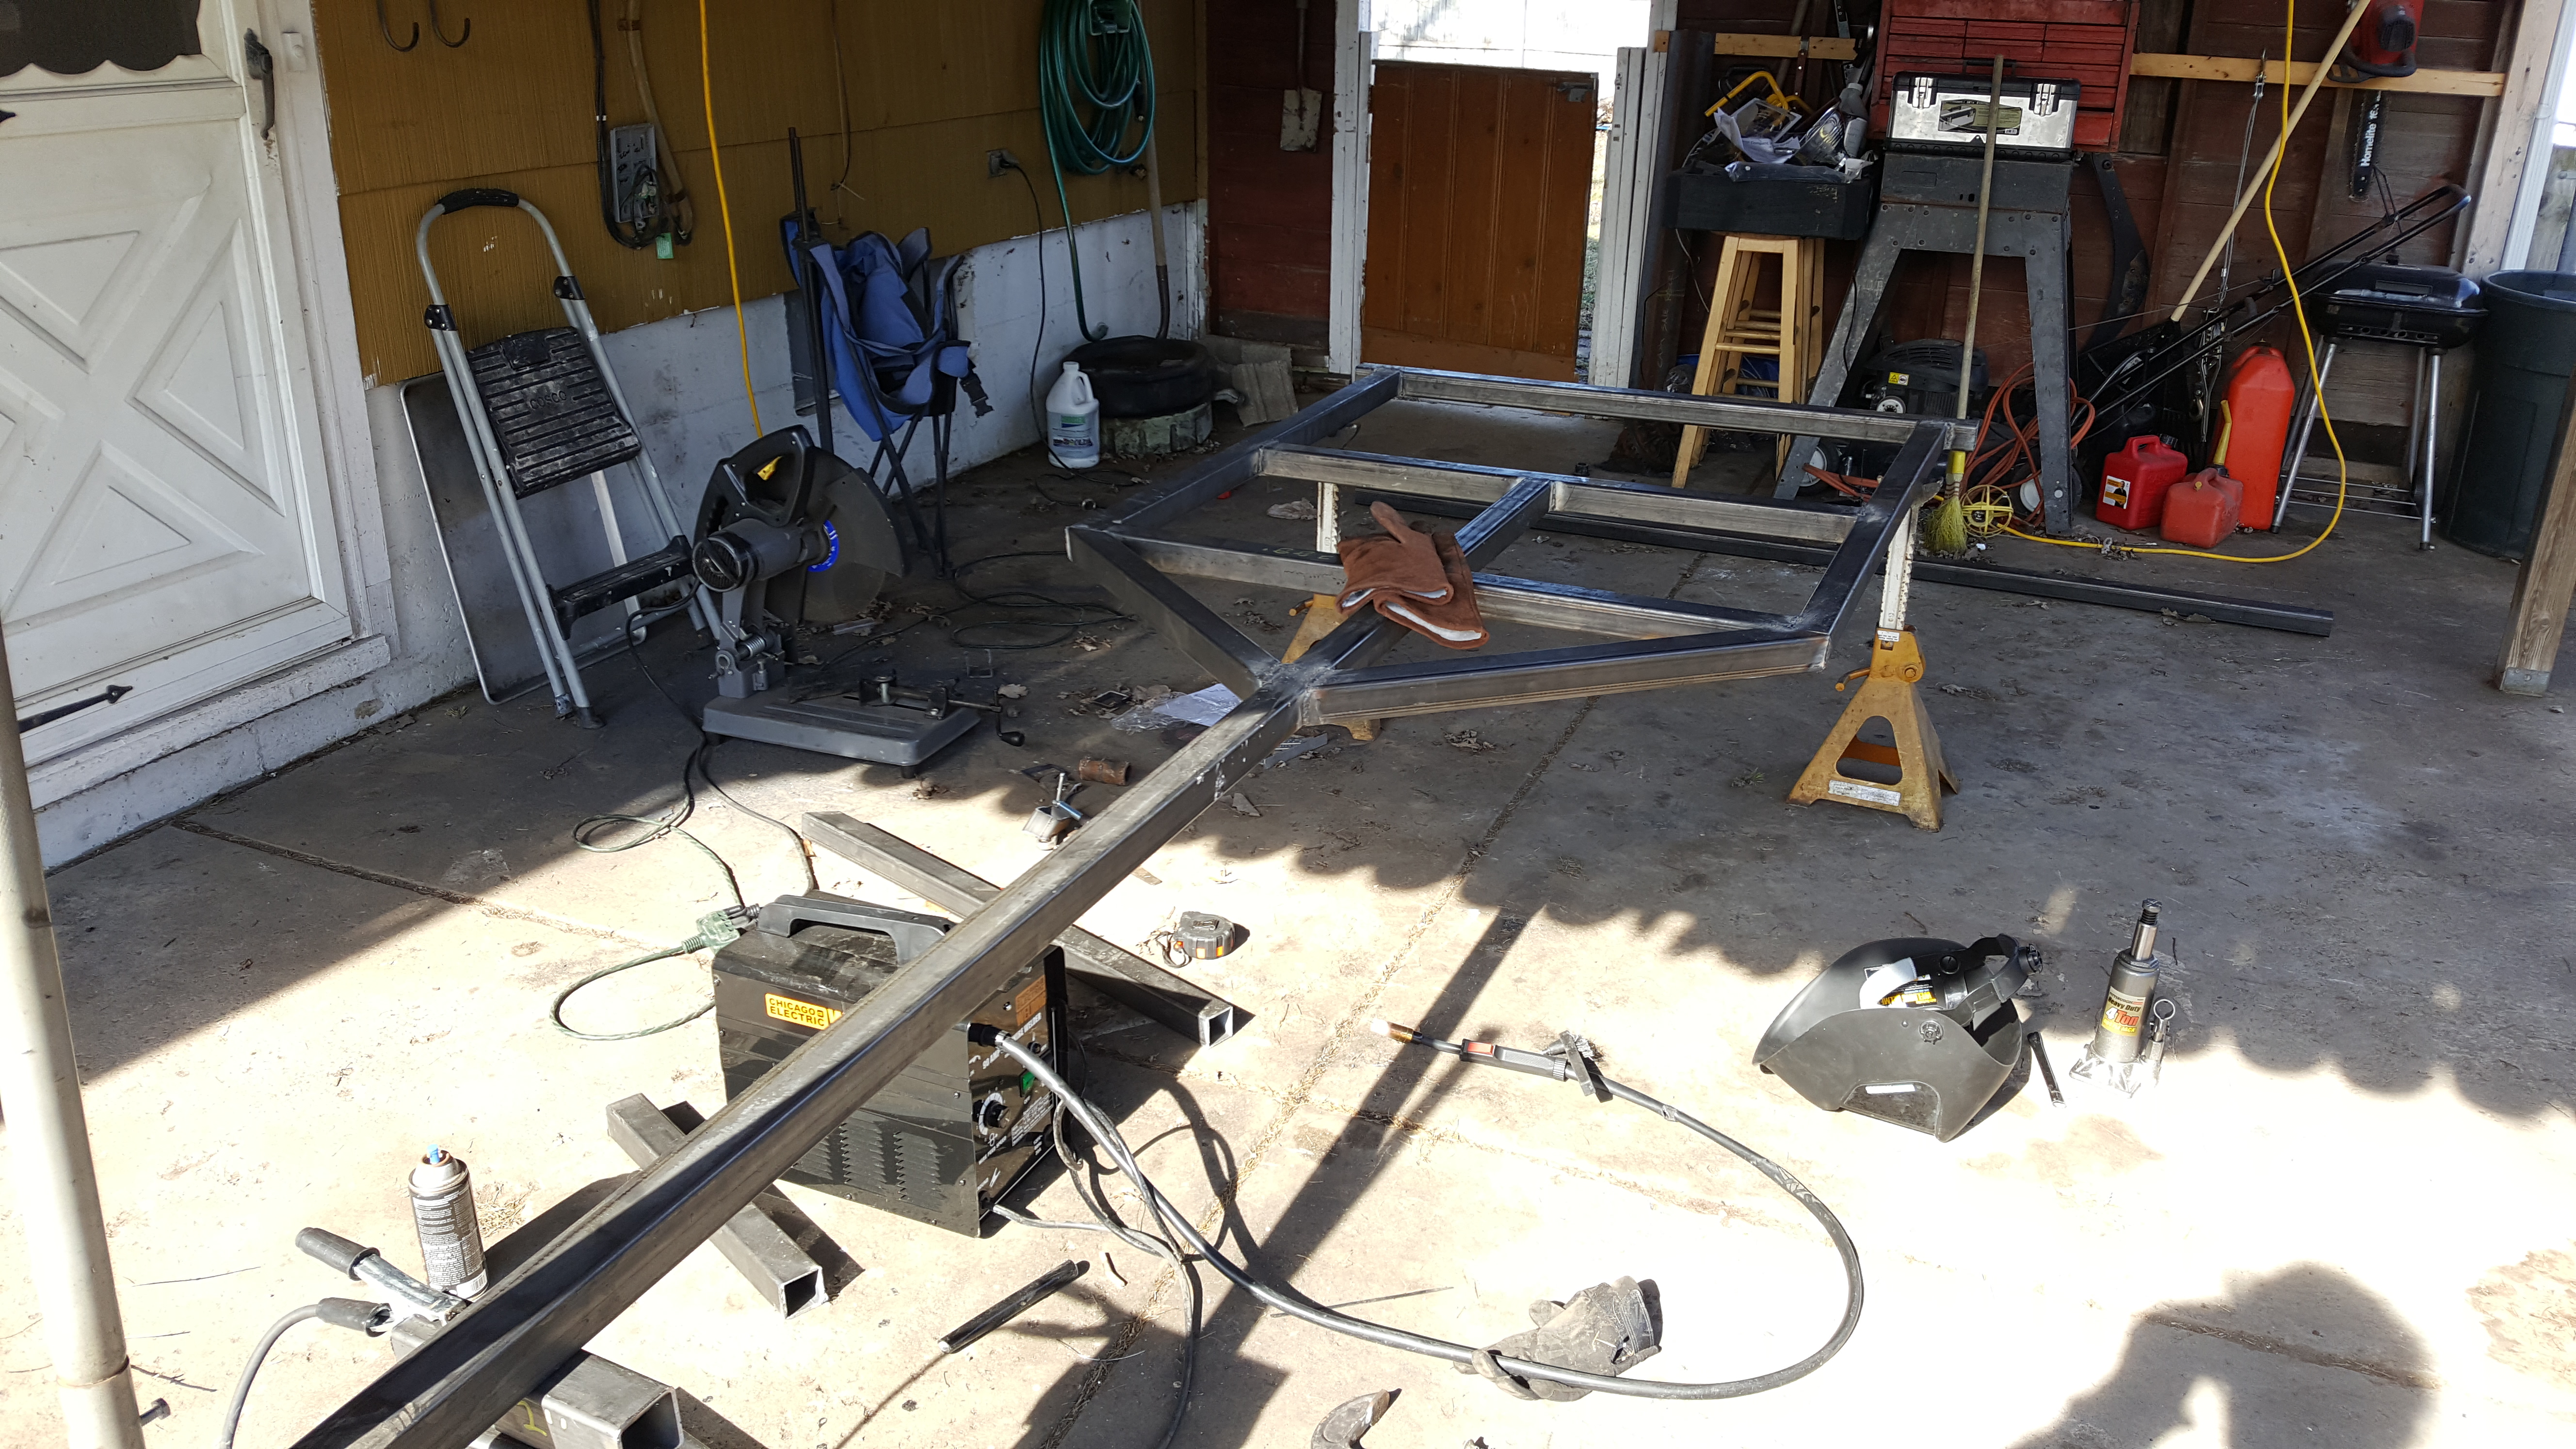
I chose to build the frame out of 2" .120wall square tube
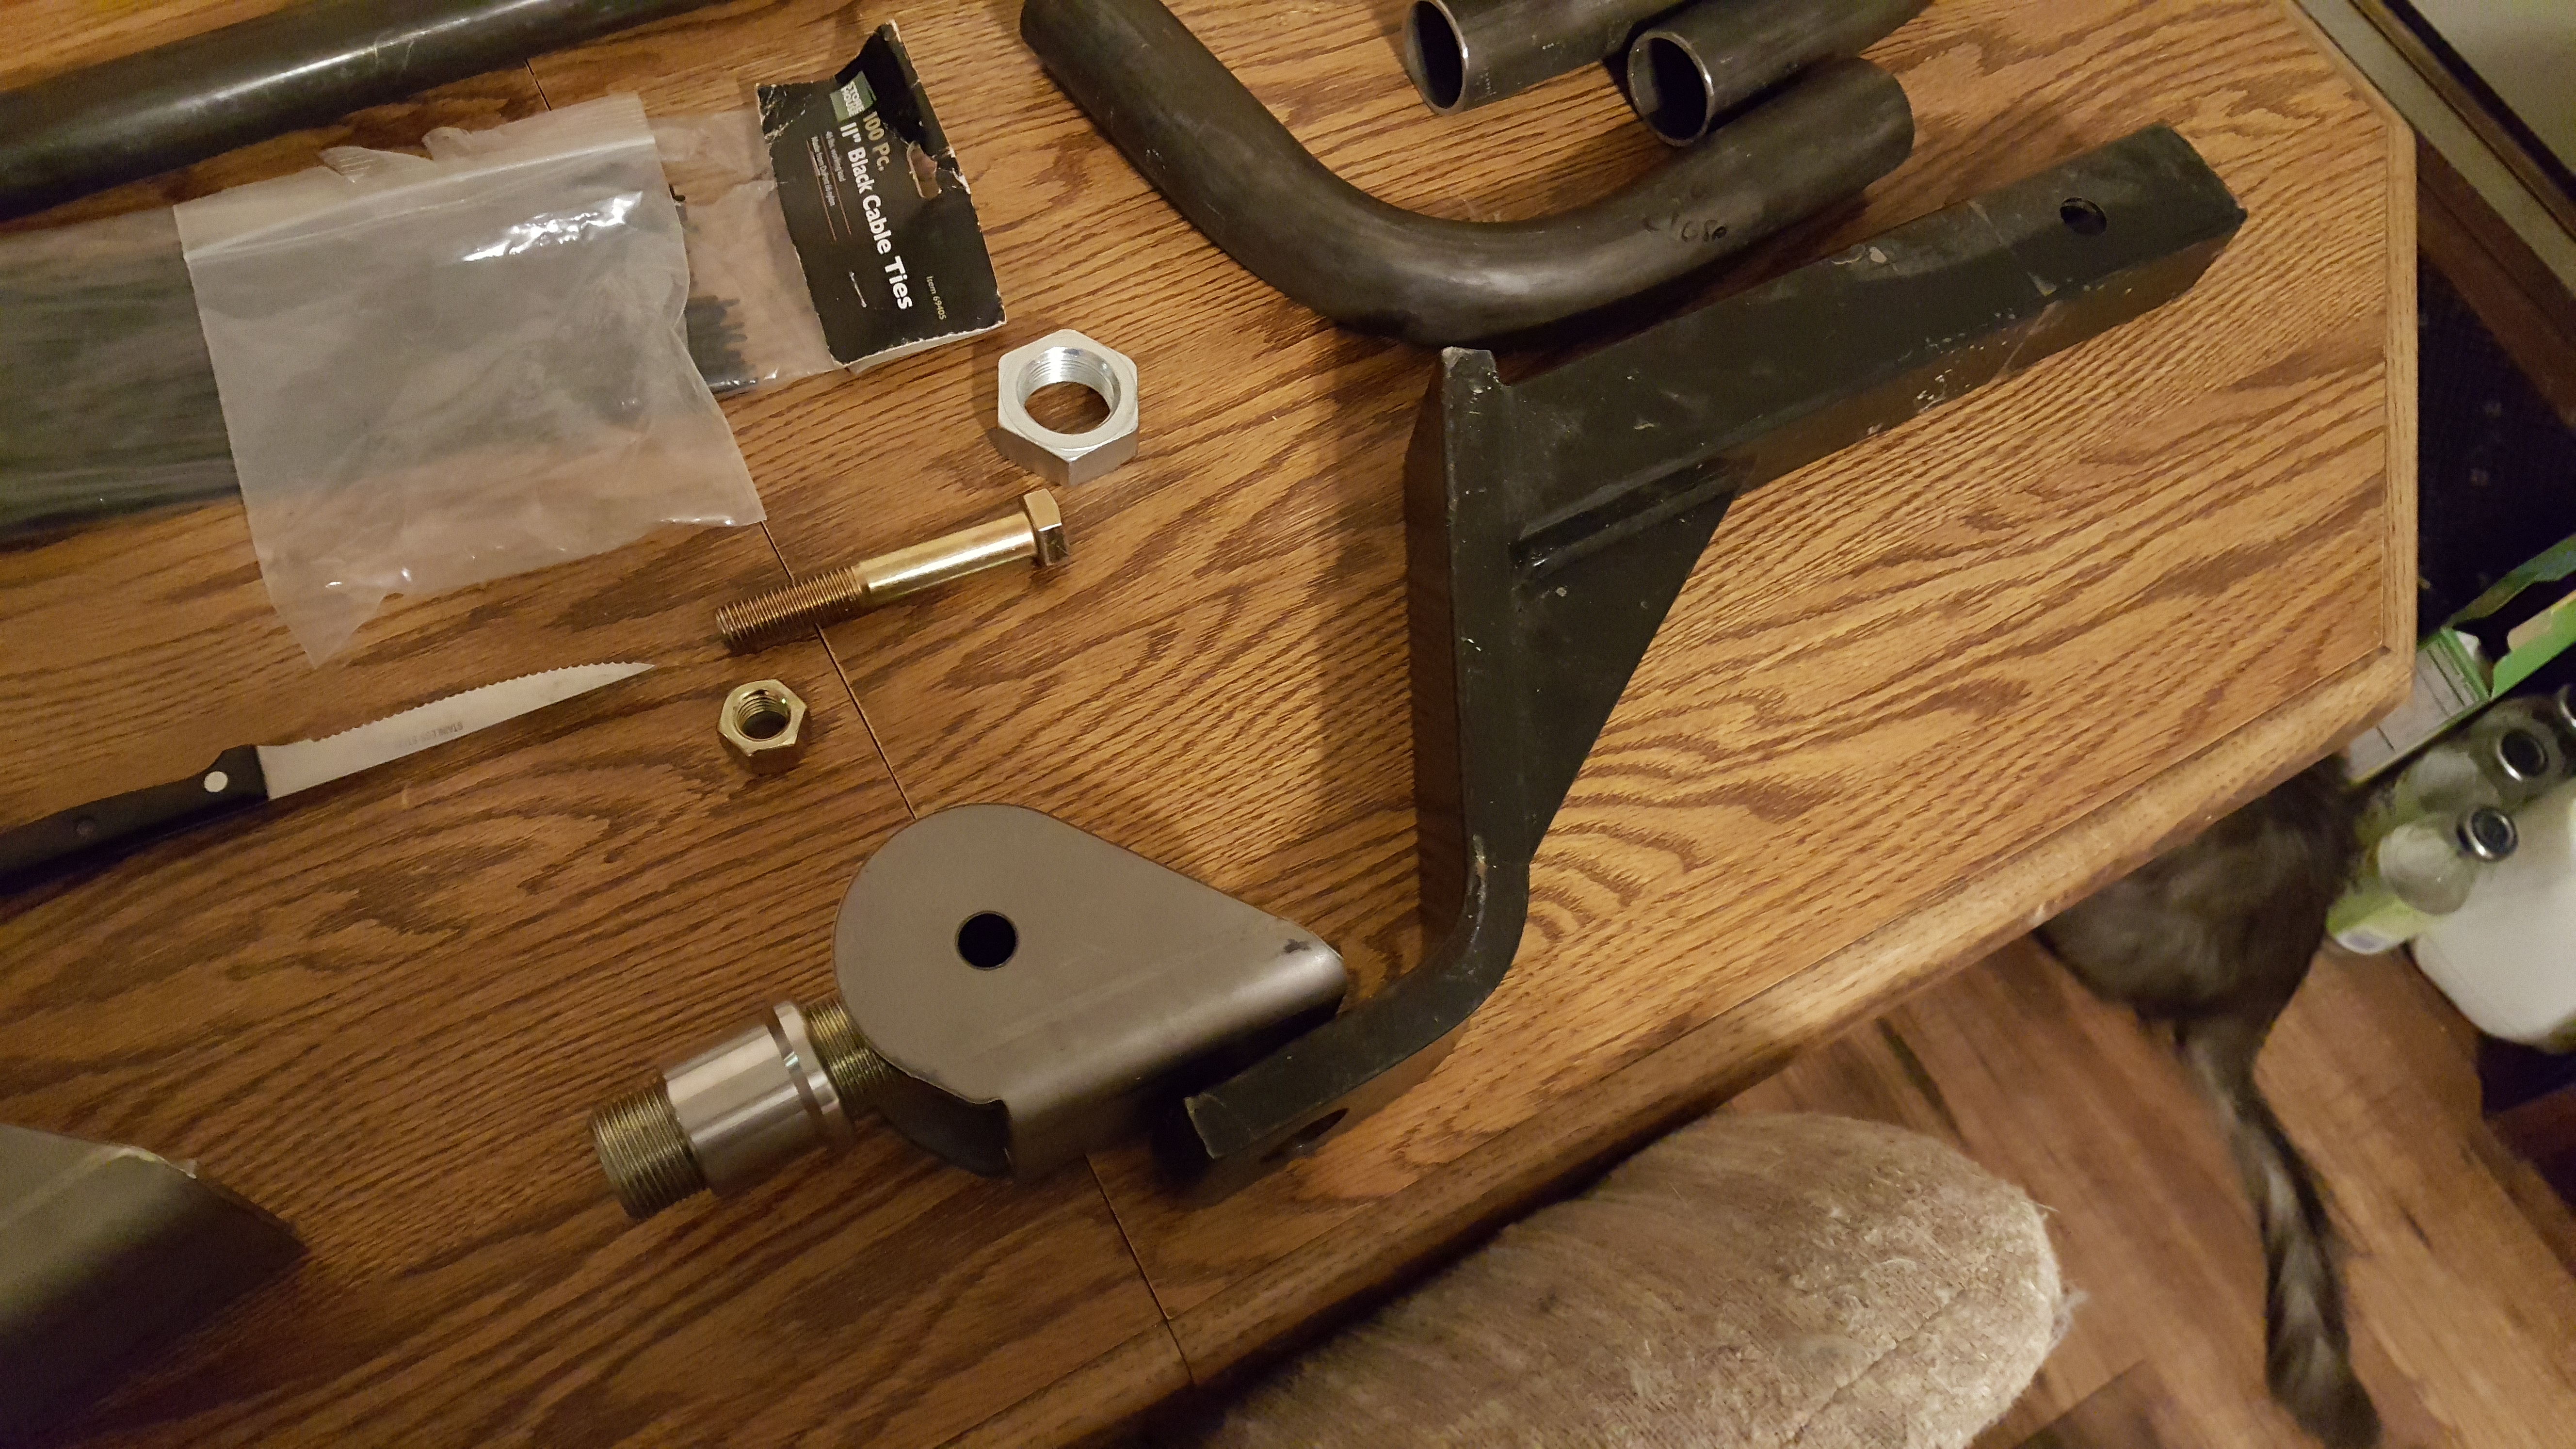
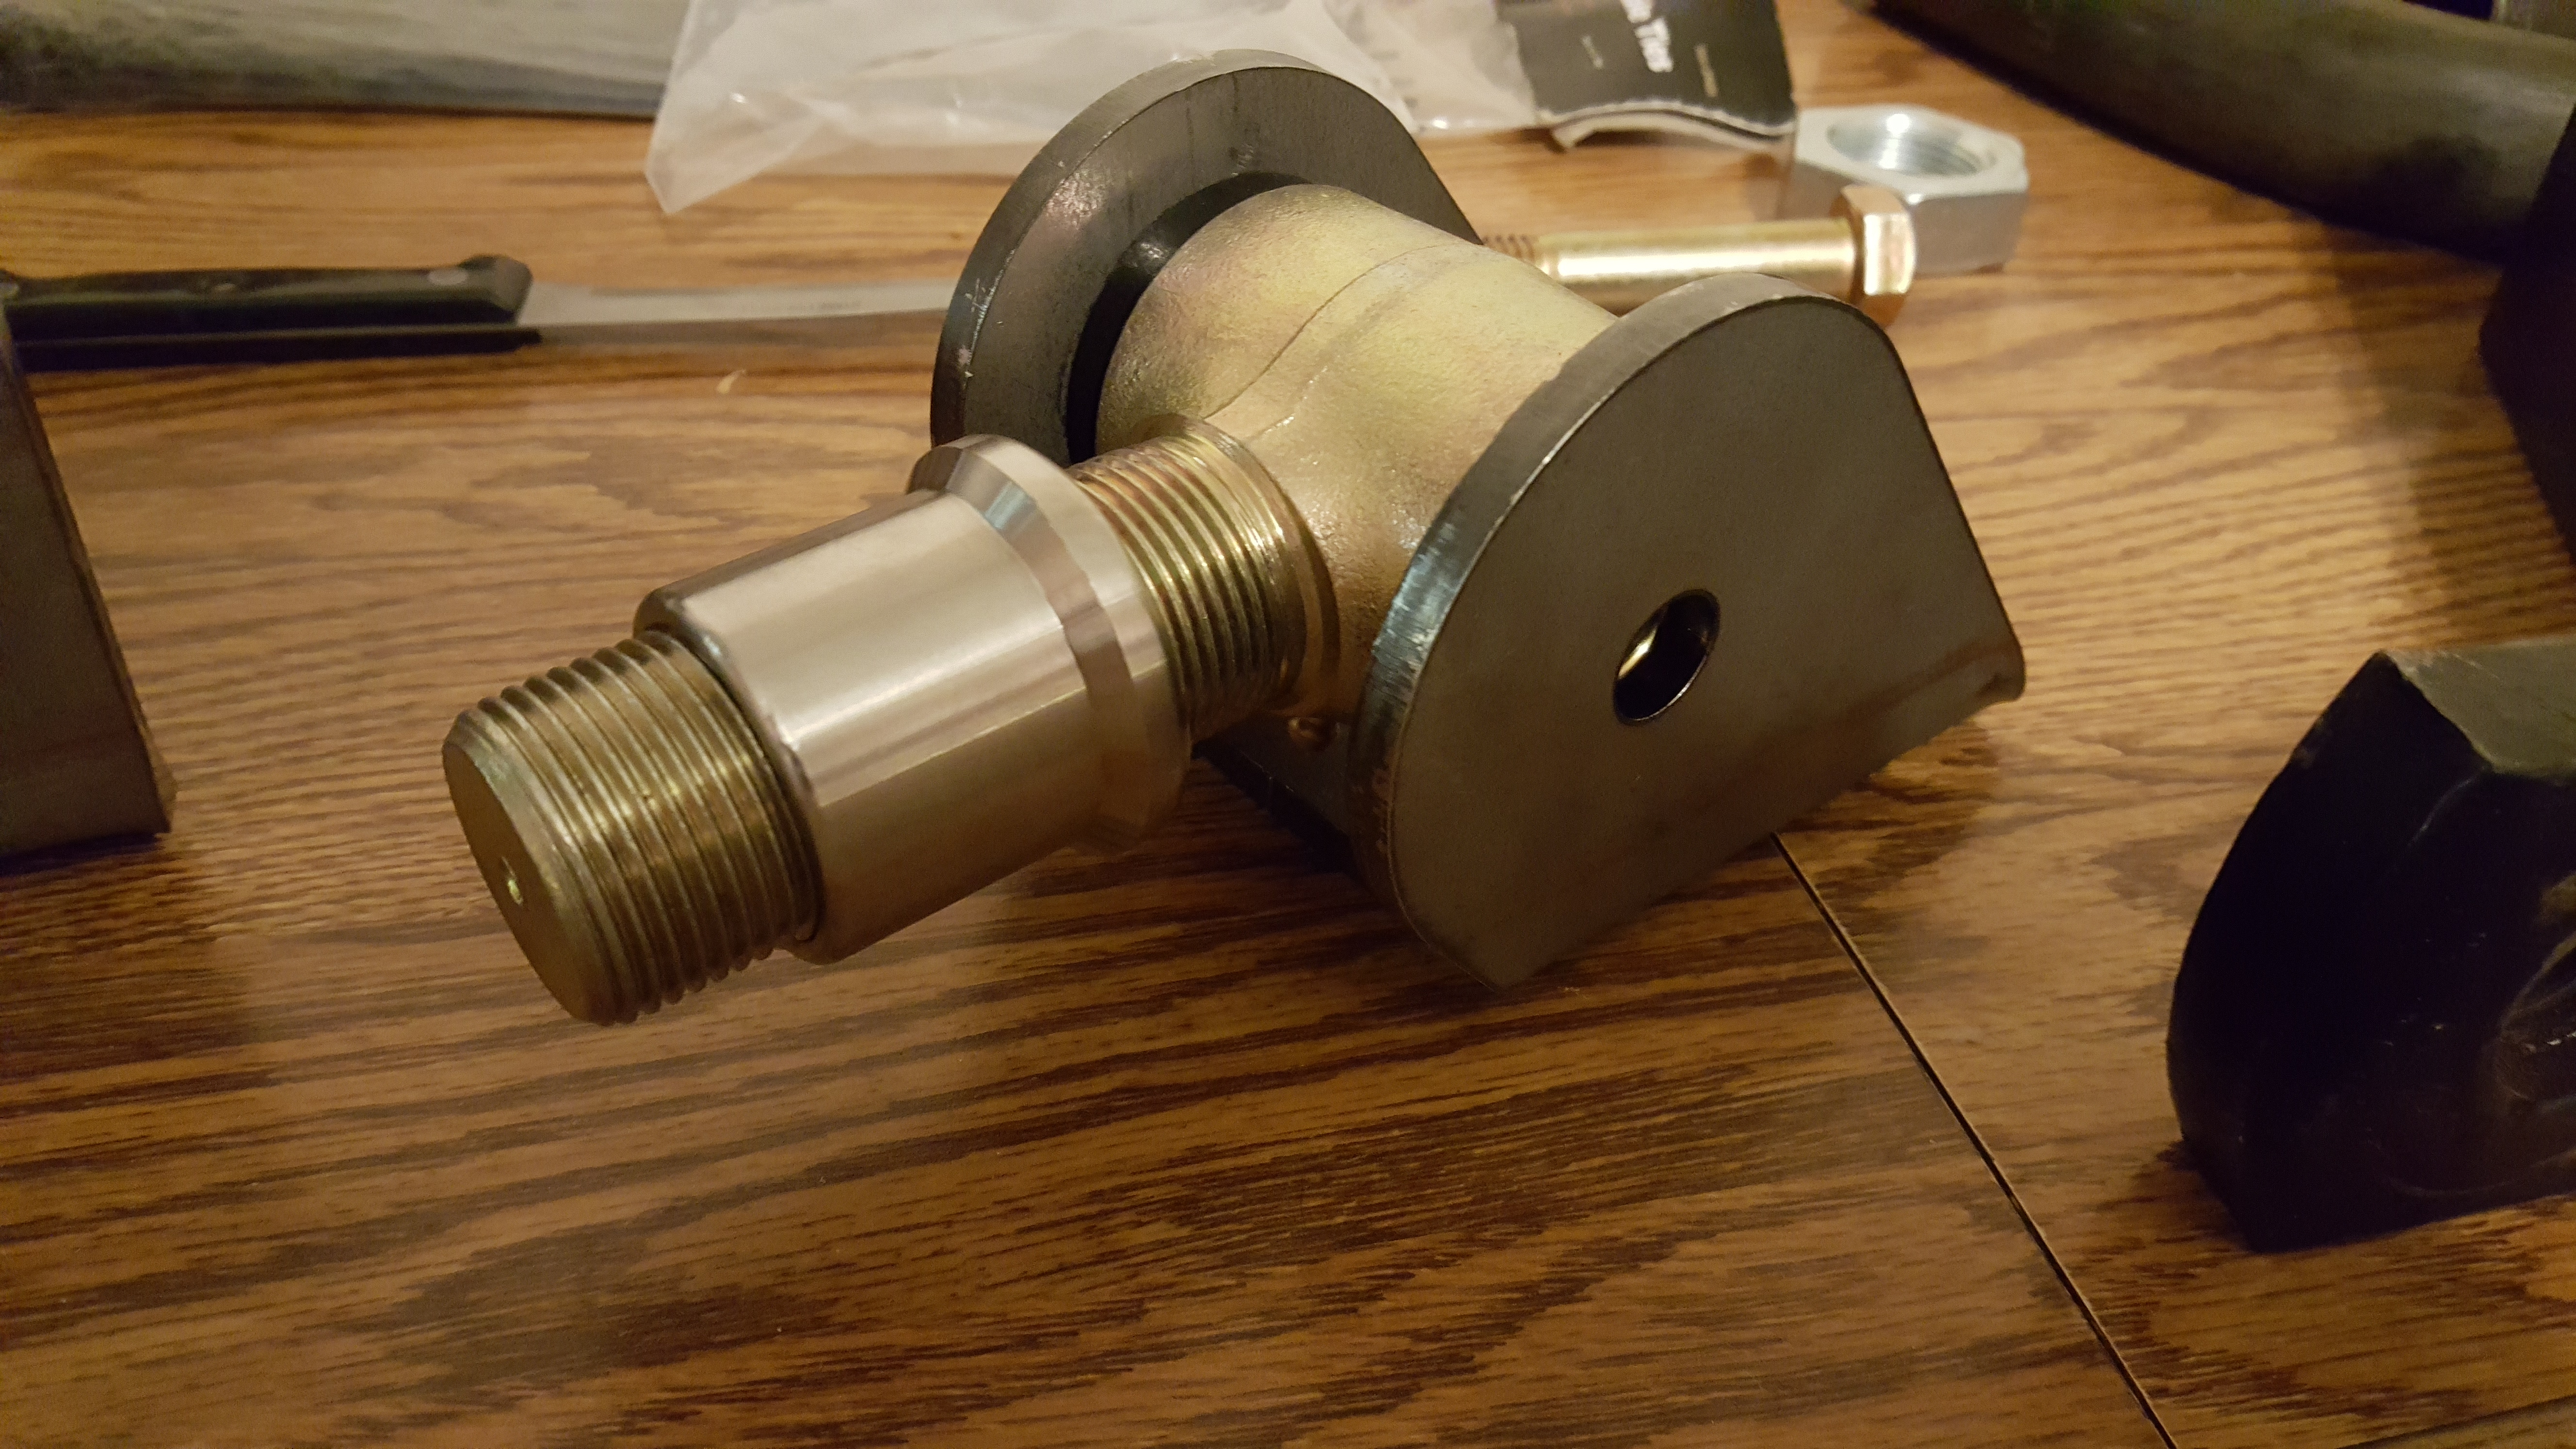
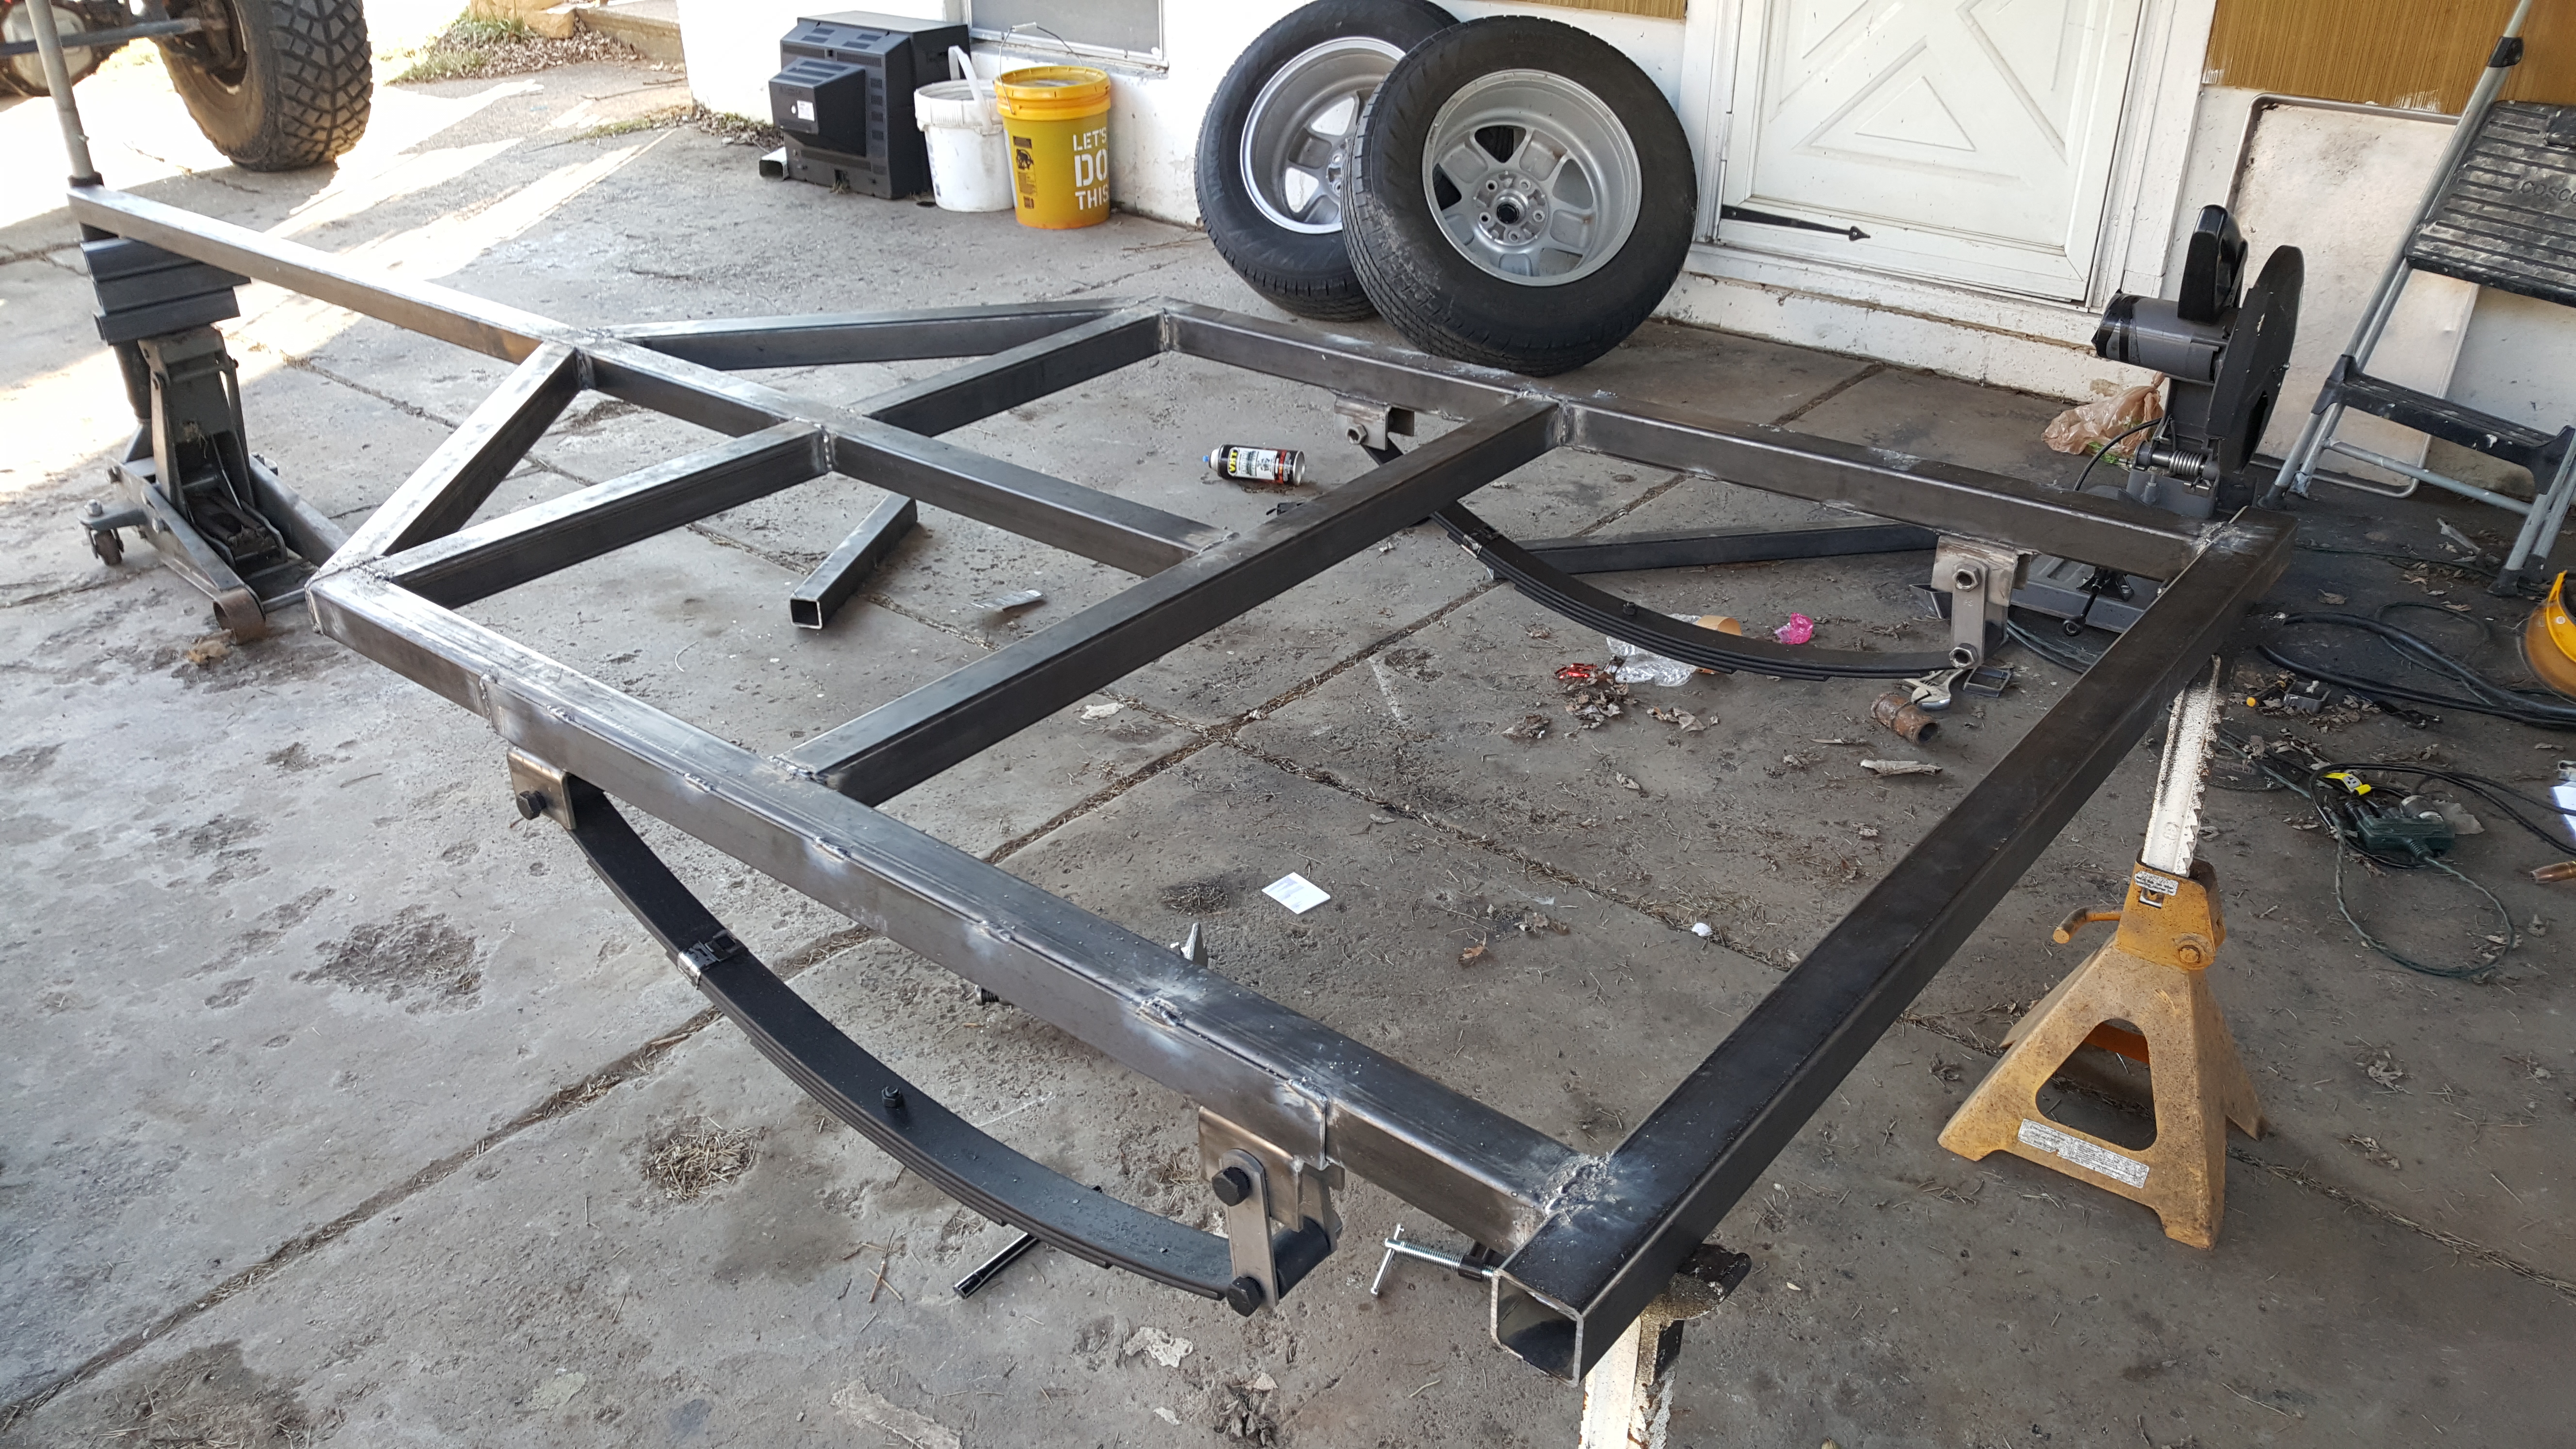
The spring brackets are from dinoot, they're pre-welded with minor assembly. I also picked up some axle tube spring mounts.
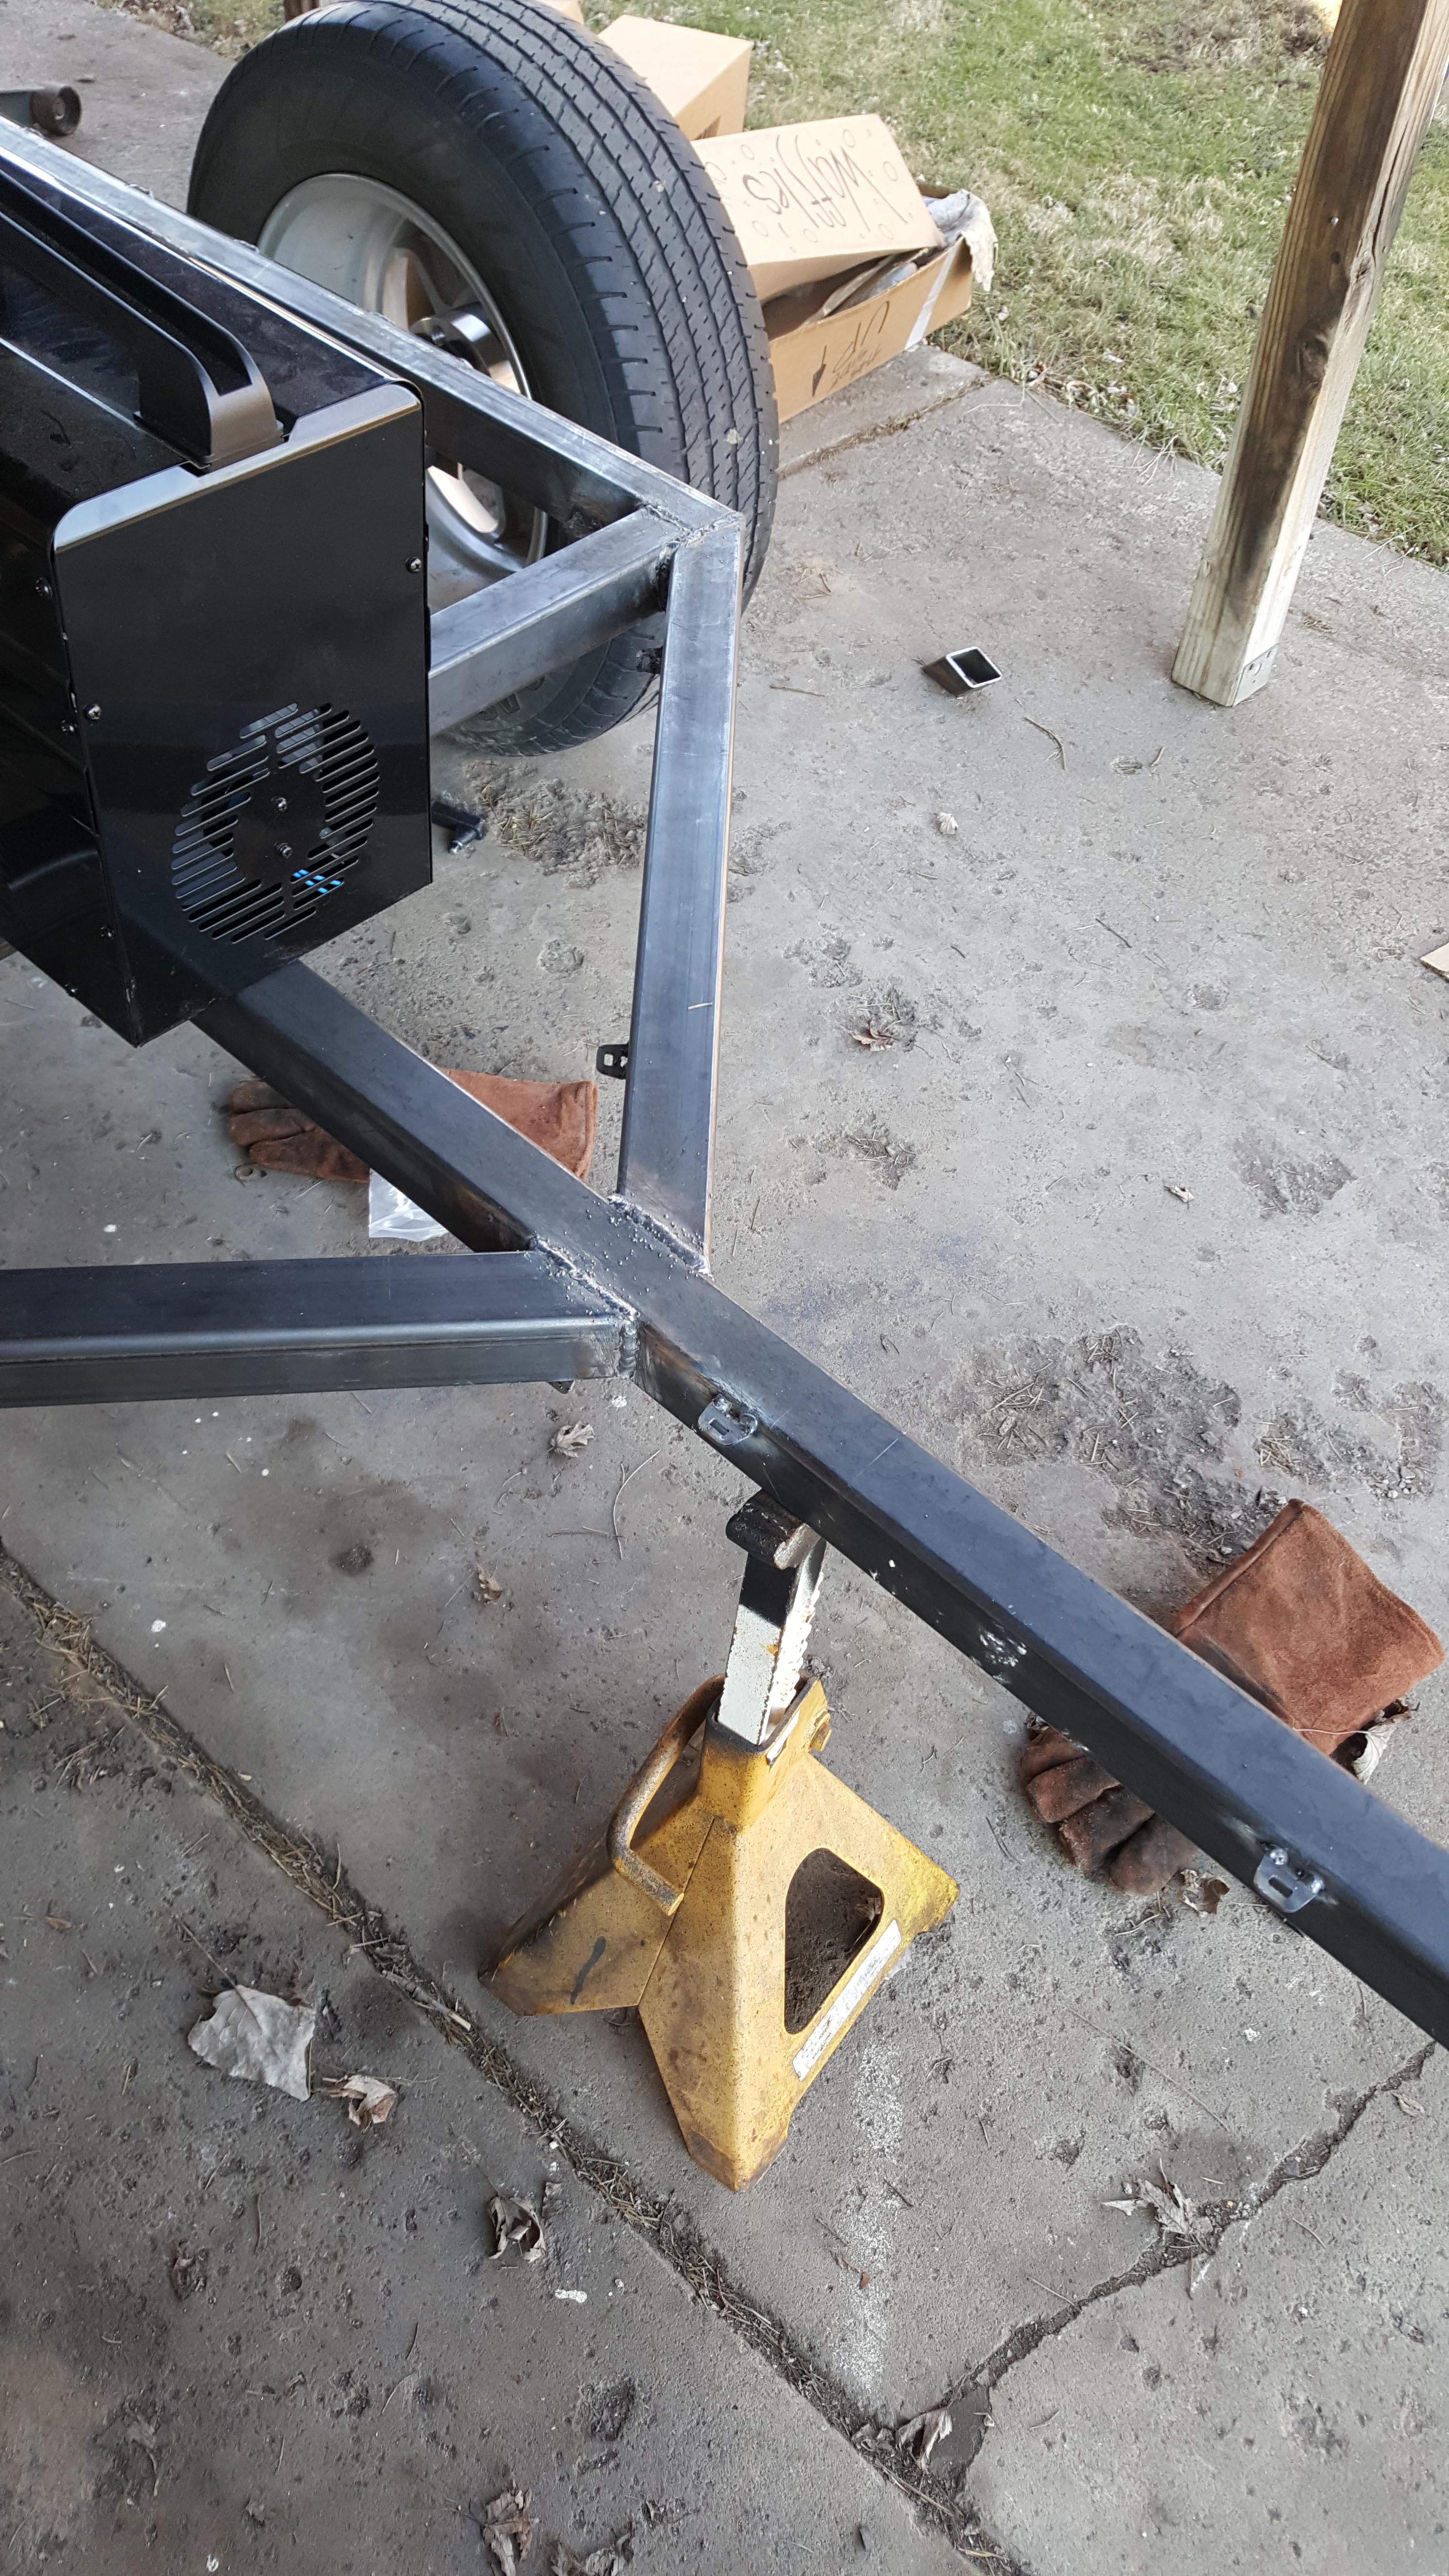
Im using a $90 harbor freight mig welder for this, didn't feel like driving 30 mins to my dads house every few days to build this thing with the good welders, Pardon the slag
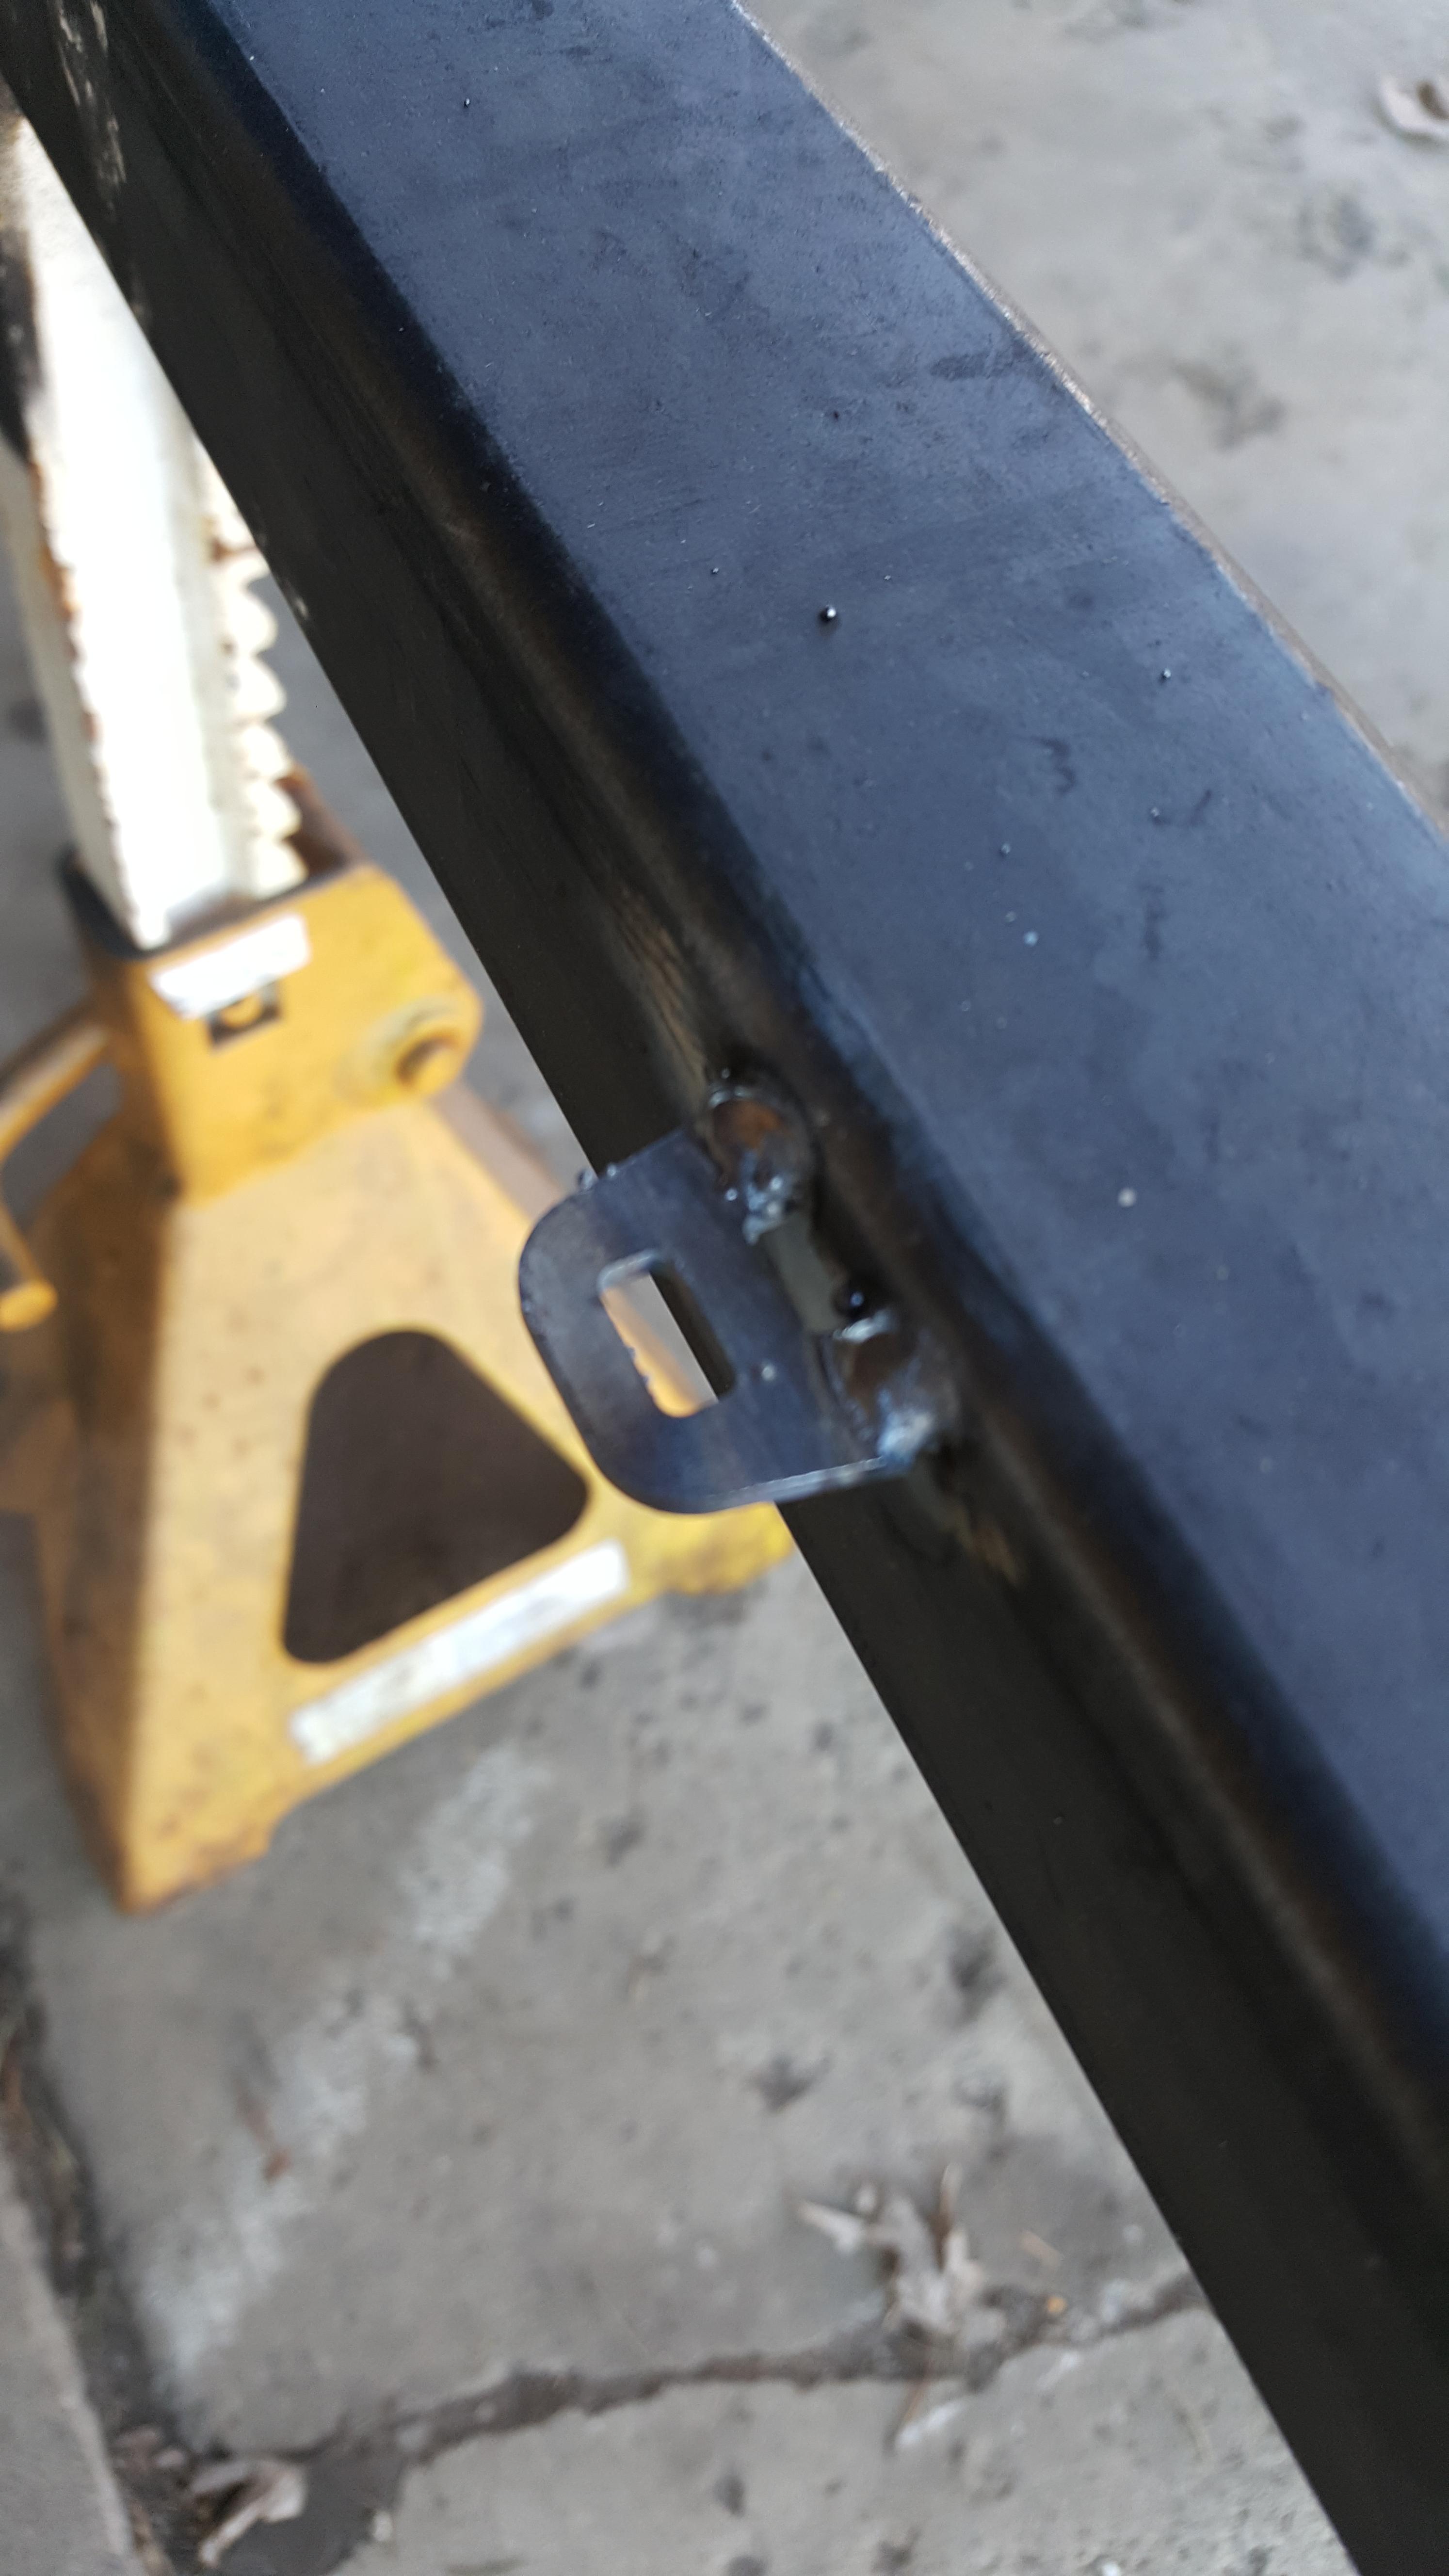
I decided to purchase some of these Zip tie tabs from my friends at motobilt.com, they will come in handy with the trailer wiring & charging system later on
Close up
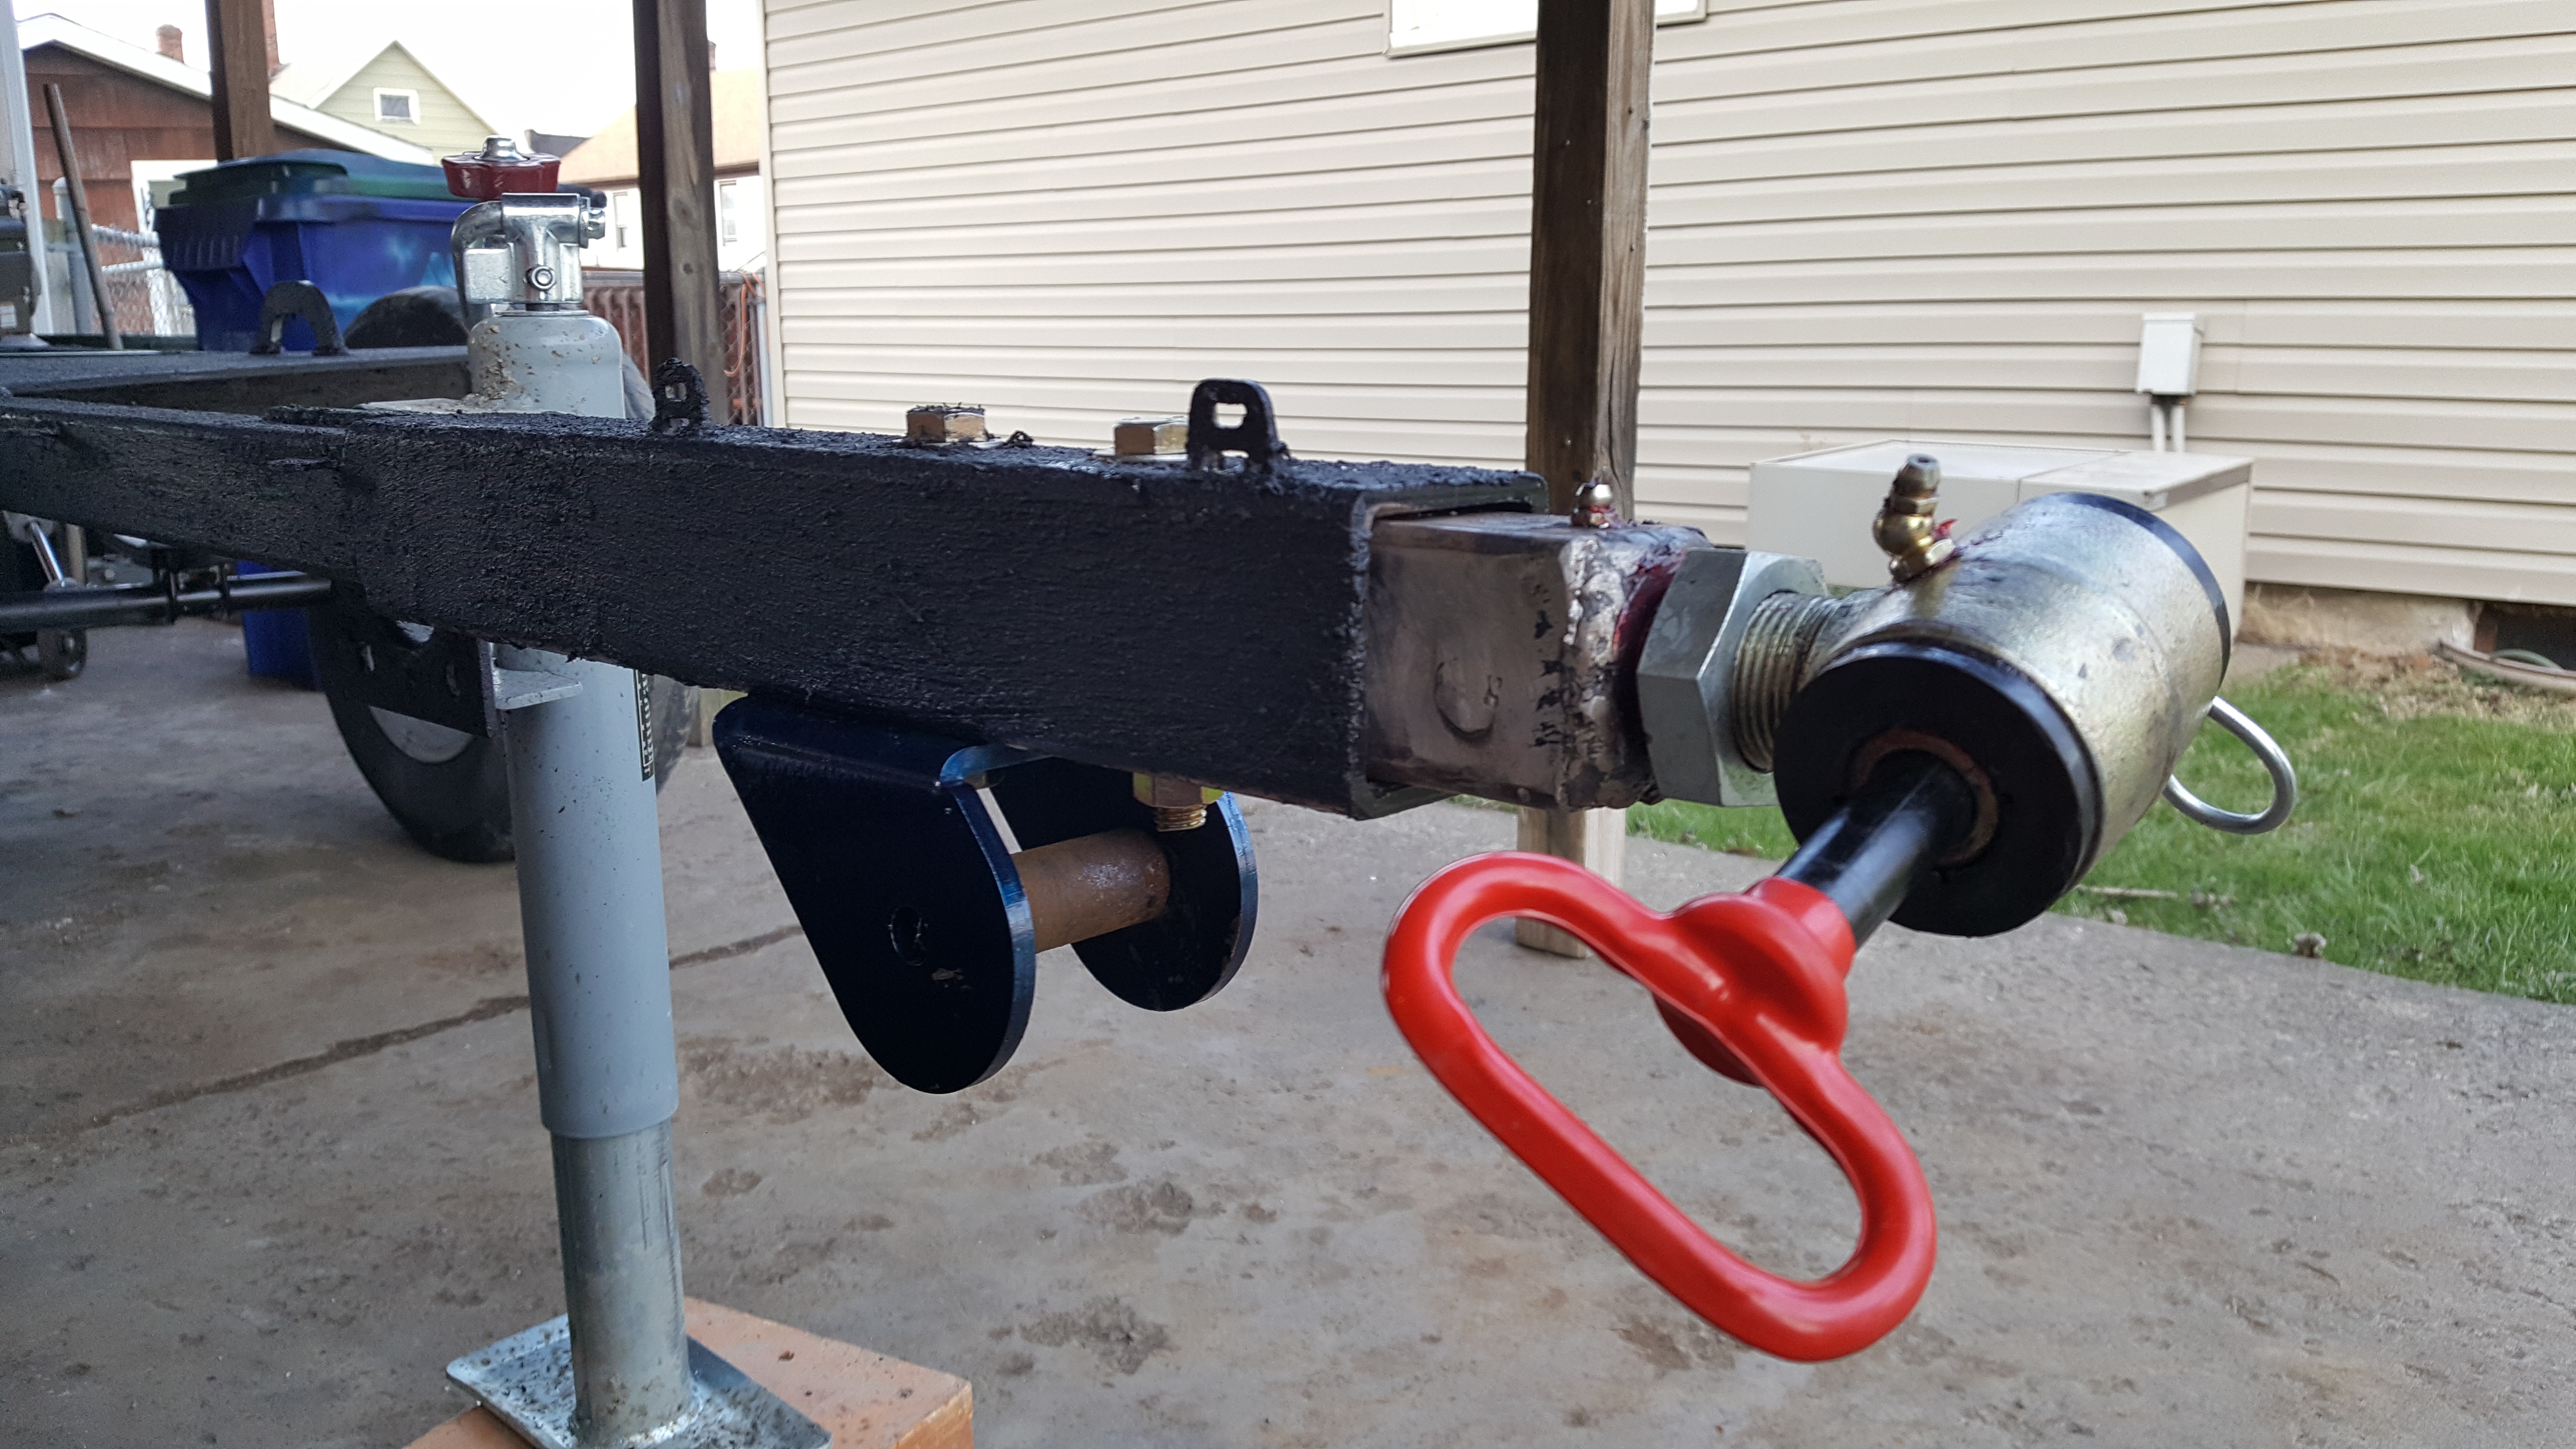
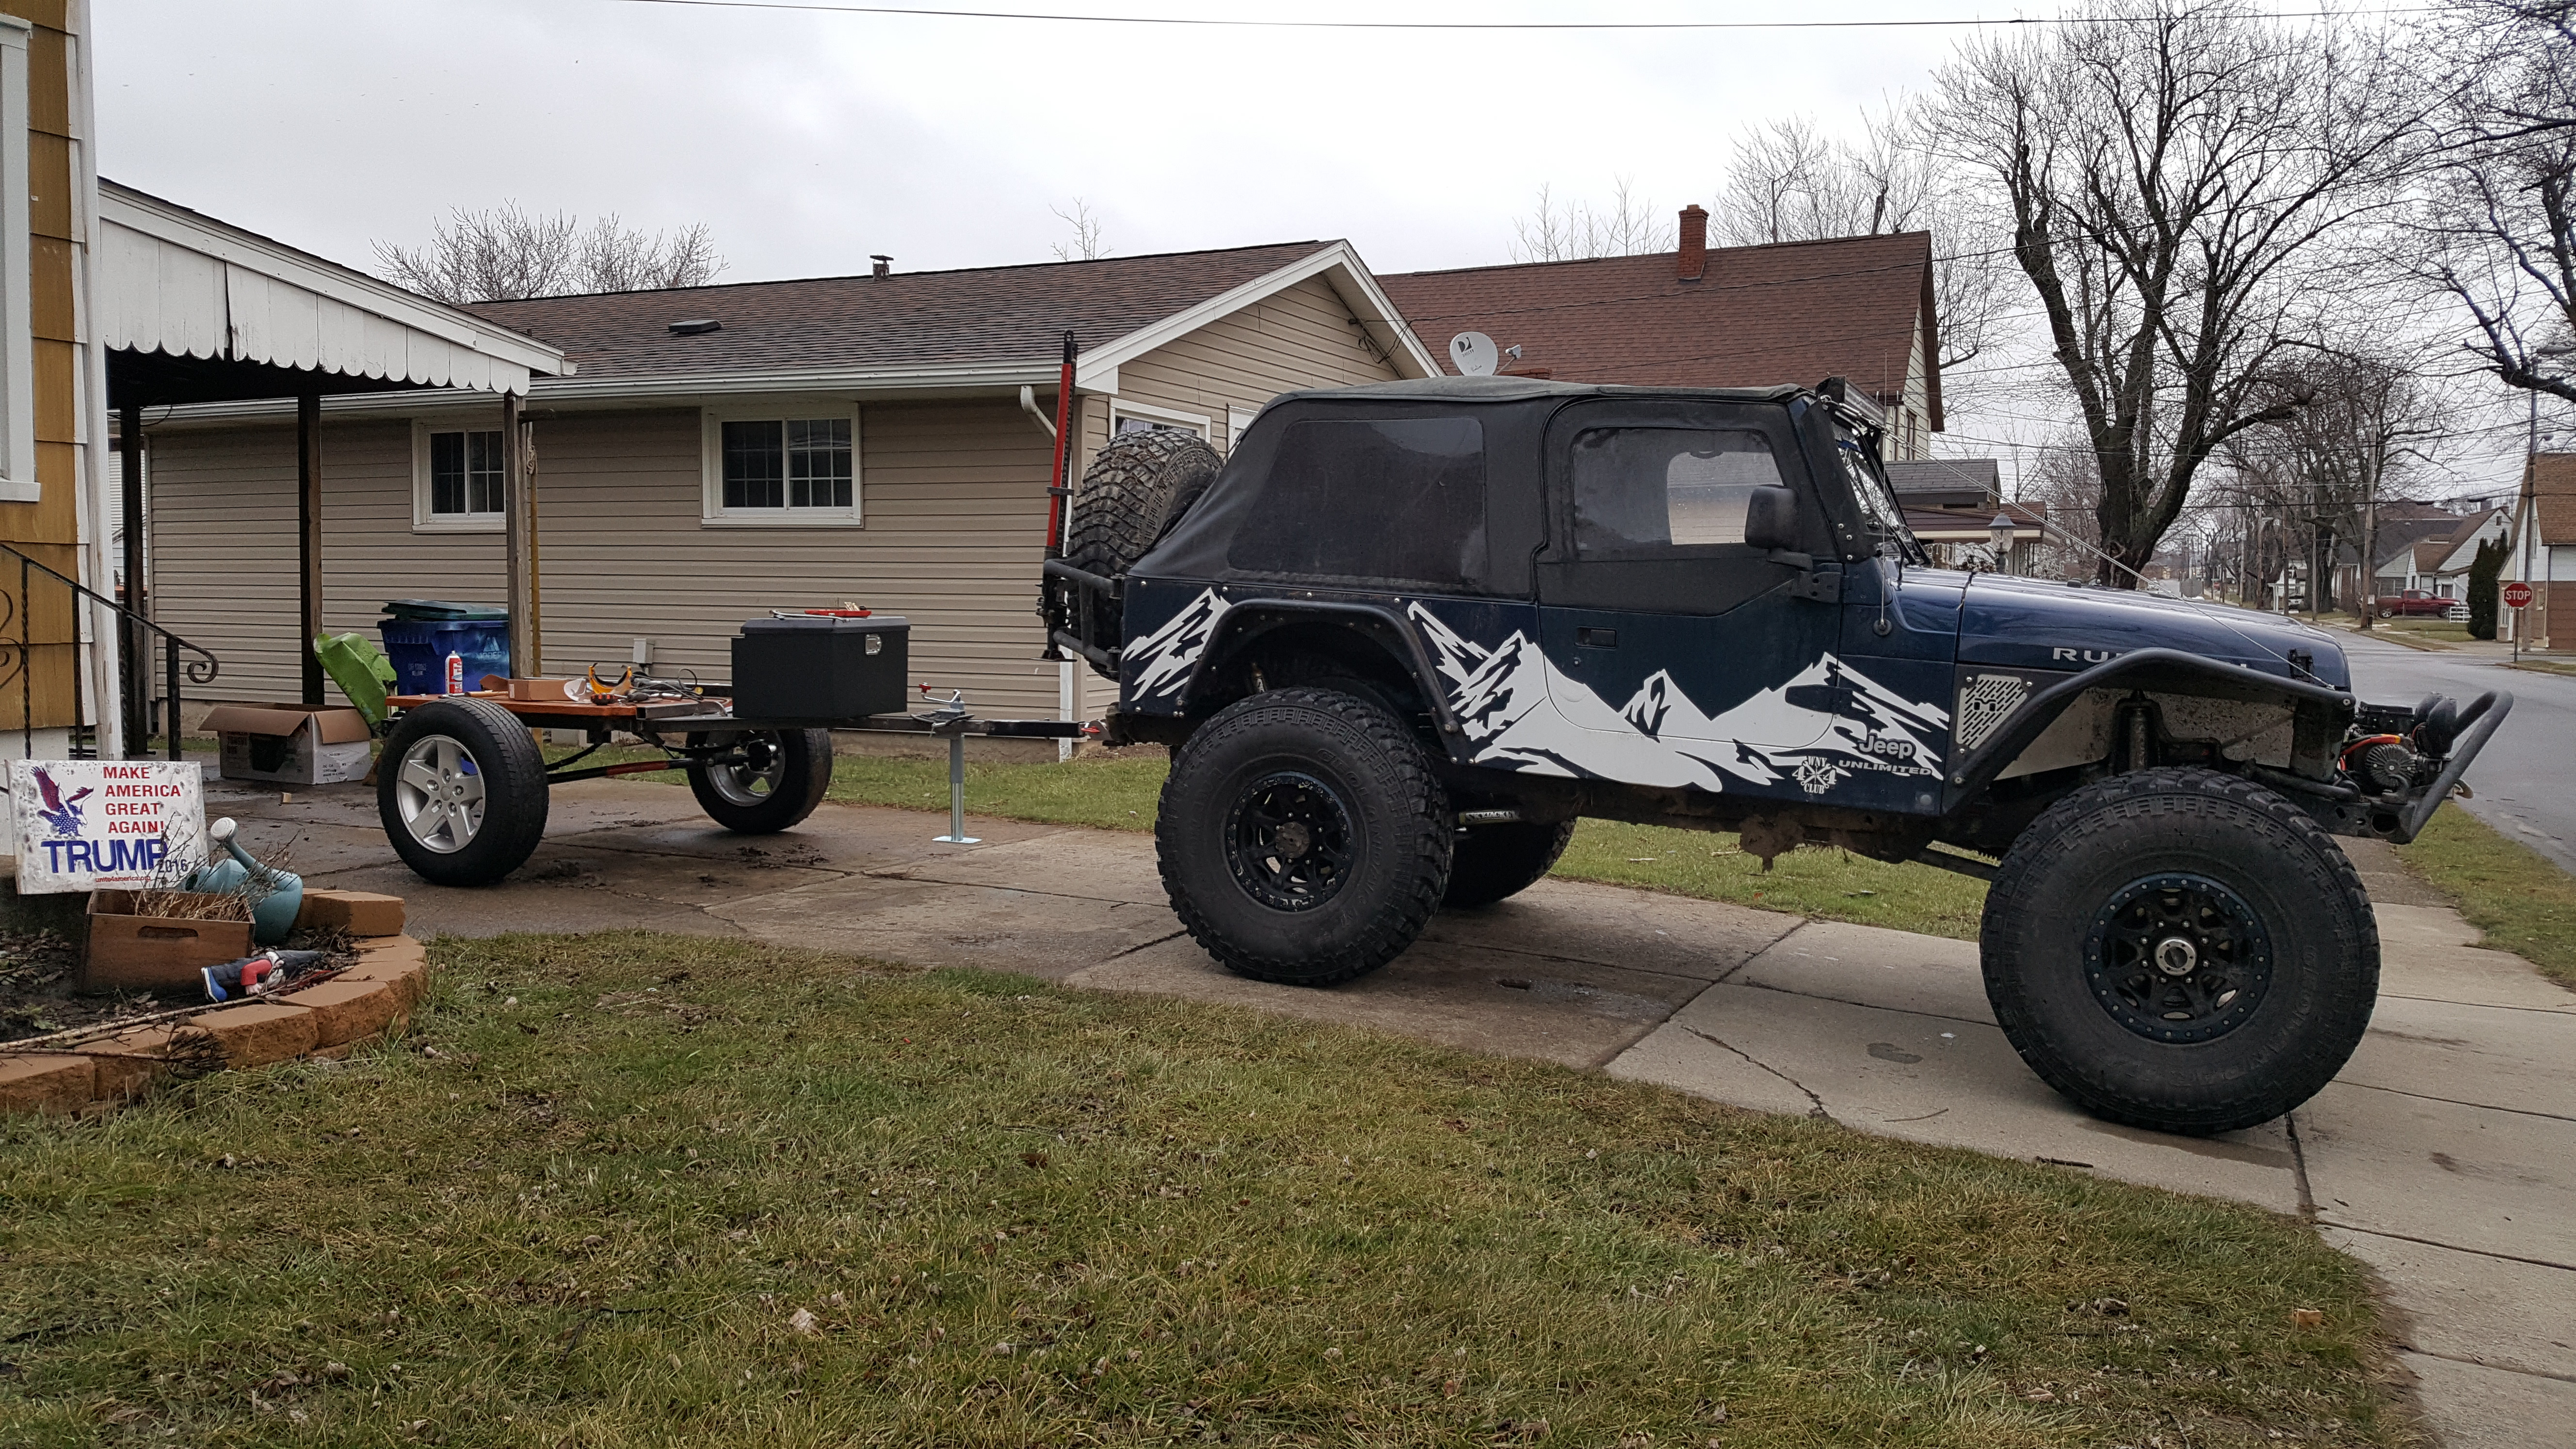
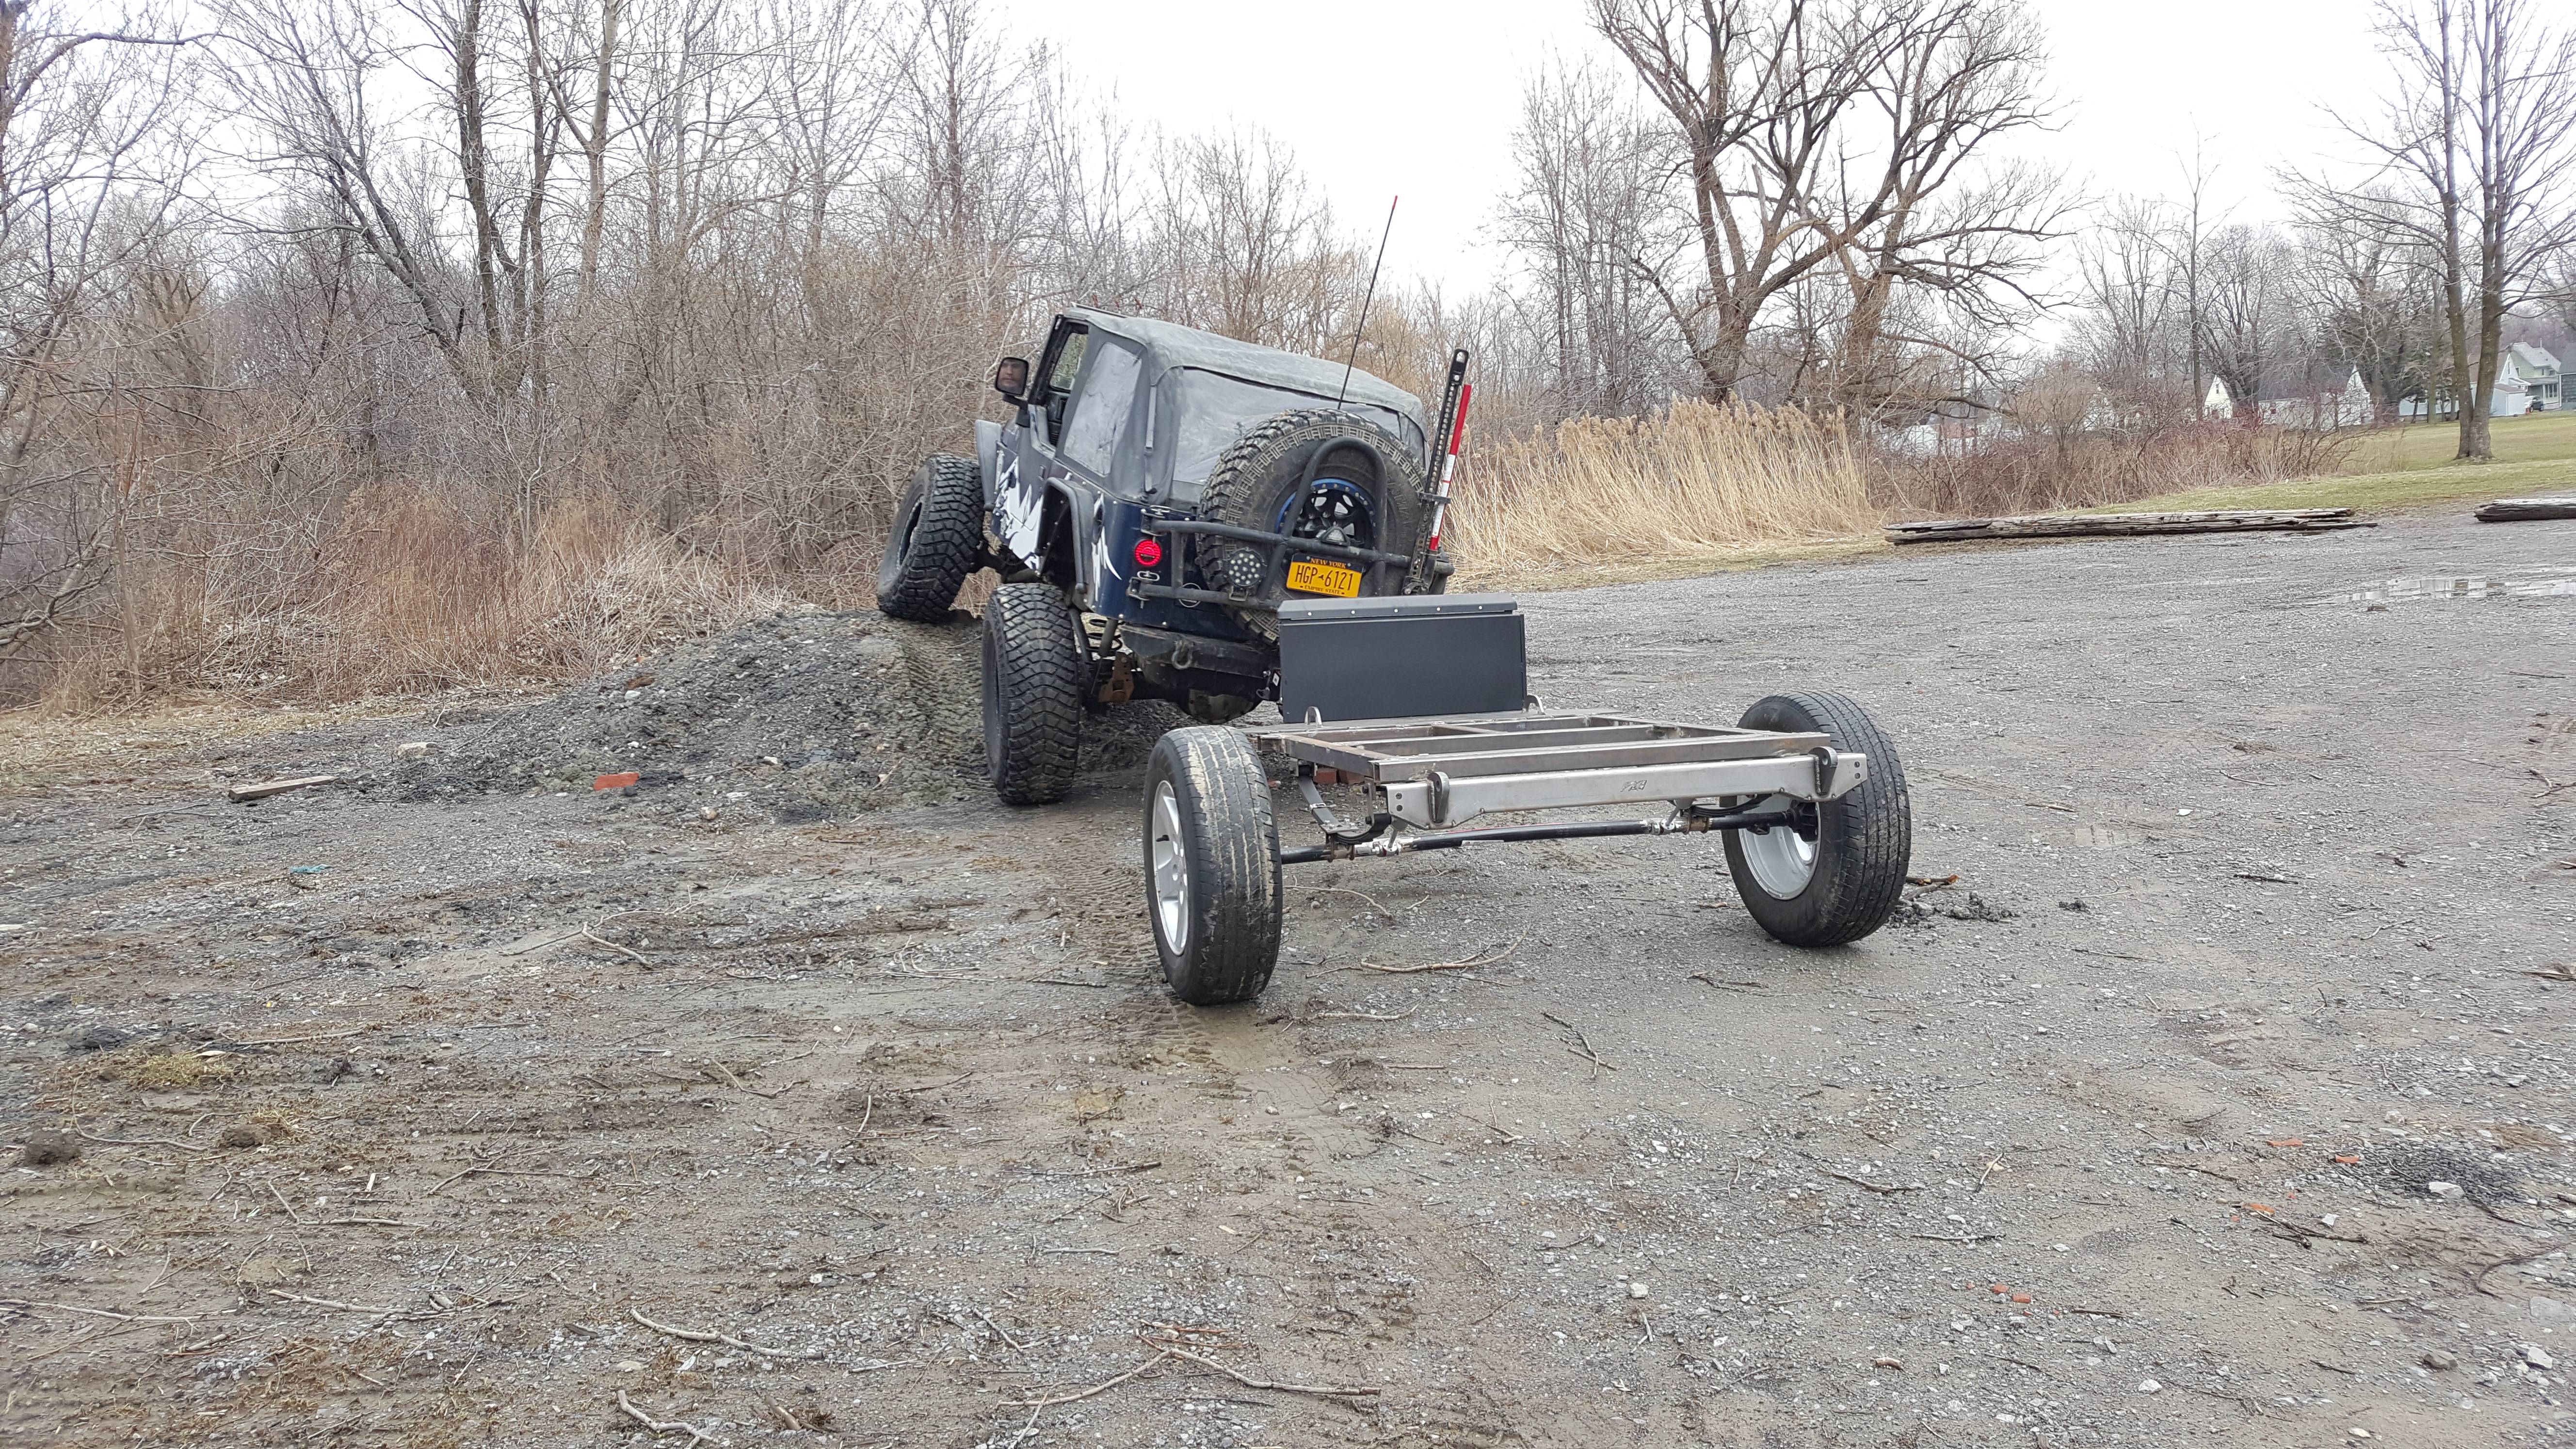
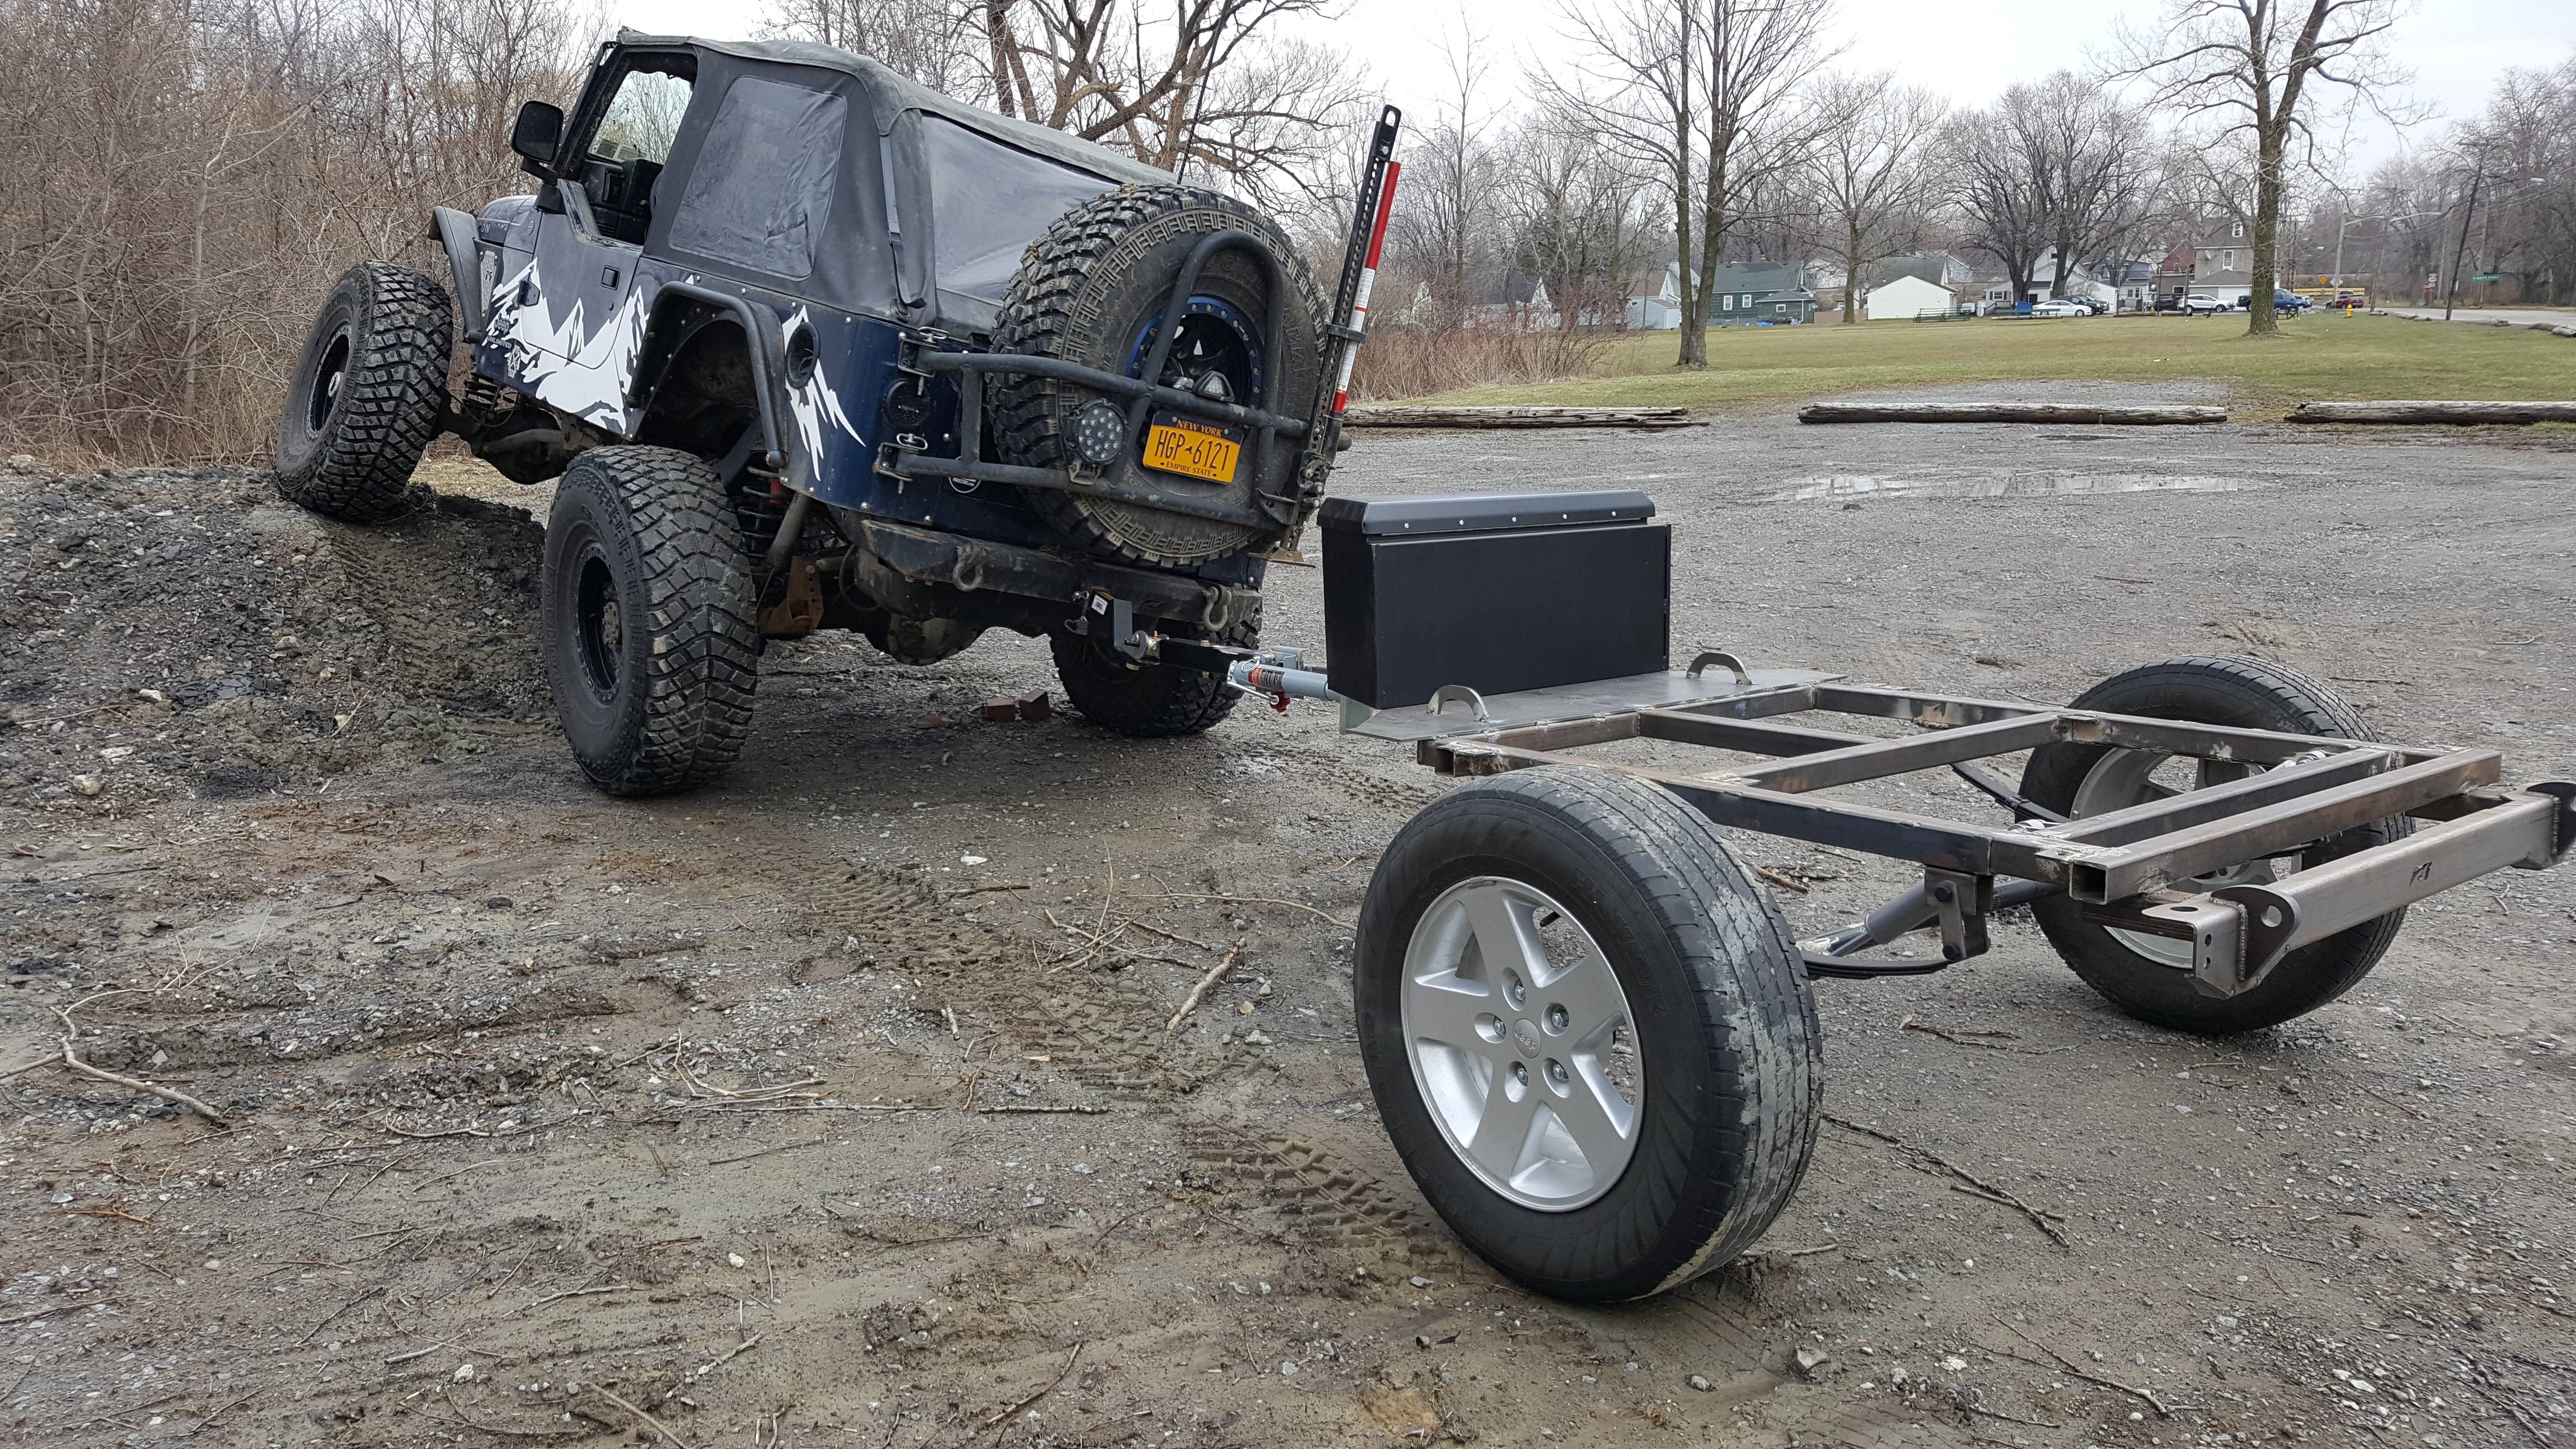
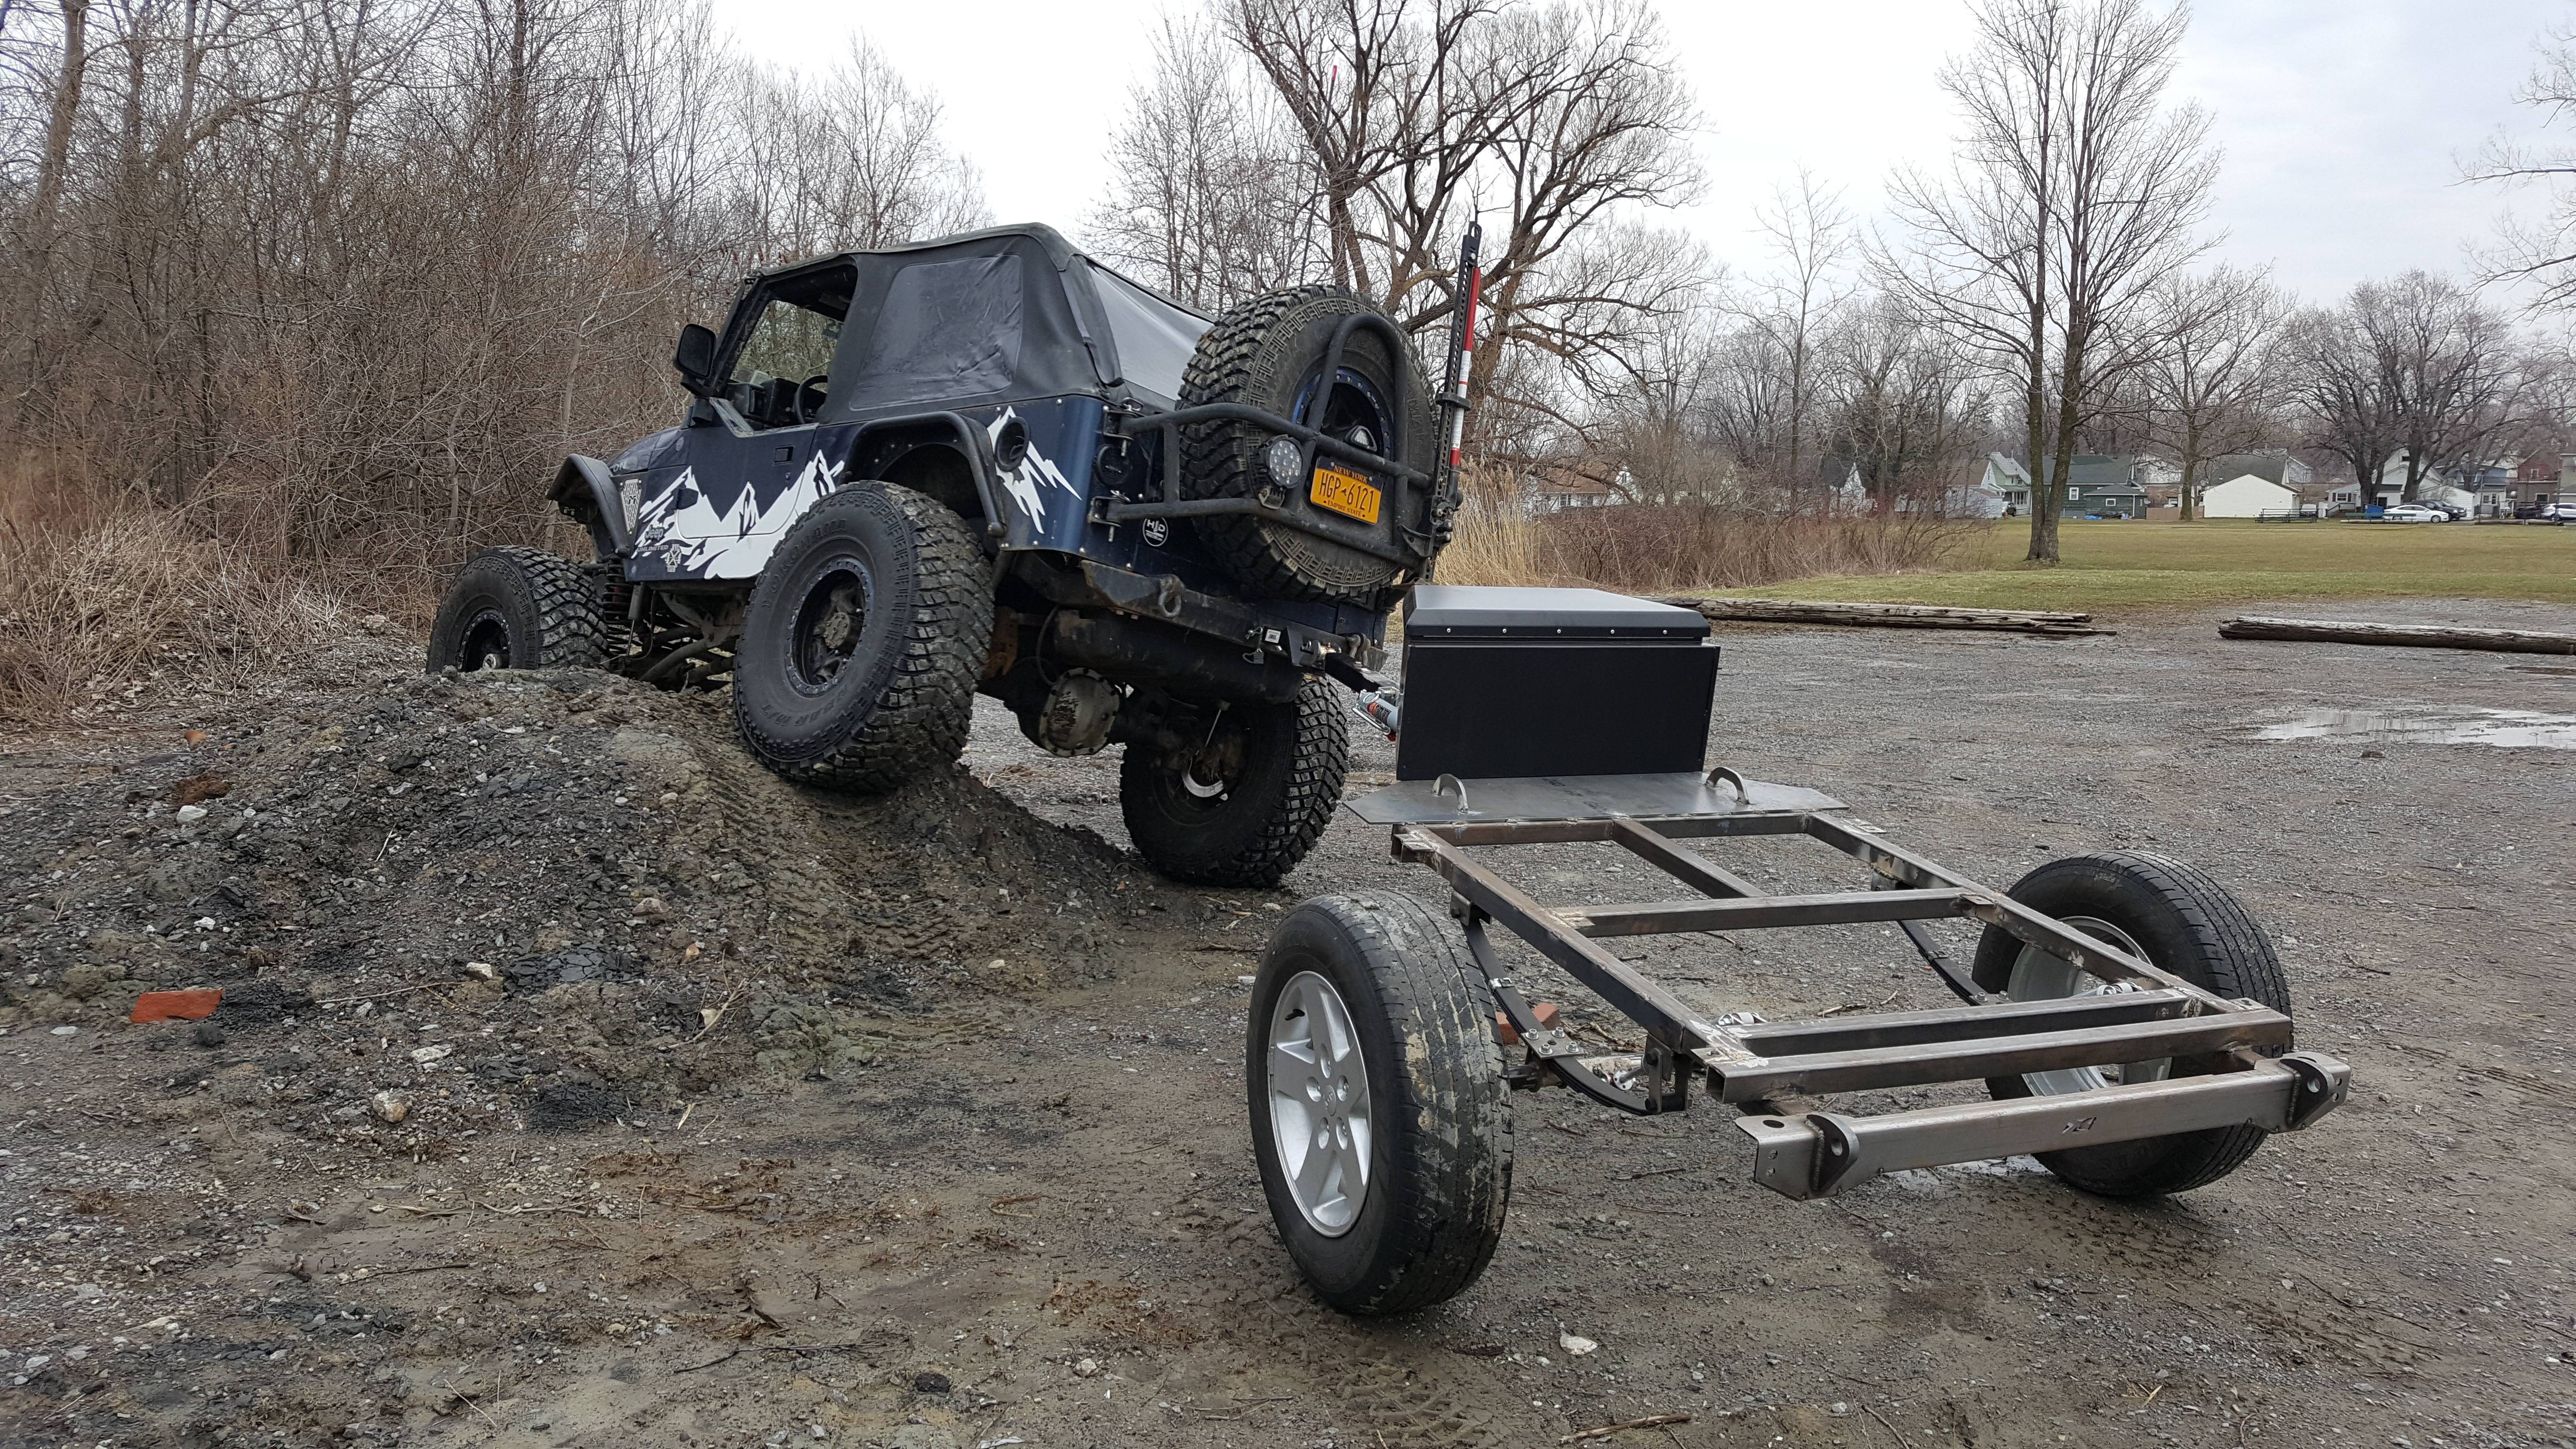
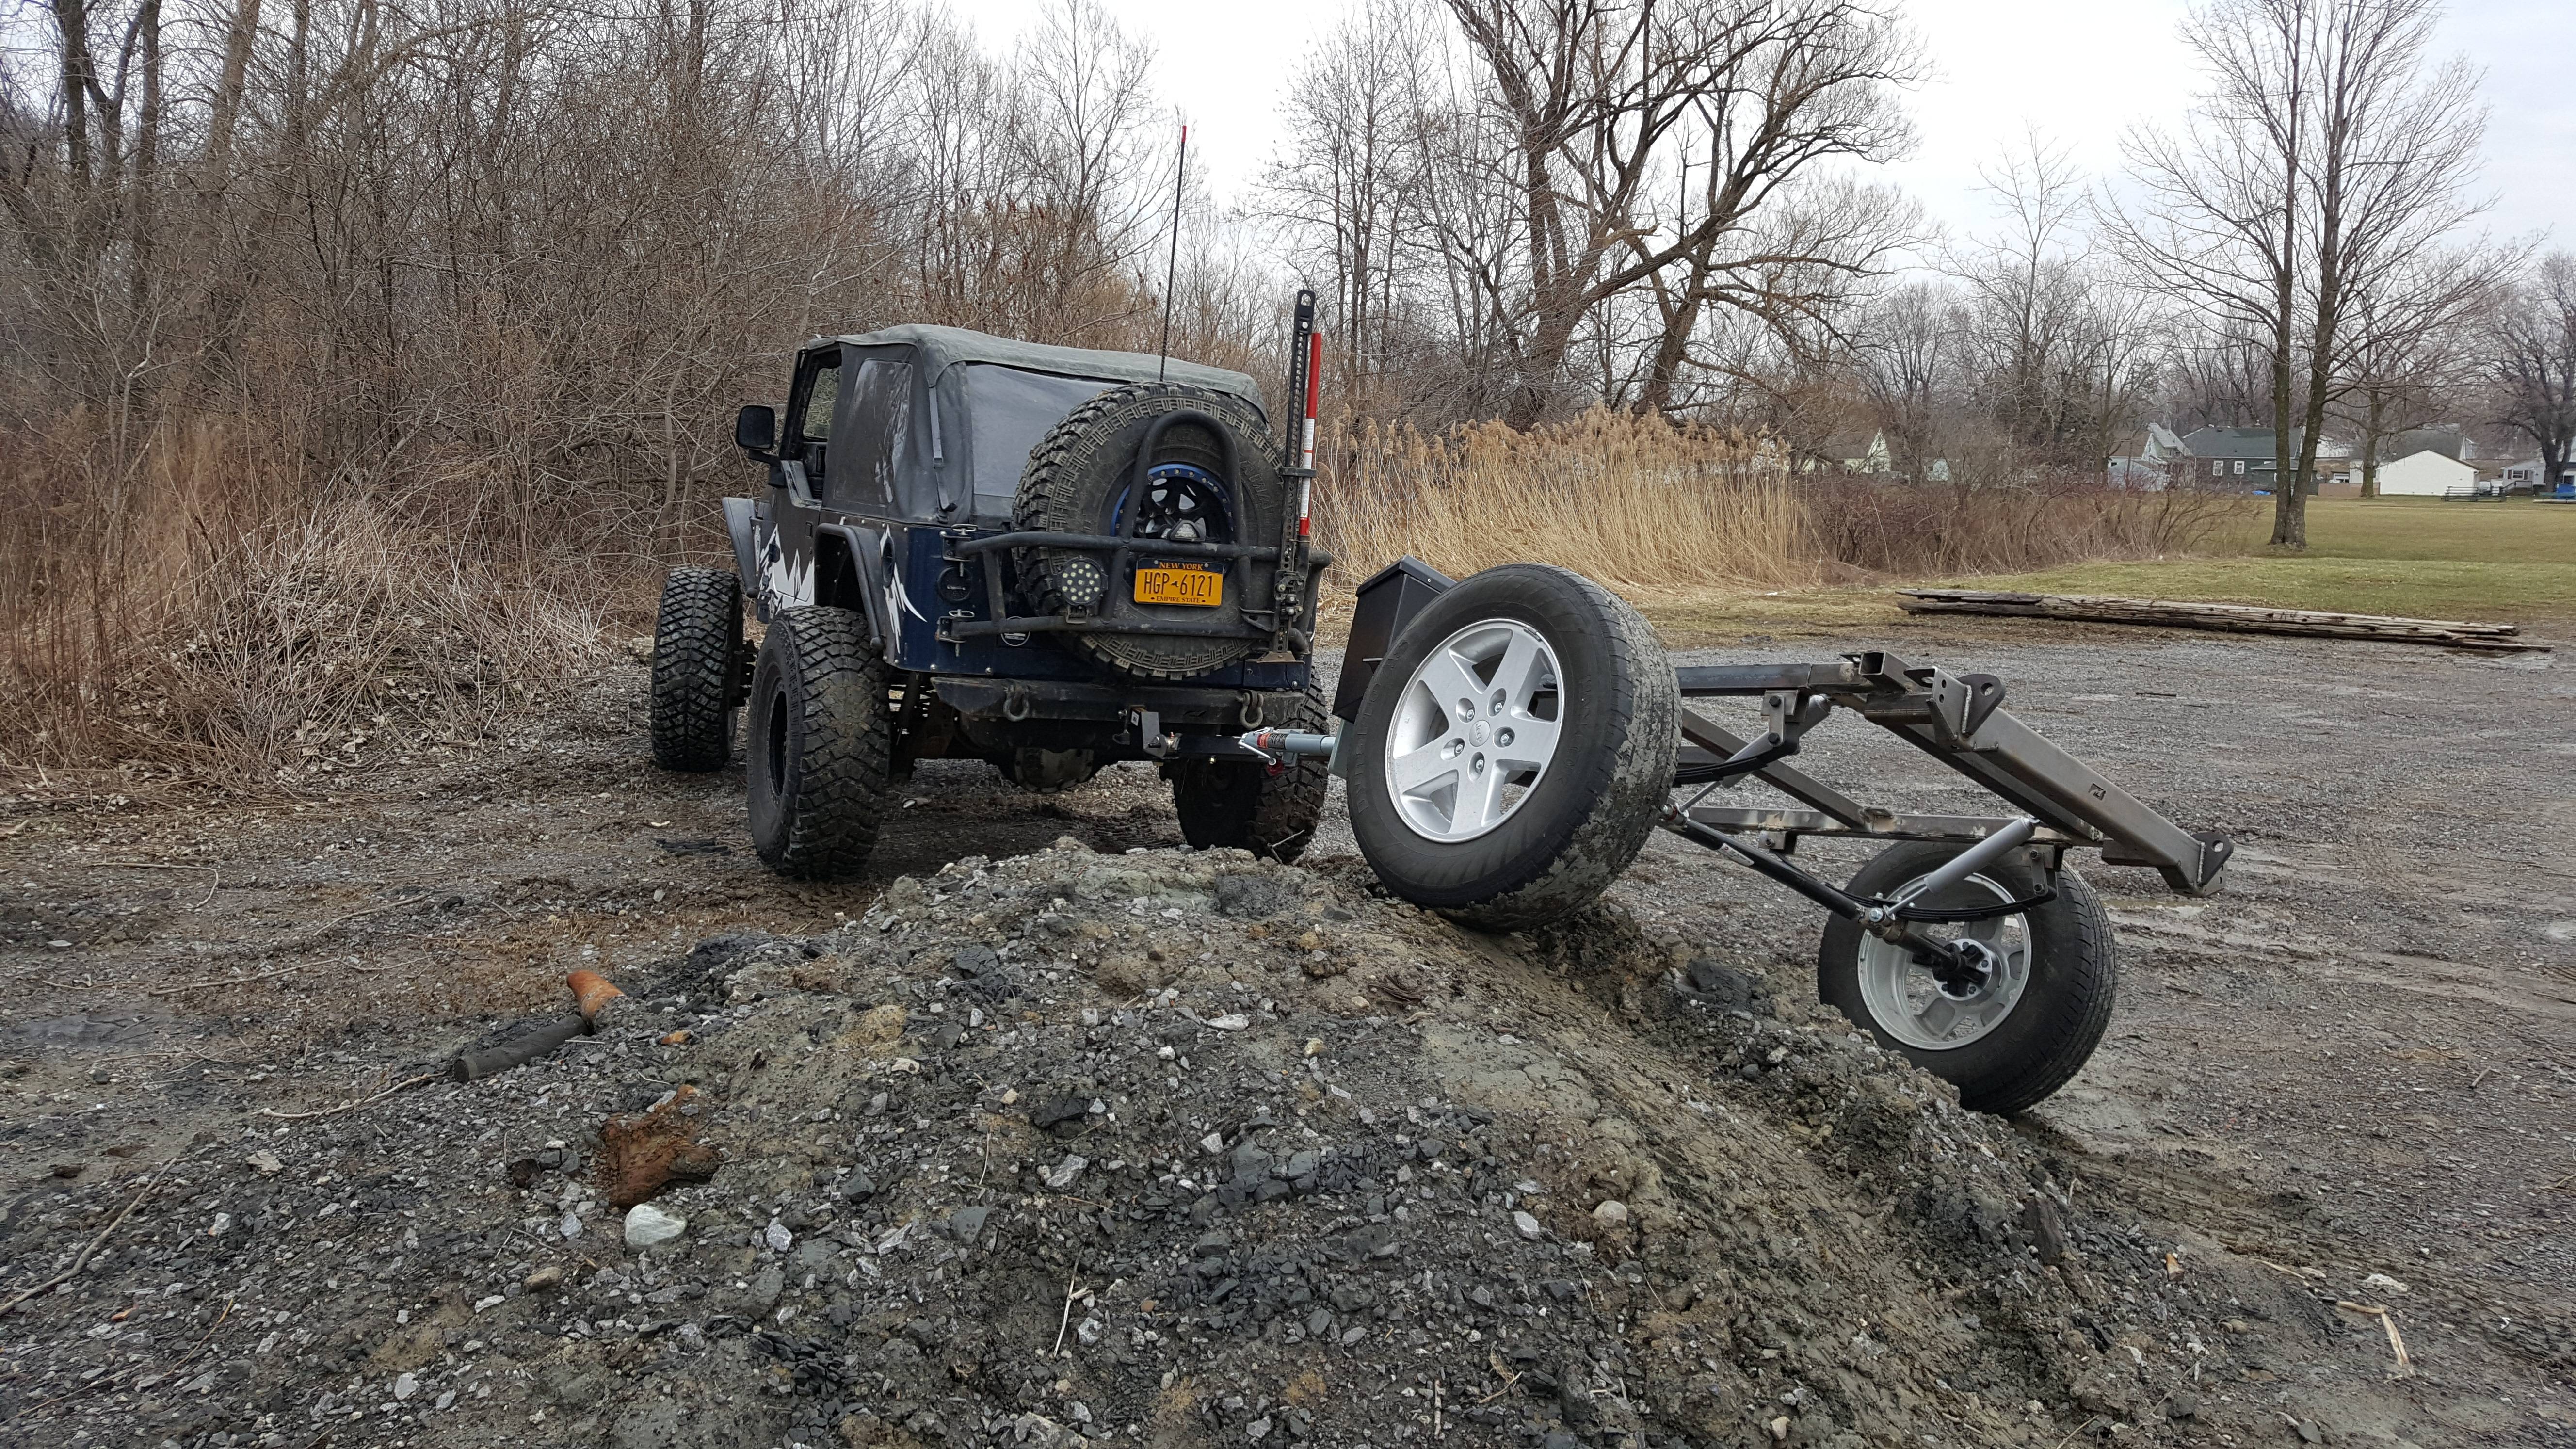
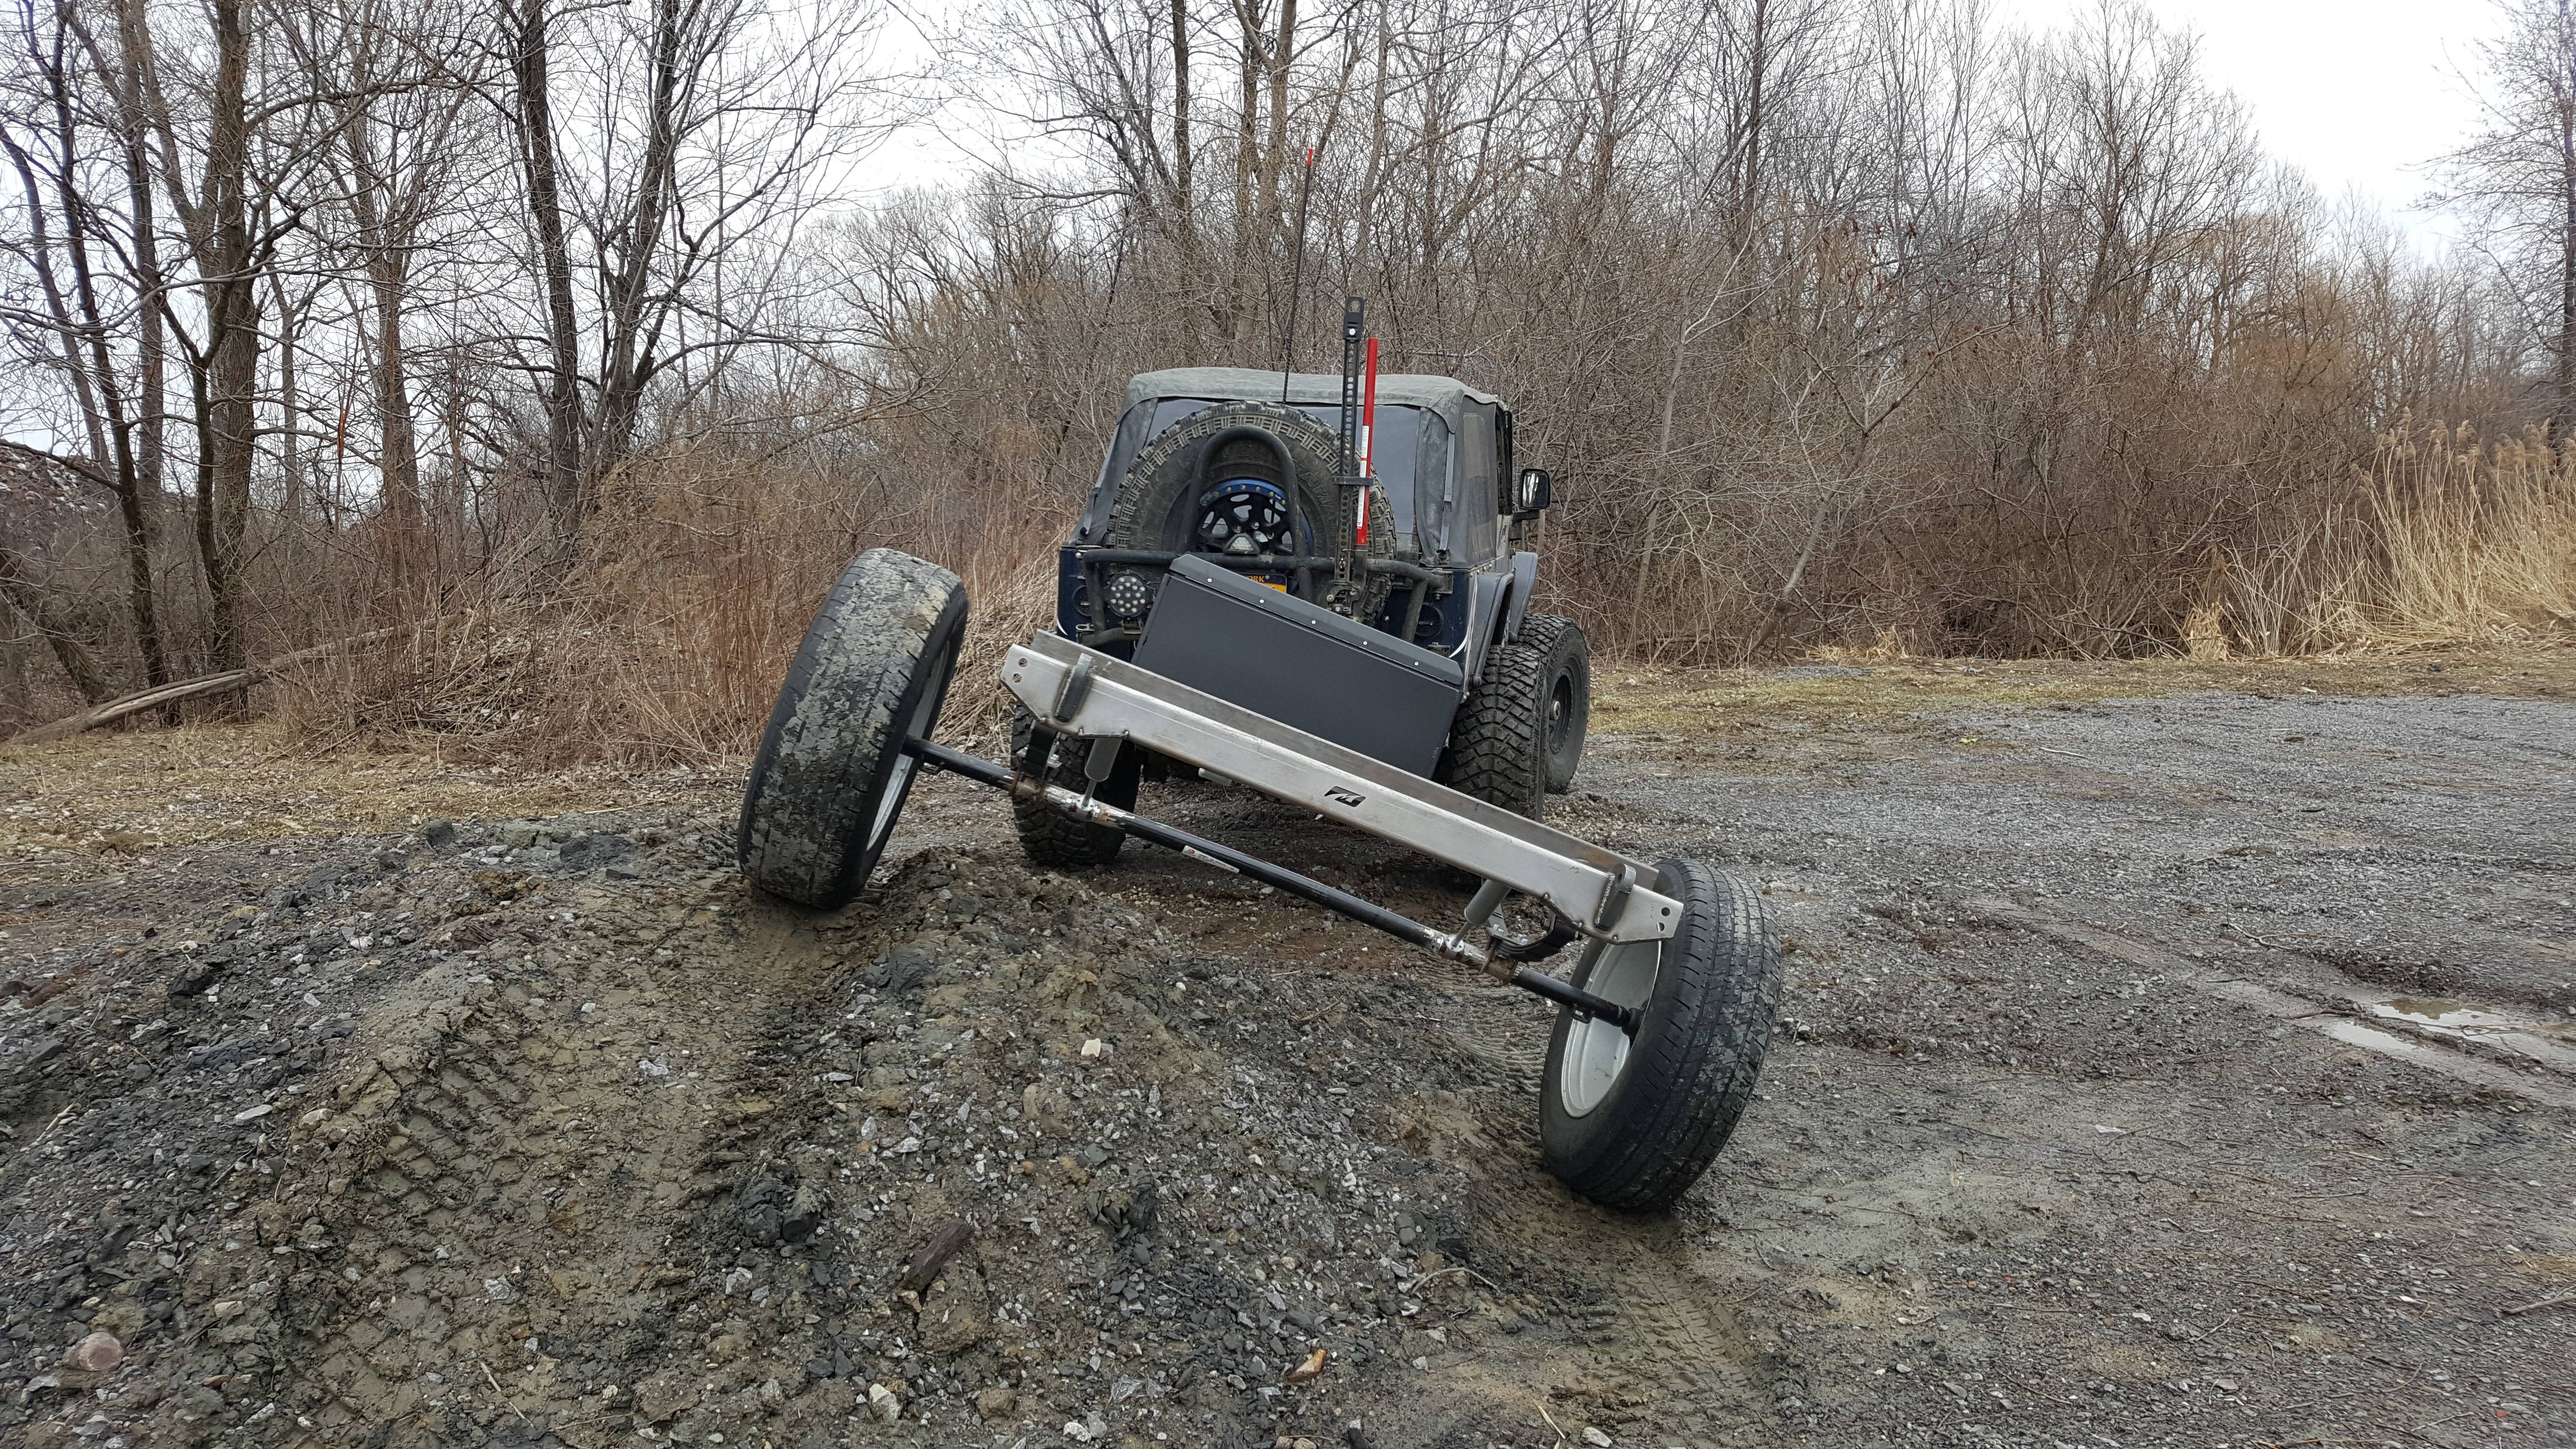
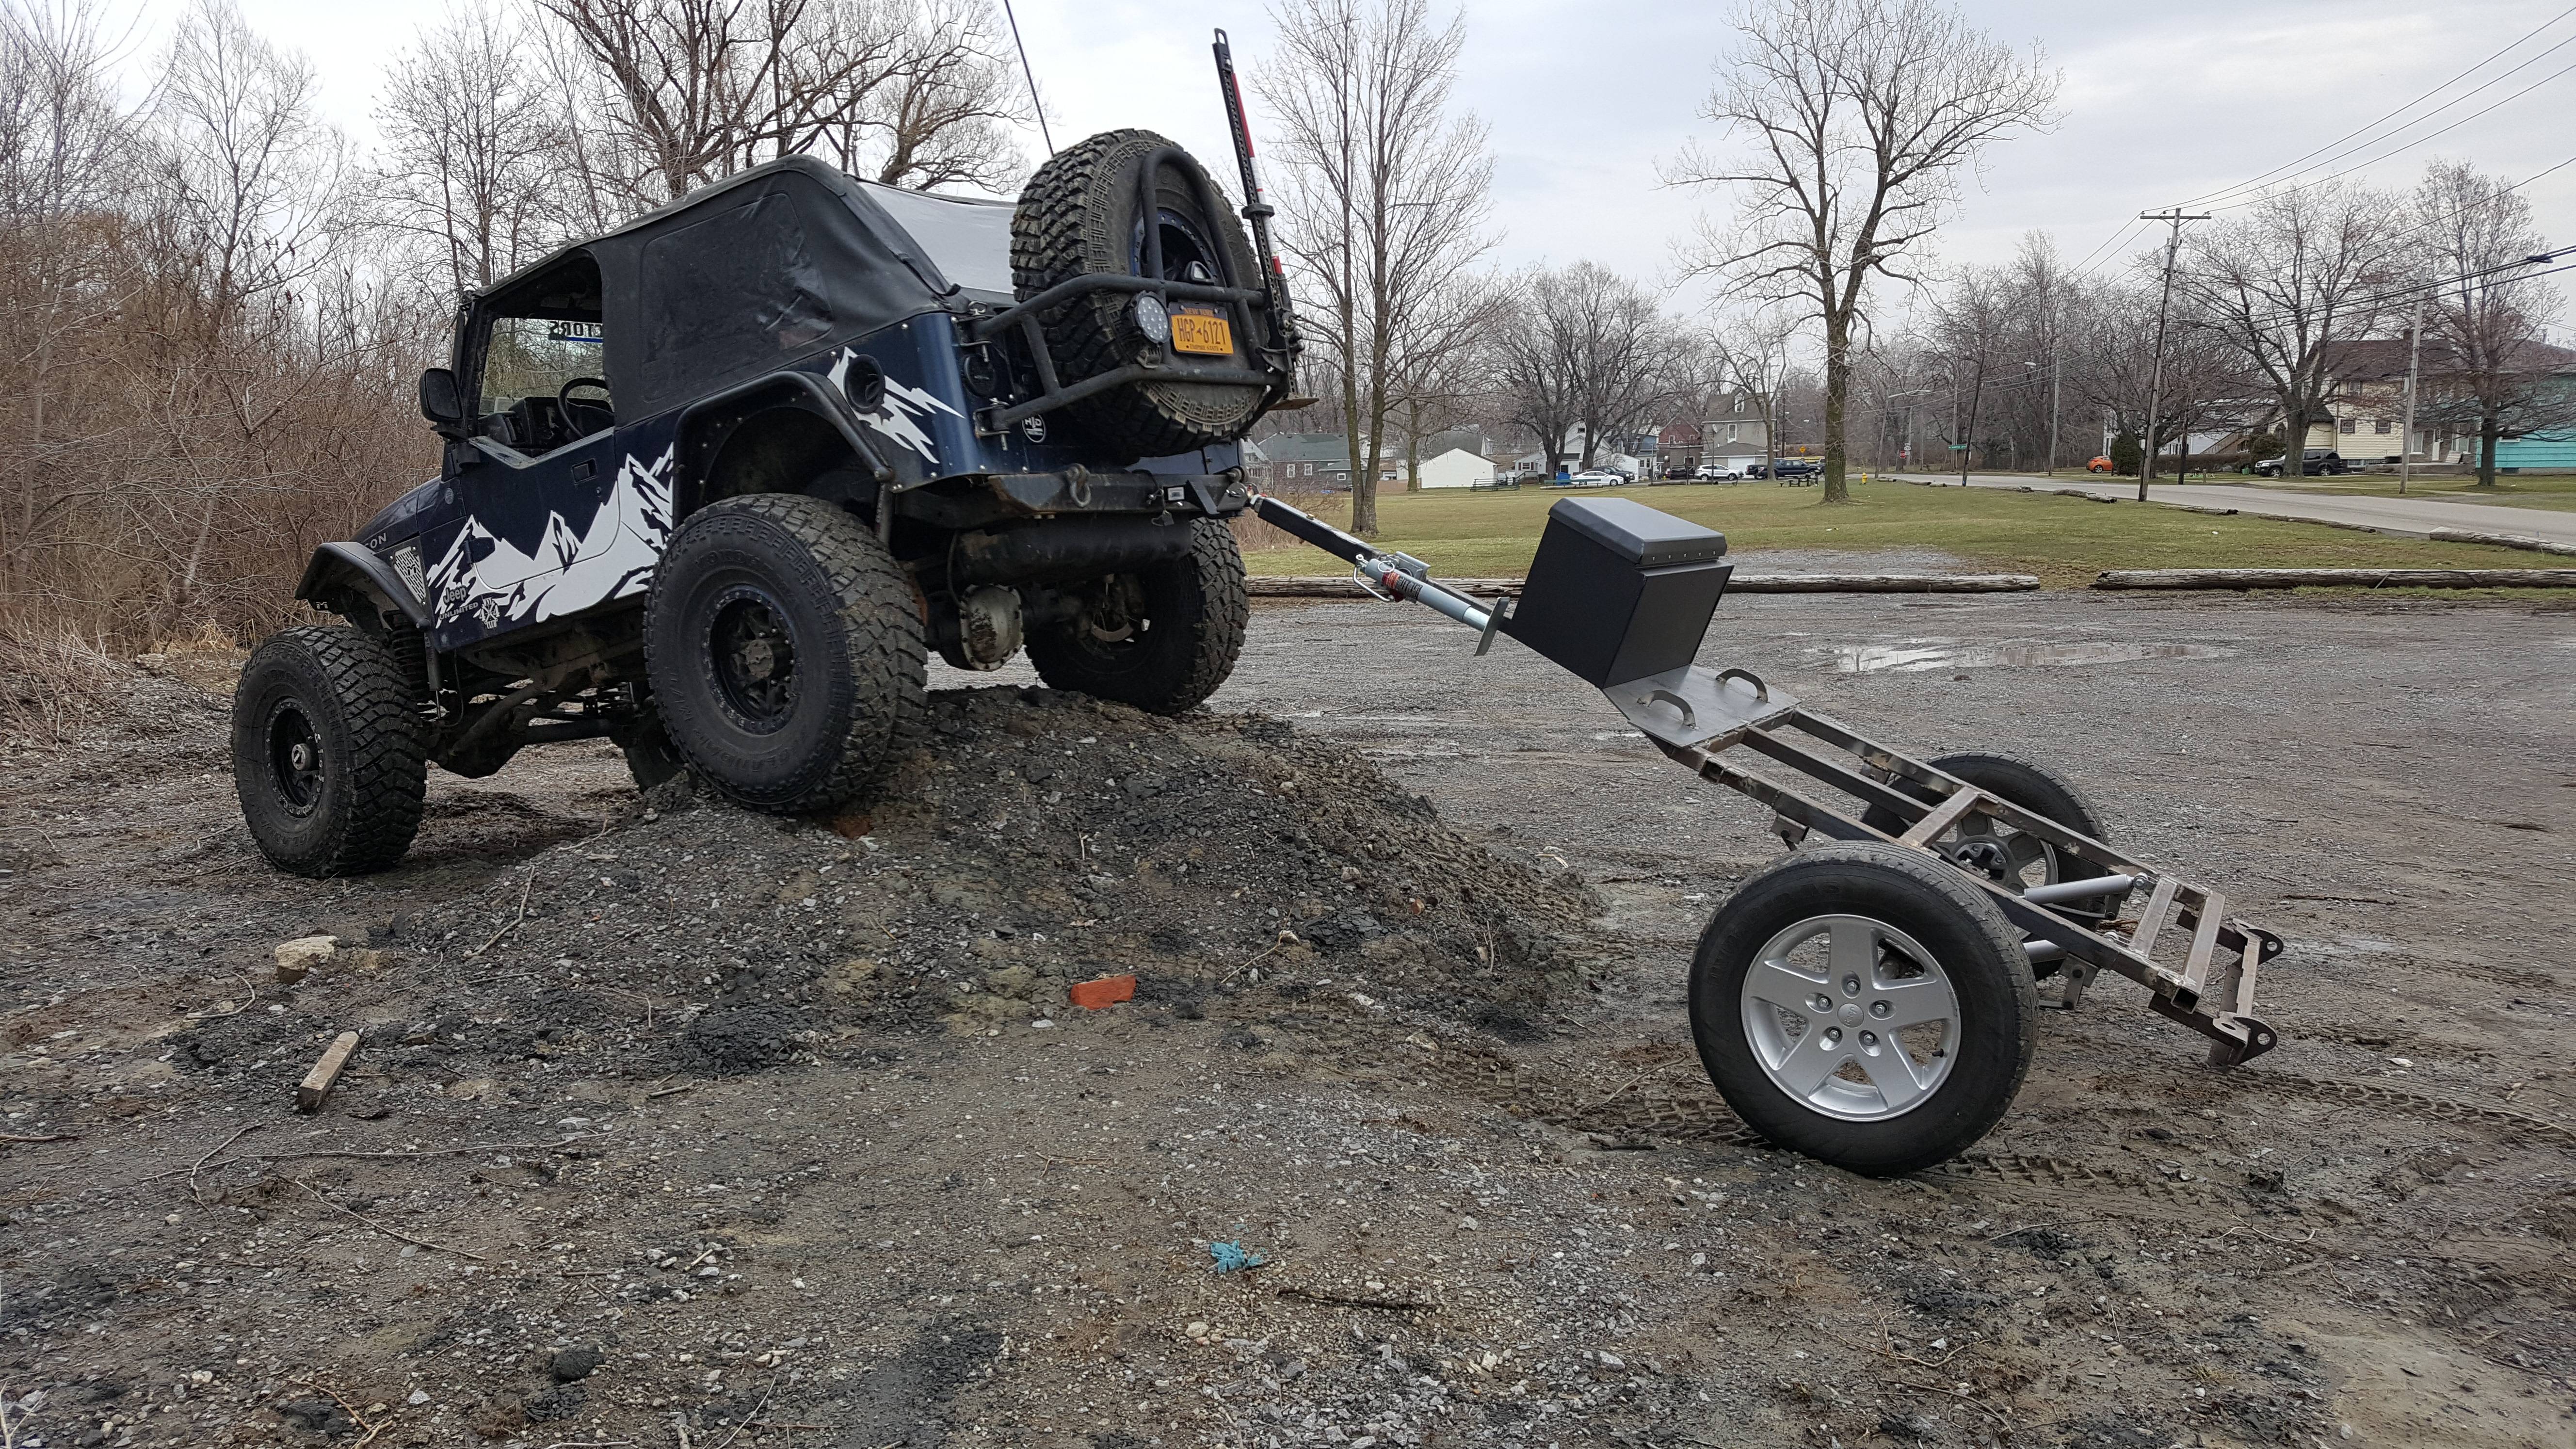
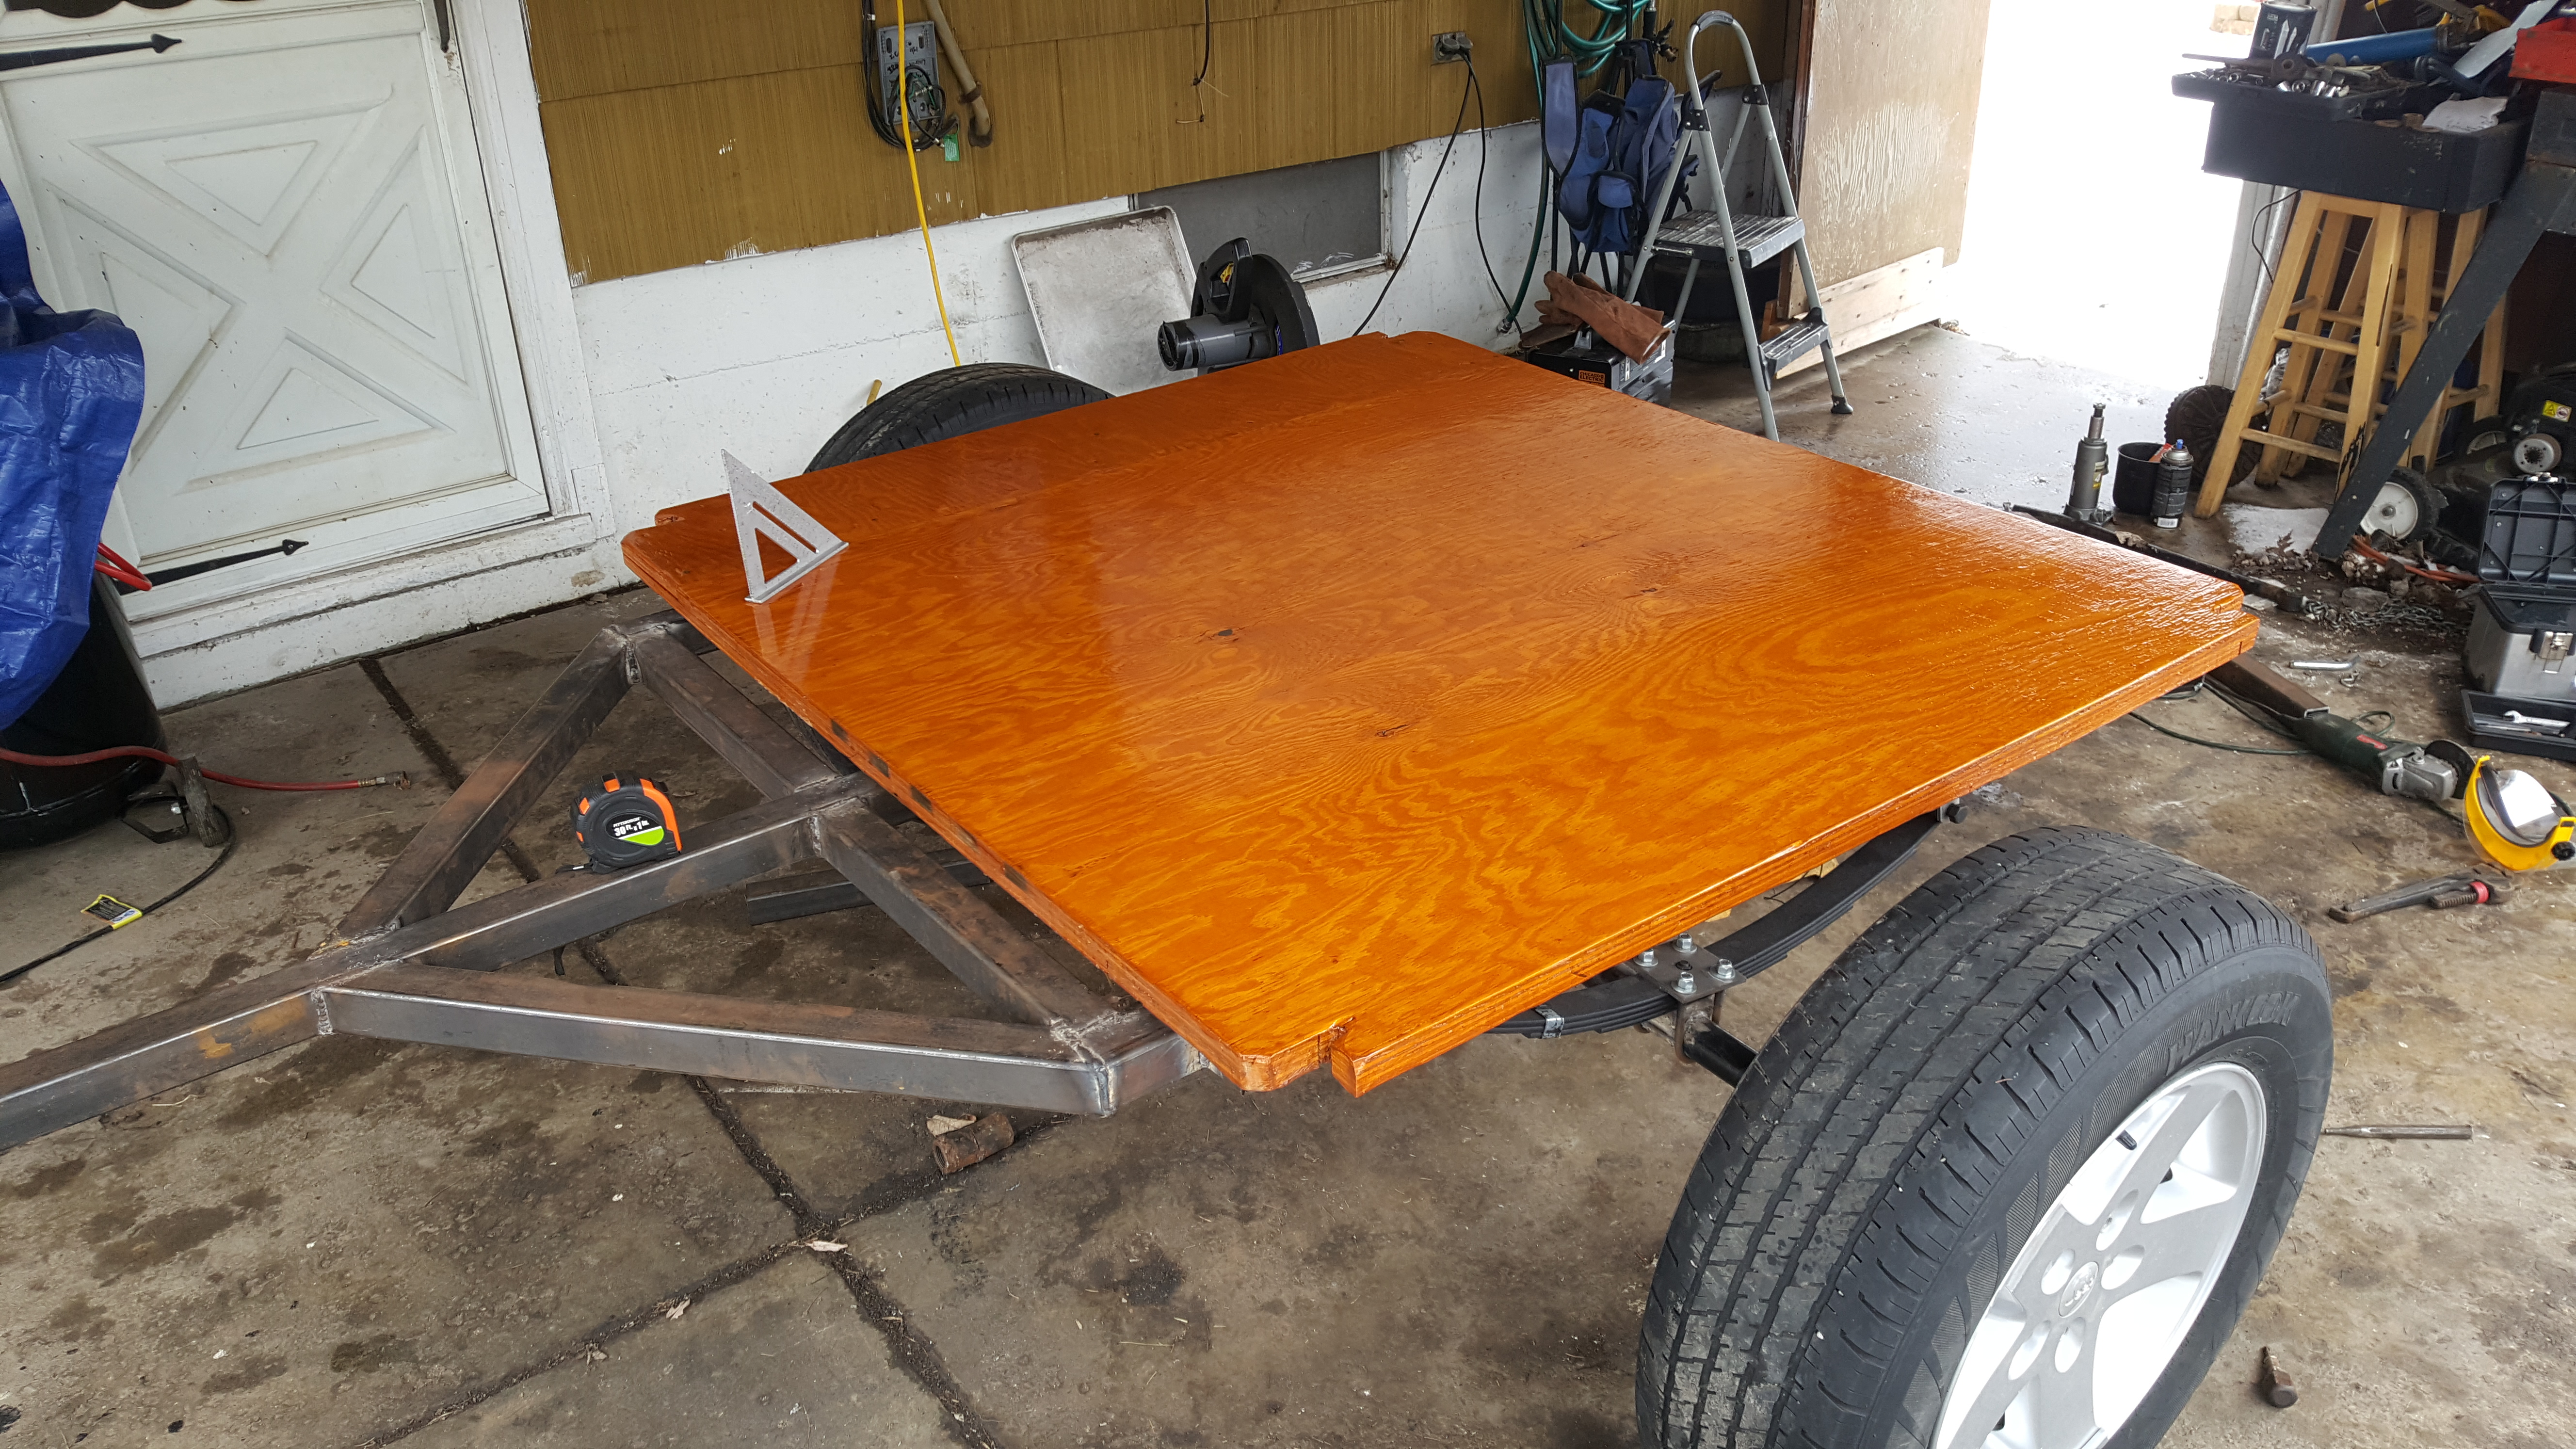
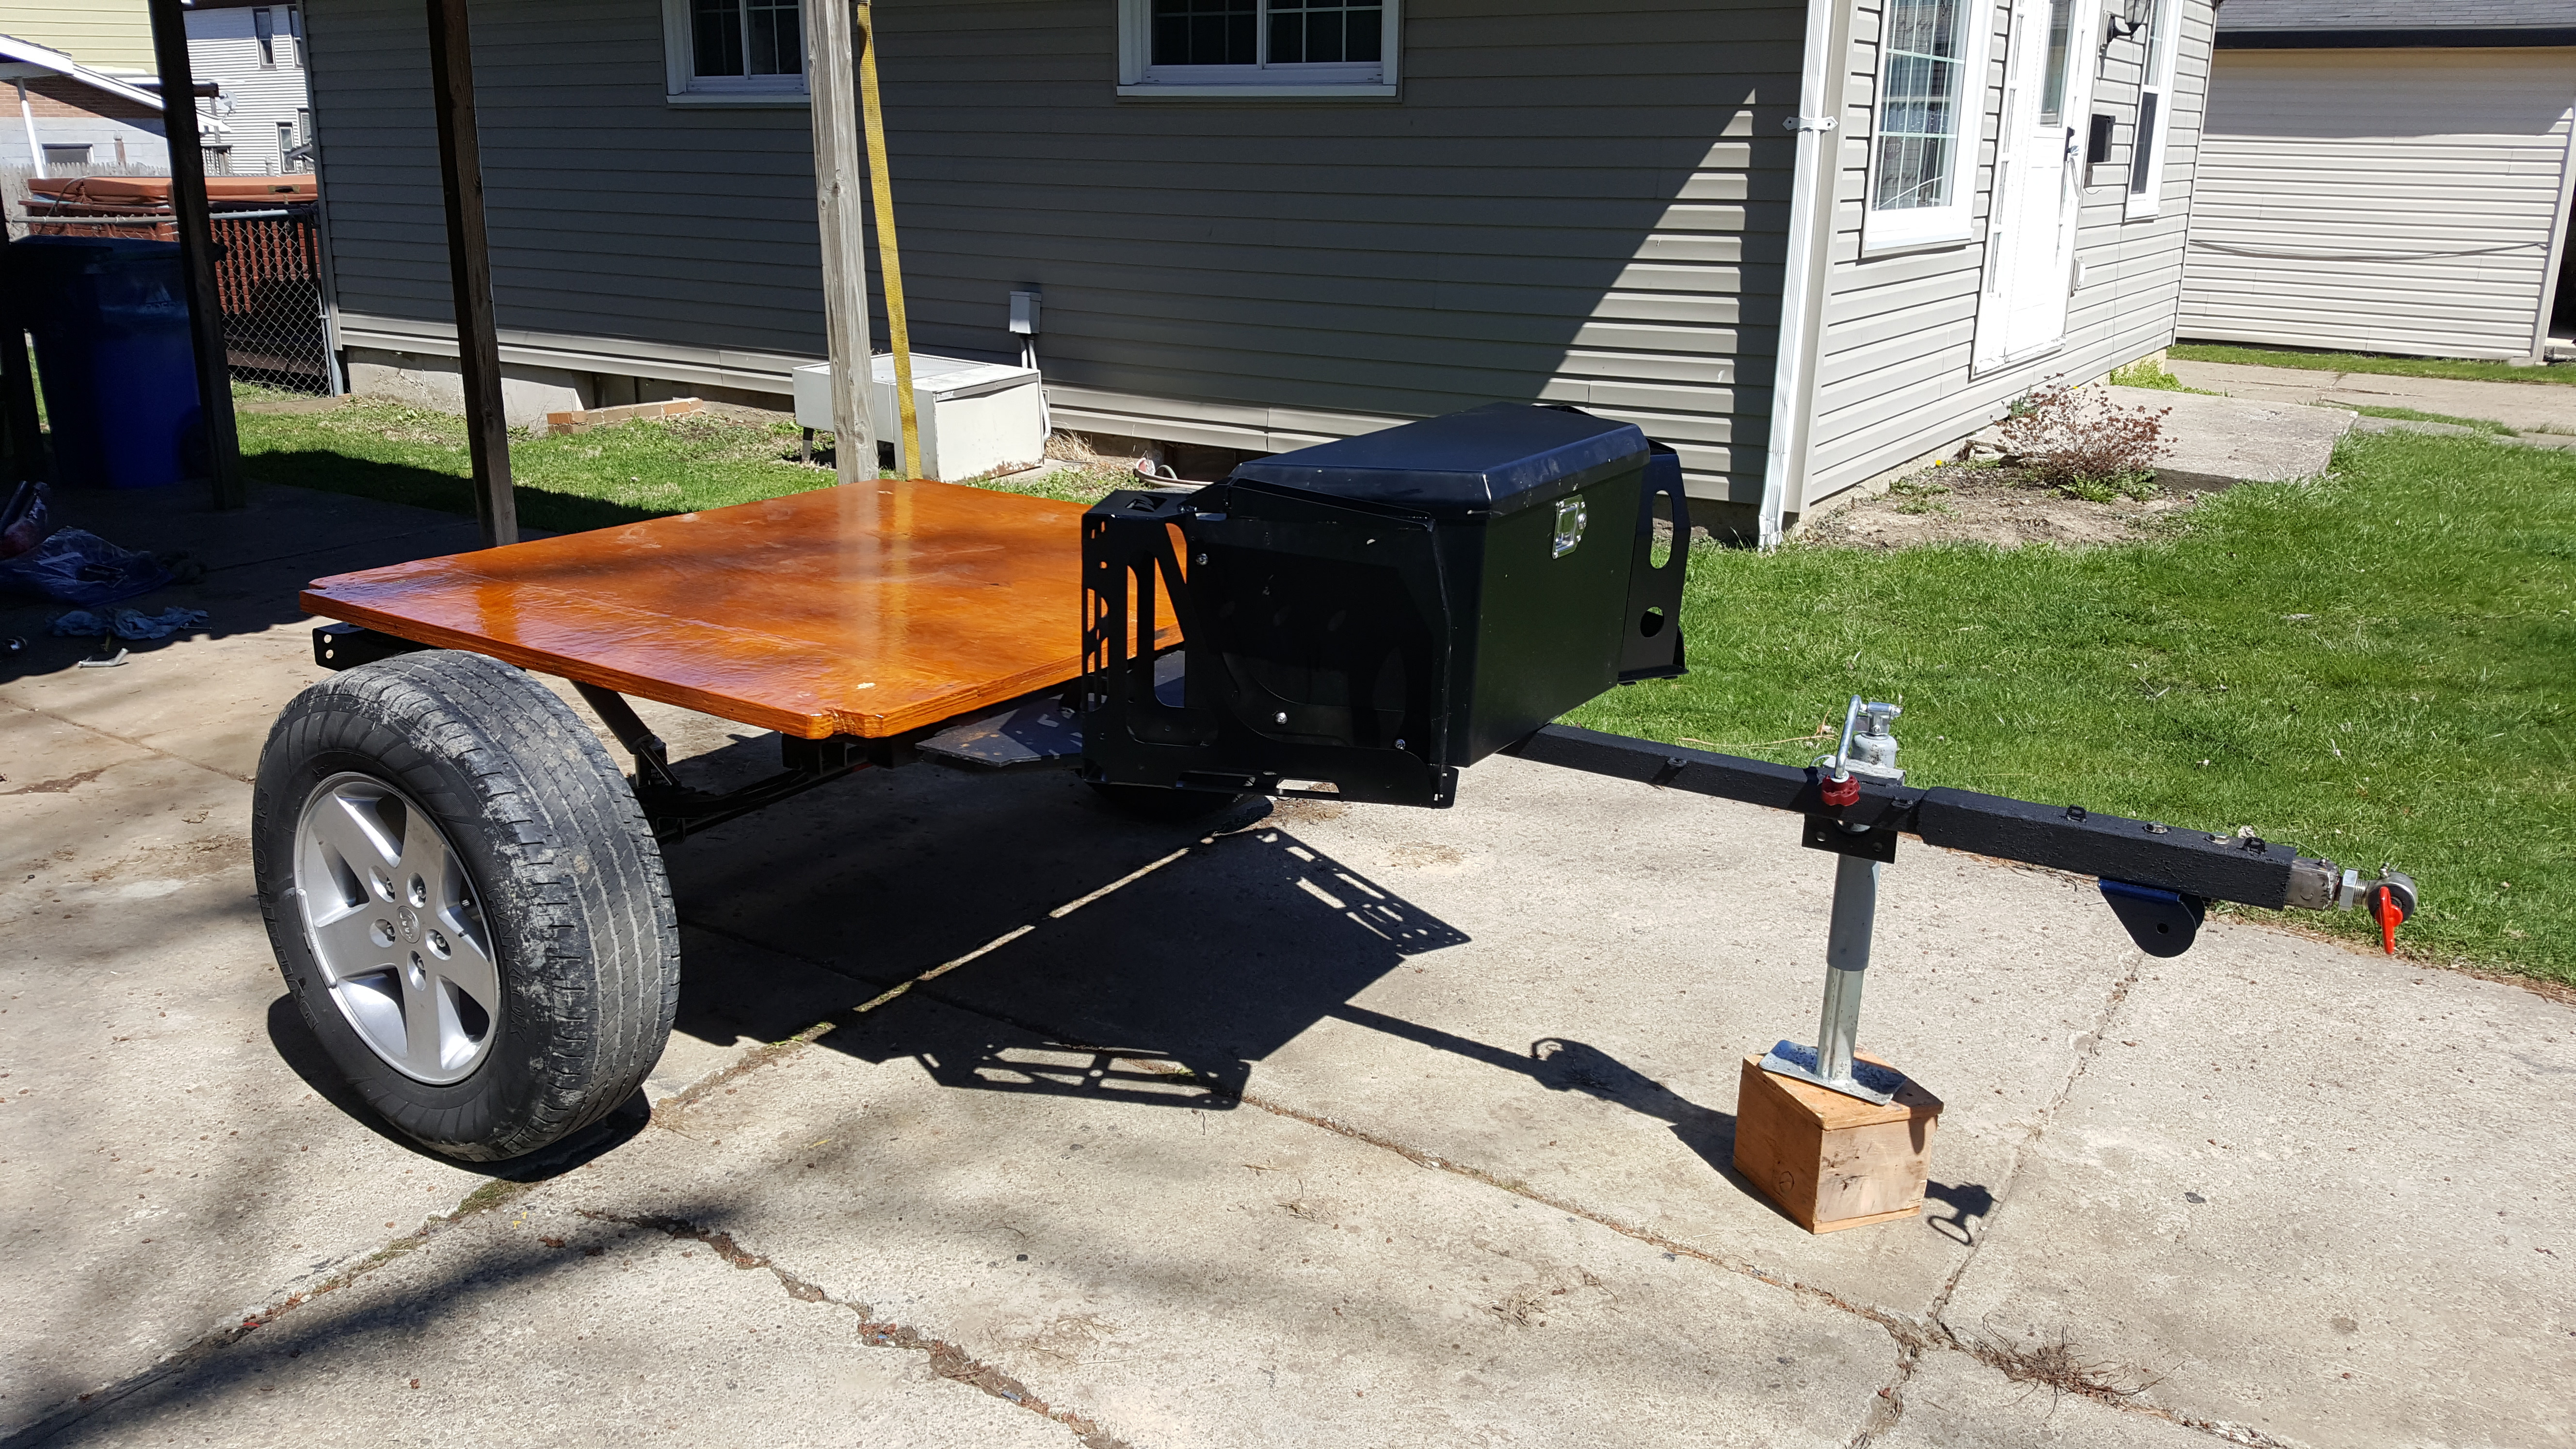
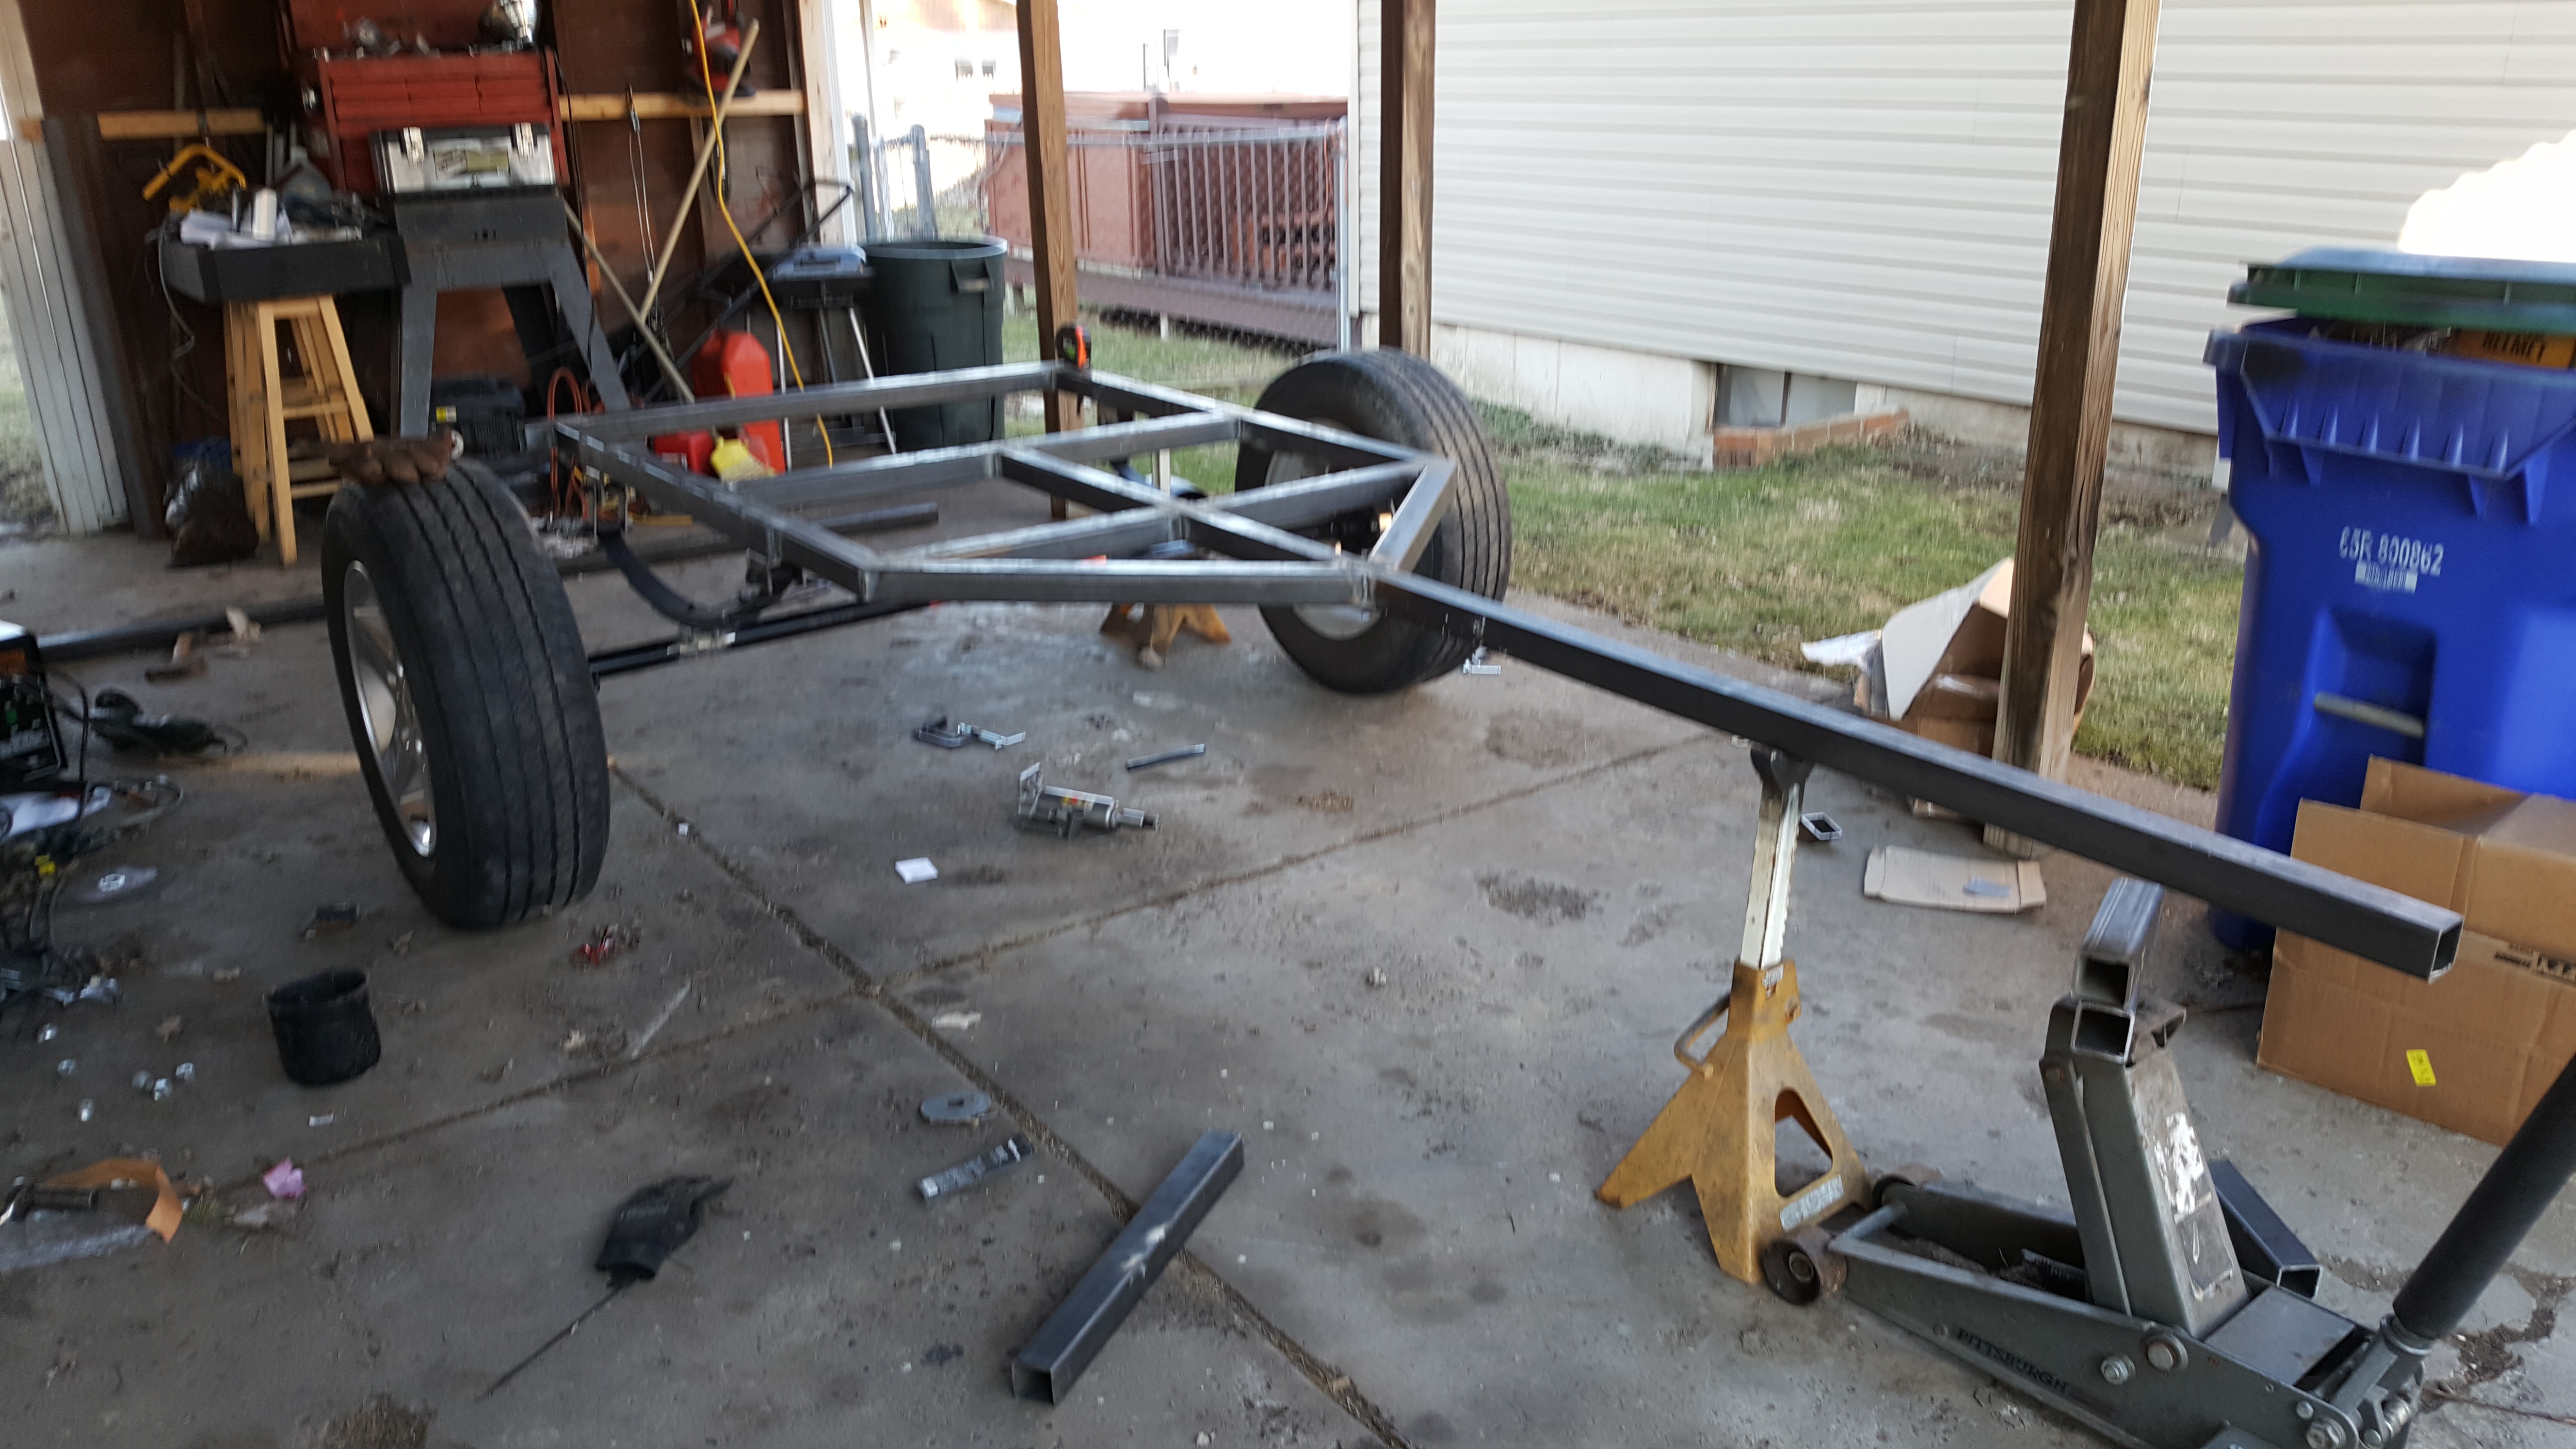
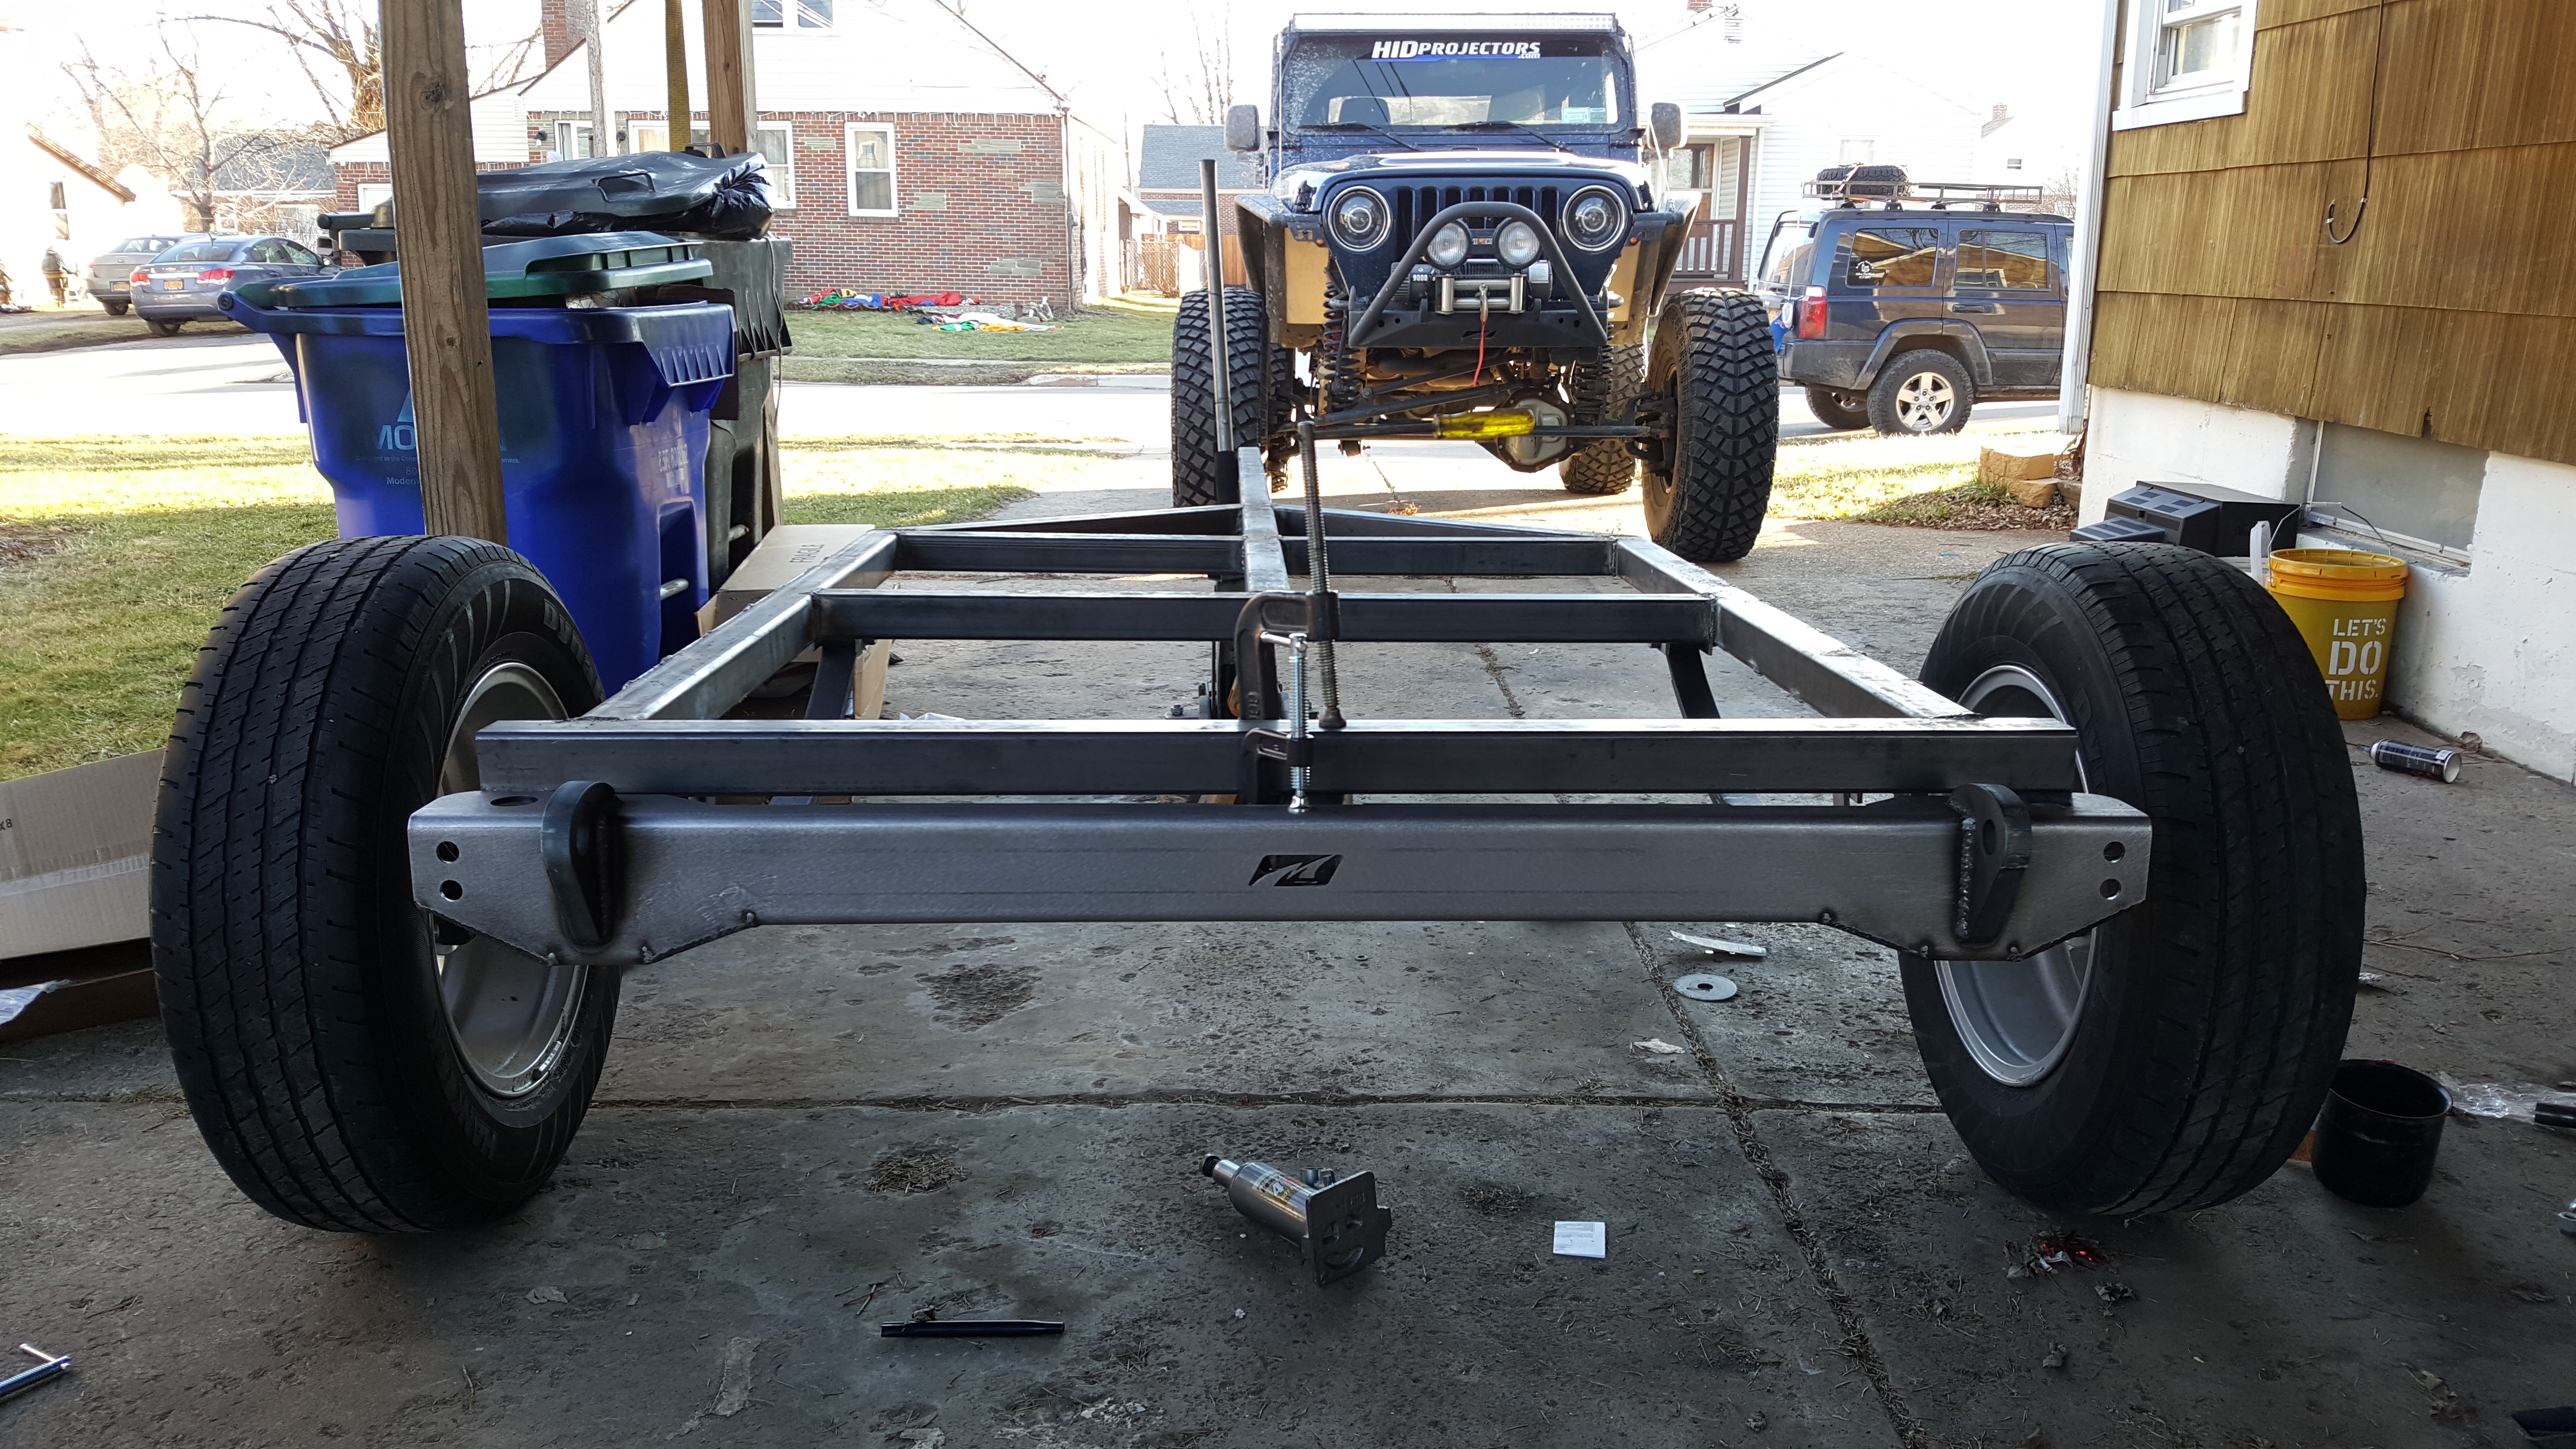
Here's the trailer sitting on wheels. I'm using a 2200lb axle. 71" hub face with 2" wide wheel spacers to convert over to JK wheel bolt pattern. Eventually i'd like to get a 3500lb axle with an 8x6.5 pattern so i can run the same wheel & tire combo as my jeep LJ (40" tires)
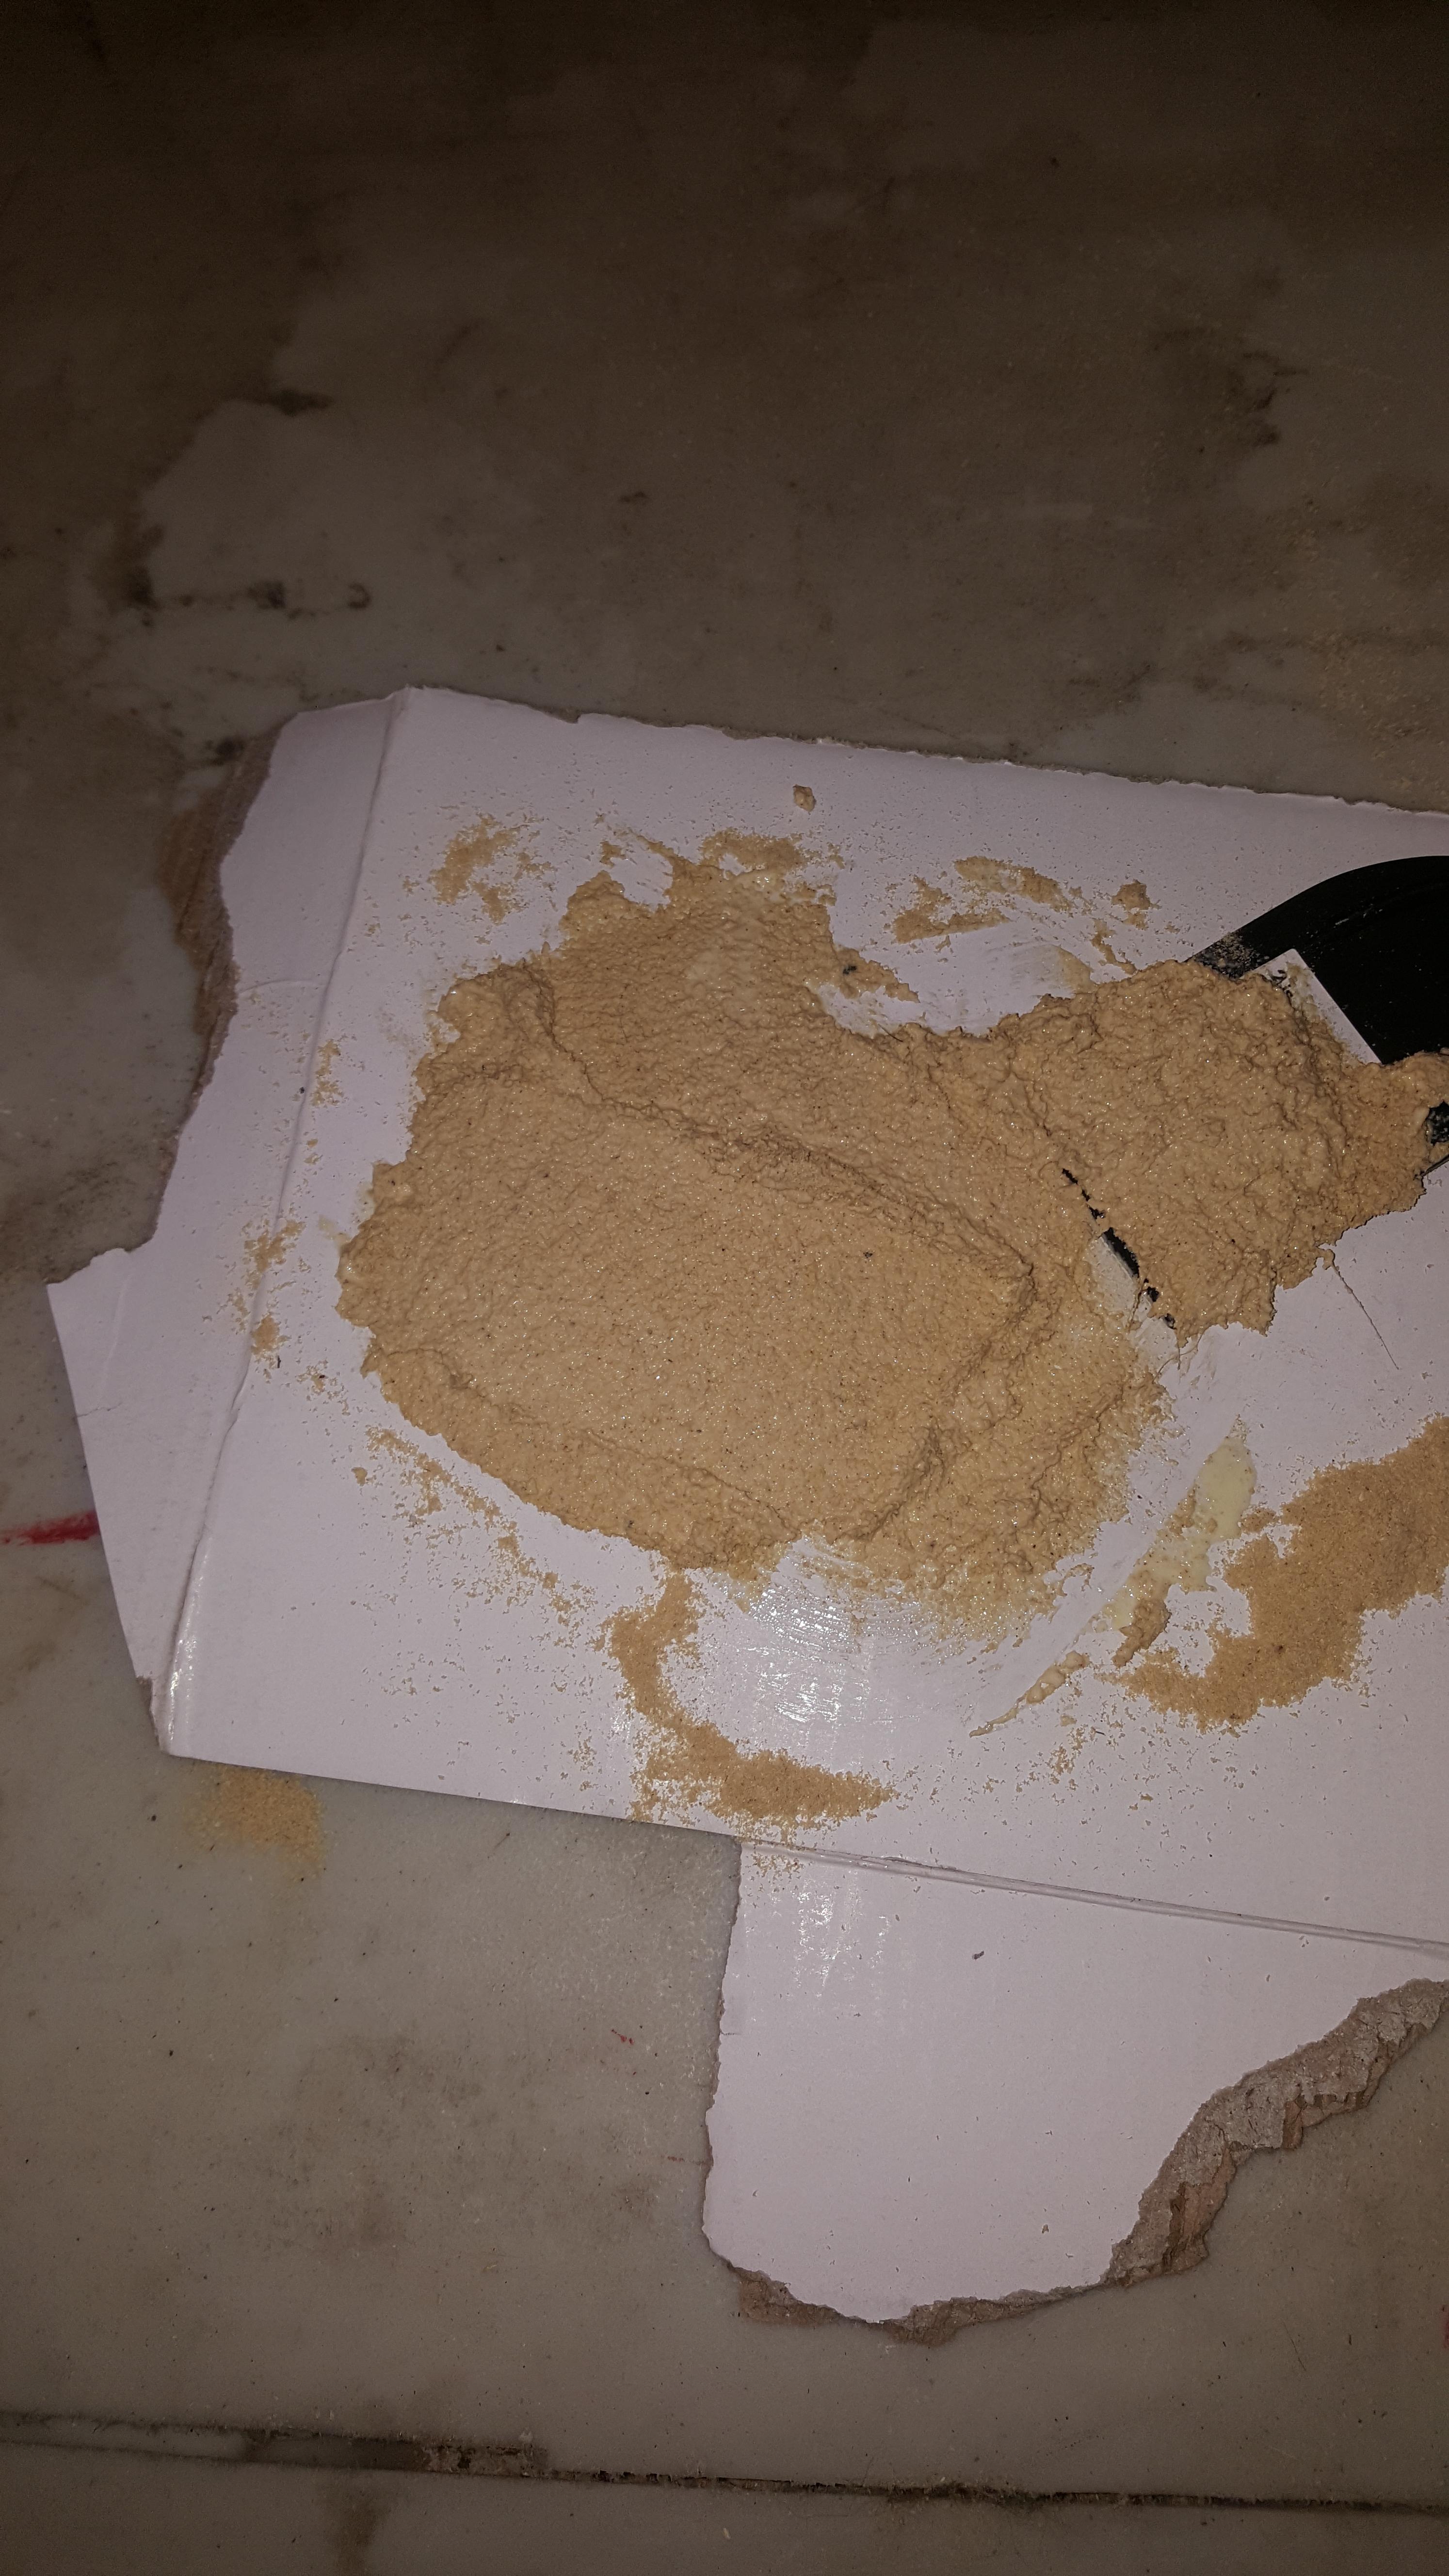
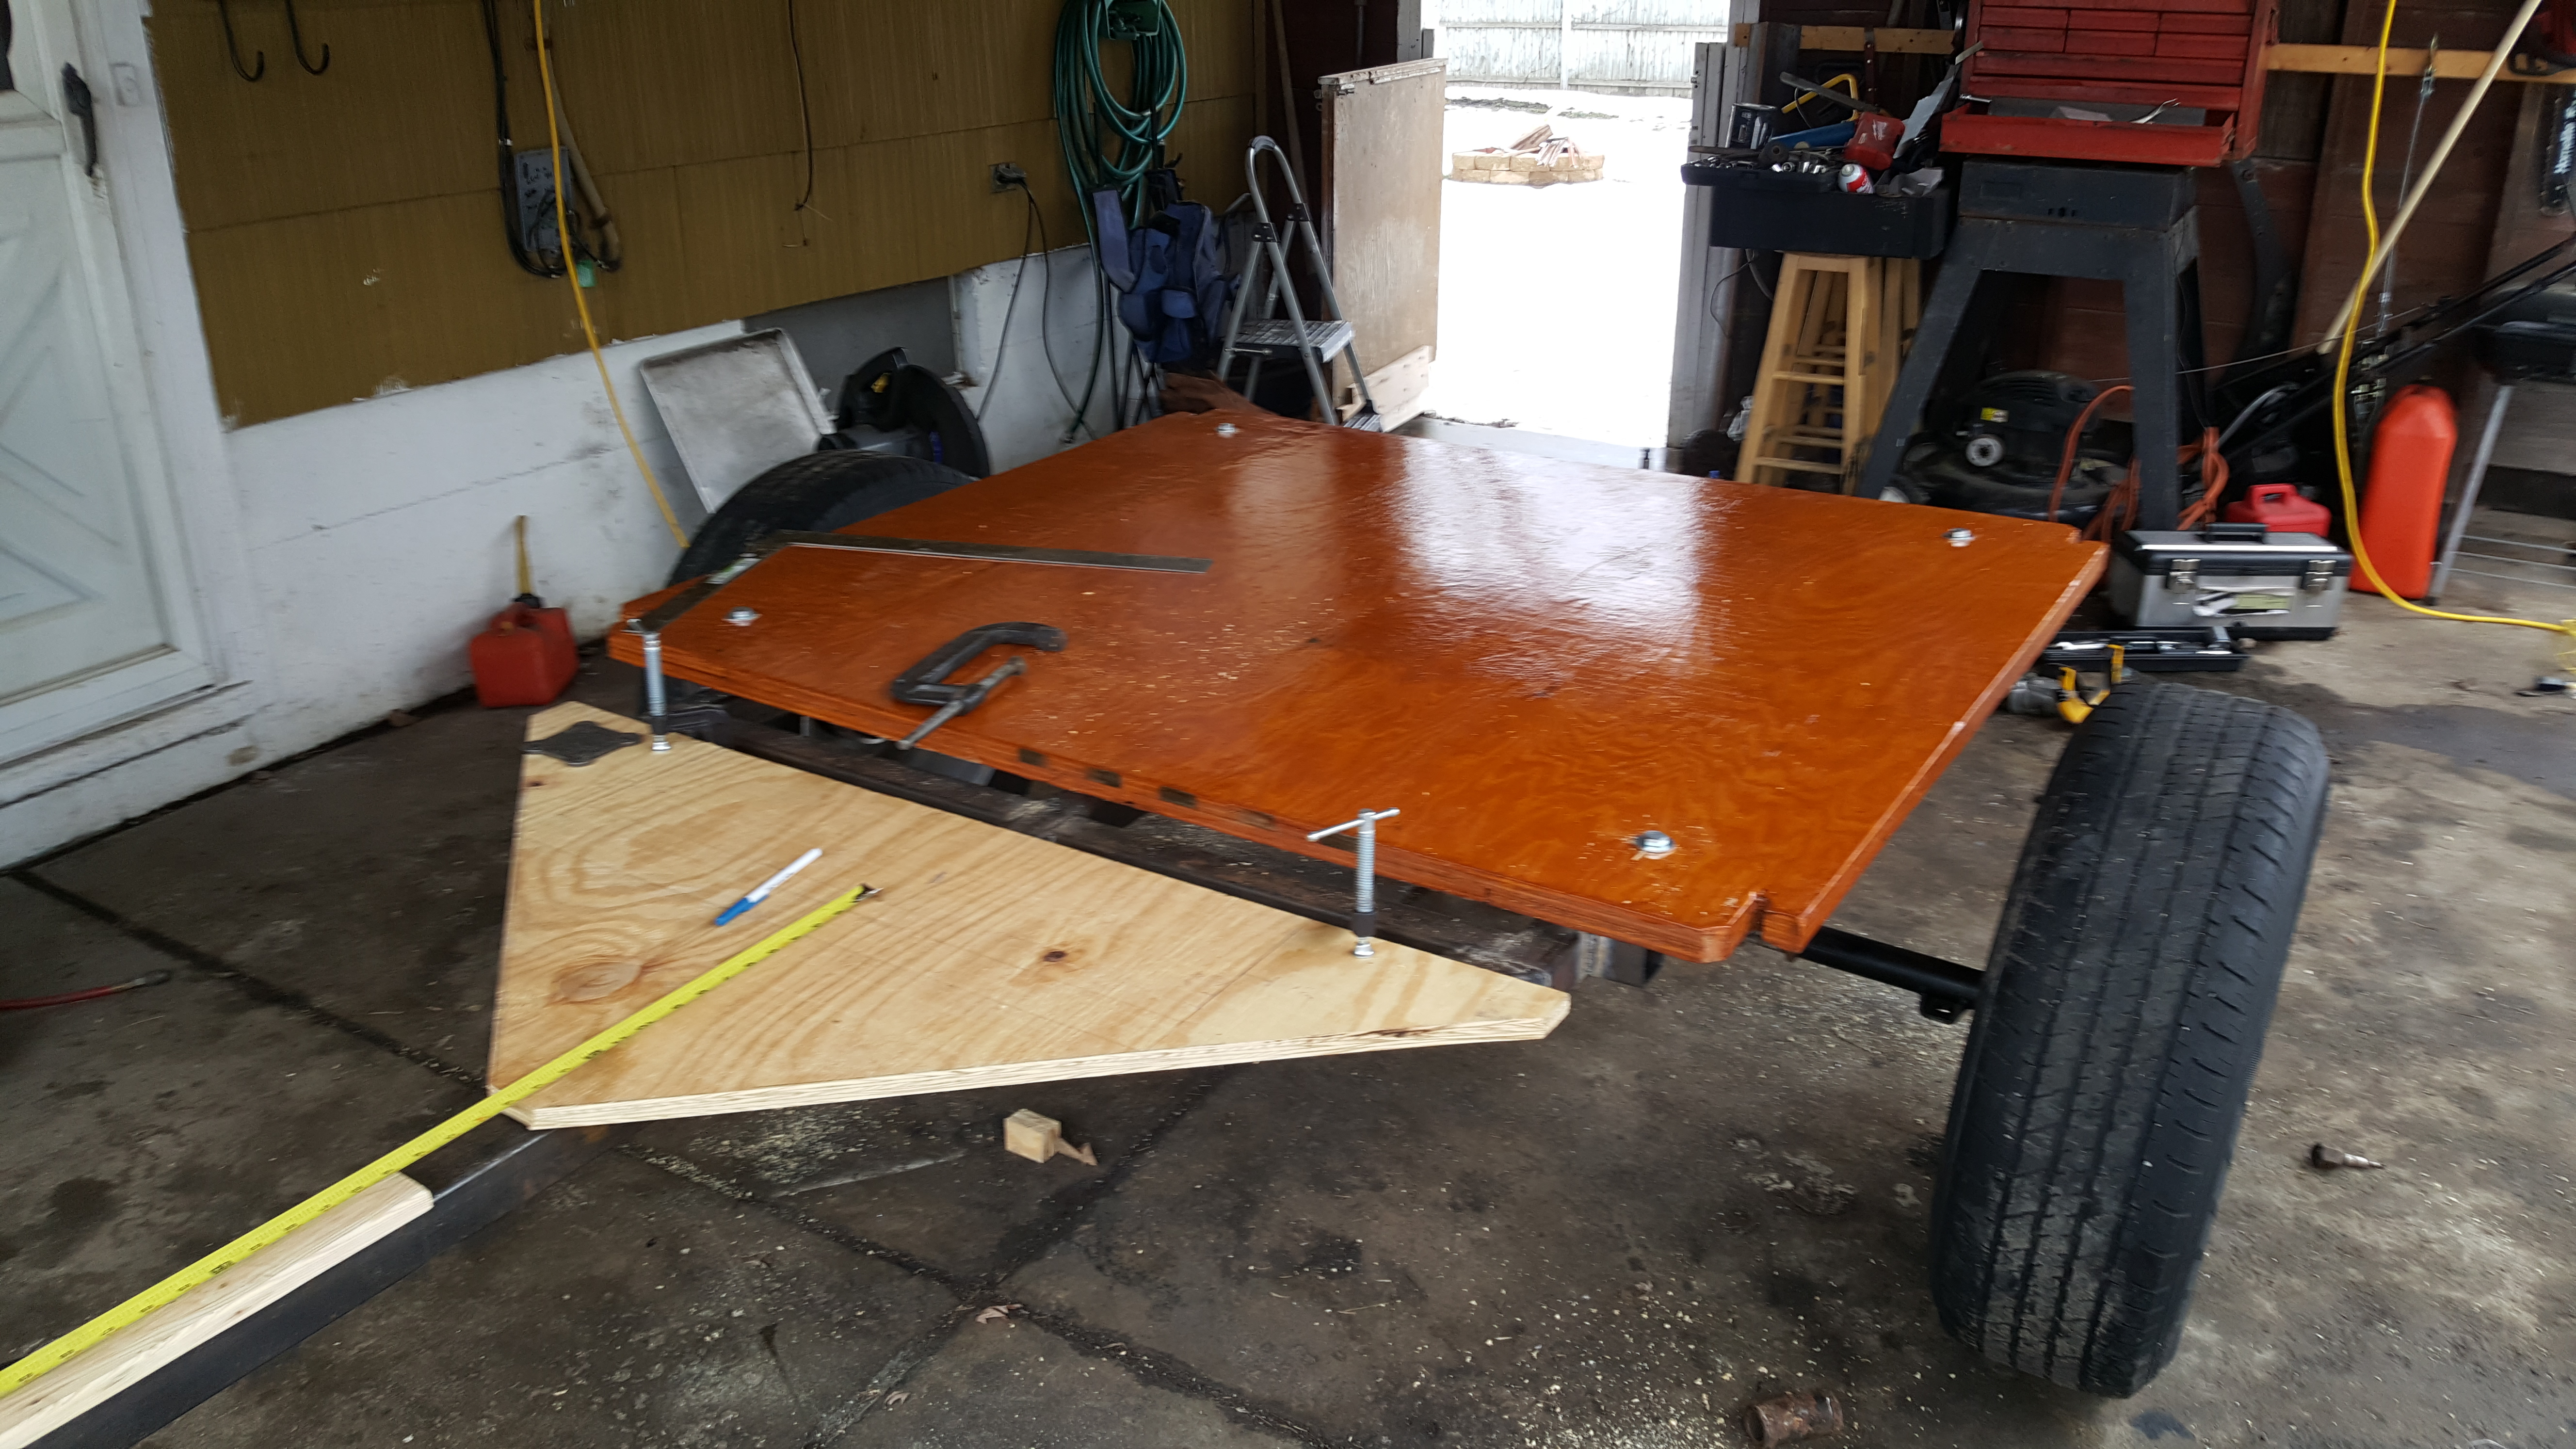
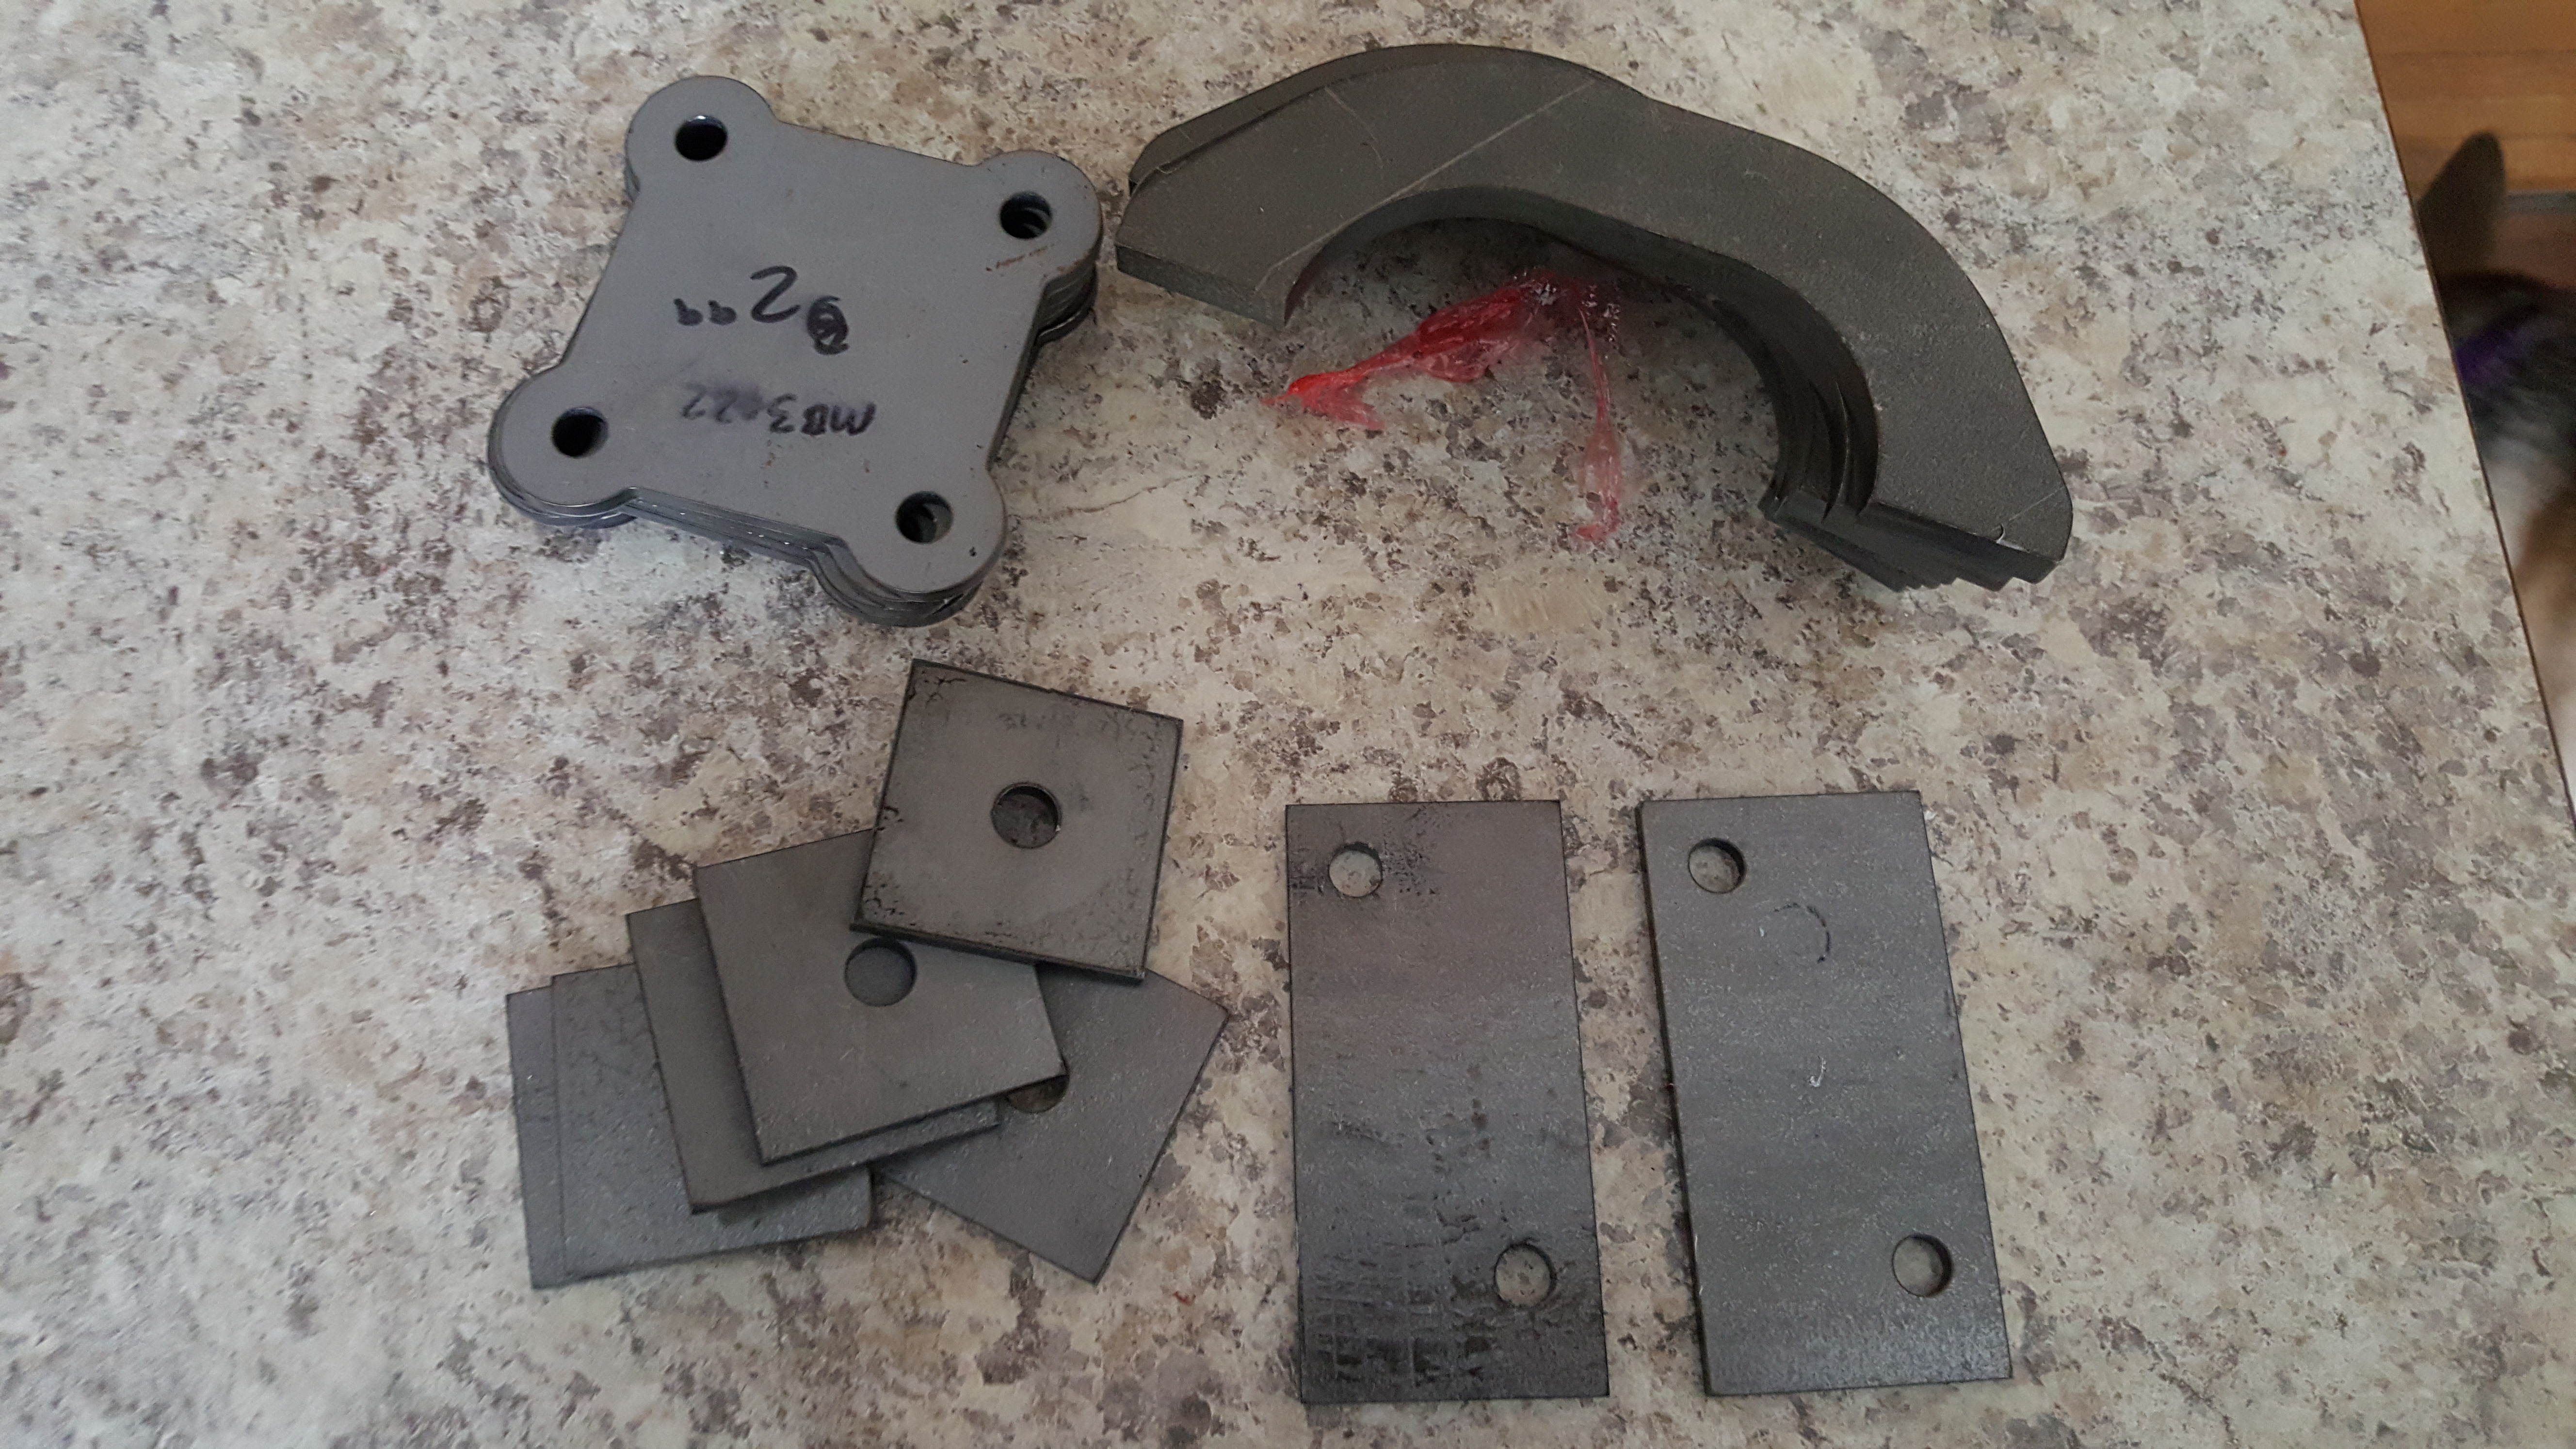
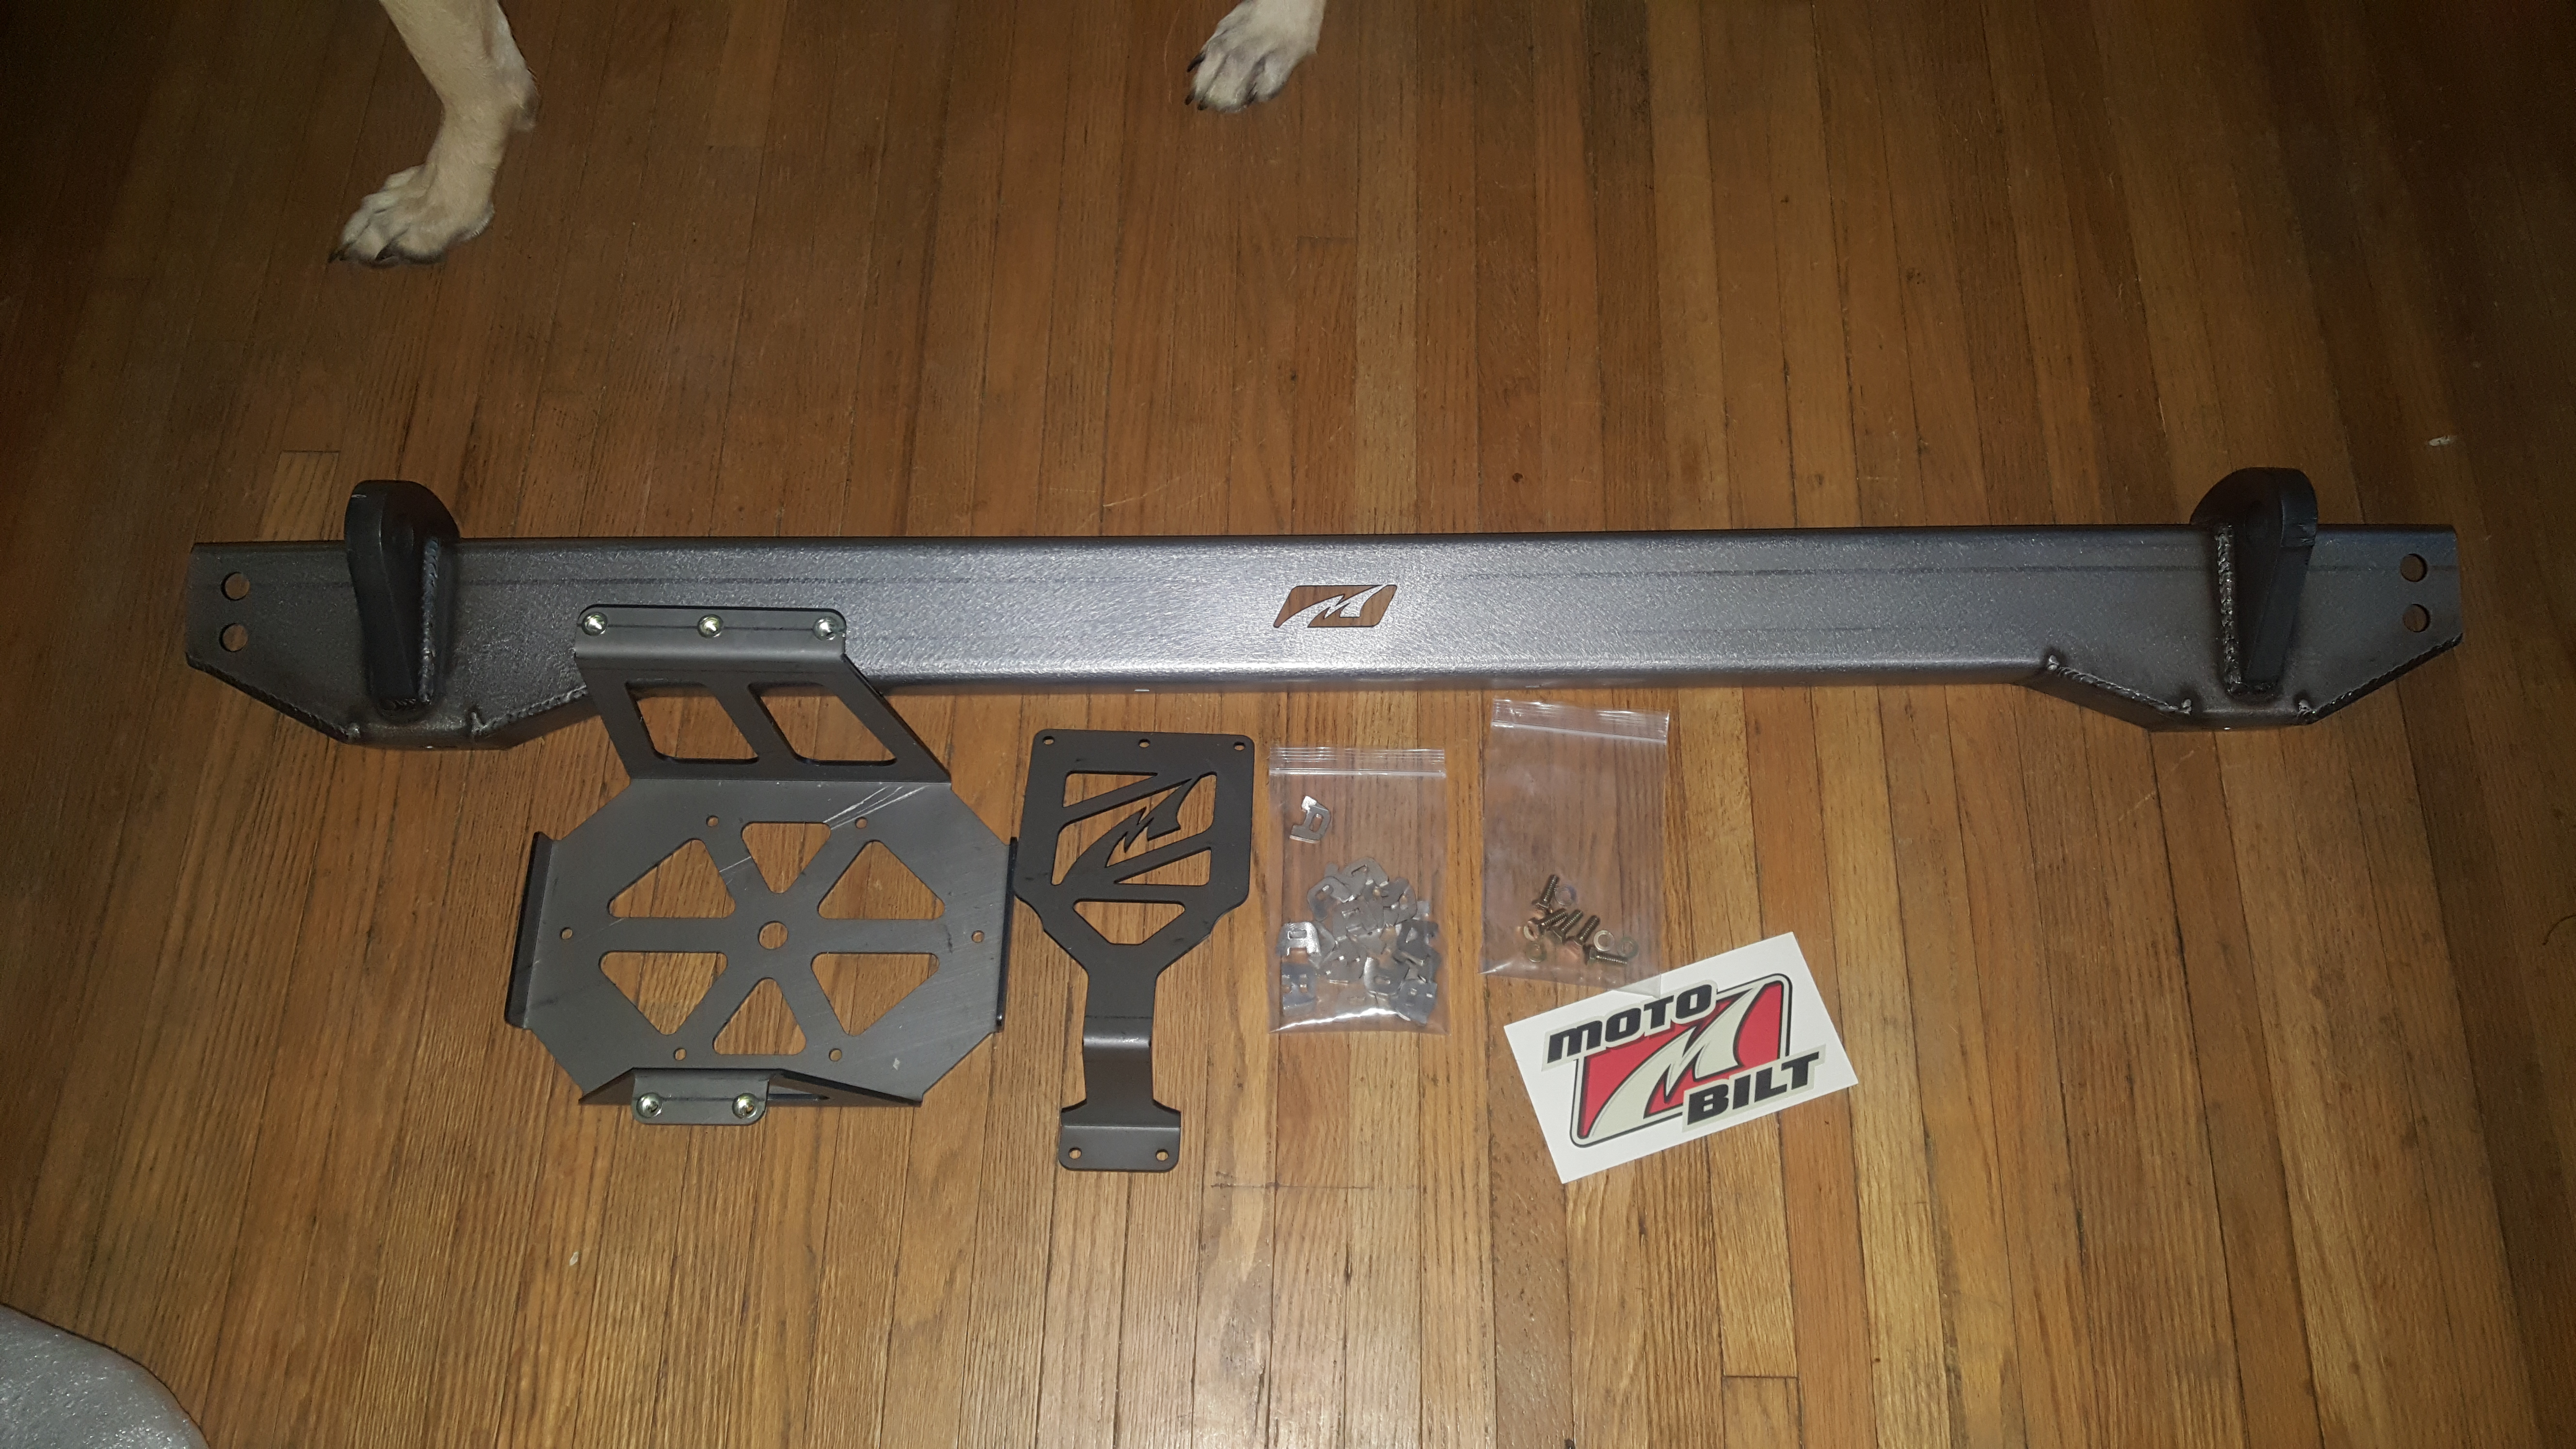
Picture of some misc. tabs i had cut for me by the guys at motobilt, the square and rectangle are for the trailer deck & rear stabilizer jacks. The large tie down handle will be used for holding the spare down & maybe some future storage options.
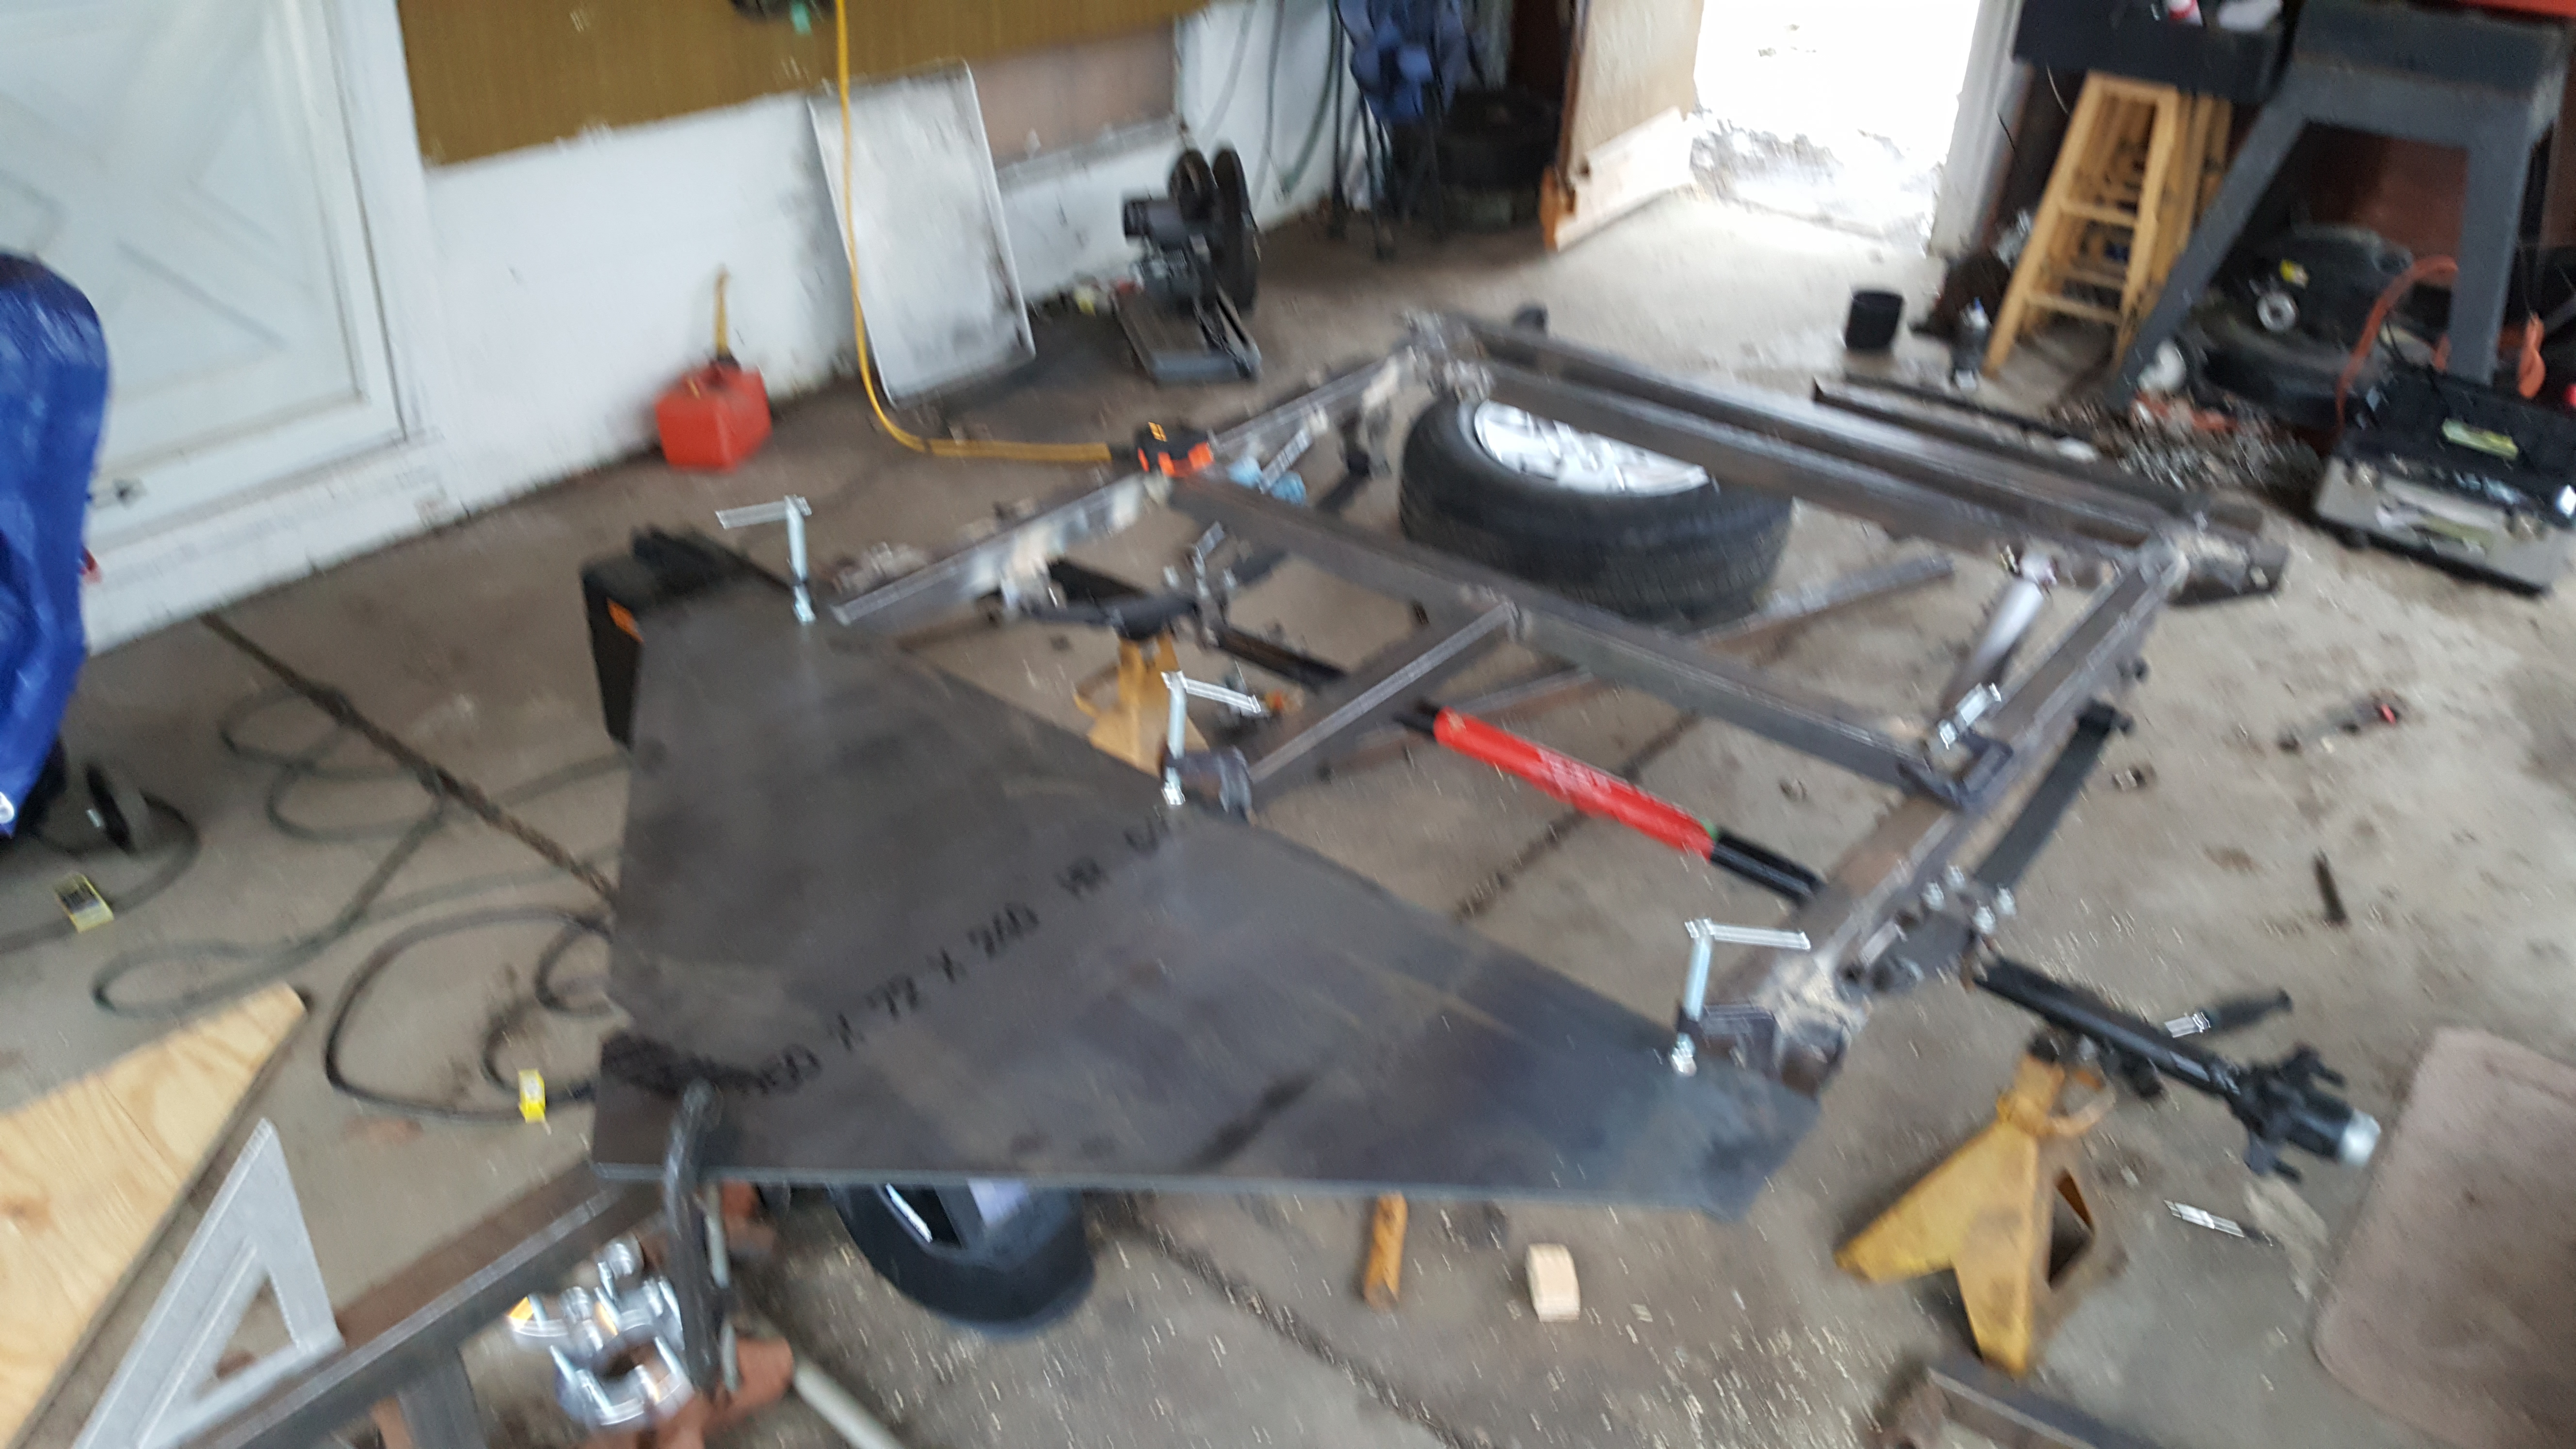
Heres a picture with everything mostly welded up, im really sorry this photo is blurry. I didn't notice it after i took the picture.
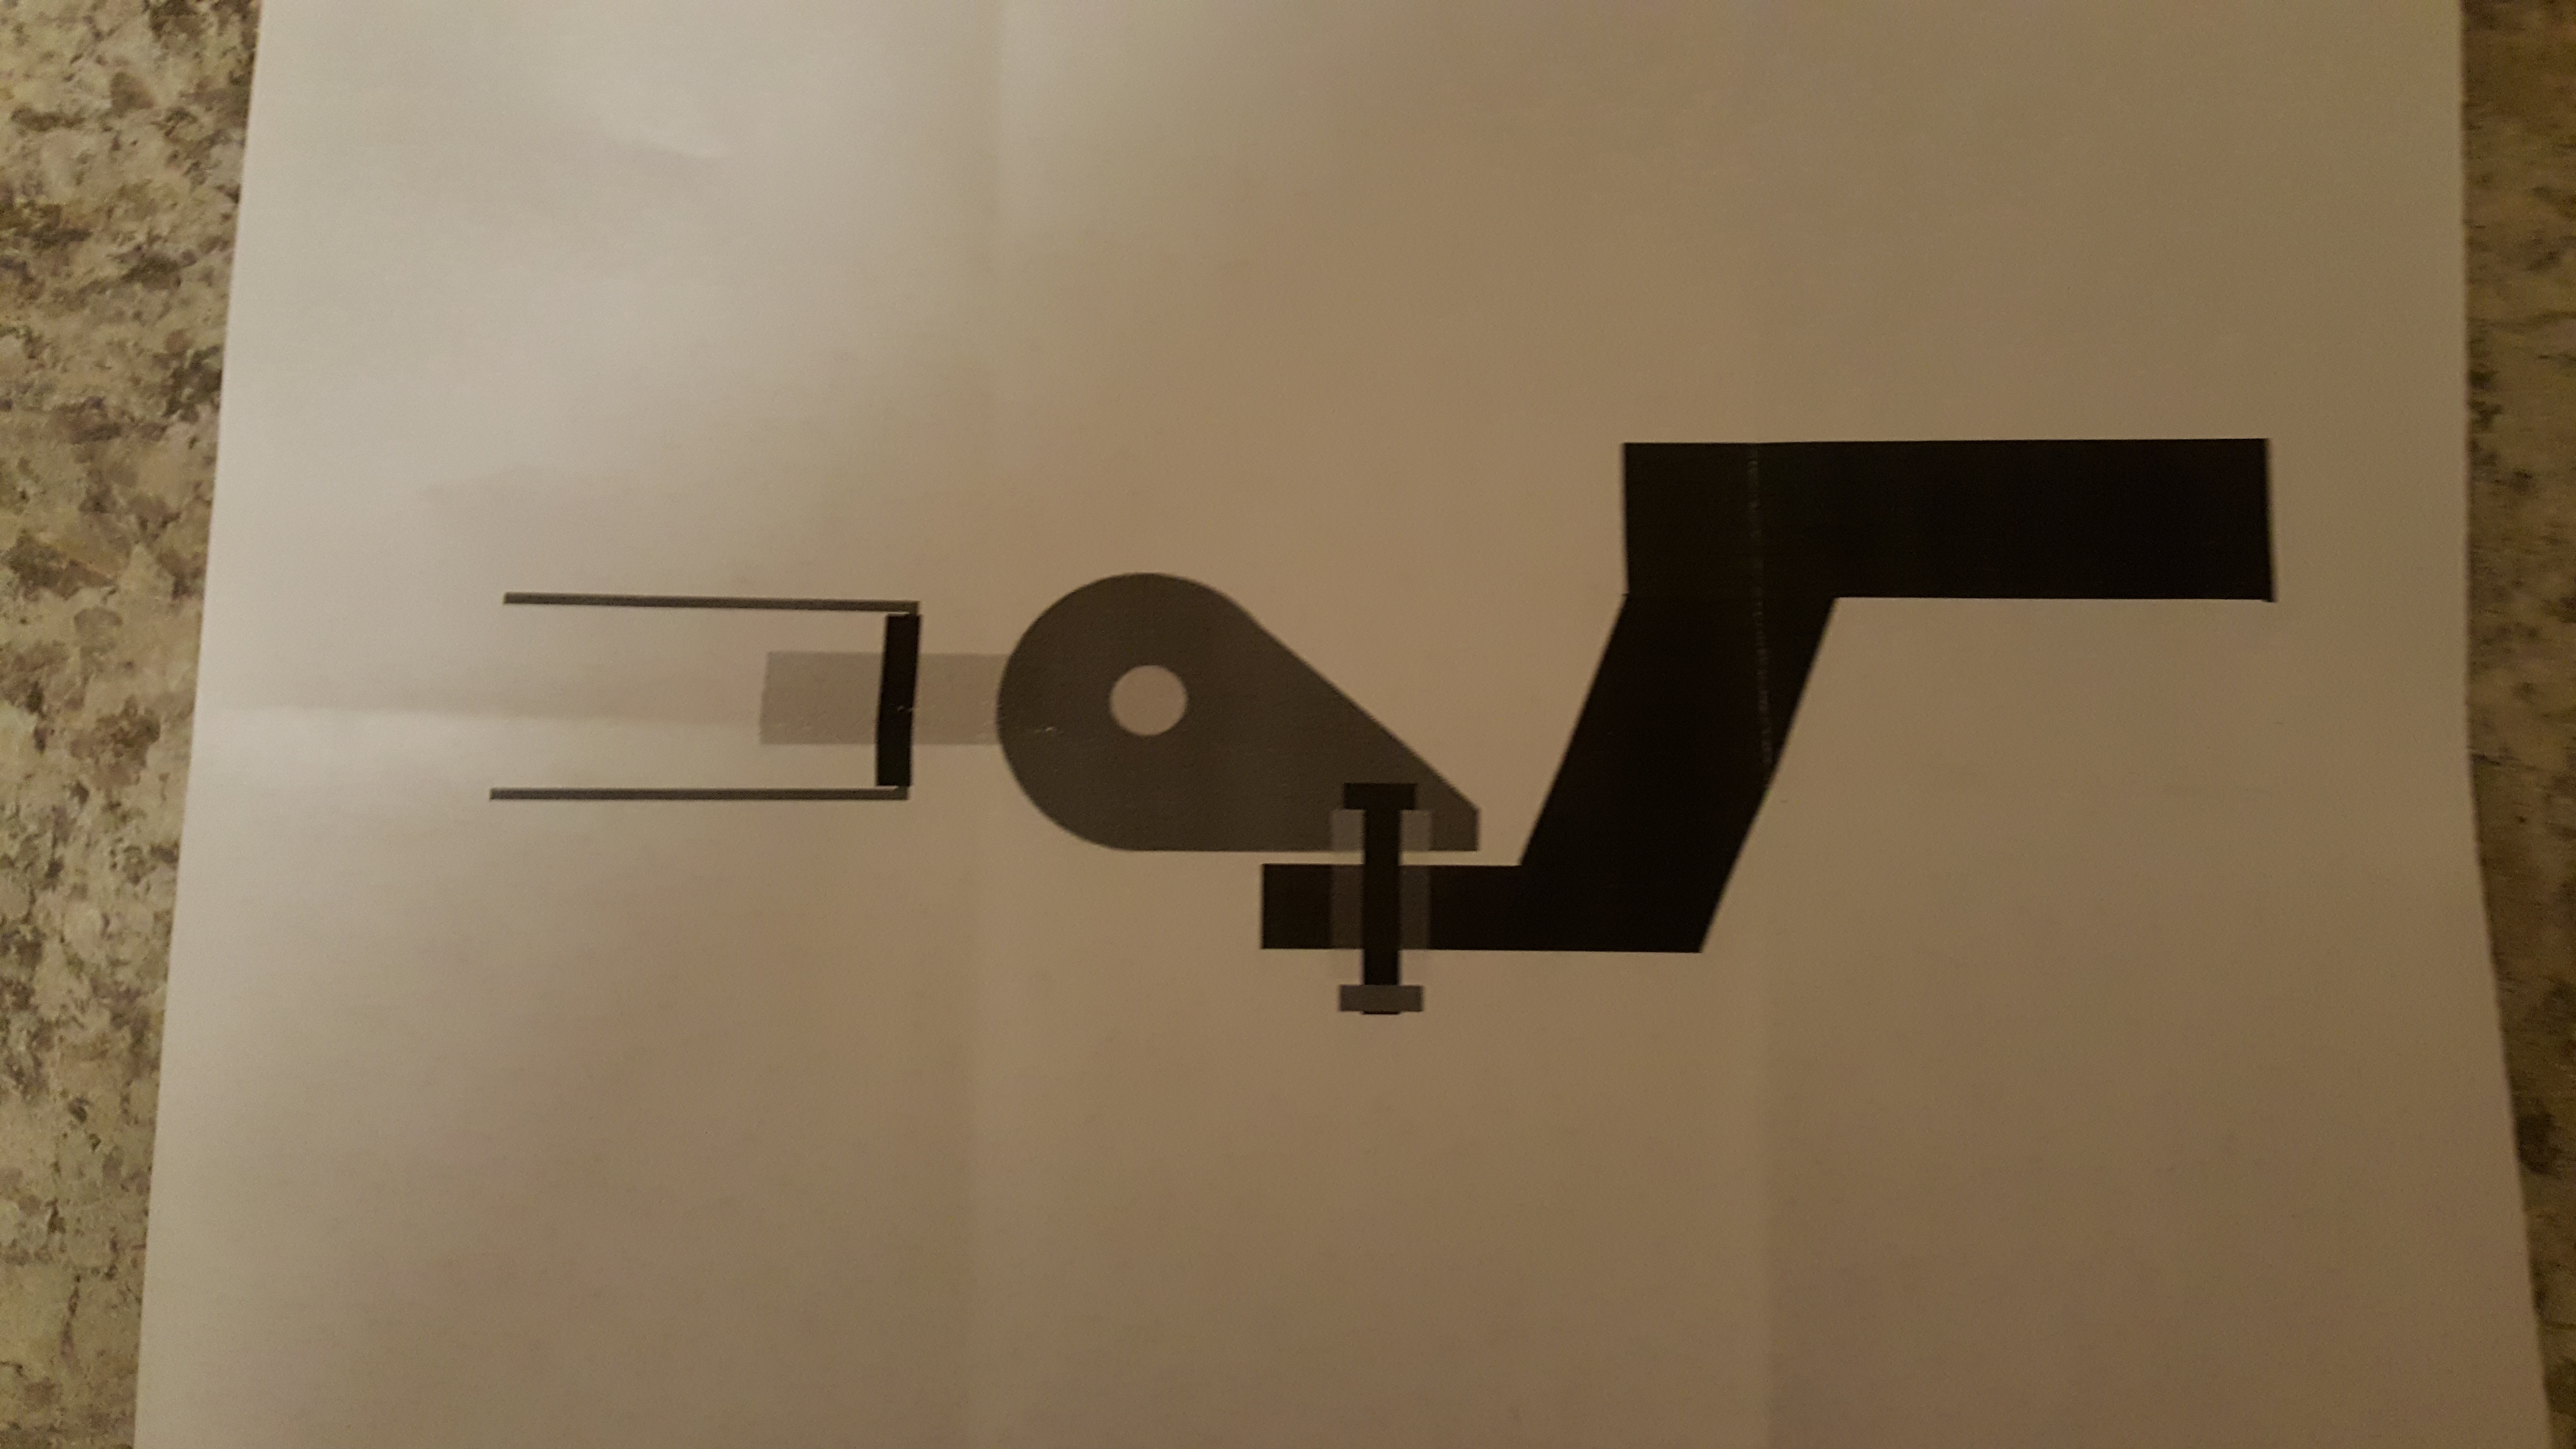
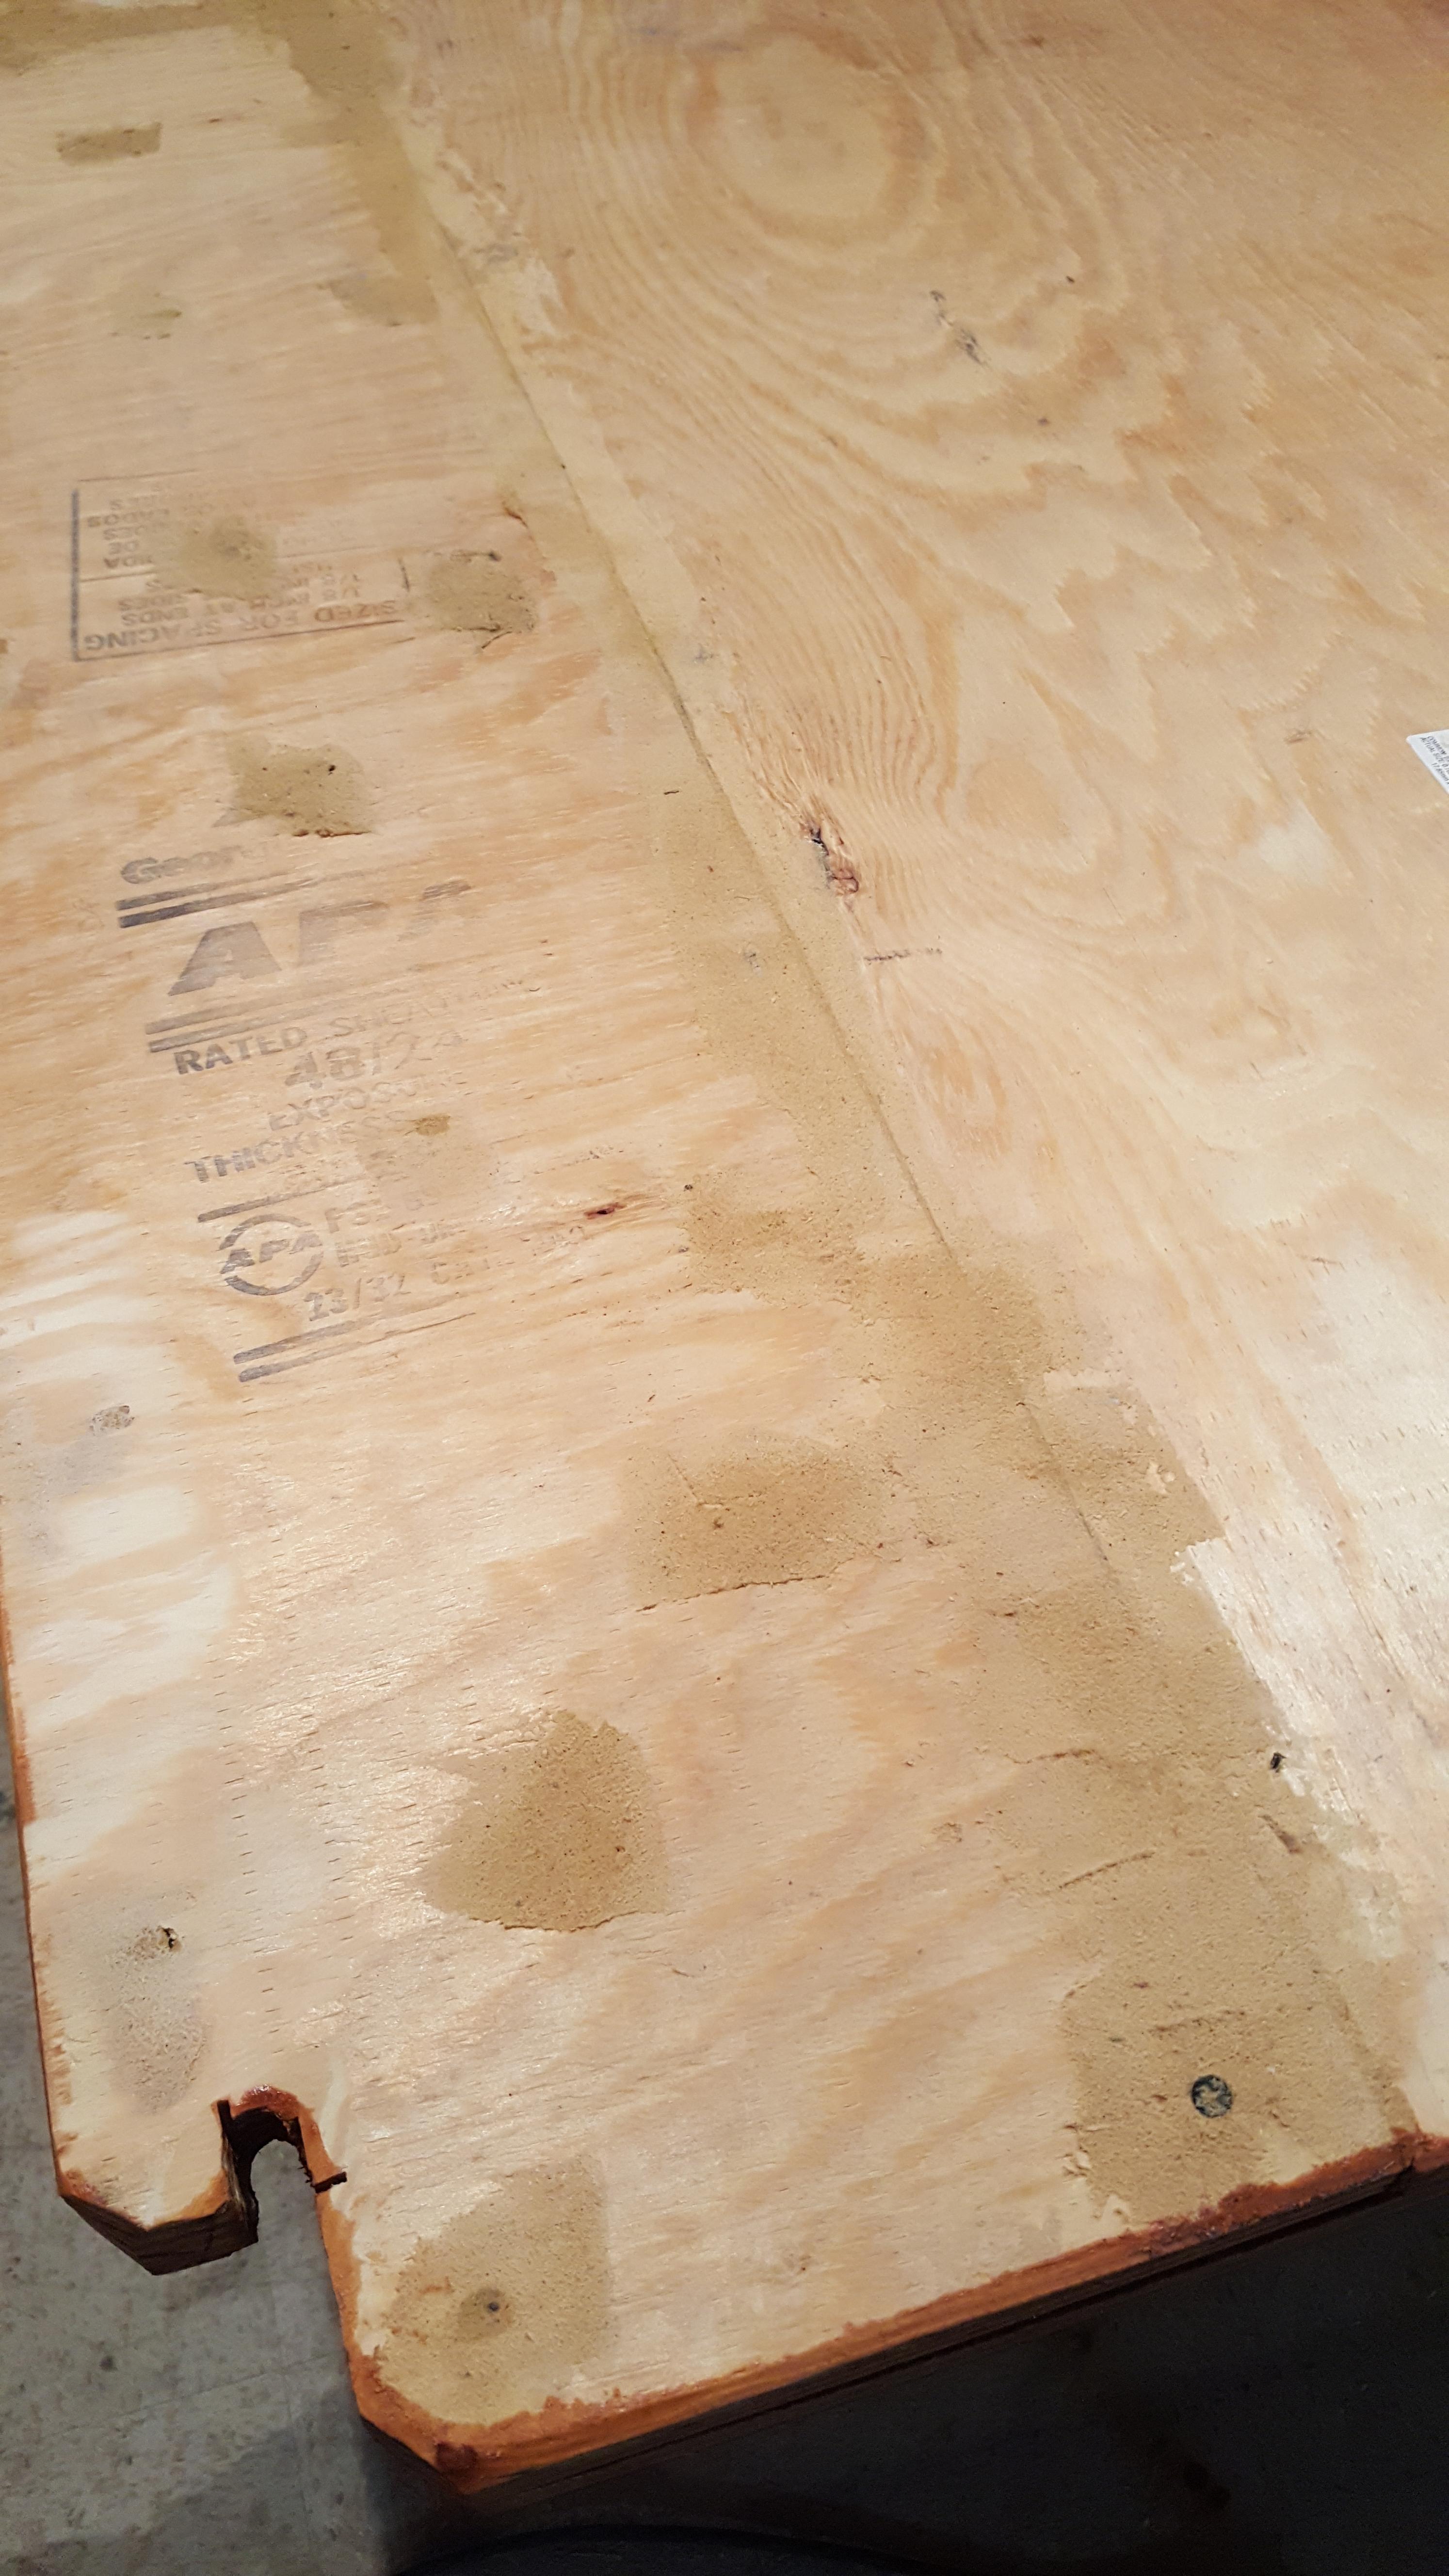
It shows off the 1/4" tongue plate i had CNC plasma cut by a friend.
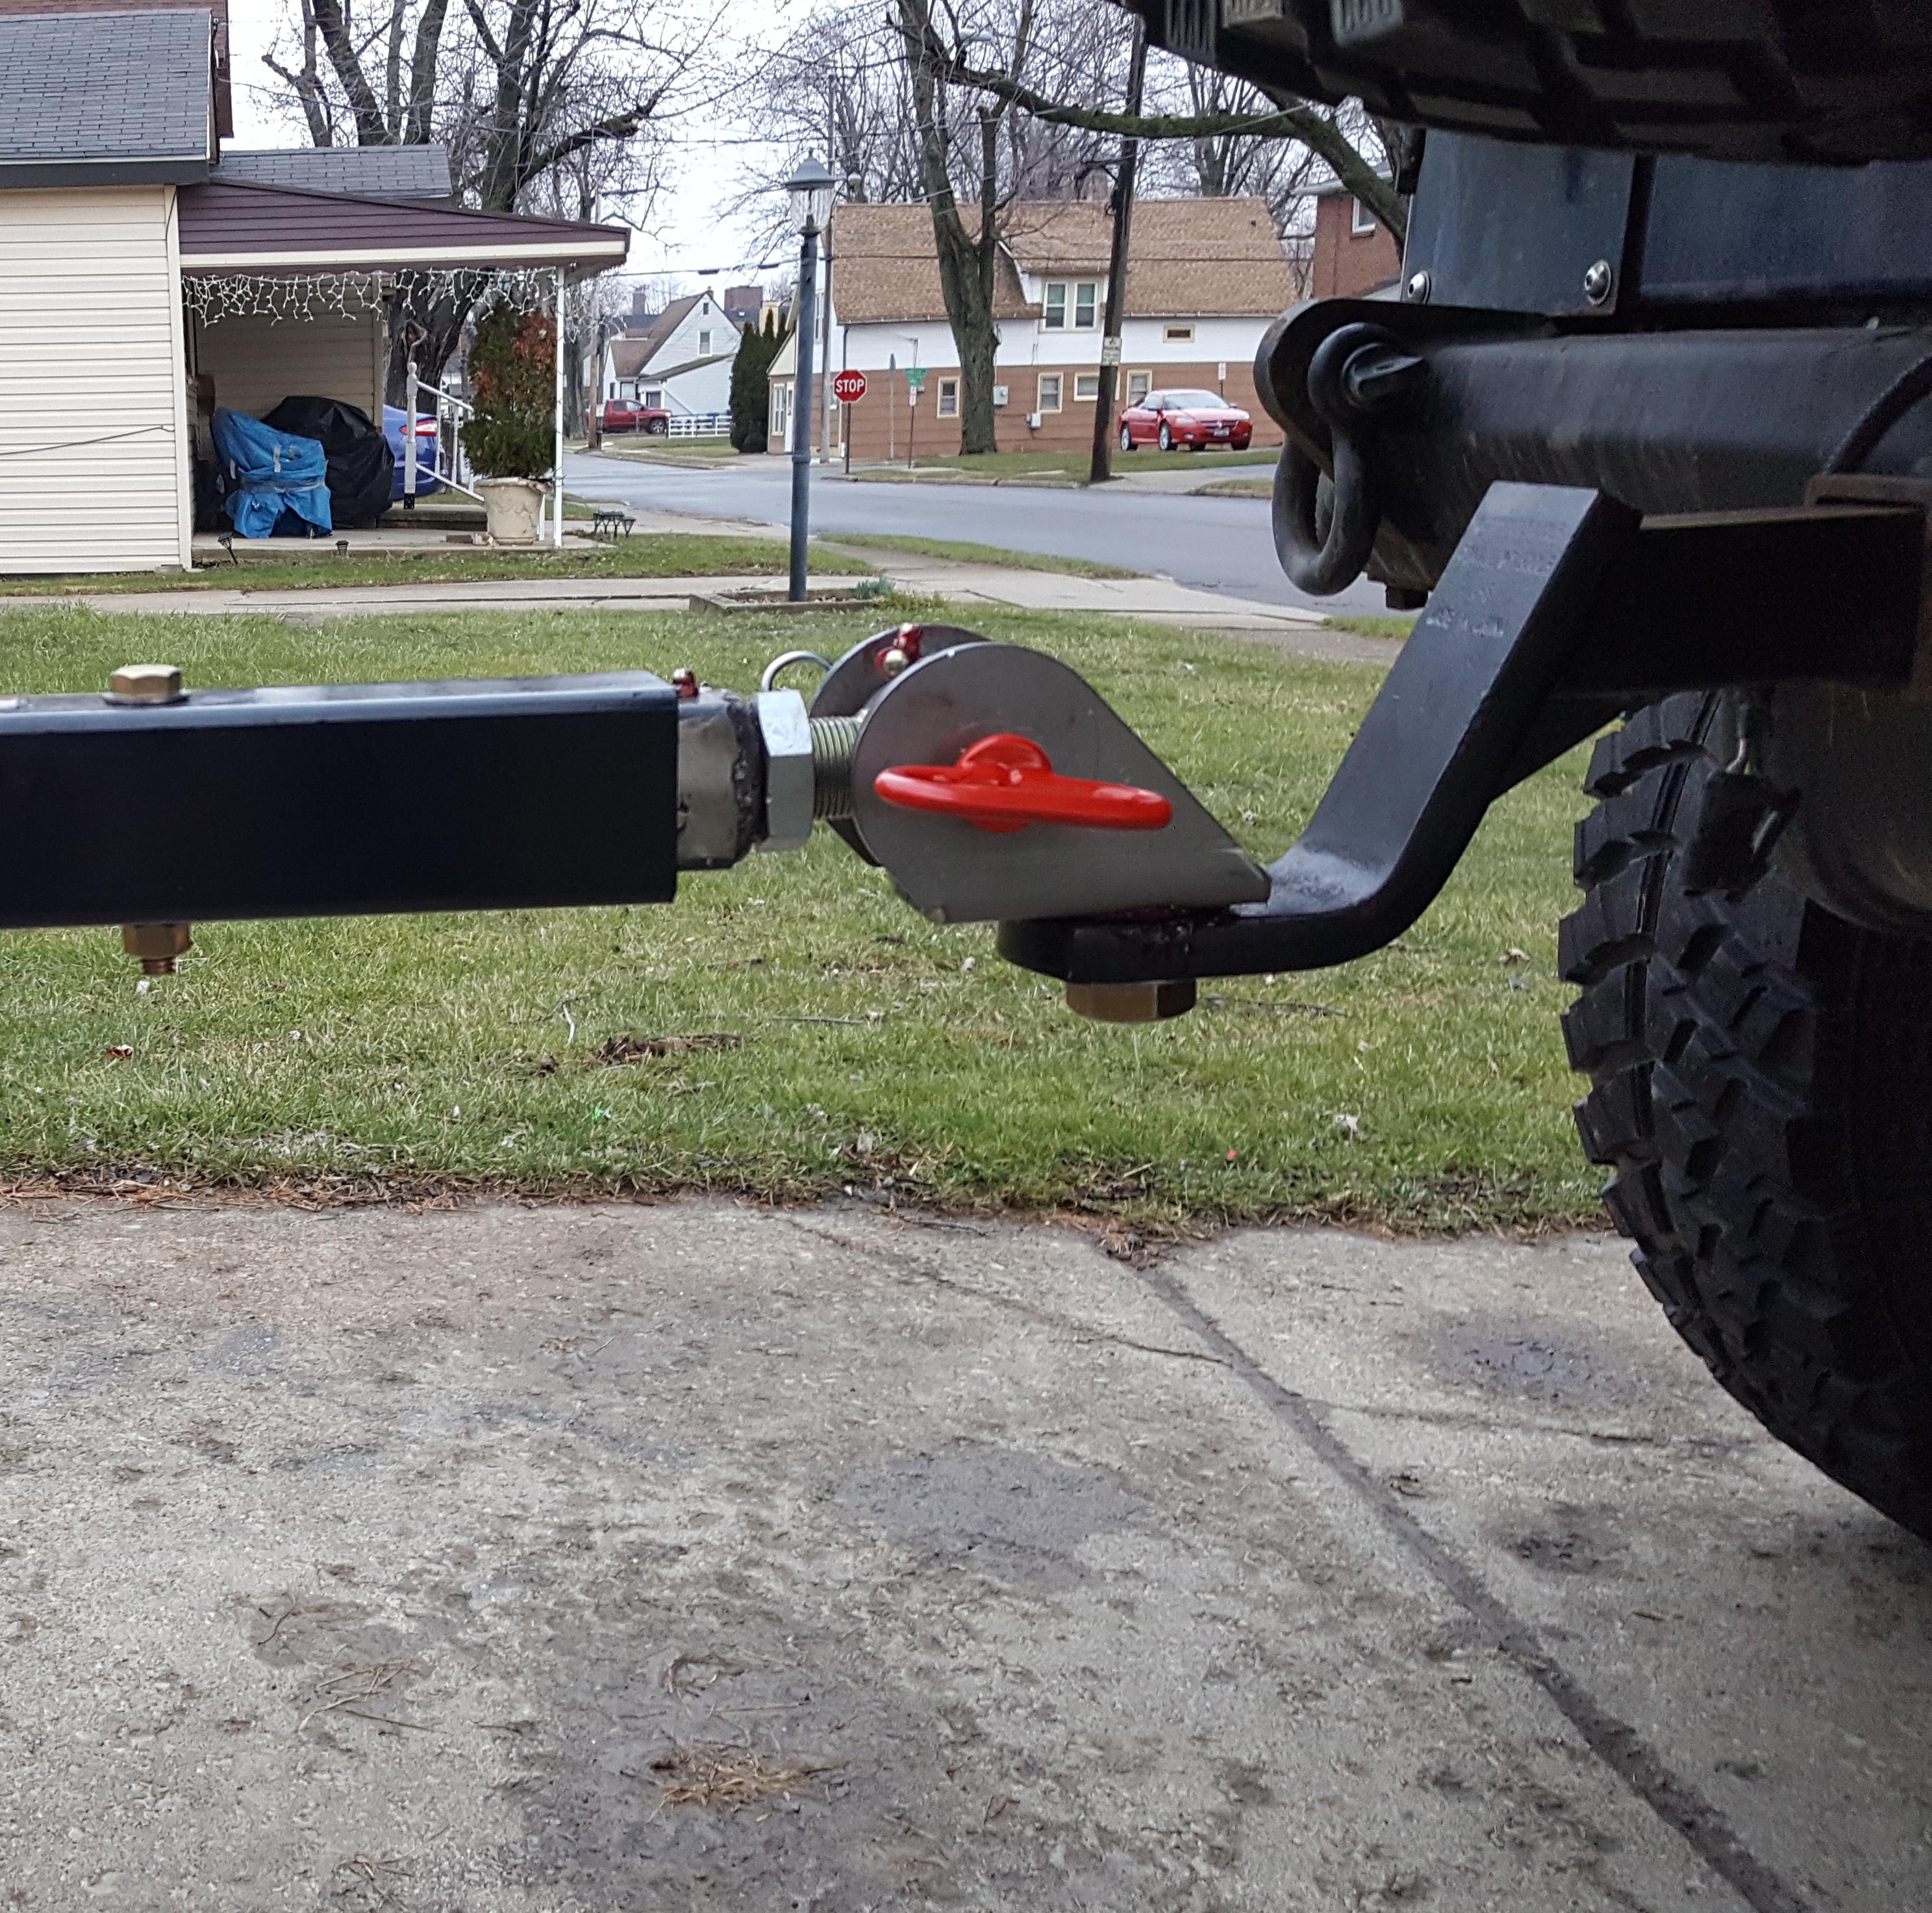
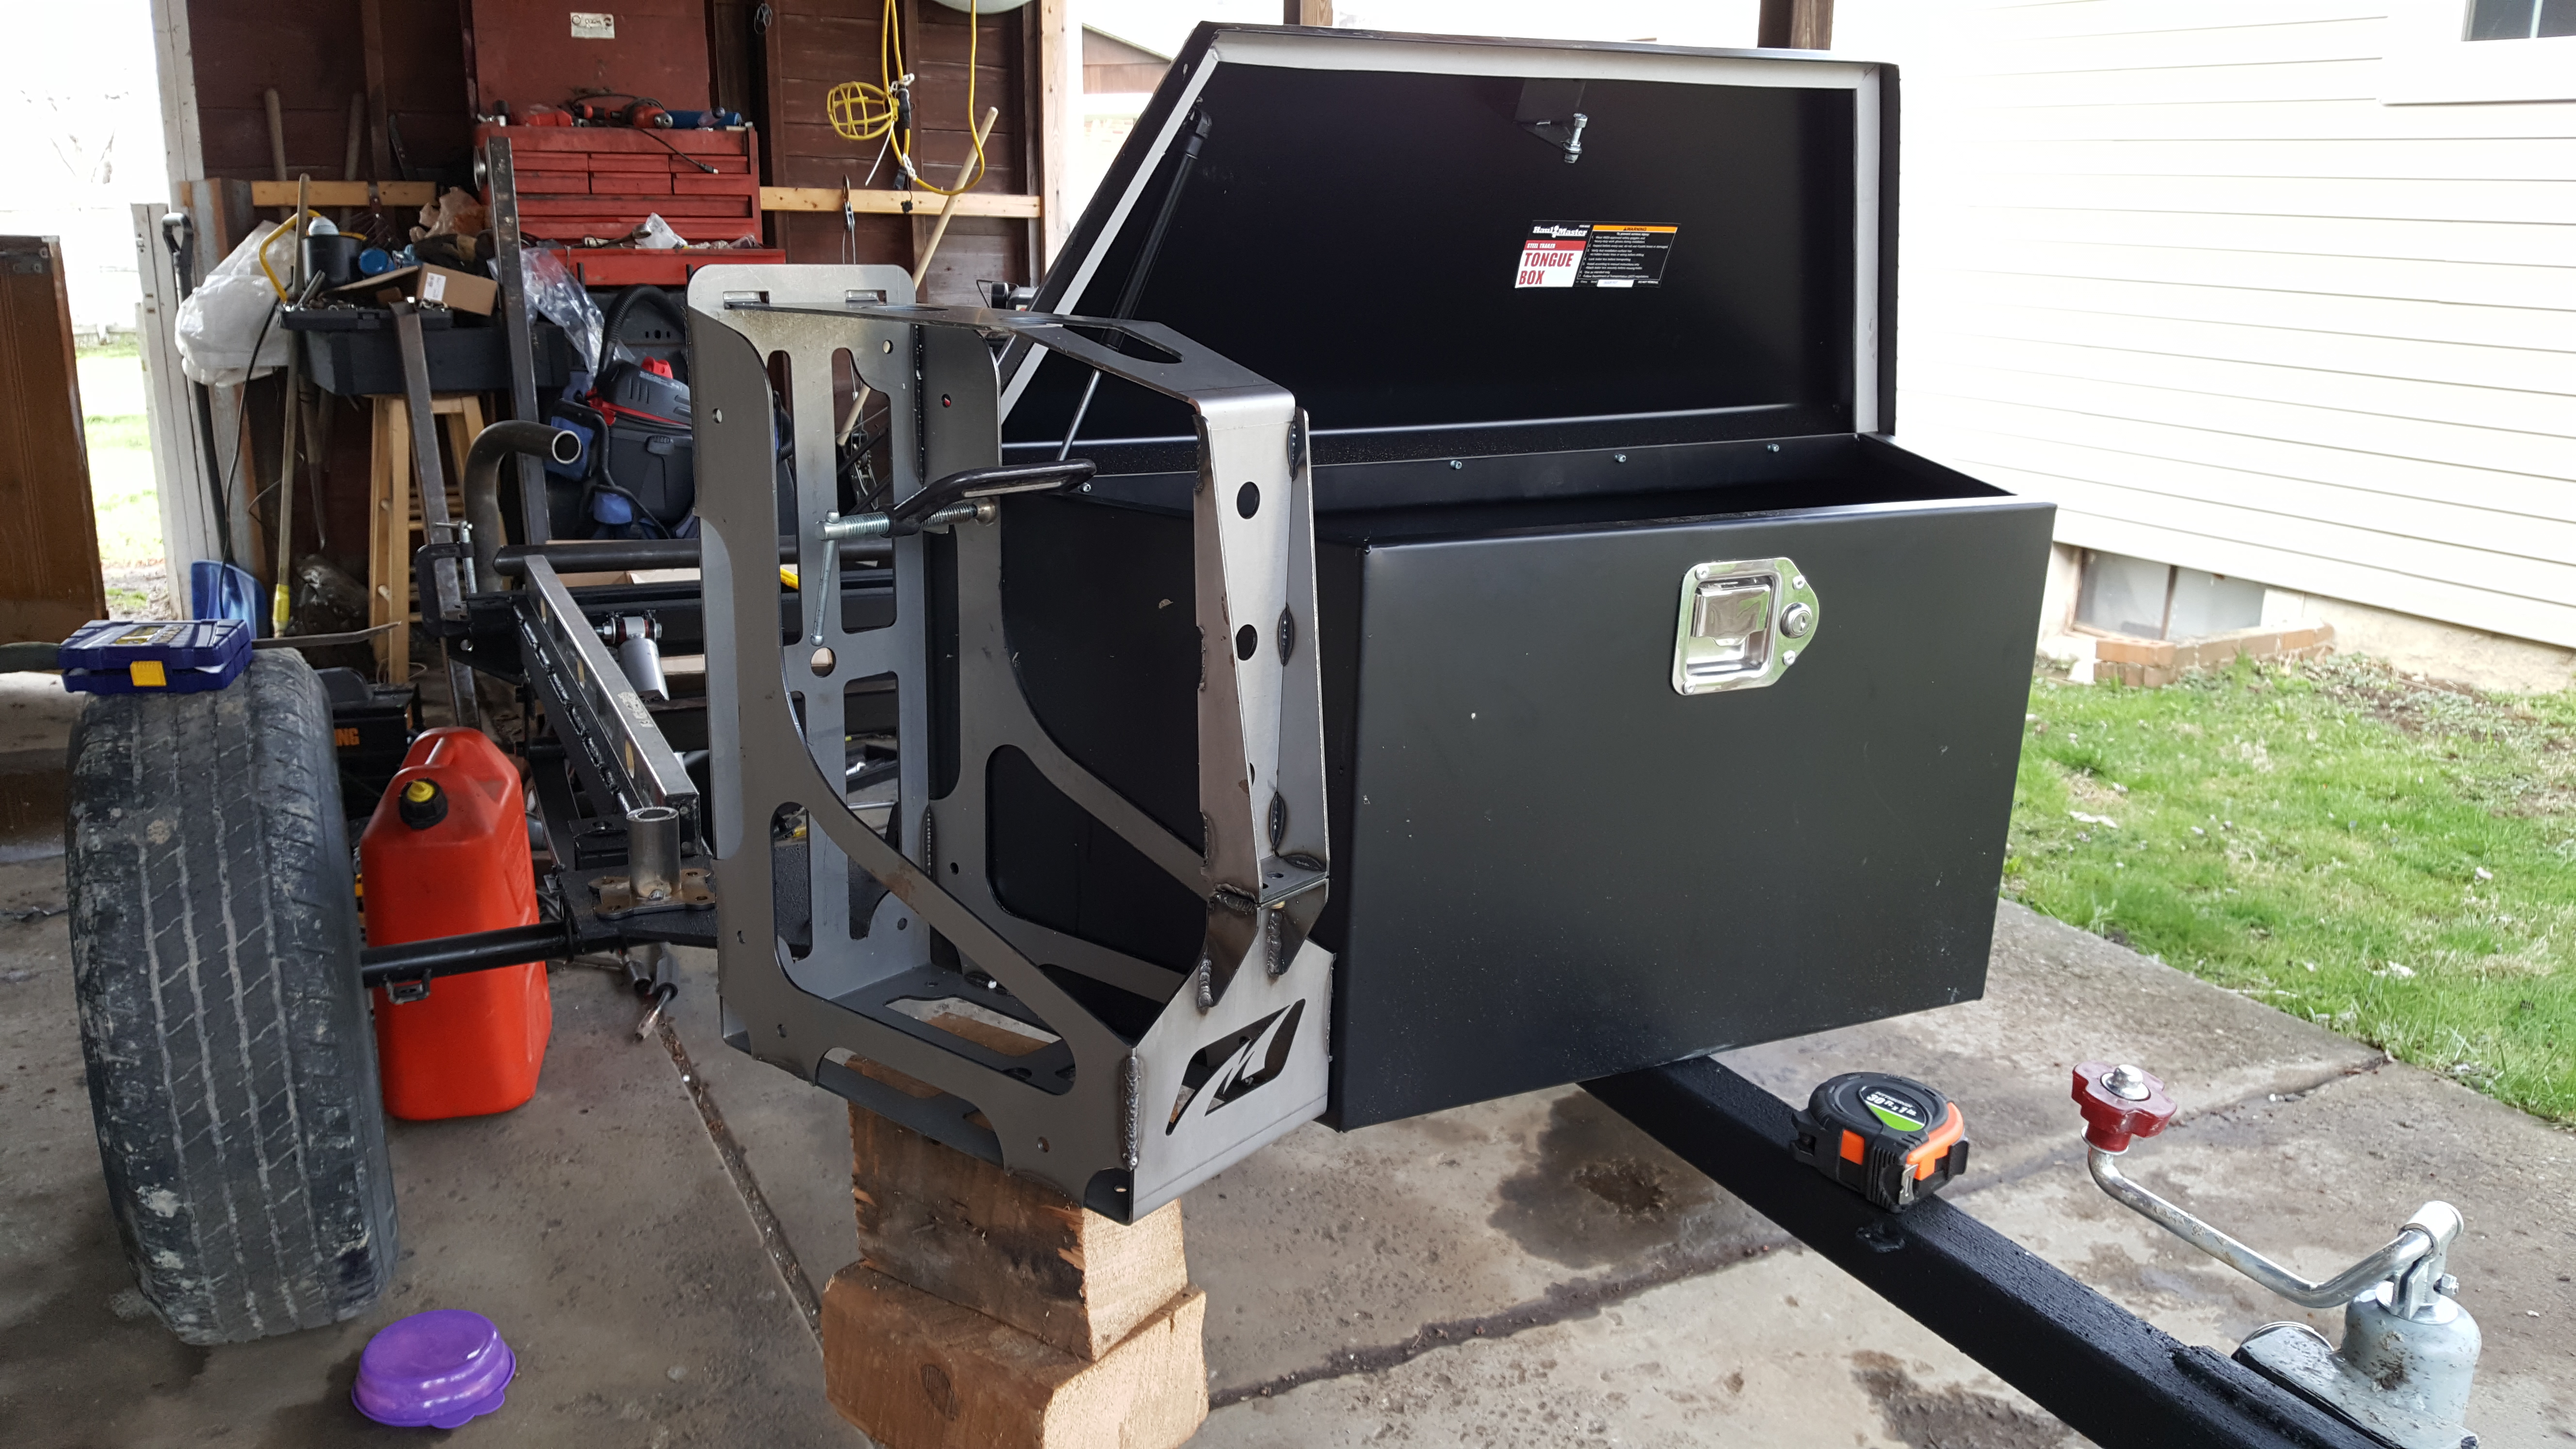
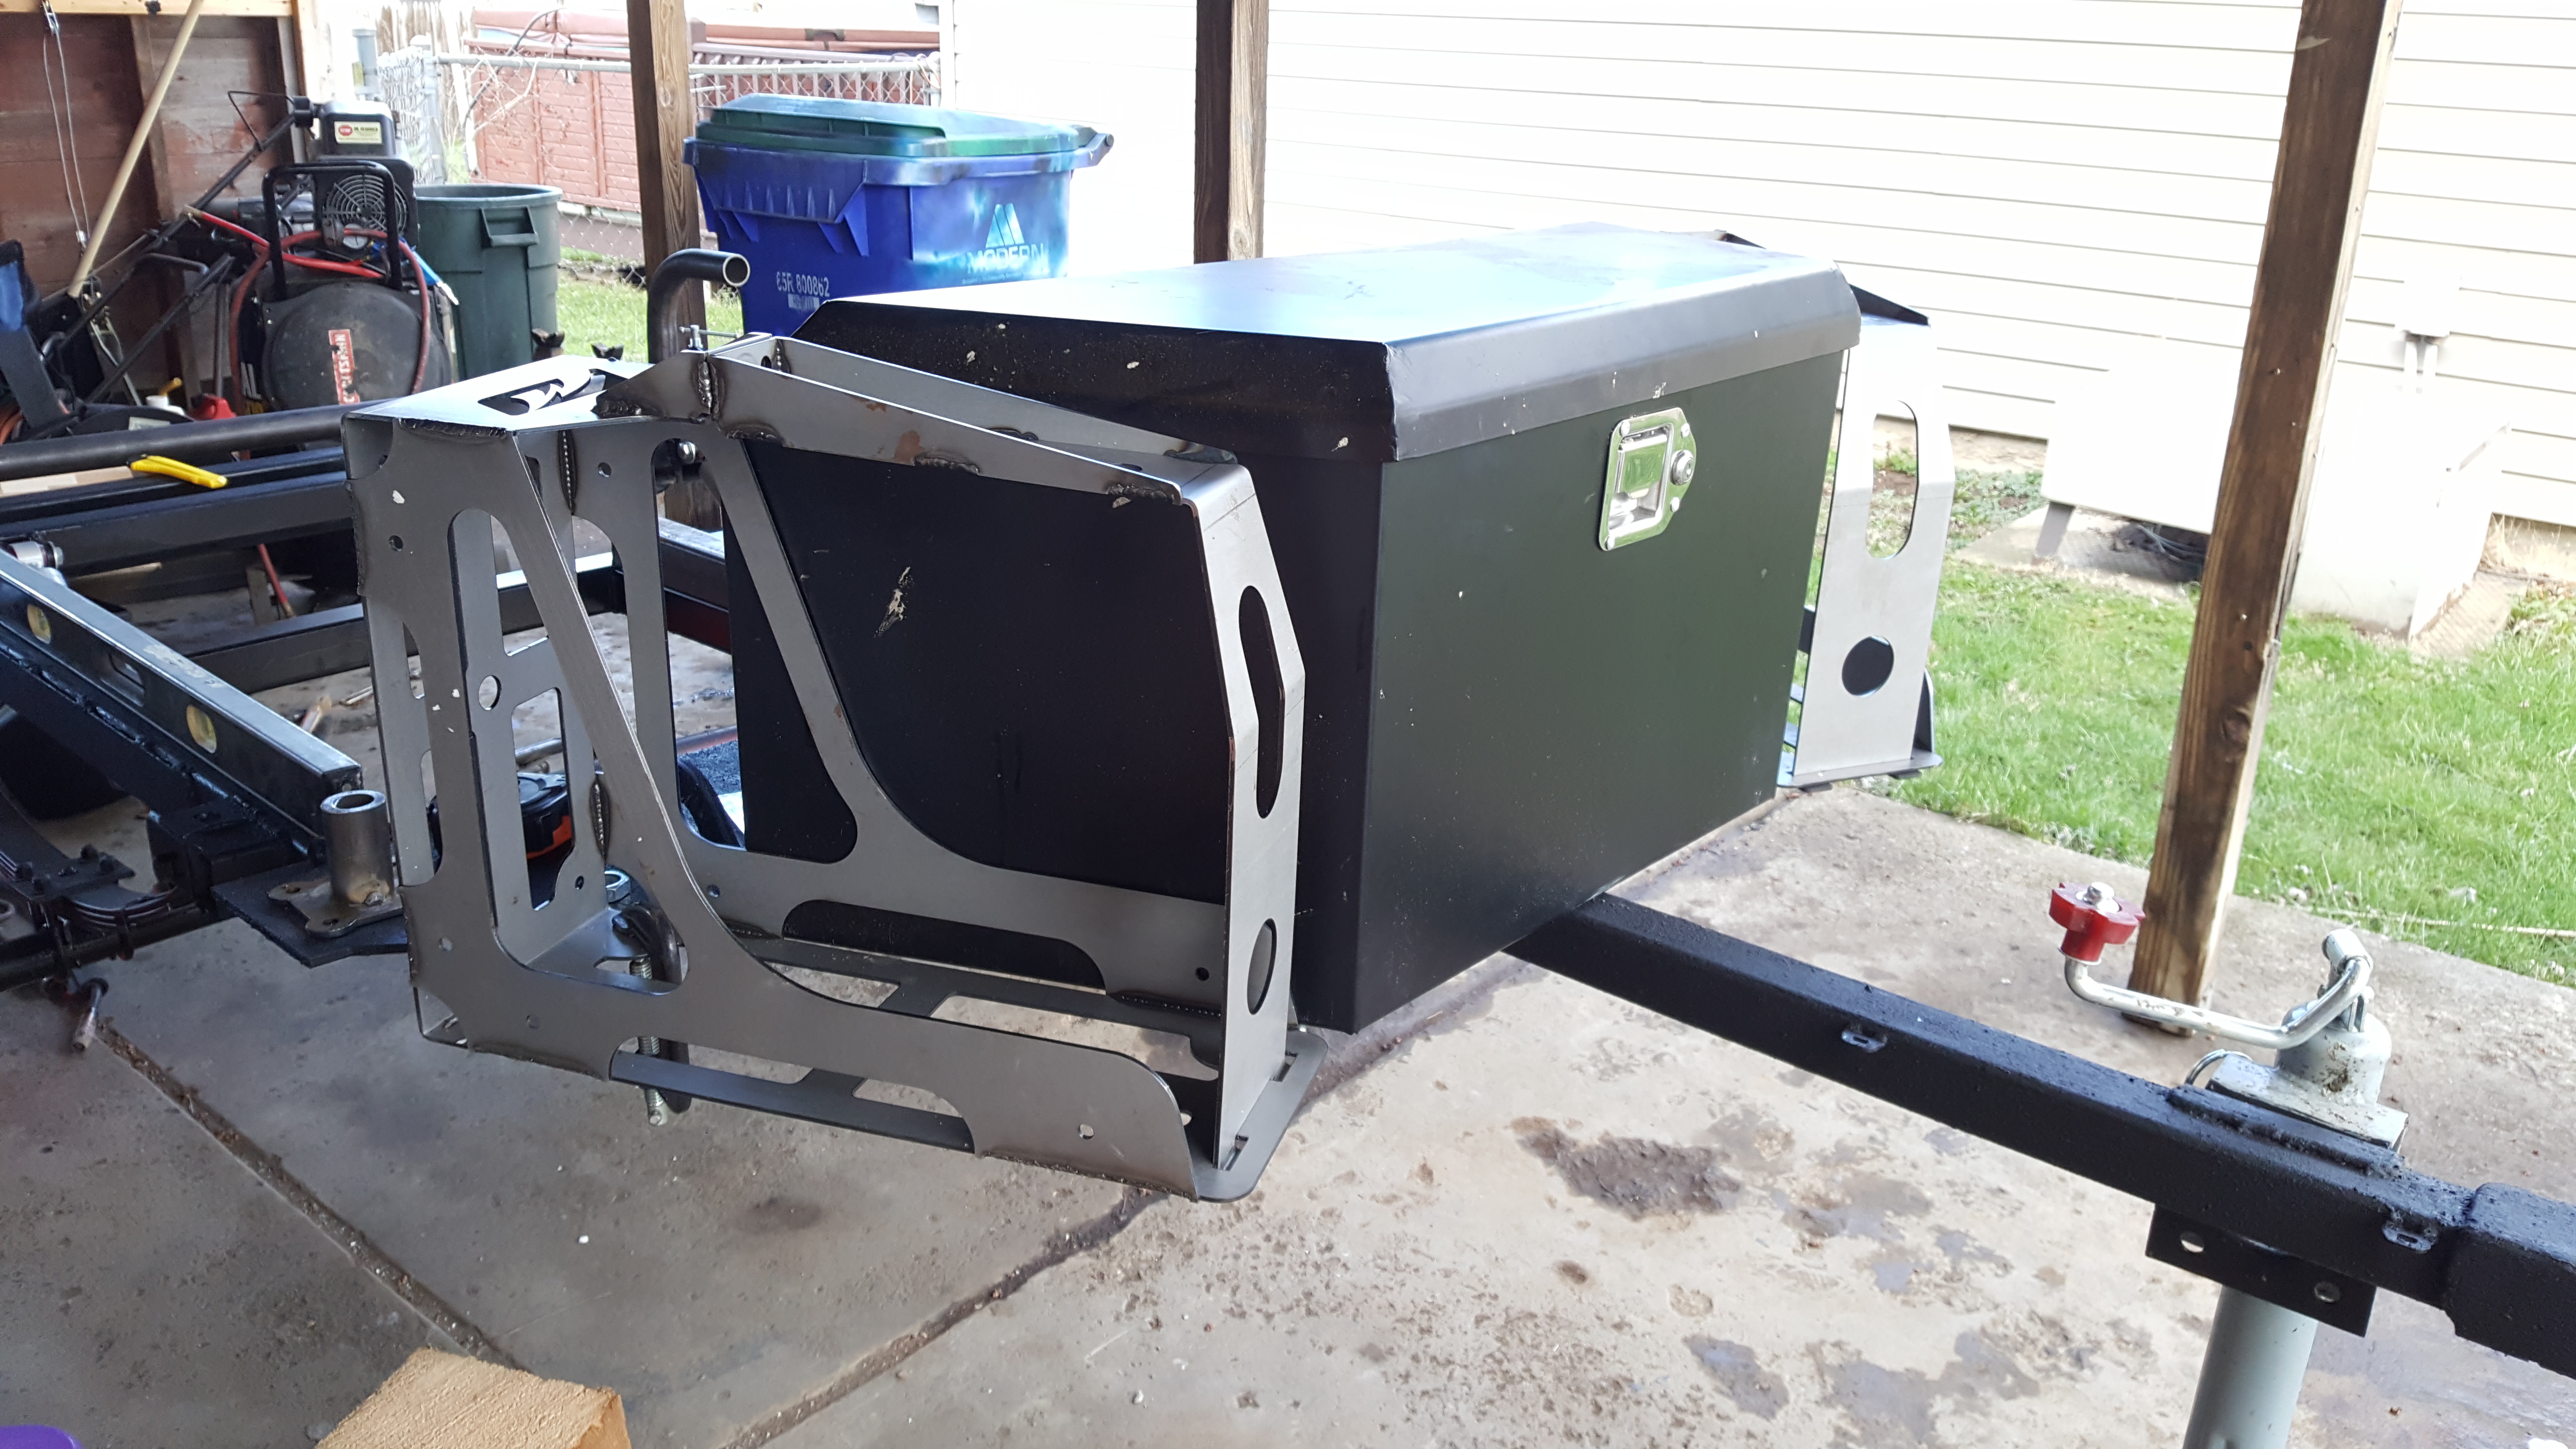
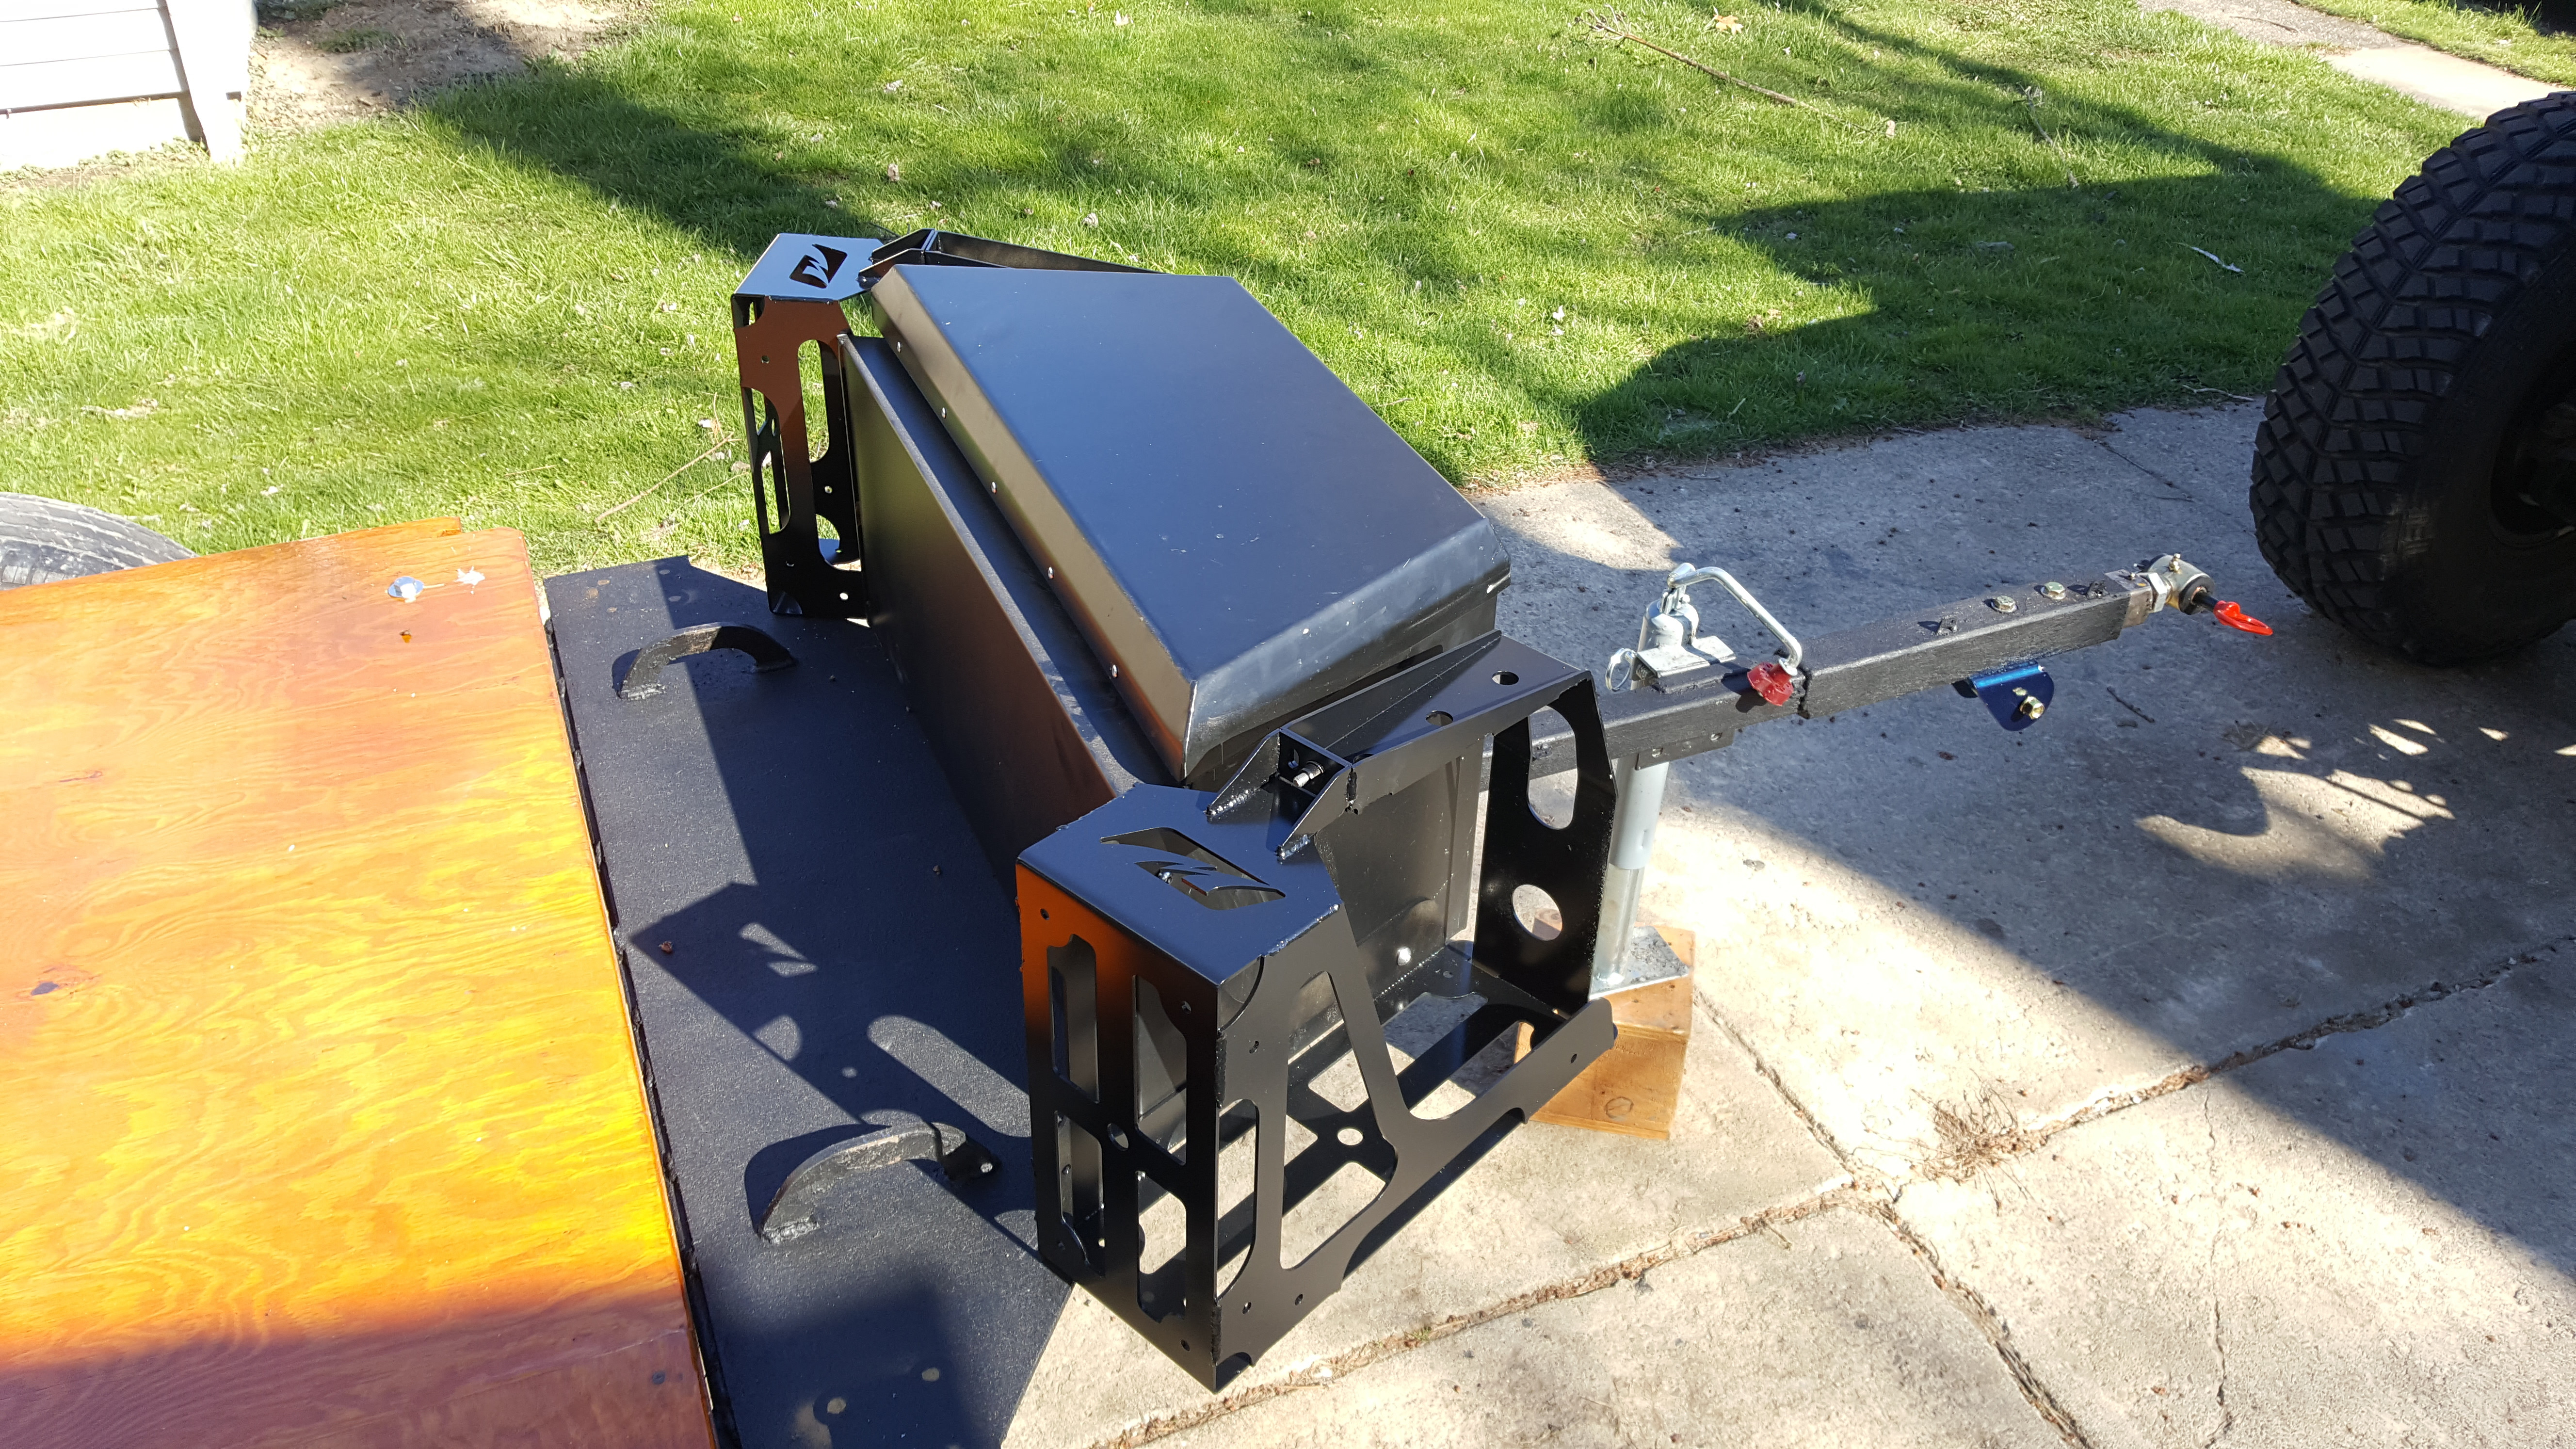
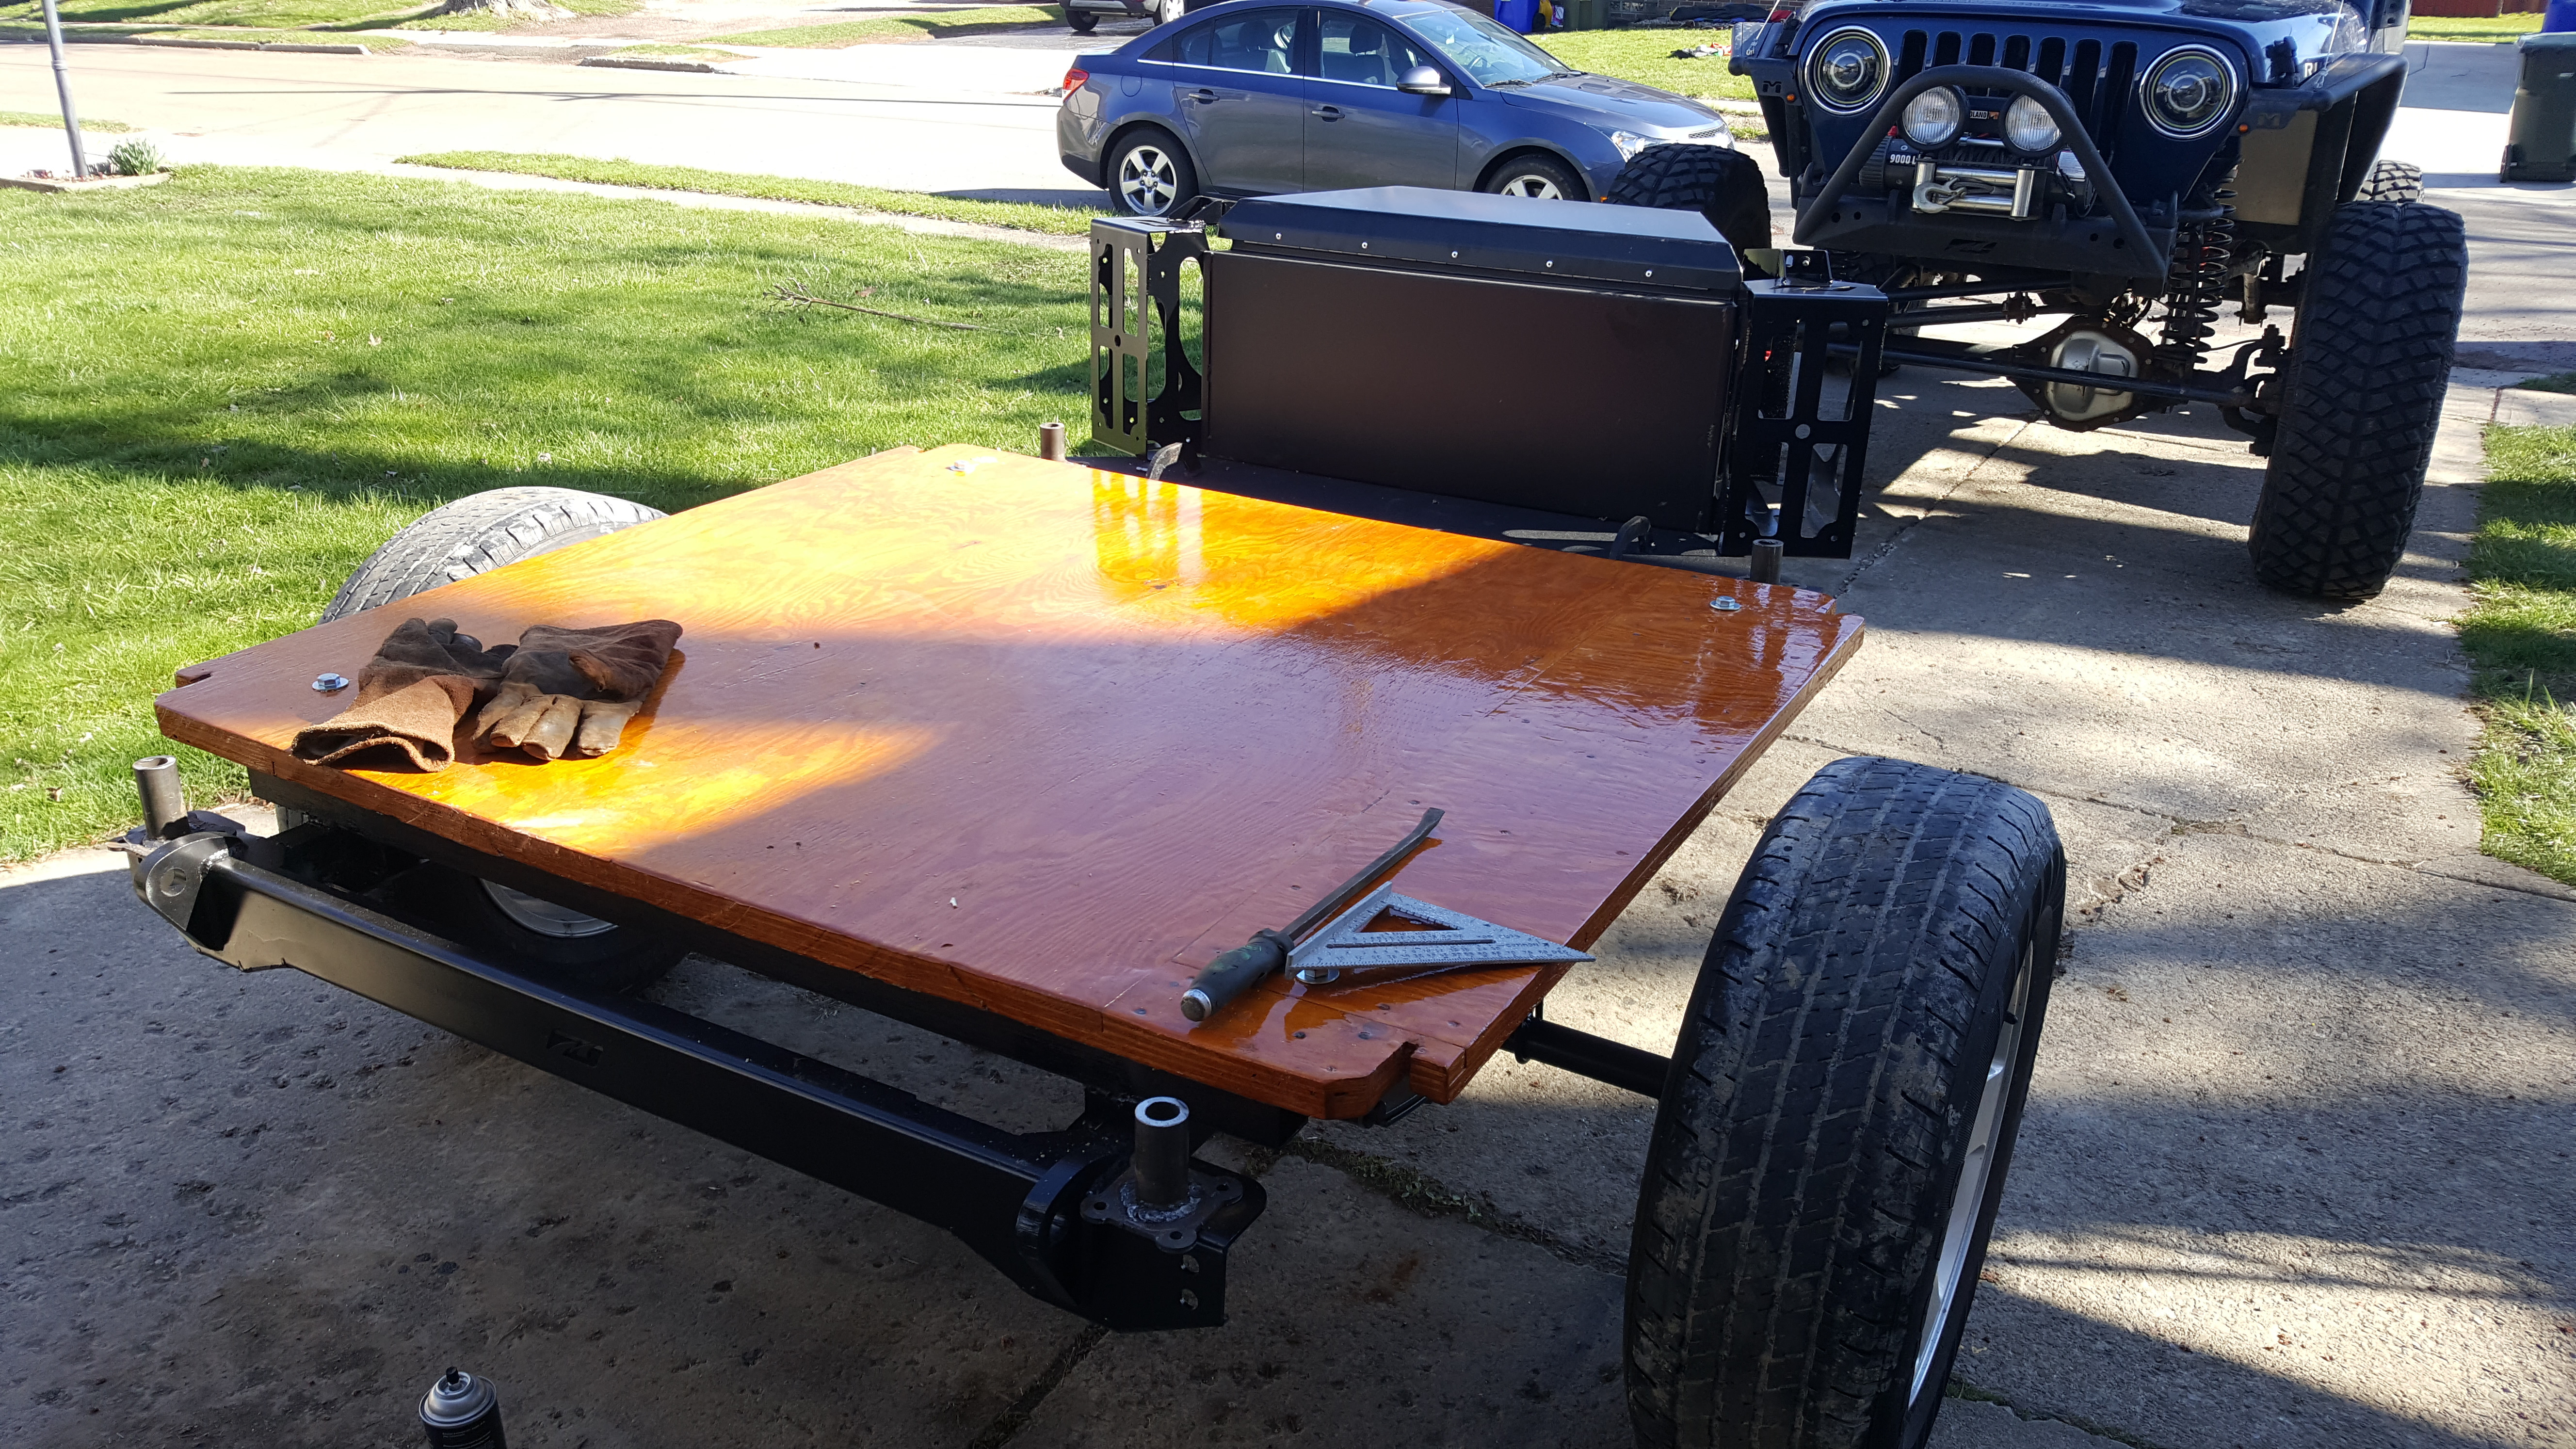
I guess this would be a good point to show off my rear bumper situation, I run motobilt front & rear bumpers on my jeep. So naturally the curtains need to match the drapes. Also is a picture of an optima battery box made by motobilt. For $35 you cant go wrong!
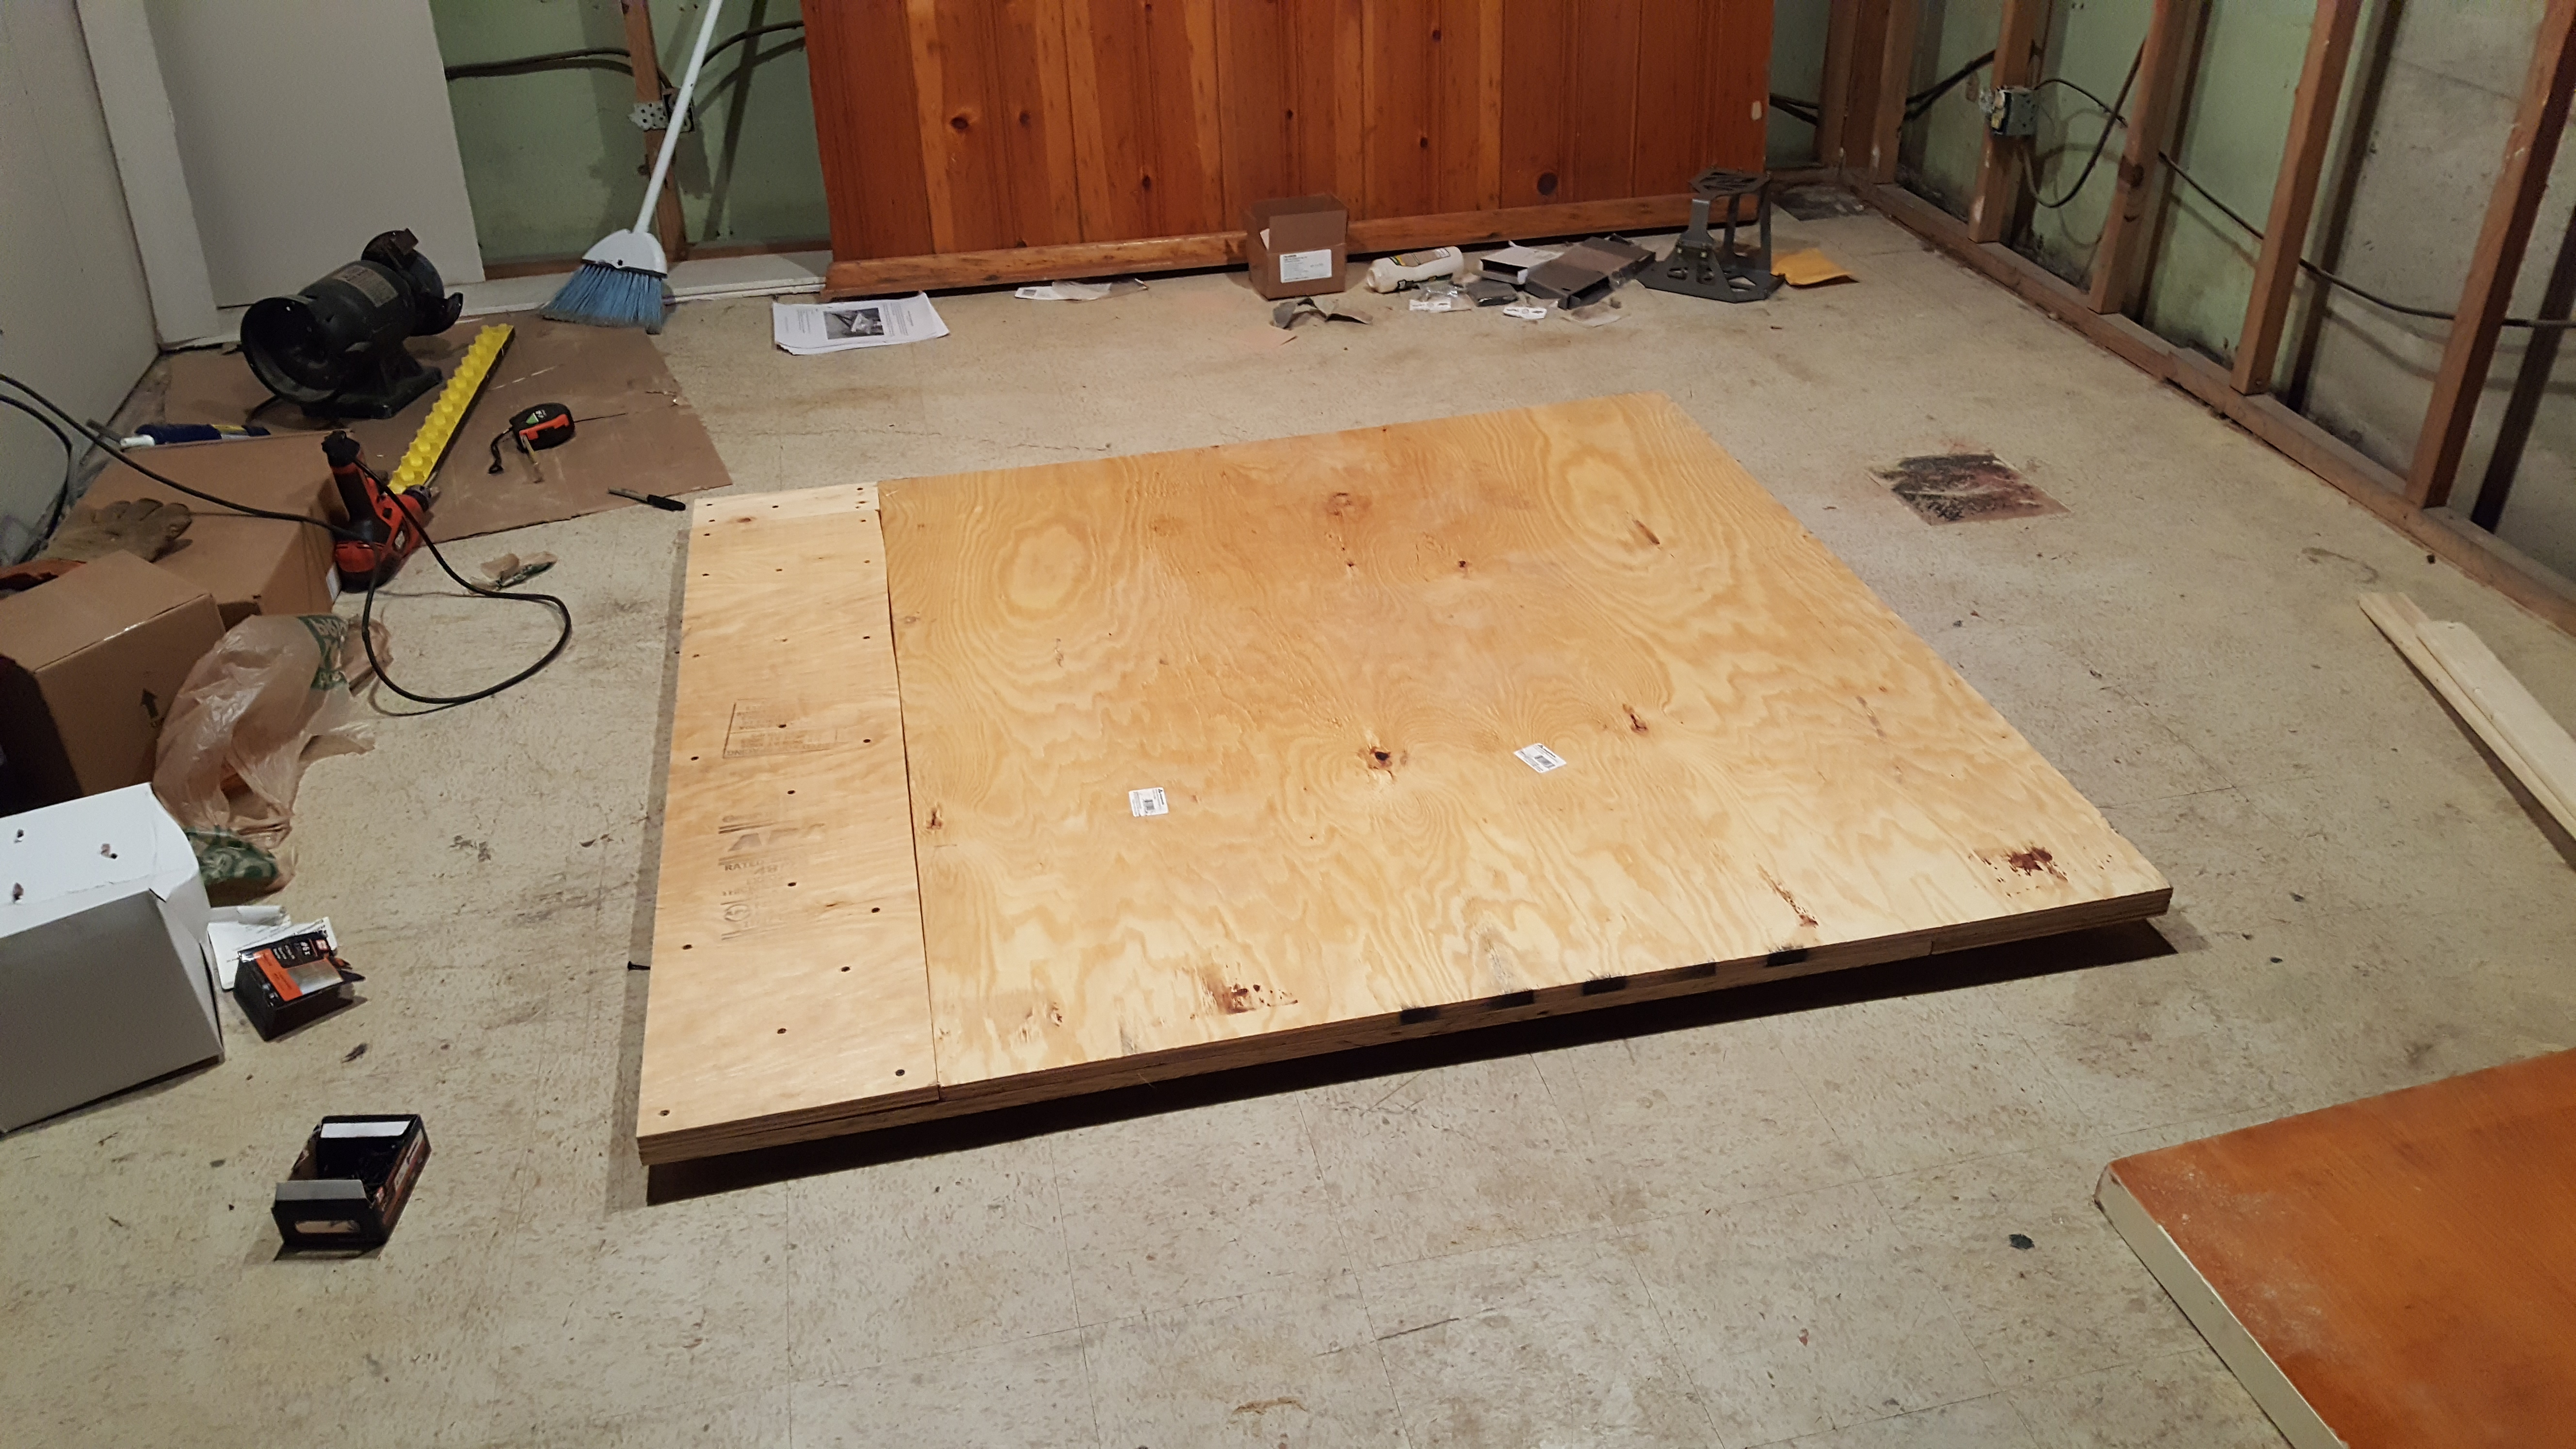
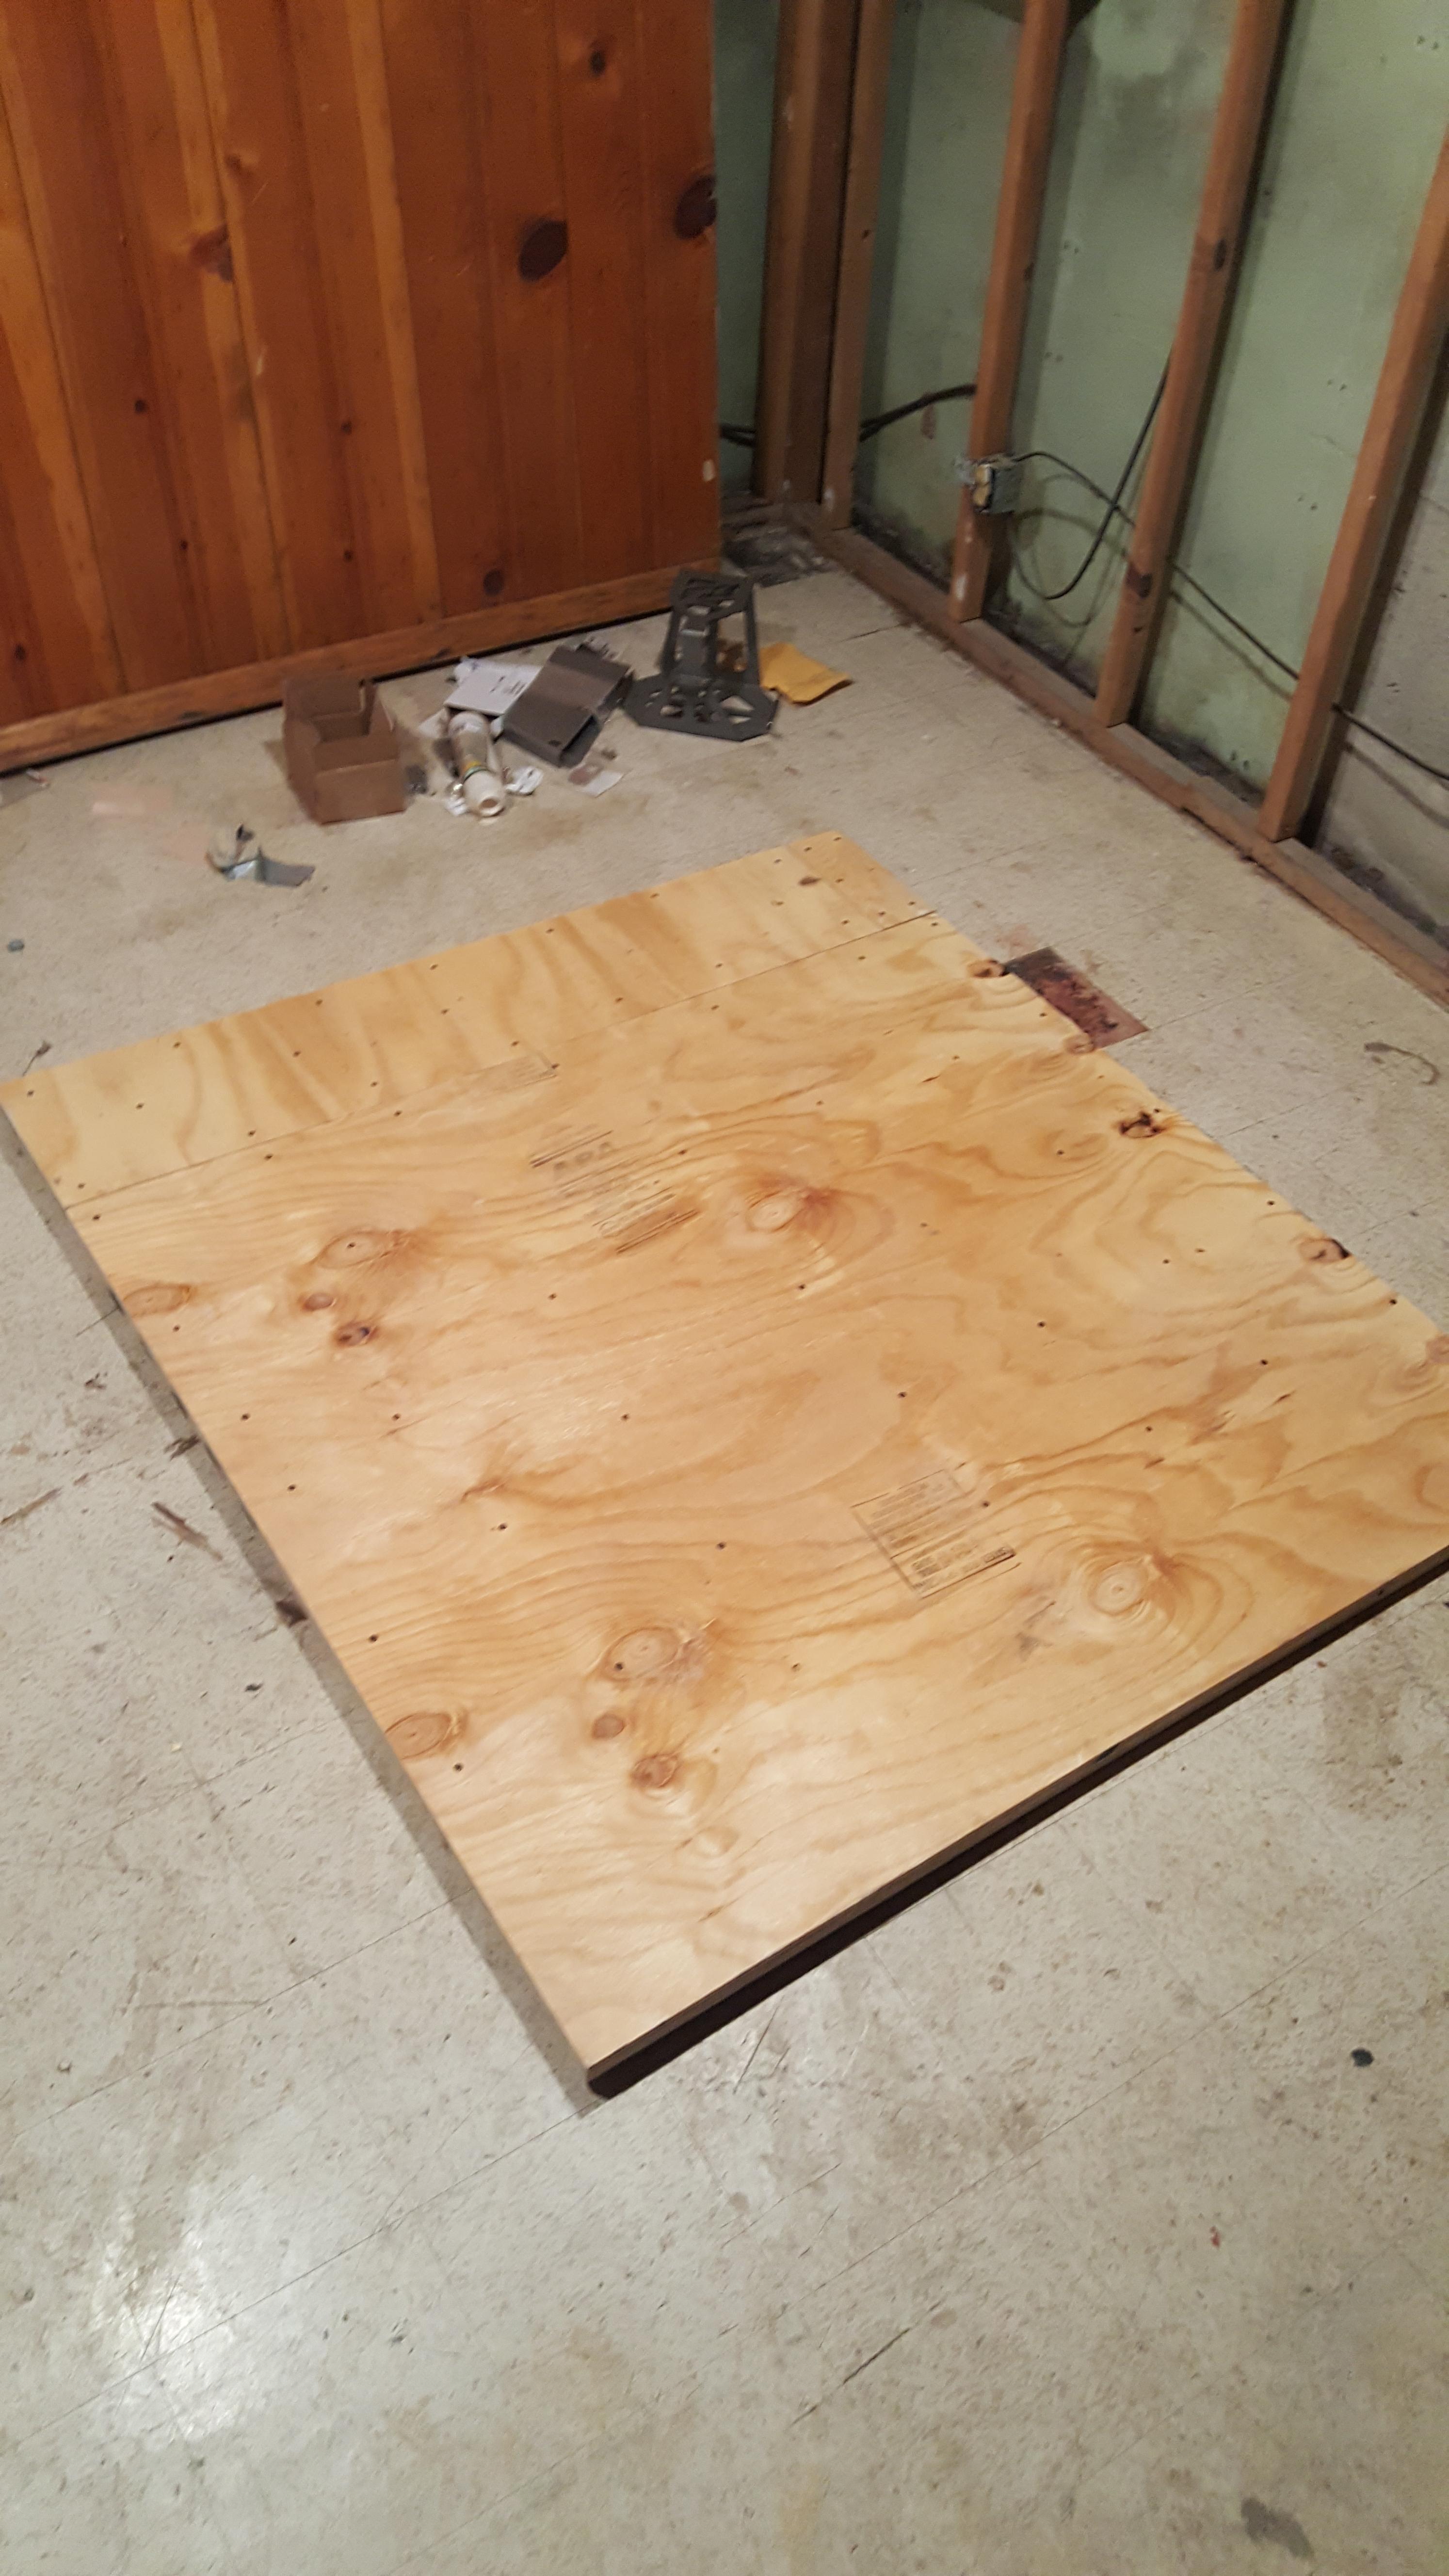
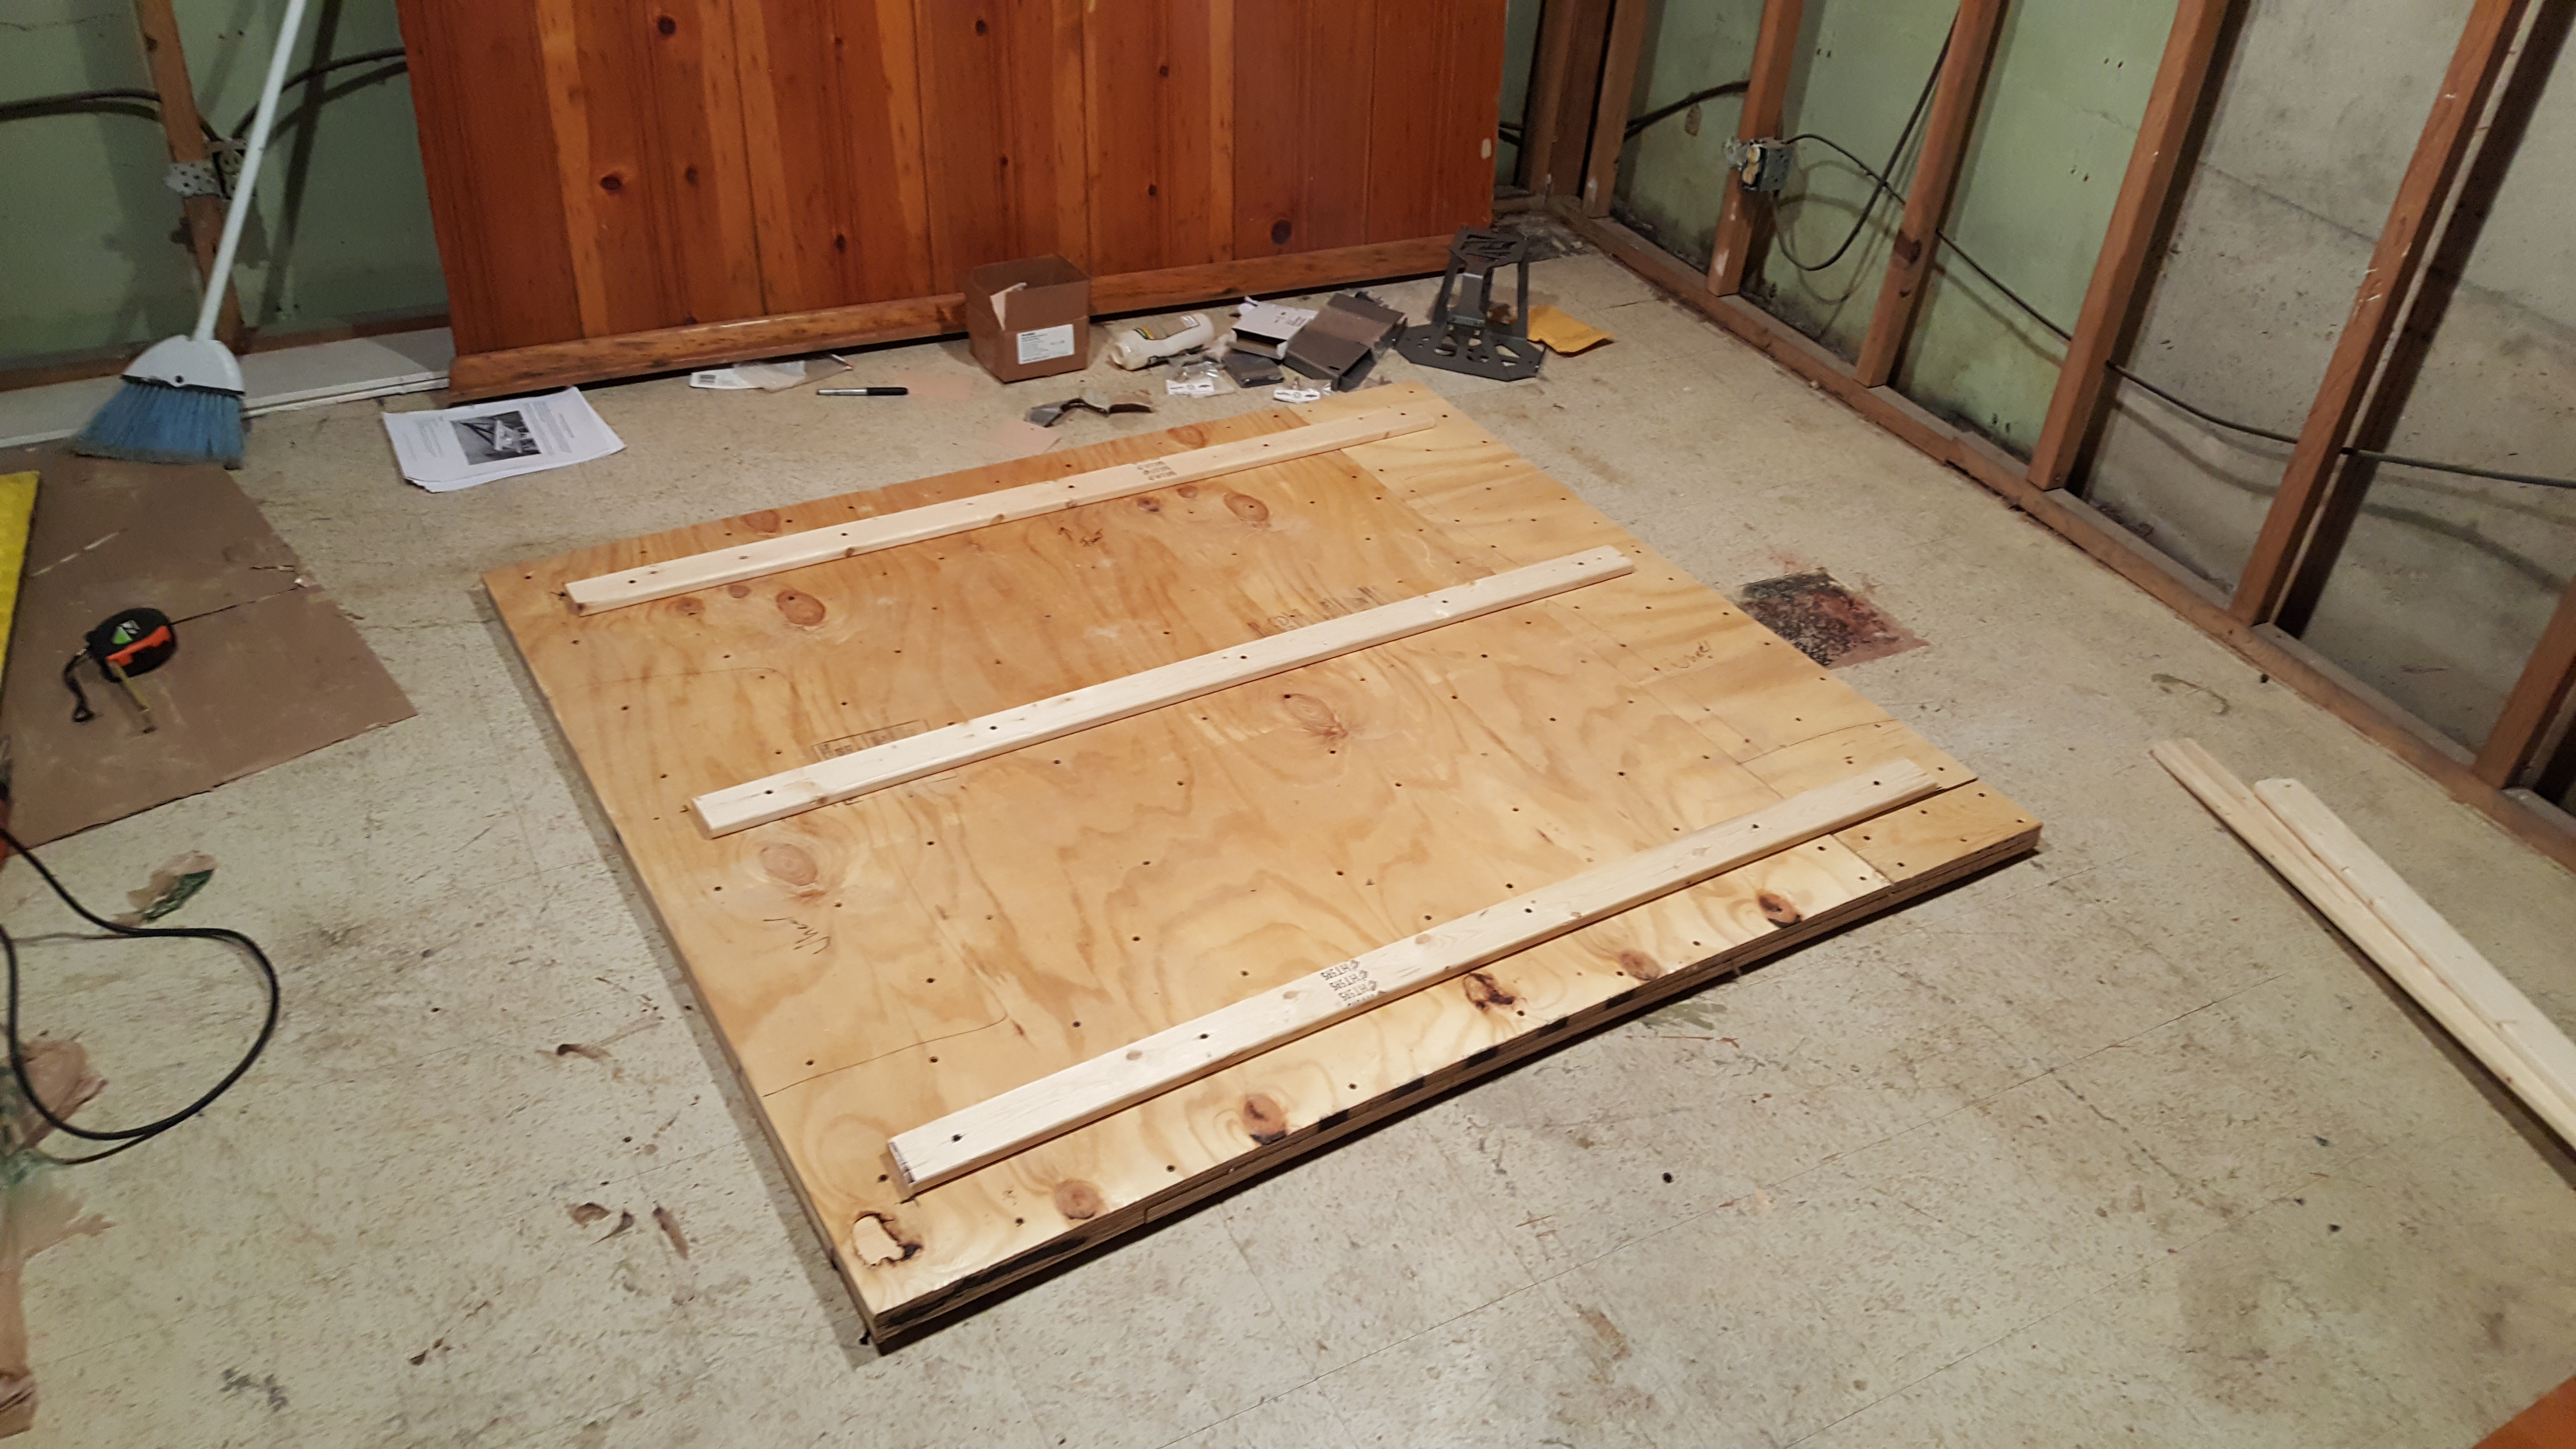
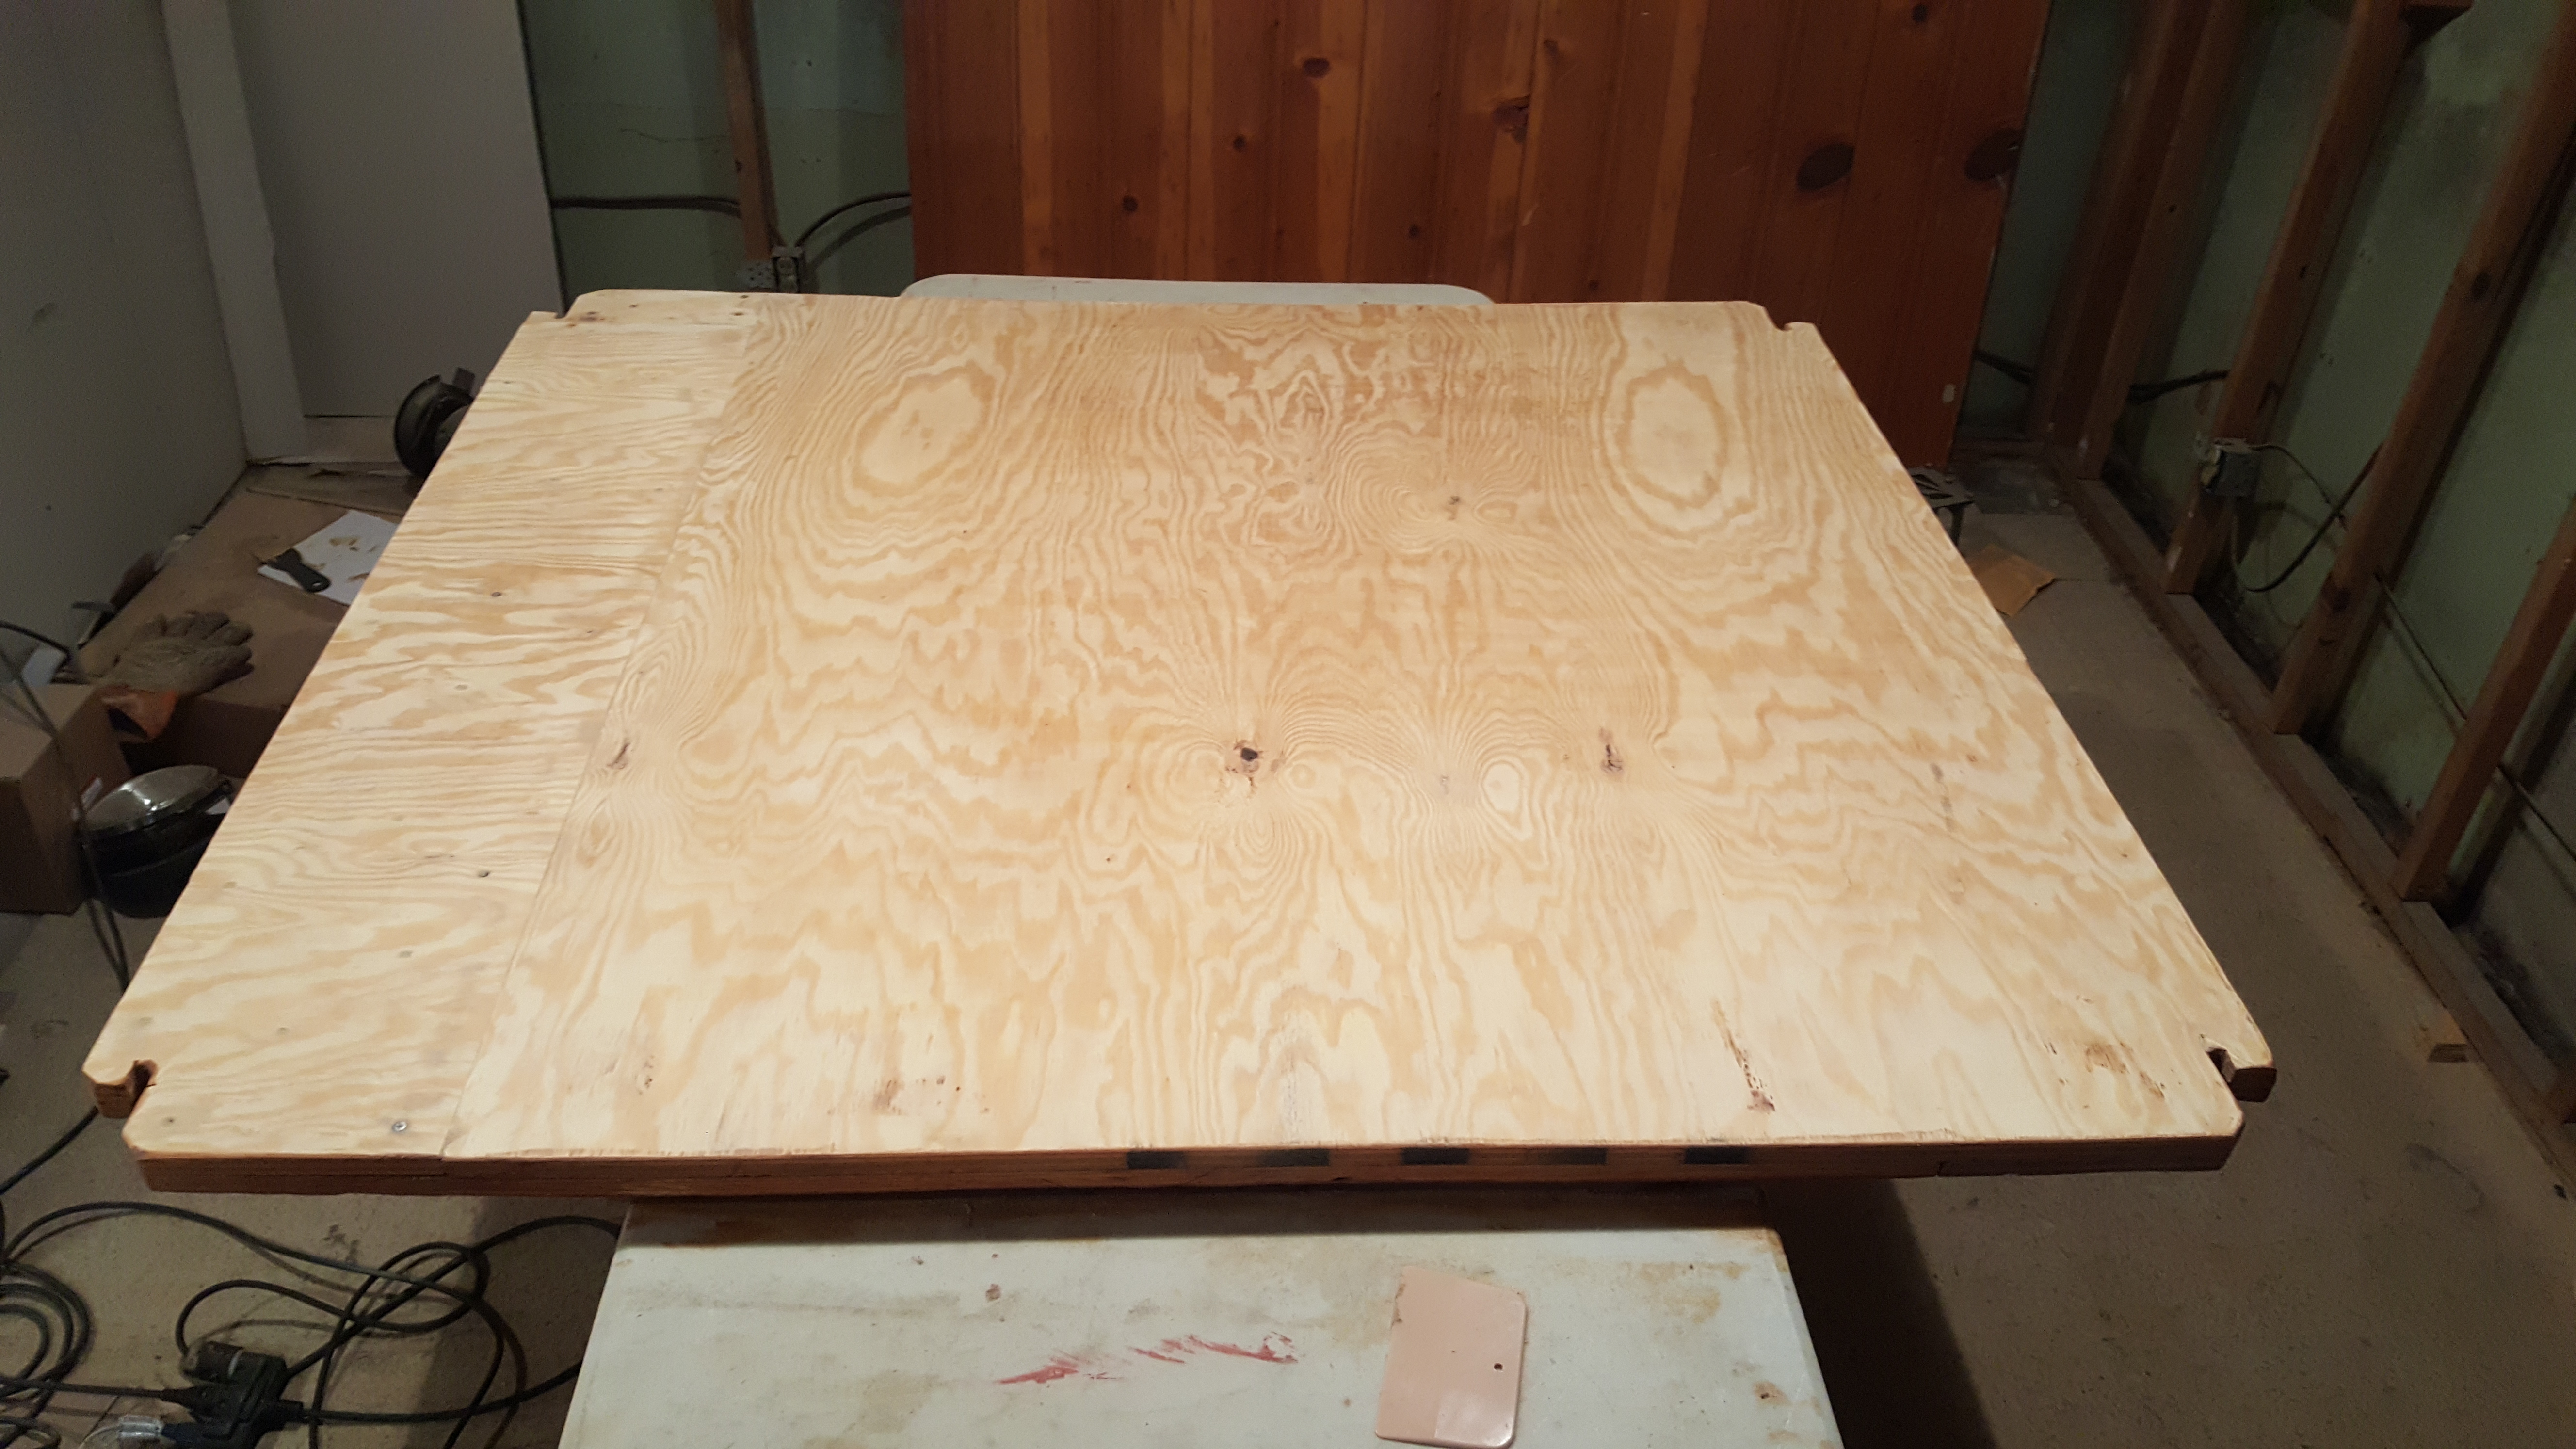
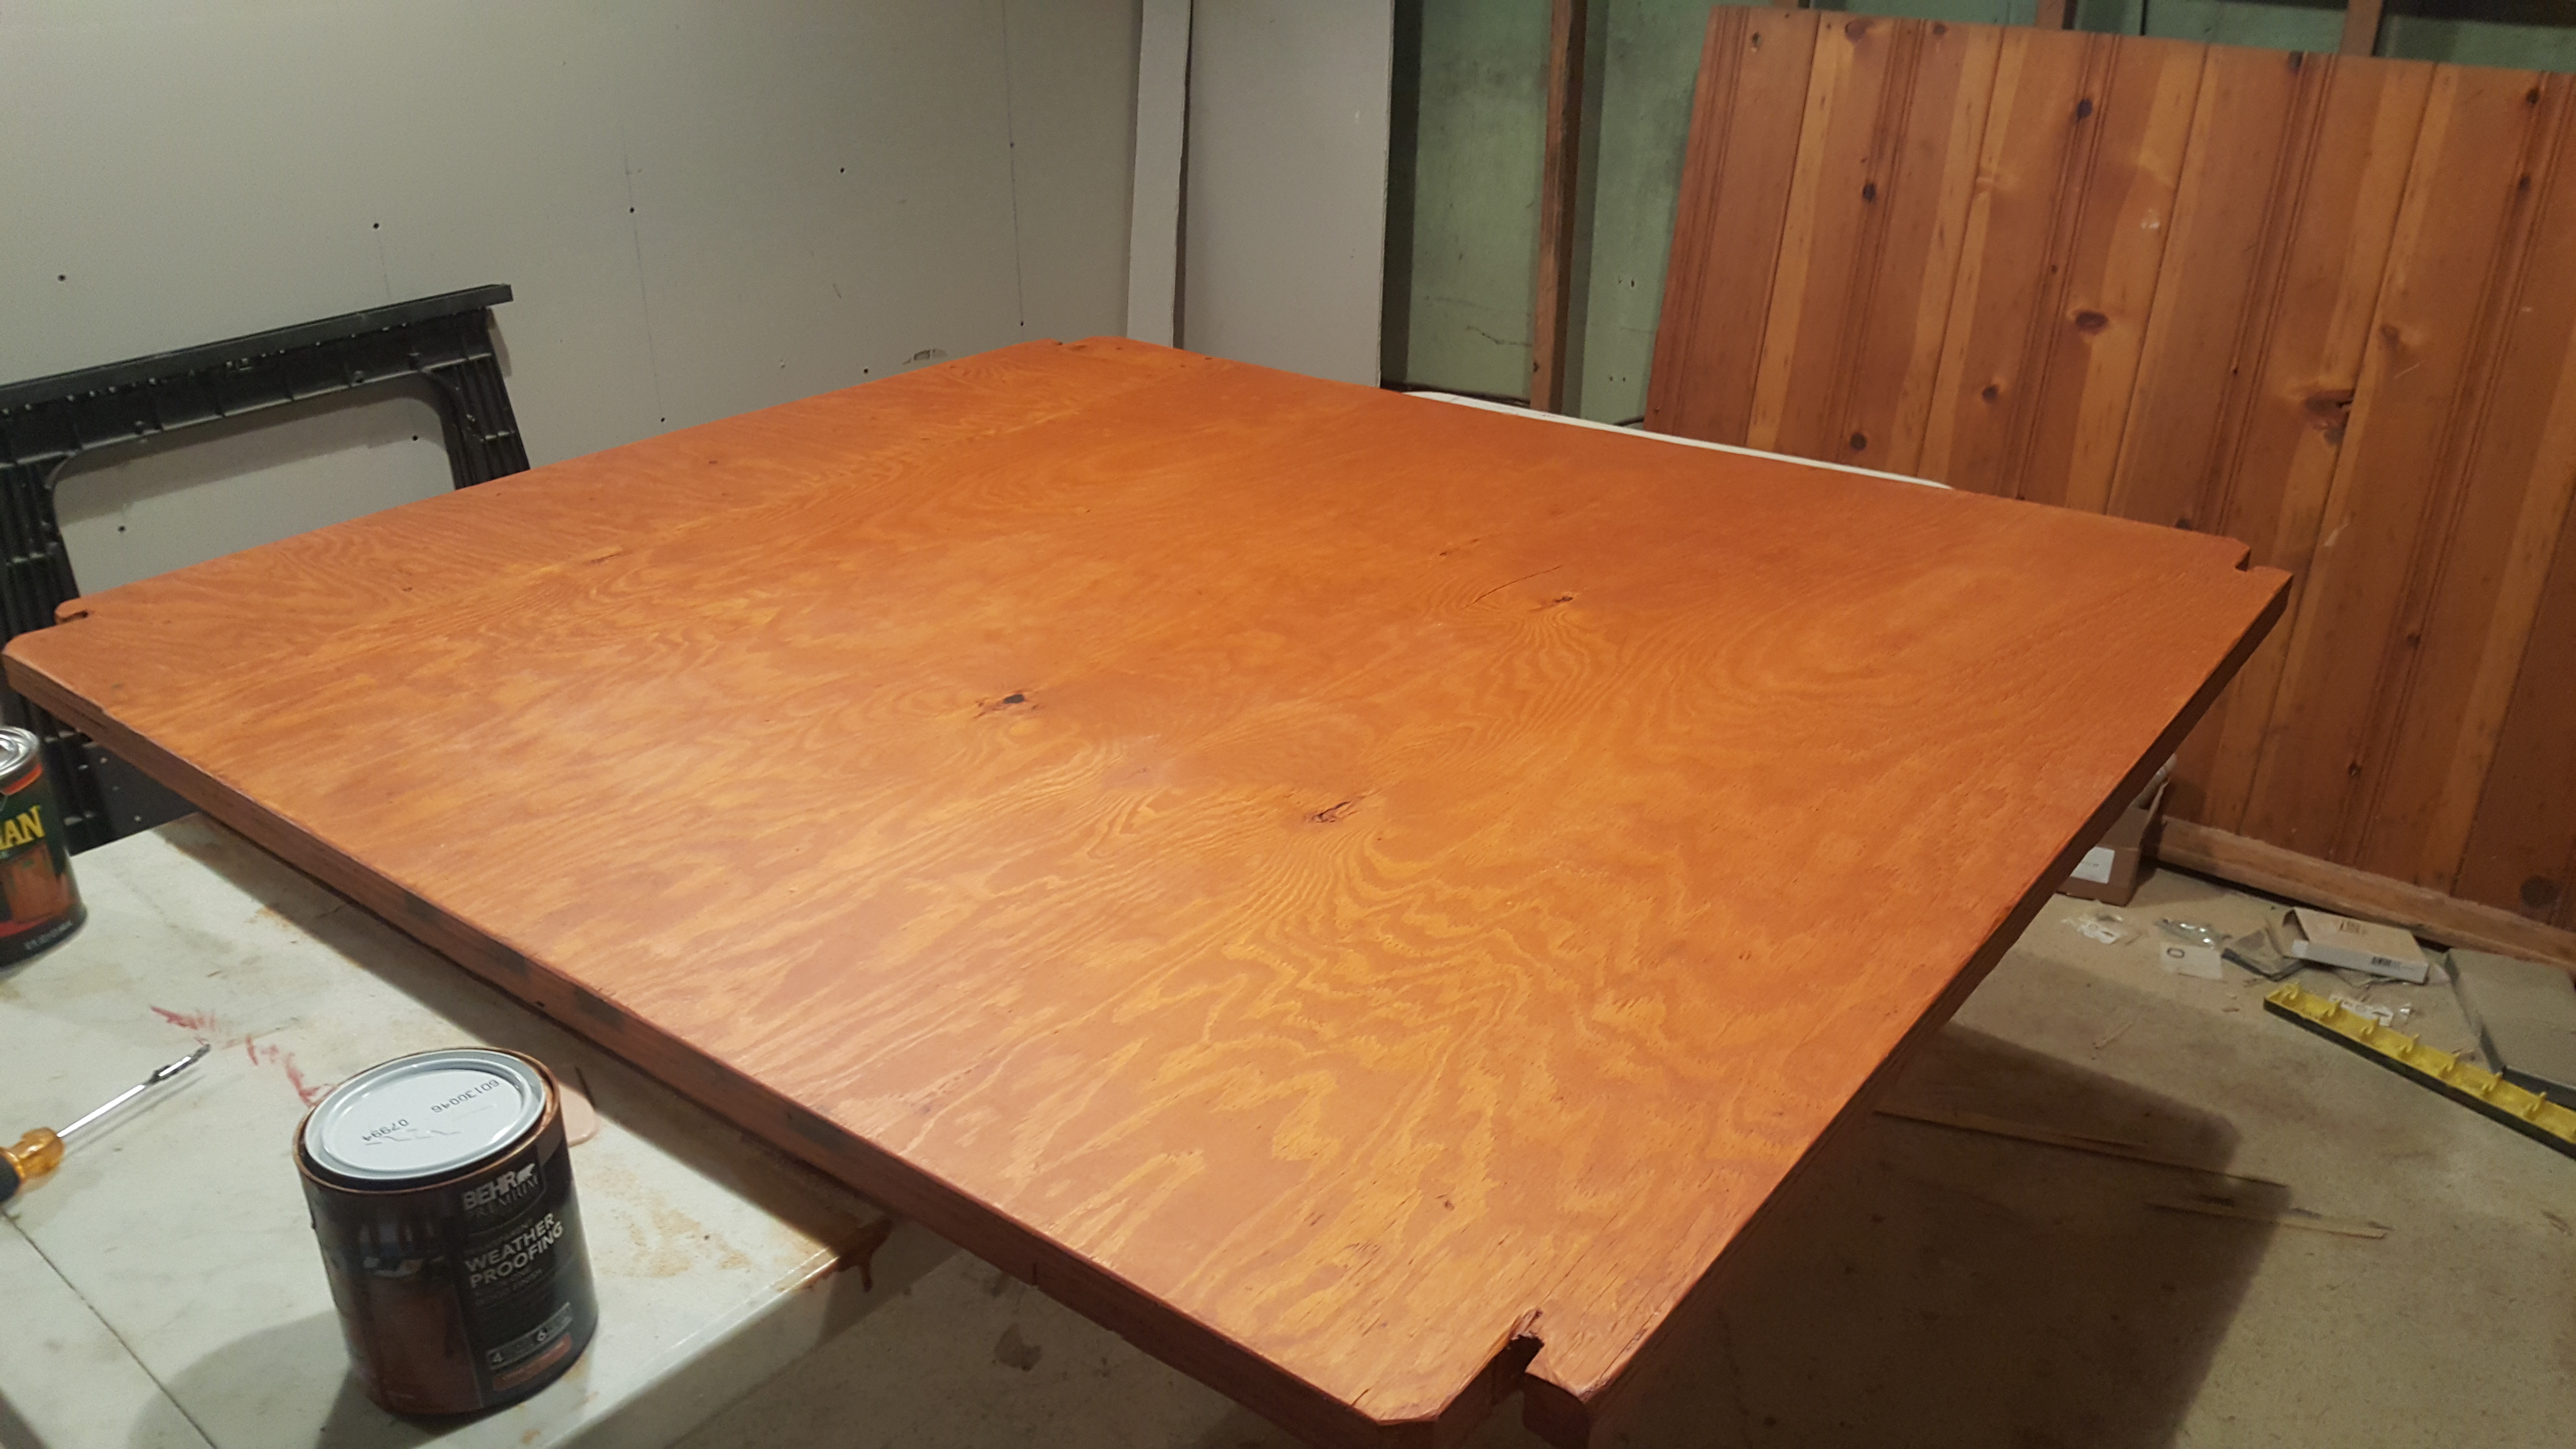
This should wrap up the frame design, next post will have the decking, tongue box and hitch choices
This thread is going to highlight my overland trailer build based off the Dinoot Trailer.
These plans are based off the supplied dinoot frame plans, if i remember correctly this is 6" longer than a standard dinoot (more on why later) They're a little charred from the welding.. oops
I chose to build the frame out of 2" .120wall square tube
The spring brackets are from dinoot, they're pre-welded with minor assembly. I also picked up some axle tube spring mounts.
Im using a $90 harbor freight mig welder for this, didn't feel like driving 30 mins to my dads house every few days to build this thing with the good welders, Pardon the slag
I decided to purchase some of these Zip tie tabs from my friends at motobilt.com, they will come in handy with the trailer wiring & charging system later on
Close up
Here's the trailer sitting on wheels. I'm using a 2200lb axle. 71" hub face with 2" wide wheel spacers to convert over to JK wheel bolt pattern. Eventually i'd like to get a 3500lb axle with an 8x6.5 pattern so i can run the same wheel & tire combo as my jeep LJ (40" tires)
Picture of some misc. tabs i had cut for me by the guys at motobilt, the square and rectangle are for the trailer deck & rear stabilizer jacks. The large tie down handle will be used for holding the spare down & maybe some future storage options.
Heres a picture with everything mostly welded up, im really sorry this photo is blurry. I didn't notice it after i took the picture.
It shows off the 1/4" tongue plate i had CNC plasma cut by a friend.
I guess this would be a good point to show off my rear bumper situation, I run motobilt front & rear bumpers on my jeep. So naturally the curtains need to match the drapes. Also is a picture of an optima battery box made by motobilt. For $35 you cant go wrong!
This should wrap up the frame design, next post will have the decking, tongue box and hitch choices
Last edited: