I'll start off with a short back story. Earlier this year we lost my wife's beloved 2017 Wrangler Unlimited name Smoochy to a reckless driver that rear ended us. It was built up nearly perfect for what we wanted but came to a sudden end. Here it is on one of it's last trips.
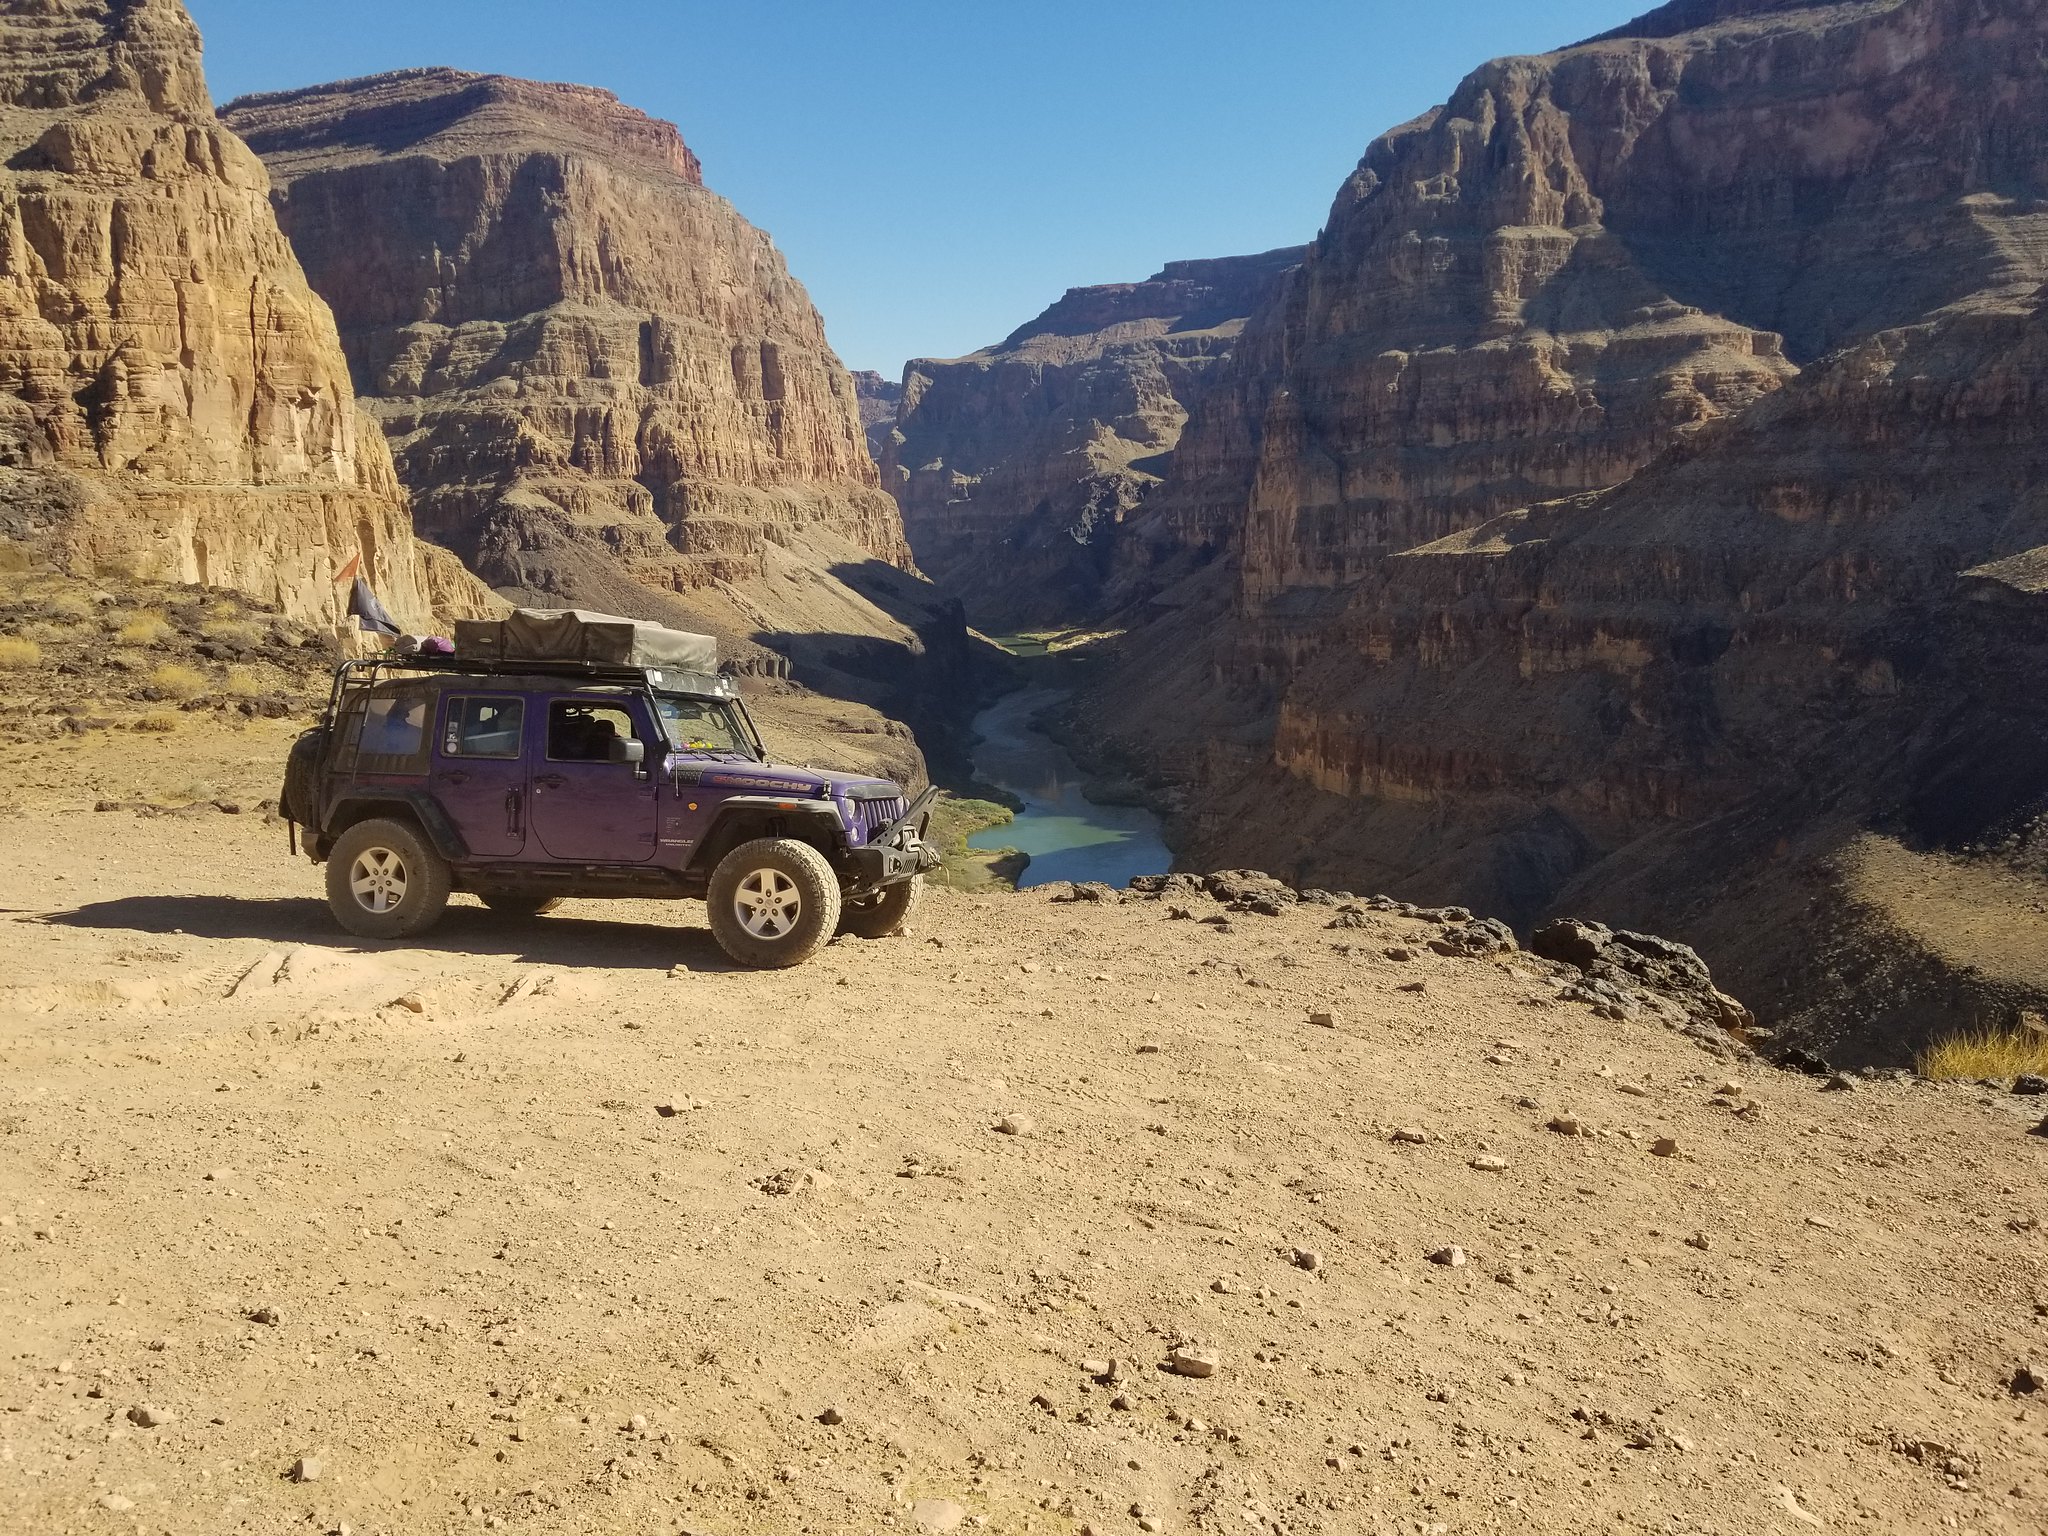 20201030_103929 by Wayne Larson, on Flickr
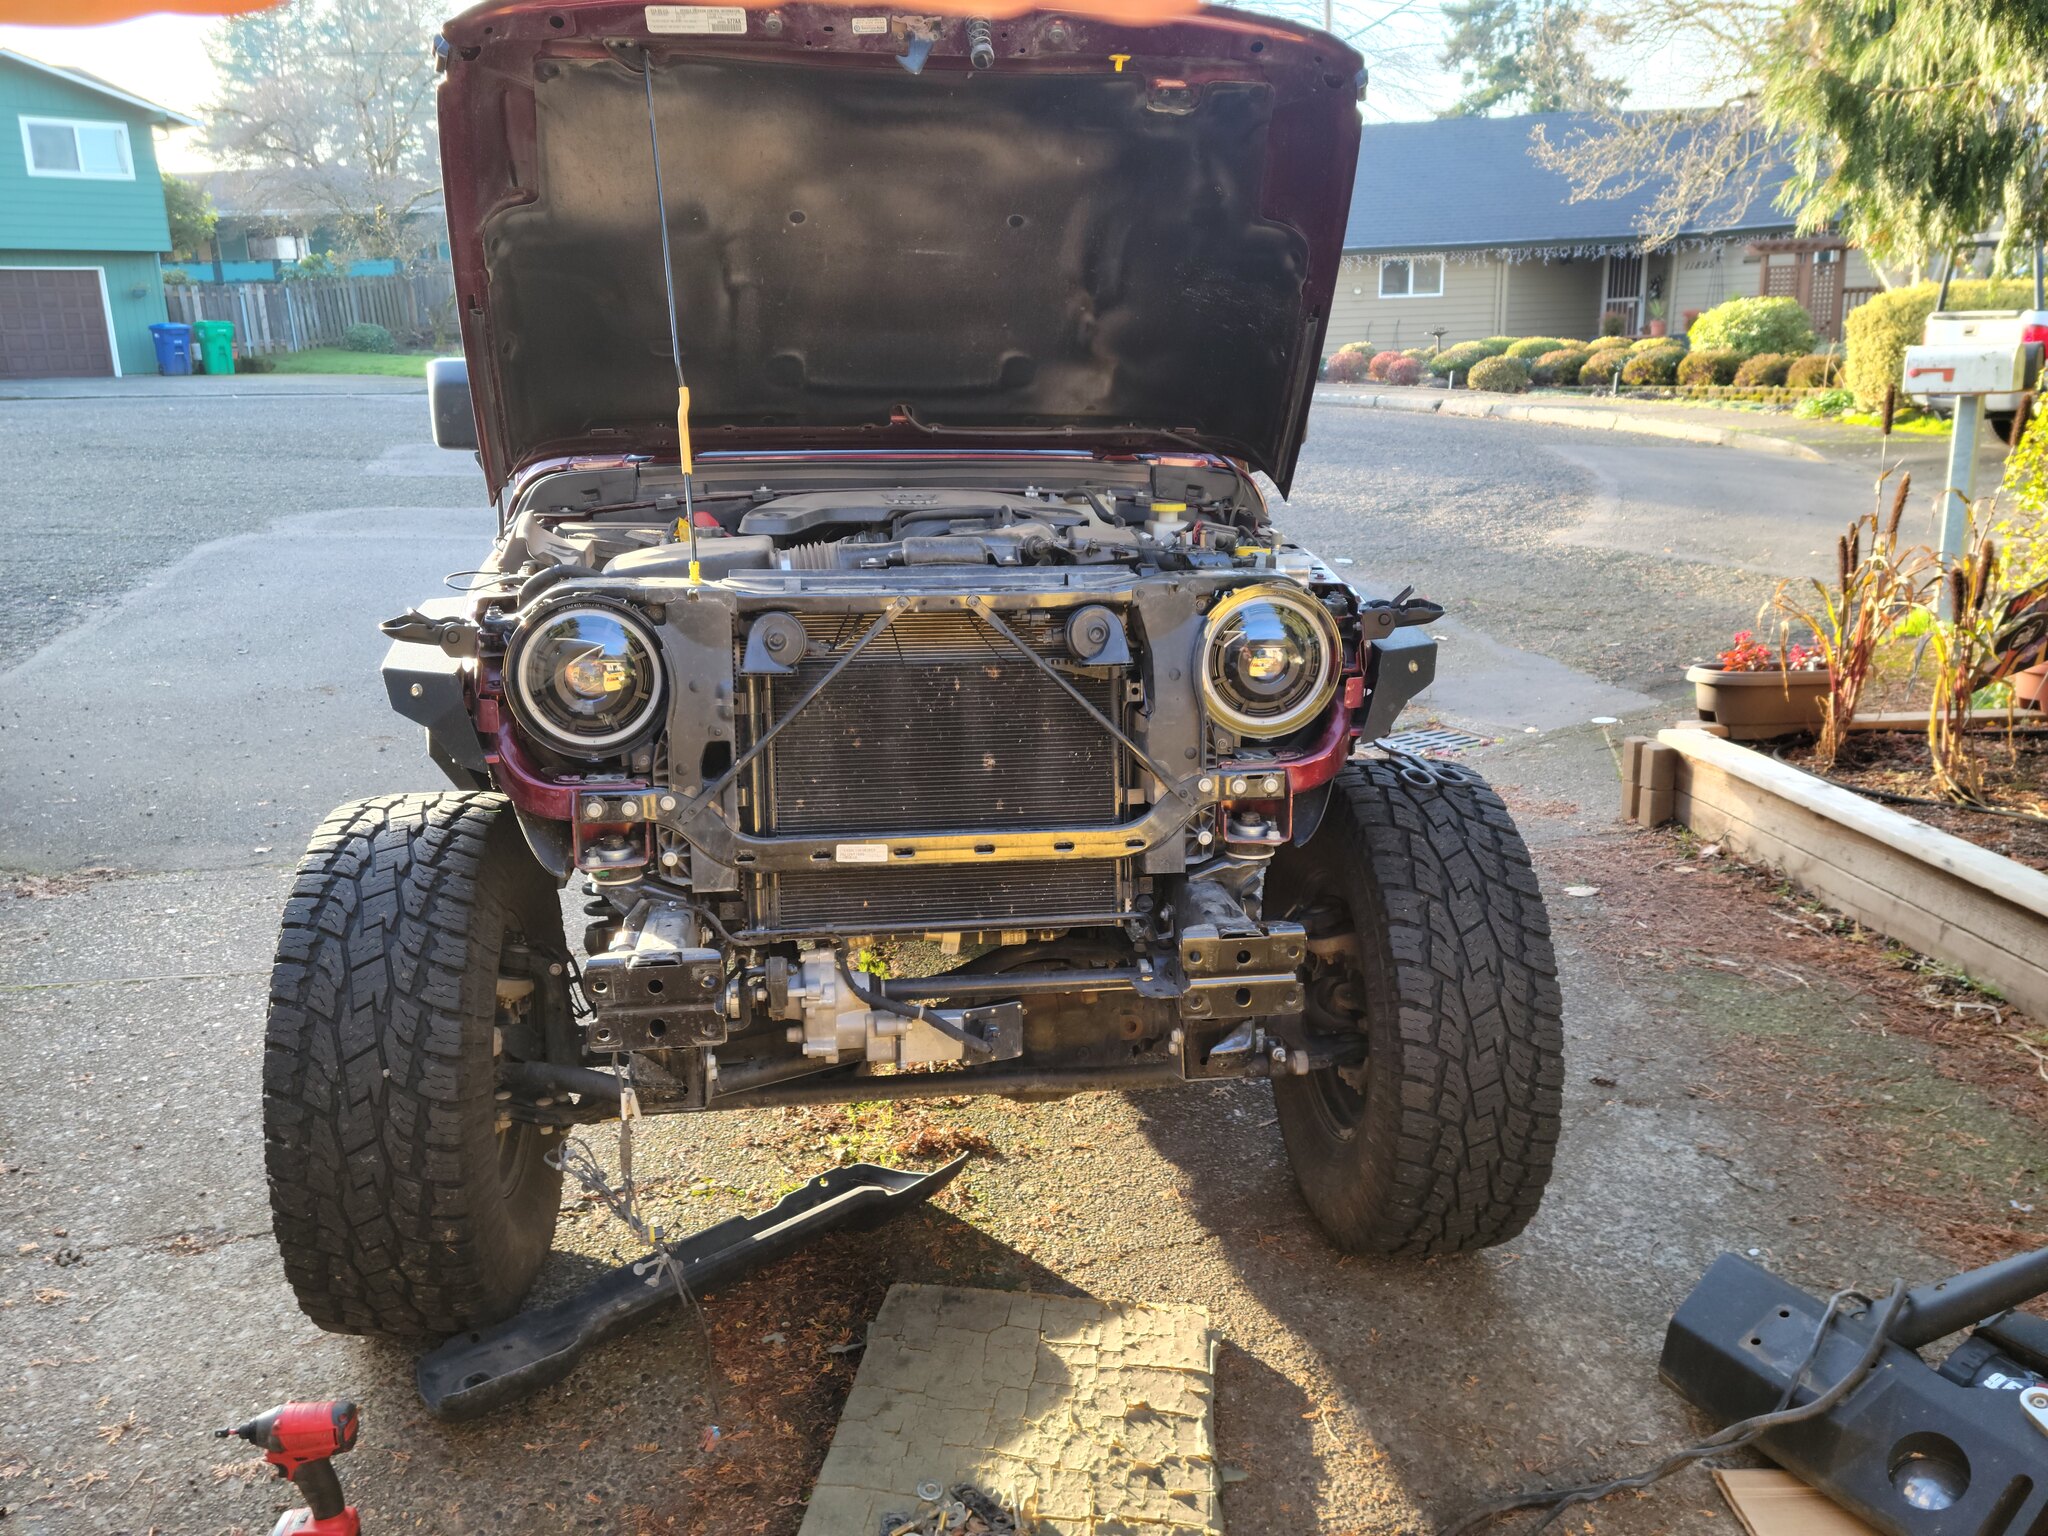
We had a decision to make. We wanted another Jeep but thought that the Gladiator would make for a better camping rig due to it's increased payload and more space in the bed. We also didn't have the 3+ years to build it up as we already had two planned trips for this year so we decided to start of with a Rubicon. Specifically a 2021 Gladiator Rubicon, manual, soft top, with the tow package. Nearly the bottom of the line for a Rubicon.
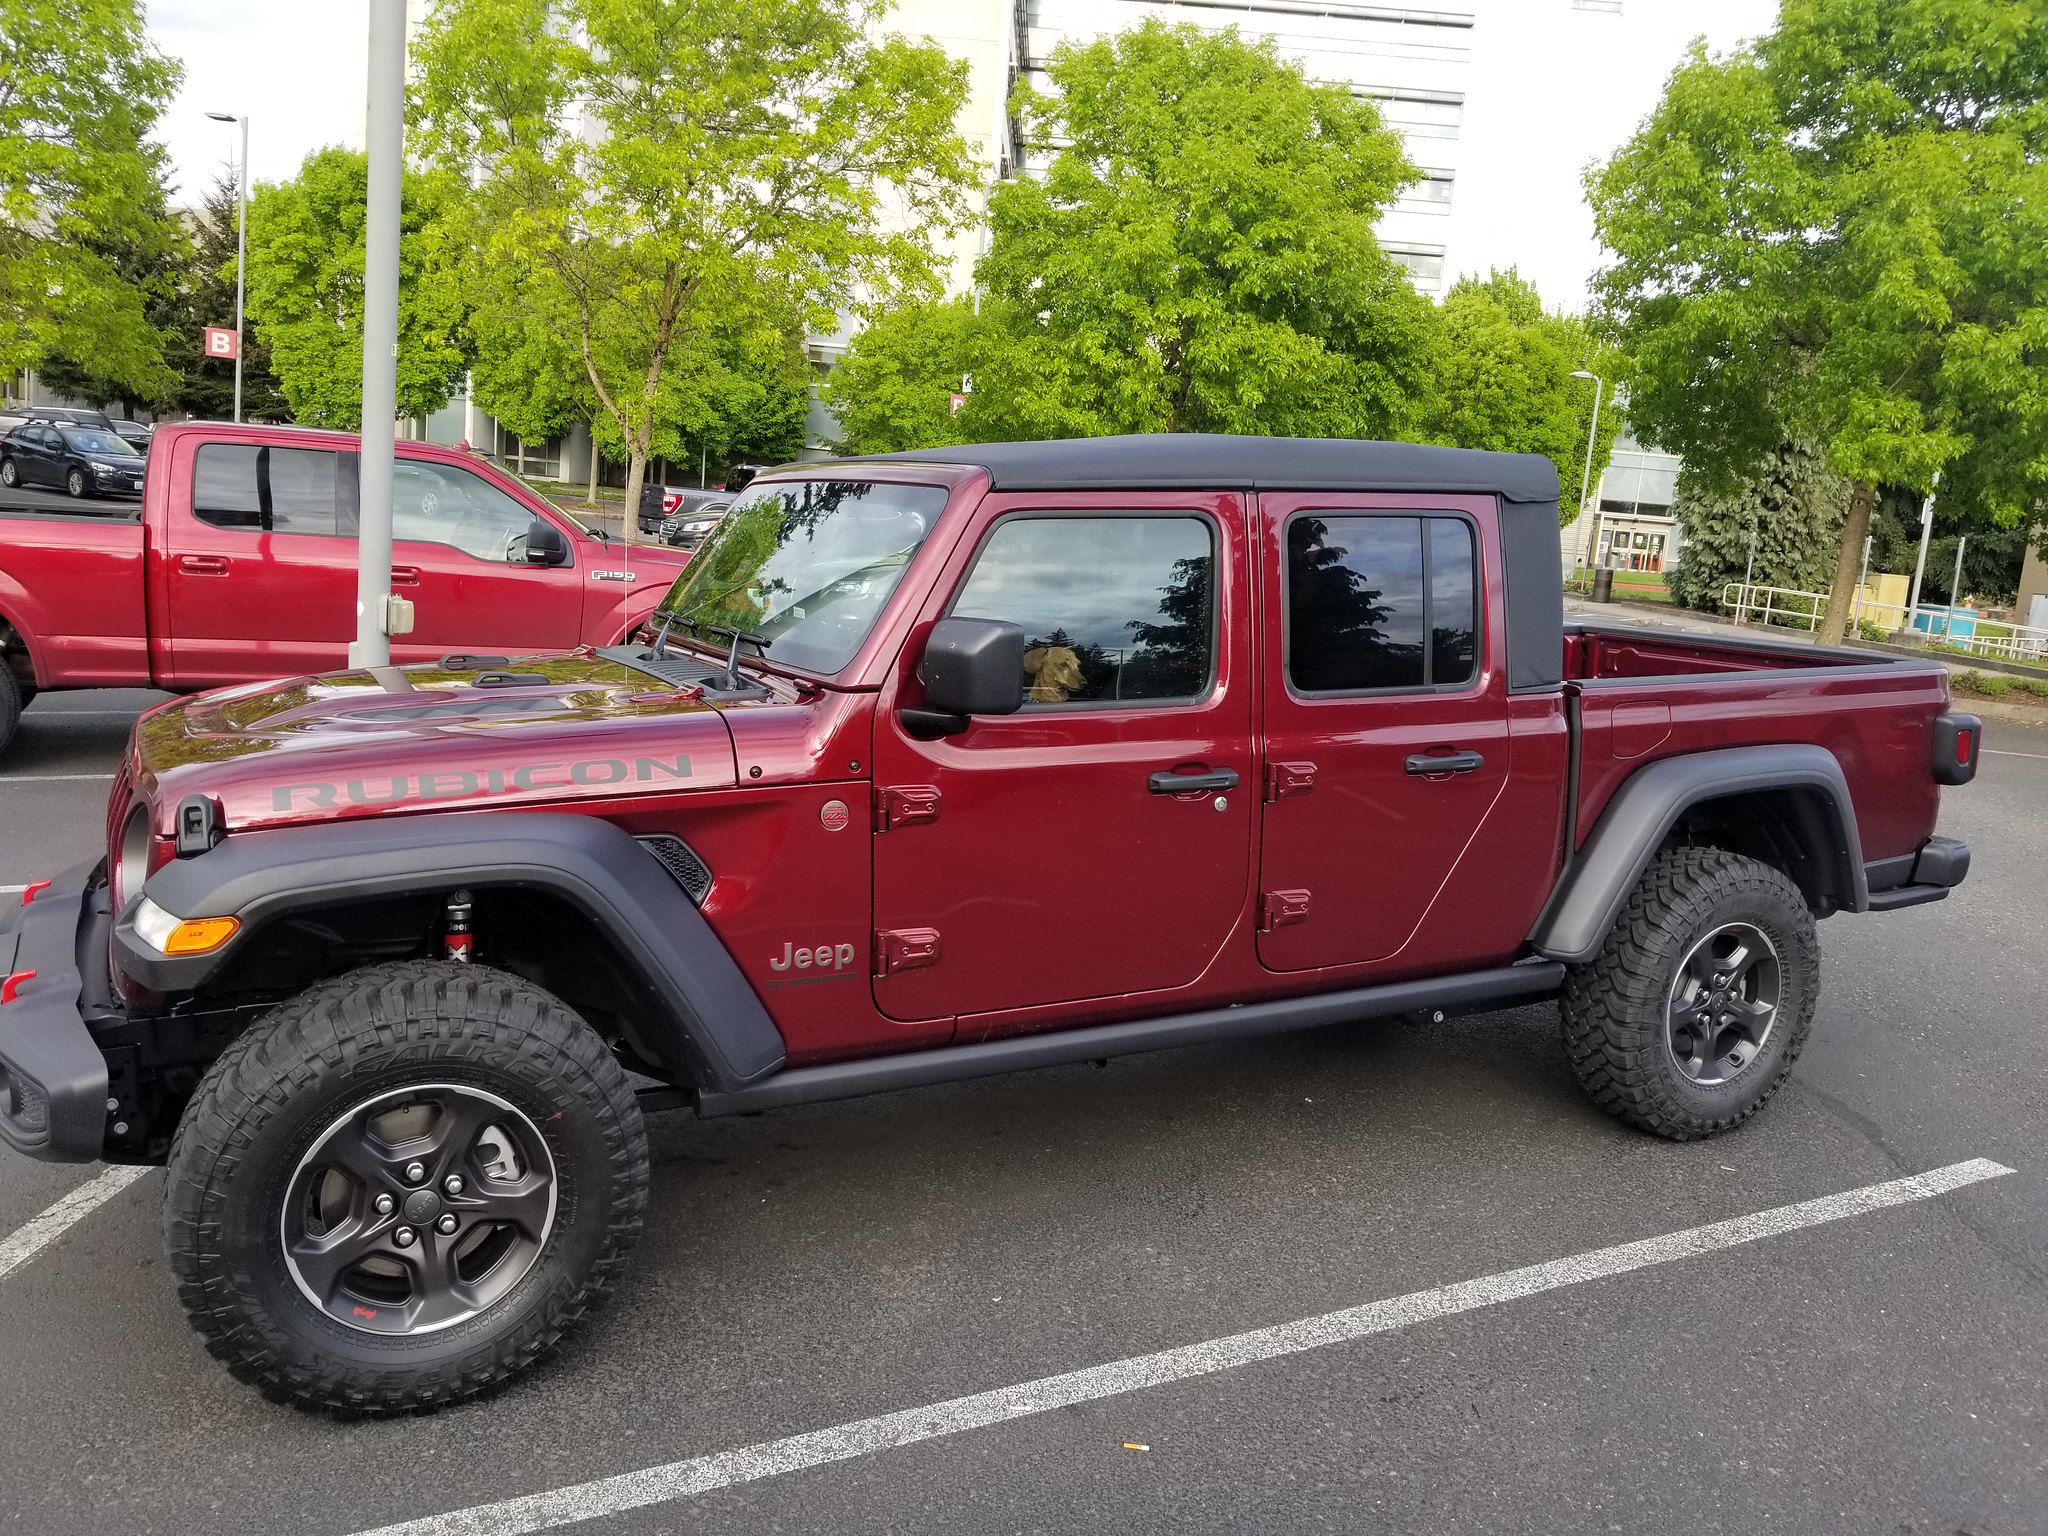 20210501_181723 by Wayne Larson, on Flickr
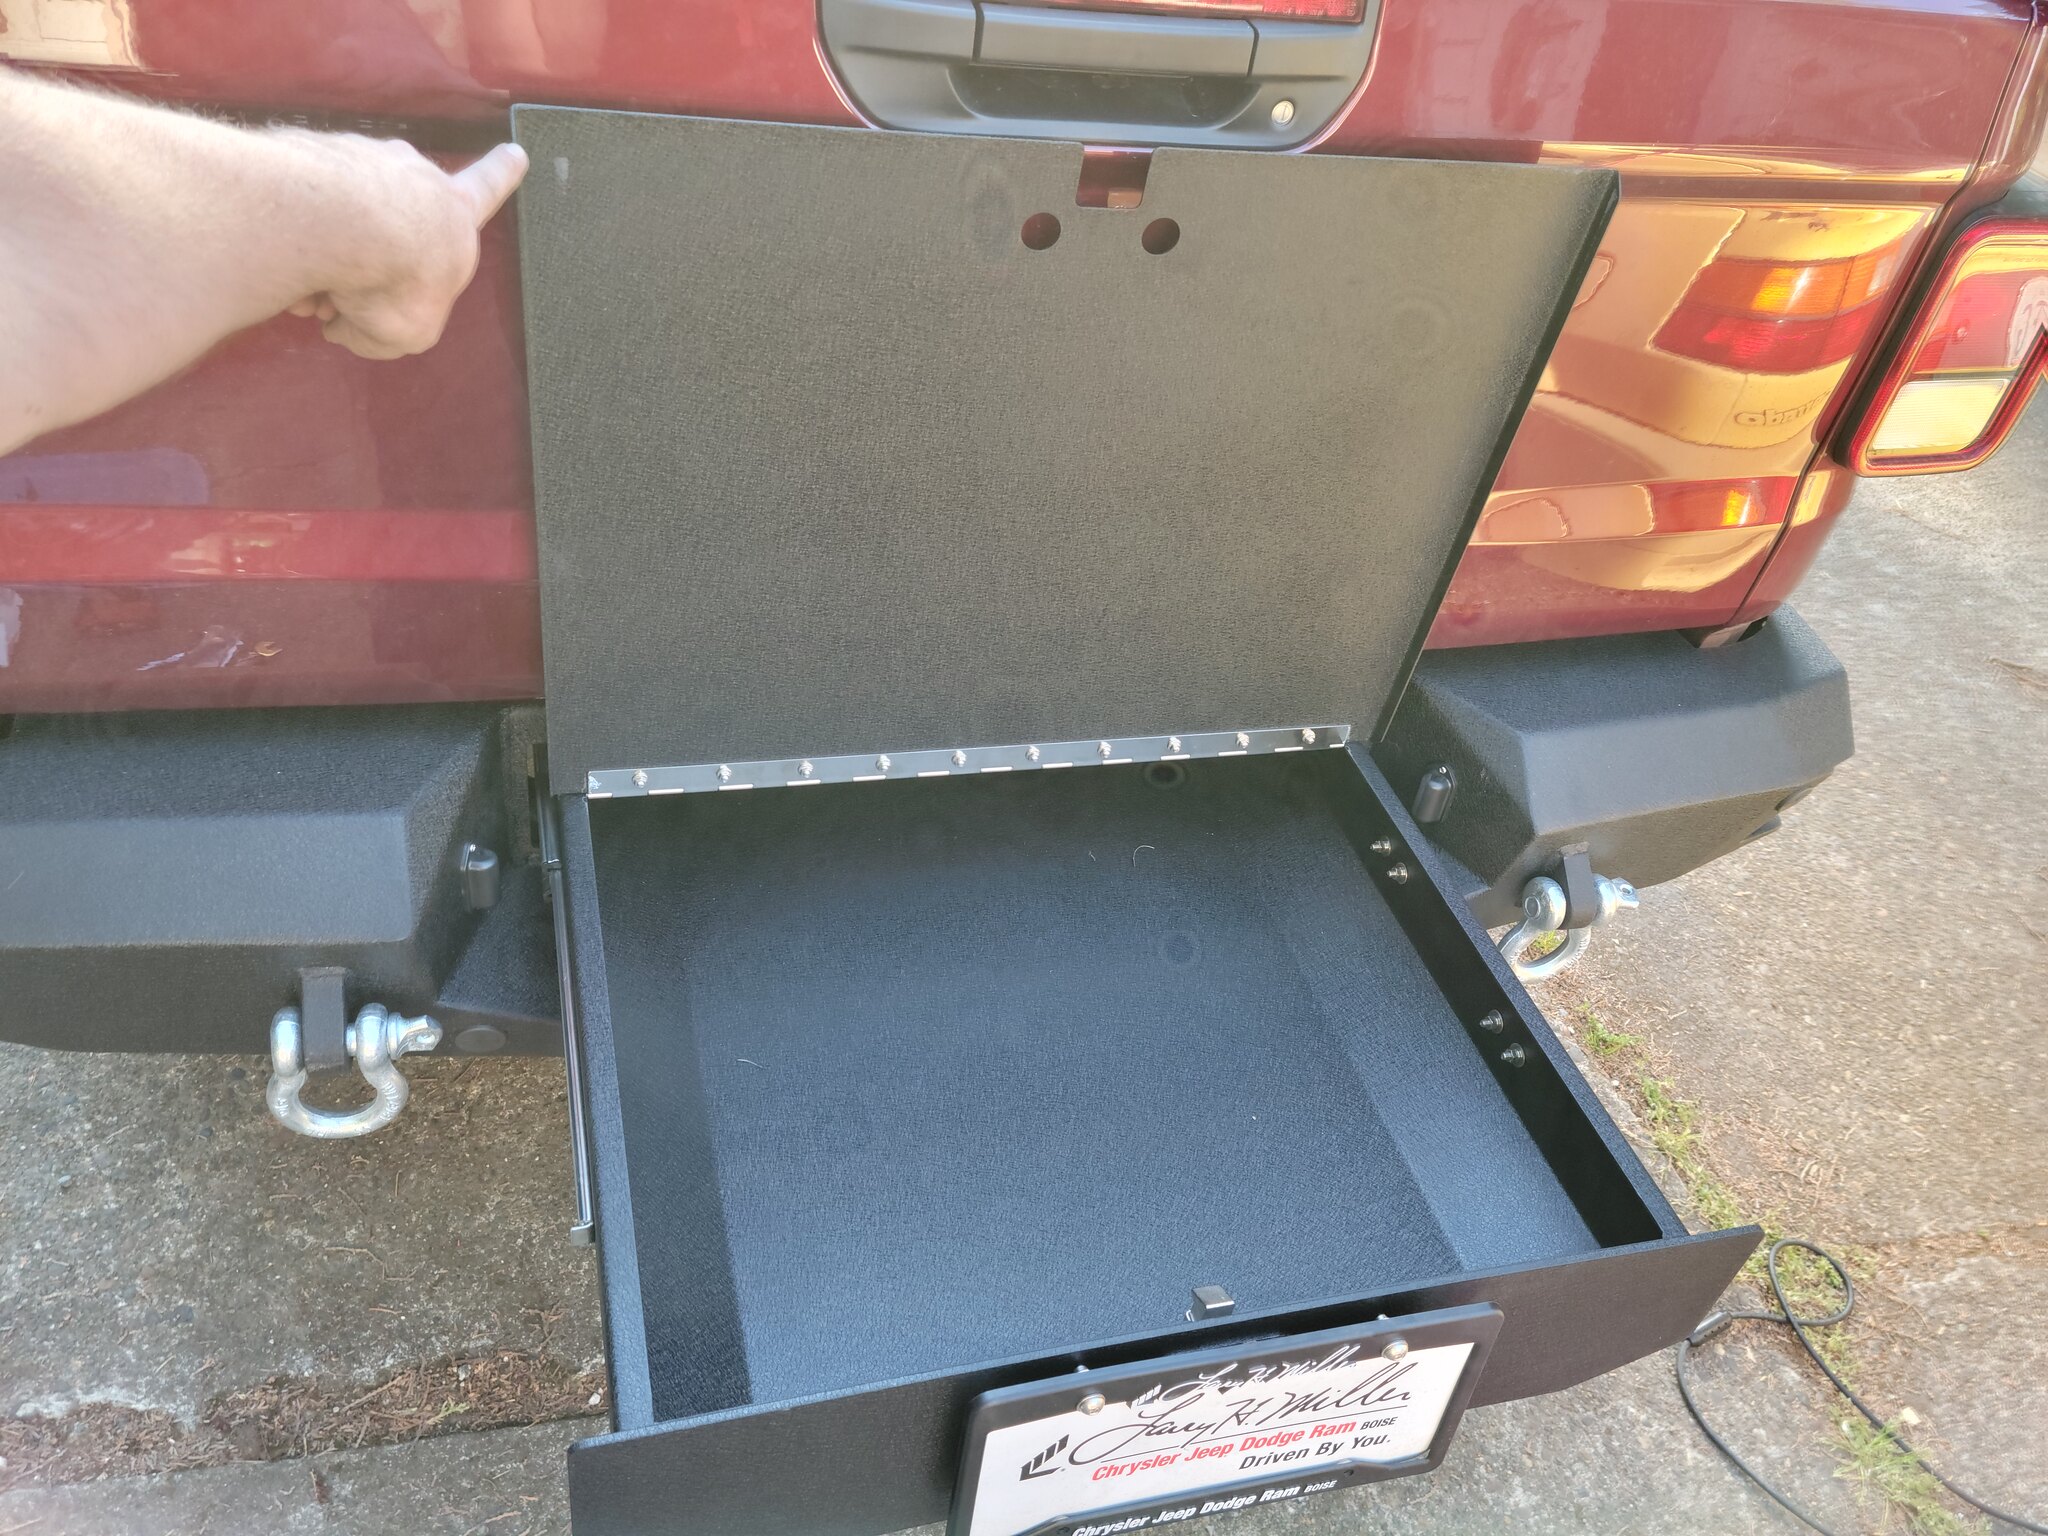
We got a pretty decent settlement from the insurance company so we were able to knock out a few accessories right away. We got a new rear bumper with integrated drawer, soft topper, bed rack, and new fenders.
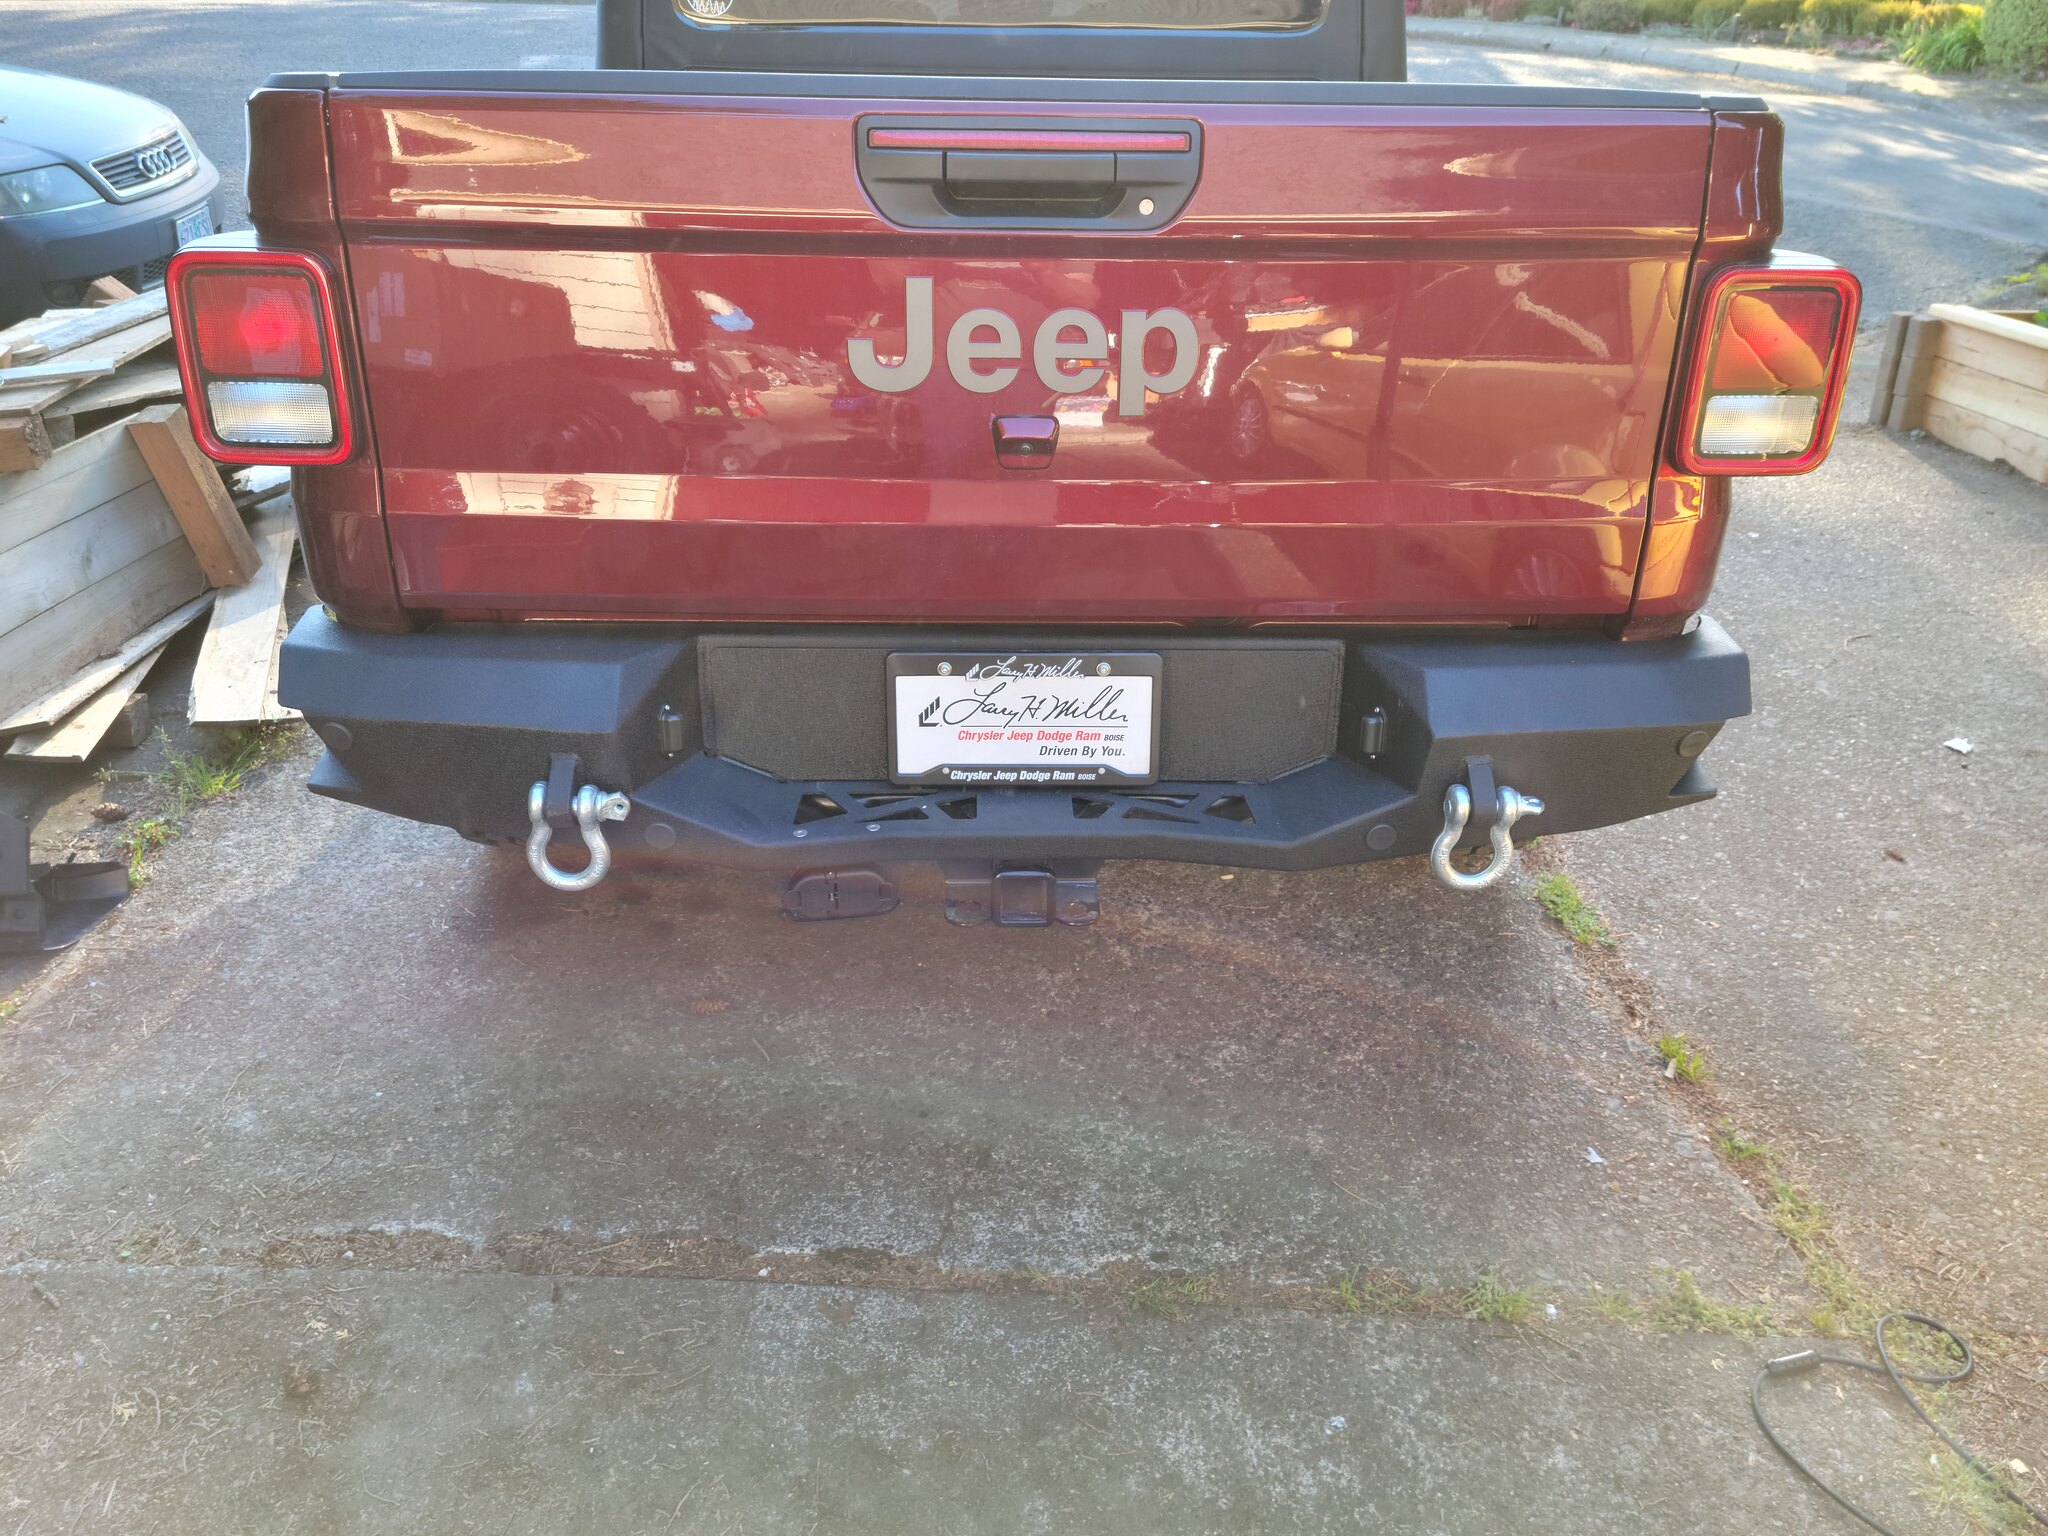 20210509_181344 by Wayne Larson, on Flickr
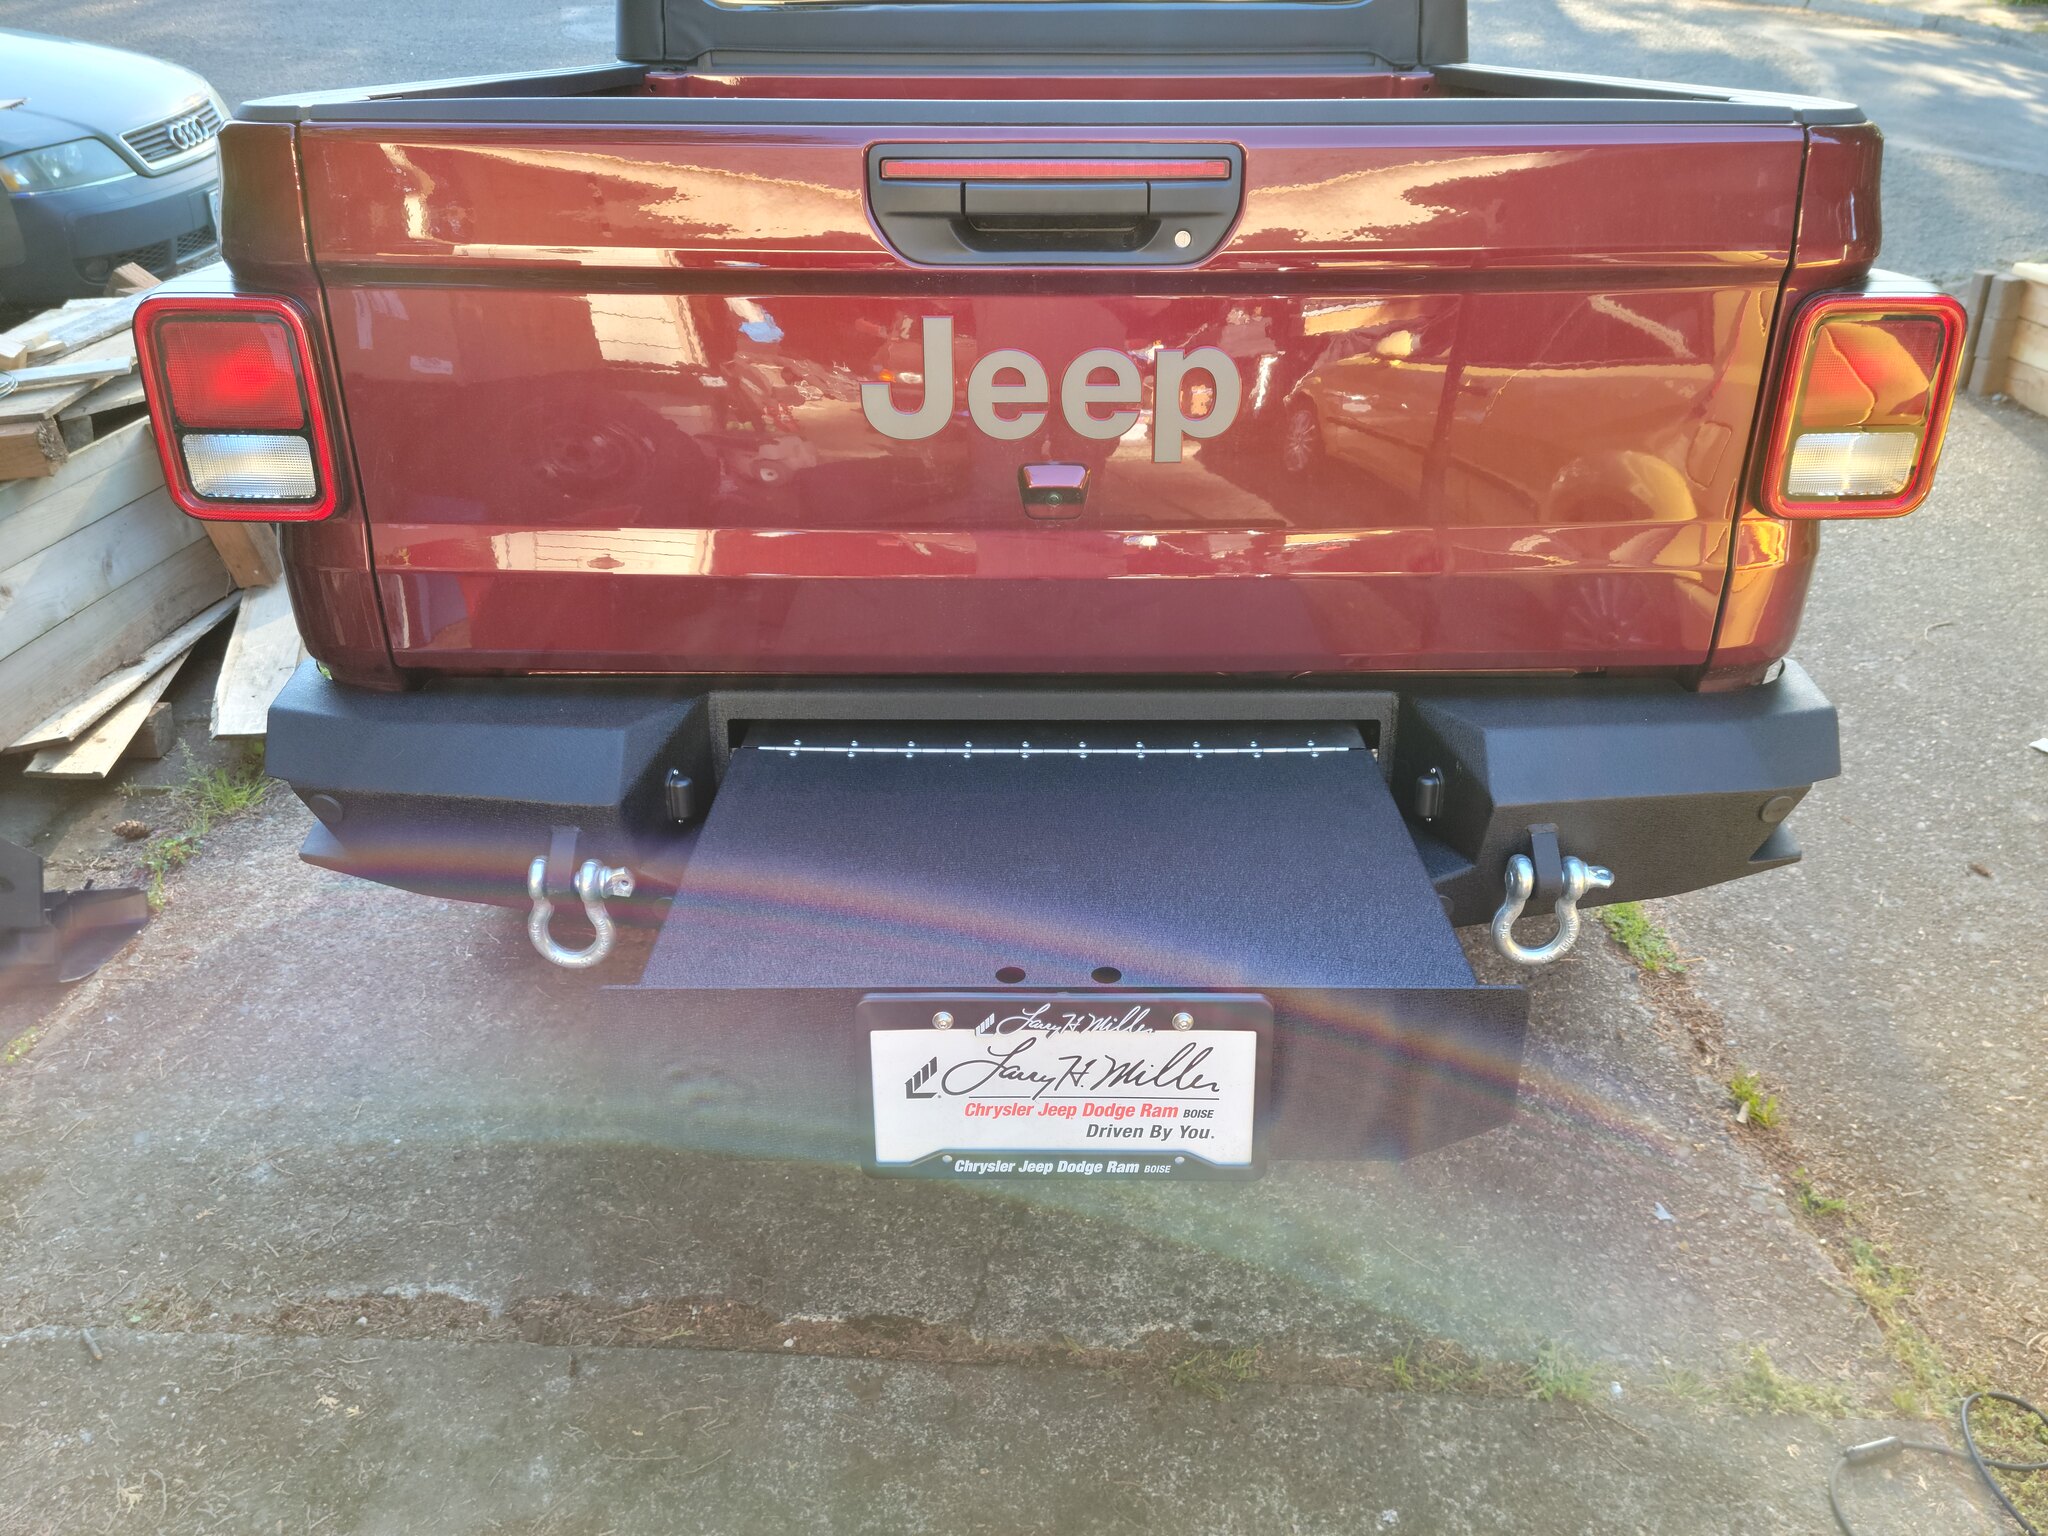 20210509_181430 by Wayne Larson, on Flickr
 20210509_181451 by Wayne Larson, on Flickr
 20210523_154905 by Wayne Larson, on Flickr
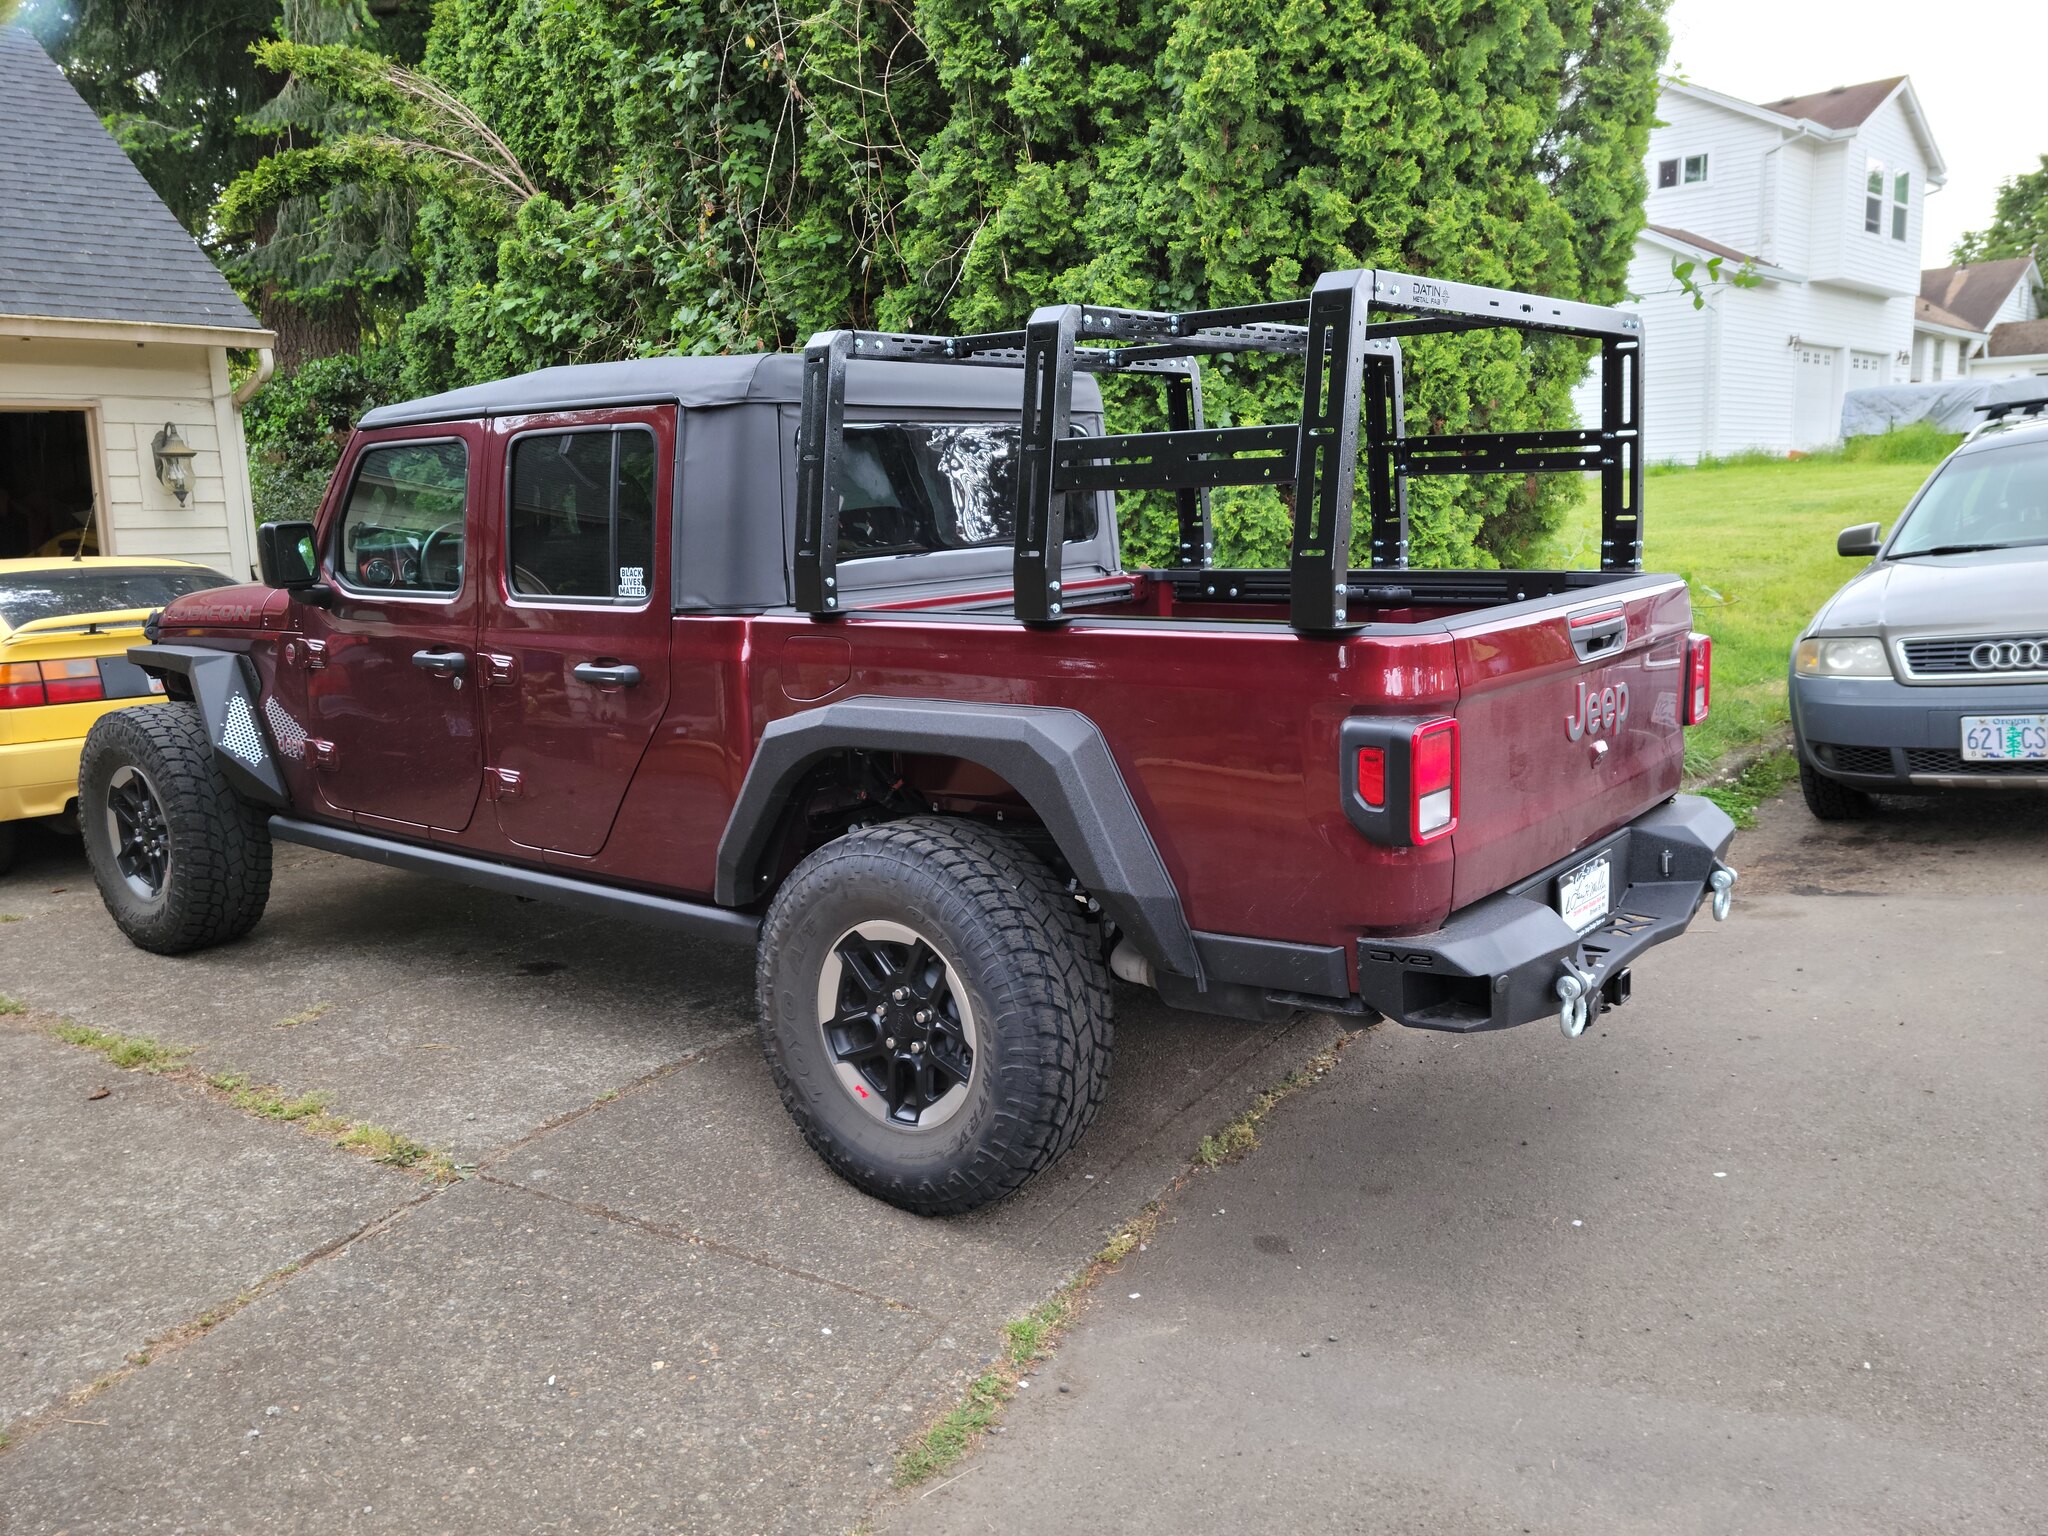
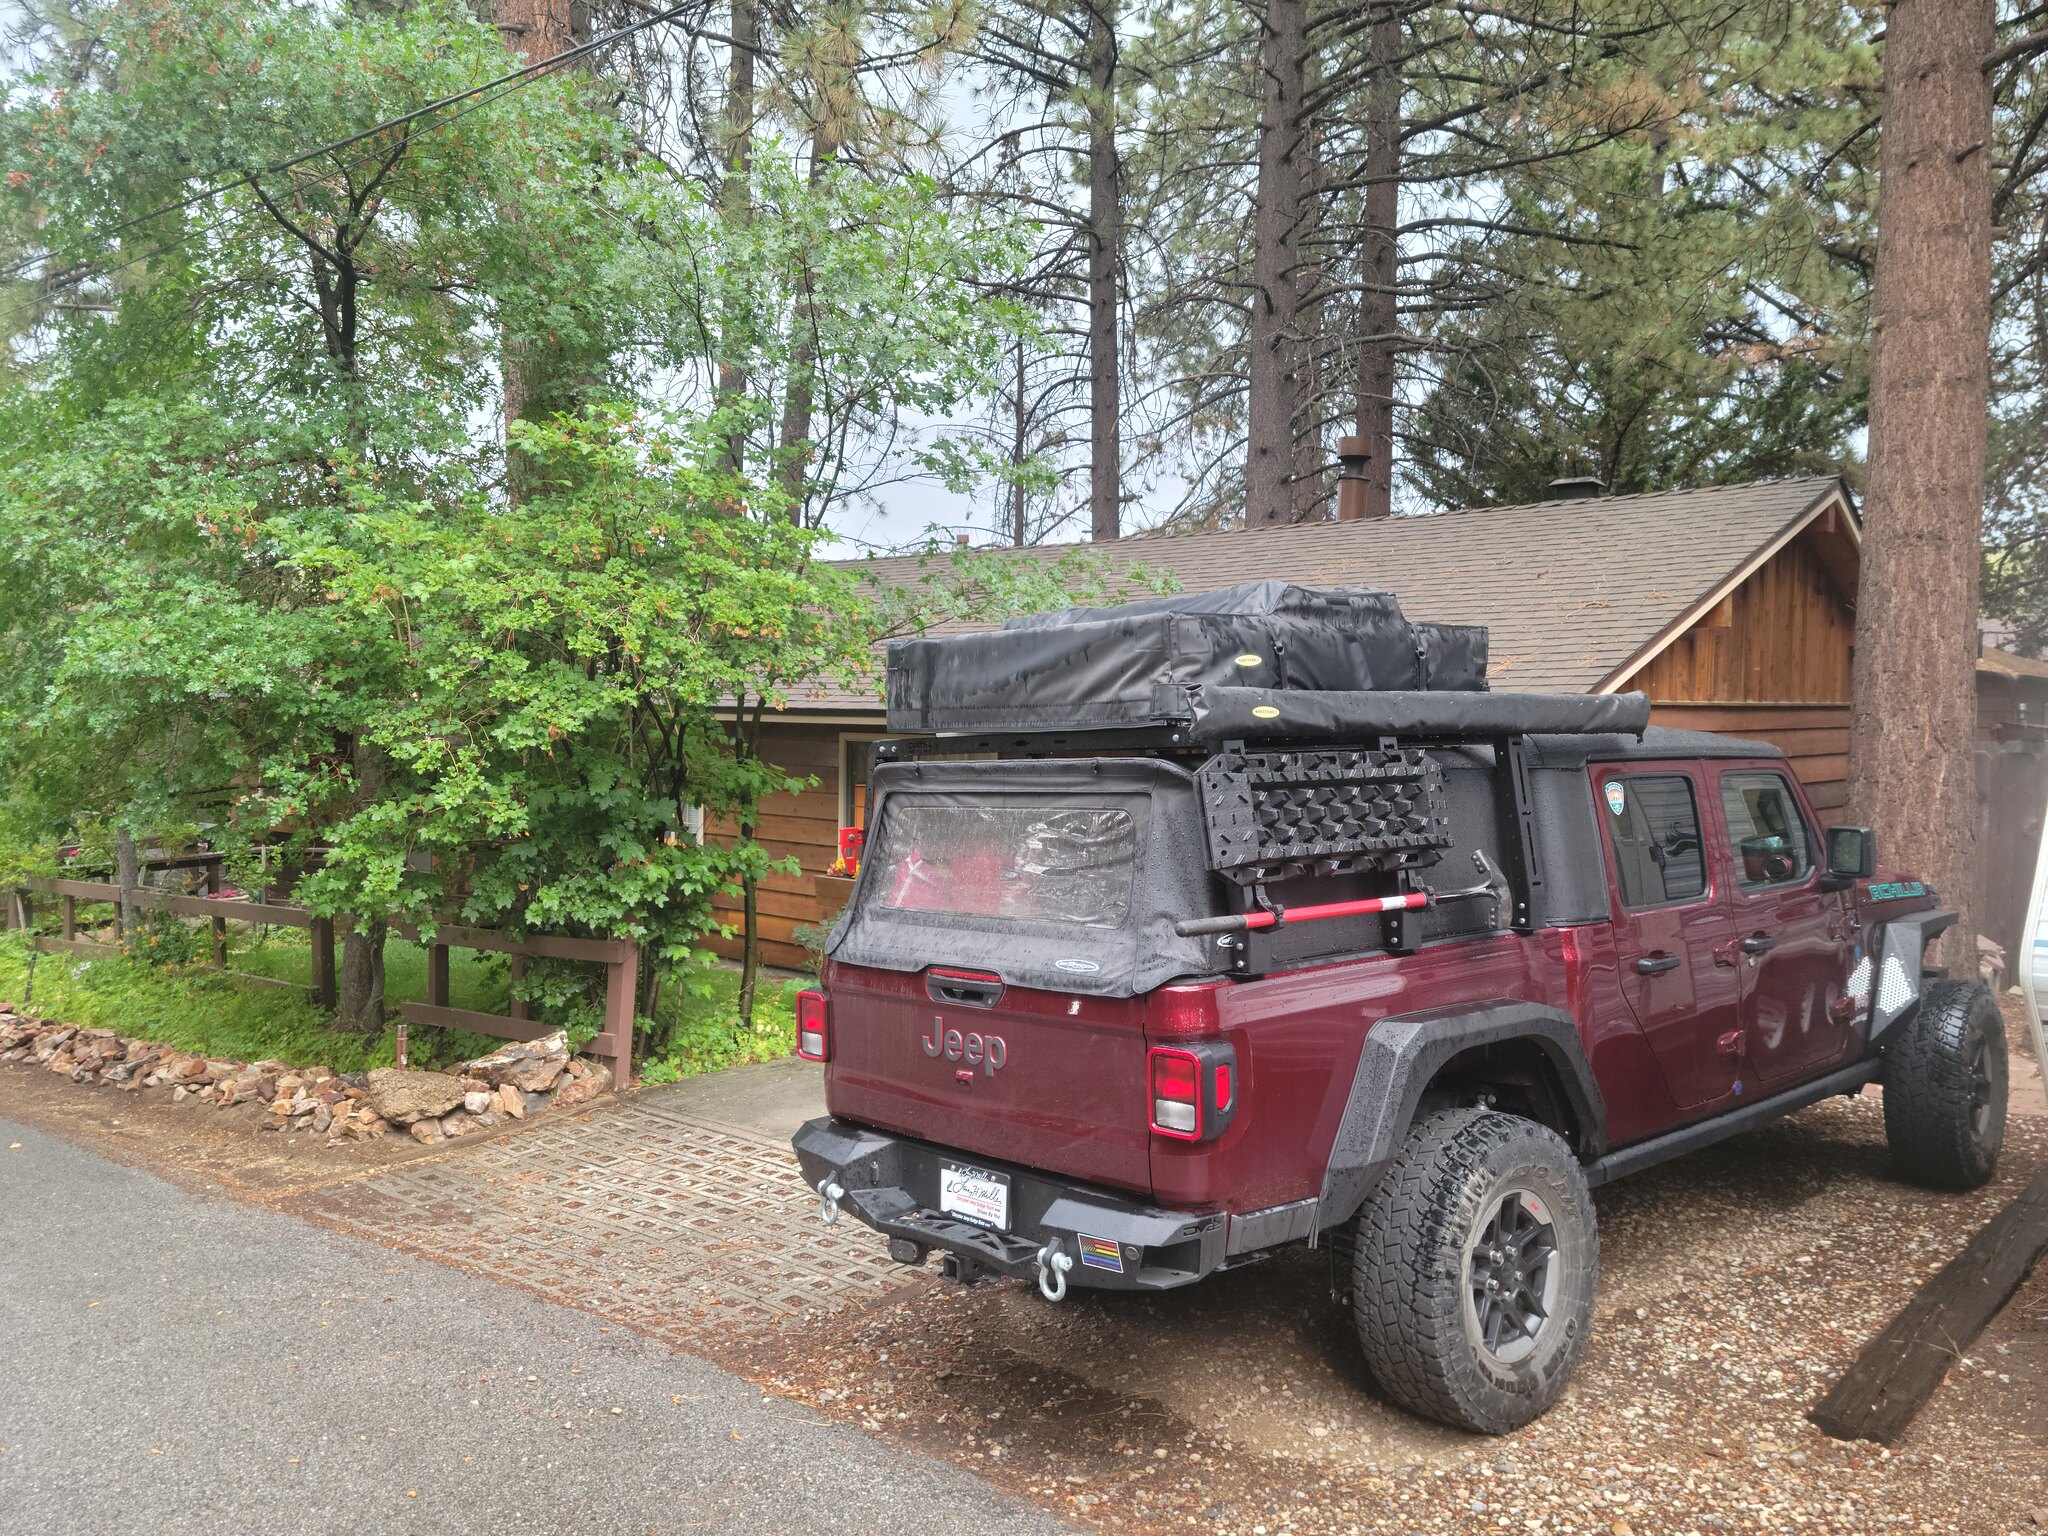
We were also able to pull many of the parts off poor Smoochy that would work with the Gladiator. The wheels and tires (35" Toyo Open Country ATII), front bumper with winch, headlights, and fog lights. We did a quick weekend trip to one of our favorite spots in the Tillamook State Forest for a shake down run and quickly realized that the stock Rubicon suspension was WAY too soft. We felt that we may get sea sick from the way it swayed so we ordered the AEV 2.5" Dualsport lift. That changed everything and now Achillia rides so much nicer especially when loaded down.
 20210718_181955 by Wayne Larson, on Flickr
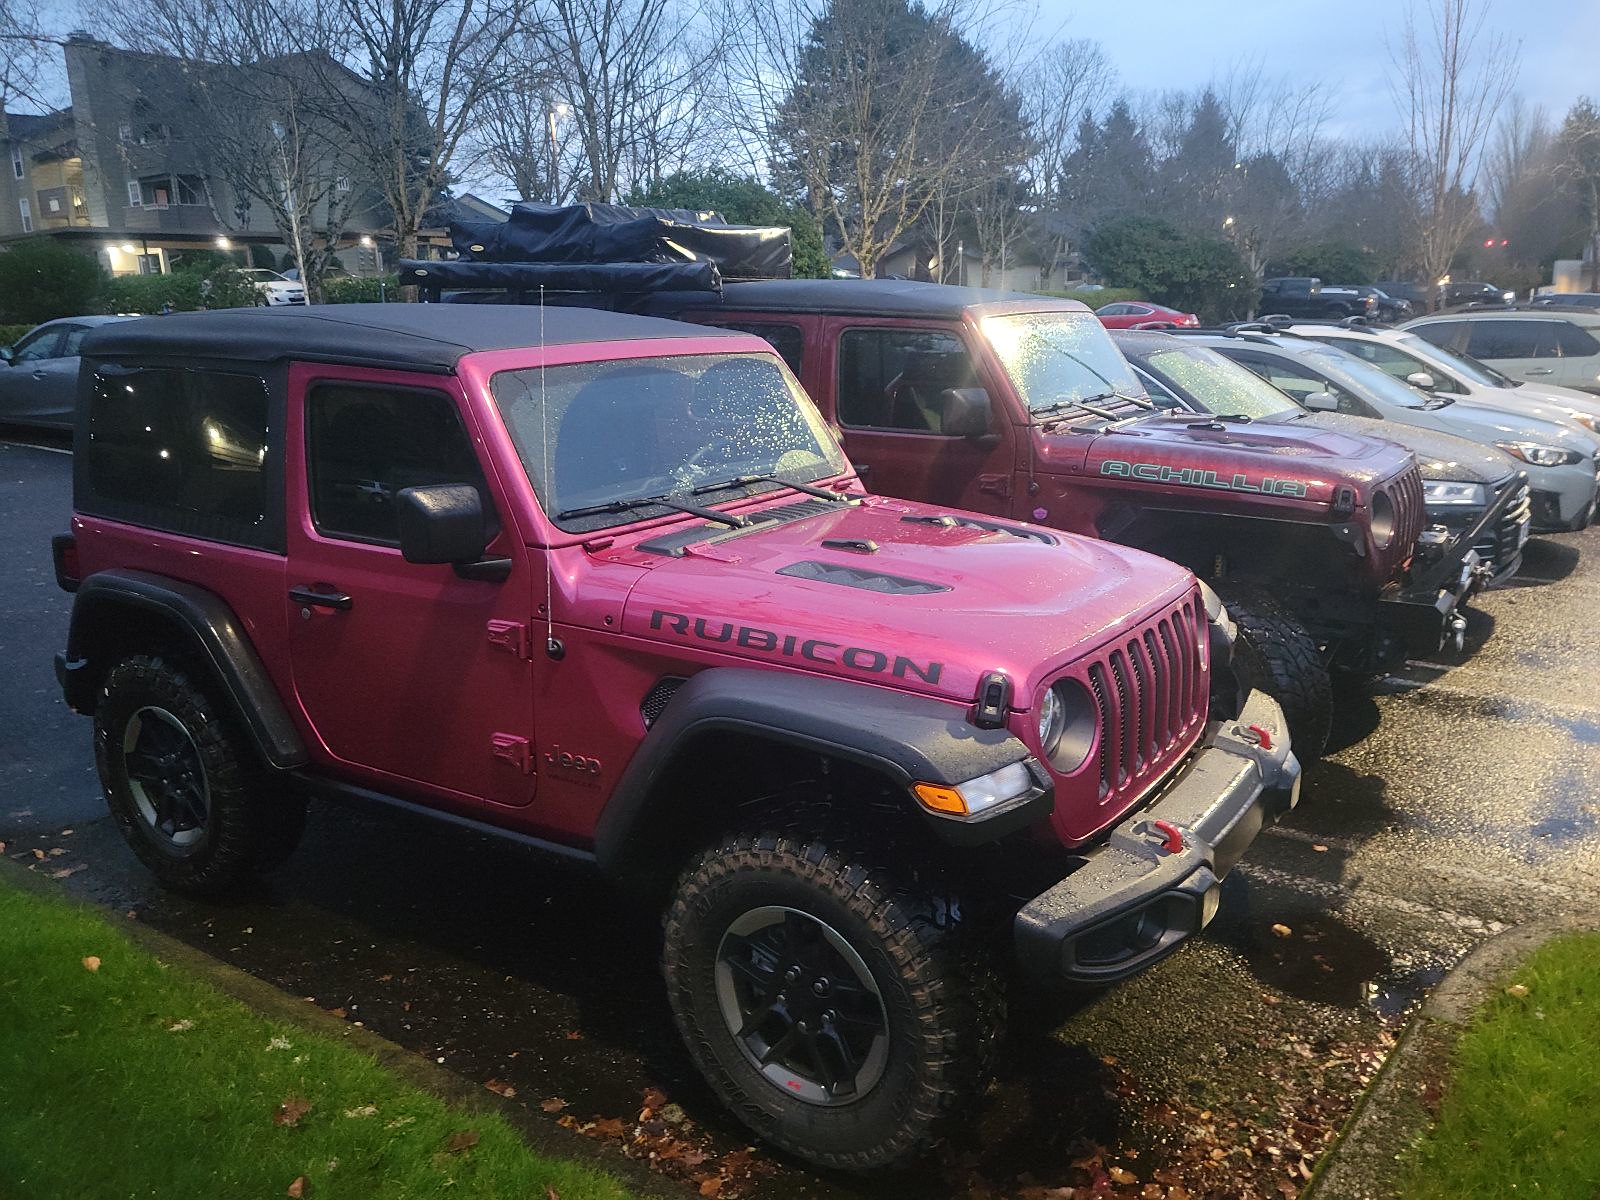
Fast forward to August of this year when Jeep announced a new color for the Wrangler. Tuscandero Pink would be an order only color for a very limited time. In all fairness the Gladiator was a compromise for my wife. We wanted a capable vehicle with enough space for us and our gear. What she really wanted, even before her JKU, was a two door Wrangler. With the crazy used car market we were able to sell a couple of our commuter cars ('17 eGolf and '02 Audi allroad) to make room for her new Wrangler.
 3cd9dd6b-032f-464d-9ffc-2350e43fa64c by Wayne Larson, on Flickr
20201030_103929 by Wayne Larson, on FlickrWe had a decision to make. We wanted another Jeep but thought that the Gladiator would make for a better camping rig due to it's increased payload and more space in the bed. We also didn't have the 3+ years to build it up as we already had two planned trips for this year so we decided to start of with a Rubicon. Specifically a 2021 Gladiator Rubicon, manual, soft top, with the tow package. Nearly the bottom of the line for a Rubicon.
20210501_181723 by Wayne Larson, on FlickrWe got a pretty decent settlement from the insurance company so we were able to knock out a few accessories right away. We got a new rear bumper with integrated drawer, soft topper, bed rack, and new fenders.
20210509_181344 by Wayne Larson, on Flickr20210509_181430 by Wayne Larson, on Flickr20210509_181451 by Wayne Larson, on Flickr20210523_154905 by Wayne Larson, on FlickrWe were also able to pull many of the parts off poor Smoochy that would work with the Gladiator. The wheels and tires (35" Toyo Open Country ATII), front bumper with winch, headlights, and fog lights. We did a quick weekend trip to one of our favorite spots in the Tillamook State Forest for a shake down run and quickly realized that the stock Rubicon suspension was WAY too soft. We felt that we may get sea sick from the way it swayed so we ordered the AEV 2.5" Dualsport lift. That changed everything and now Achillia rides so much nicer especially when loaded down.
20210718_181955 by Wayne Larson, on FlickrFast forward to August of this year when Jeep announced a new color for the Wrangler. Tuscandero Pink would be an order only color for a very limited time. In all fairness the Gladiator was a compromise for my wife. We wanted a capable vehicle with enough space for us and our gear. What she really wanted, even before her JKU, was a two door Wrangler. With the crazy used car market we were able to sell a couple of our commuter cars ('17 eGolf and '02 Audi allroad) to make room for her new Wrangler.
3cd9dd6b-032f-464d-9ffc-2350e43fa64c by Wayne Larson, on Flickr
 20211121_150652
 20211121_154114
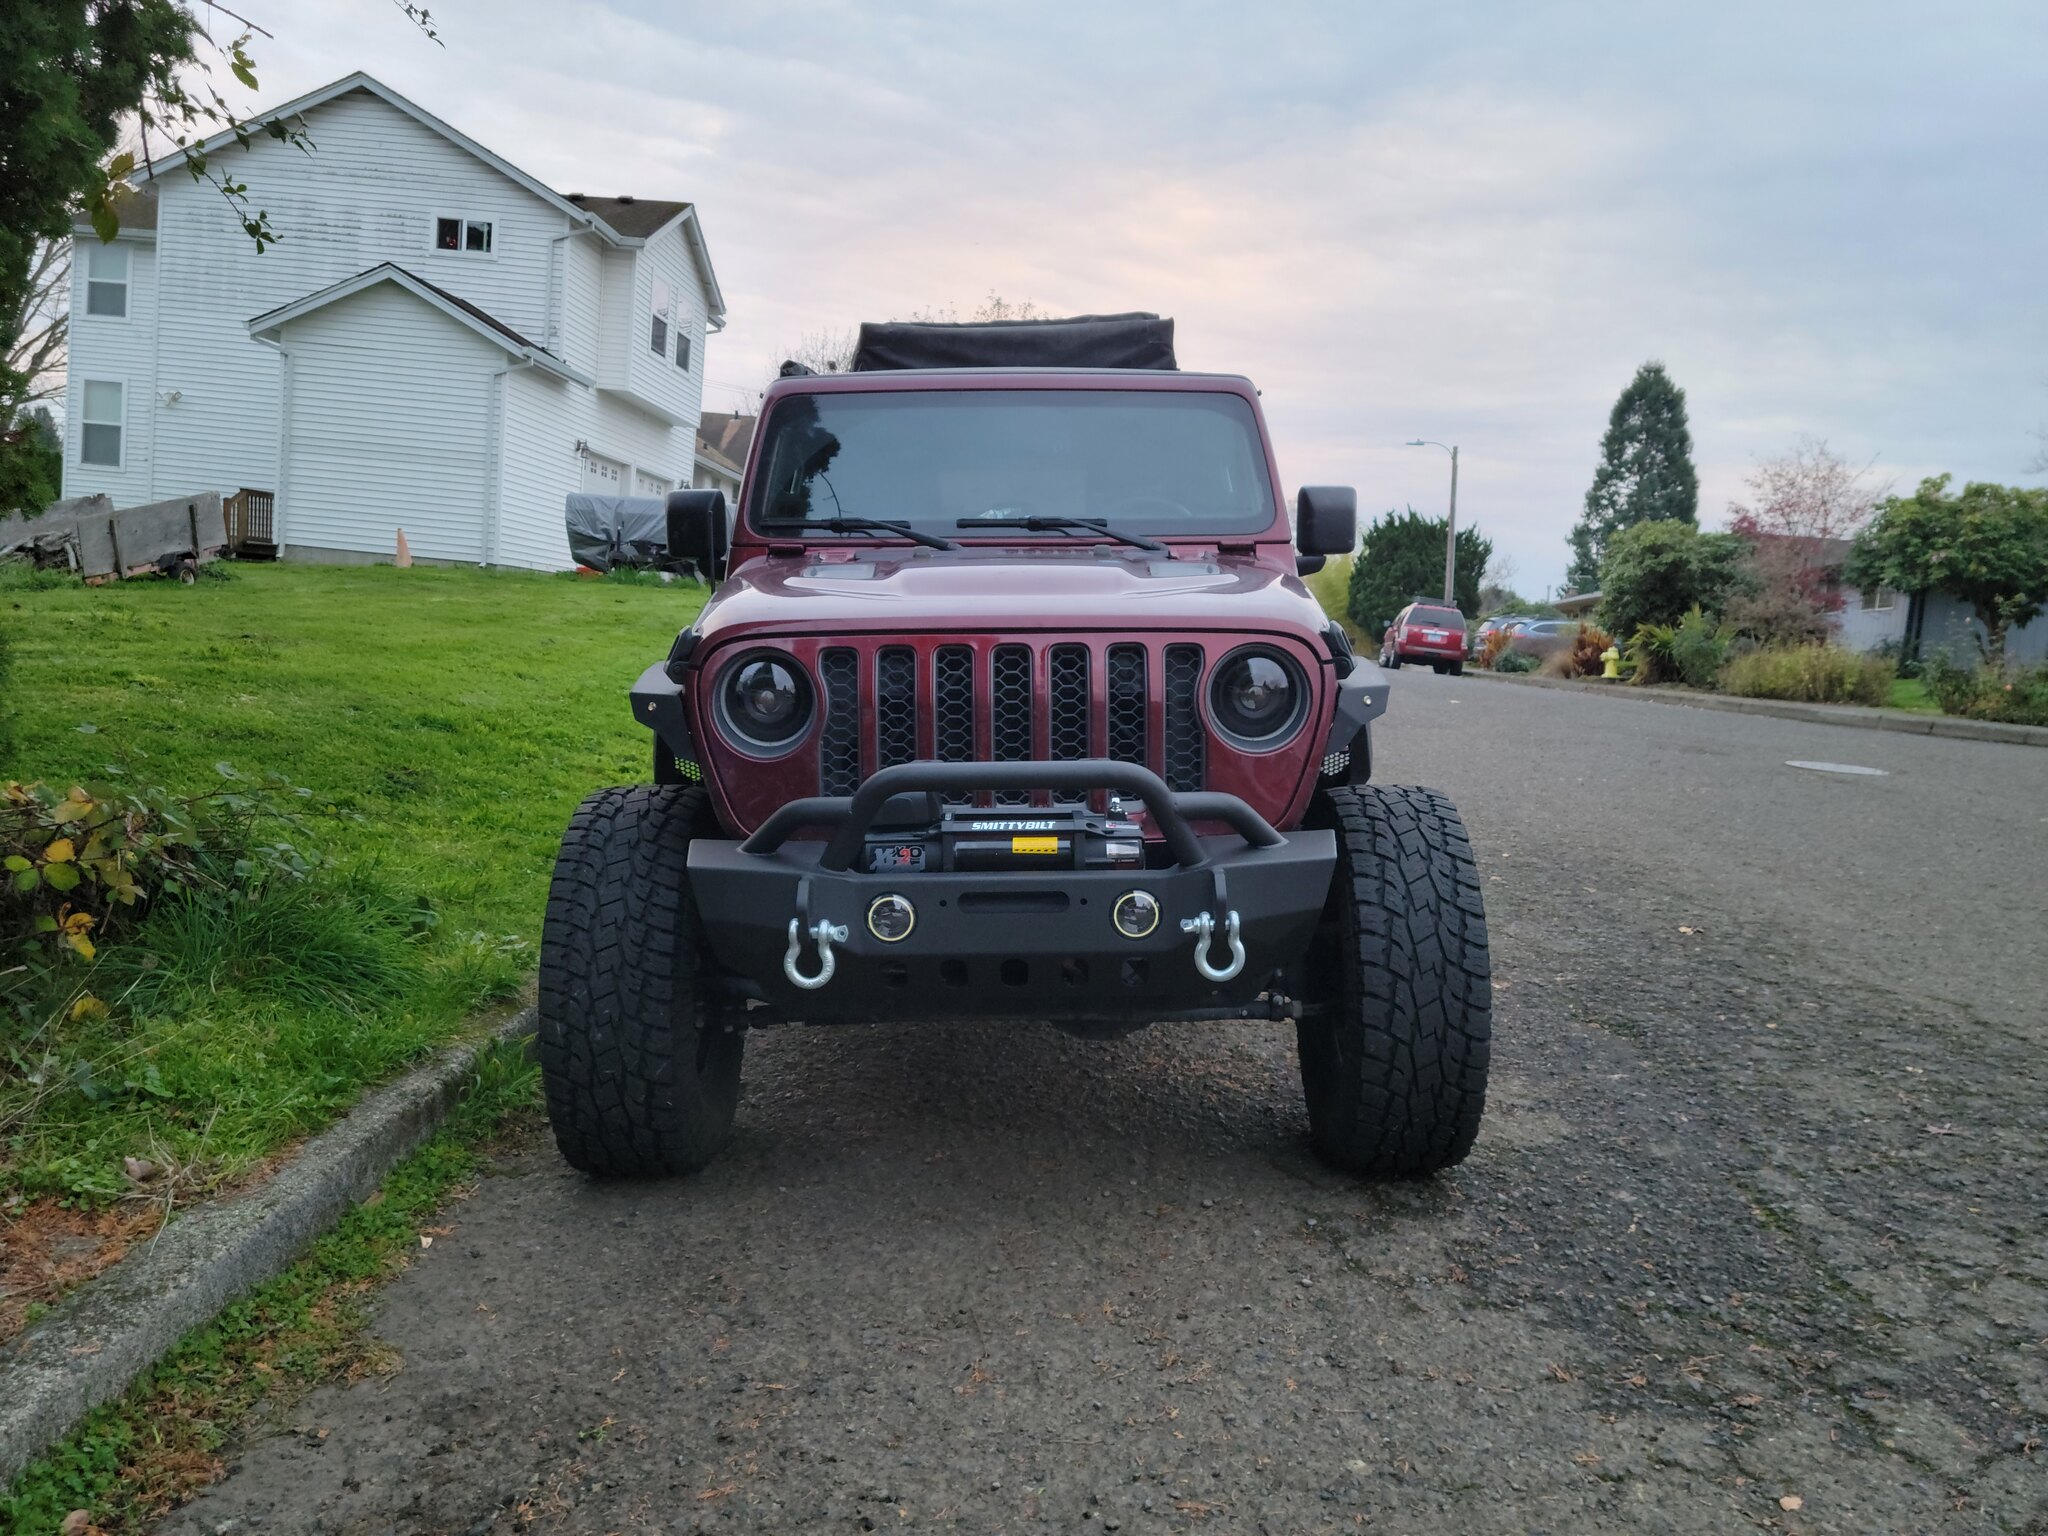 20211122_161015
 20211121_181911
 20210716_154902[1]
 20211225_124330
 20211224_145121
 20210724_153105
 20210910_180248
 20210911_192518
 20210911_192531
 20210911_193459
 20211002_172339
 20211007_170930
 20211009_173851
 20211010_182103
 20211007_170949
 20211027_181544
 20220215_173552
 20220215_173604
 20220215_185639
 20220215_185834
 20220215_190505
 20220215_190551
 20220215_191046
 20220215_192734
 20220215_192914
 20220215_193315
 20220215_193740
 20220215_193931
 20220215_194005
 20220215_200440
 20220215_200451
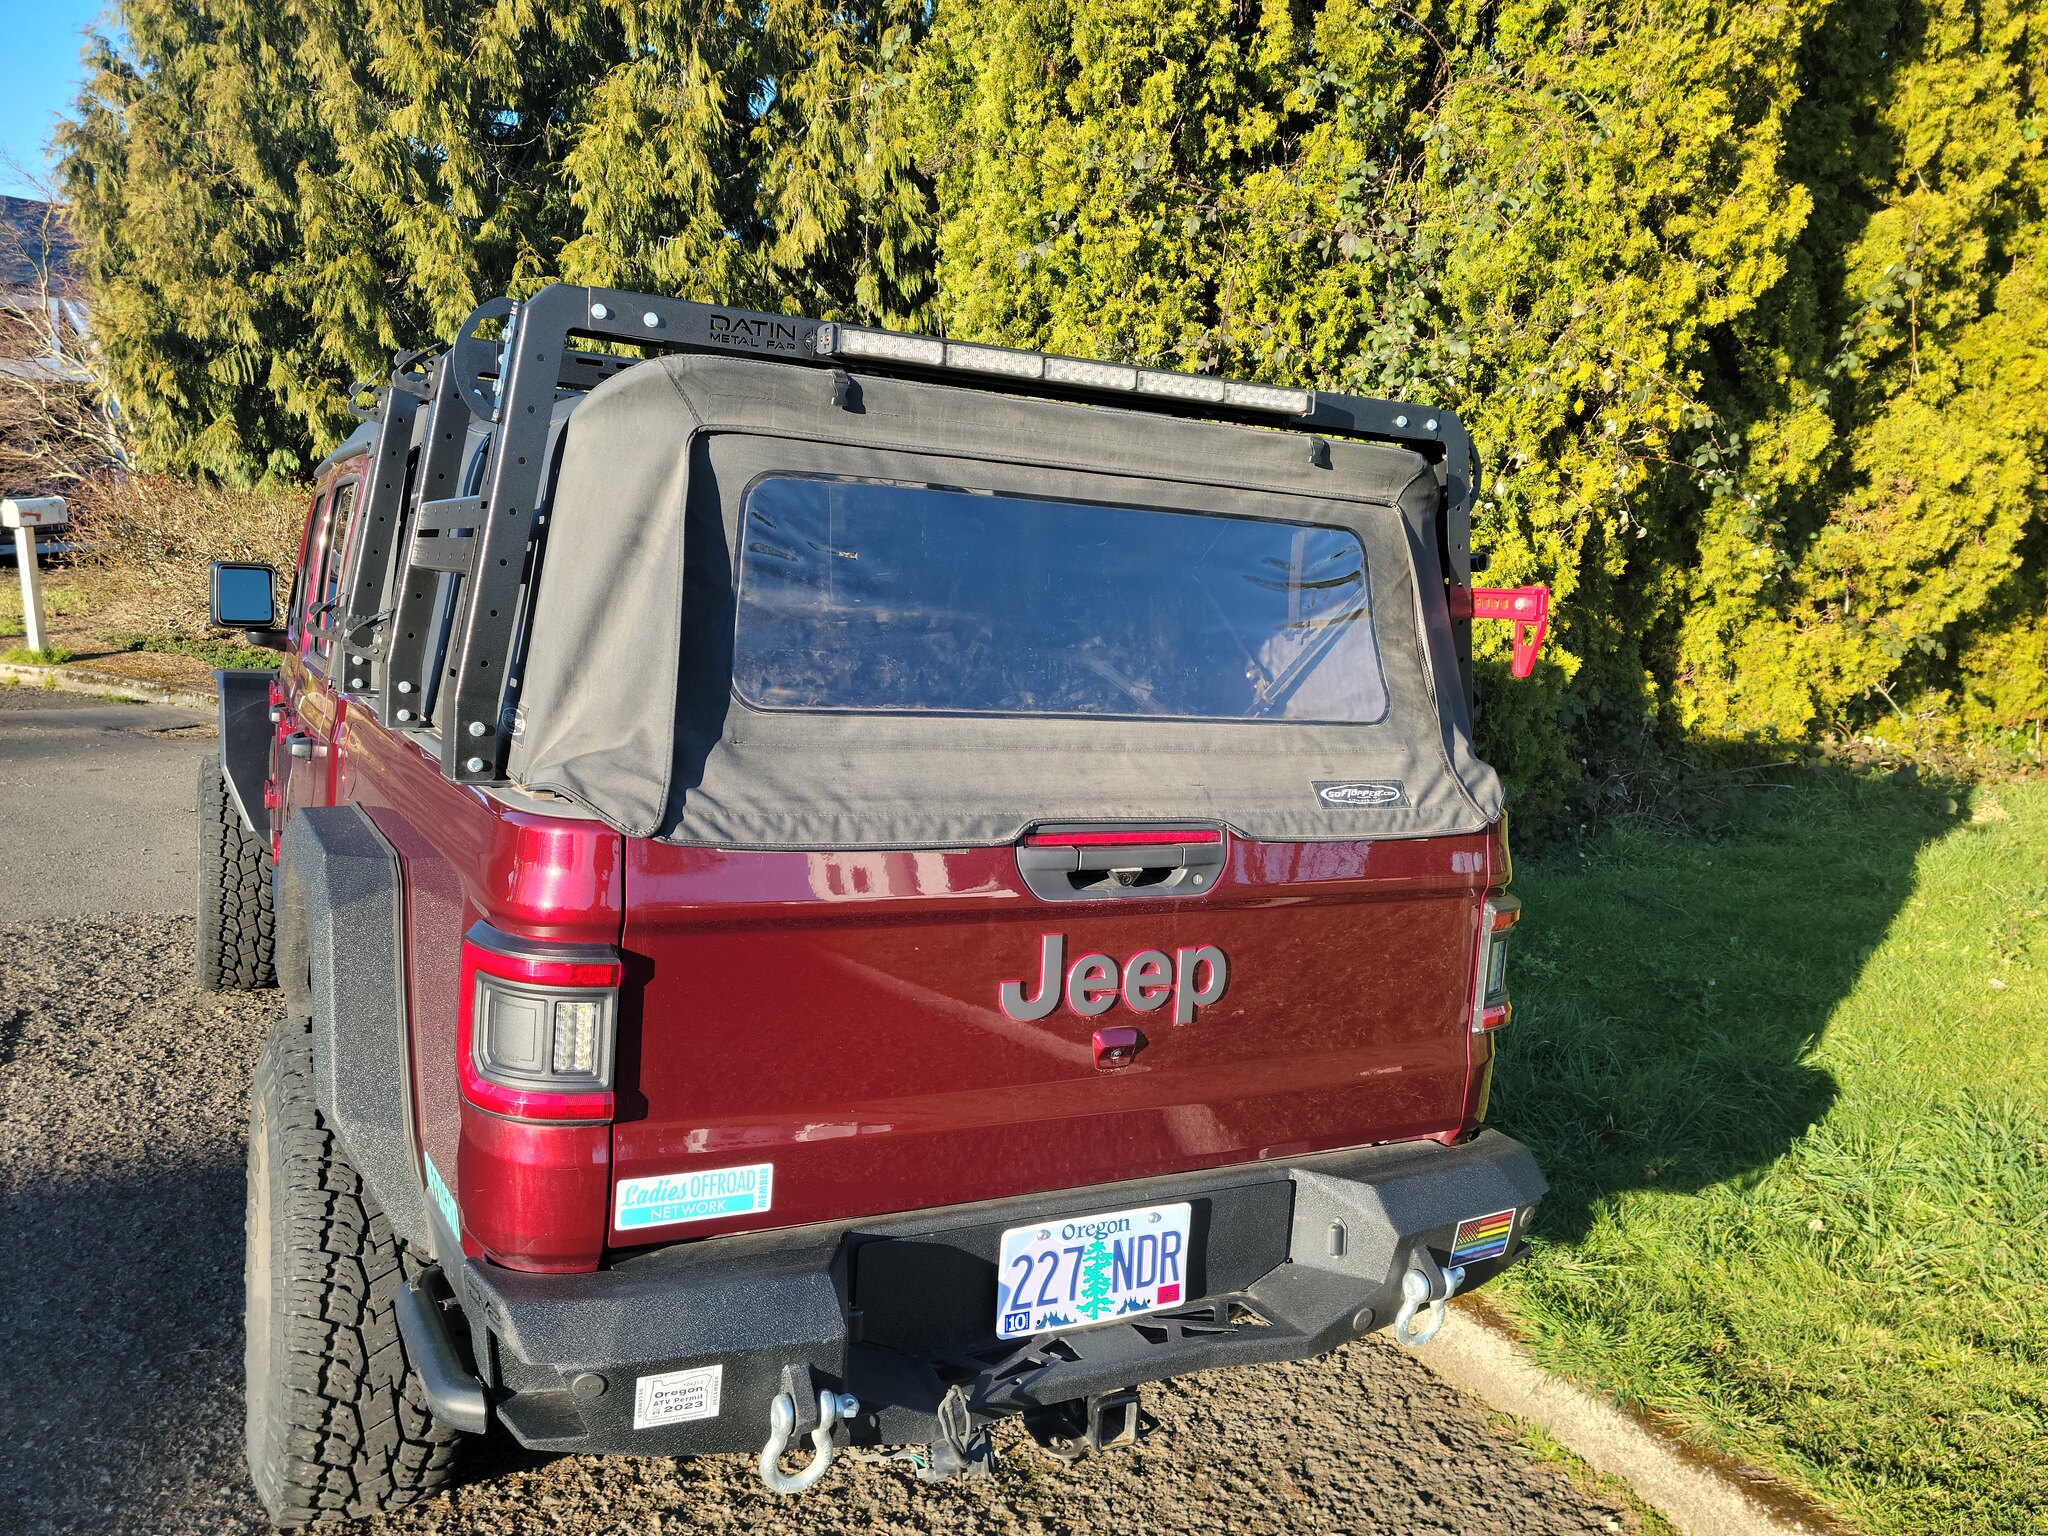 20220225_161738
 20220217_164148
 20220217_165707
 20220217_165859
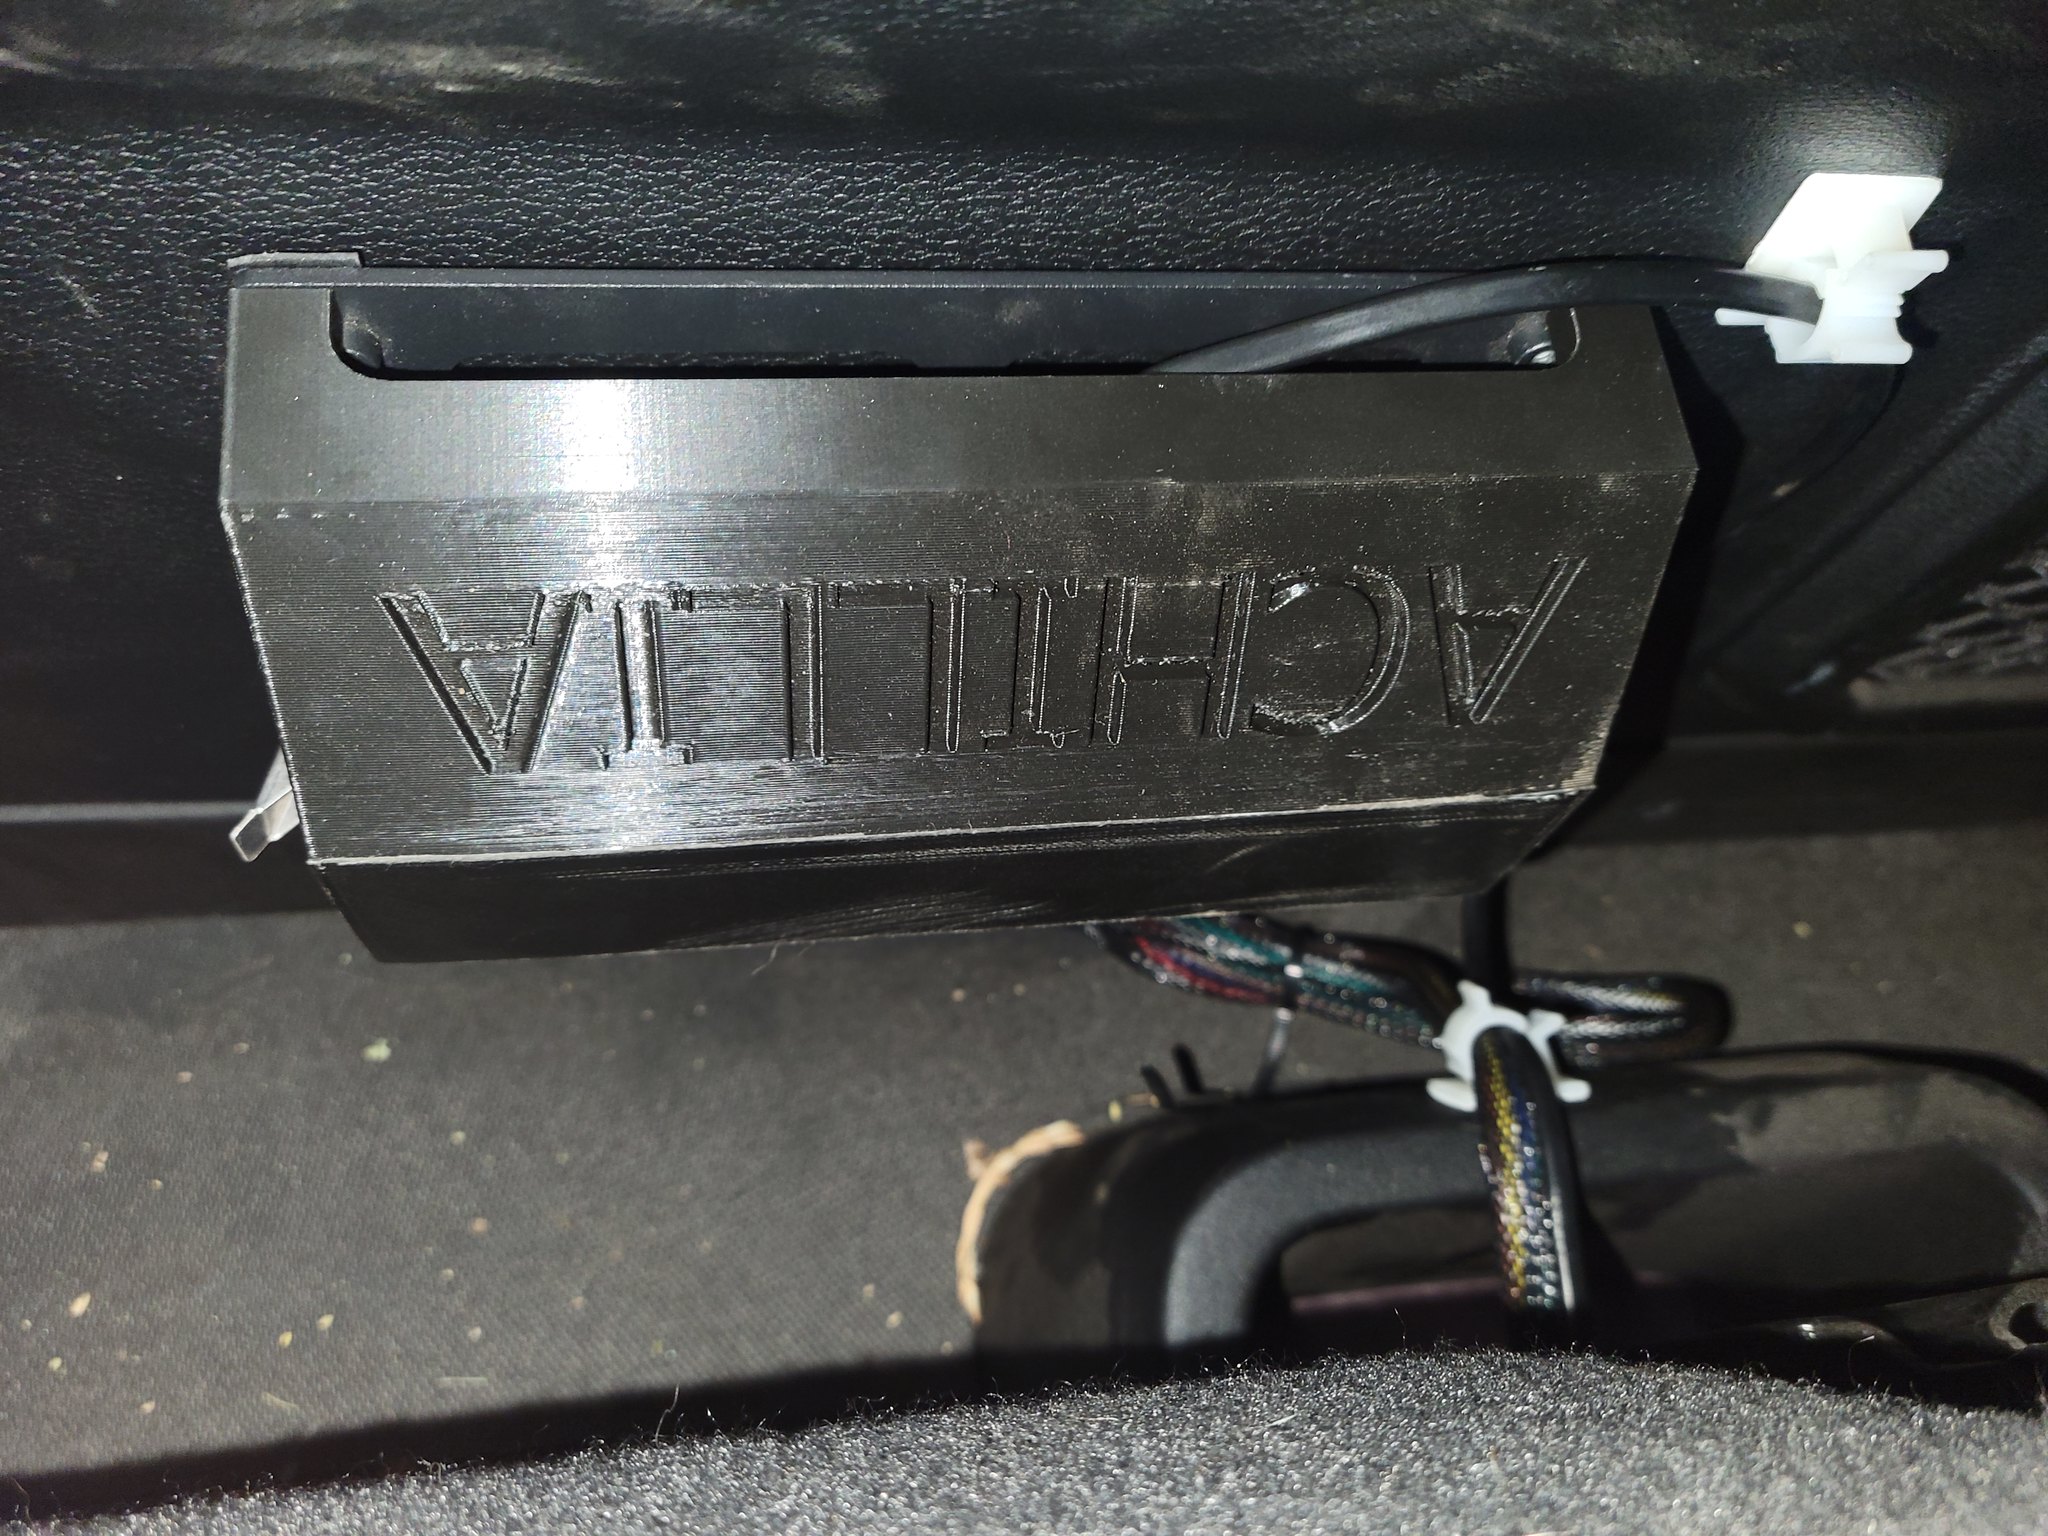 20220217_165832