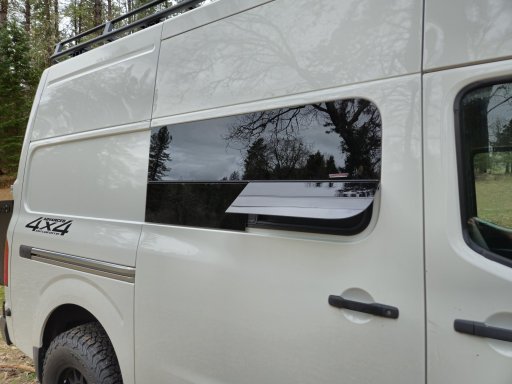
Nissan NV2500 Conversion

  • HTML tutorial

Chad C

Rank IV
Launch Member

Enthusiast II

979
Grants Pass, OR, USA
First Name
Chad
Last Name
Countiss
Member #

23656

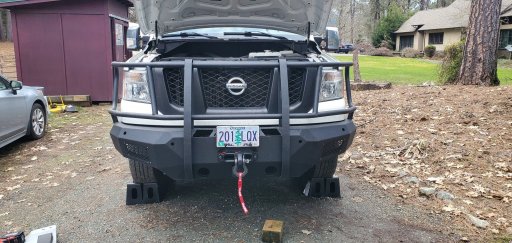
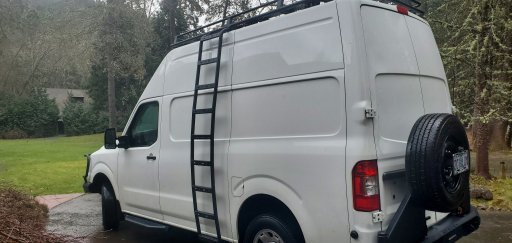
After a few years of camping out of smaller rigs I decided recently to move up a few weight classes and get a van. A couple weeks ago I found this lovely 2018 NV2500.20221012_181315.jpg20221012_181325.jpg
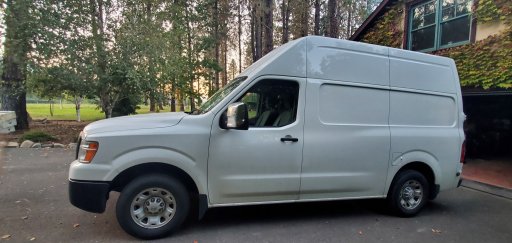
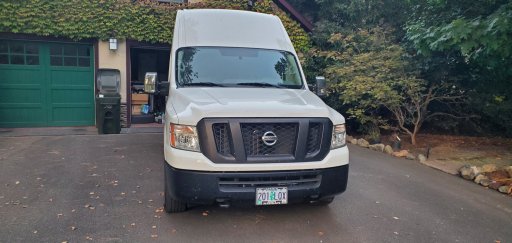
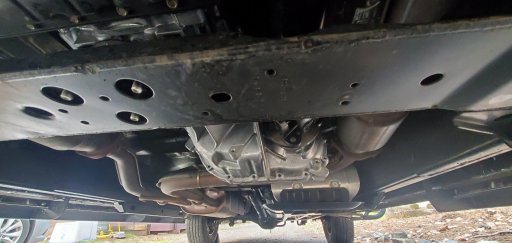
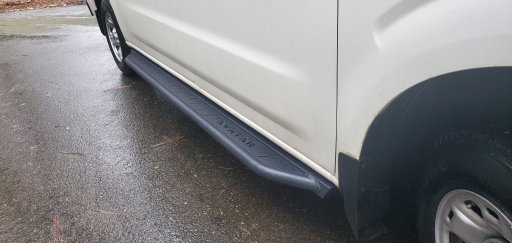
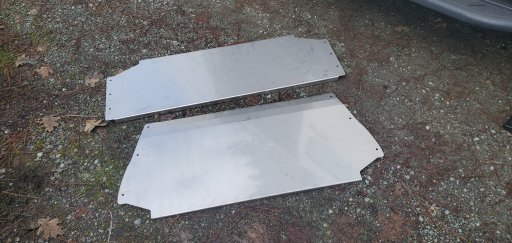
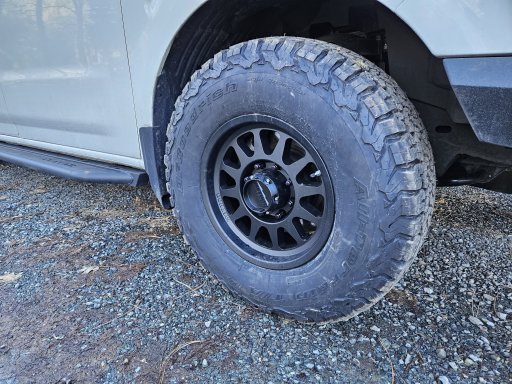
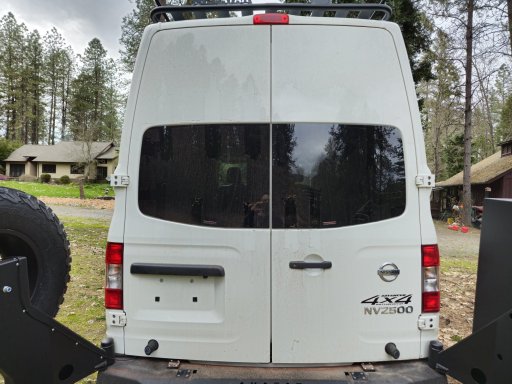
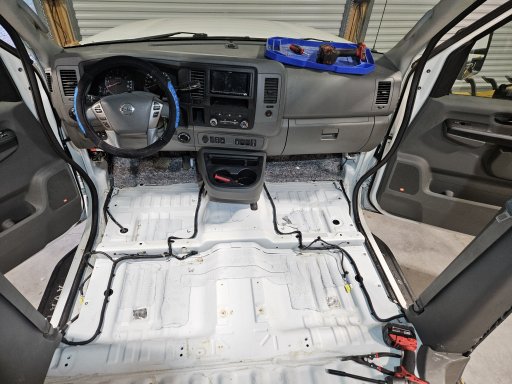
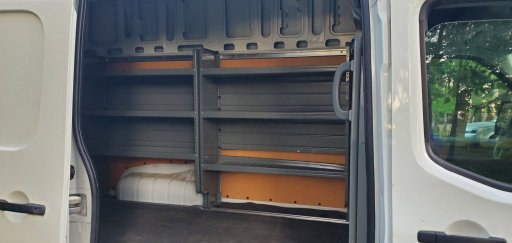
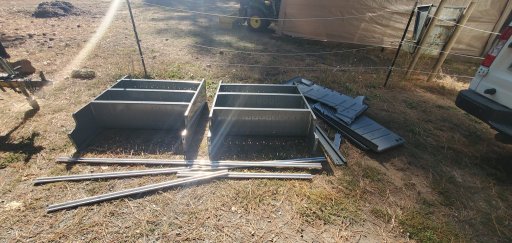
It's in full cargo van trim, with the 5.6L V8 and the transmission cooler, and only 33k miles. The interior has some shelves and a partition that I'm going to try and get a few bucks for.
20221012_181337.jpg20221017_104134.jpg
20221018_113741.jpg20221018_113843.jpg
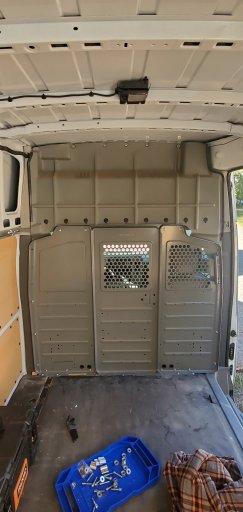
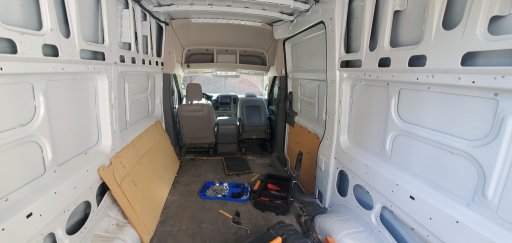
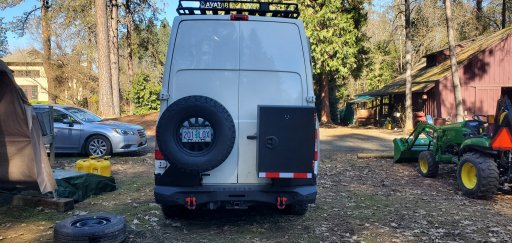
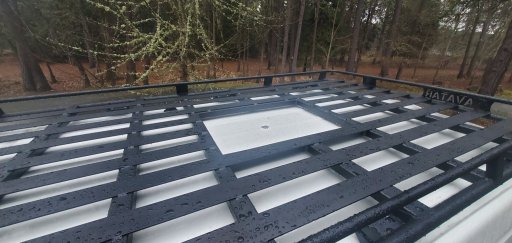
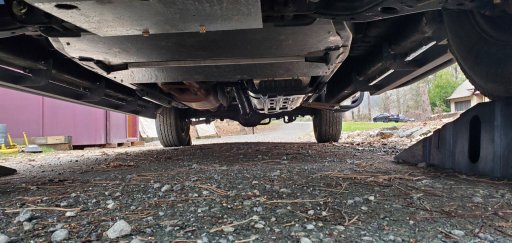
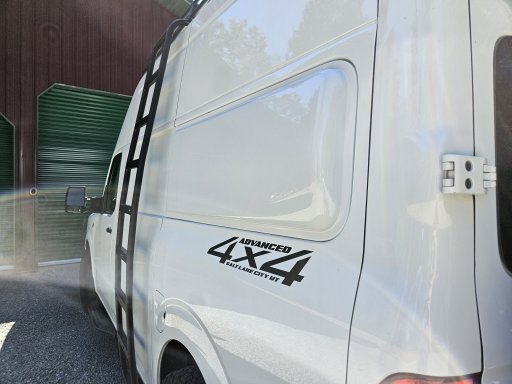
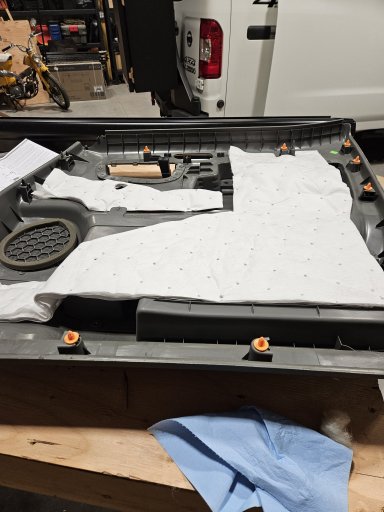
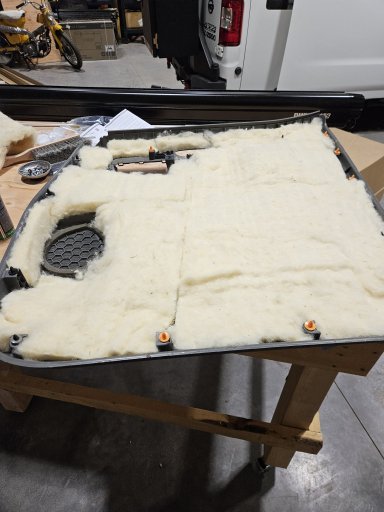
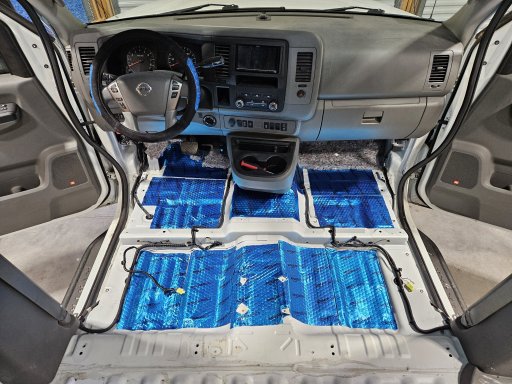
I have an appointment with Advanced 4x4 down in Utah next month for a 4wd conversion, but until then there's a bit of cleaning to do. The previous owner was a cabinetmaker, so there's a lot of sawdust everywhere.
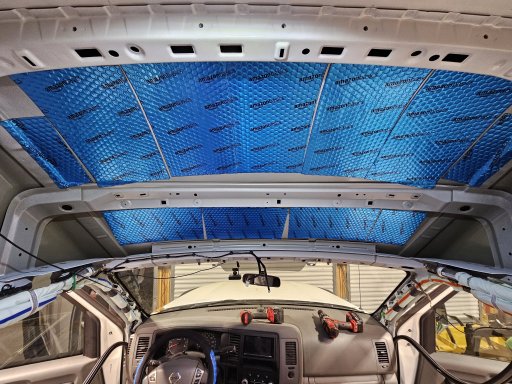
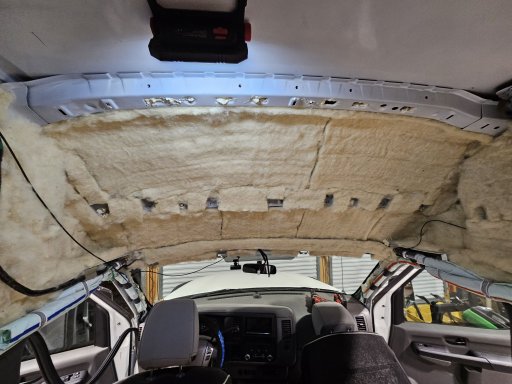
Will be updating this thread as things progress.
 

Chad C

Rank IV
Launch Member

Enthusiast II

979
Grants Pass, OR, USA
First Name
Chad
Last Name
Countiss
Member #

23656

After some months the offroad stage of the offroad campervan build is (mostly) complete. While the van was down in Salt Lake City it had the Advanced 4x4 conversion installed, and took a short trip across town to get some exterior parts from Avatar Metalworks.
The Advanced 4x4 conversion mostly uses front end parts from the Titan pickup, namely the transfer case, drive shafts, front diff and CVs. It uses a modified version of the Titan's electronic linkage too.20230203_143950.jpg20230207_120230.jpg
As for the Avatar parts, there's a front bumper with a Warn 12k winch and an integrated skidplate,
20230210_160739.jpg
a rear swing-out bumper with a mounting plate for another winch to be added later once I figure out the wiring situation for that end of the vehicle,
20230219_120824.jpg
a roof rack with a cutout for my fan,
20230203_143826.jpg
as well as some sturdy side steps and a ladder.
20230203_143744.jpg20230203_143804.jpg
Additionally, there's a set of plates to keep people away from the catalytic converters, though hopefully I'm just being paranoid here.
20230207_115803.jpg20230210_160725.jpg
Lastly the van took a trip to the tire shop for a set of 17" Method MR704HD wheels and 34" KO2s, which are about as big as you can go on these vans without rubbing on the sliding door.20230224_161552.jpg
So that's most of the offroad mods I have planned for this thing. The next step is adding windows and flare panels before I get to work on the interior.
 

DintDobbs

Rank V

Advocate III

1,412
First Name
Daniel &
Last Name
the Vulture
@Chad C She's coming along nicely! Although if I might be so bold, keeping at least one of those shelves or the partition in there might be a good idea, for gear storage - you could hang commonly used items such as axe, shovel, jumper cables, etc. on the partition, use the shelves for a spare battery setup or whatever - consider their uses before selling them off.
 

Chad C

Rank IV
Launch Member

Enthusiast II

979
Grants Pass, OR, USA
First Name
Chad
Last Name
Countiss
Member #

23656

Looks great, how does it drive?
about the same as before. Advanced put a 3" lift in, which isn't really noticeable on something this tall already. There's a bit more wind noise from the rack, but that's all I've noticed. I haven't really had a chance to put the 4WD through its paces other than some snow and ice on the way back from Utah.

@Chad C She's coming along nicely! Although if I might be so bold, keeping at least one of those shelves or the partition in there might be a good idea, for gear storage - you could hang commonly used items such as axe, shovel, jumper cables, etc. on the partition, use the shelves for a spare battery setup or whatever - consider their uses before selling them off.
Unfortunately there's not much to be done with those shelves. They're good for what they're built for, but with the way they bolt in there's no good way to get insulation behind them. I actually sold them a couple of weeks ago, and I'll be able to build shelves of my own for much less than I got for them. The partition sold for a few hundred bucks as well. It's true that a wall there would be good for storage, but I'd rather have the open space so I can put in swivel bases and have the front be part of the living area.
 
  • Like
Reactions: DintDobbs

DintDobbs

Rank V

Advocate III

1,412
First Name
Daniel &
Last Name
the Vulture
@Chad C Ah, I see! No doubt someone will use them; and I forgot about the swivel chairs, that partition would certainly get in the way!

Gonna keep tabs on this thread, I like me a good van build!
 

Chad C

Rank IV
Launch Member

Enthusiast II

979
Grants Pass, OR, USA
First Name
Chad
Last Name
Countiss
Member #

23656

A smaller update than I was hoping for, but still progress. Got a few little things like the license plate light on the bumper done, but the main thing is windows! Who wants a bedroom with no windows? Certainly not me. I took a short trip up to Bend to have these professionally installed, as the weather in southern Oregon this time of year isn't the best for this sort of thing. Flare panels were supposed to go on at the same time, but for some reason Flarespace decided to send two passenger-side panels, so that has to wait a few more weeks. Anyway, now I can see out the back of the thing, and The T vent window on the sliding door will let me have a bit of ventilation without turning the fan on, while still being able to keep the door shut for security and privacy.
20230421_175817.jpg20230421_175909.jpg
 

Chad C

Rank IV
Launch Member

Enthusiast II

979
Grants Pass, OR, USA
First Name
Chad
Last Name
Countiss
Member #

23656

Well, quite a lot has happened in the last six months, not so much with the van unfortunately. I did get the flare panels installed, as well as a new head unit, speakers, and cameras front and rear, but had to take a break after that for some unplanned home renovations.
20230907_115704.jpg

I did at least spend some of that time drawing up plans and acquiring goodies, so things should move pretty quickly from here on out. in the past few days I've added insulation and sound-deadening rubber to most of the cab area. Being a cargo van, there was nothing under the headliner and not much under the vinyl floor or in the doors.
20231129_164711.jpg
20231130_150715.jpg
20231129_154105.jpg

I've decided to insulate the van with wool. While not the cheapest option it's by no means the most expensive either, and it offers several benefits. It's naturally antimicrobial and can tolerate some moisture better than most materials. The way the batts are made makes them easy to work with. You can eyeball the space and cut them with scissors. It's also non-toxic and I think it smells nice, though some people disagree. Anyway, I glued some wool onto the ceiling and into the door panels.
20231129_170303.jpg
20231129_193547.jpg20231129_160241.jpg
20231130_161702.jpg

Next I need to work on my drawings for the interior before I cut some holes in the van.
 

Attachments

  • Like
Reactions: ProjectCleanSlate