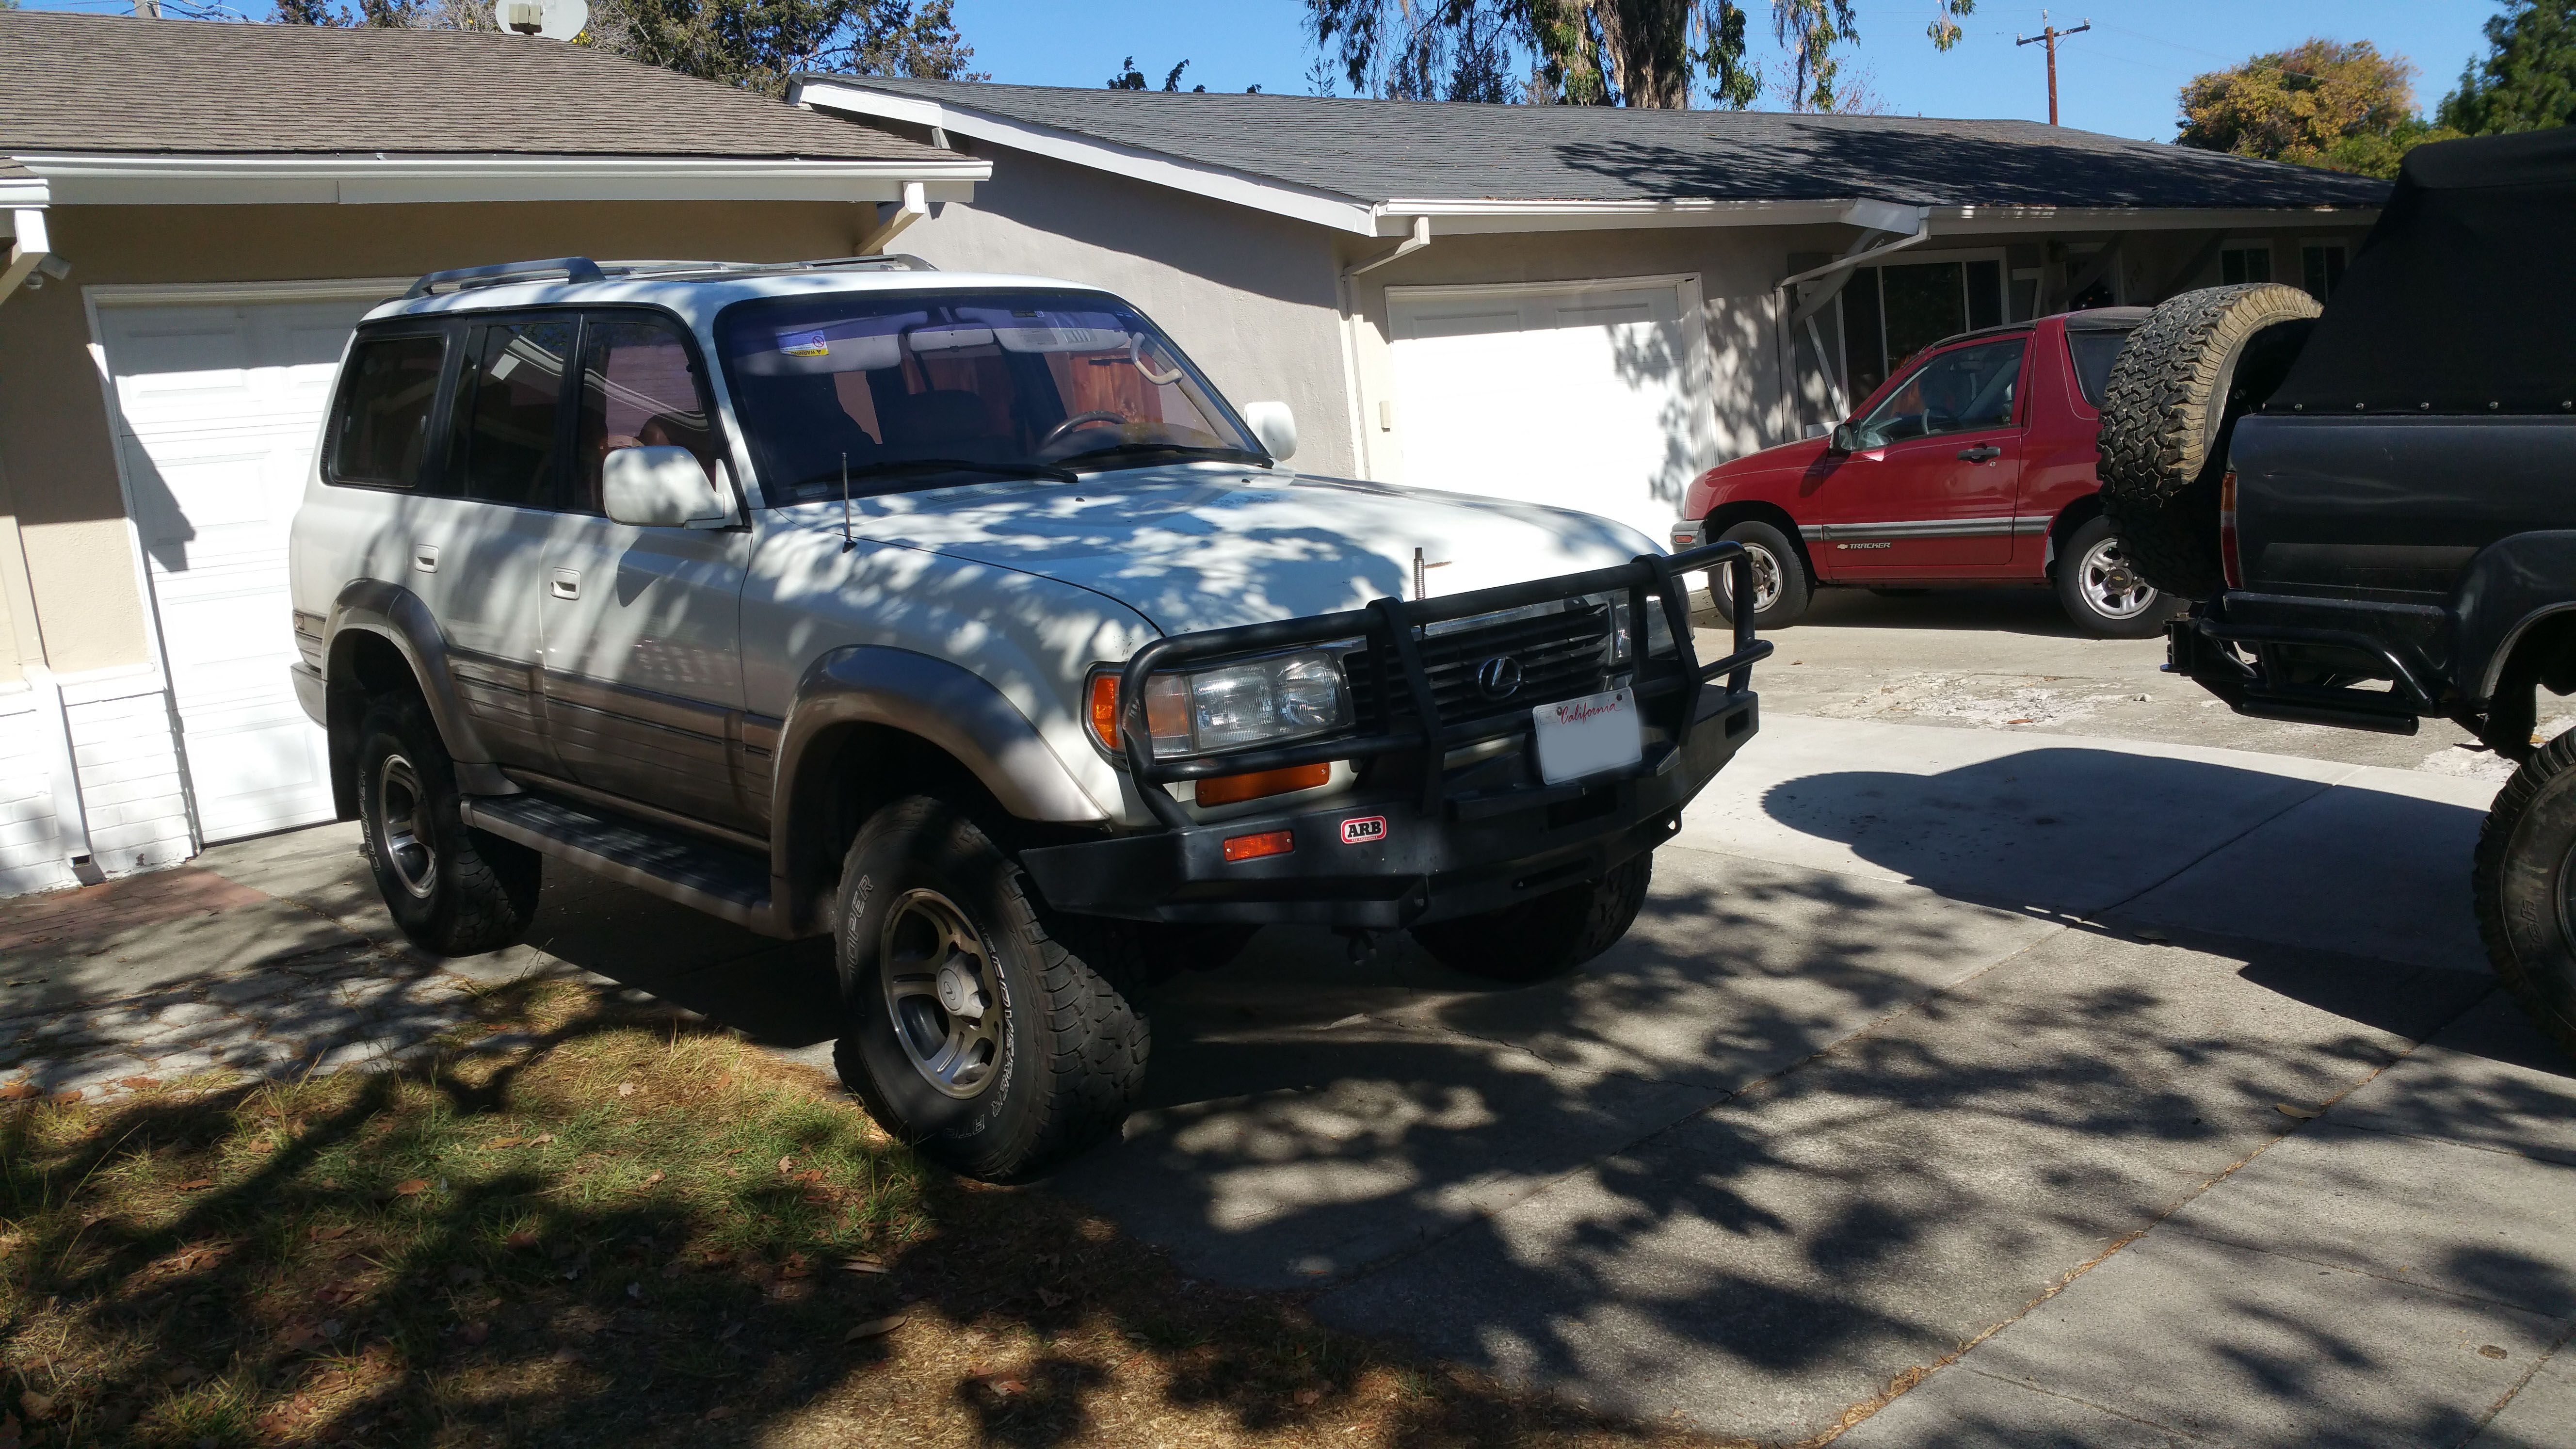
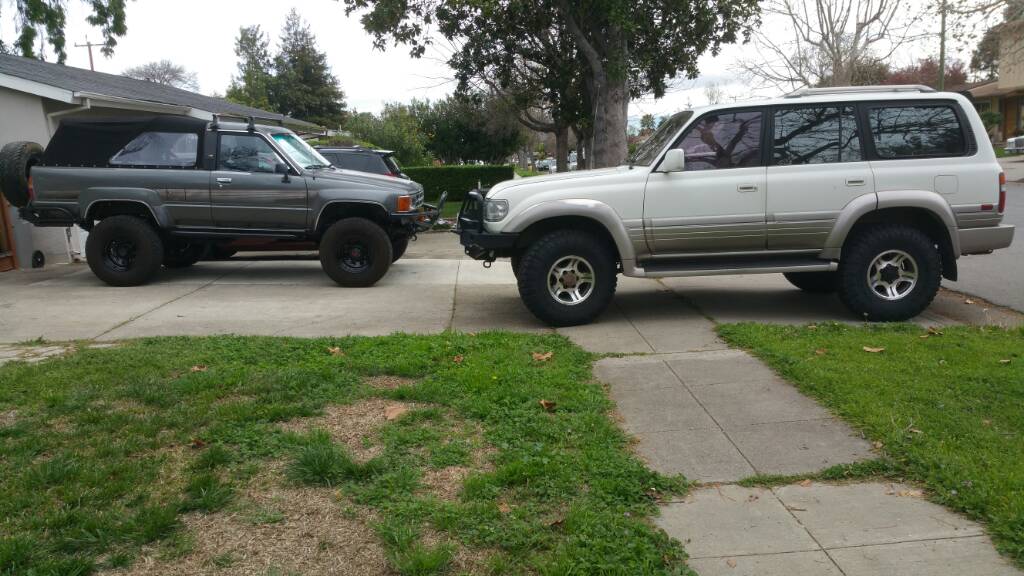
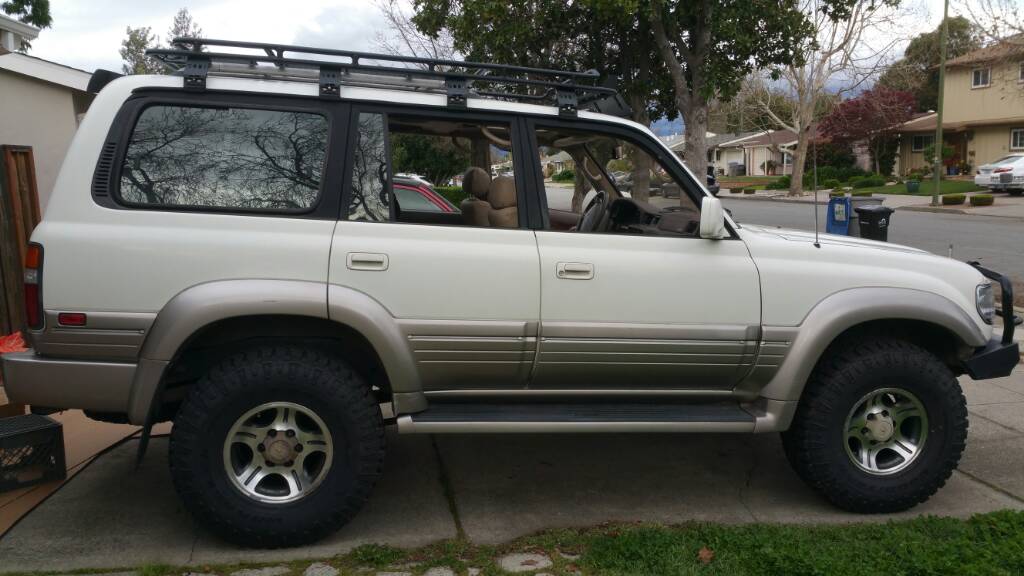
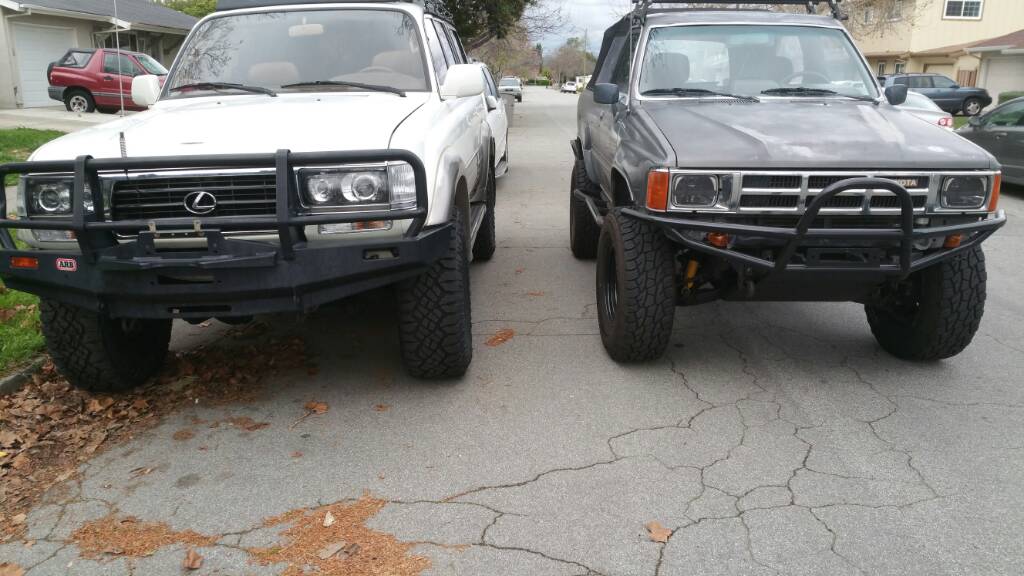
Proud new owner of a 1997 LX450 (FZJ80 Land Cruiser) @ 170k with 3" OME and ARB Front bumper. Saw a FJ I couldn't pass up and went out and bought it today.
See last thread for most recent progress!
LuX450 Tank Build Thread
Completed:
1. Replaced the worn frail and cracked drive belts. It was literally going to fall apart any time. Yota OEM 2pc belt $10.
2. Install CDL button (from Rav4), move security switch, 7wire mod. $26
3. Install my gamiviti seat gears. $20
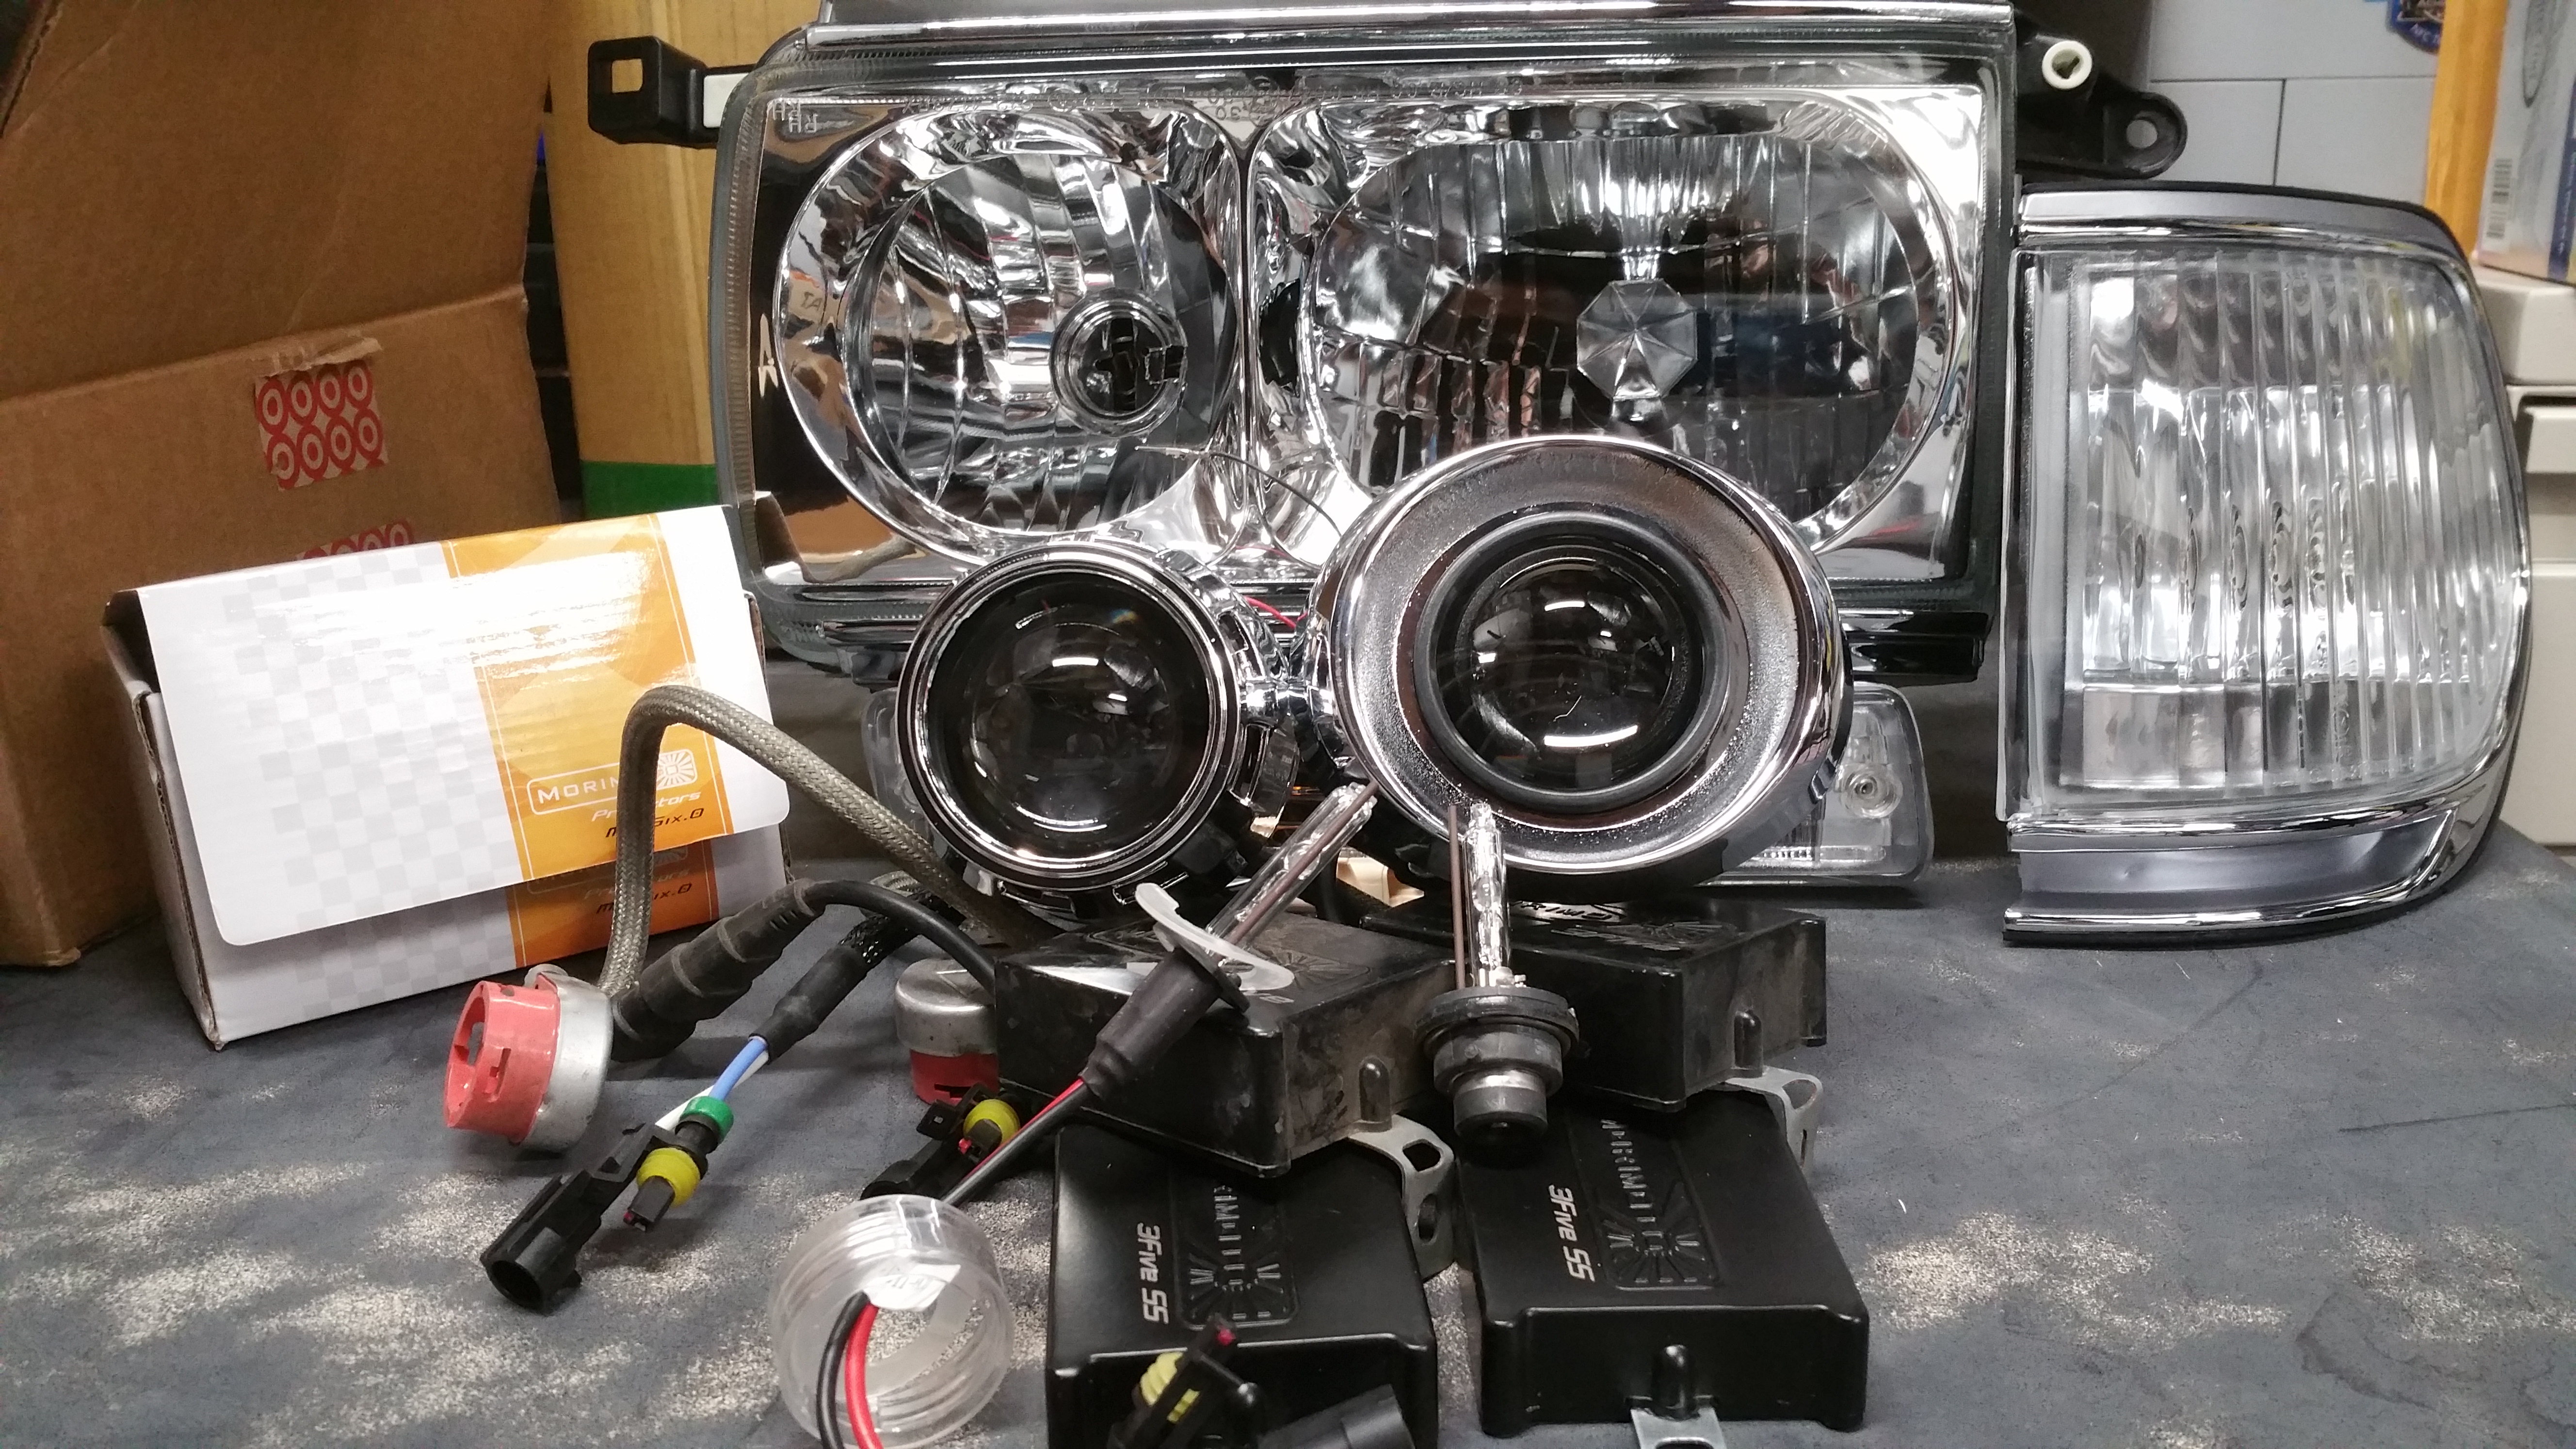
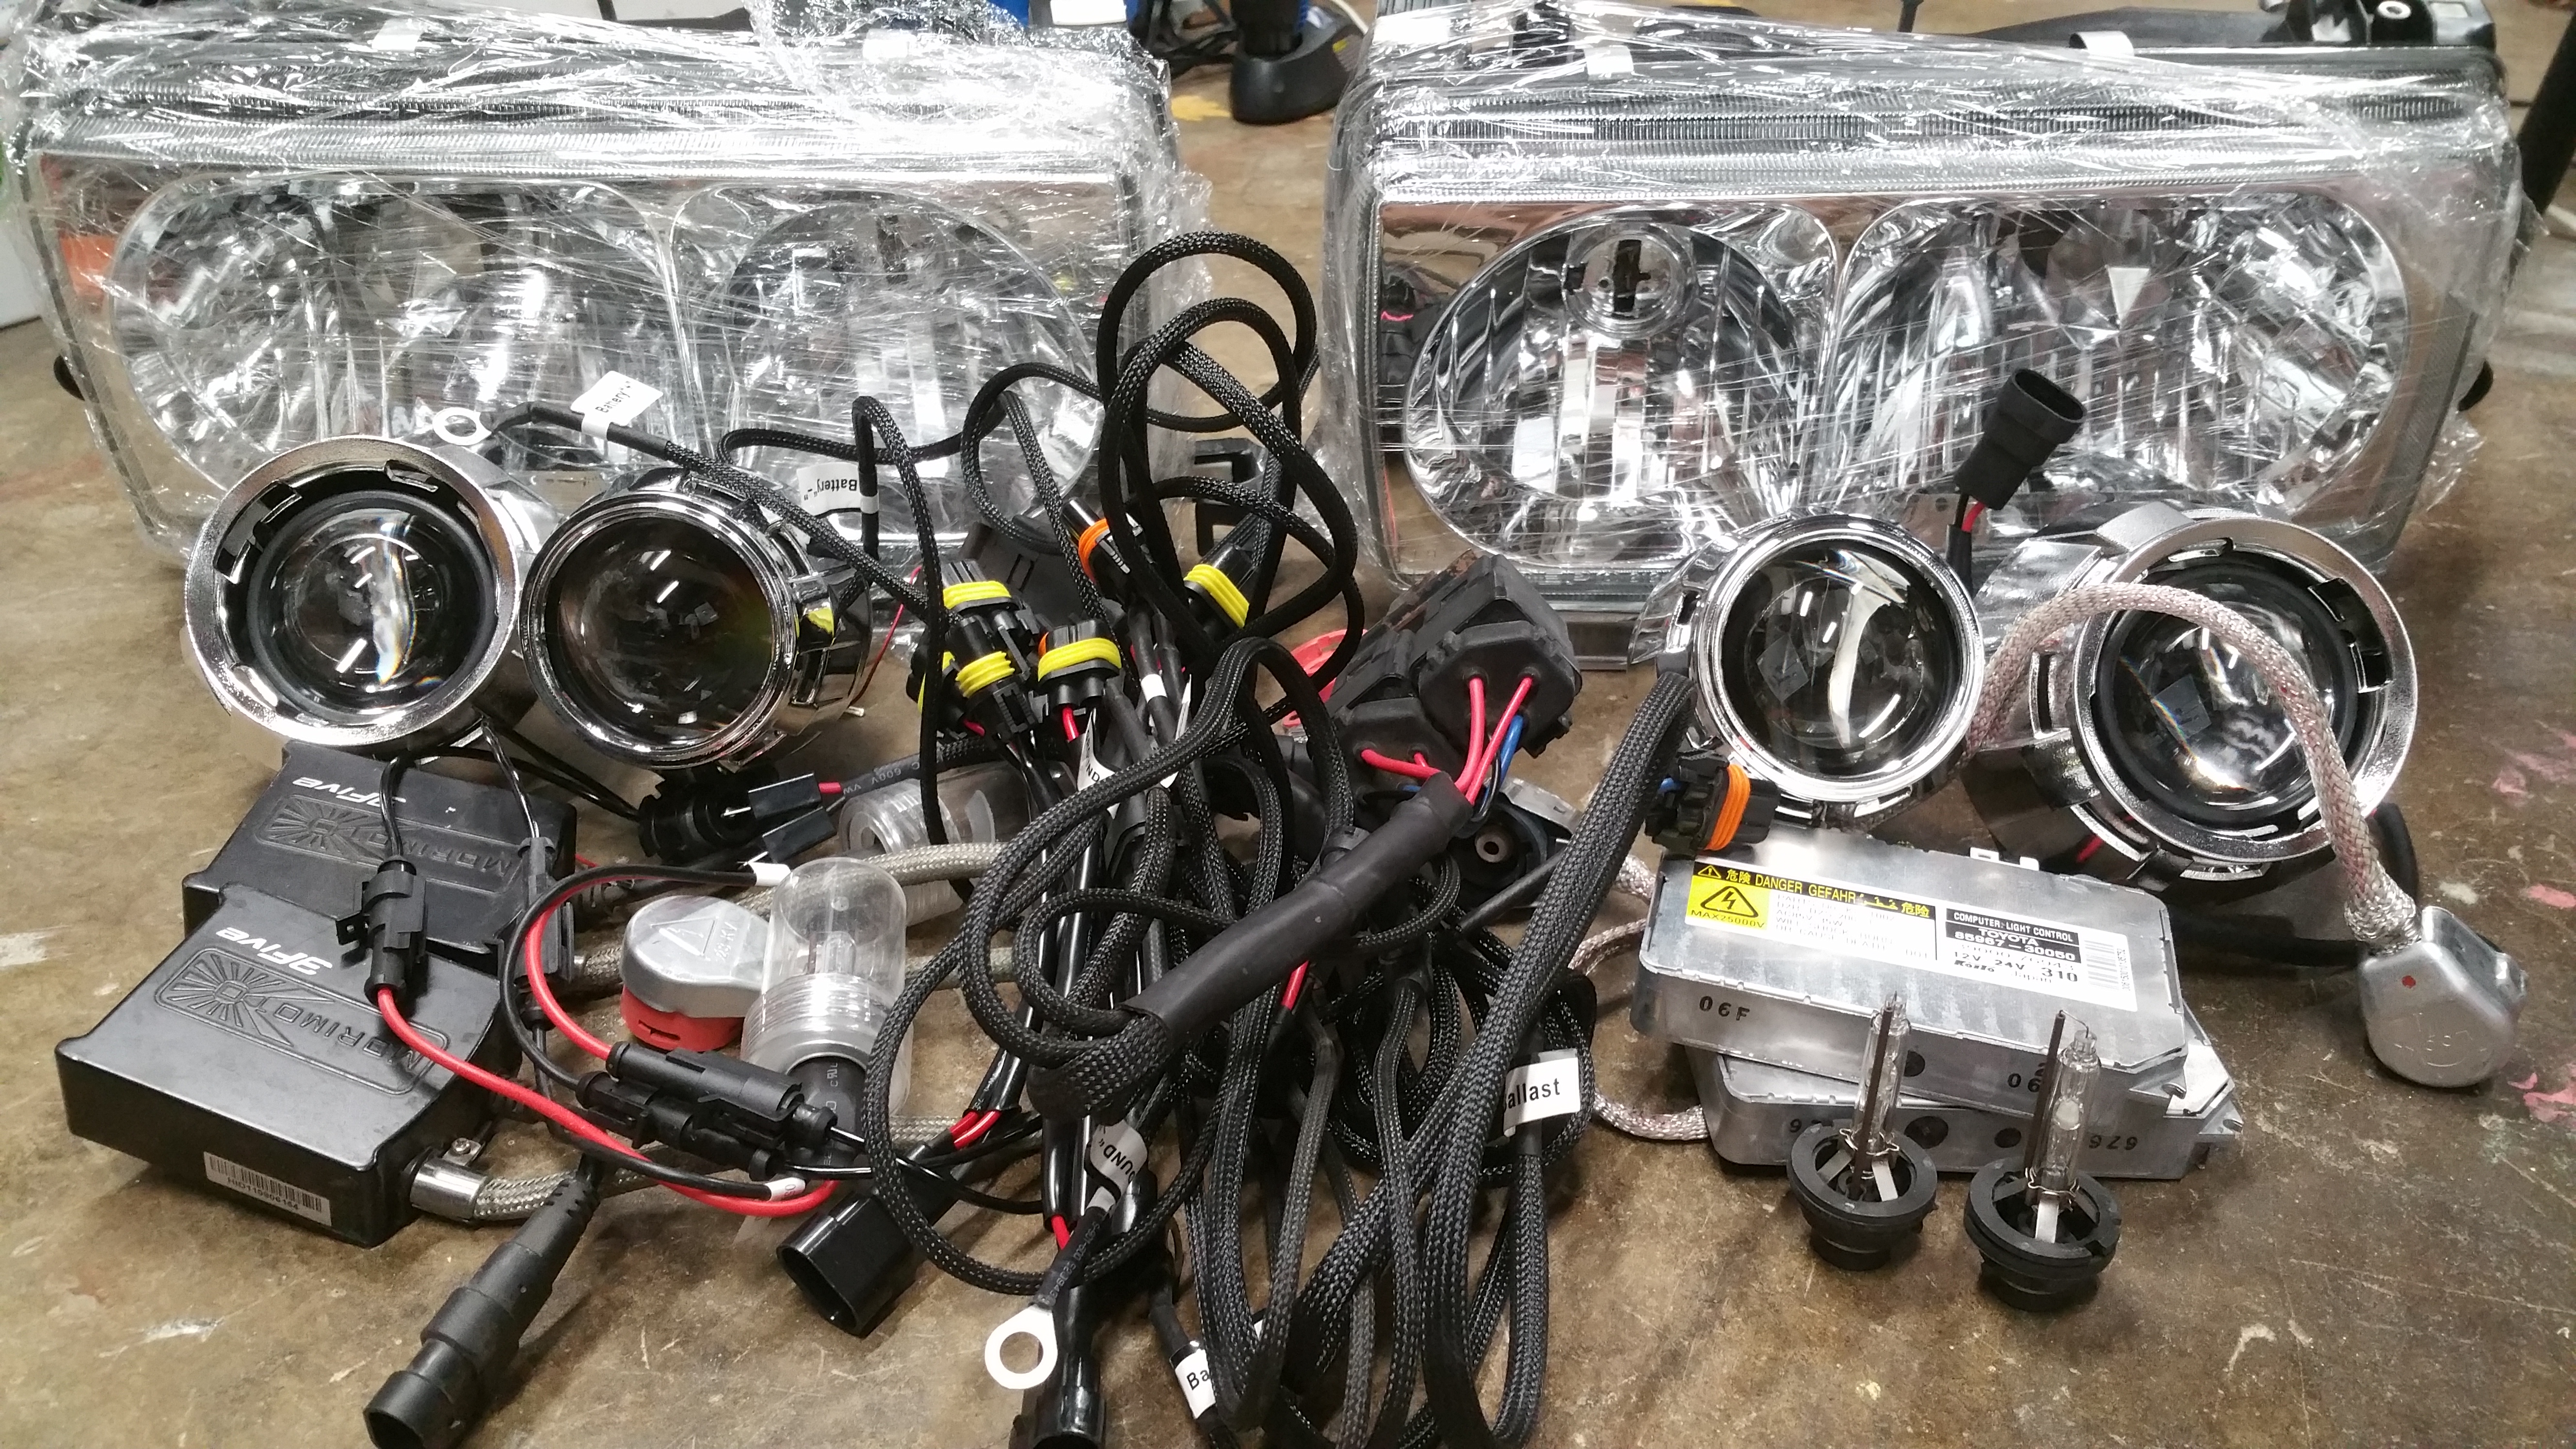
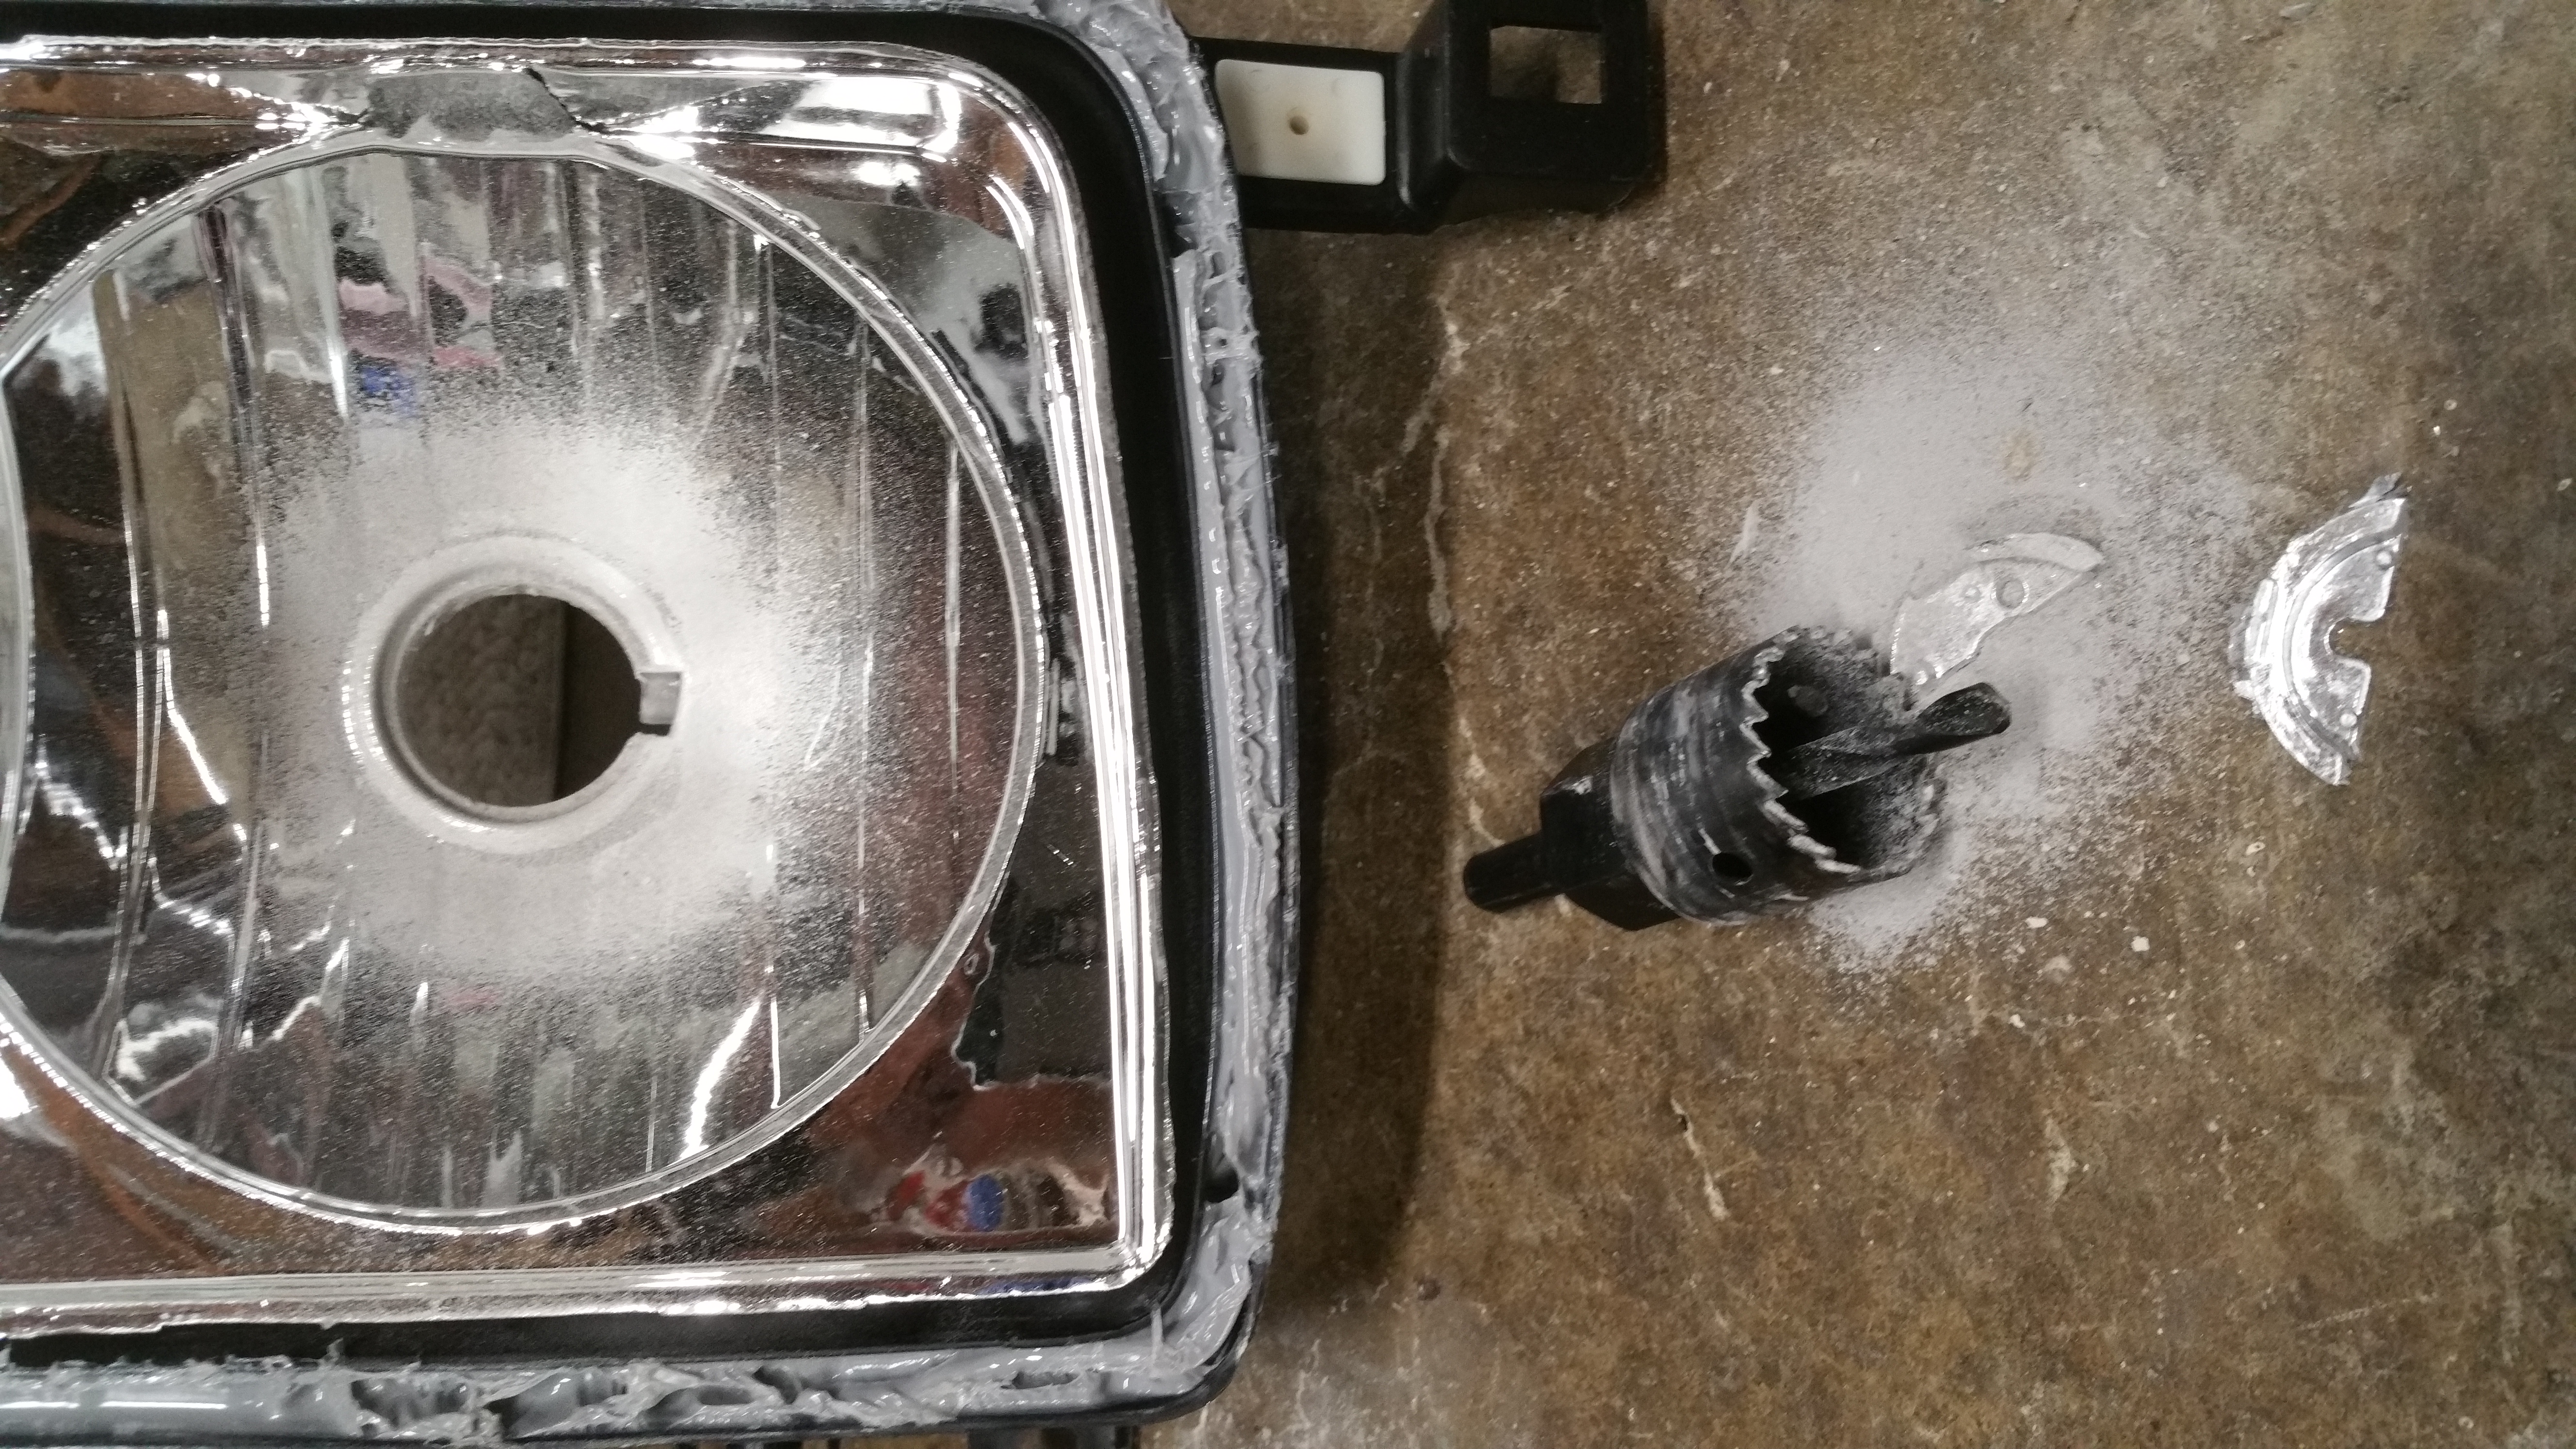
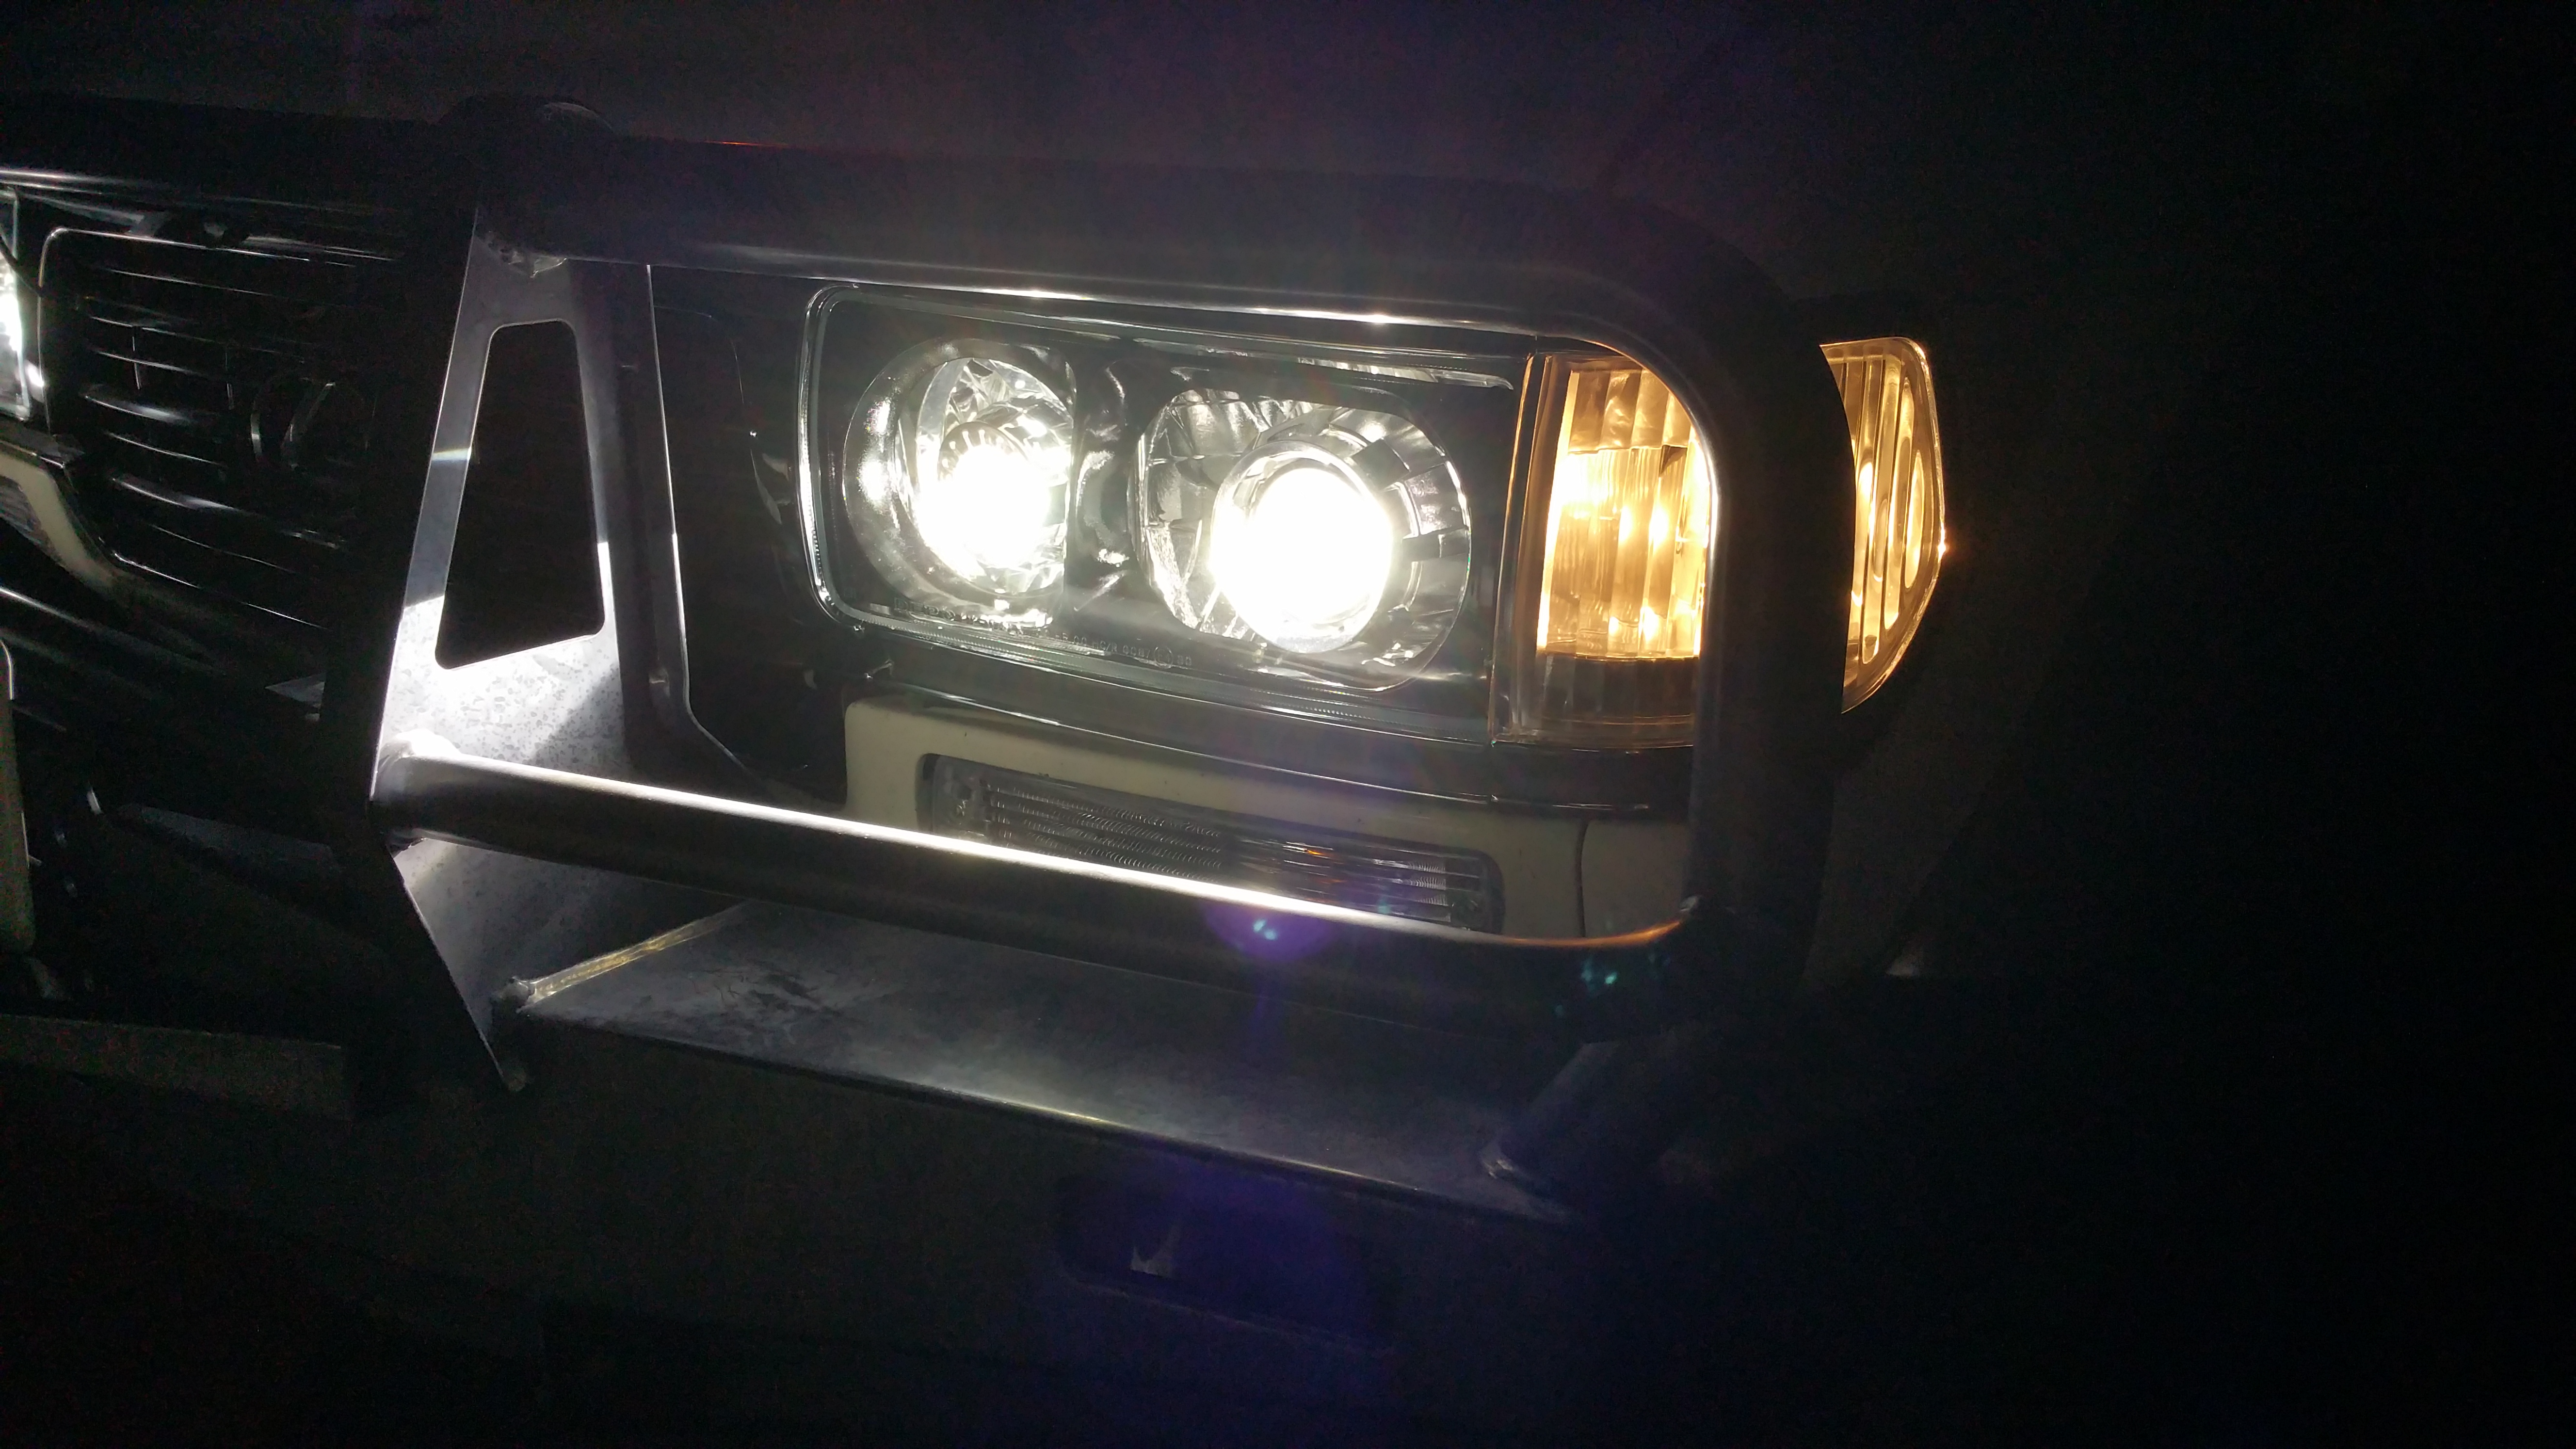
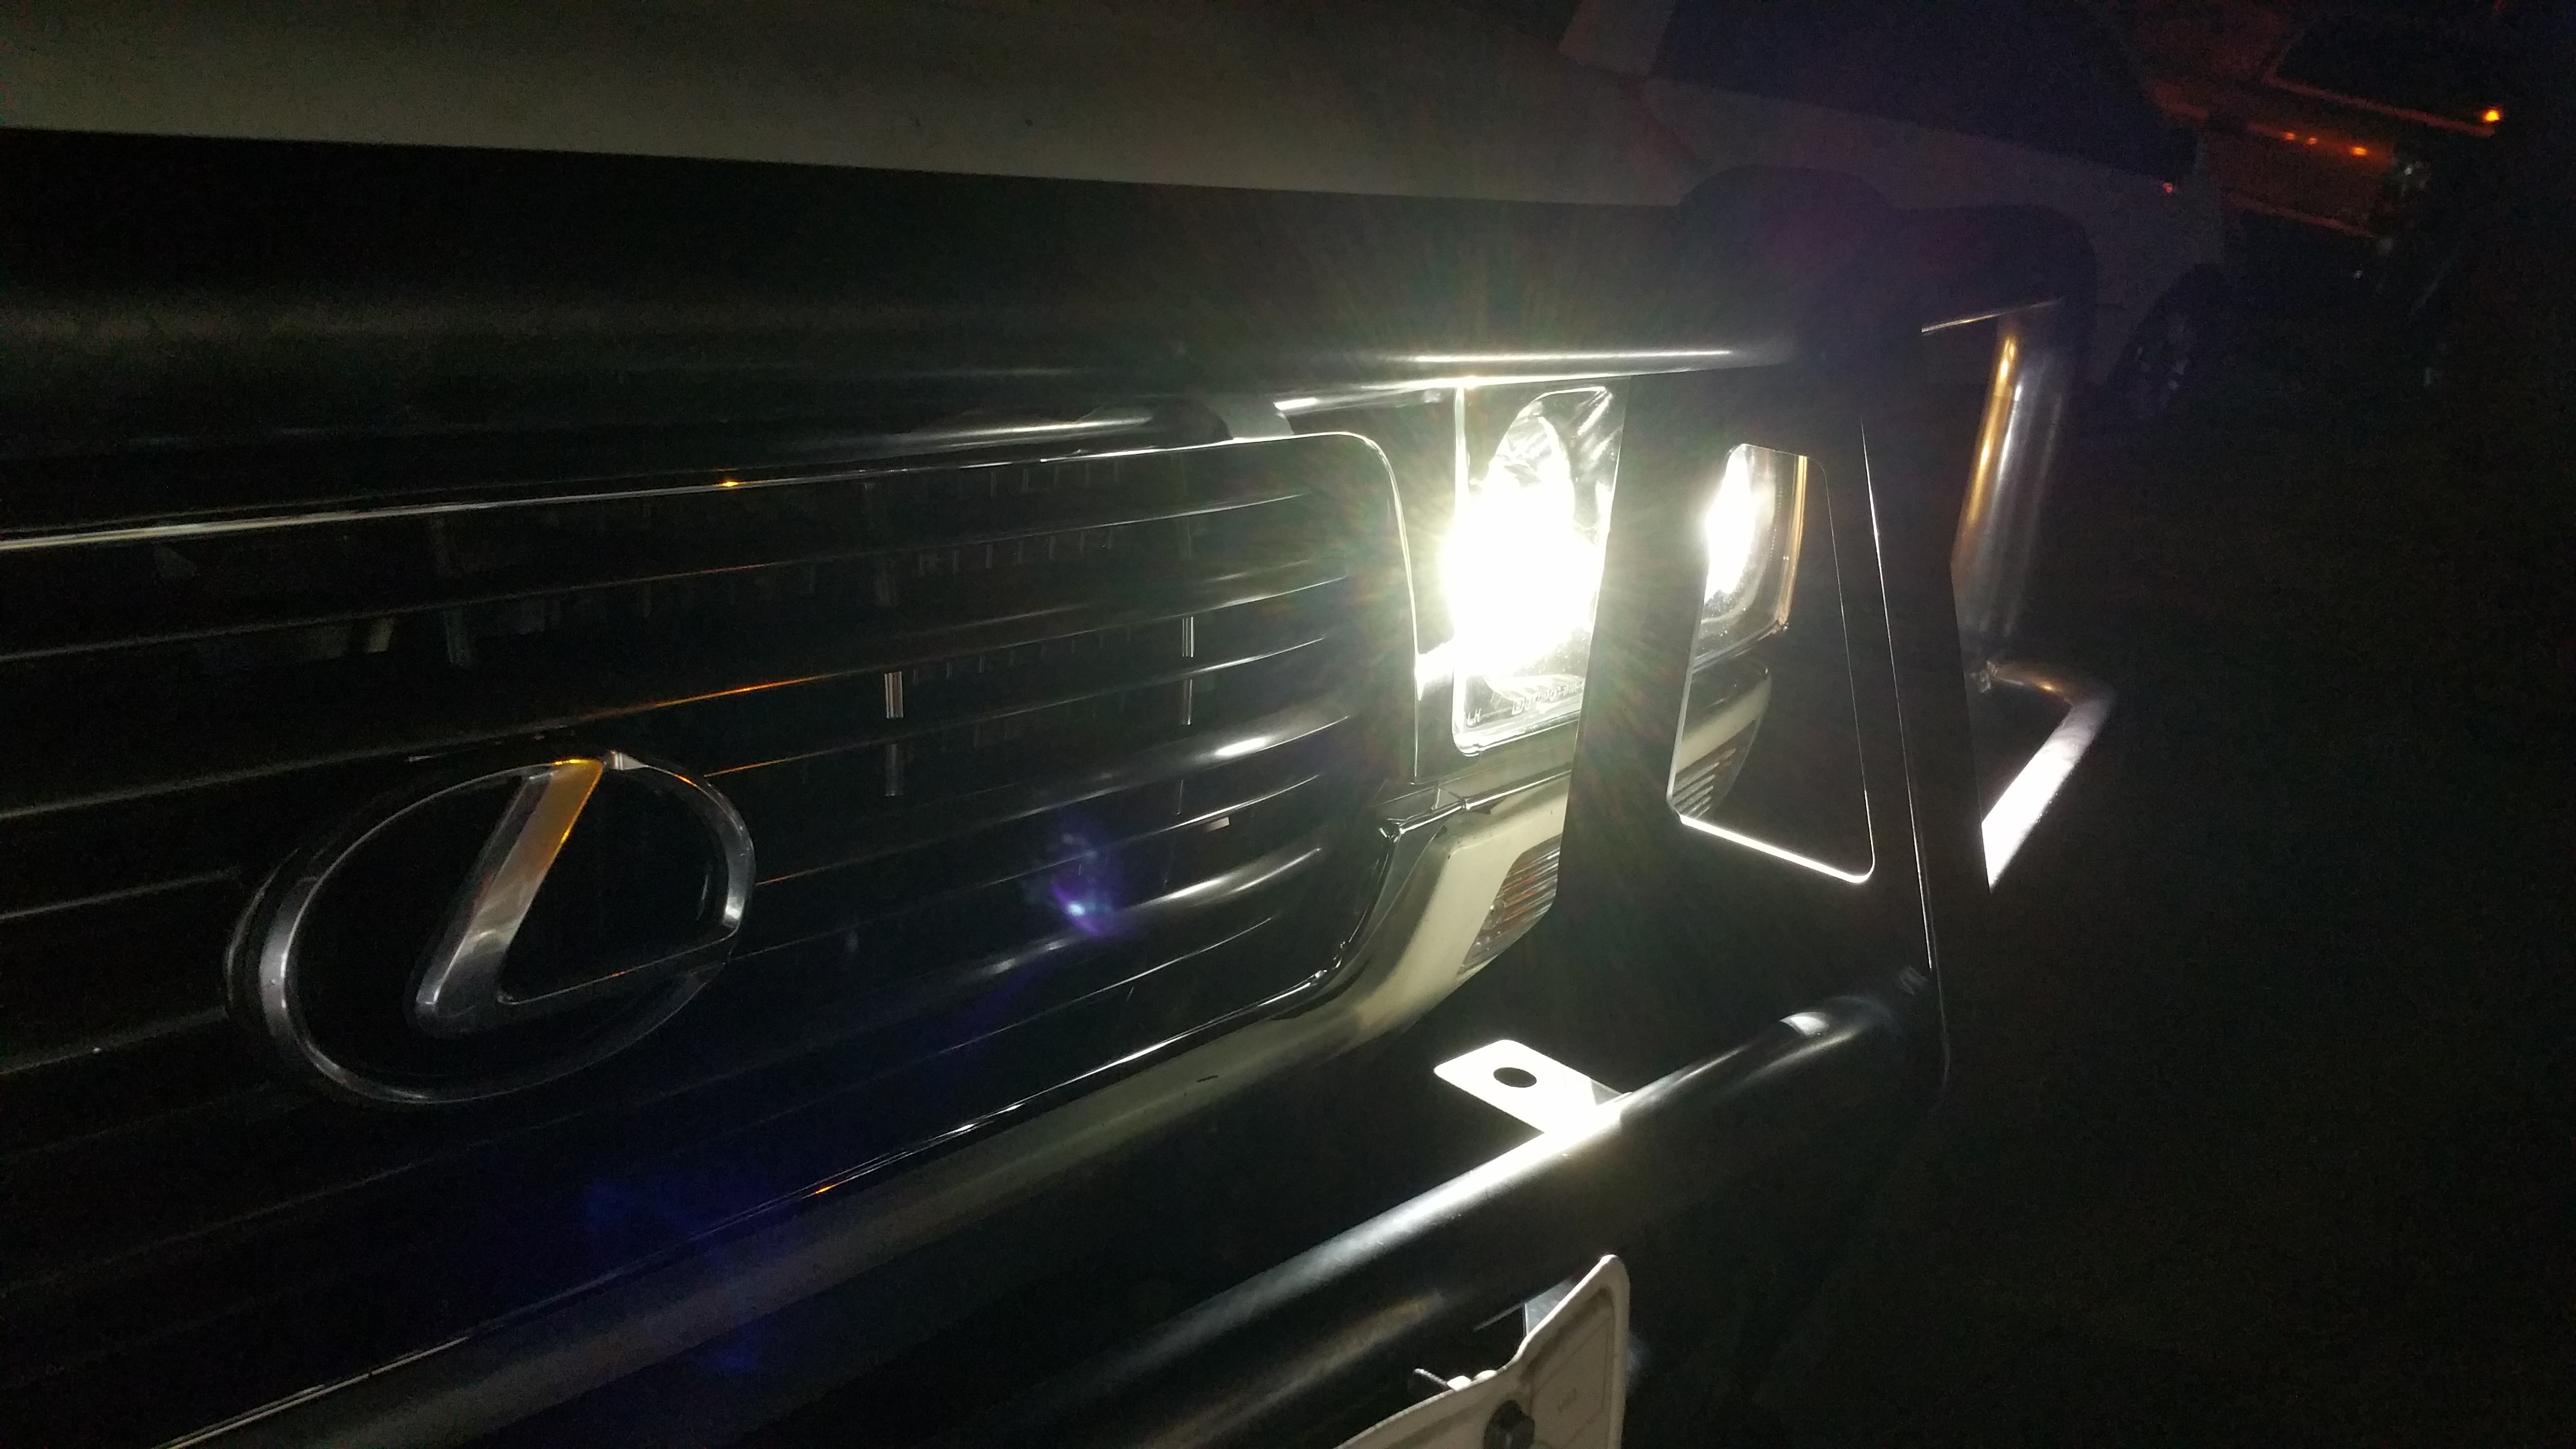
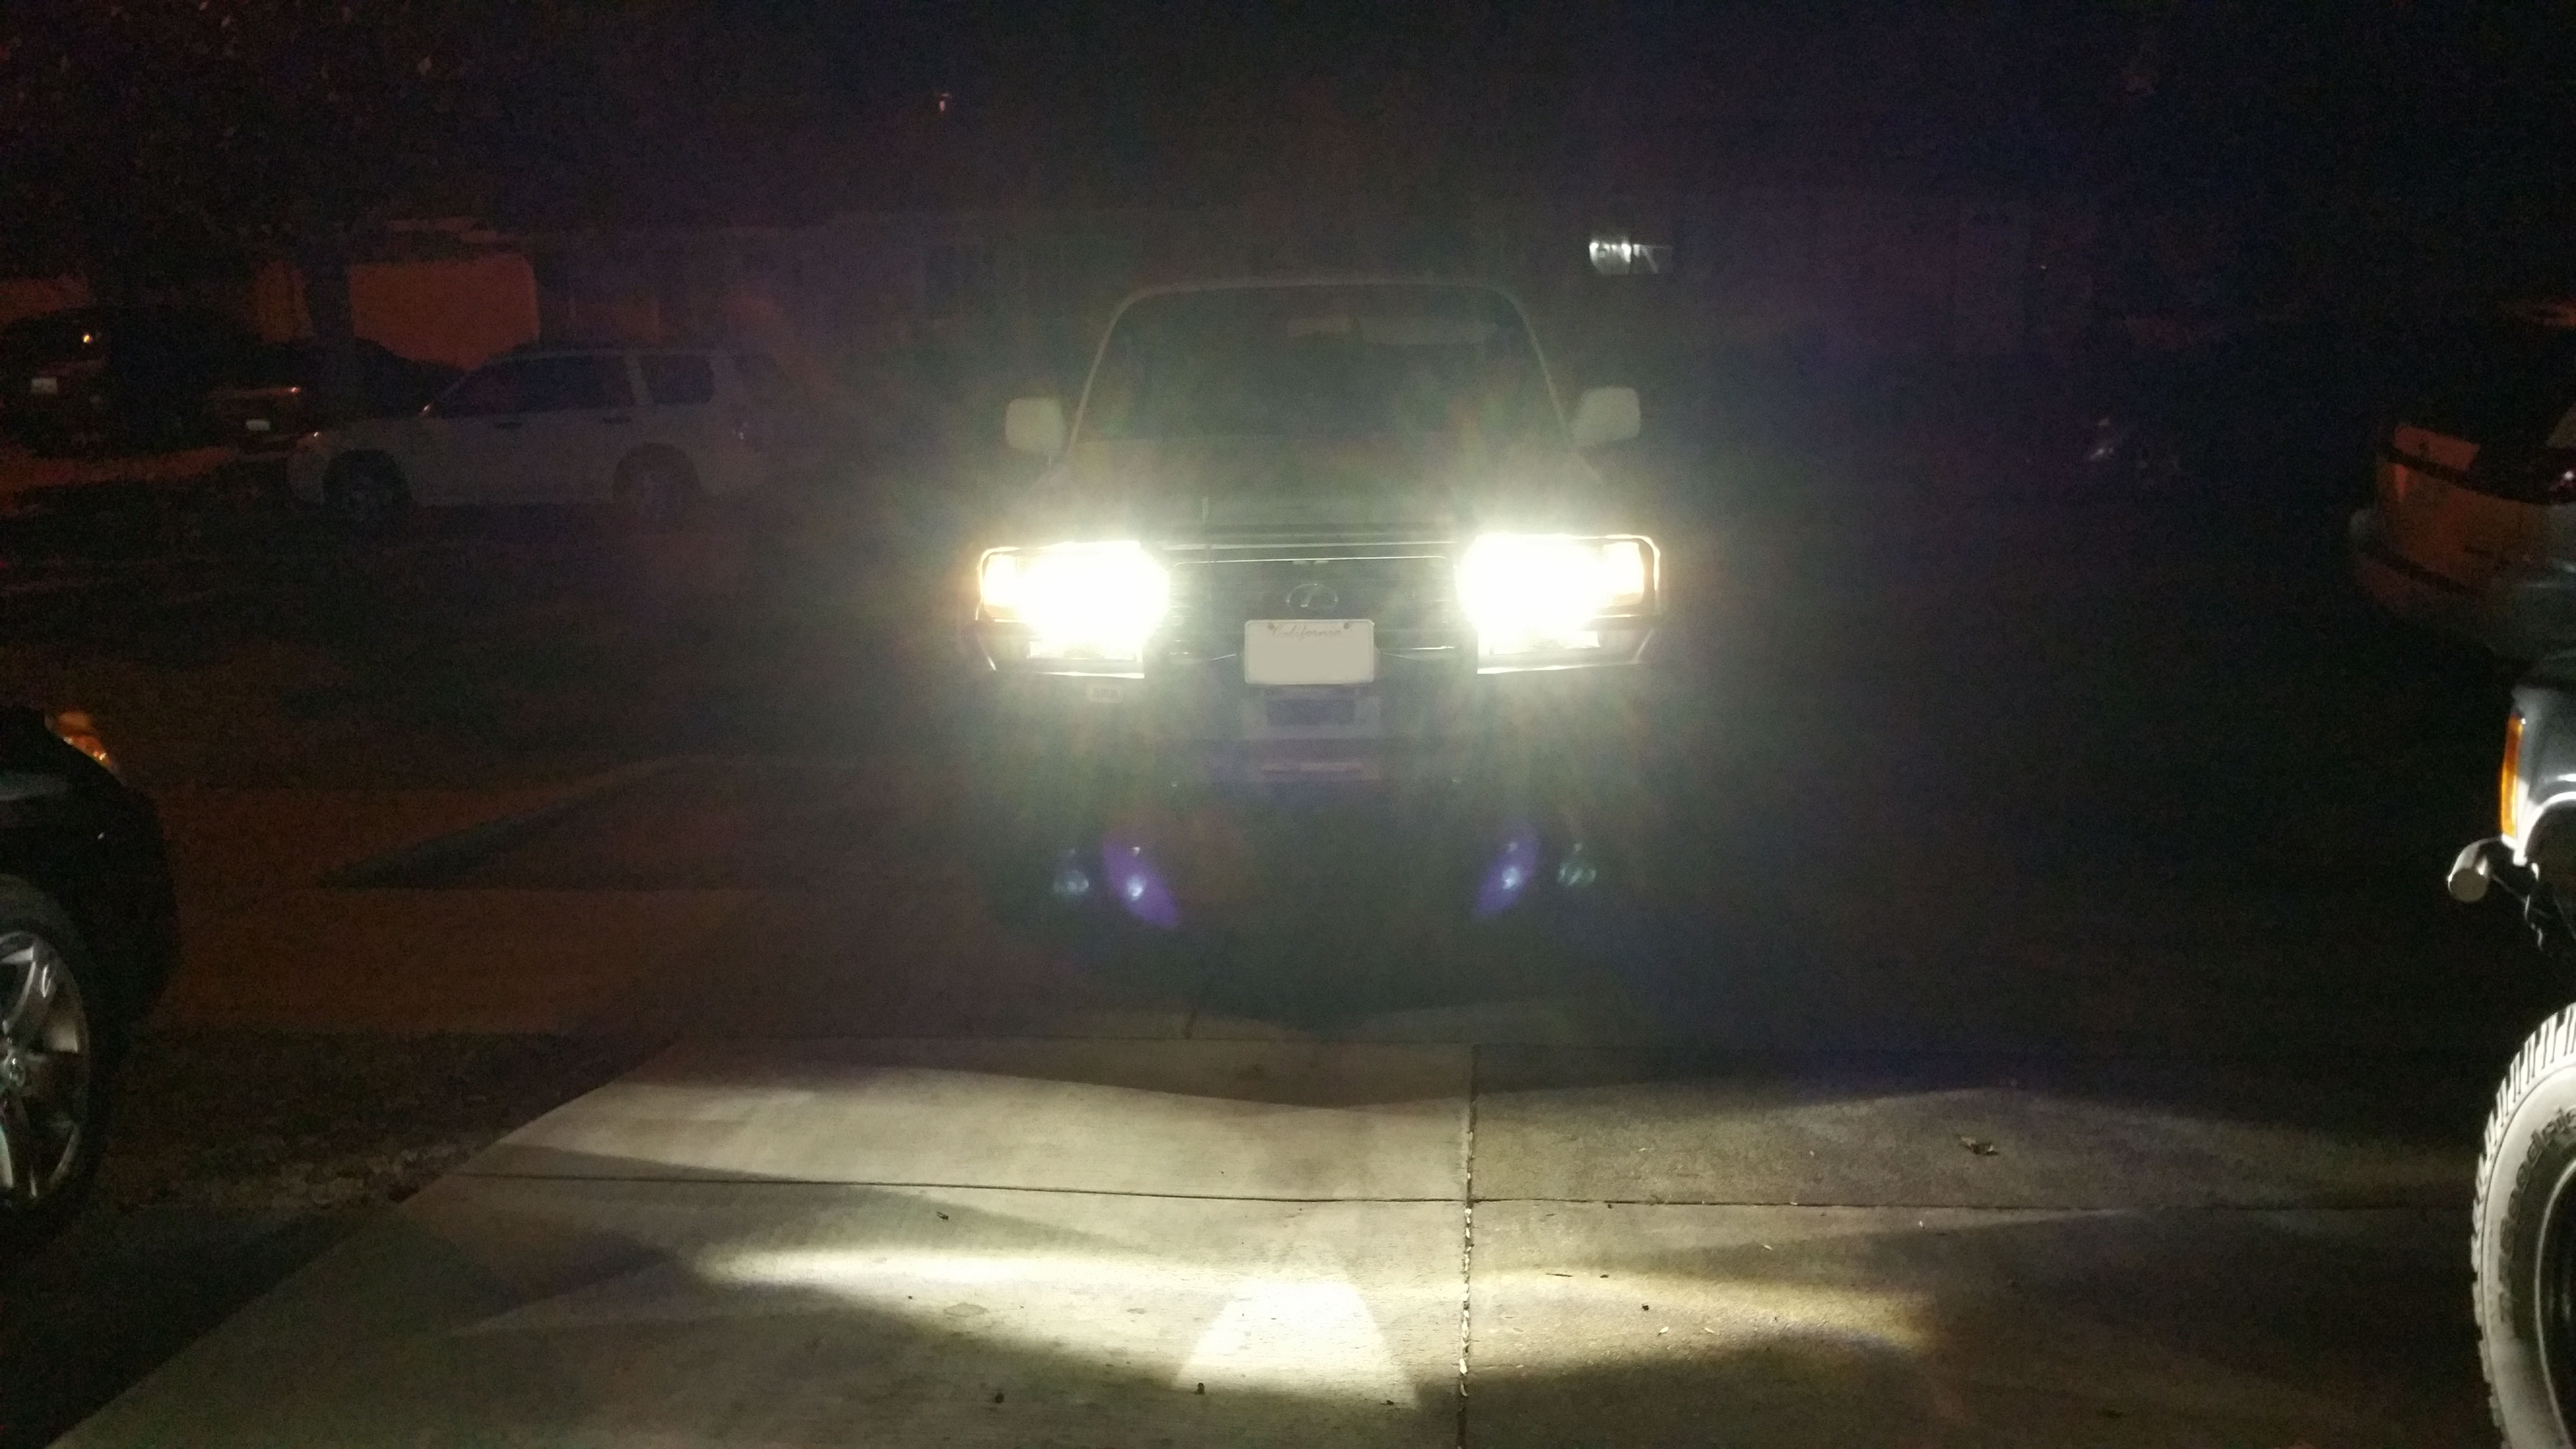
4. DEPO 6pc set, HID retrofit (theretrofitsource d2s hid projectors and morimoto ballasts) and aftermarket FZJ80 Grill. $600?
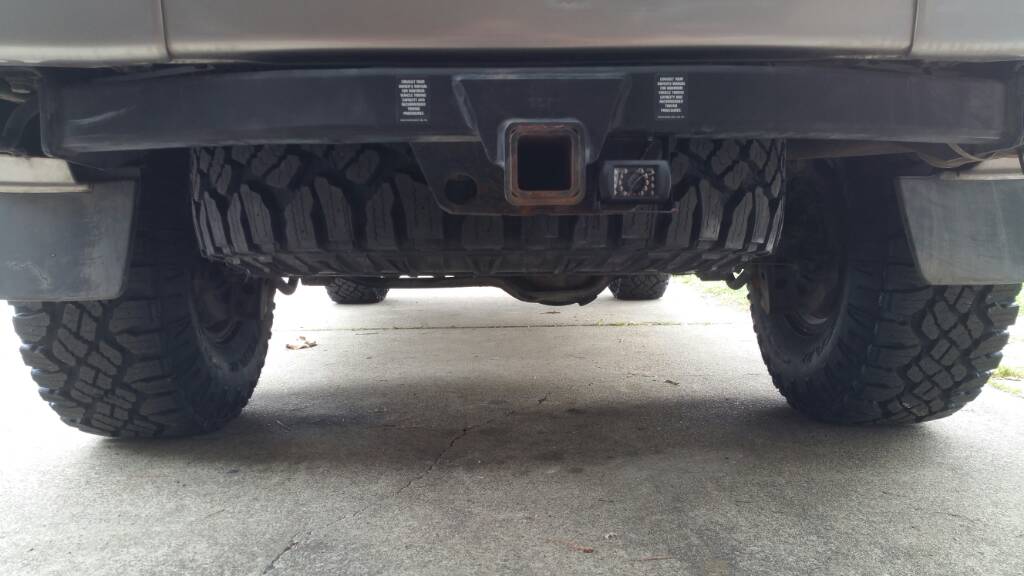
5. Double din Pioneer dvd head unit (removed from my tundy), backup cam and hdmi converter, Pioneer TS G1645R 6.5" and Pioneer TS G1045R 4" speakers. $150
6. DIY Oil change (Denso Large Filter 1560041010 + Valvoline MaxLife 10W-40 8 QT) $35, Denso air filter $10, Denso wiper blades $15, Denso spark plugs $10
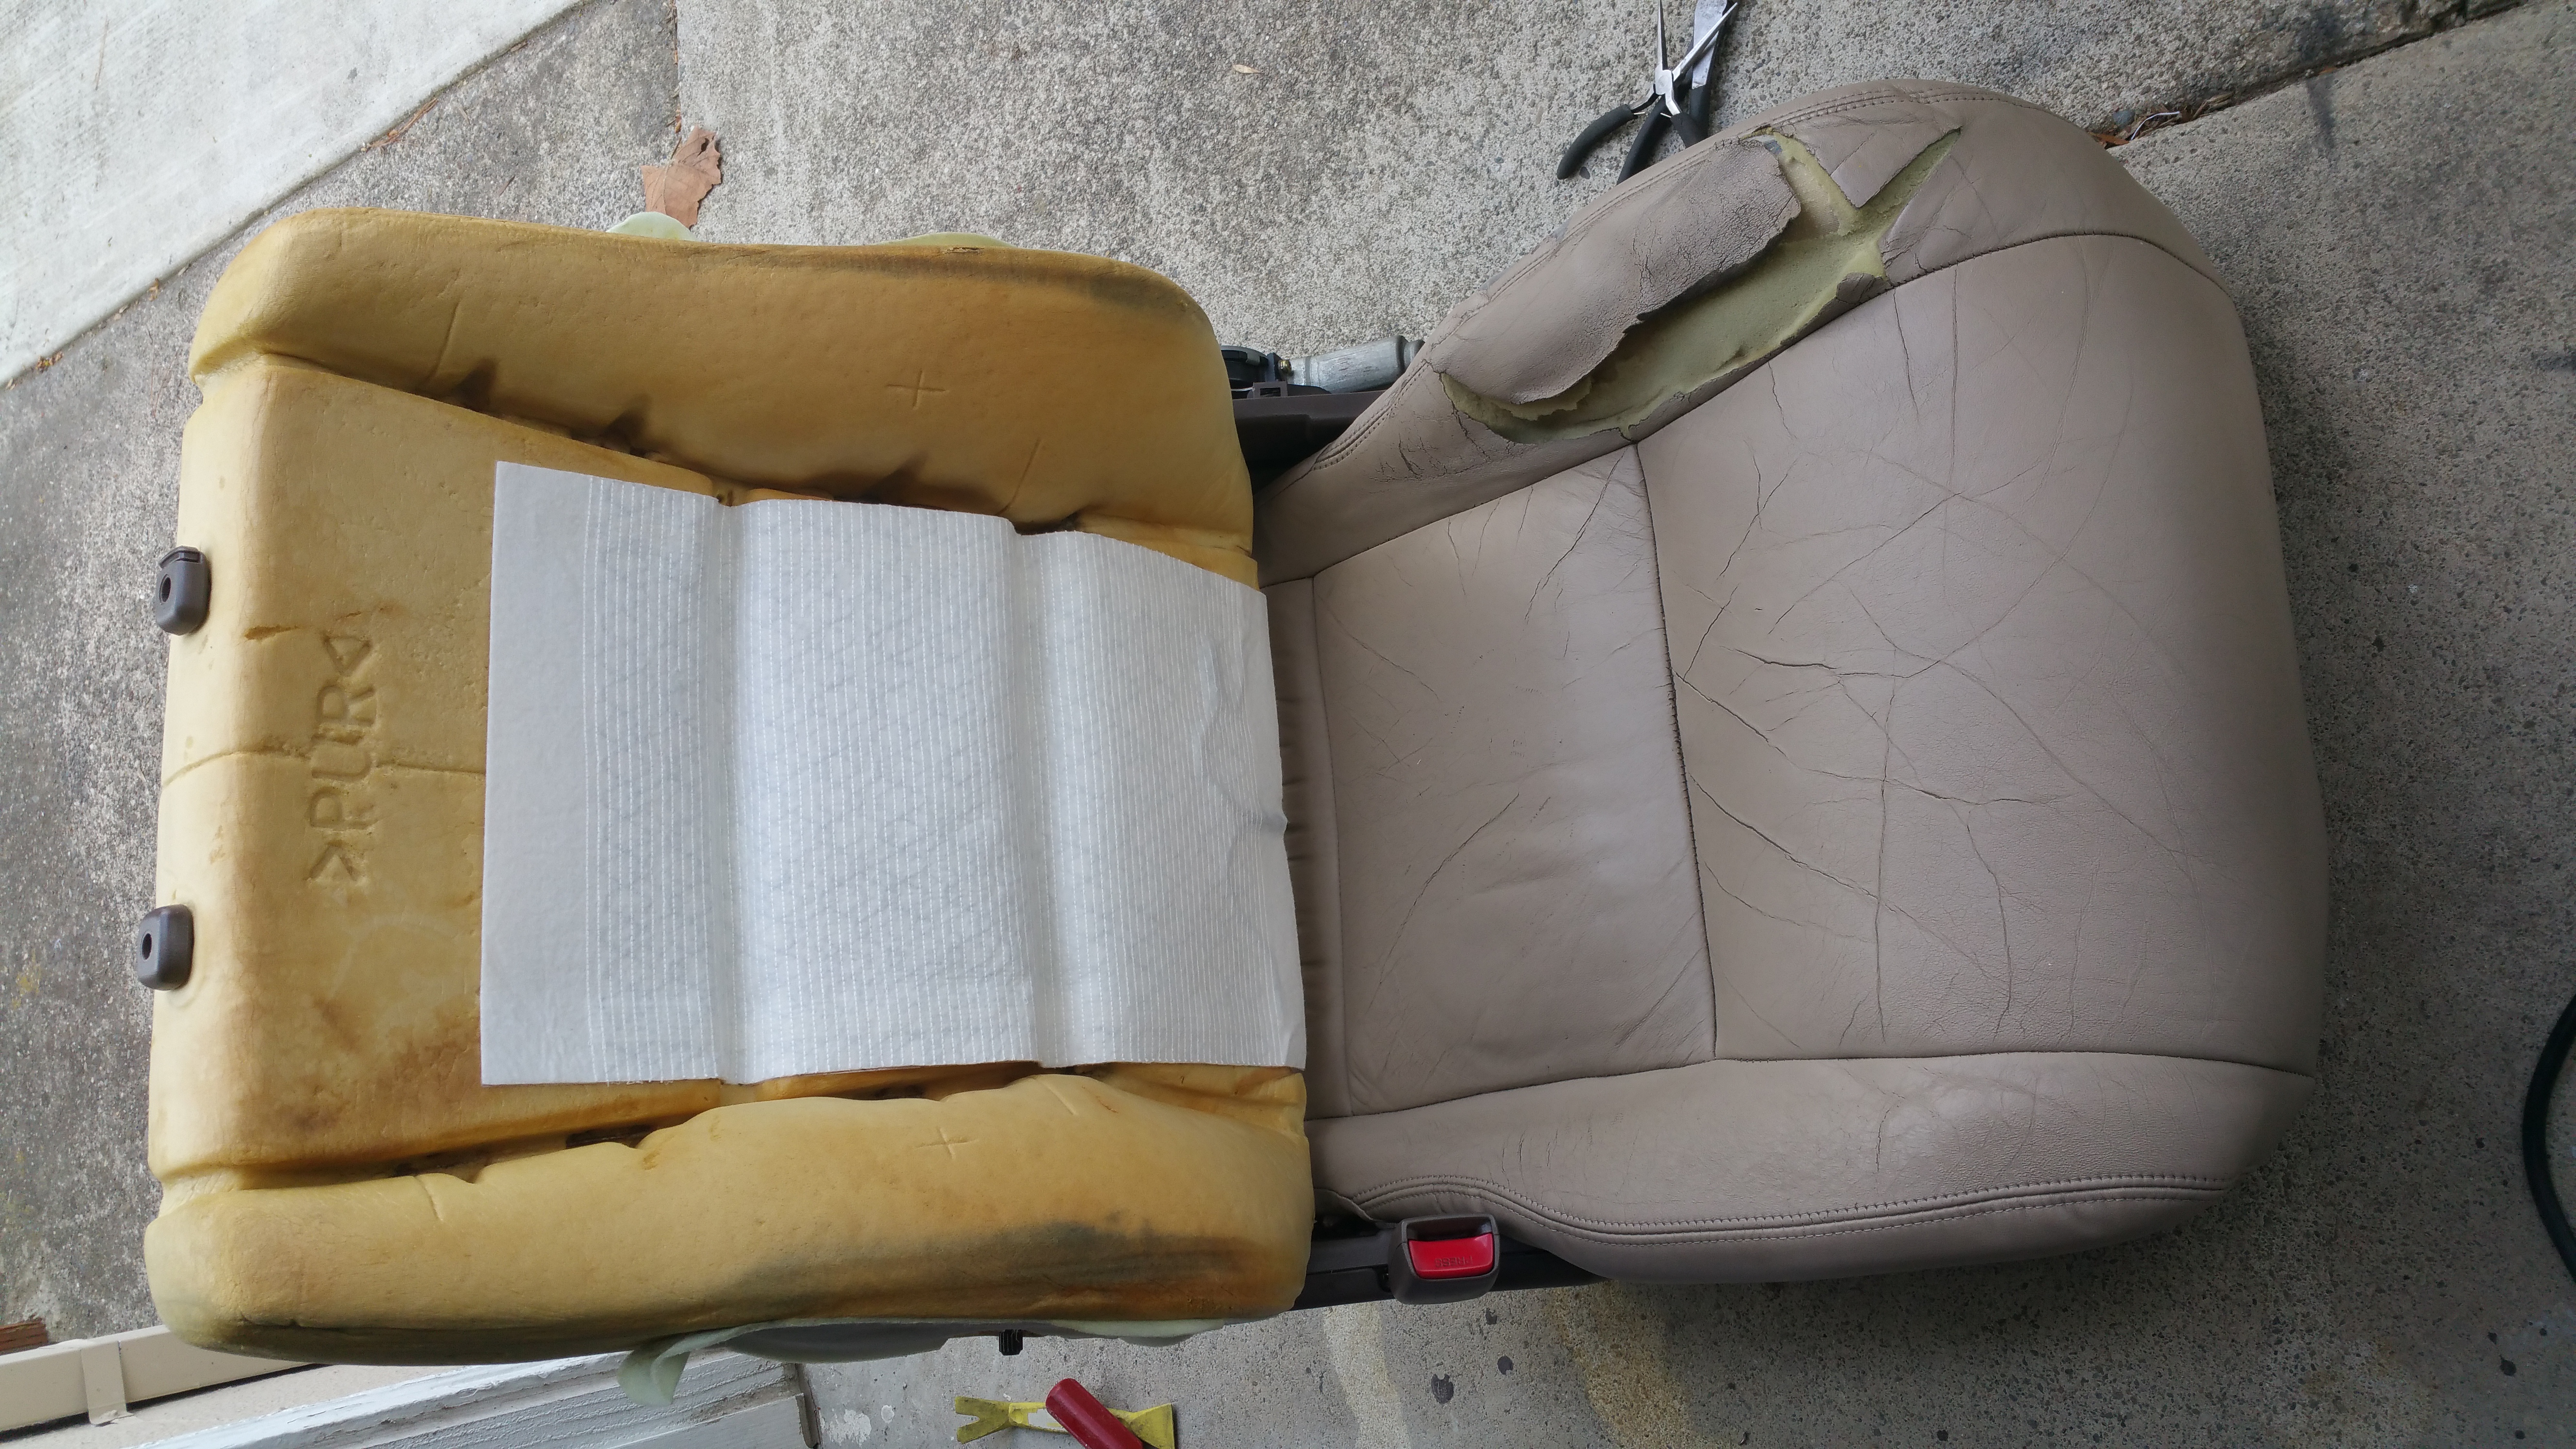
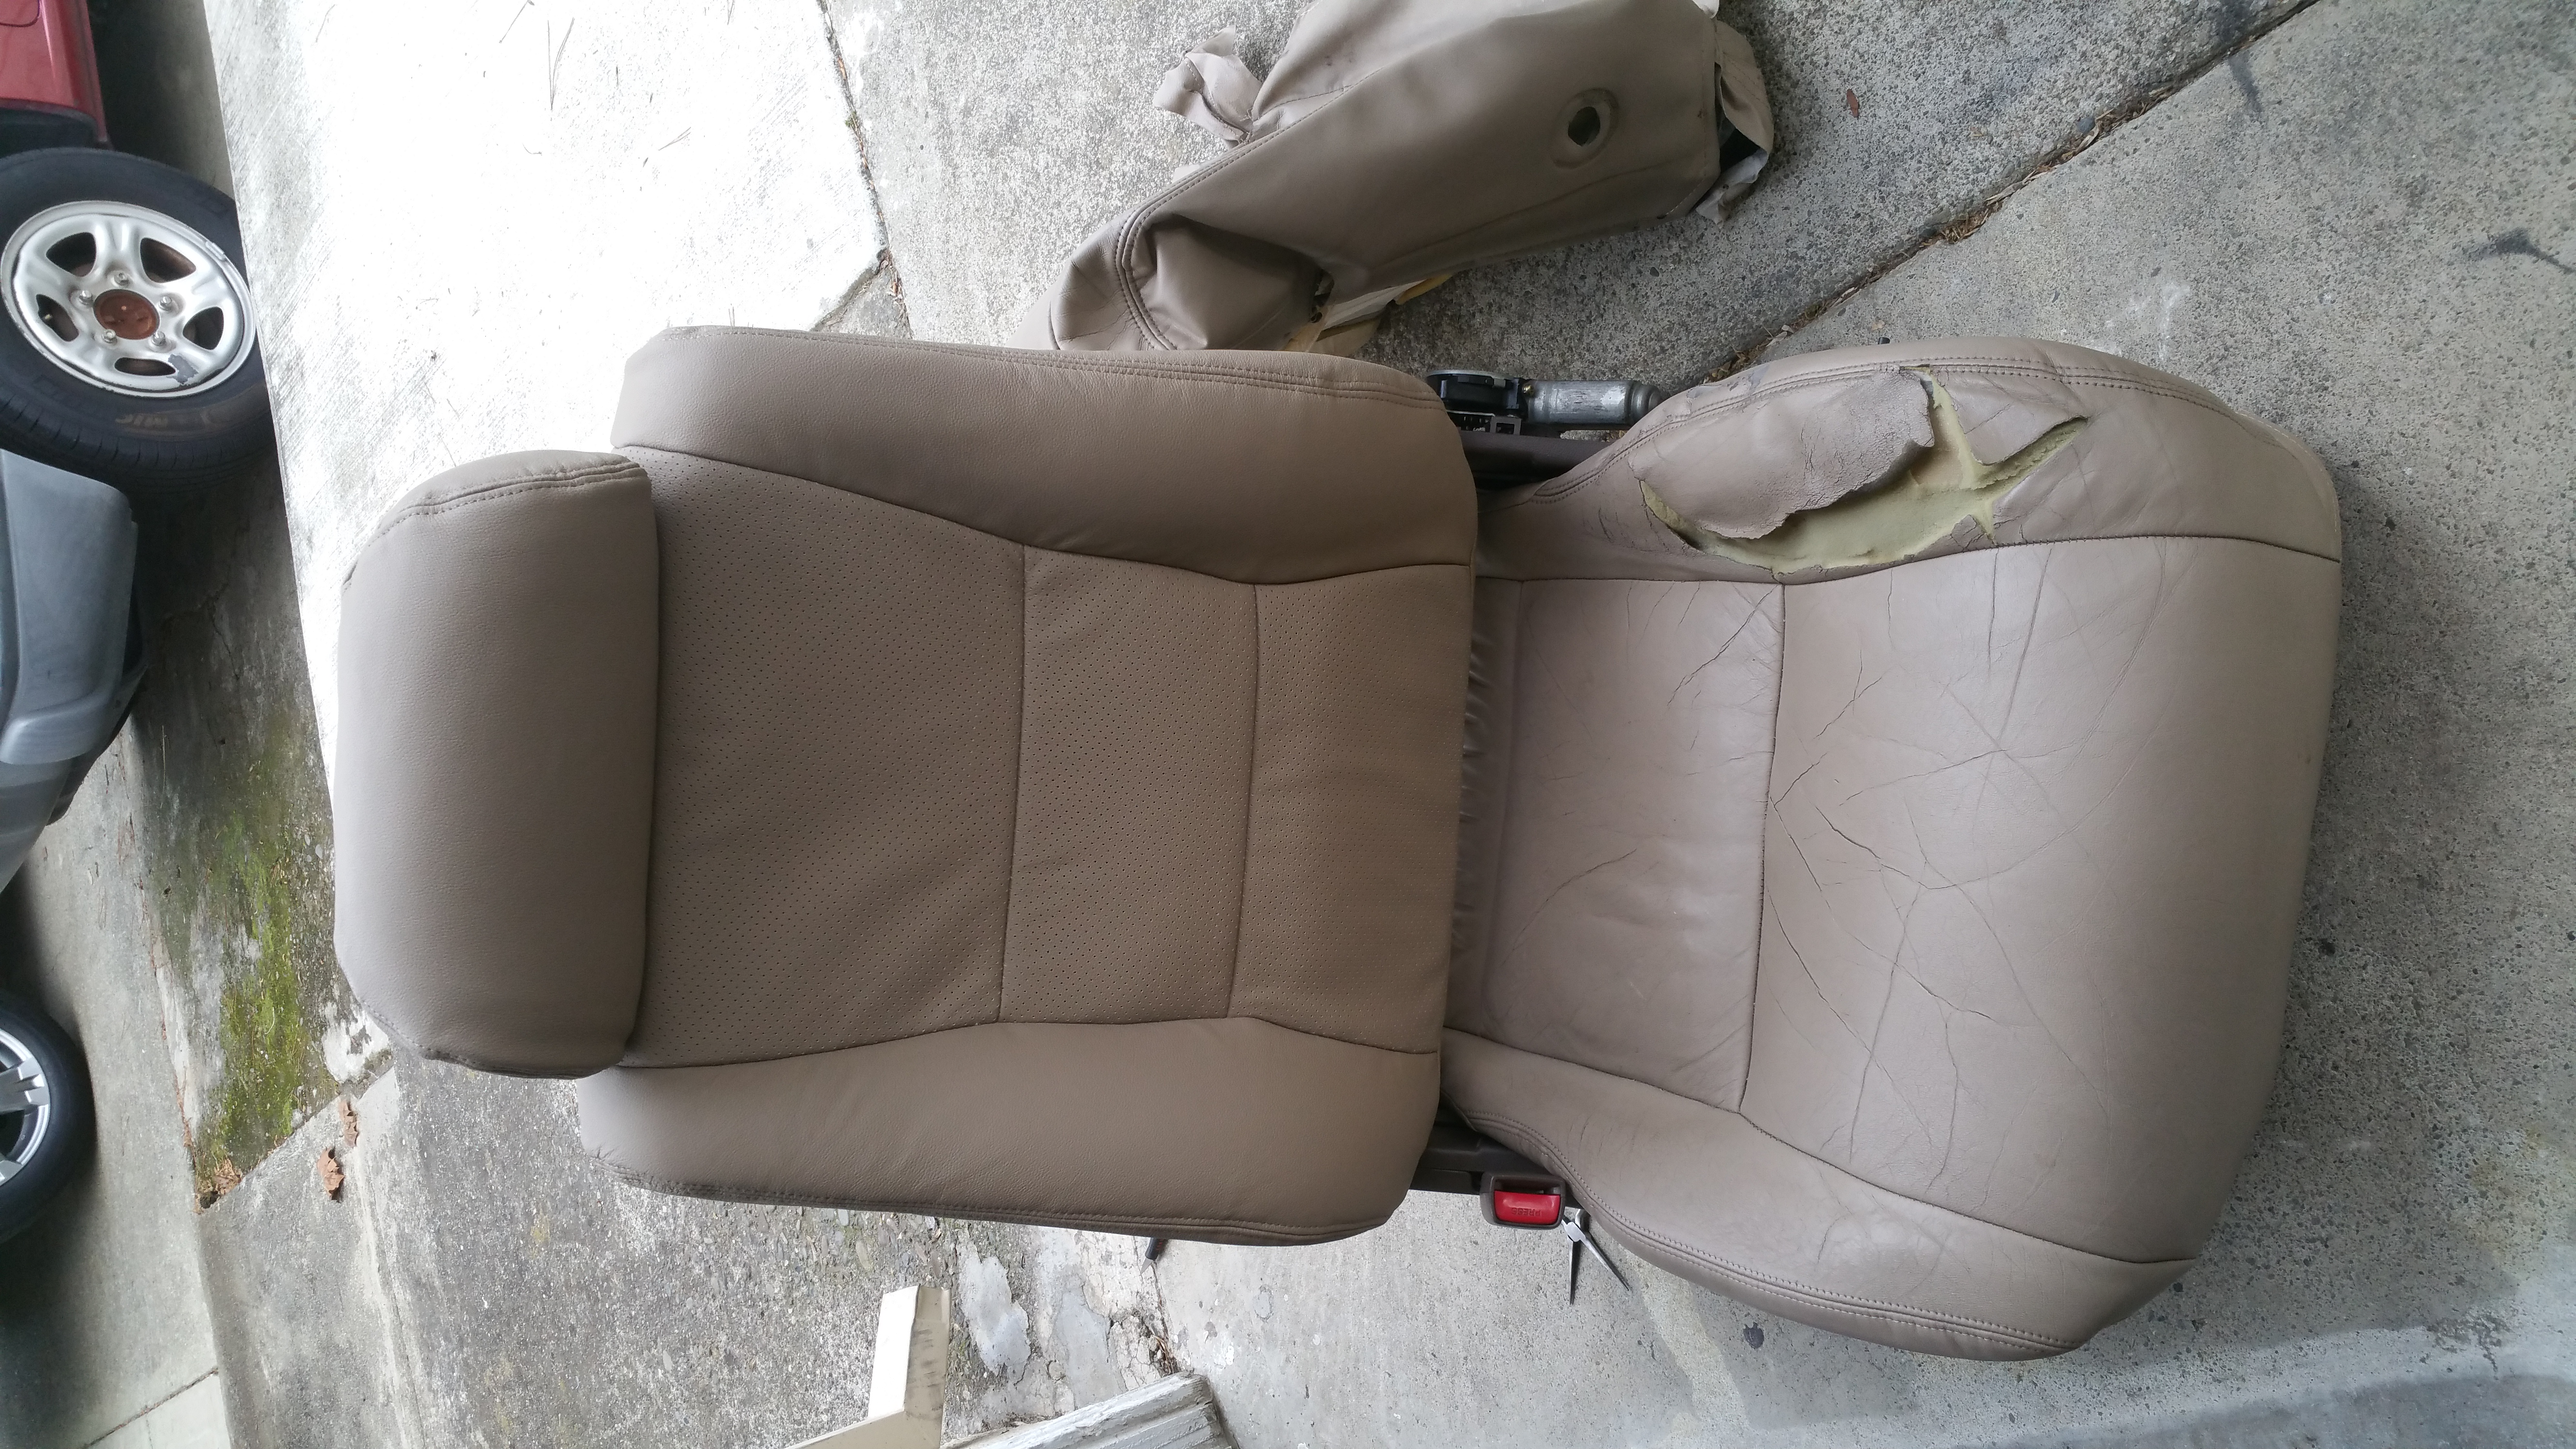
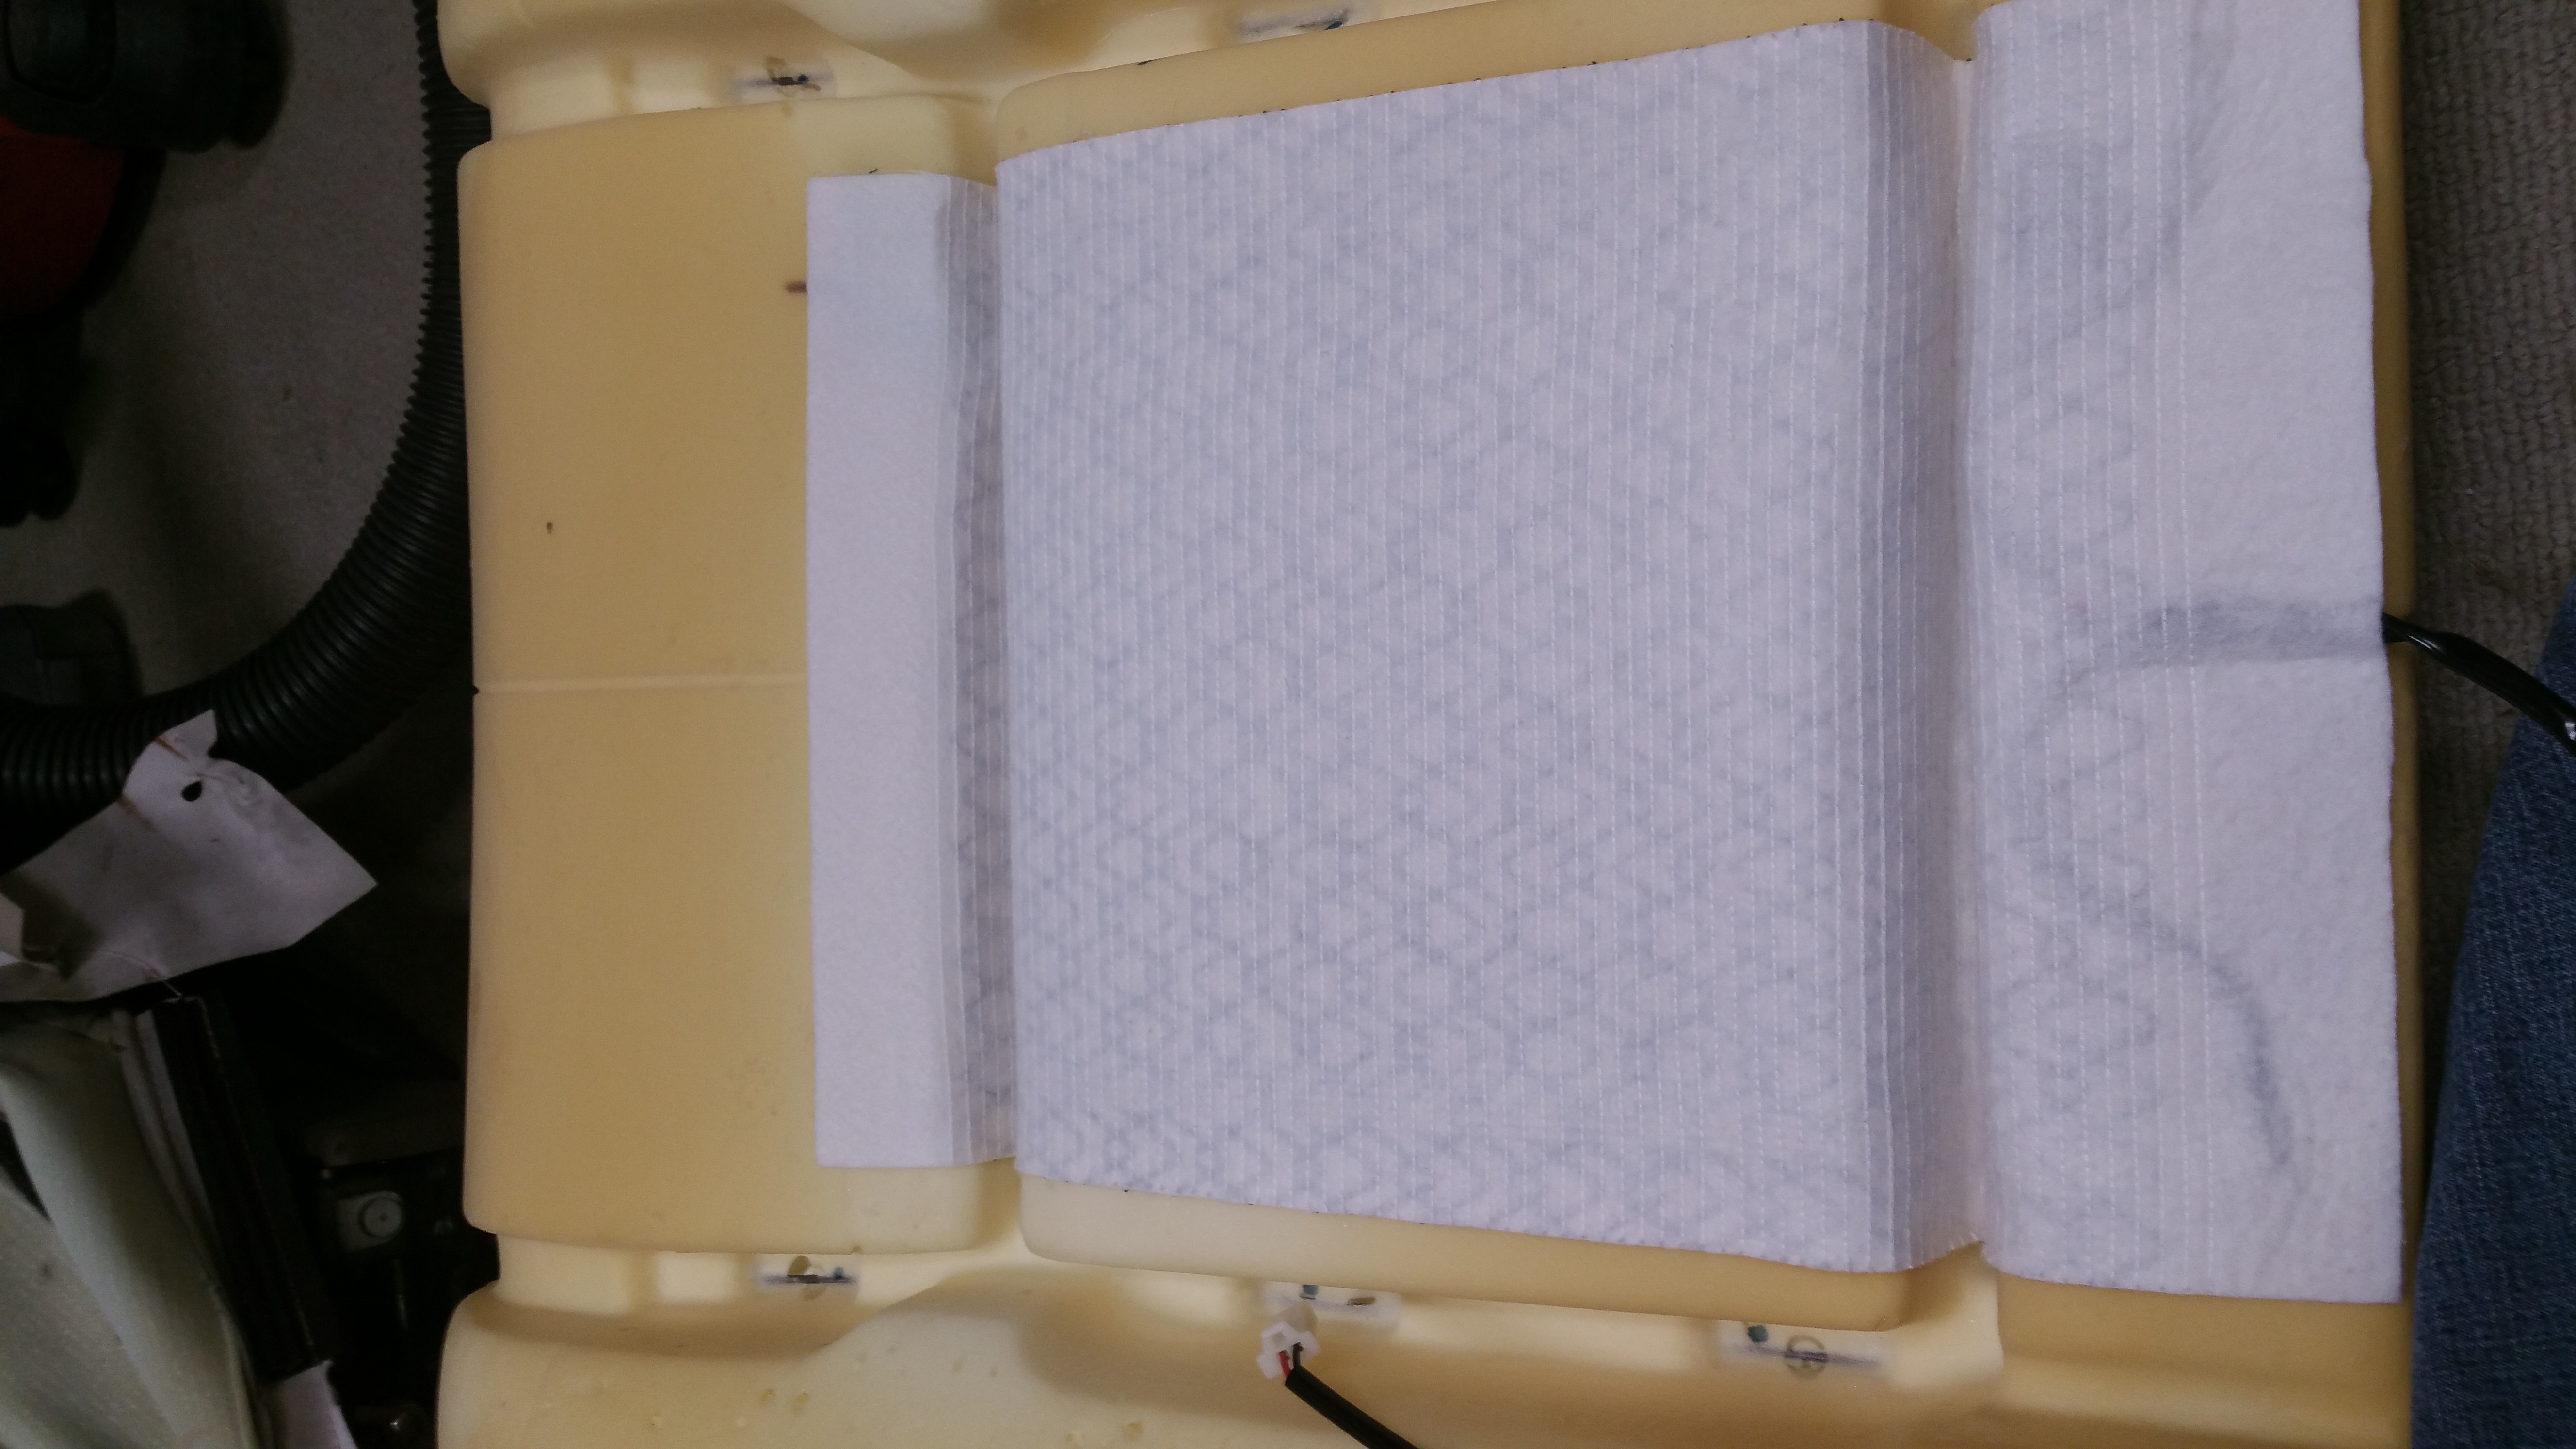
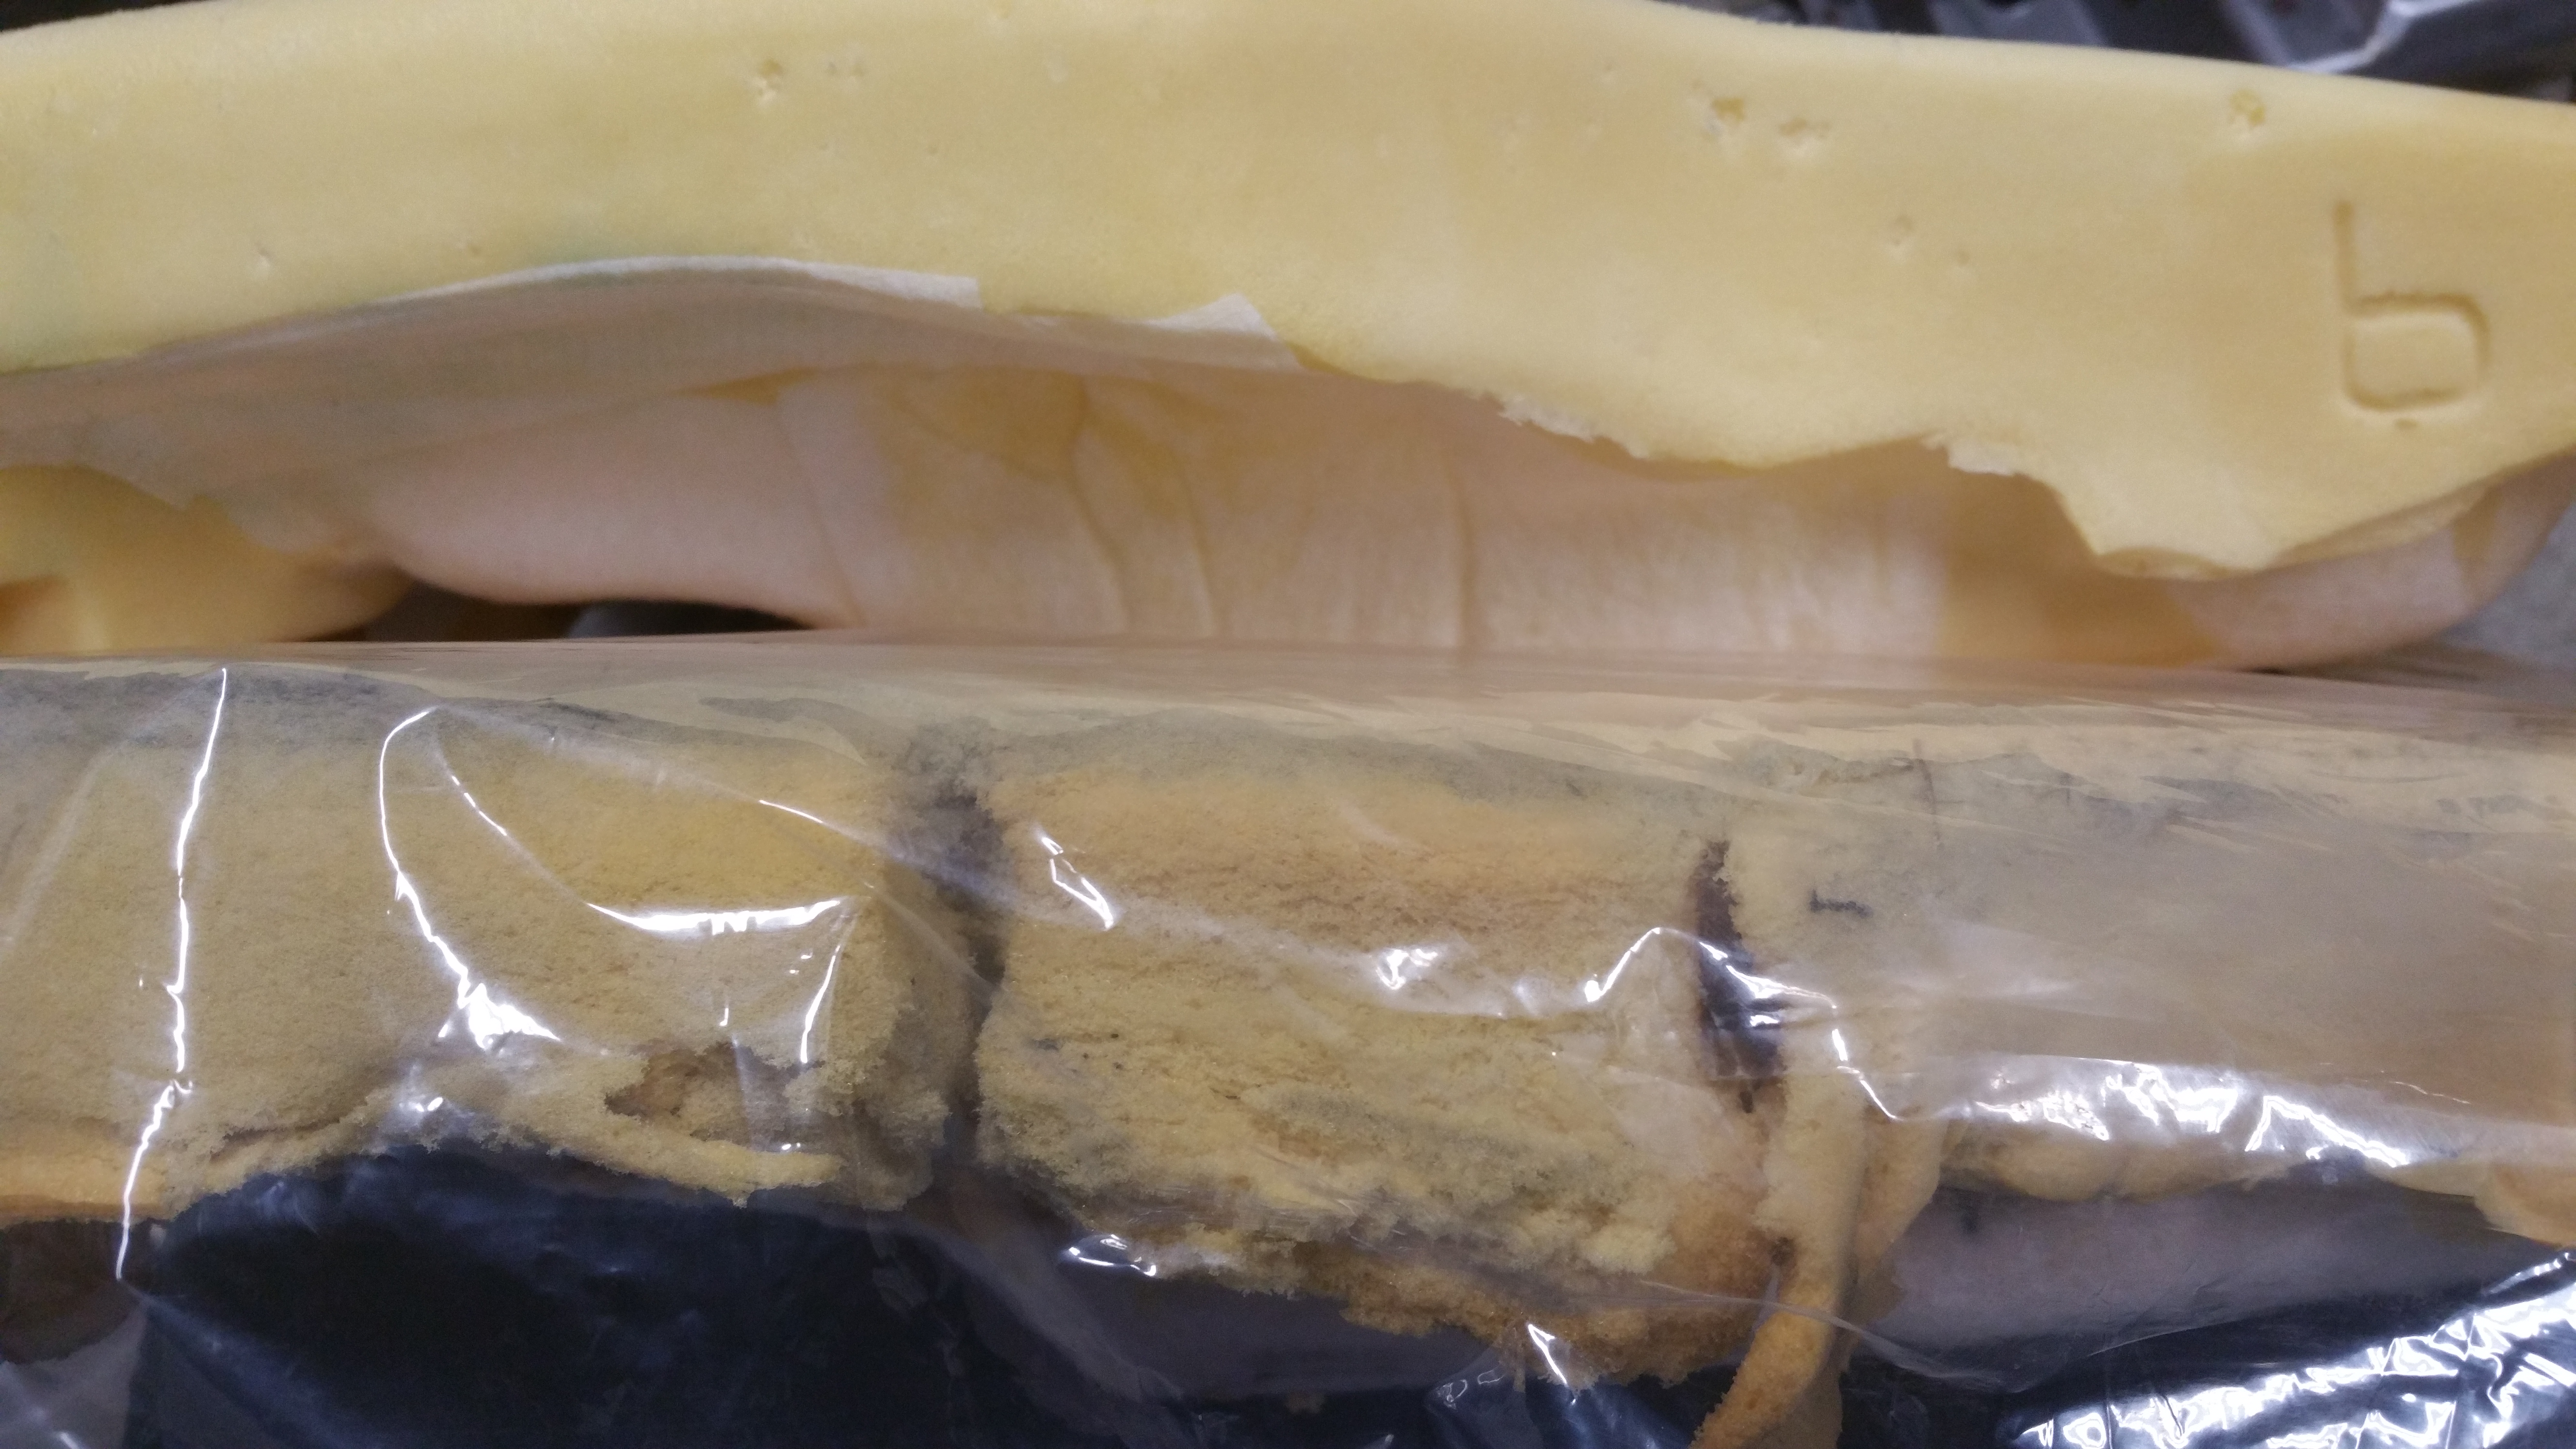
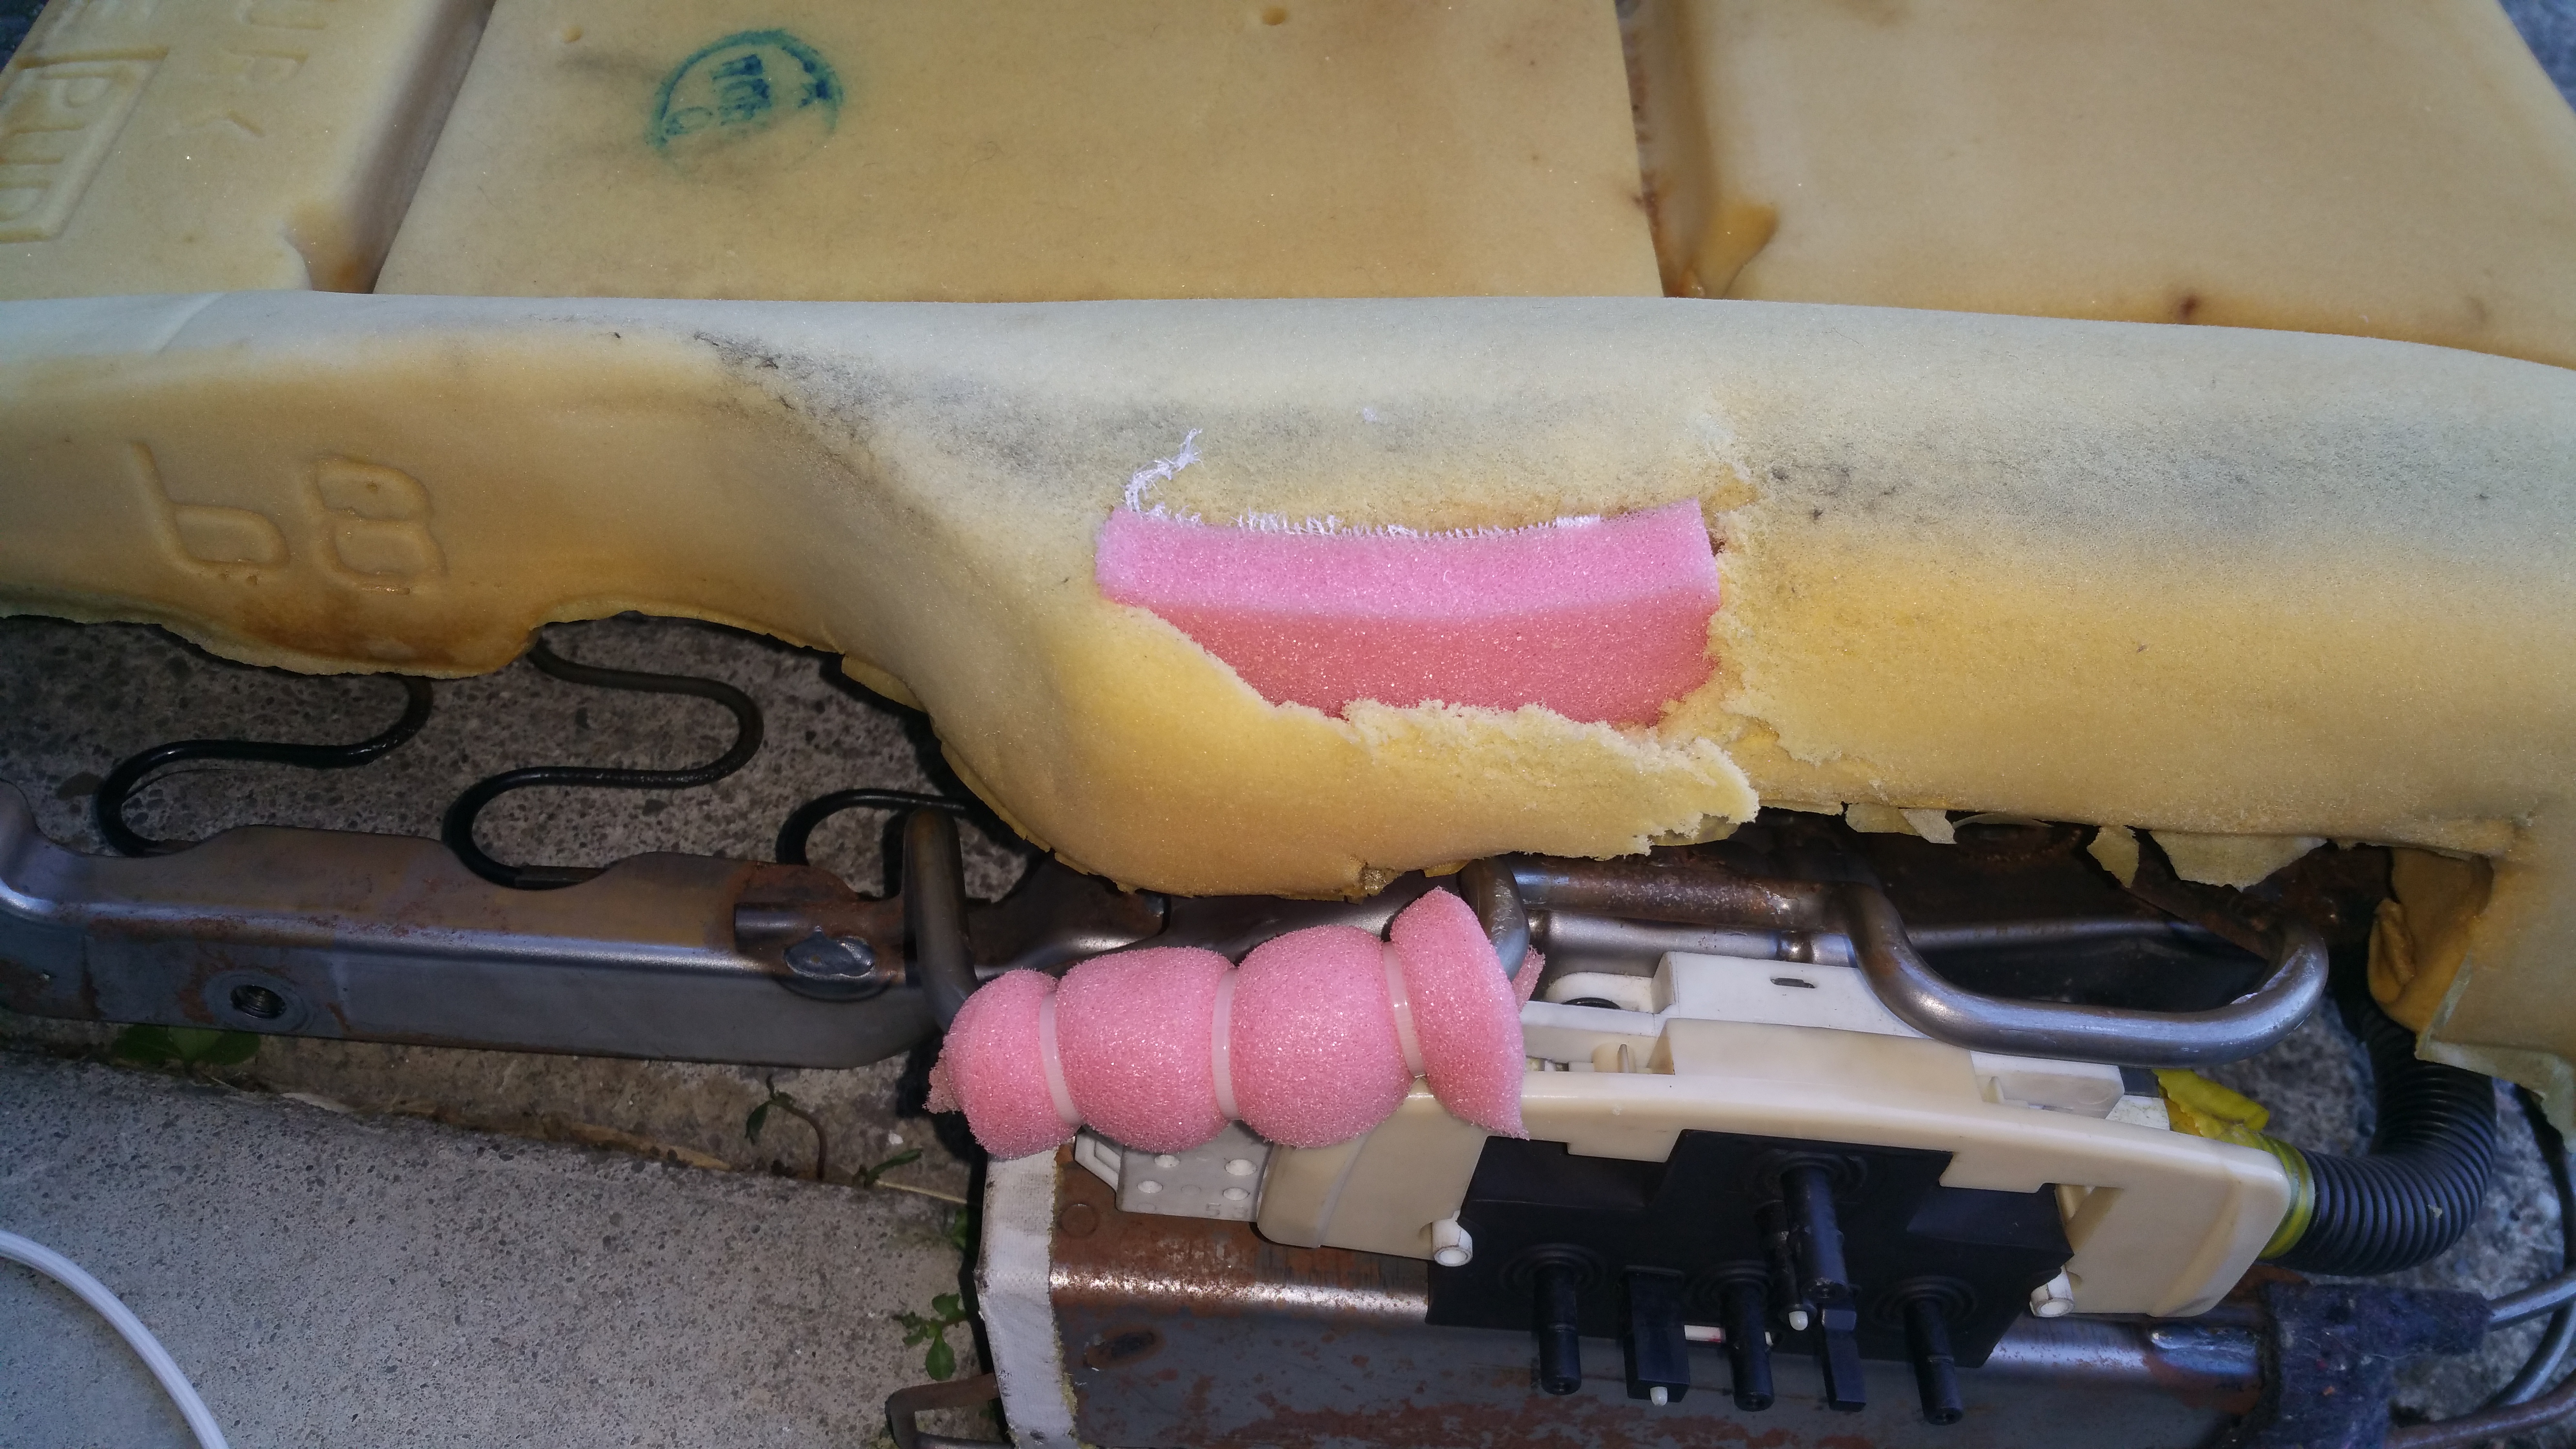
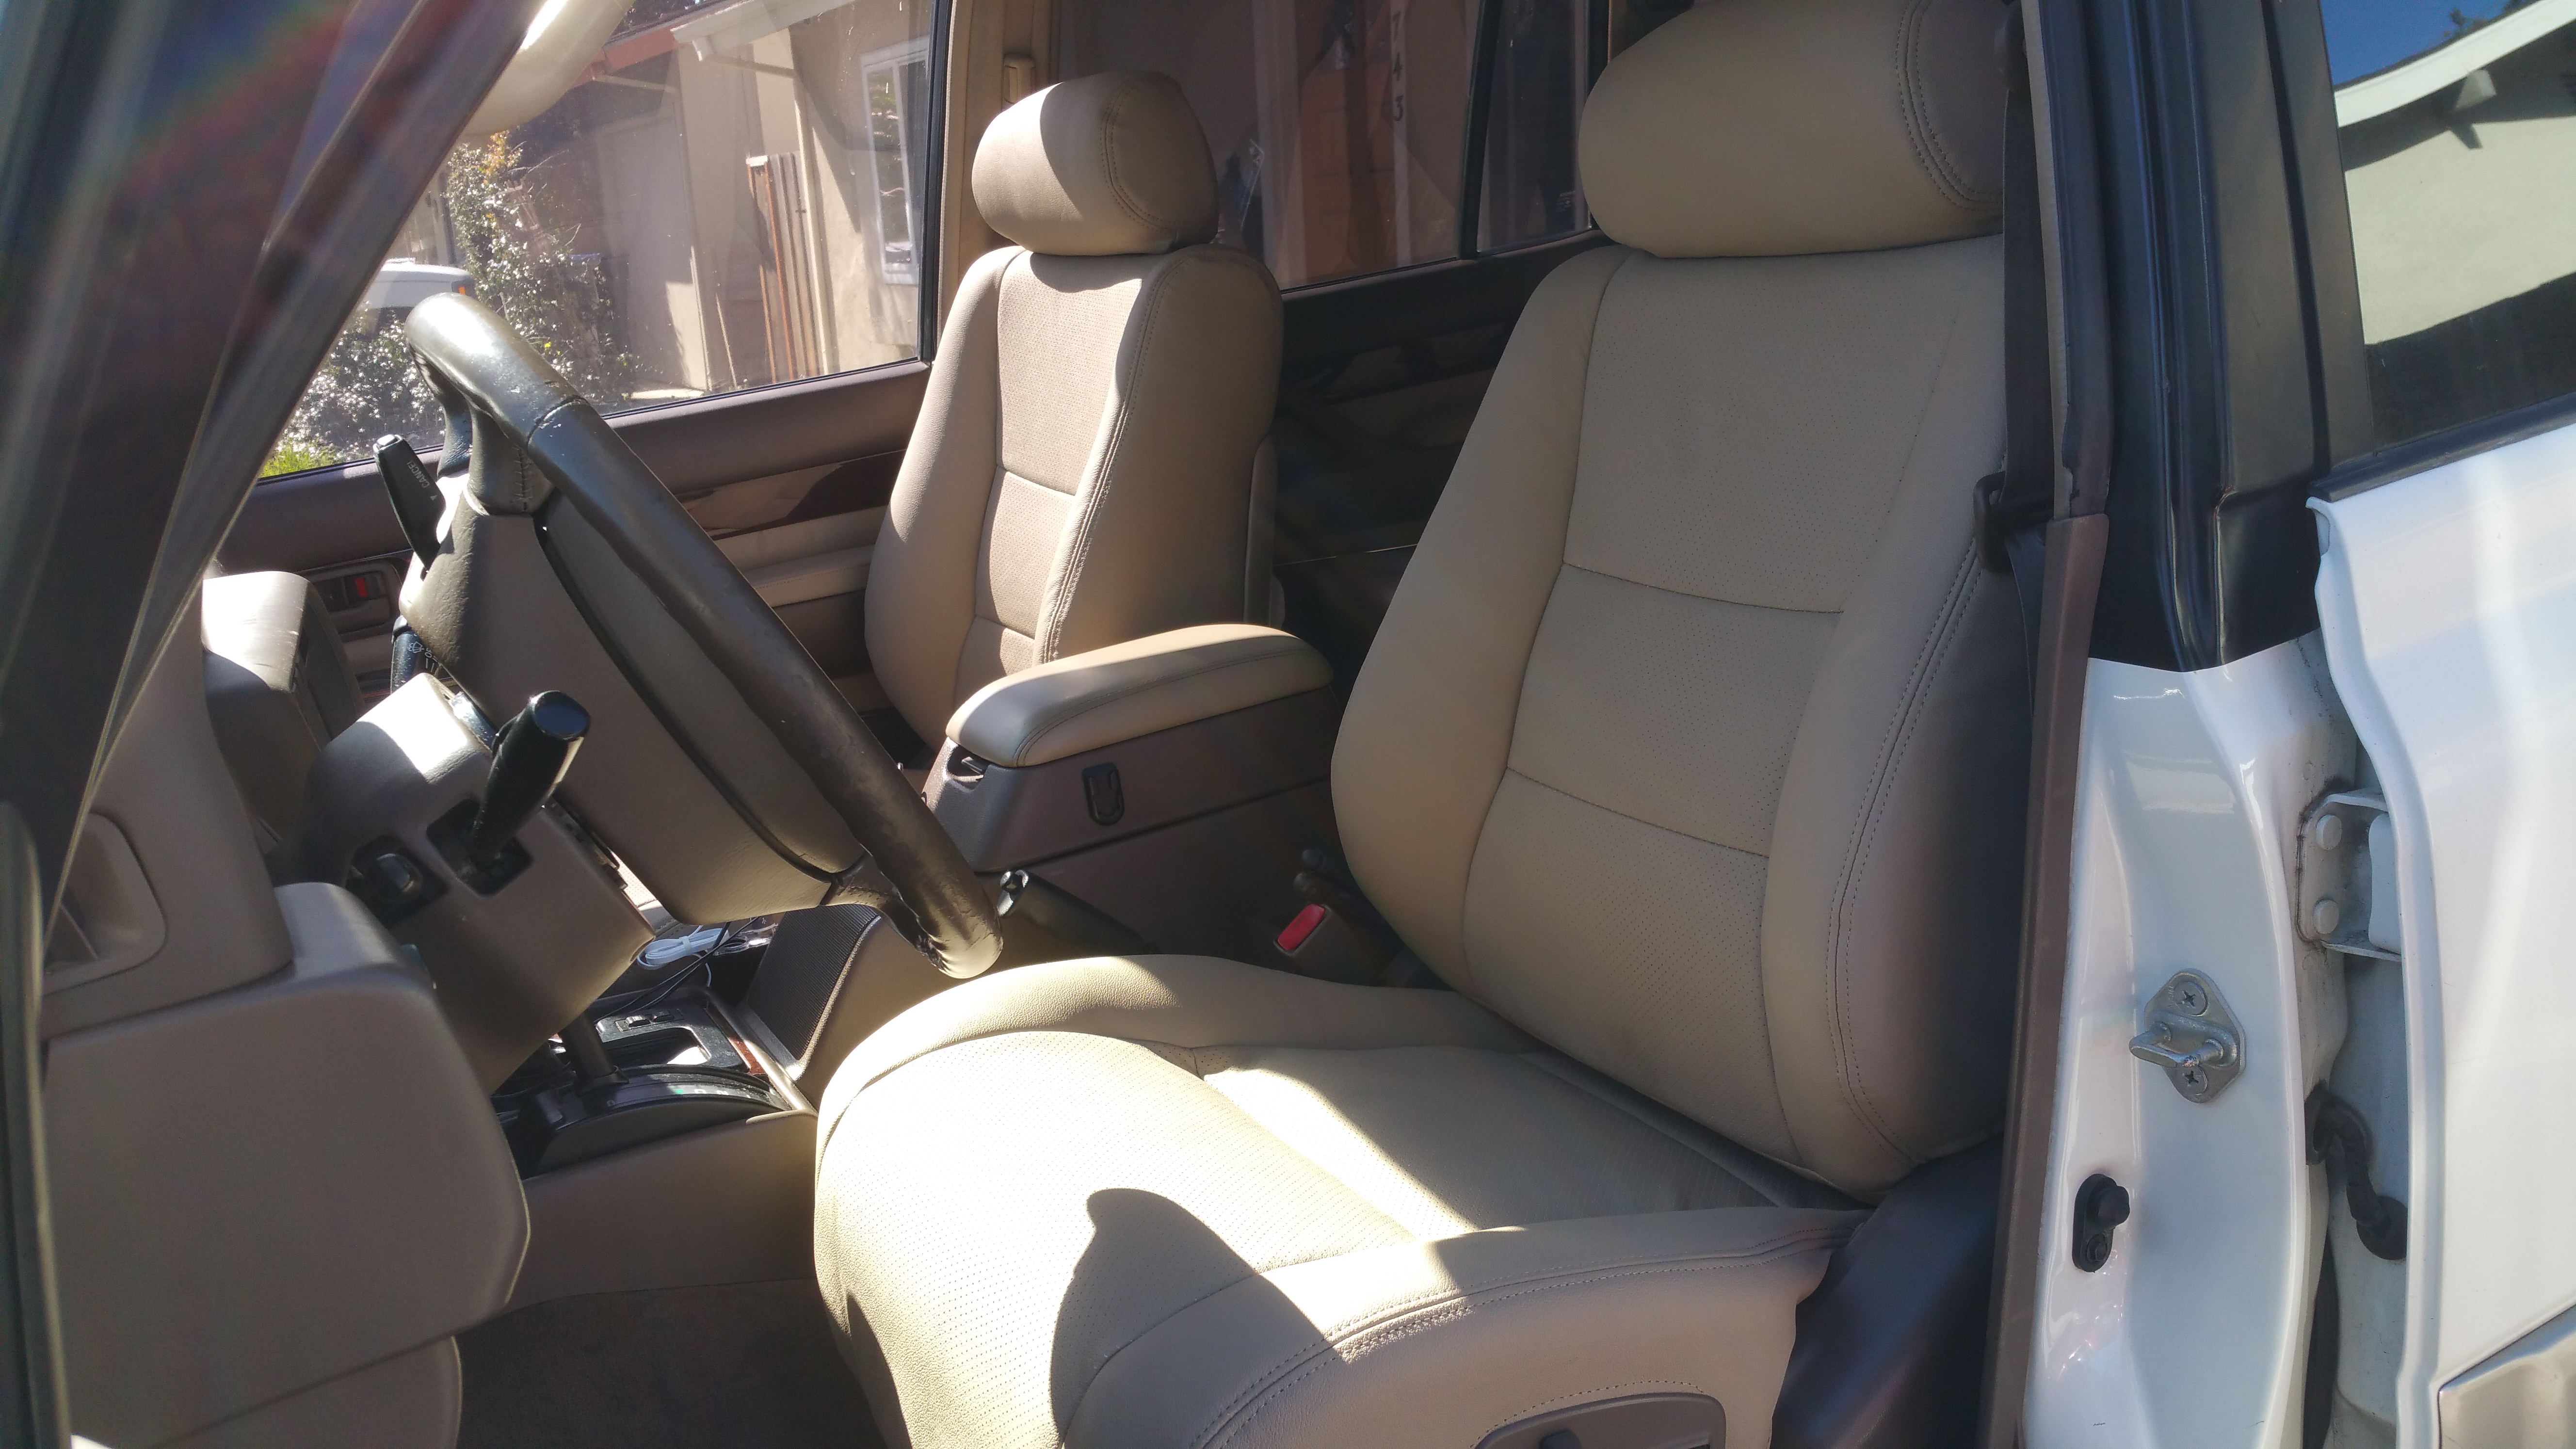
7. Replace front 2 leather seats (lseat.com bisque), driver foam ($200) and install heated seat kit (amazon $50). Yeah its a lexus and I want my ass and back warm when I overland. $635
8. Replace hood and tail gate struts Cheap Ebay. Both front and rear $45
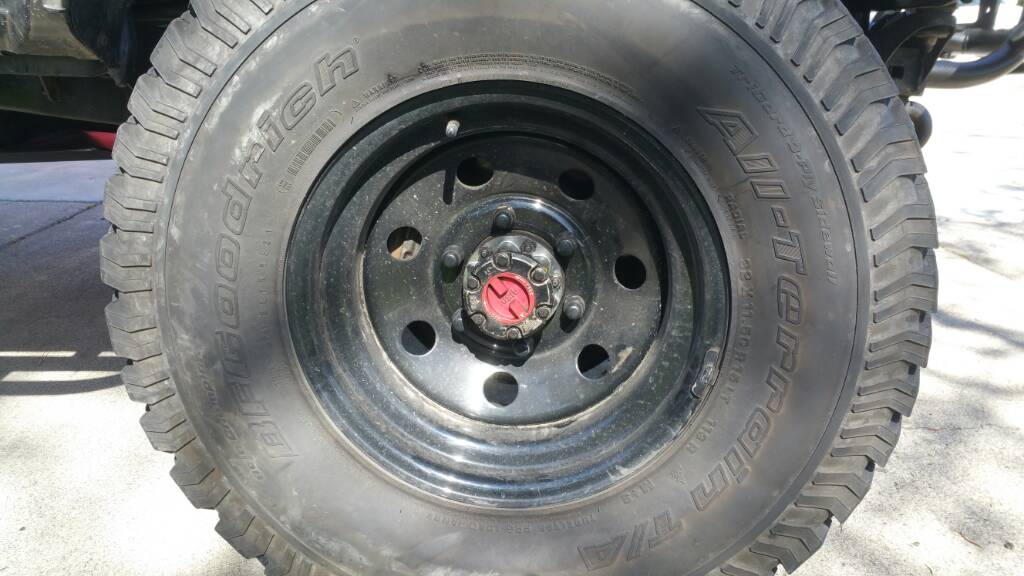
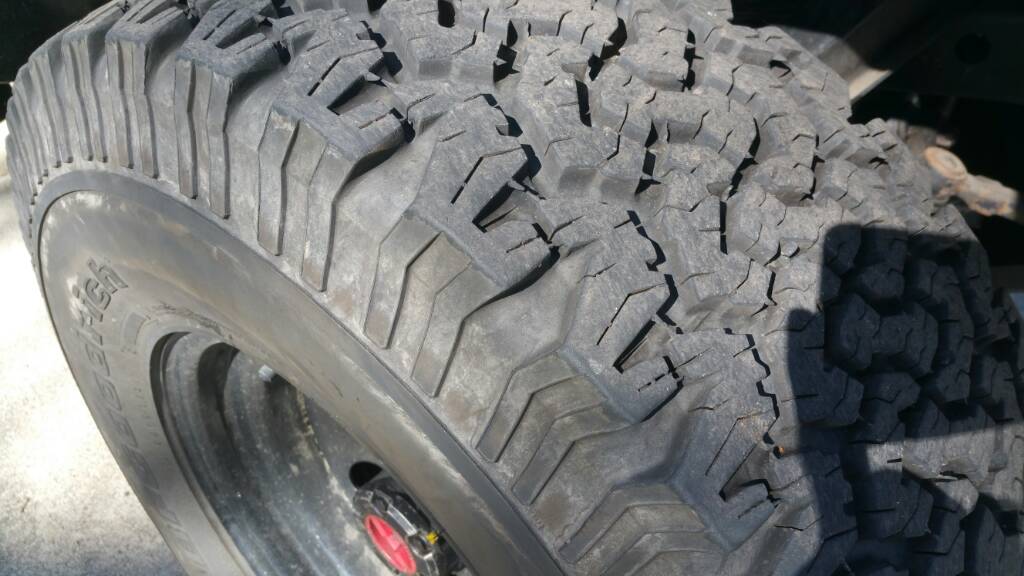
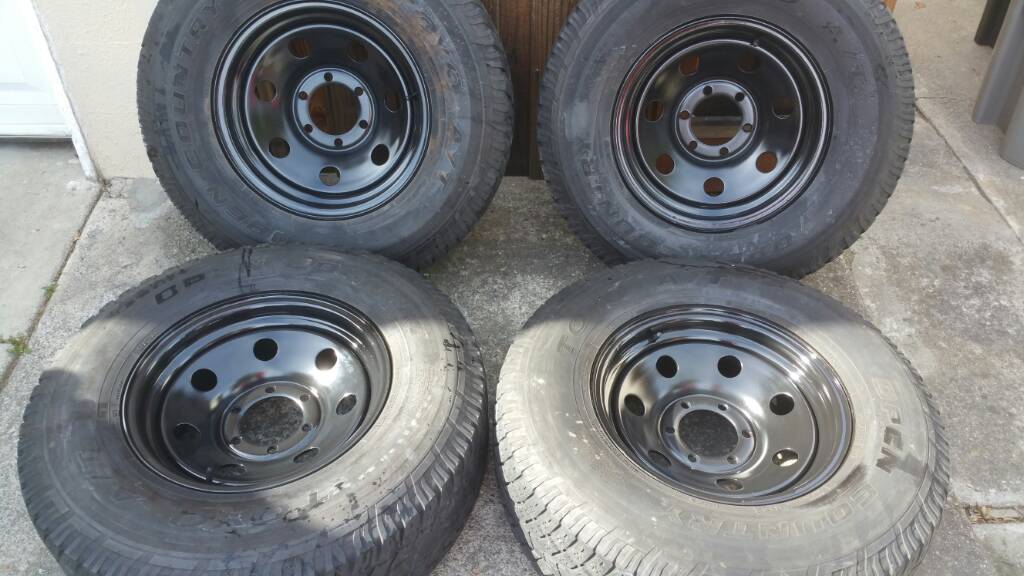
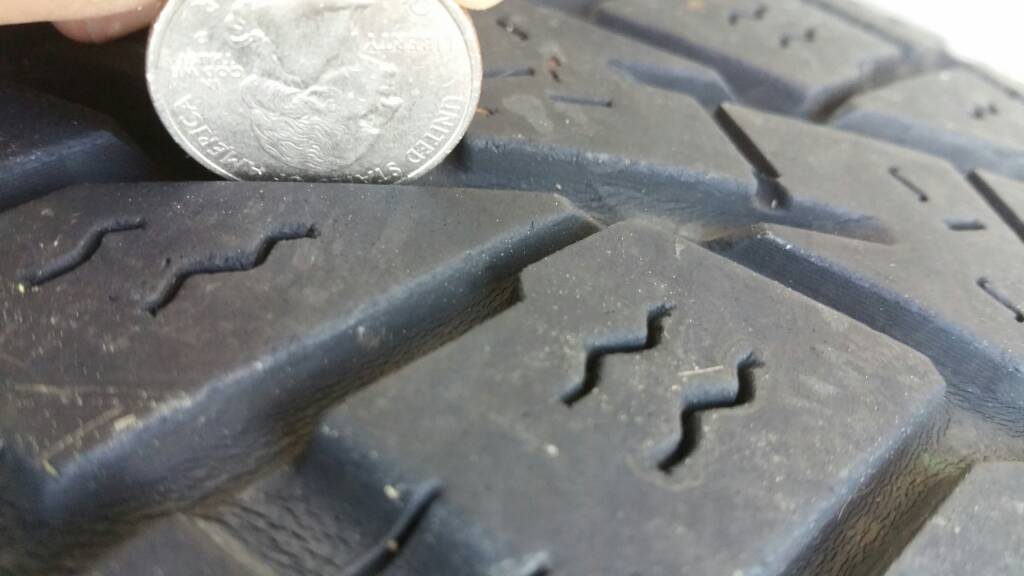
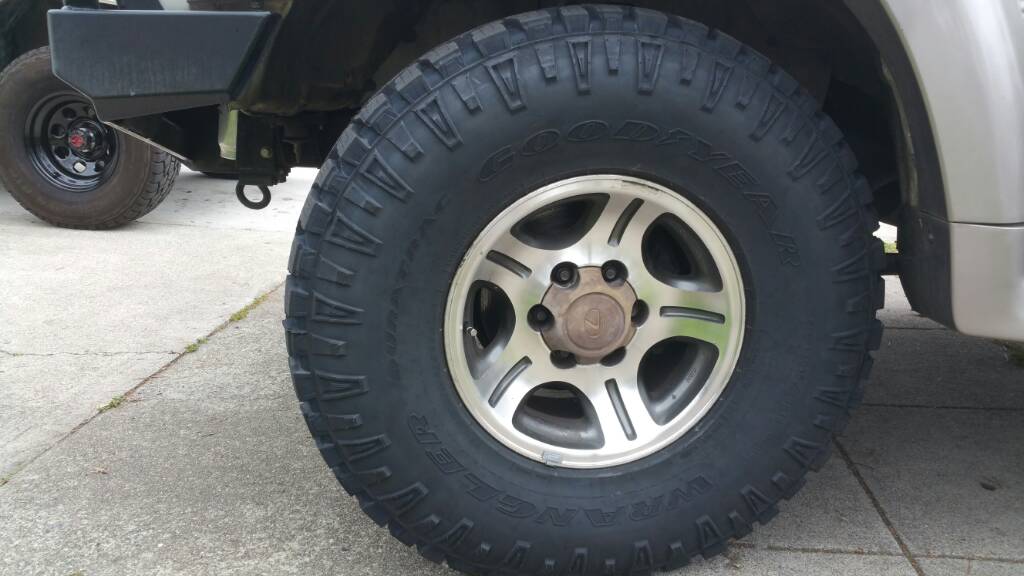
9. 35s - 315 75 16 Goodyear Duratrac AT set of 5 new tires. These things are awesome!
10. Gobi Stealth Rack w/ free sunroof insert and ladder (GB price $1400)
11. Metra 13" Rubber Antenna (AW-UT03R) $11 from autzone (Junk. Don't bother. Get OEM Mast)
12. Tuffy Console 013-04 (Spice), Rustoleum Textured 7226 Bronze, lseat.com bisque center console leather cover and 7.5"L x 1" square tube
13. Rock sliders (junk yard $300 special. No idea the brand but it's heavy and beefy)
14. ARB Safari Snorkel (junk yard special $200)
15. Repaired the front ARB bumper (decided to buy the 4x4labs front bumper. ARB will go for sale once I get the 4x4labs bumpers installed)
16. DIY Power steering flush. Supertech ATF fluid, ATF Flush. Supertech ATF approx 4-5 QT, Transfer case gear oil. Supertech 75w90 (syn blend) 2.5 QT, Front, Center and Rear Differential Supertech 80w90 3 gallons,
17. CSF ALL Metal Radiator $315
18. HPS Silicone Host Kit HPS-57-14441-BLK + 90 gates heater hose to firewall and a 3" straight heater hose to firewall. Pesky Heater Hose (PHH) replaced with the HPS Silicone hose. PHH was as bad as they say it is.
19. Aisin Water Pump WPT023, Aisin Fan Clutch FCT004, Toyota OEM V-Drive Belts 90913-02353-83, Gates Green Strip AC Belt
20. LED Light Bar 40" Front and 2 LED 4" rectangle light bar for rear. Mounted on Gobi.
21. Genesis Rock Lights w/ remote control $
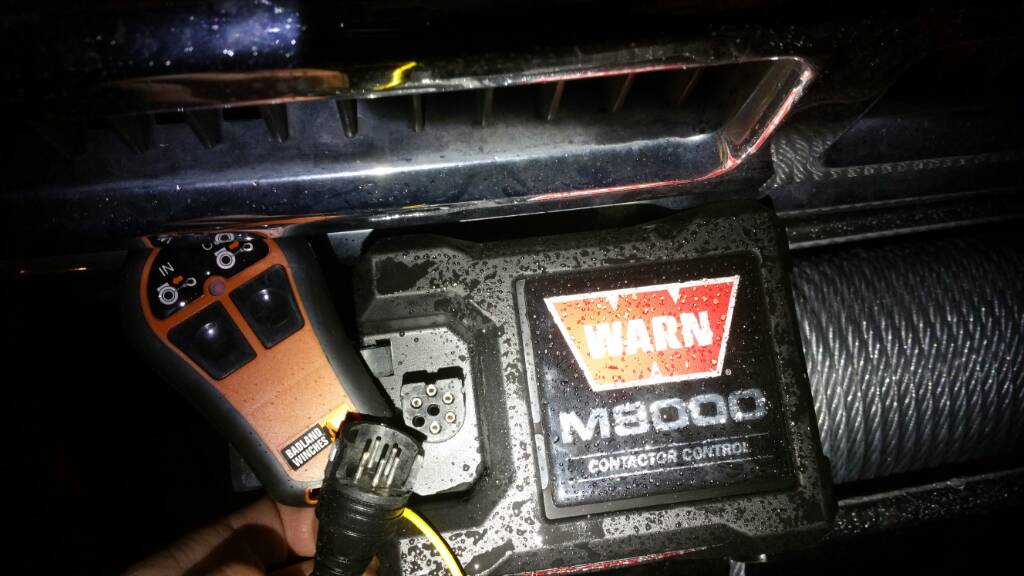
22. FZJ80 Elocker F&R axle from a wrecked LC donor $$$
23. 4x4 Labs Rear Swing out Bumper $$$
24. Toyota OEM Front Axle Rebuild Kit (Koyo bearings) and OEM Rear Axle Rebuild Kit (Koyo bearings)
25. Replaced my rear OME 863 springs with heavy J's OME 863J springs $75. Sold old springs for $50. $25 upgrade cost.
26. Dual battery setup - TMAX + Costco Interstate Group 31 + Costco Interstate Marine Group 31 + 500A Metra Battery Isolator + 2x Scosche 300 amp + 2x fuse blocks + 12v dual socket + 12 triple socket + 2 gauge wire + 2000 amp inverter $325 for everything minus the original battery. This is the cheapest dual battery setup I could build without going to manual disconnects. I like the dual battery monitor and auto connect + manual connect.
27. Iron Pig Offroad Skid Armor & Cross Member
28. Back bay customs Tailgate Storage
29. Custom DIY drawers + ARB Elements Fridge + ARB elements slider
Material for drawers. 200 + 1000 Fridge + 300 Slider = $1500~ for everything
30. EBC Yellowstuff Brake Pads Front & Rear Set
31. Replaced Autozone garbage antenna back again with my OEM power antenna. New OEM toyota mast from ebay. Make sure it's OEM. The aftermarket masts are garbage. $50
32. Repaired ARB bumper with donor ARB tubes from a wrecked Taco. Welded it in and resleeved it so it's extra strong. $Free
33. Replaced factory ARB turn signal with LED turn and fog light combo. Had to cut into the plate and make it larger to fit. $20
34. New Oem Toyota (8724060170) Heater Bypass Valve after mine blew on the freeway speeds while going to a camping trip. Super overheated + CEL and had to tow home. Did a a straight hose bypass, filled with distilled and back to camping trip that same day! Got my parts weeks later and installed. Make sure to check your bypass valve. That was the only thing I forgot to change in my coolant system. $45
35. Added a 10" electric fan to keep the Cruiser cool on mountain and crawling climbs. $20
36. OEM Extended Brake Hose Upgrade. Waiting on my OEM hoses from Japan!
Part # info courtesy of ih8mud. https://forum.ih8mud.com/threads/oem-extended-brake-lines-w-part-numbers.291018/page-3
37. DIY Attic Storage. Sewed my own net!
38. LRA 24 Aux Tank
39. AirLift (airbags) + AirLift wireless compress
In Progress:
1. Pull the head. Head Gasket and valve job
2. Wits End Turbo Kit
In Queue:
1. 4.88gears (Probably not needed. Will see after Wits End Turbo Kit is installed and I still need more power!)
2. Repair the dents (Yup, I like my cars clean)
See last thread for most recent progress!
LuX450 Tank Build Thread
Completed:
1. Replaced the worn frail and cracked drive belts. It was literally going to fall apart any time. Yota OEM 2pc belt $10.
2. Install CDL button (from Rav4), move security switch, 7wire mod. $26
3. Install my gamiviti seat gears. $20
4. DEPO 6pc set, HID retrofit (theretrofitsource d2s hid projectors and morimoto ballasts) and aftermarket FZJ80 Grill. $600?
5. Double din Pioneer dvd head unit (removed from my tundy), backup cam and hdmi converter, Pioneer TS G1645R 6.5" and Pioneer TS G1045R 4" speakers. $150
6. DIY Oil change (Denso Large Filter 1560041010 + Valvoline MaxLife 10W-40 8 QT) $35, Denso air filter $10, Denso wiper blades $15, Denso spark plugs $10
7. Replace front 2 leather seats (lseat.com bisque), driver foam ($200) and install heated seat kit (amazon $50). Yeah its a lexus and I want my ass and back warm when I overland. $635
8. Replace hood and tail gate struts Cheap Ebay. Both front and rear $45
9. 35s - 315 75 16 Goodyear Duratrac AT set of 5 new tires. These things are awesome!
10. Gobi Stealth Rack w/ free sunroof insert and ladder (GB price $1400)
11. Metra 13" Rubber Antenna (AW-UT03R) $11 from autzone (Junk. Don't bother. Get OEM Mast)
12. Tuffy Console 013-04 (Spice), Rustoleum Textured 7226 Bronze, lseat.com bisque center console leather cover and 7.5"L x 1" square tube
13. Rock sliders (junk yard $300 special. No idea the brand but it's heavy and beefy)
14. ARB Safari Snorkel (junk yard special $200)
15. Repaired the front ARB bumper (decided to buy the 4x4labs front bumper. ARB will go for sale once I get the 4x4labs bumpers installed)
16. DIY Power steering flush. Supertech ATF fluid, ATF Flush. Supertech ATF approx 4-5 QT, Transfer case gear oil. Supertech 75w90 (syn blend) 2.5 QT, Front, Center and Rear Differential Supertech 80w90 3 gallons,
17. CSF ALL Metal Radiator $315
18. HPS Silicone Host Kit HPS-57-14441-BLK + 90 gates heater hose to firewall and a 3" straight heater hose to firewall. Pesky Heater Hose (PHH) replaced with the HPS Silicone hose. PHH was as bad as they say it is.
19. Aisin Water Pump WPT023, Aisin Fan Clutch FCT004, Toyota OEM V-Drive Belts 90913-02353-83, Gates Green Strip AC Belt
20. LED Light Bar 40" Front and 2 LED 4" rectangle light bar for rear. Mounted on Gobi.
21. Genesis Rock Lights w/ remote control $
22. FZJ80 Elocker F&R axle from a wrecked LC donor $$$
23. 4x4 Labs Rear Swing out Bumper $$$
24. Toyota OEM Front Axle Rebuild Kit (Koyo bearings) and OEM Rear Axle Rebuild Kit (Koyo bearings)
25. Replaced my rear OME 863 springs with heavy J's OME 863J springs $75. Sold old springs for $50. $25 upgrade cost.
26. Dual battery setup - TMAX + Costco Interstate Group 31 + Costco Interstate Marine Group 31 + 500A Metra Battery Isolator + 2x Scosche 300 amp + 2x fuse blocks + 12v dual socket + 12 triple socket + 2 gauge wire + 2000 amp inverter $325 for everything minus the original battery. This is the cheapest dual battery setup I could build without going to manual disconnects. I like the dual battery monitor and auto connect + manual connect.
27. Iron Pig Offroad Skid Armor & Cross Member
28. Back bay customs Tailgate Storage
29. Custom DIY drawers + ARB Elements Fridge + ARB elements slider
Material for drawers. 200 + 1000 Fridge + 300 Slider = $1500~ for everything
30. EBC Yellowstuff Brake Pads Front & Rear Set
31. Replaced Autozone garbage antenna back again with my OEM power antenna. New OEM toyota mast from ebay. Make sure it's OEM. The aftermarket masts are garbage. $50
32. Repaired ARB bumper with donor ARB tubes from a wrecked Taco. Welded it in and resleeved it so it's extra strong. $Free
33. Replaced factory ARB turn signal with LED turn and fog light combo. Had to cut into the plate and make it larger to fit. $20
34. New Oem Toyota (8724060170) Heater Bypass Valve after mine blew on the freeway speeds while going to a camping trip. Super overheated + CEL and had to tow home. Did a a straight hose bypass, filled with distilled and back to camping trip that same day! Got my parts weeks later and installed. Make sure to check your bypass valve. That was the only thing I forgot to change in my coolant system. $45
35. Added a 10" electric fan to keep the Cruiser cool on mountain and crawling climbs. $20
36. OEM Extended Brake Hose Upgrade. Waiting on my OEM hoses from Japan!
Part # info courtesy of ih8mud. https://forum.ih8mud.com/threads/oem-extended-brake-lines-w-part-numbers.291018/page-3
37. DIY Attic Storage. Sewed my own net!
38. LRA 24 Aux Tank
39. AirLift (airbags) + AirLift wireless compress
In Progress:
1. Pull the head. Head Gasket and valve job
2. Wits End Turbo Kit
In Queue:
1. 4.88gears (Probably not needed. Will see after Wits End Turbo Kit is installed and I still need more power!)
2. Repair the dents (Yup, I like my cars clean)
Last edited: